Upgrade your decor with amazing decorative leather throw pillows that you made yourself!
I love having decorative throw pillows on the couch. They are so easy to swap out for different seasons, and add a simple layer of design.
When we added our leather accent chair to the living room I decided to add some decorative leather throw pillows to help tie in the leather. And I was hooked!
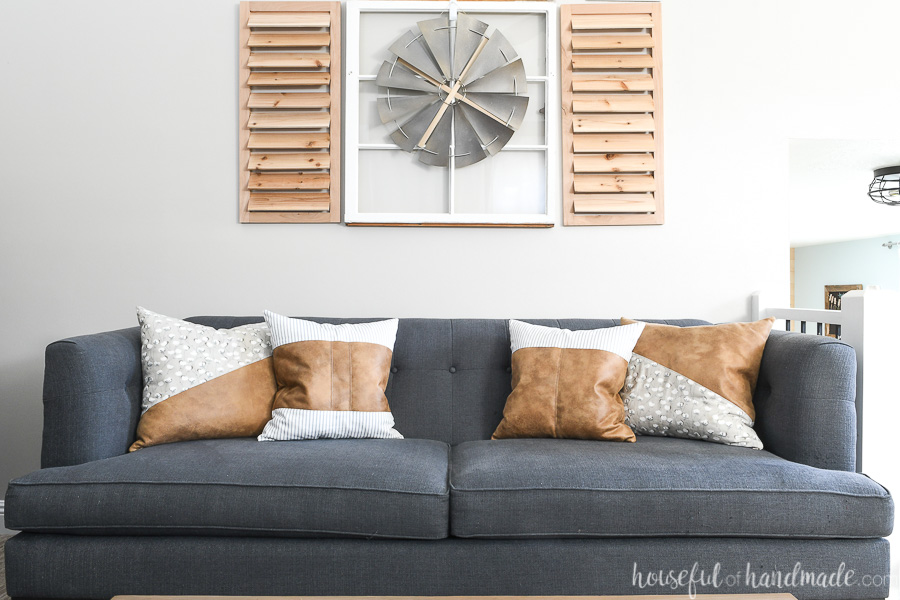
The leather pillows added a layer of depth to our mostly bright and white living room. And they made it a bit more masculine for my husband.
This post may contain affiliate links. As an Amazon Associate I earn from qualifying purchases. Click here to read my full disclosure policy.
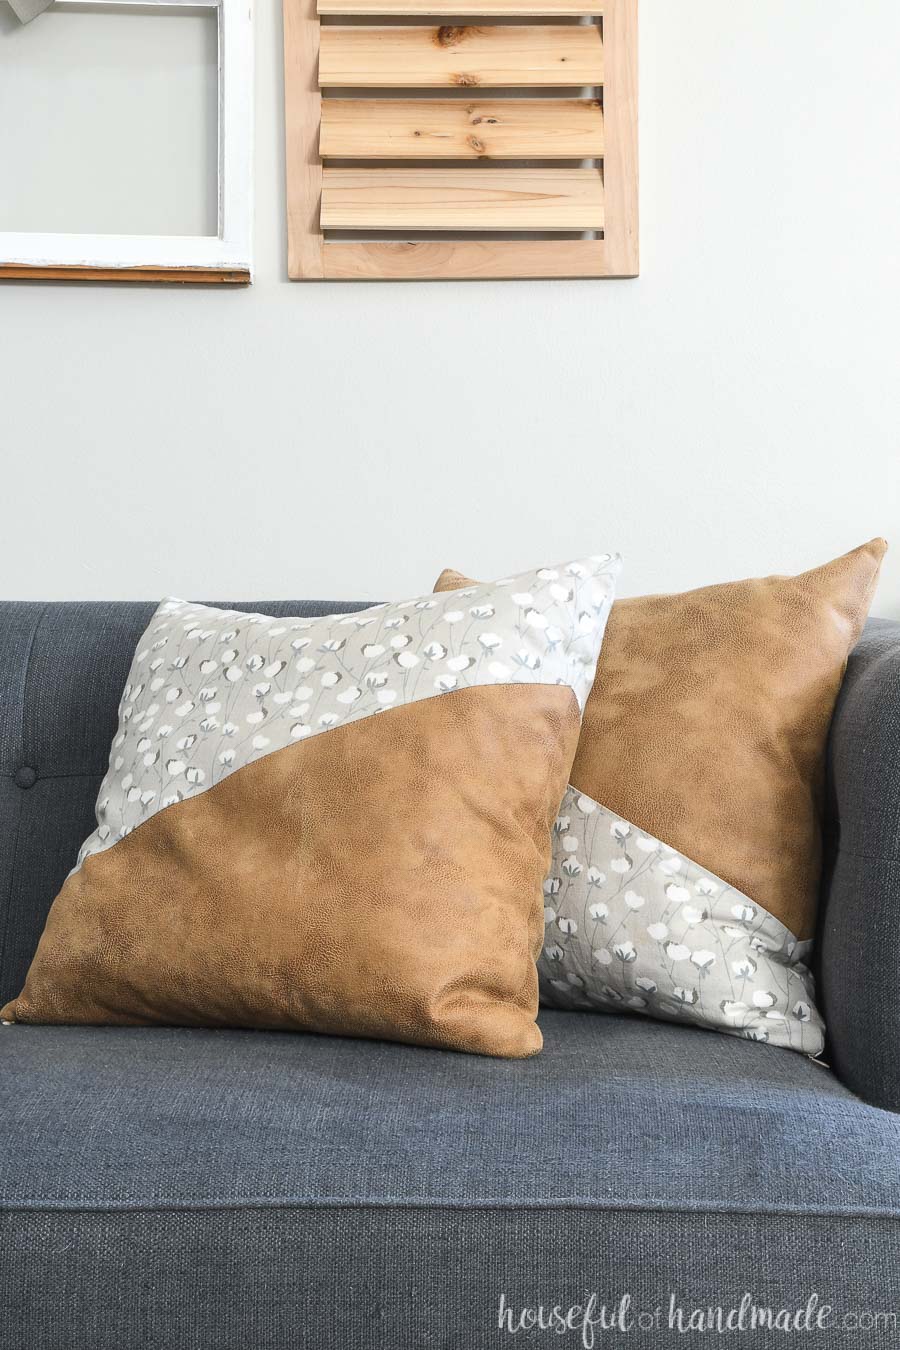
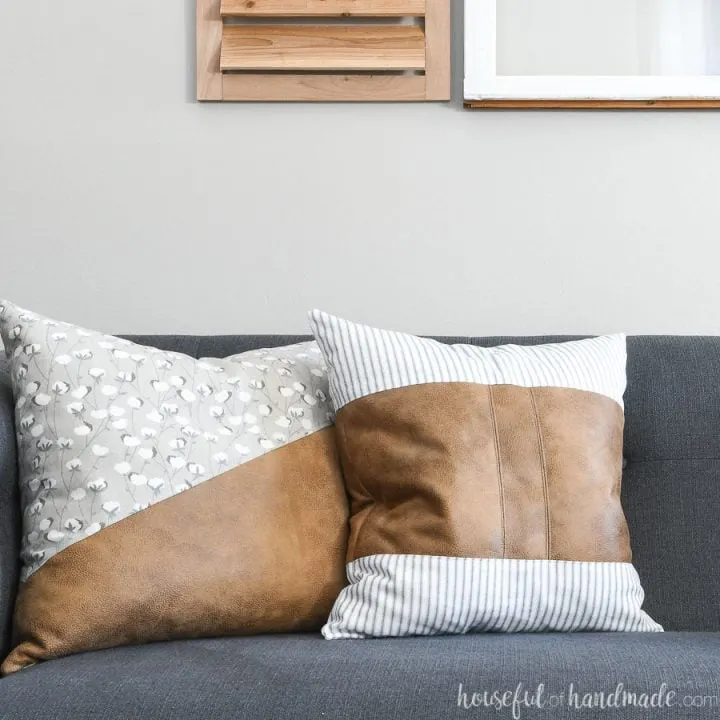
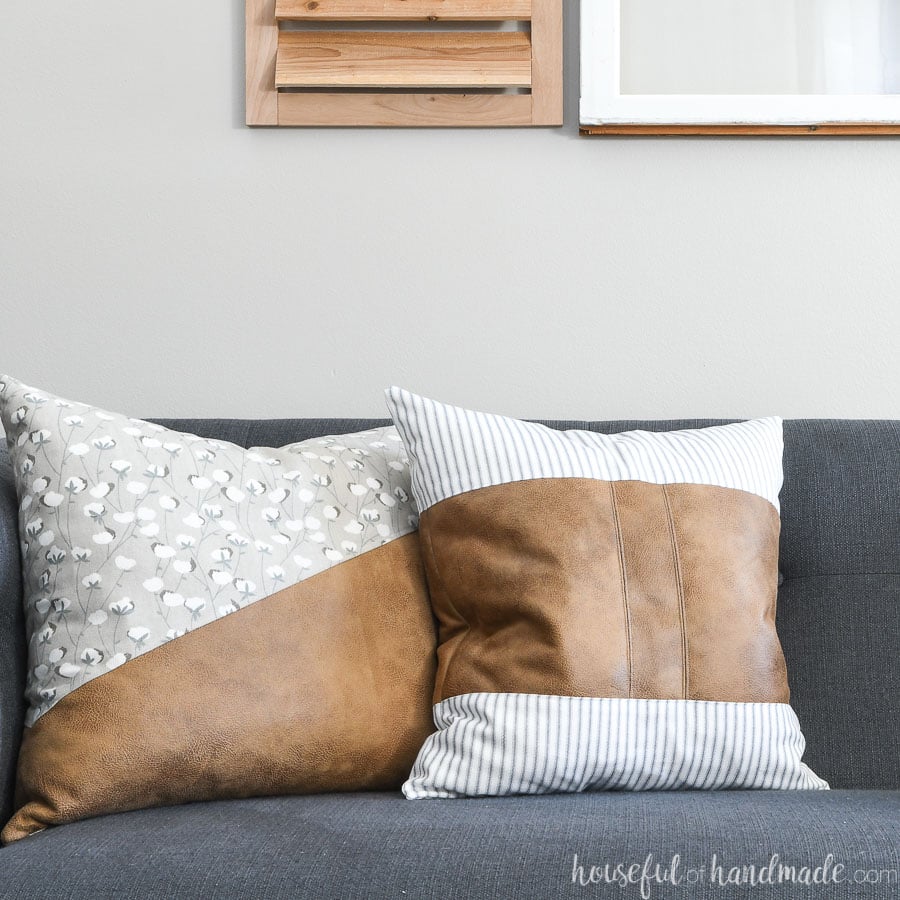
These decorative throw pillows are the perfect mix of feminine with soft ticking and floral fabrics. Mixed with faux leather to make them more masculine. Don’t they look amazing on our sofa?
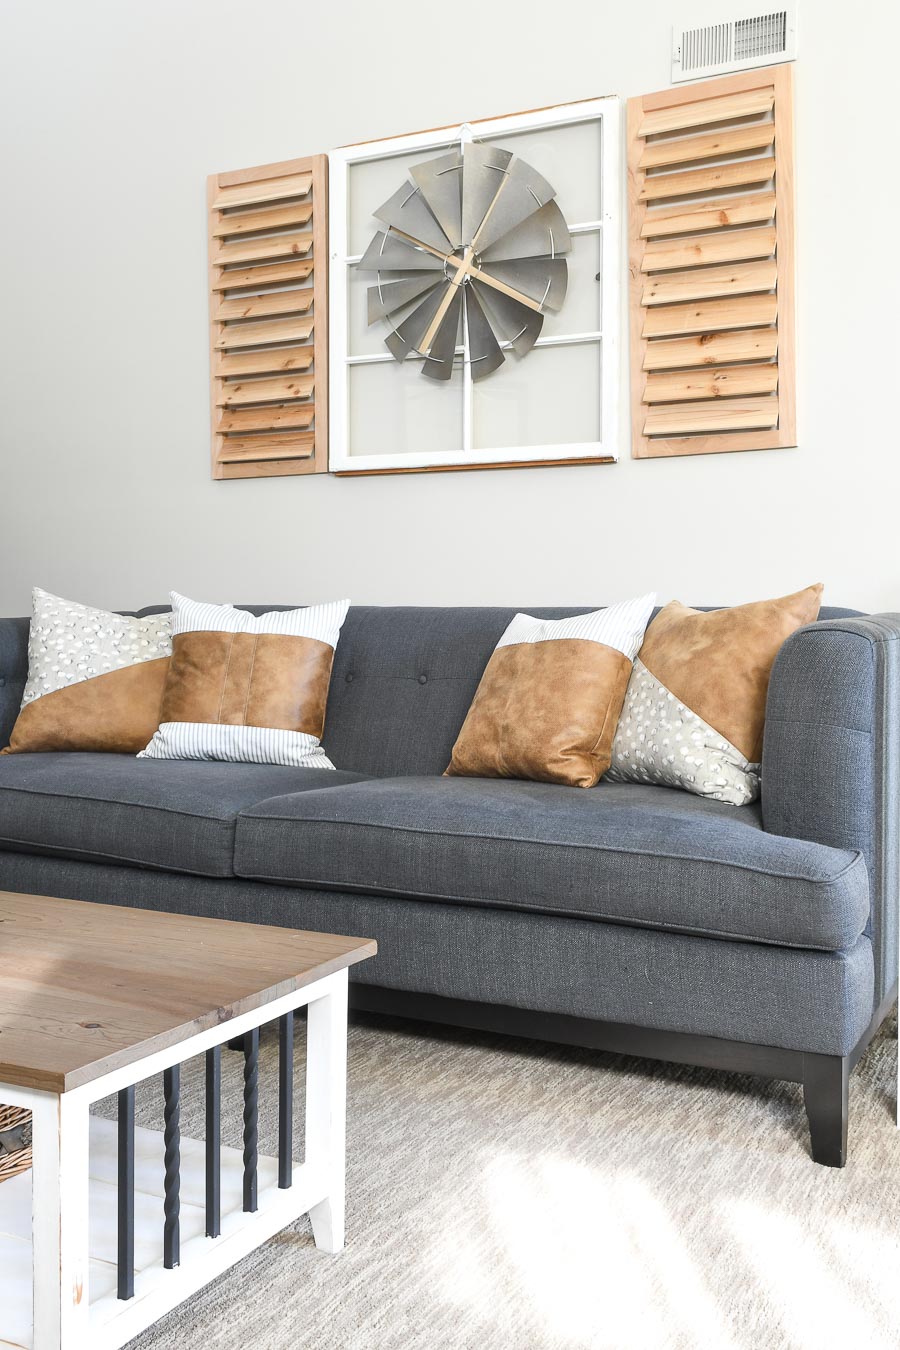
Leather throw pillows are becoming more popular! And why not, they look amazing on both leather and fabric sofas, chairs, and even beds.
If you do not want to spend the money to buy some, you can make your own cheap throw pillow covers with faux leather! All the style of real leather, but without the big price tag.
These DIY throw pillow covers are so fun to make too. You can mix any fabrics that will match your decor with the leather.
I didn’t just make one style either! Instead, I picked 2 fabrics that coordinated and 1 faux leather fabric. Then I made 3 different styles of pillows. And together they make the perfect decorative sofa pillows!
Tip for Making Pillow Covers
Whenever you make your own pillow covers, make them look extra amazing with these easy tips.
- Always make pillow covers instead of just sewing pillows. Covers can be washed when needed. And it is easier to swap out the pillow covers for different seasons, but they are much smaller to store than full pillows.
- Cut the fabric for you pillow cover the same size as your pillow form (i.e., 20×20 or 18×18). Sew the fabric together with a 1/2″ seam allowance so the throw pillow cover is slightly smaller. This will squish the pillow inside the cover and keep it looking fuller.
- Use thicker fabrics to make your throw pillow covers. They will last longer and stand up better to use. I love soft canvas and home decor fabrics.
- Sew an invisible zipper into the bottom seam of your pillow covers. With an invisible zipper foot, it is very easy to do and will give your throw pillows a professional look. See tutorial below for steps.
- Cut the corners of your DIY throw pillow covers to allow the corners to tun nicely. And when sewing, do a few backstitches at each corner to keep it from tearing through.
Three Different Leather Throw Pillow Designs
Of course I didn’t just make 1 pillow. I decided I needed a variety of designs, with a couple different fabrics, mixed with my leather.
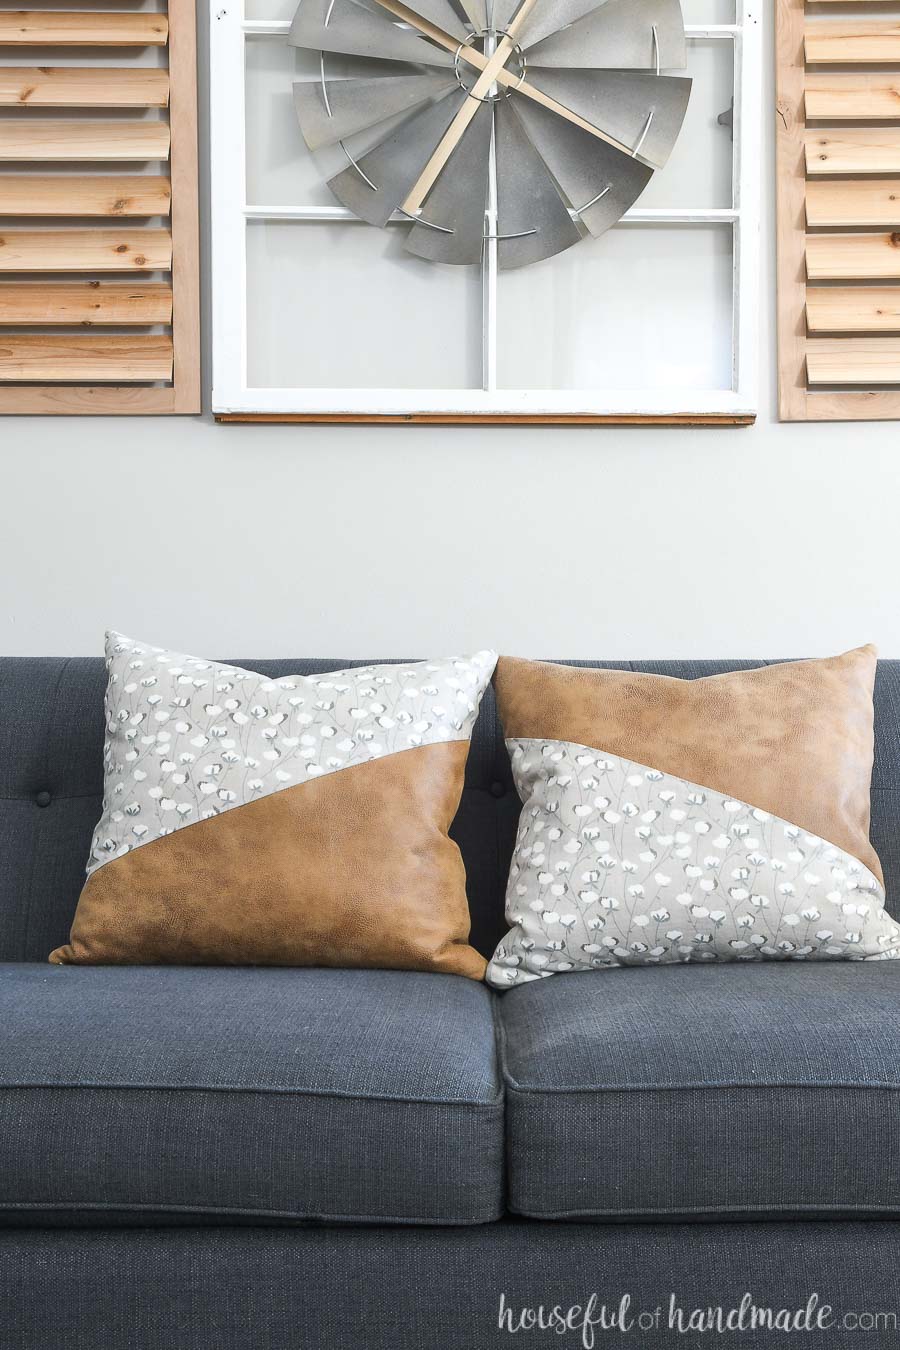
The diagonal design I made 2 decorative pillow covers because it is easiest to make two at once. So they are mirrored, but if your fabric does not have a “right way up” like my cotton floral design, you can make them more identical.
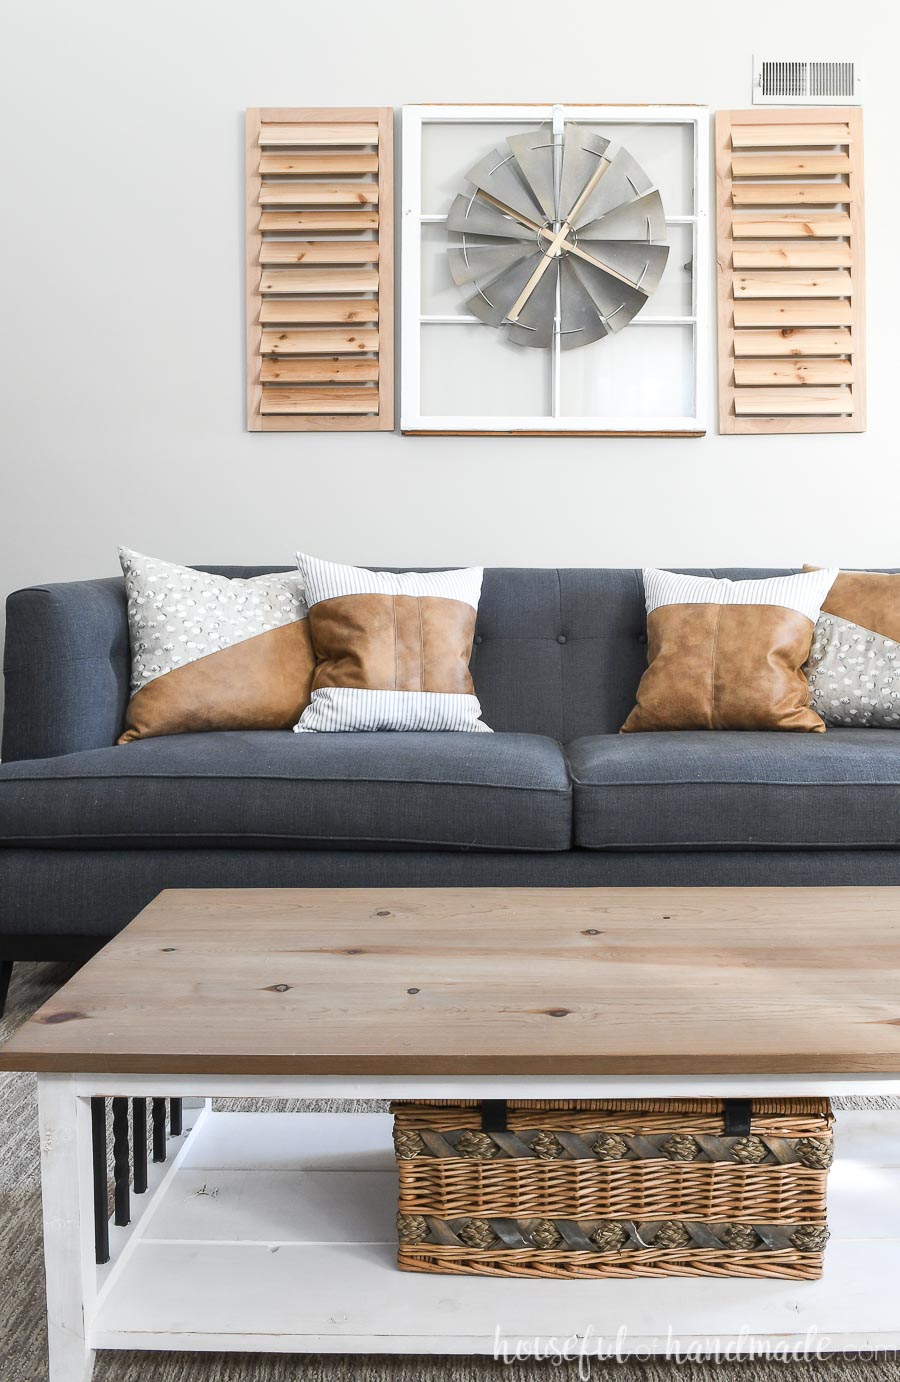
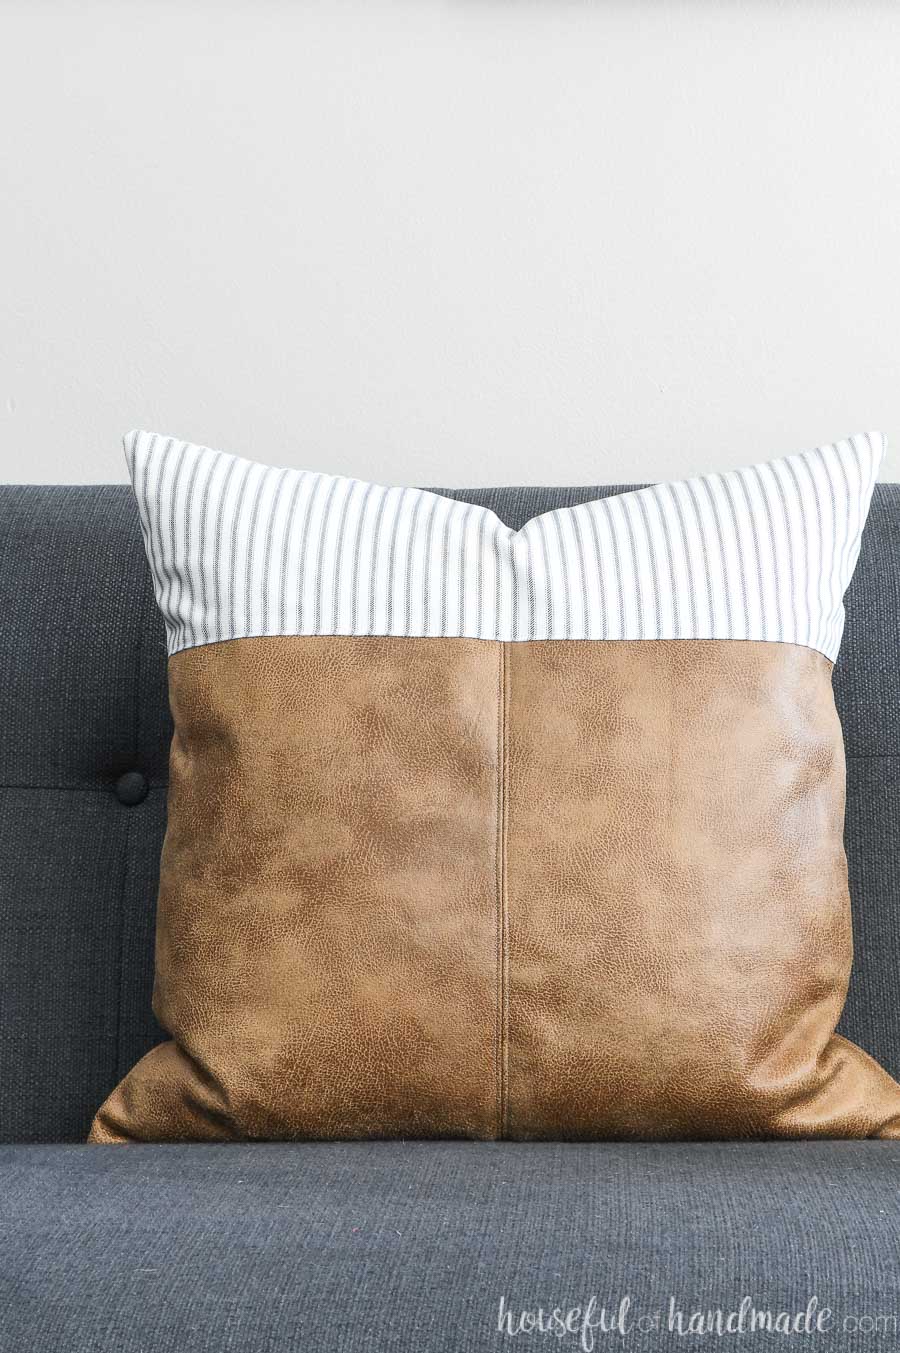
Then I made a color-blocking style decorative pillow cover. I feel like the traditional seam with top-stitching in the center gives this pillow cover a classic leather look.
And the farmhouse ticking is the perfect balance to the brown leather pillow!
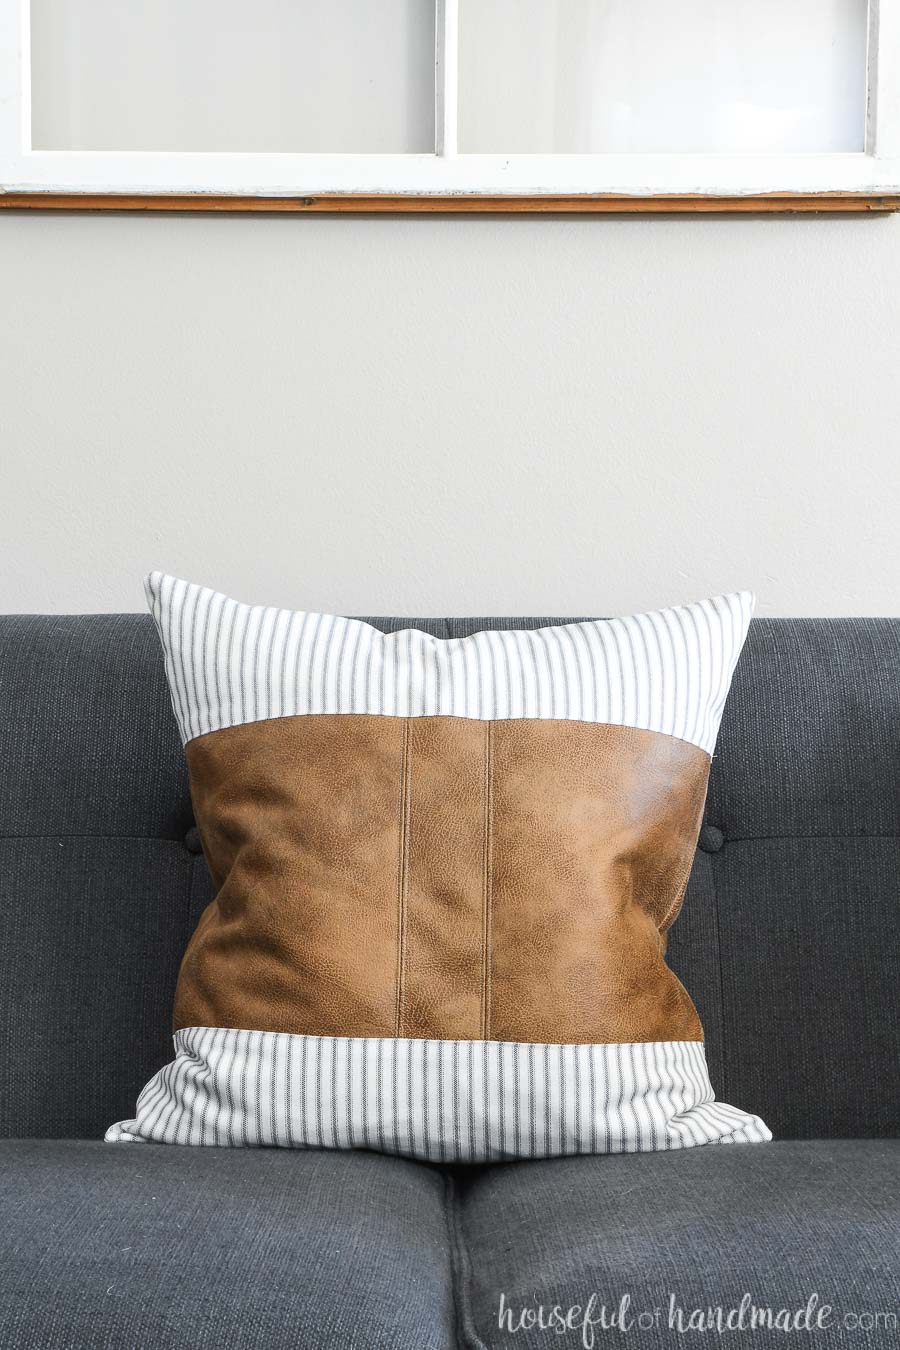
And the third design was created mostly because I was running out of fabric! Yep, this pieced together pillow cover is a combination of me making one more 20×20 pillow cover out of scraps. But it turned out AMAZING!
And I actually love the additional leather stripe and extra top-stitching.
Making Cheap Pillow Covers
One of my favorite part of these DIY leather pillow covers is that they are so cost effective! I made all 4 pillow covers for $25 in fabric and 4 invisible zippers (about $10).
Yep, that is 2 22″x22″ pillow covers and 2 20″x20″ pillow covers for only $35. And each pillow took less than an hour to sew.
All the fabrics I used I purchase at Hobby Lobby, but I found similar ones on Amazon that you can see in the instructions below.
You just cannot beat 4 beautiful leather pillow covers (and not tiny ones either), for less than $10 each!

How to Sew DIY Throw Pillow Covers
These decorative leather pillow covers are the perfect mix of feminine and masculine decor! Learn how to easily sew a faux leather pillow cover with patterns for 3 different designs.
Tools
- Sewing Machine
- Ruler/measuring tape
- Scissors
- Pins
- Invisible zipper foot for sewing machine
- Seam gauge
Instructions
CUT OUT THE PATTERN PIECES

For the 22" x 22" diagonal decorative pillow cover (makes 2 pillow covers):
- Cut out 2 pieces of fabric 22" x 22" and 2 pieces of faux leather 22" x 22".
- Place the right sides of each type of fabric together, then stack them on top of each other.
- Measure 5" from the bottom of one side and 5" from the top of the other side. Line your ruler up and cut from these marks through all layers of fabric.


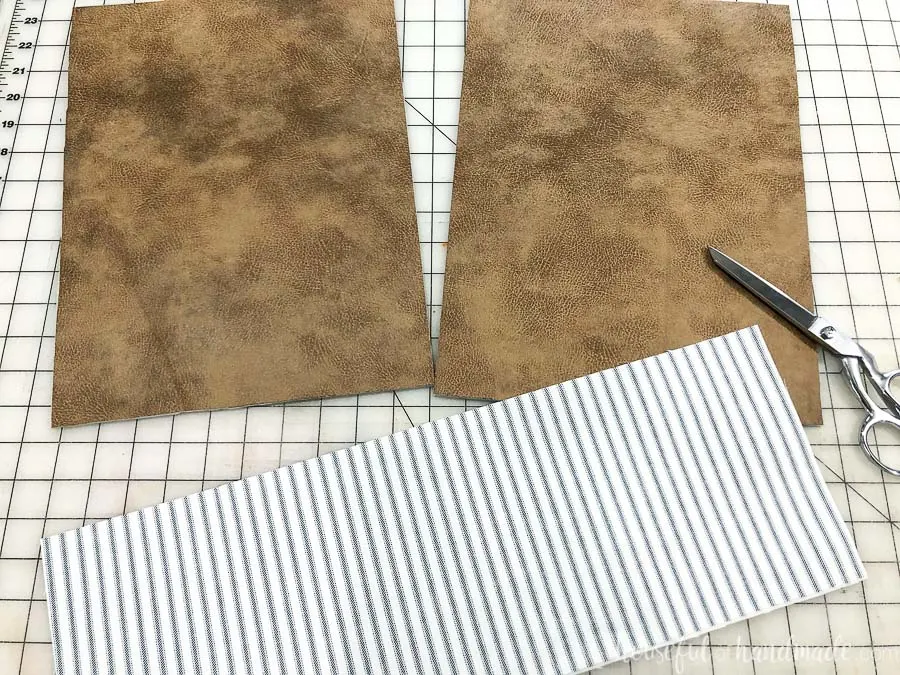
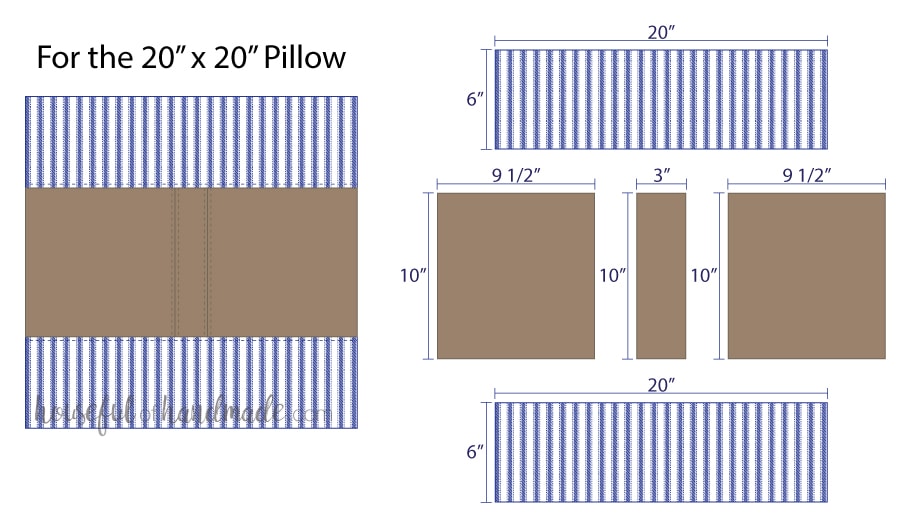
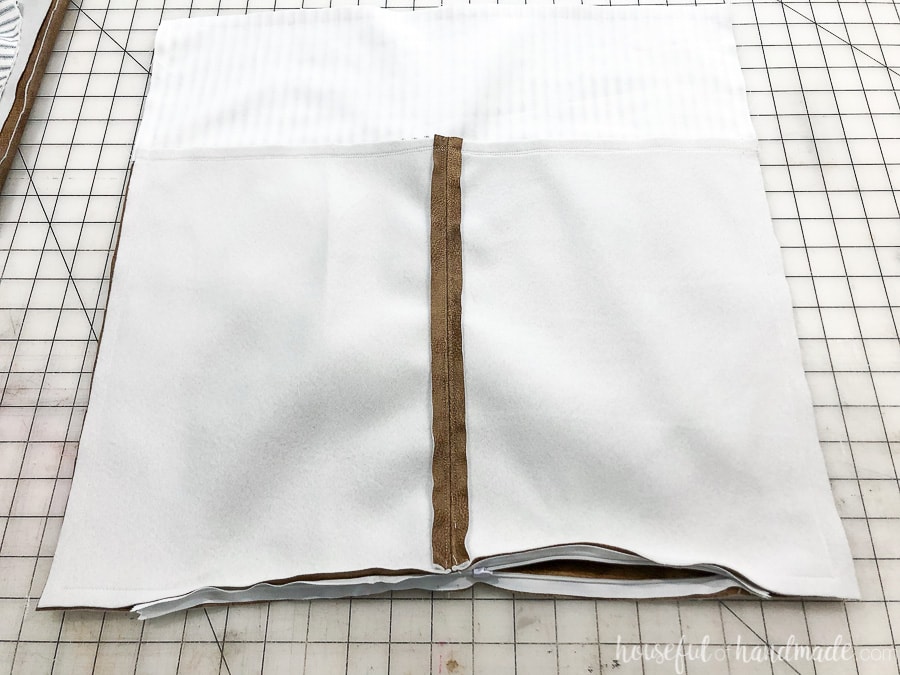
For the 20" x 20" center stripe decorative pillow cover:
- Cut out 4 pieces of fabric 6" x 20".
- Cut out 4 pieces of leather 10" x 9 1/2" and 2 pieces 3" x 10".

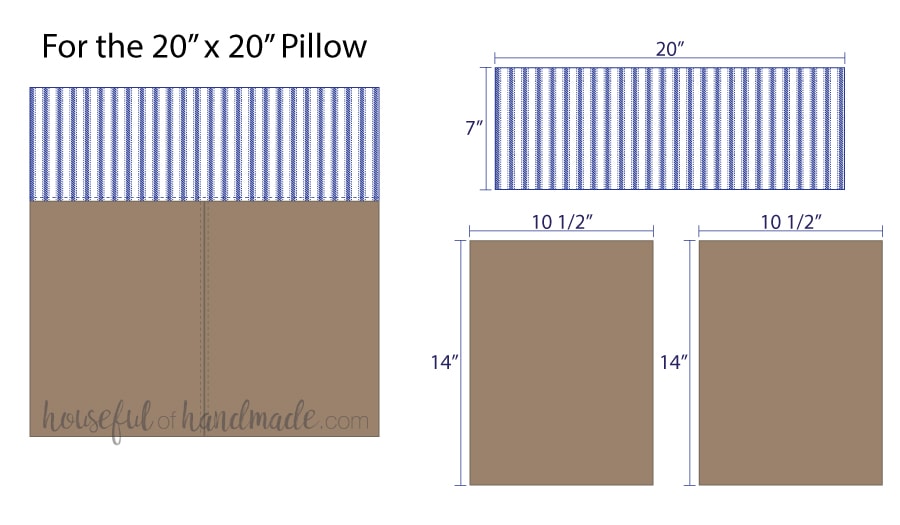
For the 20" x 20" color block decorative pillow cover:
- Cut out 2 pieces of fabric 7" x 20".
- Cut out 4 pieces of leather 14" x 10 1/2".

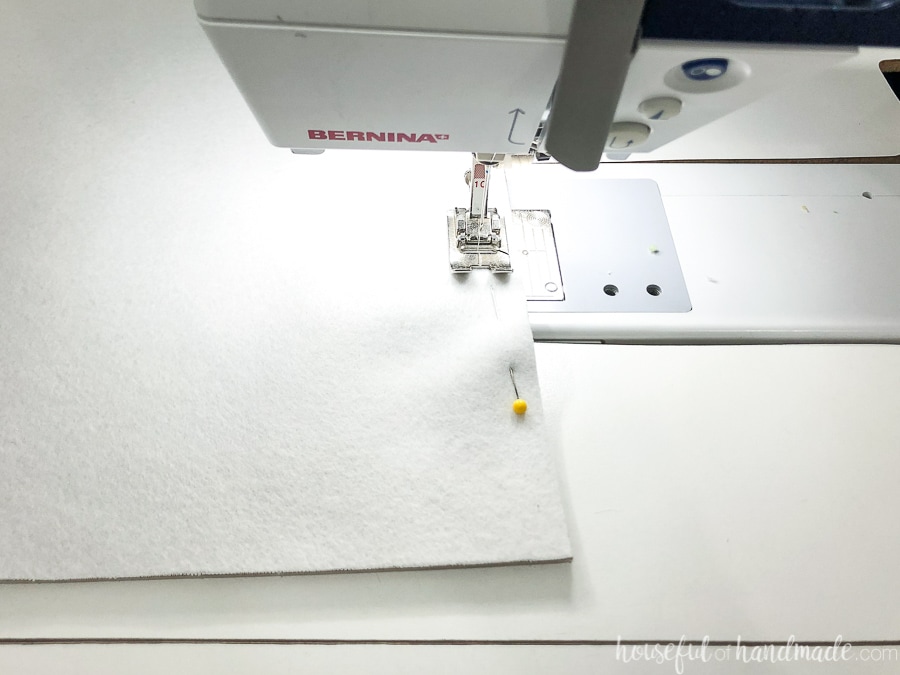
SEW TOGETHER PATTERN PIECES
For each of the decorative pillow covers, you will need to sew the pieces together for each side as shown in the above diagram. Sew each seam with a 1/2" seam allowance
Start by sewing together the leather pieces (for all covers except the diagonal).
When pinning together the faux leather fabric, be only place pins on the inside of the seam area because they could leave permanent and visible holes.
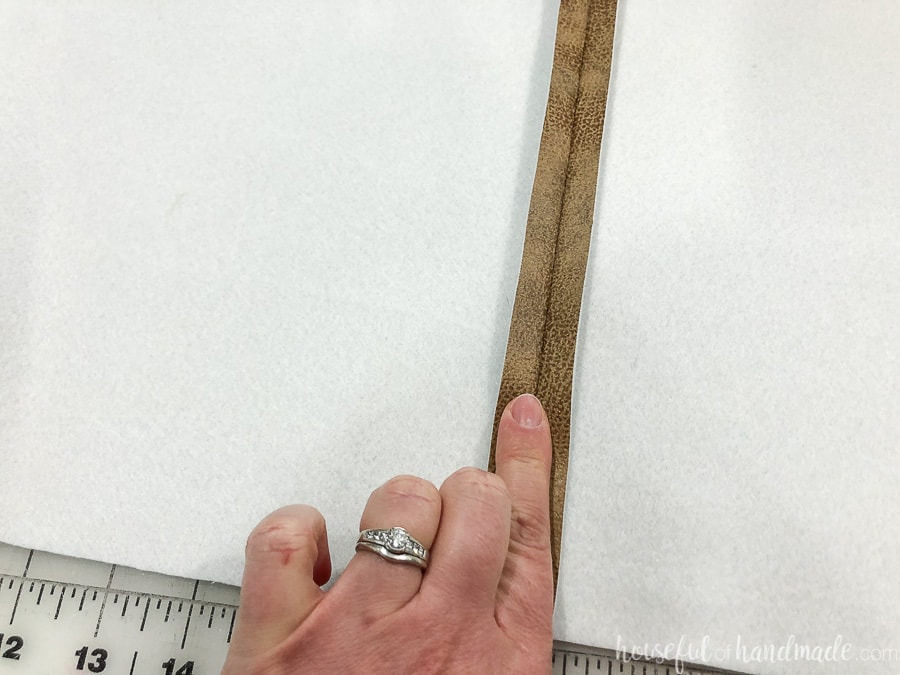
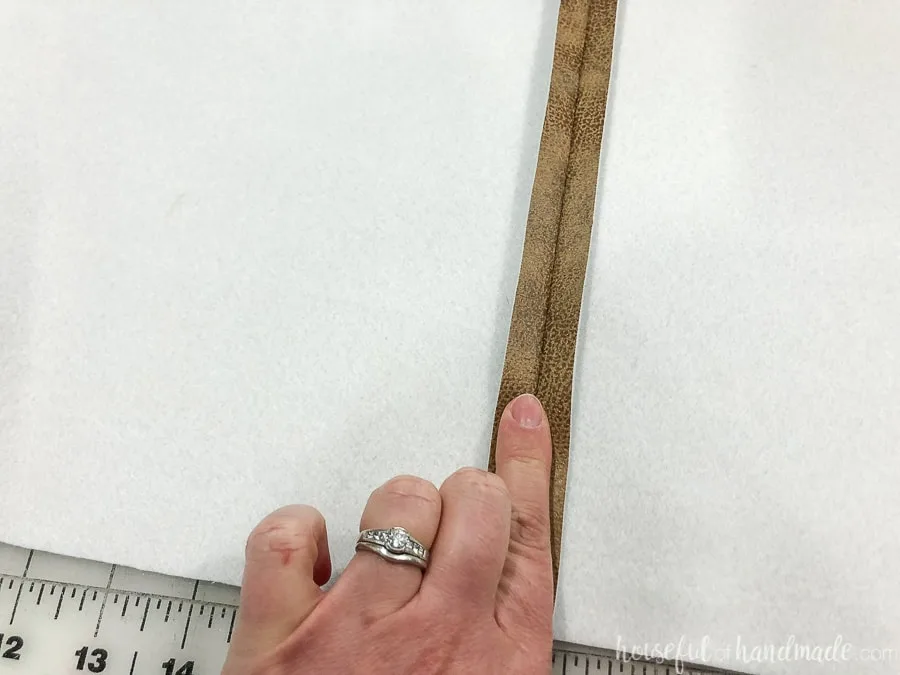
After sewing the 1/2" seam, finger press the seam open.
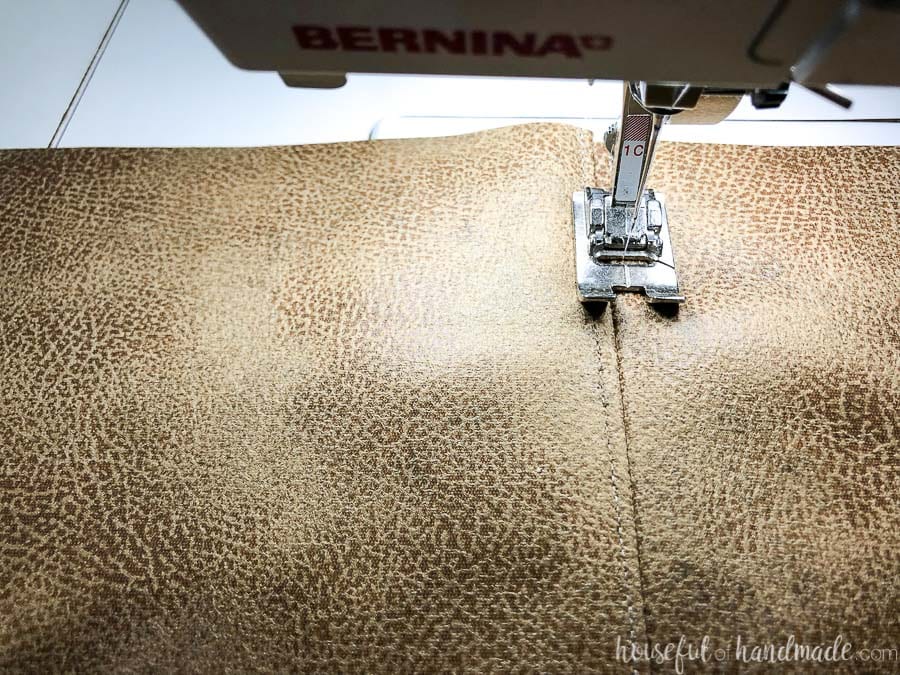
Then top-stitch on either side of the seam to hold it flat. Do you top-stitch about 1/8"-1/4" away from the seam.

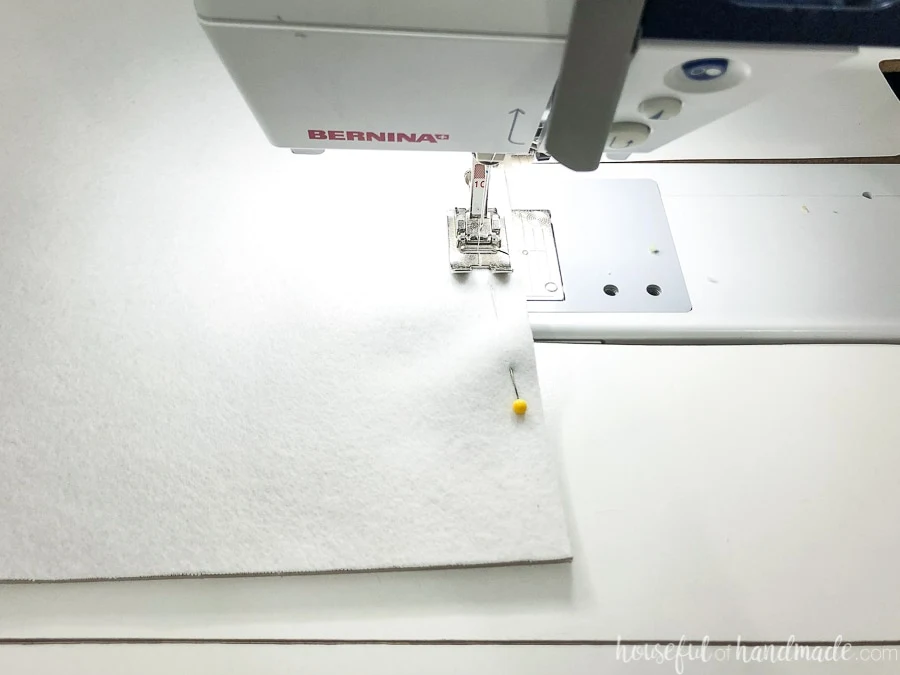
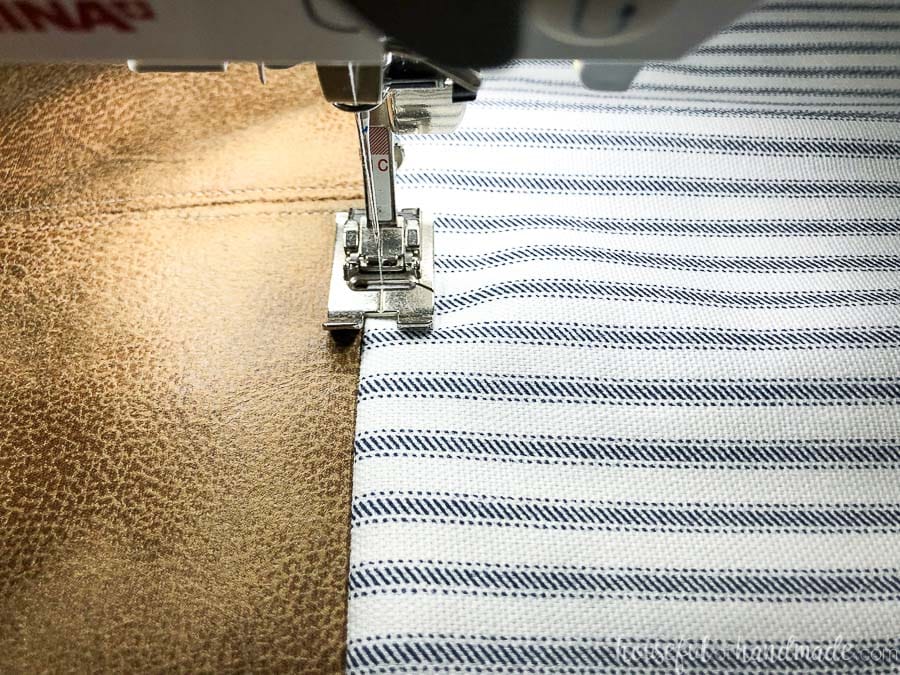
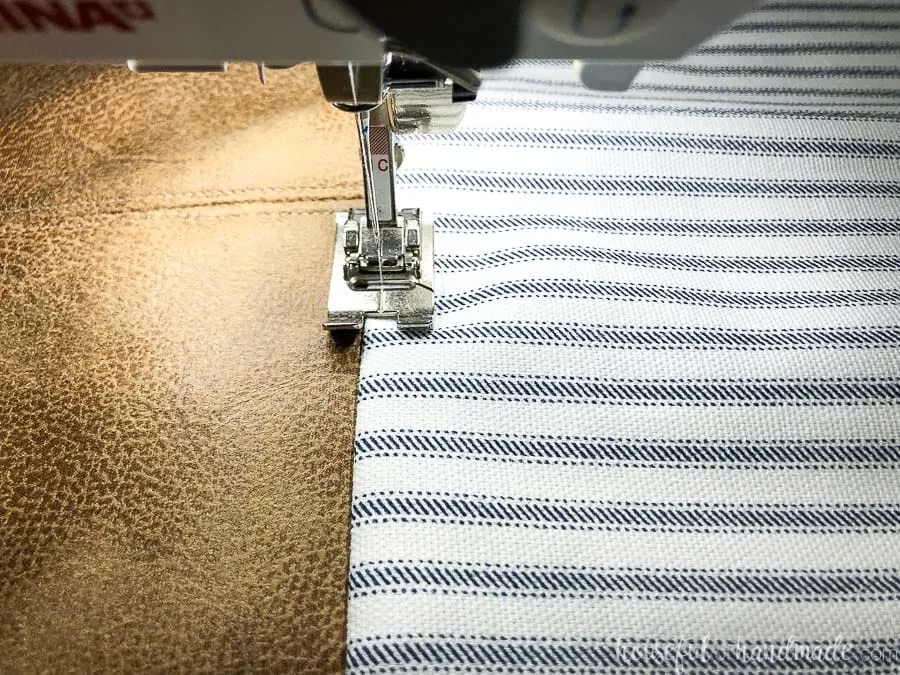
Once all the pieces of leather are sewed together and top-stitched, it is time to add the fabric. Sew the fabric to the leather piece with a 1/2" seam allowance.
Instead of trying to press the seam open, instead just leave the leather flat and fold the fabric back on top of it to reveal the right side of the fabric.
Top-stitch on the fabric to hold it flat.
Repeat on all the pieces of your pillow cover until you have 2 sides completed (or a front/back if that is easier for you to think of it).
ATTACH INVISIBLE ZIPPER
The invisible zipper needs to be sewn to the two pieces of your pillow cover before you sew them together.
I like to use a slightly smaller zipper to get clean bottom corners. This is not necessary. Make sure the size of your zipper is large enough for the pillow form to easily go through. Feather pillow forms tend to squish easier to insert into smaller zippers.
Lay the piece of your pillow down with right sides together. Identify the bottom of your pillow cover (where you want the invisible zipper to go).
Unzip your zipper and lay the right side of one side on the right side of one of the pillow cover pieces. Center and pin so the edge of the zipper is flush with the edge of the fabric.
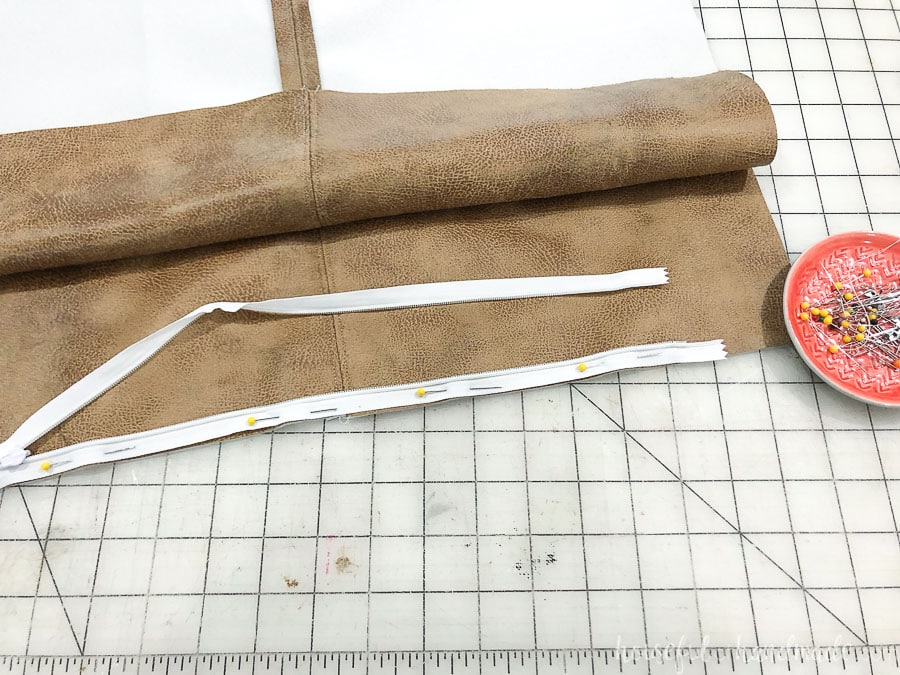
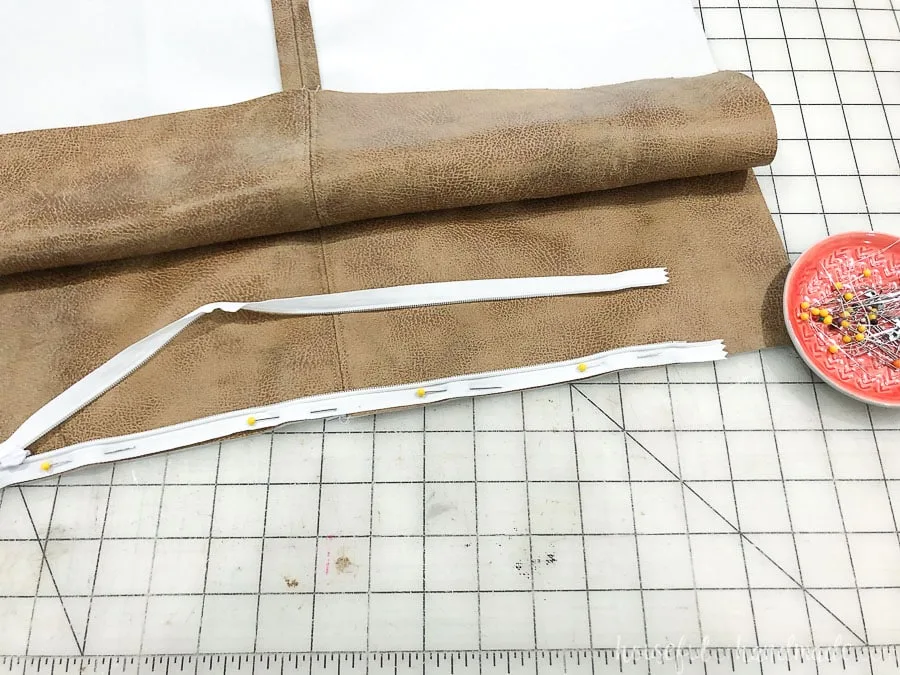
When pinning, make sure the pins point toward the top of the zipper so when you sew, you can pull them out as you go. You will always sew from the top of the zipper to the bottom.
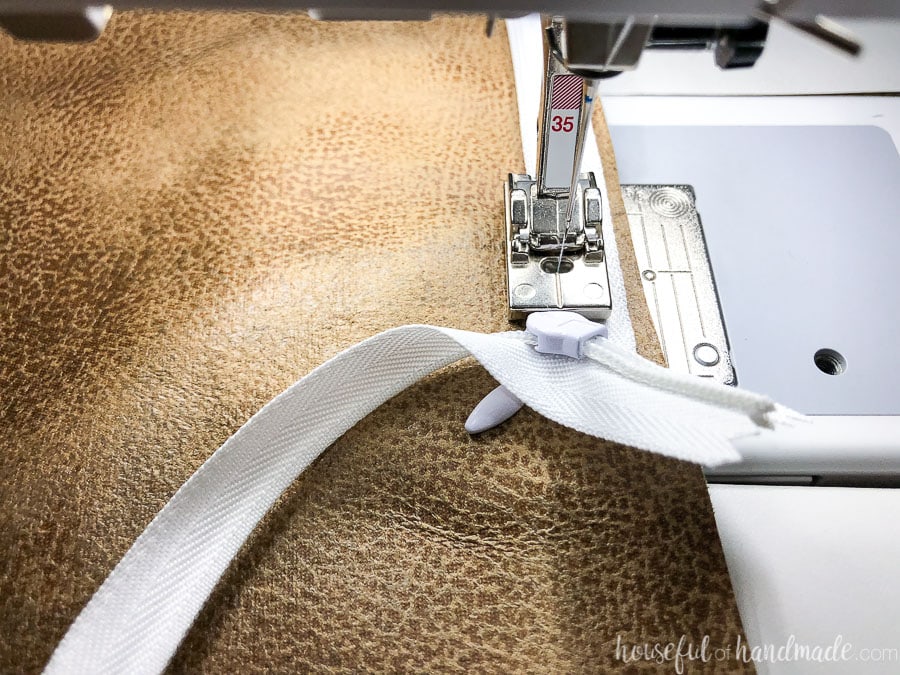
To get the invisible zipper started in the invisible zipper foot, you will need to roll the teeth of the zipper slightly until the shape mimics the angle on the foot.
Lower the foot over the zipper so the teeth fit into the groove. With the needle in the center of the foot, this will ensure the seam is in the right place.


Sew all the way to the bottom as close to the bottom as you can. If you zipper is longer than your pillow cover, just sew to the edge of the fabric.
Make sure to backstitch to secure the zipper.

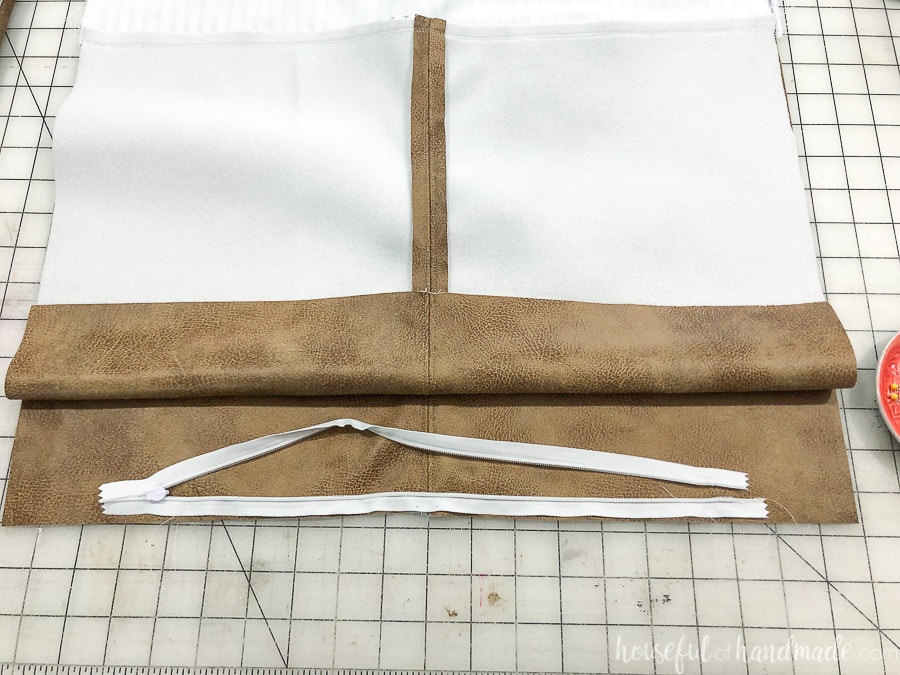
To make it easier to figure out how to properly place the other side of the invisible zipper on the pillow cover, I like to lay the two pieces (one with the zipper attached), back out on my table.
Fold up one edge of the top piece.

Measure the distance from the top of the sewed in zipper and make sure the other side is even when you pin it.

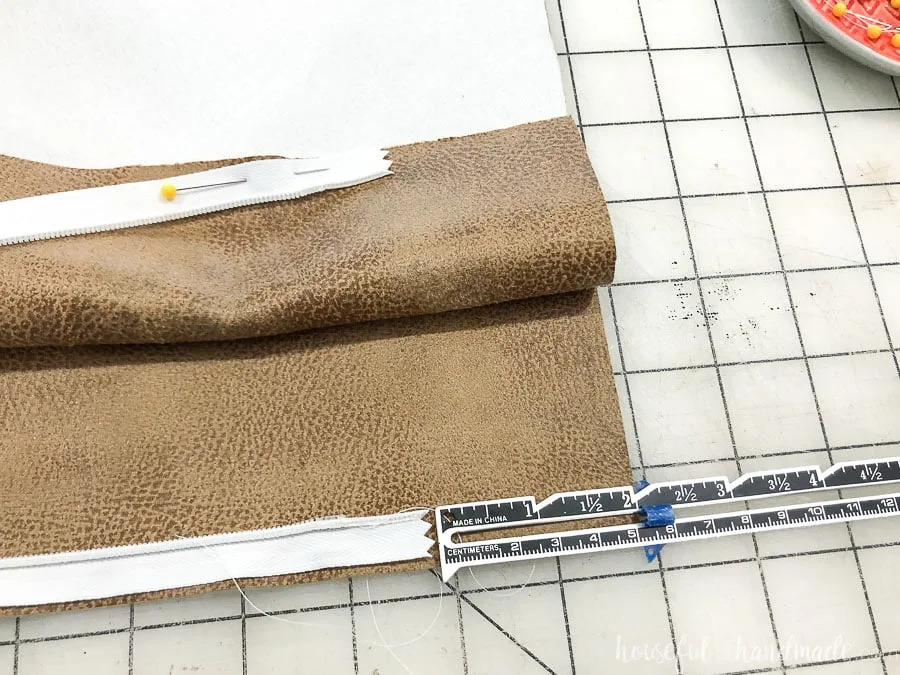
Pin the other side of the invisible zipper all the way to the end making sure the outside is lined up with the edge of the fabric.
I found it easiest to turn over my two parts of the DIY pillow cover after I secured the top of the invisible zipper.
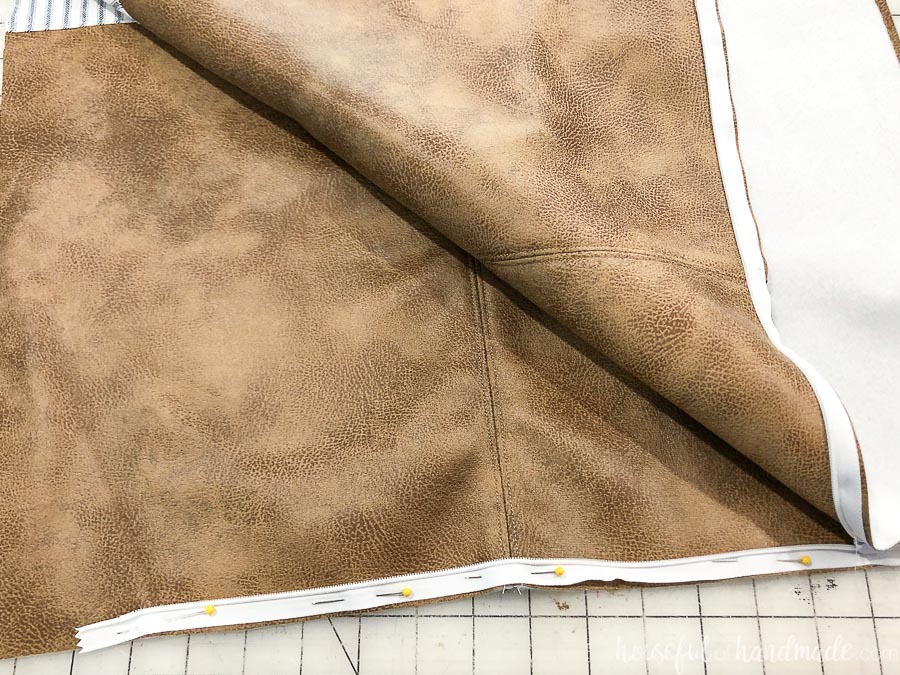

Sew this side of the zipper the same as the other, making sure to start at the top of the zipper and go to the bottom. You will use the grooves on the other side of the invisible zipper foot.
SEW THE PILLOW COVER TOGETHER
Now that the zipper is attached, zip it up halfway (not all the way or it will be very hard to turn it later).
Lay the two pieces of the DIY pillow cover on top of each other, right sides together and pin all around the pillow cover. Make sure to line up the edges of the fabric and leather seams nicely.
Start sewing at the top of the zipper and then all around the entire pillow cover until you come to the bottom of the zipper. Use a 1/2" seam allowance.
Make sure the seam meets up to the zipper seam.
Also, I like to do 3-4 backstitches at each side of each corner as I turn around the pillow to give them more strength.

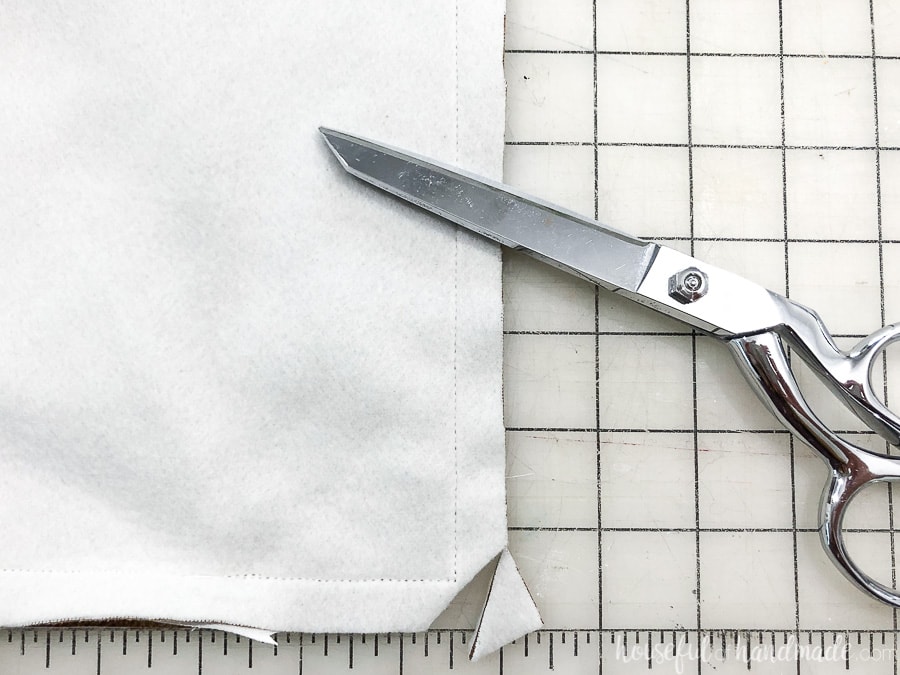
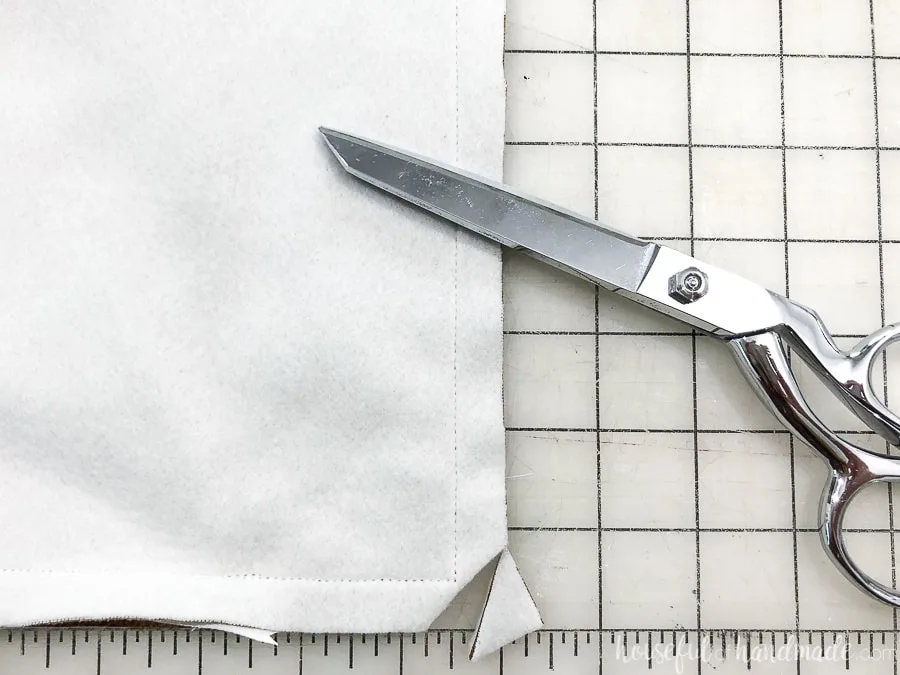
Before turning, clip the corners to remove some of the bulk and make them turn better.
This is especially important for the faux leather material because it is very bulky.
Now you can turn your new DIY leather pillow covers and stuff them with a form.
Have fun mixing and matching fabrics, leathers, prints, or even do a fun color-blocking with these different patterns to make them match your own style and decor!

Recommended Products
As an Amazon Associate and member of other affiliate programs, I earn from qualifying purchases.


Happy sewing!