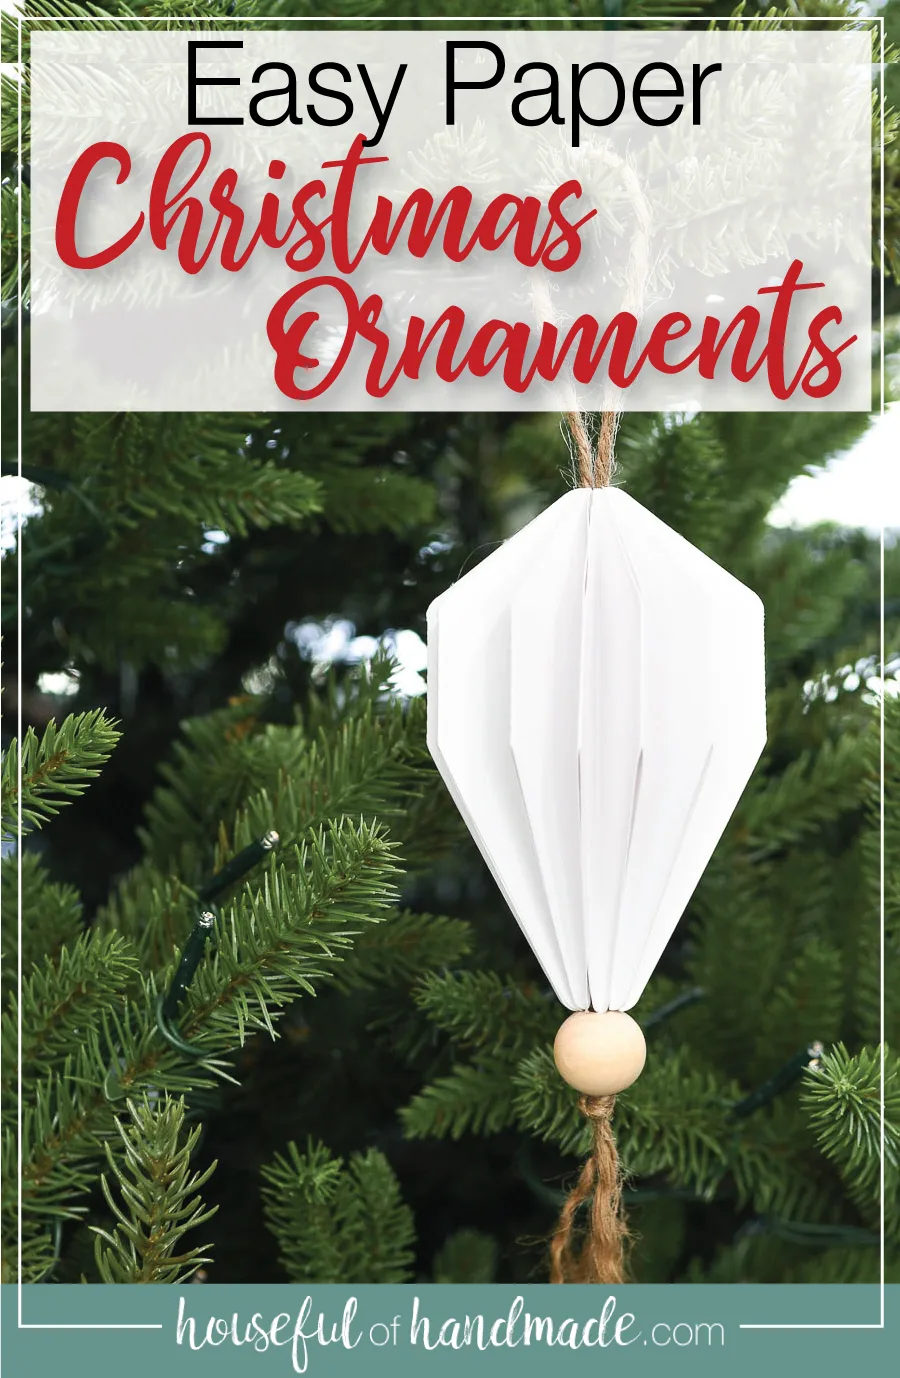
These paper jewel shaped Christmas ornaments are so pretty and so easy to make.
It’s that time of year again!!!! Time to deck the halls for Christmas. And to help keep you on a budget, I am going to be sharing 7 paper Christmas decor projects over the next 7 days.
For Day 1 of this year’s 7 Days of Paper Christmas series (check out the previous year’s paper Christmas decor here), I knew we should start with a paper Christmas ornament. What is Christmas without lots and lots of ornaments?
And for this year’s paper Christmas theme, I am going a little more modern. Not all sleek lines and cold, but more modern shapes and colors mixed into my usual cozy decor.
This post may contain affiliate links. As an Amazon Associate I earn from qualifying purchases. Click here to read my full disclosure policy.

Modern Farmhouse Christmas Decor
These 3D jewel shaped Christmas ornaments are a good example of the mix of modern and farmhouse.
The sleek white paper in the jewel shaped are more modern, but I balanced that to fit into my house with a twine tassel and wood bead. I love the way the two work together so well.
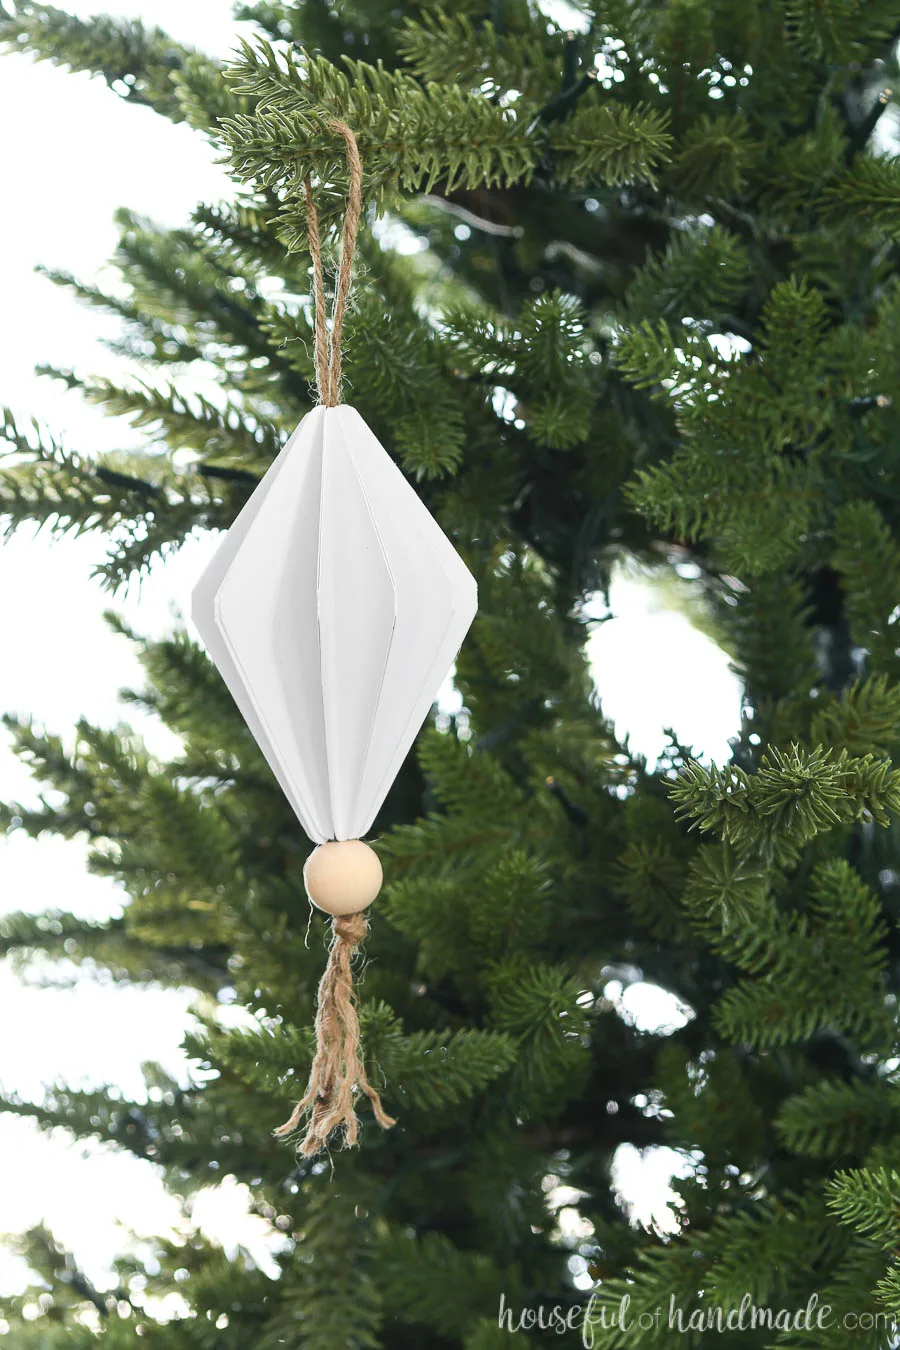
But if you want a more modern jewel ornament, you can use metallic string and skip the wood bead all together. Or spray paint the jewel ornaments any color you want to match your own home decor.
That is fun of DIYing your own decor, even if you cant find the colors you want in the store, you can have any colors you want with a little creativity!
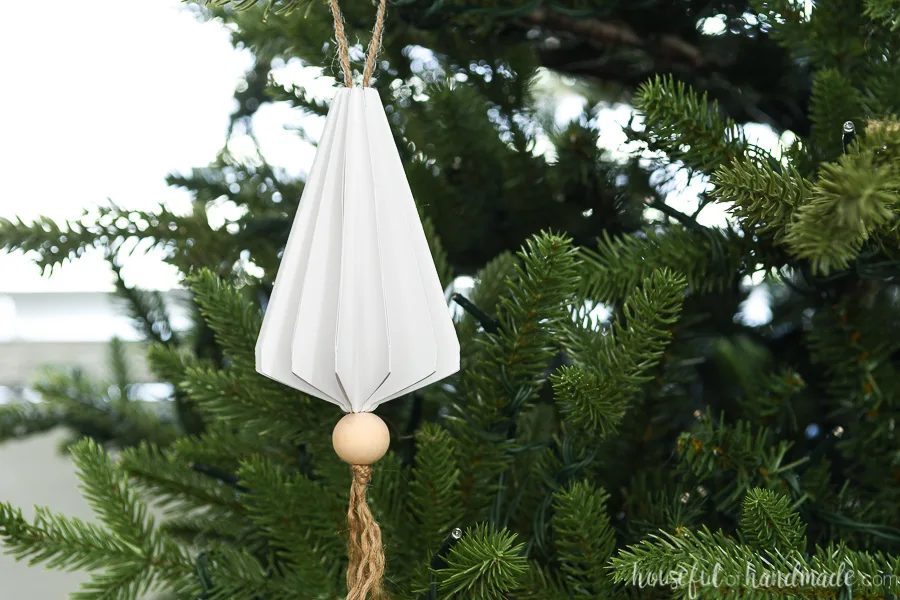
4 Different Jewel Shapes
When it comes to jewels, there are so many different shapes. I couldn’t just make 1 or 2, instead I had some fun and made 4 different shaped Christmas ornaments.
Of course there are more traditional jewel shapes, like a diamond and emerald cut. But there are also 2 others: and upside down pear shape and a triangle that resembles a little Christmas tree.
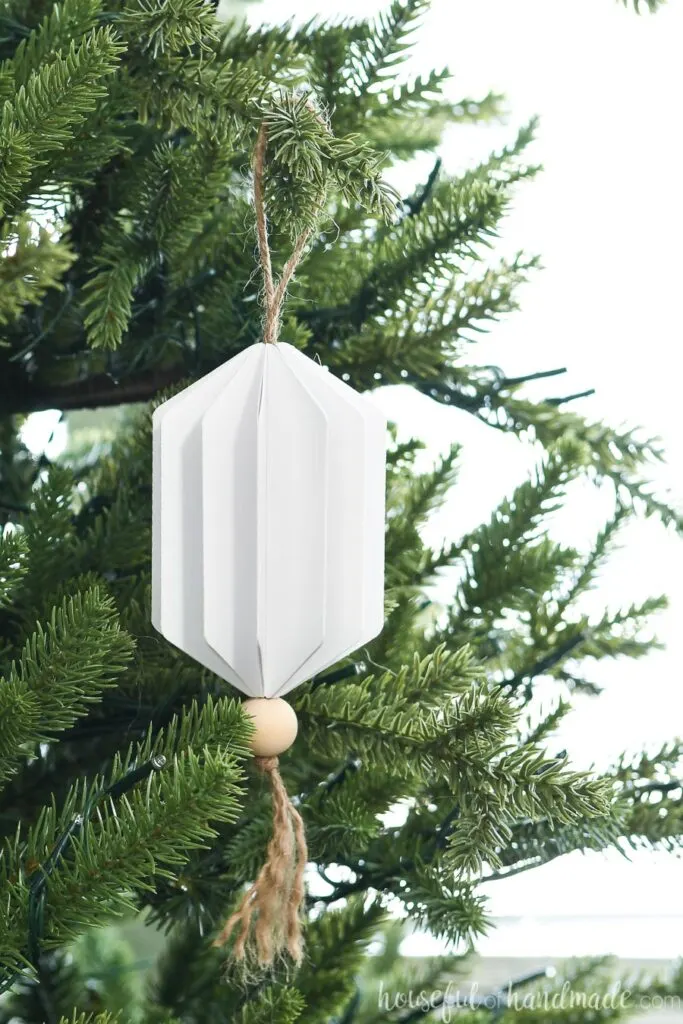
Instead of folding lots of facets to create a jewel ornament, these easy paper ornaments are created with a folded/origami look. This makes them super quick to put together but still gives them a 3D shape.
And since each ornament only used 2 pieces of cardstock, they are perfect for any budget! You can make so many fun Christmas ornaments from an inexpensive packet of paper.
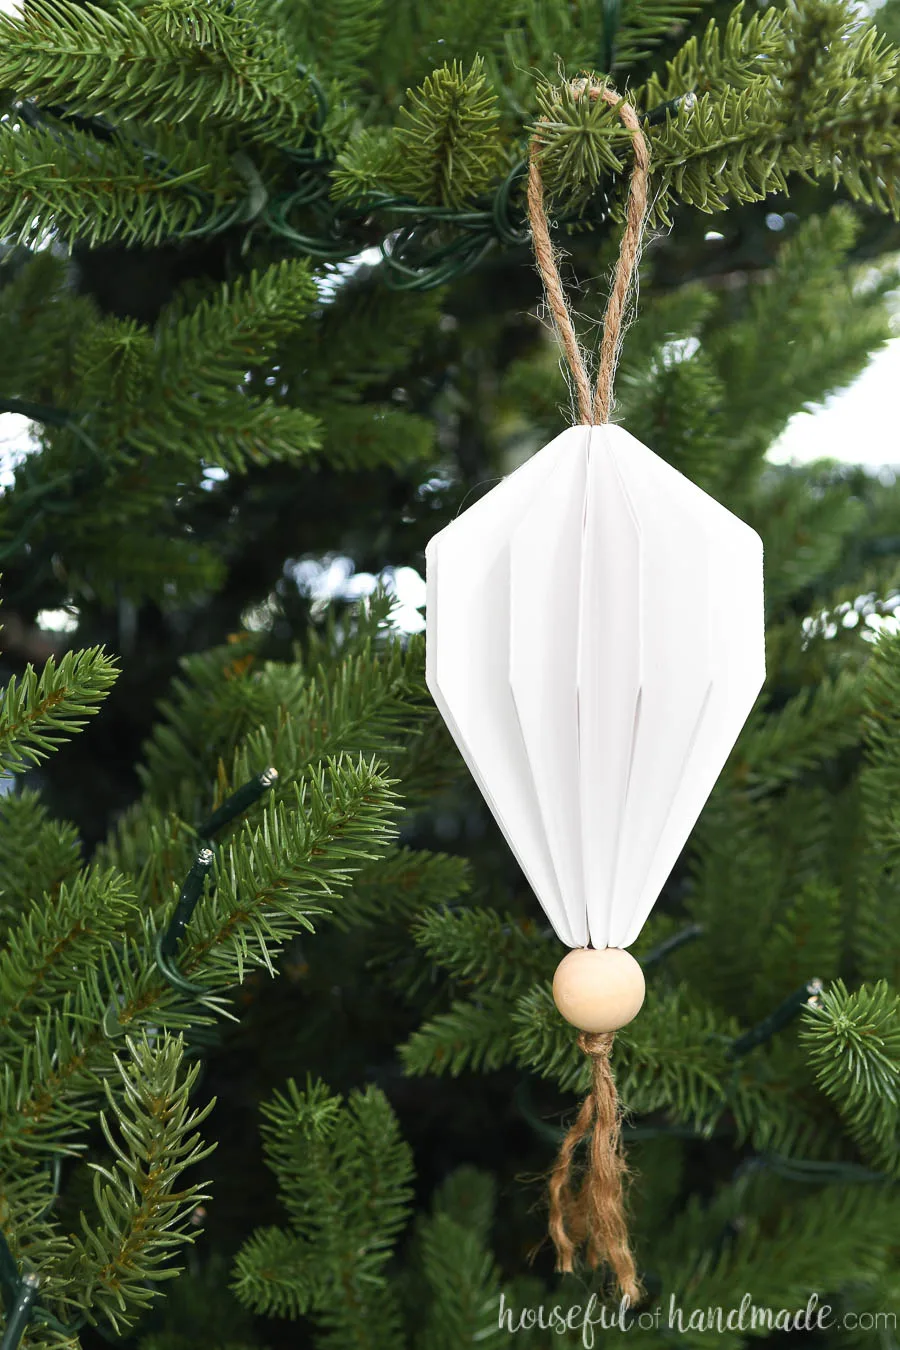
How to Make Paper Christmas Ornaments
Supplies:
- Jewel ornaments template
- I am sharing the SVG & PDF for these paper Christmas ornaments in my subscriber library until 7/29/2020, then they will move to the shop. Click here to subscribe to my newsletter and gain access to all the freebies. If you already have your password, click here to download them.
- Cardstock
- Hot glue gun and glue sticks
- Twine or string
- Wood beads
- Scissors
- Optional: Electronic cutting machine
- I love using my Silhouette Cameo to quickly cut out paper decor projects, but you can also print the template and cut out with scissors.
Cut out the Paper Pieces
Cut out 4 pieces (there are 2 on each piece of paper) per ornament.
If using an electronic cutting machine, put the paper on a cutting mat and use the cardstock setting for your cut.
If using scissors, print and cut out the pieces from your cardstock.
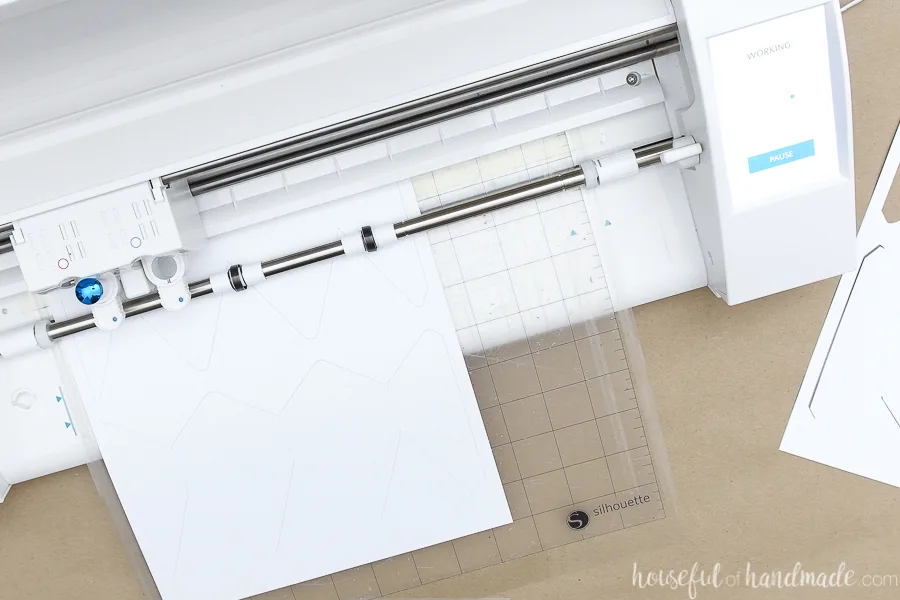
Fold along dotted lines accordion style. The smaller areas will be the front so fold them as the points. Repeat for all 4 pieces.
Assemble the Ornaments
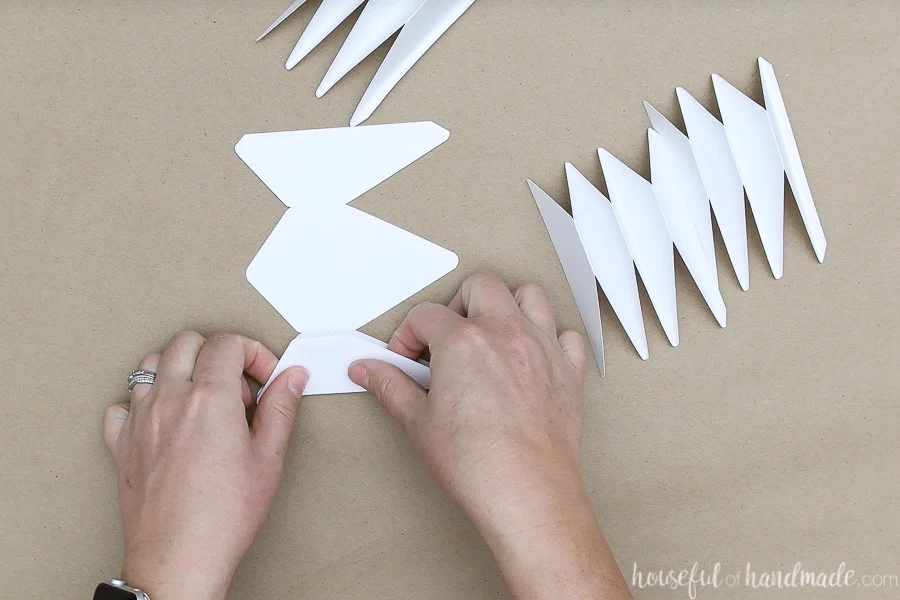
Glue together the folded pieces so the flap is on the inside of the ornament. Creating a long accordion shape.
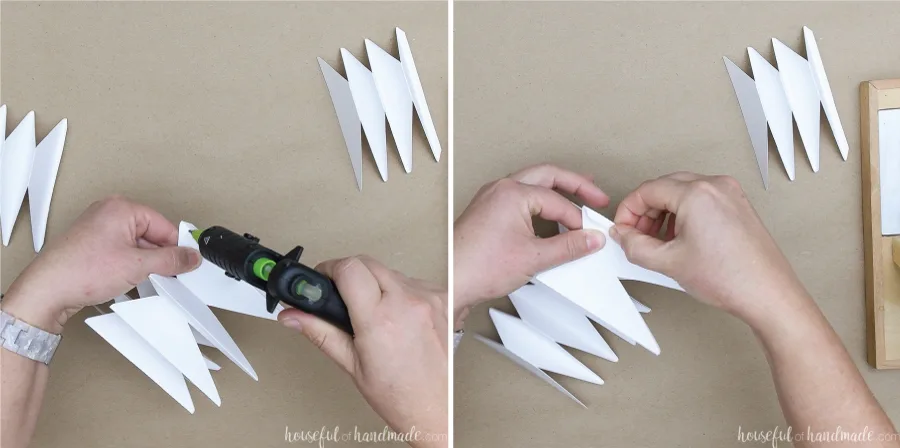
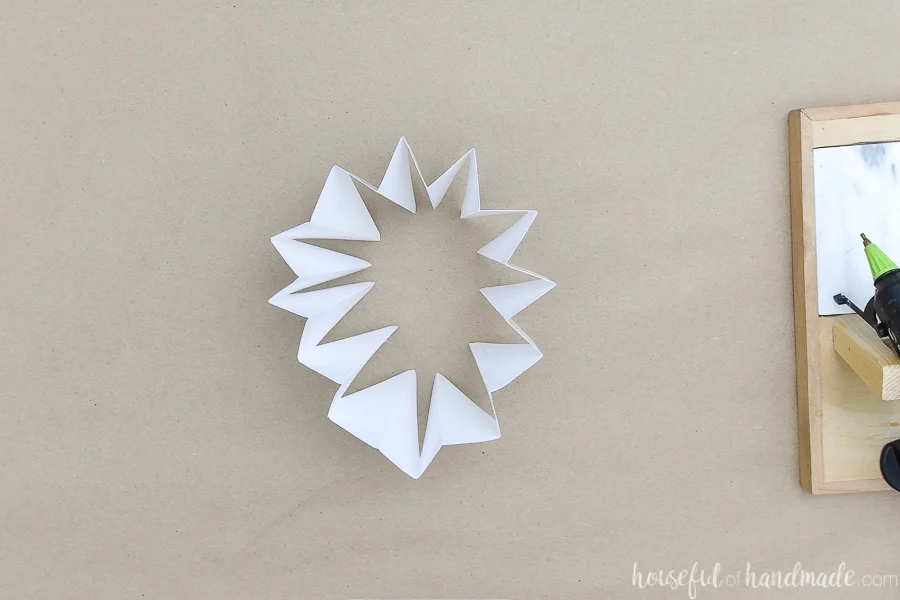
Finish it by glueing the final flap to create a full circle.
Now you will start glueing the inside of the flaps closed. All you need is a small dot of glue in the (approximate) center of the inside of the flap close to the center edge.
Then pinch the flap closed while it dries. It might be easier to use a glue dot instead of the hot glue in case your glue gun is to big to fit in the circle.
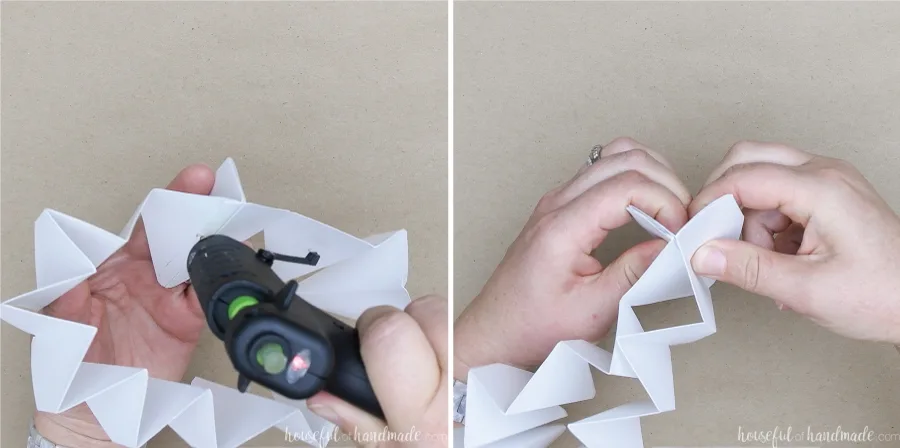
The diamond and tree shape with smaller front areas can be a little delicate, so if you have the ability to score instead of cut the dashed lines it would be better.
But don’t worry if you break one, just put a dot of glue on the inside and pinch it back together.
Continue glueing the inside of the flaps until you only have a couple left. You should see a center channel forming on the inside of the ornaments.
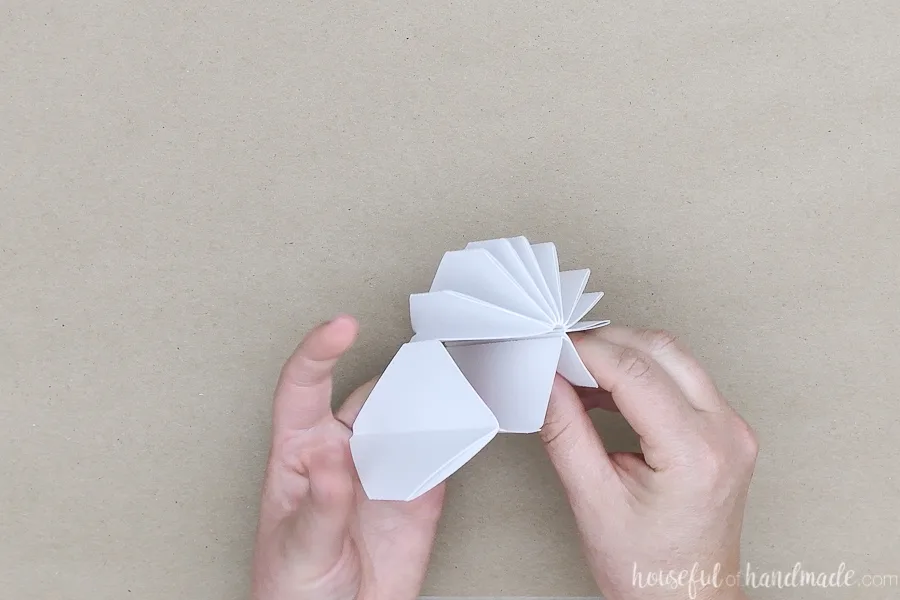
Hold a piece of twine or string up to your ornament to decide how long you need to cut it. You want to fold it in half so the top creates a loop to hang the ornament.
The bottom should be long enough to string on the bead and tie a knot to secure.
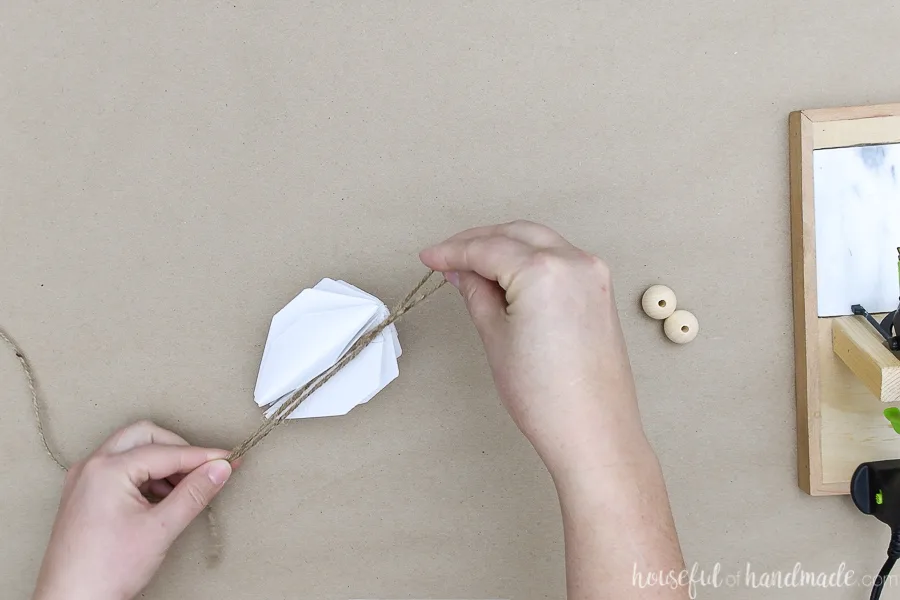
Thread the folded piece of twine through the center channel of the ornament. Then you can finish glueing the final few flaps closed.
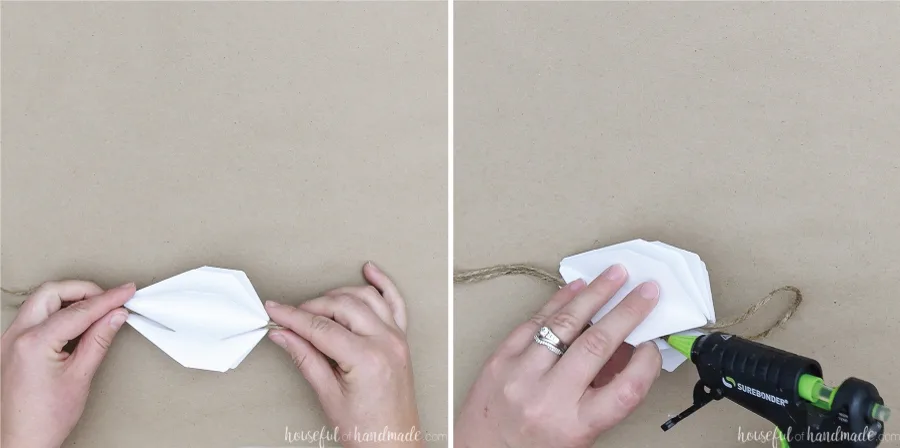
Thread the wood bead on the bottom of the twine. I wrapped a piece of tape around the two ends of the twine to make it easier to feed it through the bead.
Make sure your loop on the top is the size you want, then tie a knot in the twine to prevent the bead from sliding off.
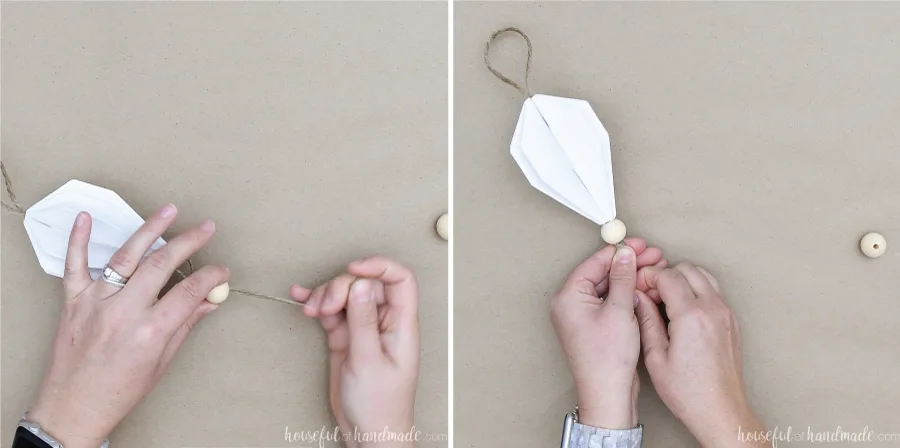
Unravel the strings of twine under your bead to create a tassel. Then trim with scissors if too long.
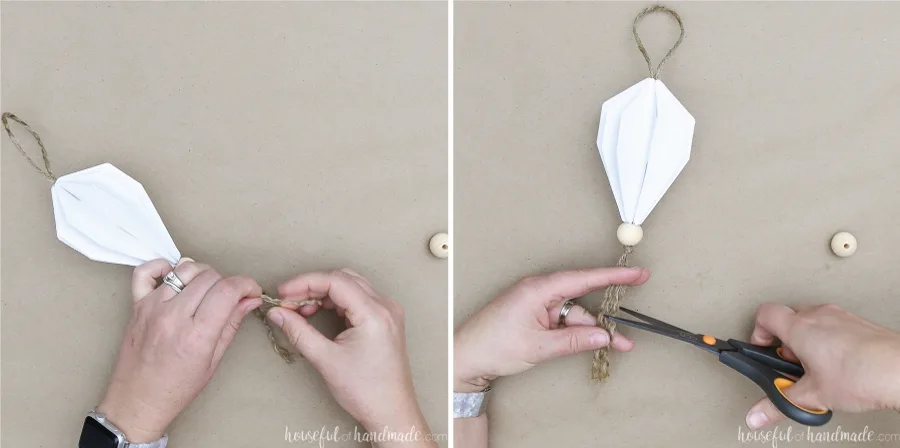
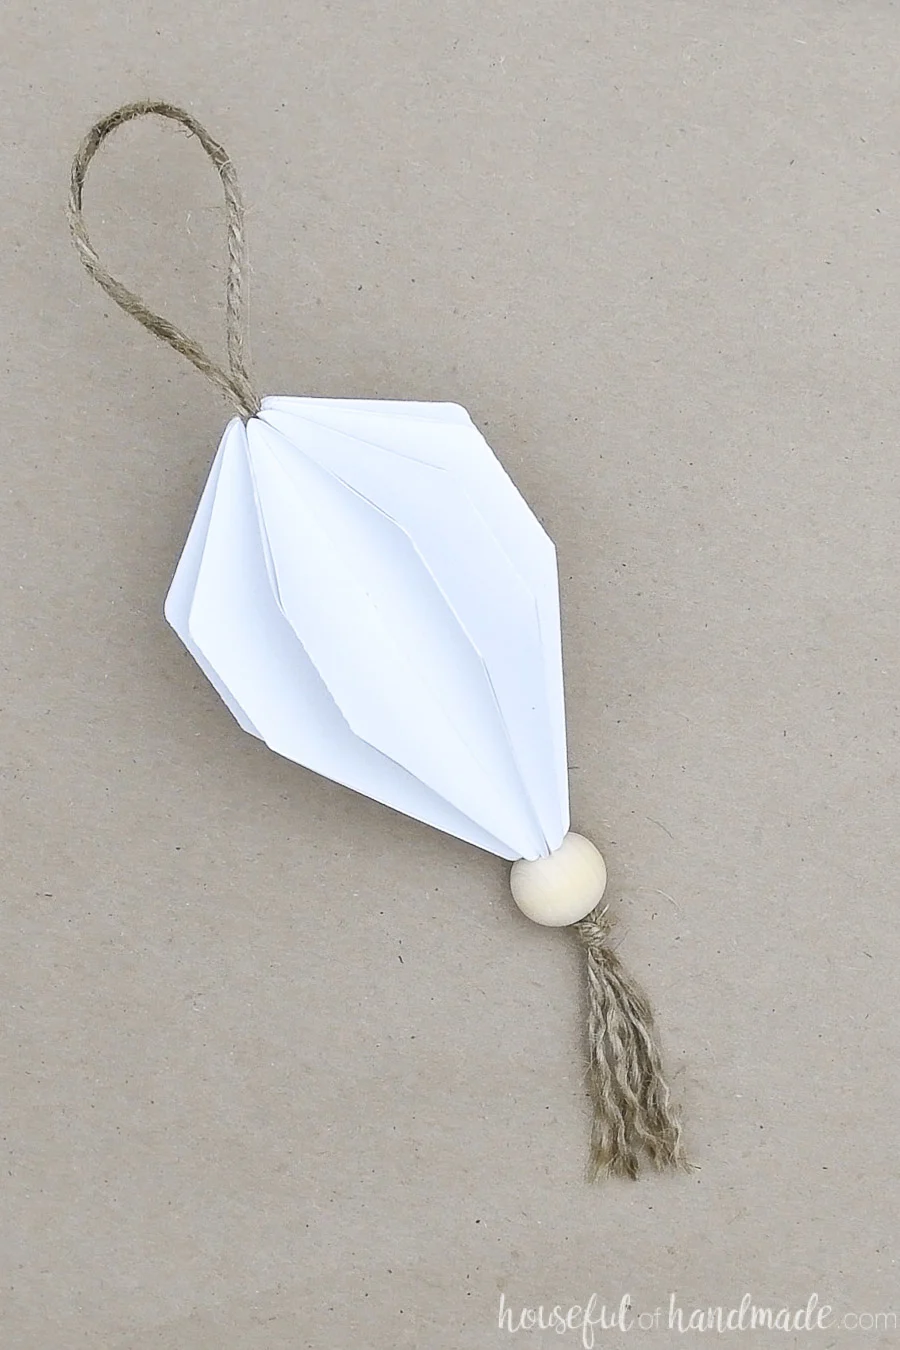
And now your cute new jewel shaped ornament is all done!
You can whip up a bunch more (in all 4 different shapes) and then you are ready to start trimming the tree. Yay!
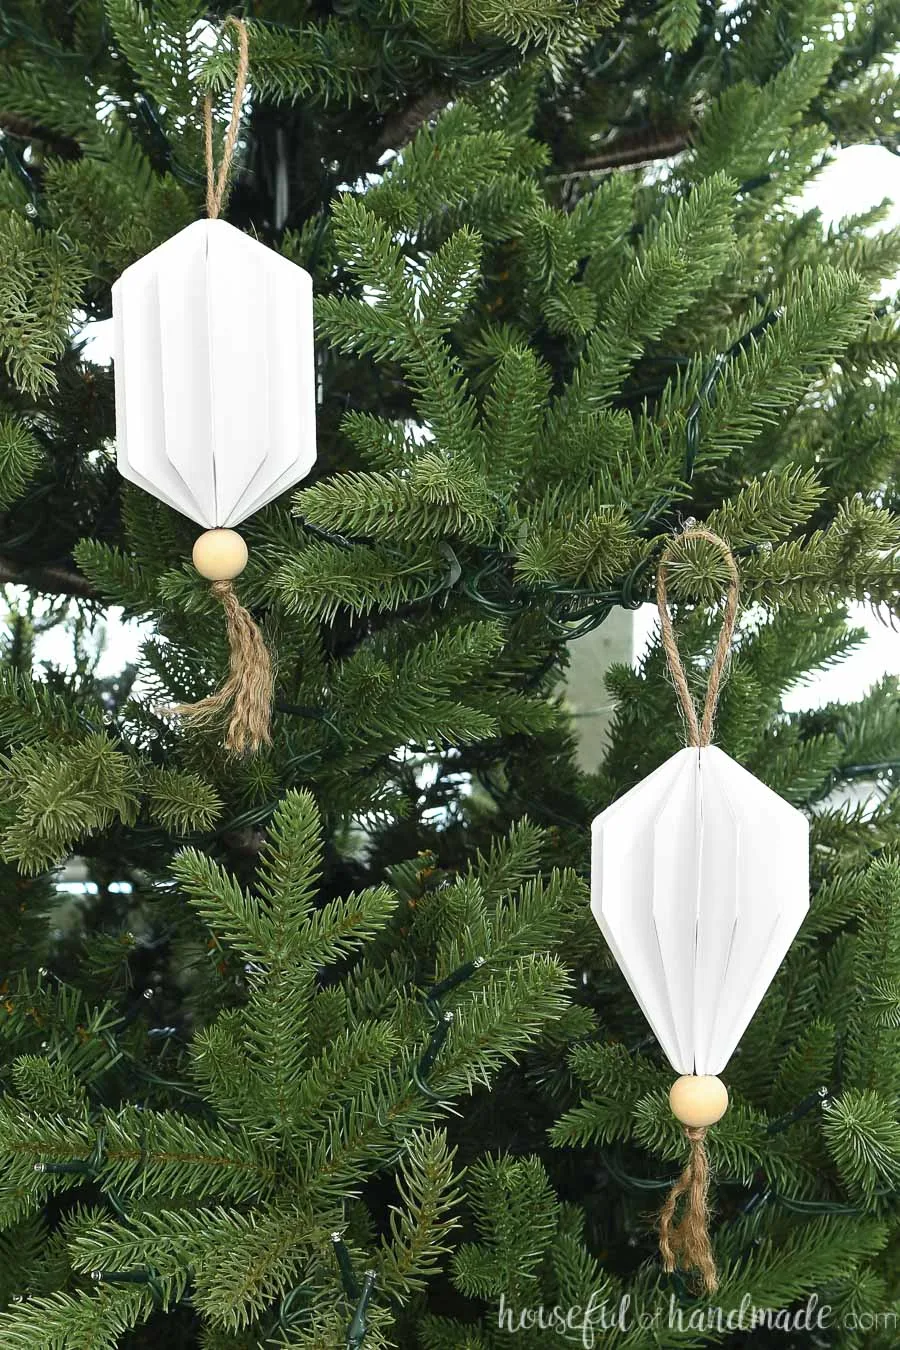
These paper Christmas ornaments are the first on our Christmas tree so far, but I am definitely ready to turn on some Christmas music and finish decorating it!
And don’t forget to come back each day until Thanksgiving for 6 more paper Christmas projects.
Happy Crafting!
Kath
Thursday 19th of November 2020
Love these paper craft decorations I have a try even though reading the instructions made my head spin ?
Kati
Wednesday 16th of December 2020
Once you start assembling them it should hopefully make sense ;)