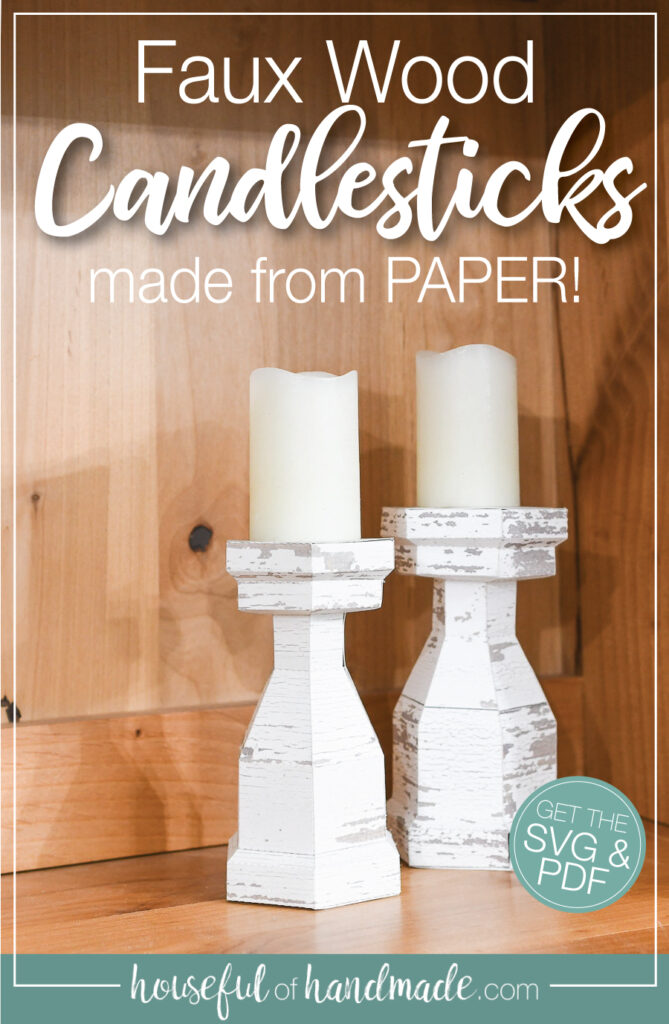
Decorate your home on a budget with these chunky DIY candlesticks made out of paper!
I love refreshing my decor every season. So with the start of spring comes new decor ideas. And what better way to add new decor than with inexpensive decor made from paper!
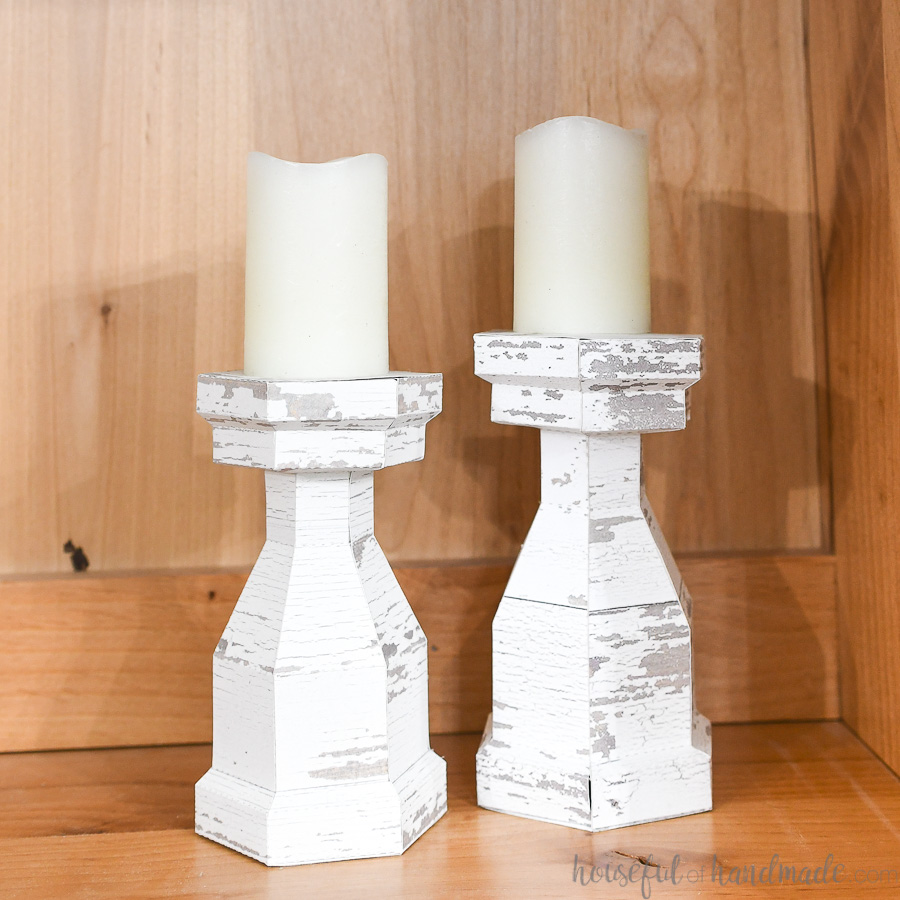
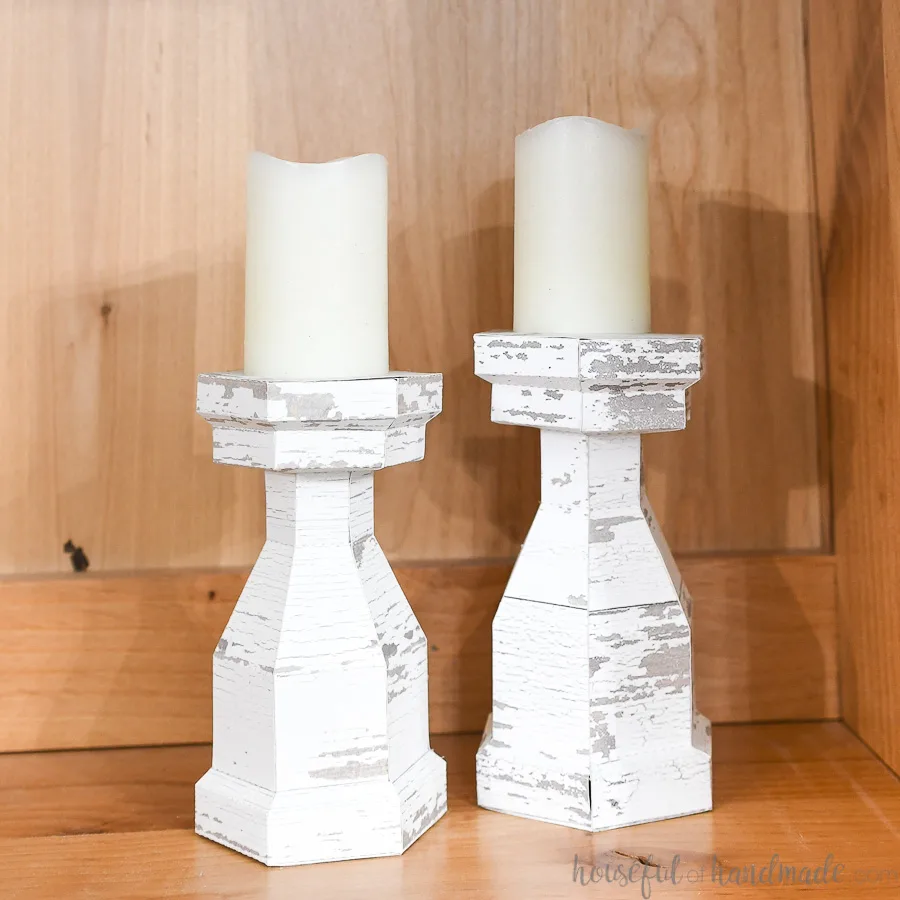
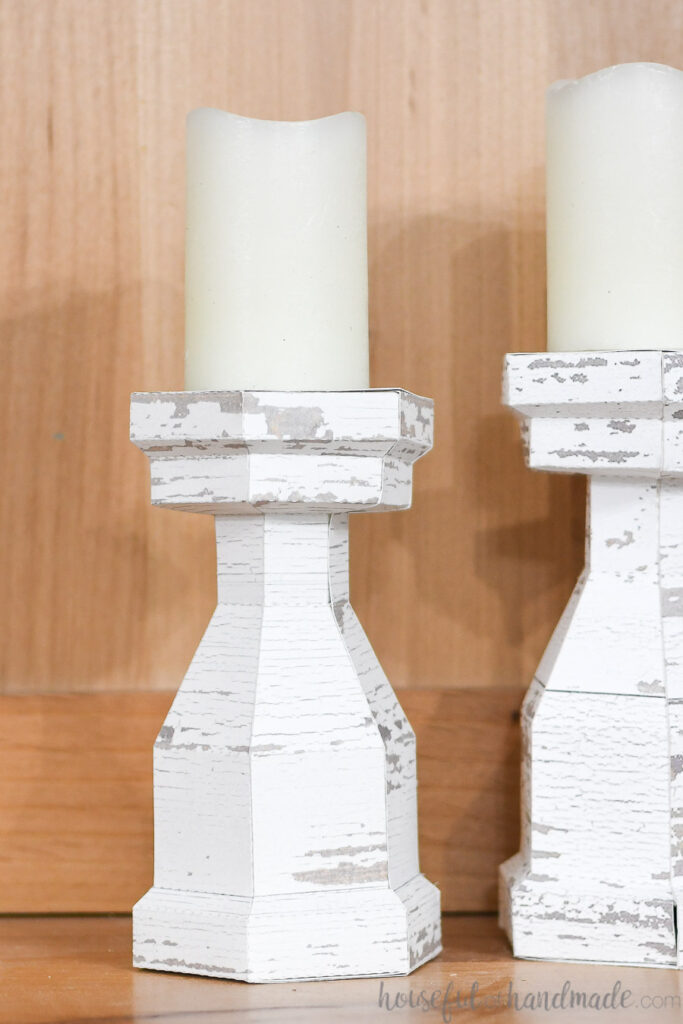
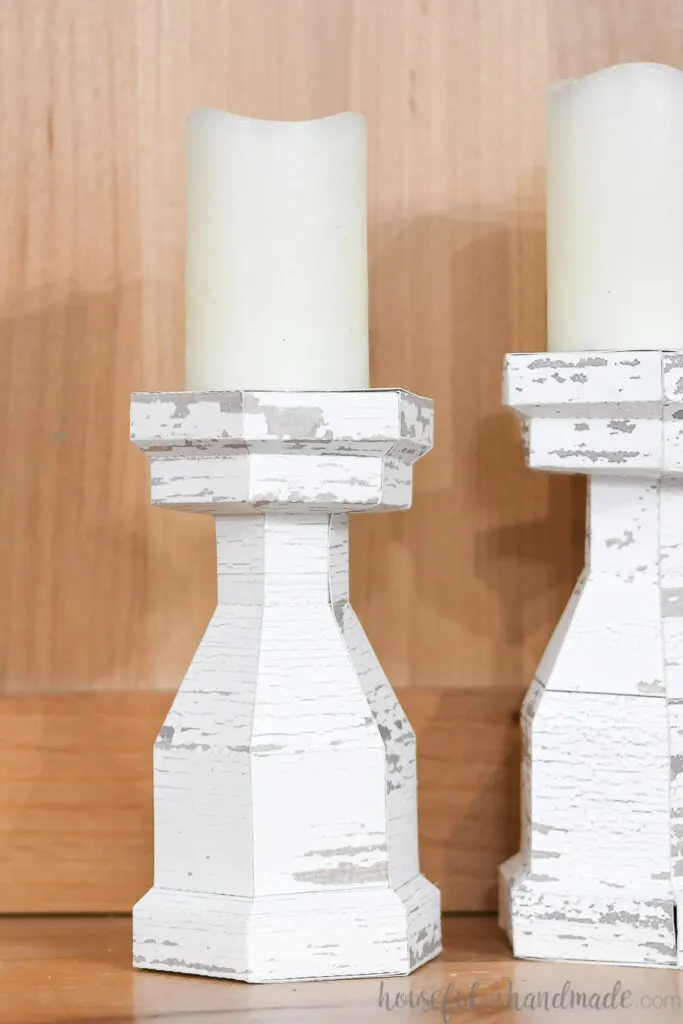
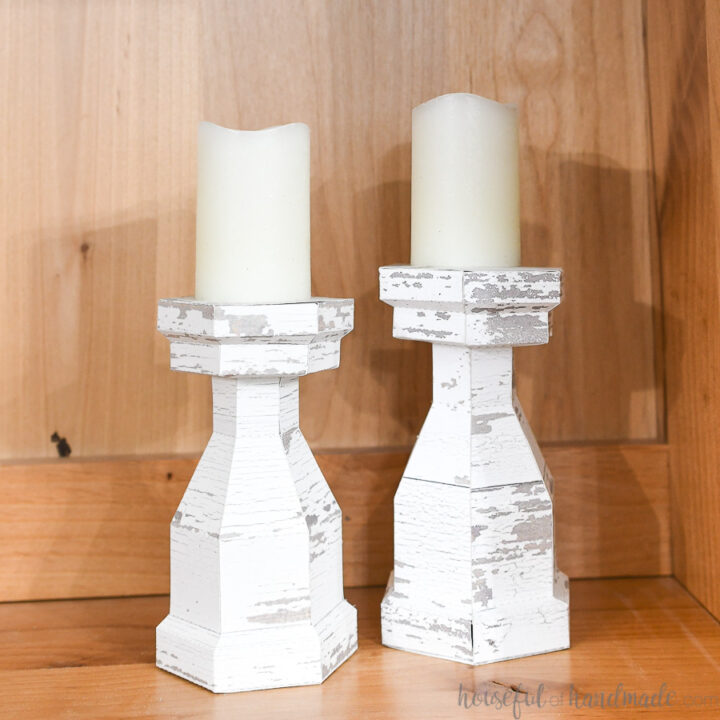
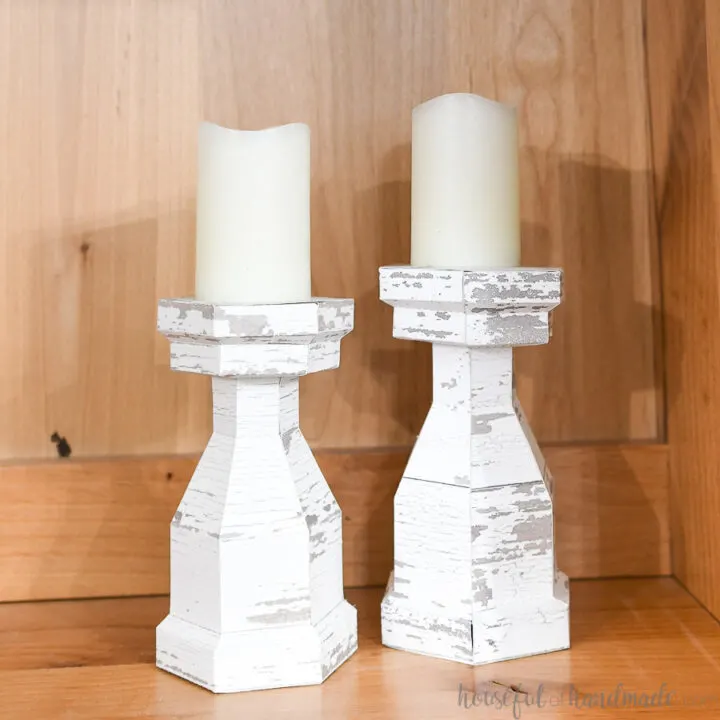
Chunky wood candlesticks are a wonderful way to add texture and warmth to any space. So why not make some? Unfortunately they require some specialized tools (like a lathe).
So I decided to try to make the out of my other favorite medium: Paper! They look like chunky wood candlesticks and add lots of style to any space.
This post may contain affiliate links. As an Amazon Associate I earn from qualifying purchases. Click here to read my full disclosure policy.
Easy Paper Decorations
Paper decorations are a great way to add a little extra to your space without adding to your budget. I love mixing them with my current decor to add more style where needed.
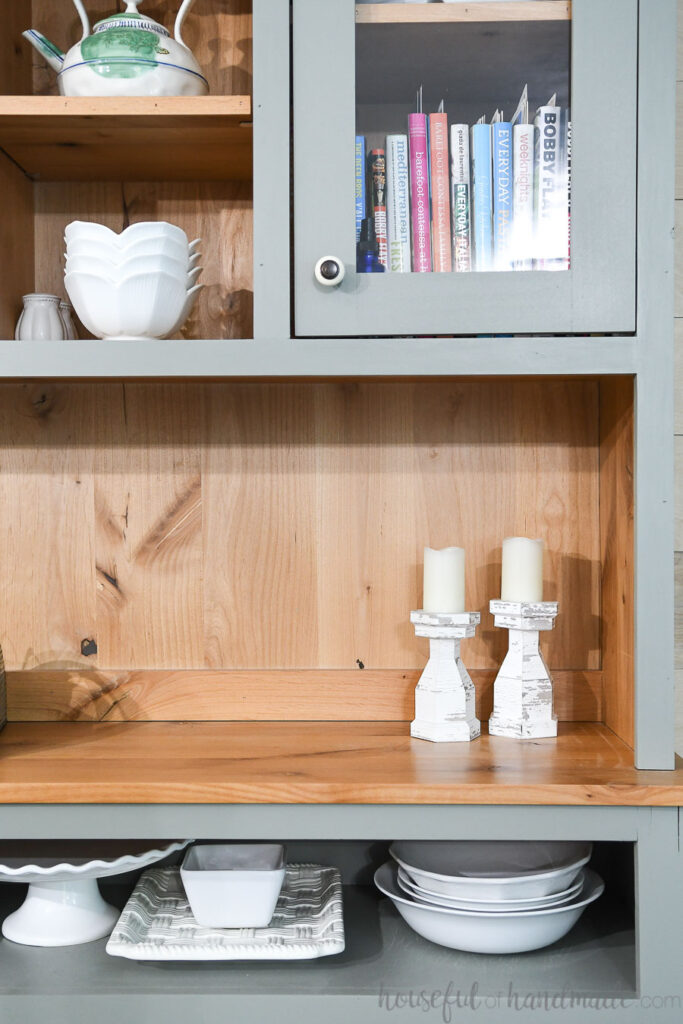
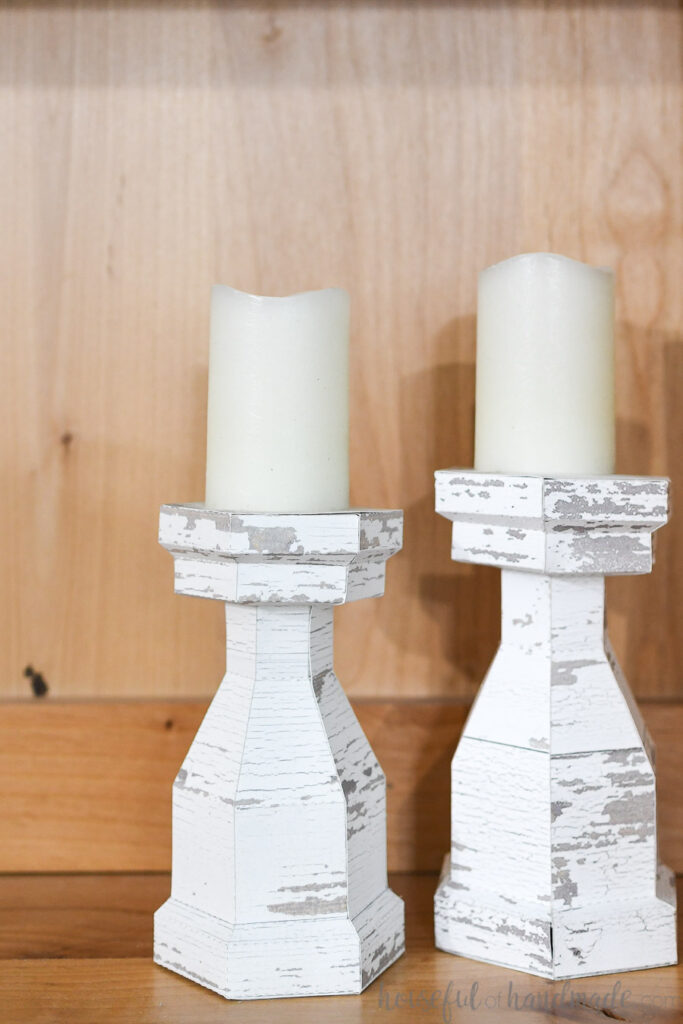
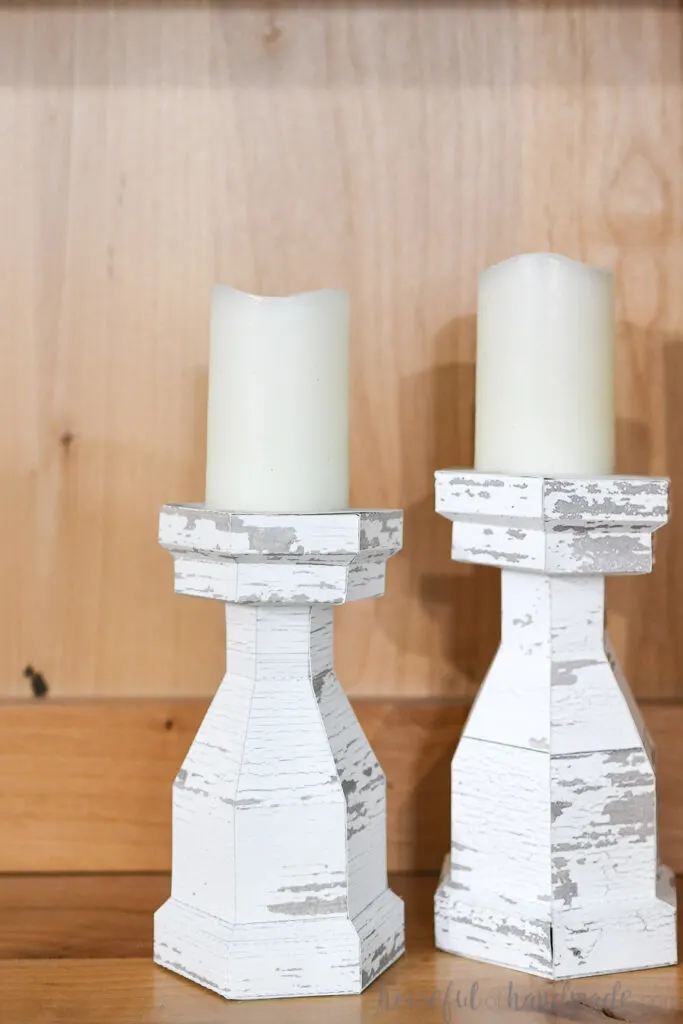
These DIY candlesticks are great to add warmth to lots of spaces! I put them in my dining room hutch, but they would also be great for styling bookcases, adding to a mantel, as part of a centerpiece, or on a console table.

But the best part of making paper decor is that it is very inexpensive!
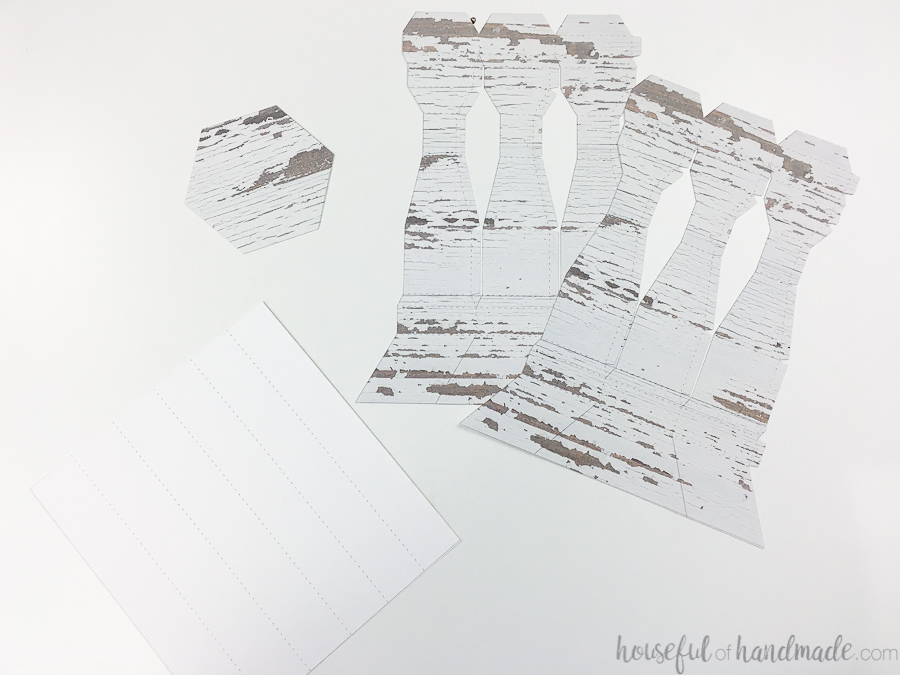
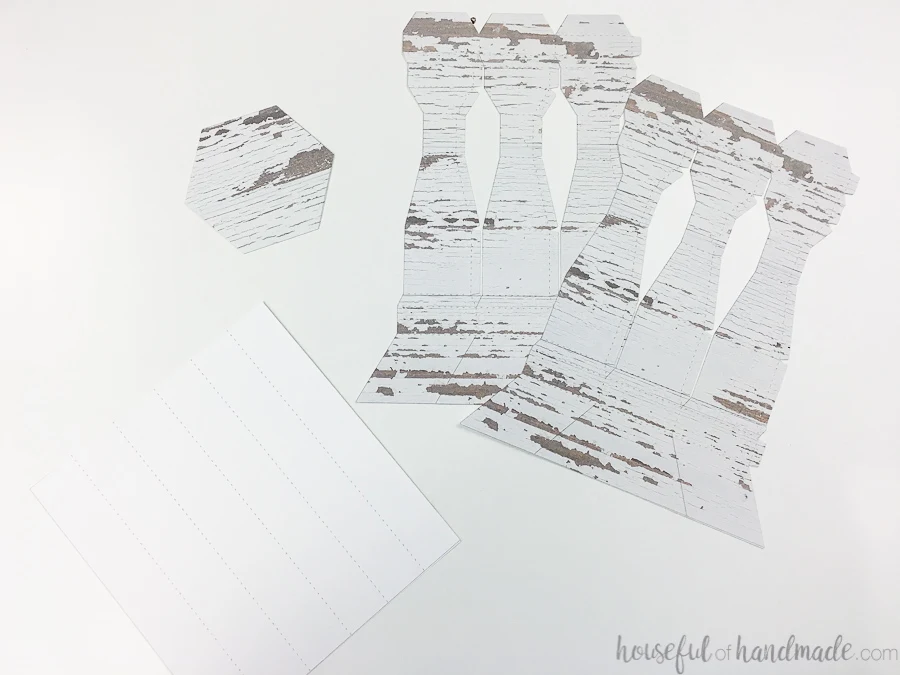
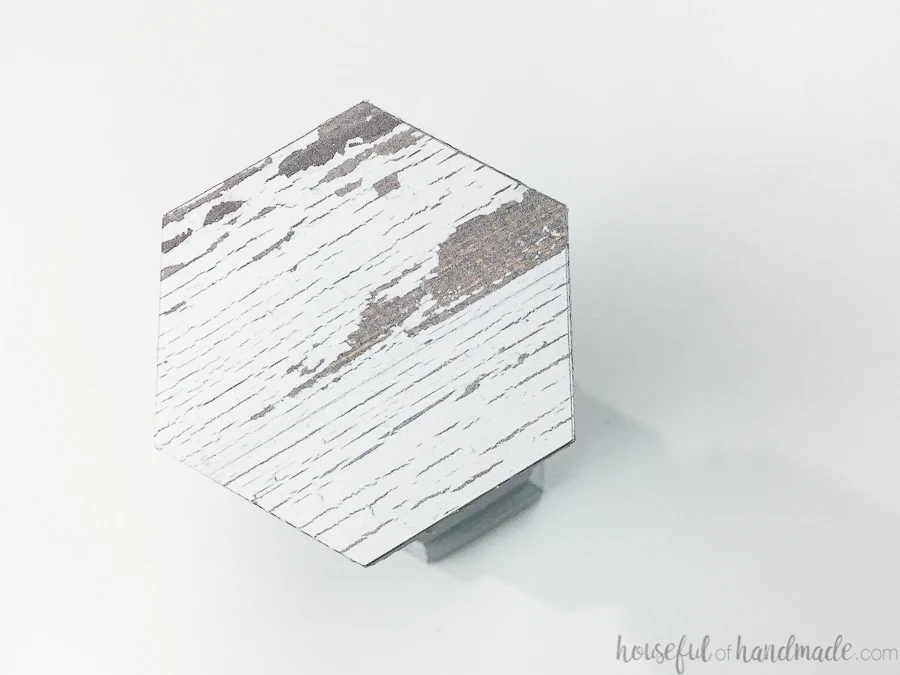
Each chunky faux wood candlestick only uses 3 pieces of cardstock. You do need a printer to print the chippy white paint texture on them. Or you can send them to a printer to have printed.
But if you do not have access to a printer, don’t fret! You can still make some candlesticks.
You can use your electronic cutting machine to cut out textured cardstock. Or cut out solid cardstock and give your new candlesticks some texture with paint like I did on this hexagon paper mirror.
And to glue the 3D paper candlesticks together, you don’t need anything fancy. I love using my hot glue gun. The glue dries quickly and holds permanently. You just have to be quick or the glue dries too fast.
You can also use a glue stick, but it will not dry as quickly so you will need to spend some time holding each joint together while it dries. If you move on too quickly, the joints will come apart.
How to Make Paper Candlesticks that Look Like Wood
Supplies:
- Candlestick template
- I am sharing the cut files & PDF for these paper candlesticks in my subscriber library until 4/6/2020, then they will move to the shop. Click here to subscribe to my newsletter and gain access to all the freebies. If you already have your password, click here to download them.
- Cardstock
- Glue
- I love using hot glue for my paper crafts since it dries fast and holds paper securely.
- Dried beans, rice or small pebbles
- Flameless candles
- Optional: Electronic cutting machine
- I love using my Silhouette Cameo to quickly cut out paper decor projects, but you can also use scissors and an x-acto knife.
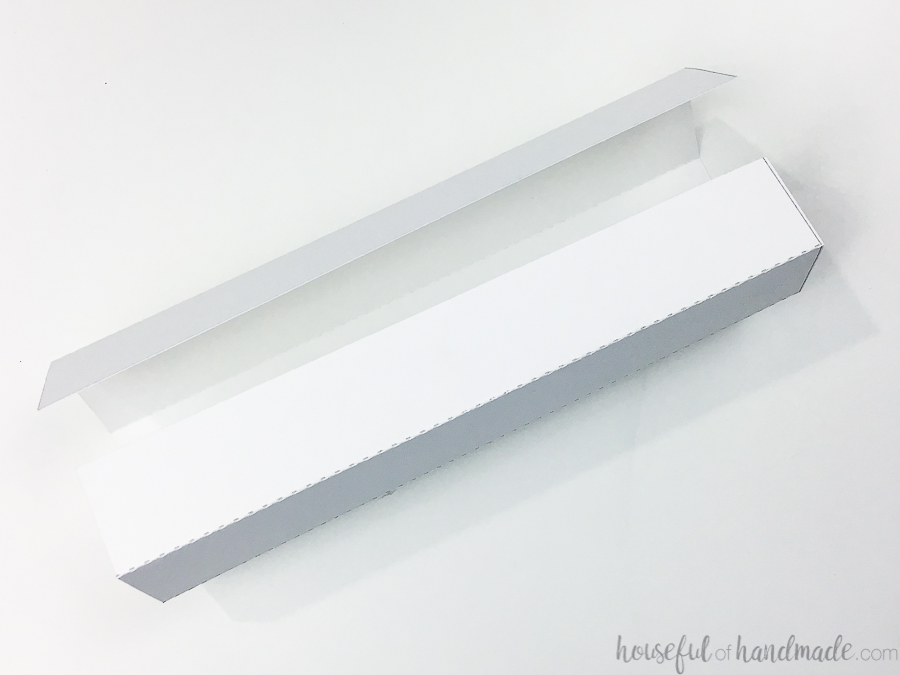
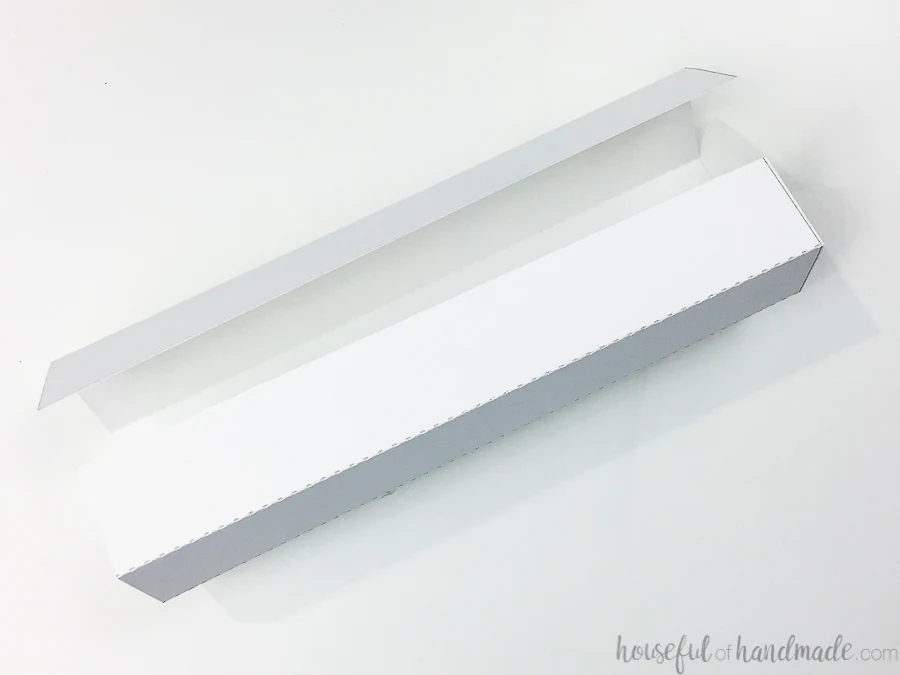
Print and cut out the templates. You need 2 side pieces and 1 top/support piece. Cut out along the solid lines and crease along the dotted lines.
If using an electronic cutter, use the Print & Cut feature. The texture on the candlesticks is extended beyond the cut line so if the registration doesn’t line up perfectly you will not have any white areas.
You can make different sized candlesticks by scaling all the pieces together larger or smaller. Just make sure the “Lock Aspect Ratio” option is selected.
Flip the side pieces over and crease to create the shape of the candlesticks. Fold the tabs toward the inside.
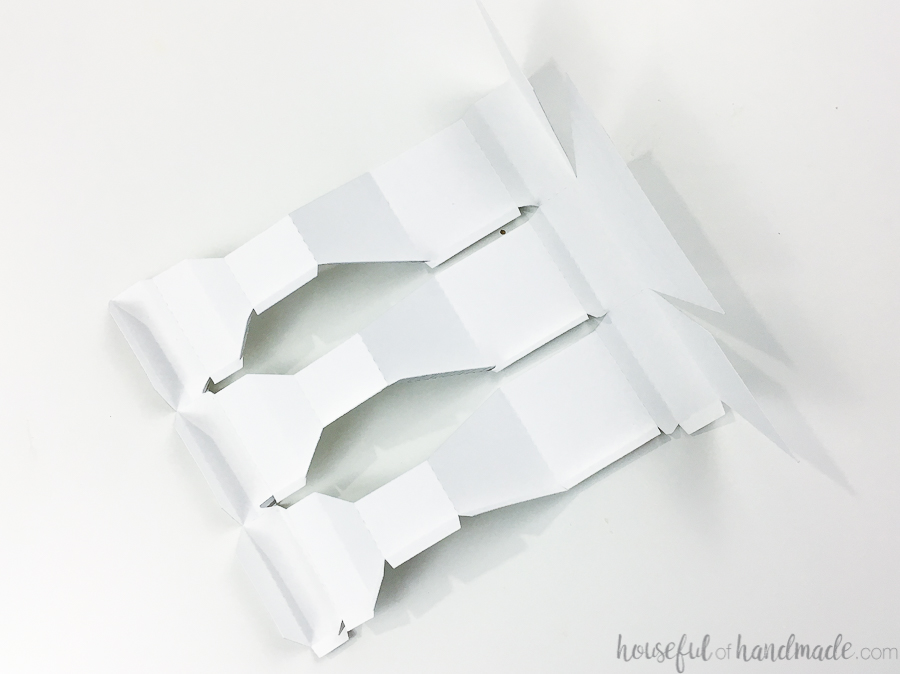
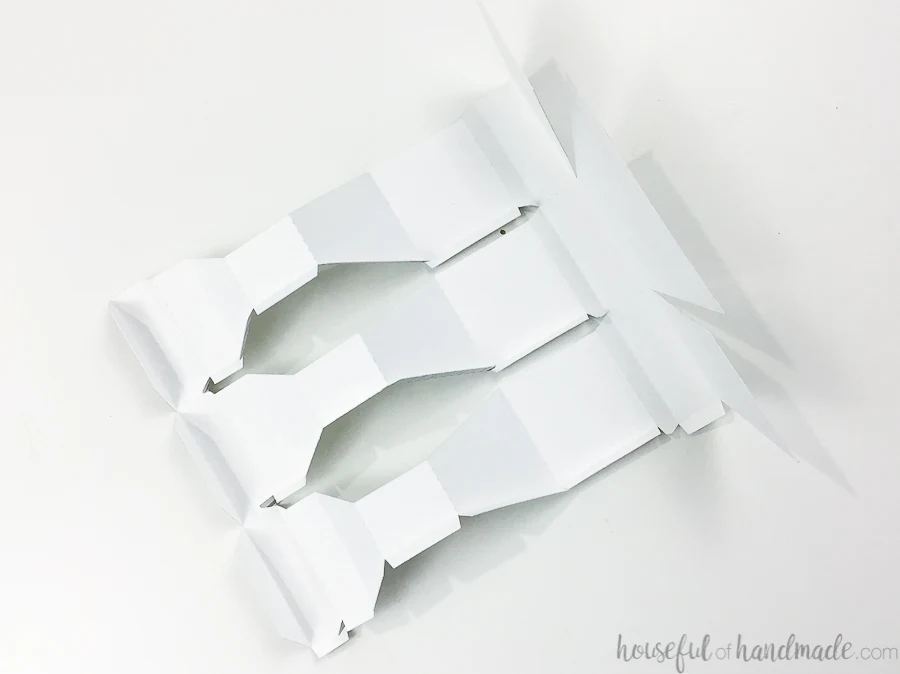
Glue each of the side pieces together along their tabs to close up the openings.
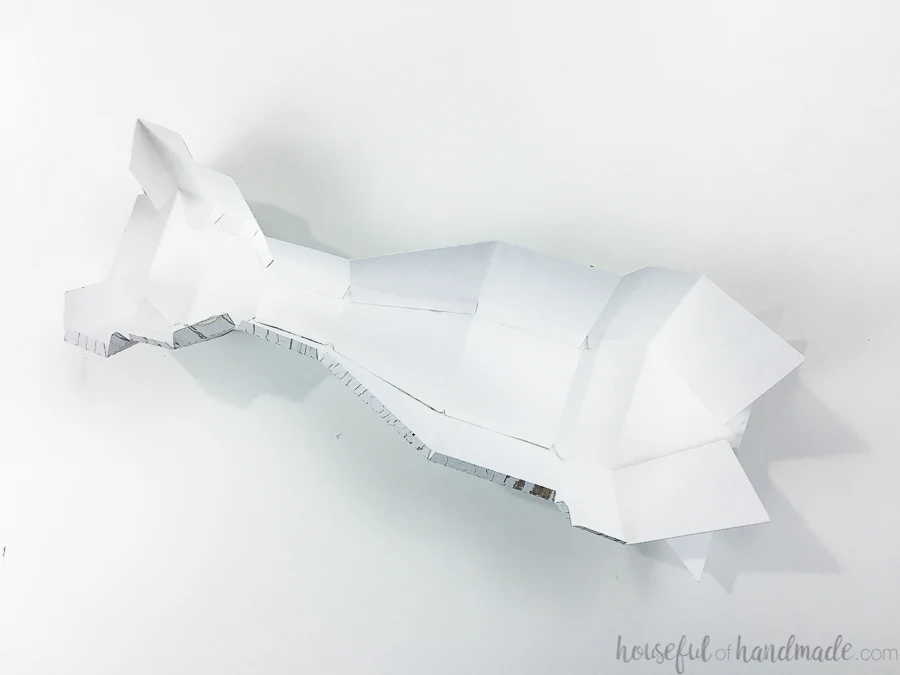
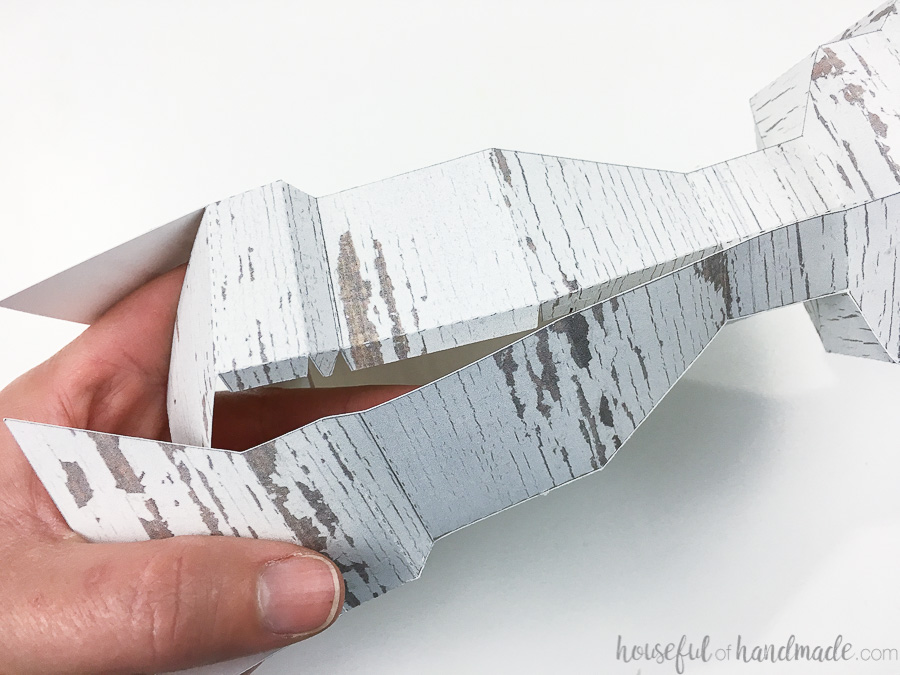
Then glue the two side pieces together. Start at the top and finish at the bottom where you have more room to glue the tabs together.
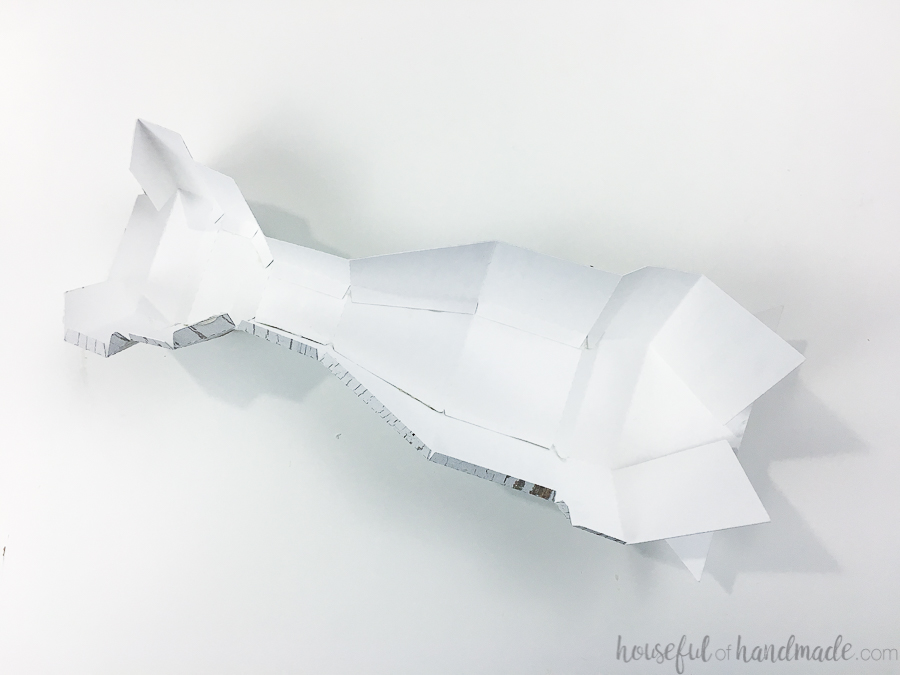
You will have to put your hand inside the candlestick to close up the tabs. You can also use a pencil or popsicle stick to help you press them inside the candlestick.

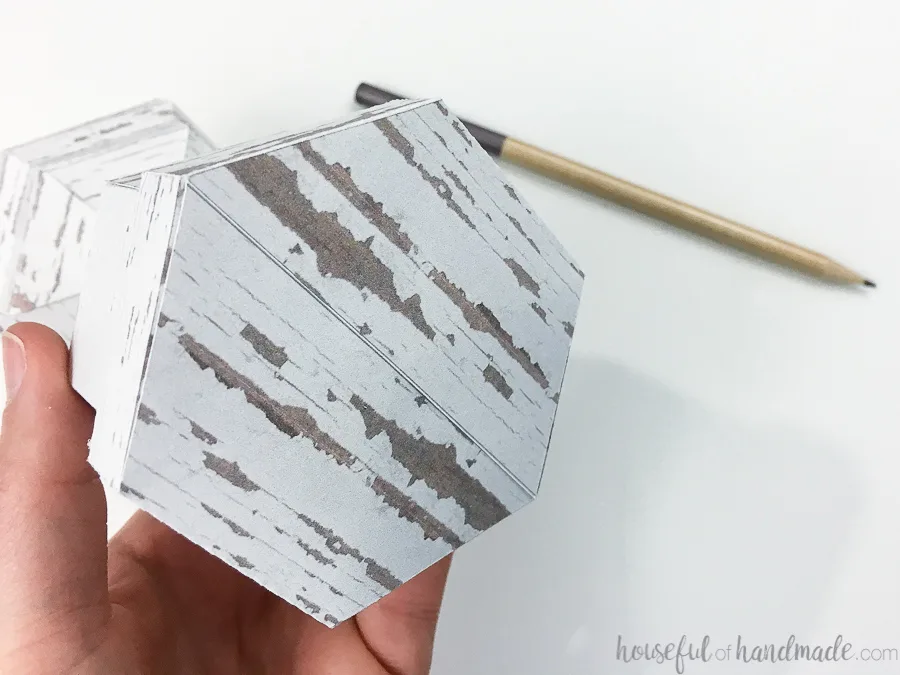
To close up the bottom of the paper candlestick, fold the tabs together at the bottom. Use glue to secure them.

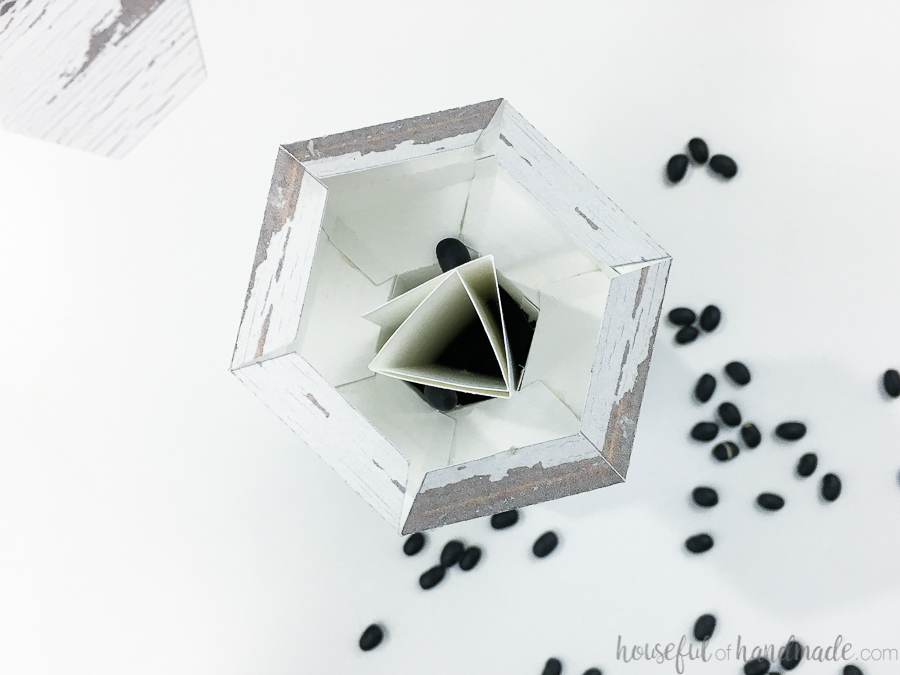
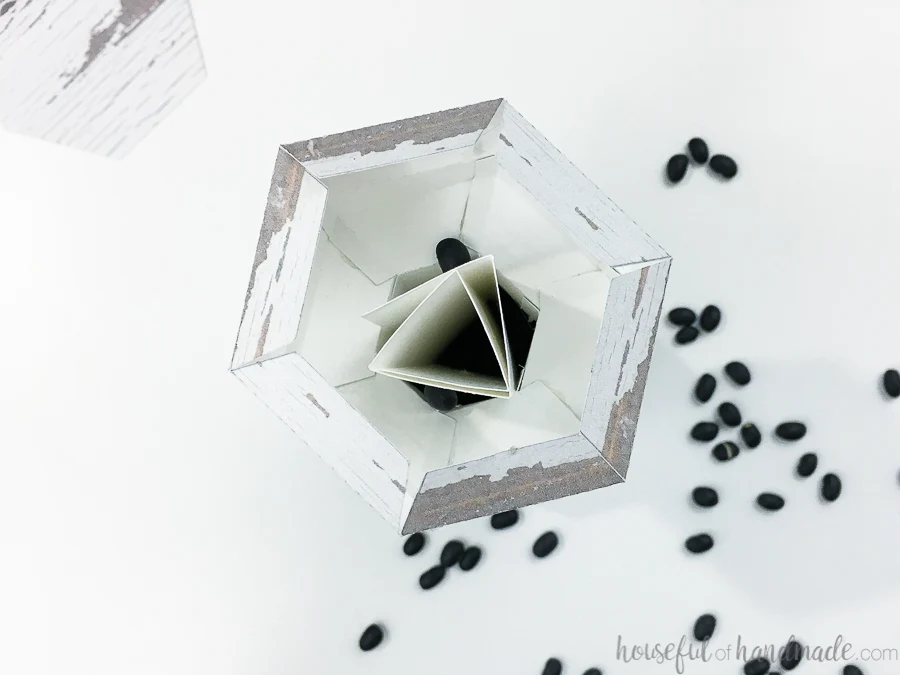
Fold together the support piece to make a triangle shape.
Insert it into the candlestick. Then fill the base of the candlestick with dried beans, rice or small pebbles. This will give the candlesticks weight so they do not tip over.
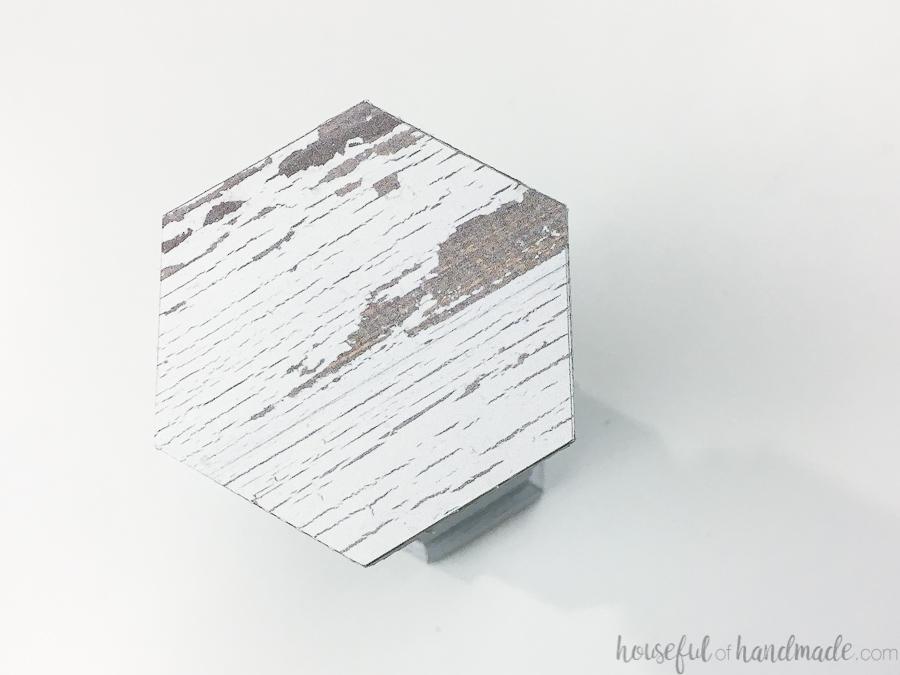
Glue the top piece to close up the candlestick. Make sure to add glue and secure each flap one at a time to help you secure it properly without the hot glue drying too fast.
And now you can display your new DIY candlesticks. Make sure to only use flameless candles. Remember, even though they look like wood, they are still made from paper!
Paper Spring Decor: Faux Wood Candlesticks
Materials
- Candlestick template
- Cardstock
- Glue
- Dried beans, rice or small pebbles
- Flameless candles
Tools
- Electronic cutting machine (optional)
- x-acto knife and scissors
Instructions
- Print and cut out the templates.
- You need 2 side pieces and 1 top support piece.
- Cut out along the solid lines and crease along the dotted lines.
- If using an electronic cutter, use the Print & Cut feature.
- Flip the side pieces over and crease to create the shape of the candlesticks.
- Fold the tabs toward the inside.
- Glue each of the side pieces together along their tabs.
- Glue the two side pieces together.
- To close up the bottom of the paper candlestick, fold the tabs together.
- Use glue to secure them.
- Fold together the support piece to make a triangle shape.
- Insert it into the candlestick.
- Fill the base of the candlestick with dried beans, rice or small pebbles.
- Glue the top piece to close up the candlestick.
Recommended Products
As an Amazon Associate and member of other affiliate programs, I earn from qualifying purchases.
-
 Silhouette White Cameo 4 Starter Bundle with 38 Oracal Vinyl Sheets, T-Shirt Vinyl, Transfer Paper, Class, Guides and 24 Sketch Pens
 -
 Neenah Cardstock, 8.5" x 11", 90 lb/163 gsm, White, 94 Brightness, 300 Sheets (91437)
 -
 X-Acto No 1 Precision Knife | Z-Series, Craft Knife, with Safety Cap, #11 Fine Point Blade, Easy-Change Blade System
 -
 H-195F Specialty Series 20 Watt Mini Size High Temperature Detail Hot Glue Gun


Linda
Wednesday 2nd of June 2021
THIS IS AMAZINGLY CLEVER!!! had to shout it out....I love this incredible craft...I love candle holders like this...I must have a couple dozen...but, I'm going to try this just for the fun of it !! Thank you !!
Kati
Friday 4th of June 2021
Thanks so much Linda! I hope you love your new candlesticks (you can never have too many ;) ).
Betsy
Friday 12th of February 2021
Your projects are so "wood" looking! Where do I find a printable wood texture paper pattern?
Betsy
Thursday 18th of February 2021
Aren't you smart! Good job. Wish you'd share the paper pattern!
Kati
Thursday 18th of February 2021
I create all my own wood textures by taking high quality photos of real wood I have.
Tracy King
Thursday 9th of April 2020
These are so amazing! Great job and great idea. Thanks so much for sharing.
Kati
Monday 20th of April 2020
I am so glad you are enjoying them Tracy!
Debbie
Saturday 4th of April 2020
These were so fun to make and they look great. Thanks for the template. I added little sari silk bows to mine and used fish weights inside to give them more stability.
Kati
Wednesday 8th of April 2020
That is great to hear Debbie! Fish weights are a smart filler ;)
Lorna DeLoach
Sunday 29th of March 2020
Where do I find the filler piece that gives support?
Debbie
Saturday 4th of April 2020
It is on the second page that has the top piece. It's the square with lines. Just cut fold and insert.