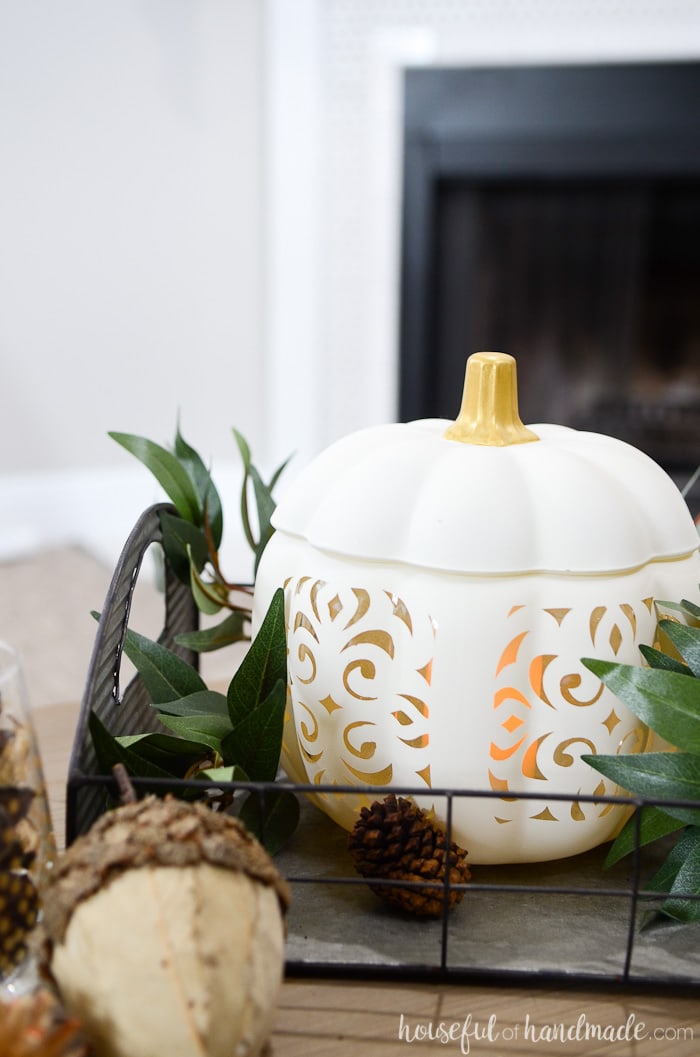
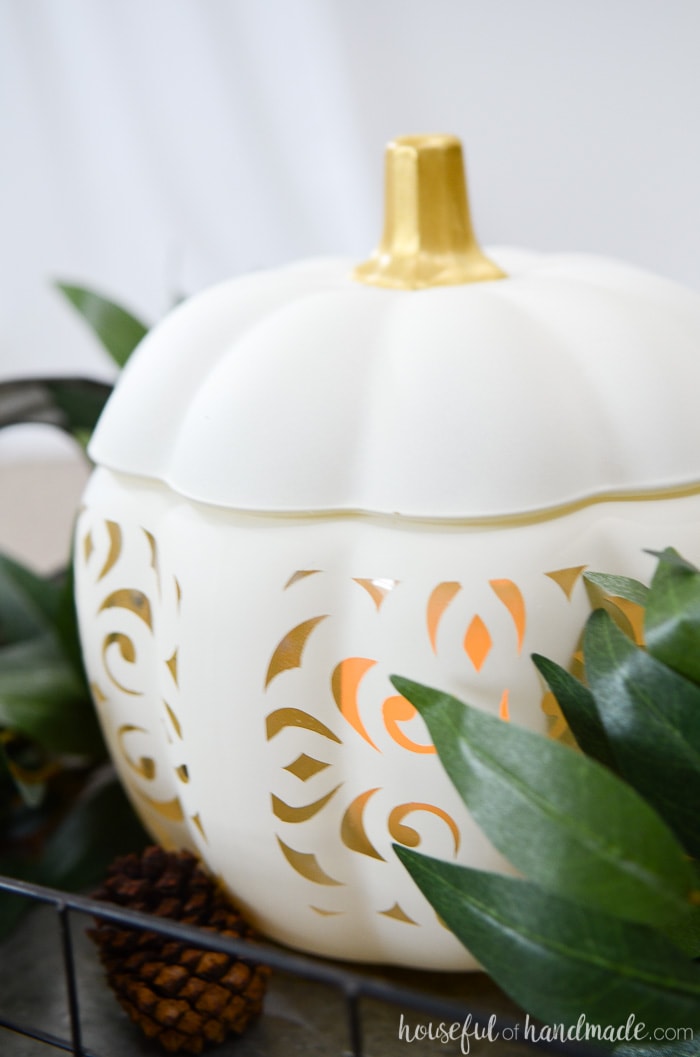
This beautiful filigree punched ceramic pumpkin knockoff is the perfect fall decor.
Upcycle inexpensive glass pumpkins into high end decorations.
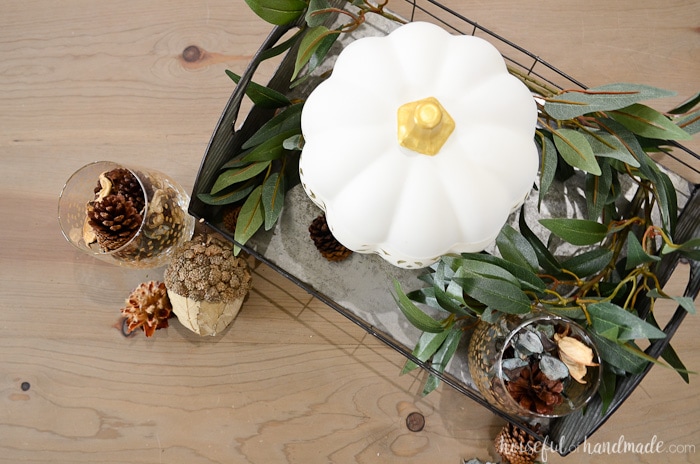
When you are decorating on a budget, upcycling inexpensive items can be a lifesaver. Turn a cheap glass pumpkin dish into a high end inspired filigree punched ceramic pumpkin knockoff.
This easy craft is so fun, you’ll want to turn all your pumpkins into high end pumpkins this fall.
This post may contain affiliate links. As an Amazon Associate I earn from qualifying purchases. Click here to read my full disclosure policy.
It’s time for the first Silhouette Creator’s Challenge of the fall so you know what that means? PUMPKINS!
What better way to welcome in the cooler weather than with fun pumpkin themed crafts made using the Silhouette Cameo.
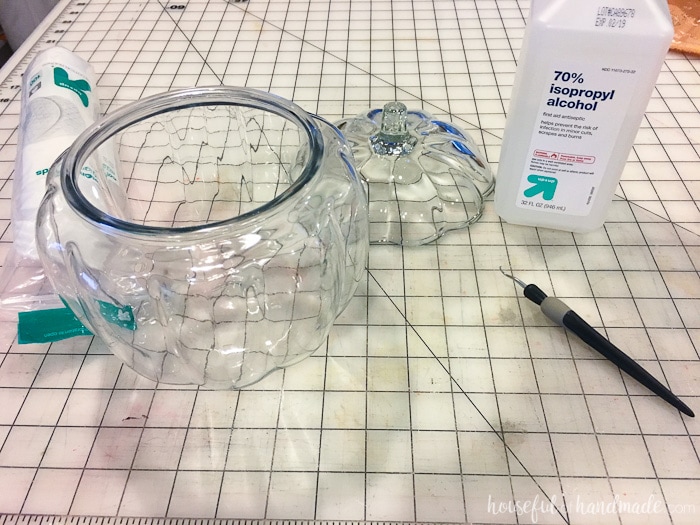
Even before it was time for the challenge, I knew I wanted to turn this cheap glass pumpkin dish into a faux ceramic pumpkin. Then when I was ogling over the beautiful fall decor at Pottery Barn, I saw their filigree punched ceramic pumpkins and fell in love. But not with the $100+ price tag.
Luckily for me, I knew I could recreate the high end look with my Silhouette Cameo. Being able to custom cut the vinyl into any design I want is my favorite thing about this amazing machine.
So I set to designing a filigree design for my own pumpkin.
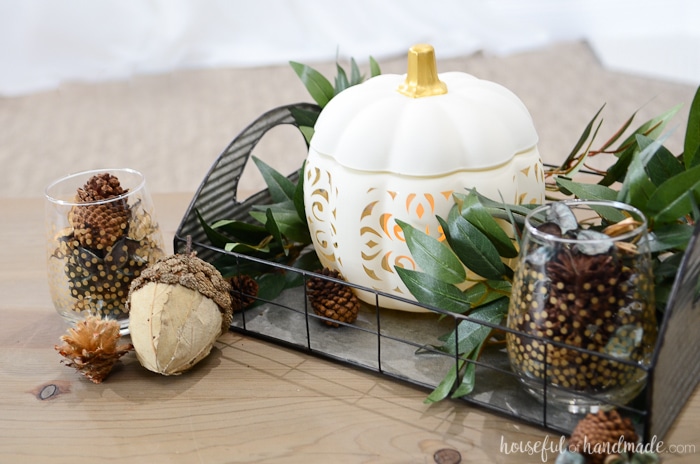
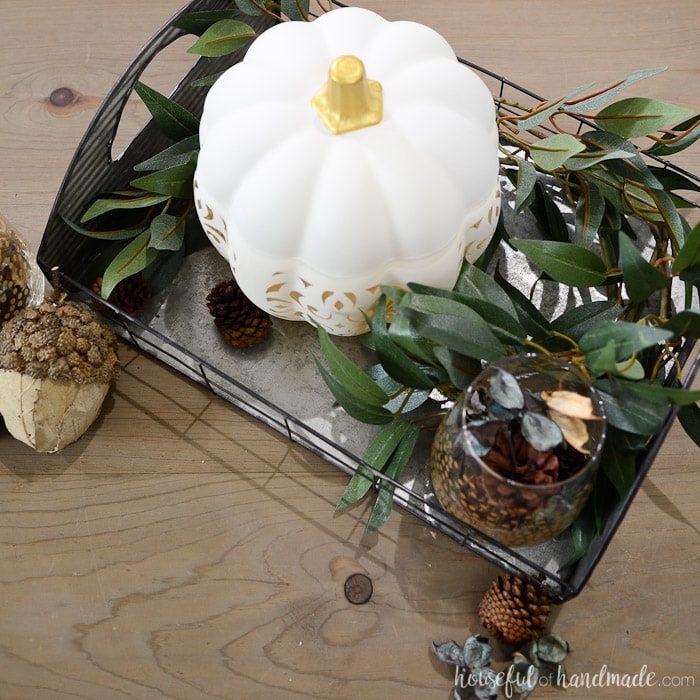
The filigree punched ceramic pumpkin knockoff turned out better that I could have hoped! Even though the pumpkin doesn’t actually have punched holes in it, the vinyl helps create a beautiful punched effect on the glass.
And now you can use your pumpkin as a candle holder, or to hold potpourri, or even your favorite fall treats.
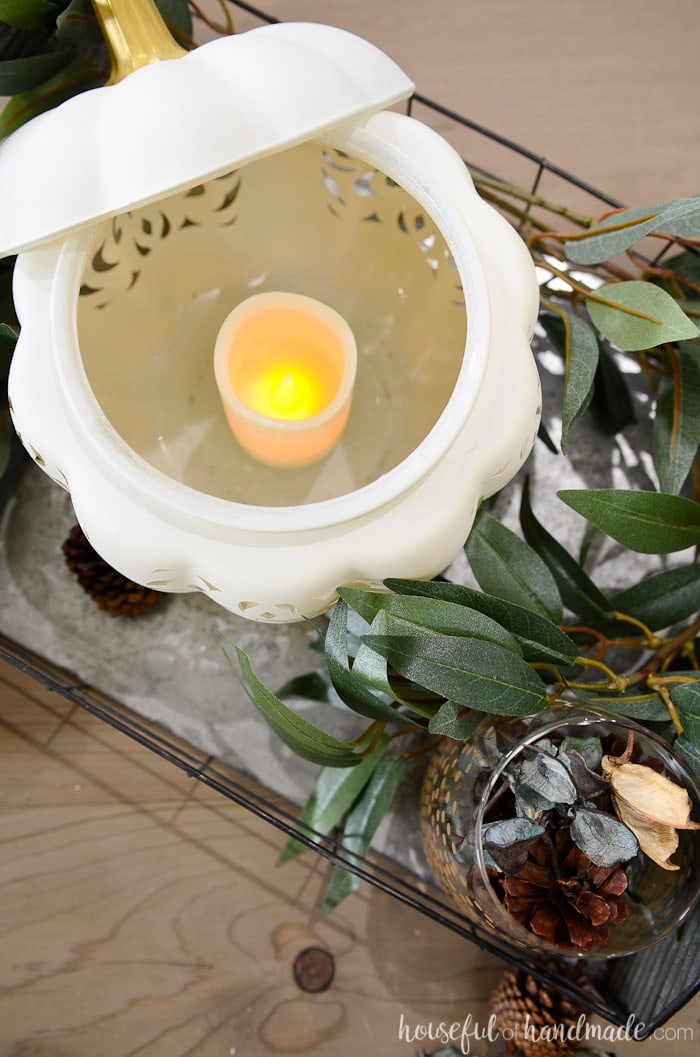
I used my new filigree punched ceramic pumpkin to create a perfect fall vignette on my coffee table. Complete with apple cinnamon spiced potpourri with neutrals and blues, it is the perfect addition to our rustic upcycled fall mantel.
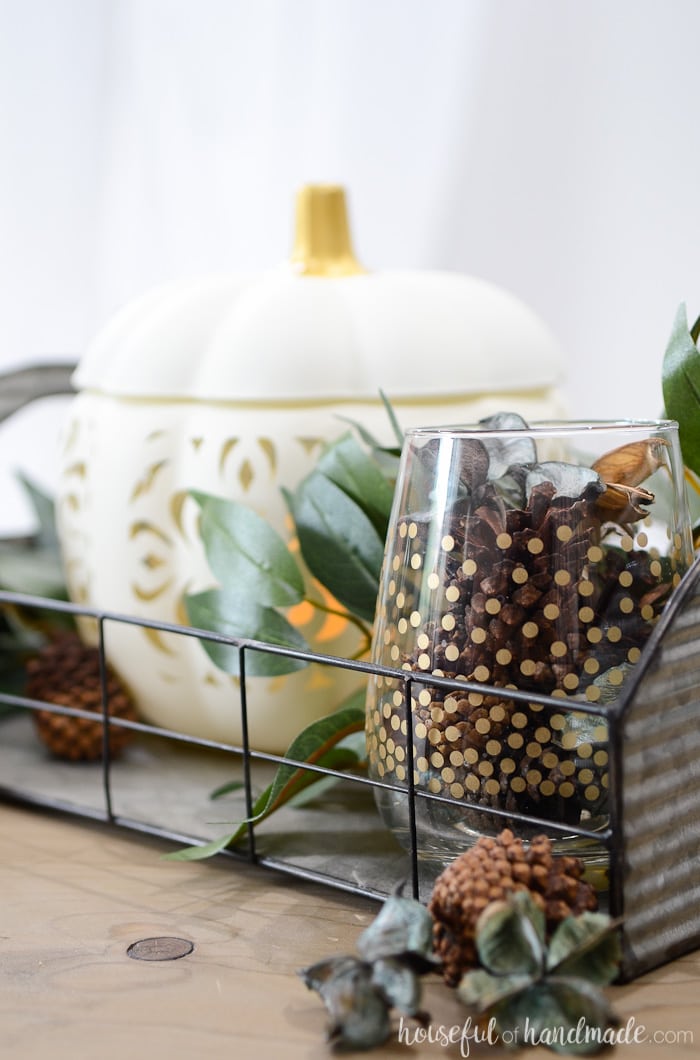
How to Make a Punched Pumpkin Decor
Supplies:
- Glass pumpkin
- I found my dish in the clearance section last year for a couple dollars, but you can also find them in thrift stores quite frequently.
- Filigree vinyl design
- I am sharing the cut file for this filigree punched ceramic pumpkin in my subscriber library. Click here to subscribe to my weekly newsletter and gain access to all the freebies. If you already have your password, click here to download it.
- Silhouette Cameo
- Vinyl
- I used Oracle 631 vinyl so it was easier to remove.
- Transfer paper
- Chalky finish spray paint
- Metallic acrylic paint
Start by cleaning the outside of the glass pumpkin to remove any oils and residue. I like to do this with a cotton ball and rubbing alcohol. The rubbing alcohol will evaporate and leave no residue on the glass.

Resize the filigree design to match your pumpkins or design your own in Silhouette Studio. Since my pumpkin had 10 bumps around the perimeter, I designed it to have 5 filigree design sections, each one fitting over 2 bumps. Cut the design out with vinyl.
Remove the center part of the filigree design.
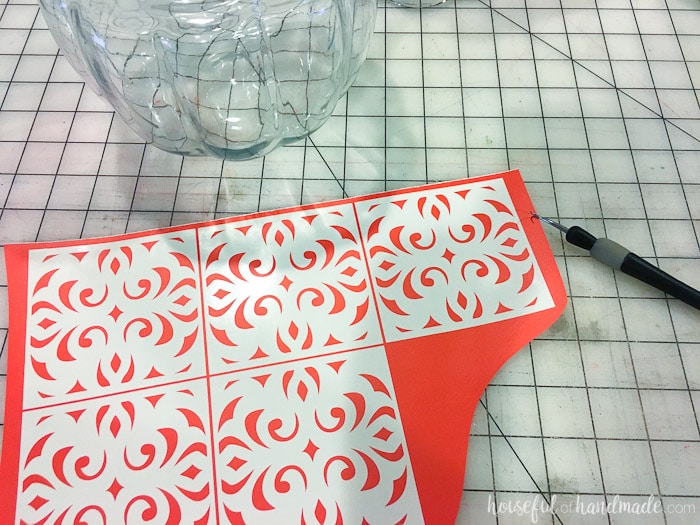
Cut apart the filigree sections. Using transfer tape, To remove the vinyl from the backing.
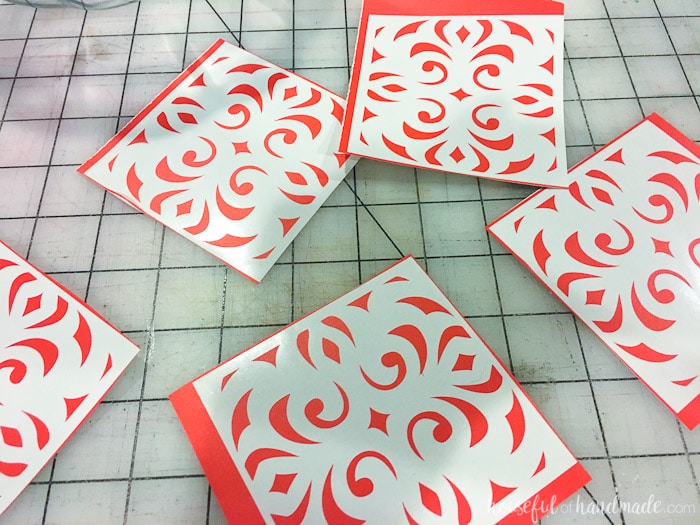
Transfer the vinyl filigree design to the cleaned glass pumpkin. Don’t stress about keeping the transfer tape smooth over the curved surface of the pumpkin because it will be impossible. Just focus on keeping the vinyl pieces smooth against the surface.
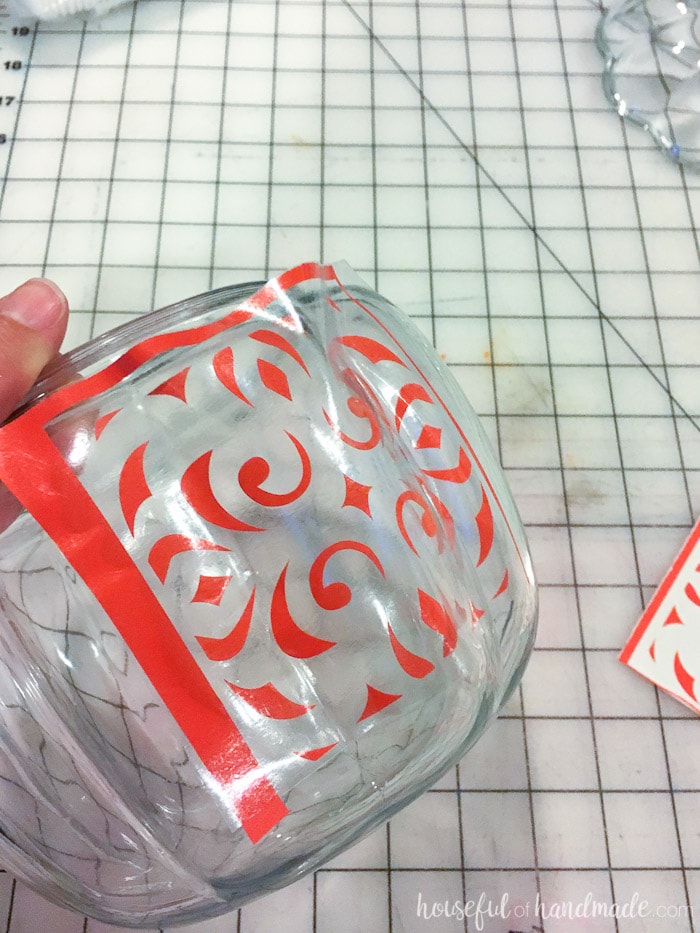
Remove the transfer tape. Finish up with the remaining filigree sections. Then cover the entire pumpkin with a few even coats of the chalky finish spray paint.
I love the chalky finish because it has no sheen to it and makes the glass look just like ceramic.
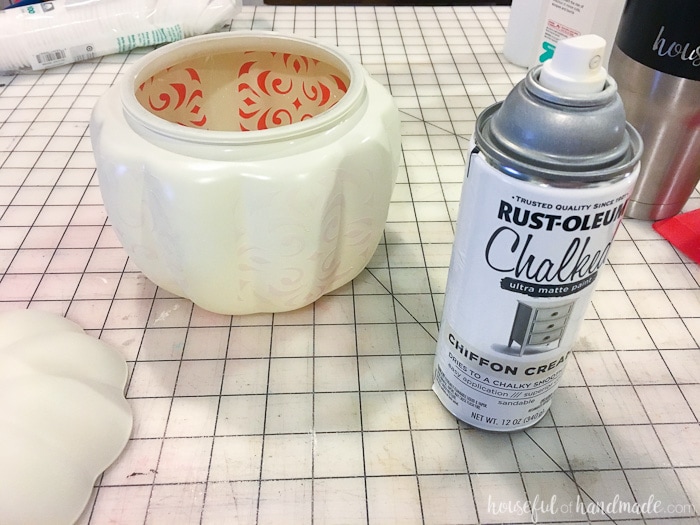
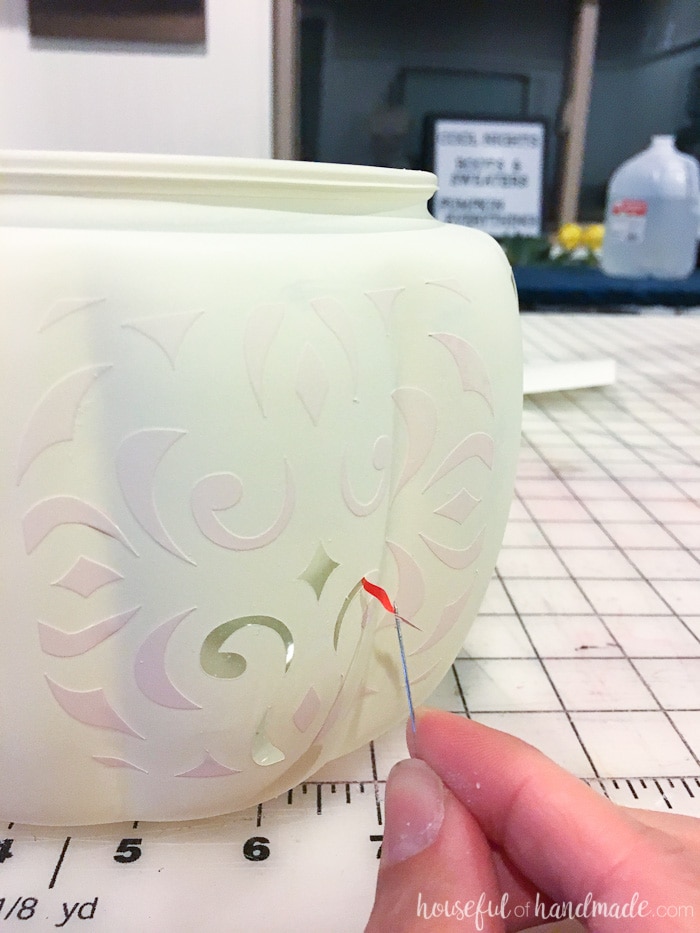
Let the paint dry to the touch, but do not wait too long or the paint will peel off when you peel off the vinyl pieces. Carefully peel away all the pieces. I find it is easiest to do with a pin. Stab the center of the vinyl piece with the pin and pull it away from the glass.
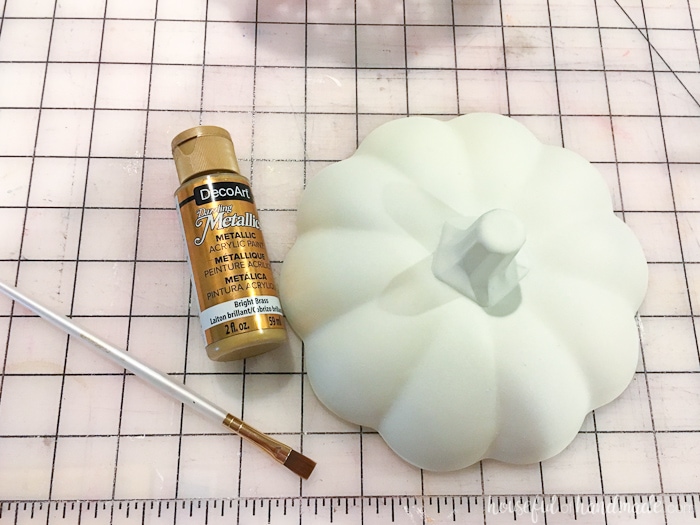
To give the lid a finished look, paint the stem with a metallic acrylic paint. It took 2-3 coats to get complete coverage.
Then all that is left is to decide where you are going to display your new high end pumpkins! I knew exactly where I wanted to put mine.
I needed a new vignette for my coffee table for fall and it seemed like the perfect place for it. Boy was I right!
For more fall decor, make sure to check out the rest of my DIY holiday decor.
Michelle
Thursday 21st of September 2017
Wow! This is beautiful. I love that you found a way to recreate a look you love for a much cheaper price tag and made it look pretty as well.
Kati
Friday 6th of October 2017
Thank you Michelle! I love that it cost so much less too, but is still so beautiful.
beverly e
Monday 18th of September 2017
I love this! I am an email subscriber, but I don't have the password for the pattern download. How do I get that?
beverly e
Monday 18th of September 2017
Oops, never mind... I see it now :).
Linda
Thursday 14th of September 2017
WOW, you have amazing ideas. Pumpkin is a WOW!!
Kati
Friday 15th of September 2017
Thanks so much Linda! I love how this pumpkin turned out.