Organize your sewing space with a super easy to make magnetic pin cushion.
This is seriously the easiest craft ever! No seriously, it’s so easy you’ll wonder why you haven’t been making pretty magnetic pin cushions already.
I did not come up with this craft idea, my amazing sisters have their own company, On Williams Street, where they design and sell beautiful, modern quilt patterns.
My sister posted this quick idea on their Facebook page. I thought it was cool, but I already had a magnetic pin cushion.
This post may contain affiliate links. As an Amazon Associate I earn from qualifying purchases. Click here to read my full disclosure policy.
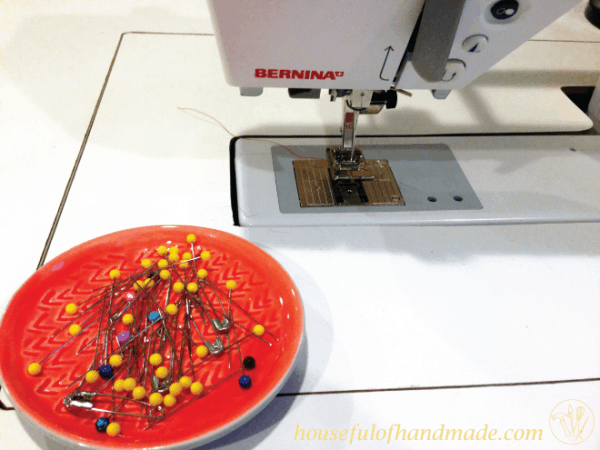
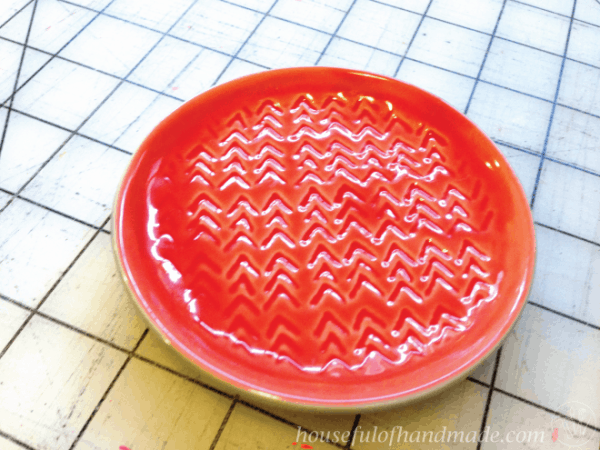
And then I went shopping at Target and walked past this beauty!
This is a jewelry holder. A super shallow little dish that would probably hold one fifth of my jewelry collection. But for pins, it has amazing potential.
Plus it was only $3.99! So I decided it was time to try the little trick my sister’s shared.
What is a magnetic pin cushion?
A magnetic pin cushion is a little platform or bowl that hold sewing pins with a magnet. They are super useful when sewing because you can just drop the pin instead of taking the time to press it into a more traditional pin cushion.
Also, if you spill your pins, a strong magnetic pin cushion is great to be able to scoop them. The pins are attracted to the magnet and will sweep themselves onto it.
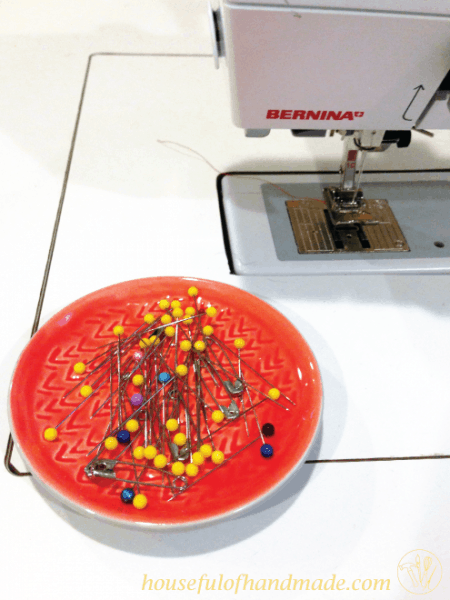
DIY Magnetic Pin Holder
Supplies:
- Small dish
- A thin dish will result in a stronger magnetic hold and a thicker dish will have less hold. My dish is on the thicker side.
- Super glue or permanent glue stick
- Strong magnets
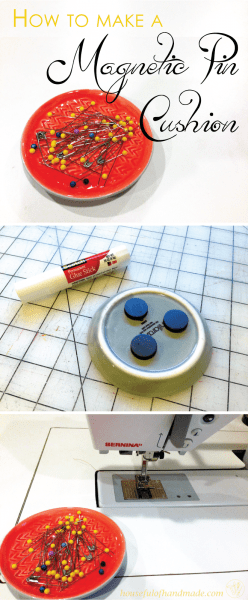
Using the glue, attach the strong magnets to the bottom of the dish.
Make sure to pay attention to the polarity of the magnets. I tested each magnet to see what side the pin stuck to, then attached that side to the dish so the pins will stick to the top of the bowl.
Since I was out of super glue, I used this Scotch permanent glue stick and it actually worked to hold the magnets on. If they fall off, I can reattach them with super glue, but it’s been holding up for a couple months now.
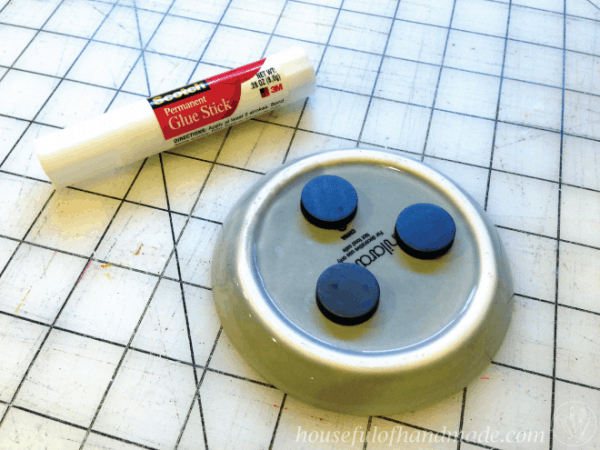
Then all you have to do is wait for the glue to dry and you are done!
Load you pretty little magnetic pin cushion with all your pins. It’s like a little jewelry for your sewing machine.
I love that the magnet surface isn’t as strong as the one I bought at the fabric store, it makes it easier to get the pins off. And this one is so much prettier!
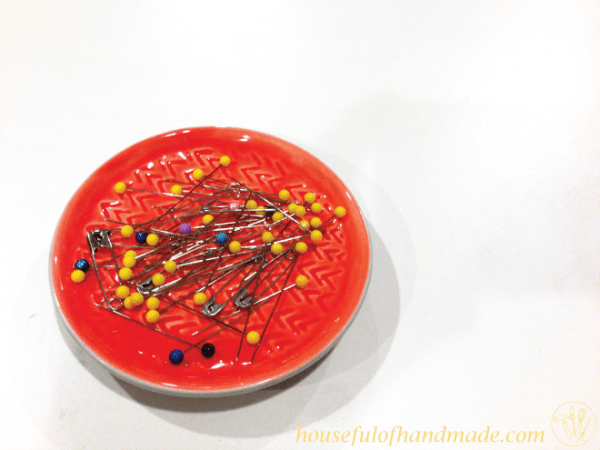
So if you need a little bling for your sewing machine, give this simple craft a try.
How to Make a Magnetic Pin Cushion
Make a magnetic pin cushion in just 5 minutes with this super easy craft! You can use any pretty little dish for a fun and unique pin holder.
Materials
- Small dish
- Super glue or permanent glue stick
- Strong magnets
Instructions
- Using the glue, attach the strong magnets to the bottom of the dish.
- Make sure to pay attention to the polarity of the magnets. Tested each magnet to see what side the pins stick to, then attached that side to the dish so the pins will stick to the top of the bowl.
- Wait for the glue to dry.
- Flip the dish over and load up your pretty magnetic pin cushion with pins.
Notes
A thin dish will result in a stronger magnetic hold and a thicker dish will have less hold. My dish is on the thicker side.
Happy Crafting!
Kathi Riemer
Sunday 19th of July 2015
What a great idea!
Kati Farrer
Monday 20th of July 2015
Thanks Kathi! They are so easy and fun to make.
Erlene
Friday 5th of June 2015
I love this idea. I'm thinking of doing this for my dd's bobby pins that I find all over the house. Thanks for sharing on Merry Monday.
Kati Farrer
Friday 5th of June 2015
Thanks Erlene! I never thought of using it for bobby pins, but I think I need to make one for my new master bathroom (if I ever get it finished).
Diana Rambles
Wednesday 3rd of June 2015
Great idea!!
Lynda Hardy
Thursday 28th of May 2015
I love how this is so useful, pretty AND easy to do! If you'd like, please come share it with this week's Awesome Life Friday.
Kati Farrer
Thursday 28th of May 2015
Thank you! I will be stopping by.