Thanksgiving is so close I can taste it… at least I can taste the pie. I just love a good pie. I was lucky enough to grow up in a house where mom always made homemade pies.
She didn’t have a specialty, we ate every pie: strawberry, key lime, lemon meringue, coconut or banana cream, pecan, apple, cherry, pumpkin, the list goes on (see, I told you I was lucky).
My mom taught us so many tips and tricks for making an amazing pie crust. I have taken all I learned from her and then added my desire to feed my family with whole foods to give you my recipe and tricks for how to make the best whole wheat pie crust ever.
This post may contain affiliate links. As an Amazon Associate I earn from qualifying purchases. Click here to read my full disclosure policy.
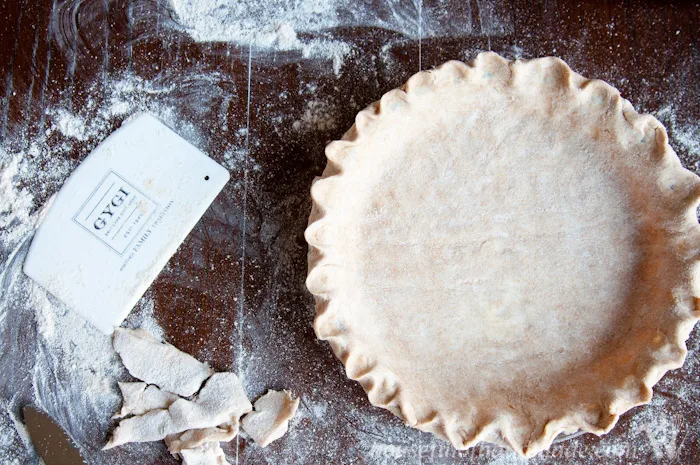
Pie crusts can be tricky to make if you don’t know what you are doing. So many people shy away from making their own because they’ve eaten a bad pie crust.
But when you eat a beautiful homemade pie crust, it is so much better than any store bought one. And pie crusts are made with flour, butter (or some sort of solid fat), and water. All things you probably have on hand, so it’s high time you make your own 🙂
Best Flour to Make a Whole Wheat Pie Crust
Now let’s talk flour. I wanted to use whole wheat flour for my pie crust. I am trying to cut out white flour as much as possible.
The problem with regular wheat flour from the store is it is quite corse. This does not make a tender, flaky crust. My solution is to use whole wheat pastry flour (something like this).
Pastry flour is a finely ground flour so a whole wheat ground much finer will act more like a white all-purpose flour. I like to grind my own flour so it is easy to get a fine ground whole wheat flour.
Fresh Ground Whole Wheat Flour
I know it sounds crazy but it has become a part of my routine and doesn’t take much time at all. Sometimes I act like the Little Red Hen when my family comes begging for the first slice of freshly made bread “I had to grind the flour by myself…” Ha ha!
If you want to be able to easily feed your family with whole wheat, a kitchen mill is a must. I buy my wheat berries in bulk because it’s cheaper and stores for a very long time before it’s turned into flour. And I can grind my flour however I like with whatever wheat I choose.
I have an older version of the Blendtec Grain Mill. This mill is awesome. It’s super easy to use and grinds the flour fast. You can grind more than wheat with it, but I haven’t got too creative yet.
I ground a mixture of 50% hard white wheat and 50% hard red wheat on the finest setting for my pastry flour. If you don’t like the nuttiness of whole wheat, the hard white wheat will be your new best friend.
A kitchen mill is definitely more of an investment piece, but Christmas is coming…
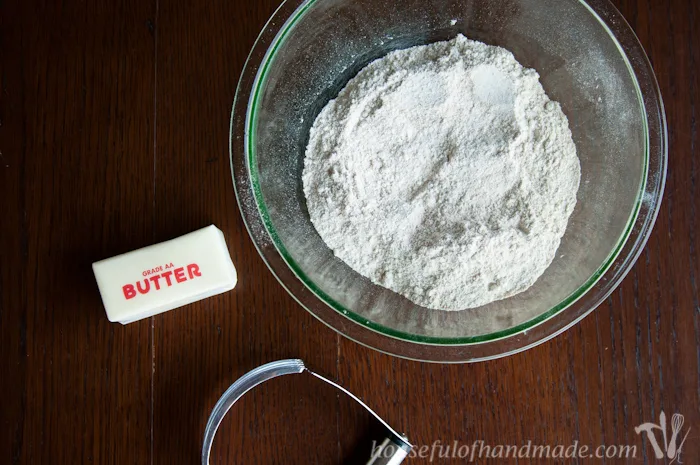
Best Fat to Make Flaky Pie Crusts
Before we move onto the method we need to talk about our fat option as well. I grew up eating pie crust made of shortening. They make a fine crust, but I am not a fan of shortening.
I want to use more natural foods when possible and butter makes a delicious crust. However, my dad hates butter! I know, crazy talk! He can’t stand to eat things made with real butter so we alway used shortening or margarine. But now I get to use the good stuff and I use butter in my crusts.
I have tried to use coconut oil in a pie crust, but it can be really hard since it melts at such a low temperature (a warm room or touch of a hand) and you need your fat to remain solid to make the best flaky crust you can.
So always use SUPER COLD butter, straight from the fridge (or freezer as you will see in one method below).
Tips for Making a Perfect Pie Crust
Now we have our ingredients and can start cooking. I just realized this is going to be a very long post for a very simple recipe, but I have so many tips I don’t want to leave any out.
You will need to measure your whole wheat pastry flour into a large mixing bowl. Then add in a little salt depending on your taste.
I use salted butter so I always salt less, no one wants a salty crust under a beautiful sweet pie! I do use a bit more salt for a chicken pot pie or other savory option.
How to Cut in the Butter
Next you will need to cut your butter into the flour. What exactly does this mean?
Cutting in the butter means you will break the butter into little pieces that are dispersed throughout the flour. It is different then mixing it together like you would when making a cake.
There are a few ways you can do this, I have used my food processor before, and I have read about using a blender (but never tried that). These options are good, but the other options I am going to show you are a little better for a tender, flaky crust.
You want little pockets of butter in and around the flour. If you over-process your dough, you end up with tiny pockets of butter or almost incorporating the butter into the flour and end up with a tough dough, not delicious.
It is easy to over-process the dough in these high powered appliances so I think the old fashioned way is the best.
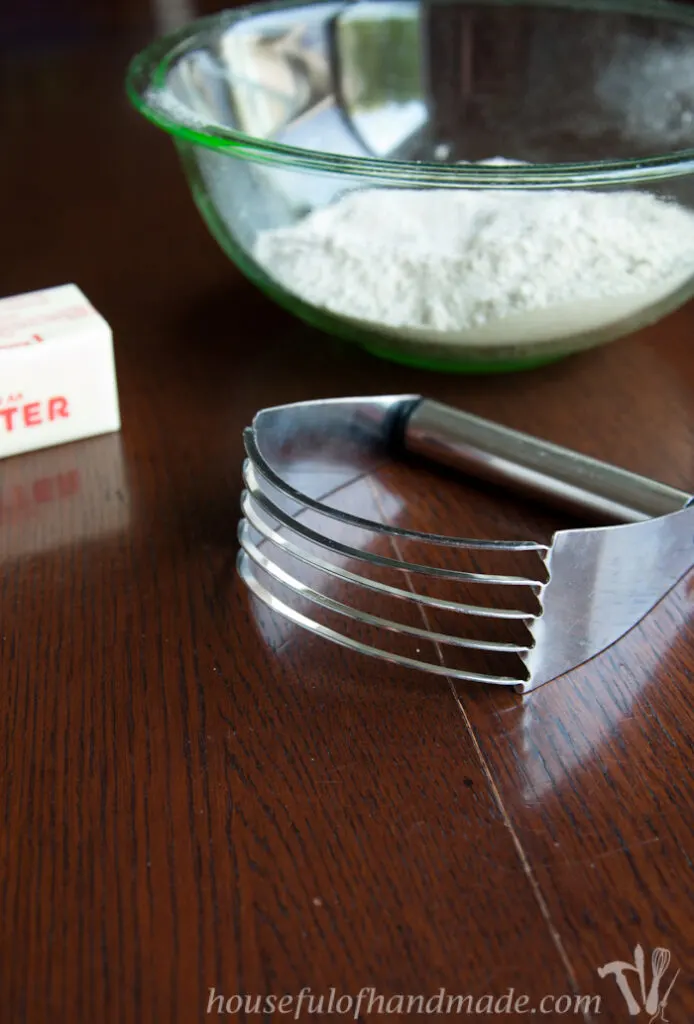
The best option for cutting the butter into the flour is using a pastry blender.
This is a small handheld metal tool that has multiple “knives” on the end, but they aren’t really sharp. I have one like this pastry blender. Super basic and easy to clean. And it’s cheap!
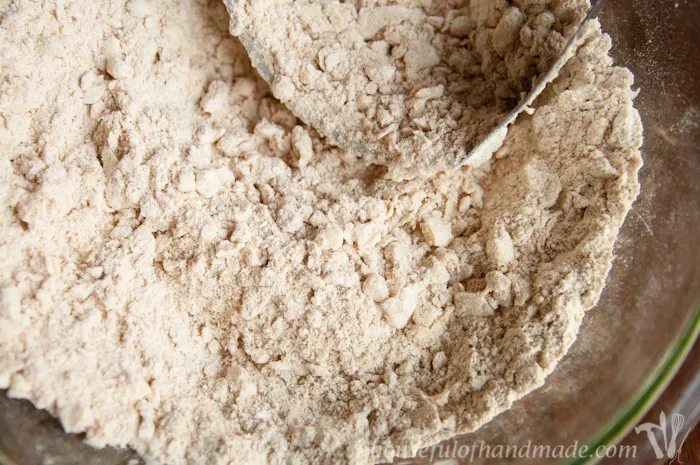
To use it all you do is place your cold butter, straight from the fridge, on top of your flour. Then press the pastry blender over the butter and it will cut it into multiple pieces. Keep doing this over and over until you have lots of small pieces of butter covered with you flour.
They will not be even and perfect, you will have some larger pieces and some smaller, but that is fine and will make an amazing crust.
Apparently you can cut in the butter with two forks instead of a pastry blender, but I’ve never been able to master that technique. Plus I use my pastry blender for all kinds of buttery pastry goodies so it’s worth the tiny bit of cabinet space it takes up in the kitchen.
The second option I call the Alton Brown method because I saw it on one of his Good Eats episodes (oh man, I just love Good Eats and so do my kids, we can watch Alton Brown for hours).
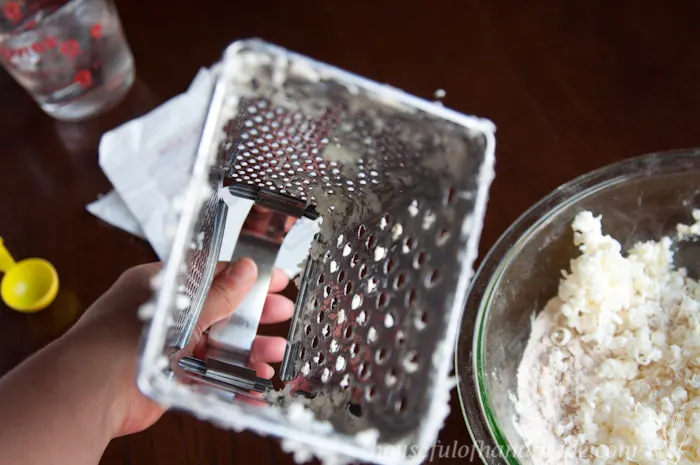
So he showed a method where you grate frozen butter on your cheese grater, then you can mix the little curls of butter into the flour. This is a good option if you don’t have a pastry blender, but does have a few downfalls.
The butter starts melting at room temperature once grated so it can get messy. I always have to scrape the melty curls out of the center of my box grater. But it gives you the nice small pockets of butter without the chance of over-processing so it works.
How to Properly Add Water to Pie Crusts
Now that your butter is cut into the flour, you are ready to start adding water. Make sure you don’t go crazy and just dump the full amount of water into your pie crust.
You want to go slowly so you only add as much as needed and not a drop more!
The water is only used to bring the mixture together and too much water will give you a… you got it, tough pie crust.
Also, make sure you use ice cold water when making your pie crust. Why? So you don’t melt your butter before your crust hits the oven.
I like to measure out more water than I will need from my fridge then drop a few ice cubes in there to keep it nice and cold while I work.
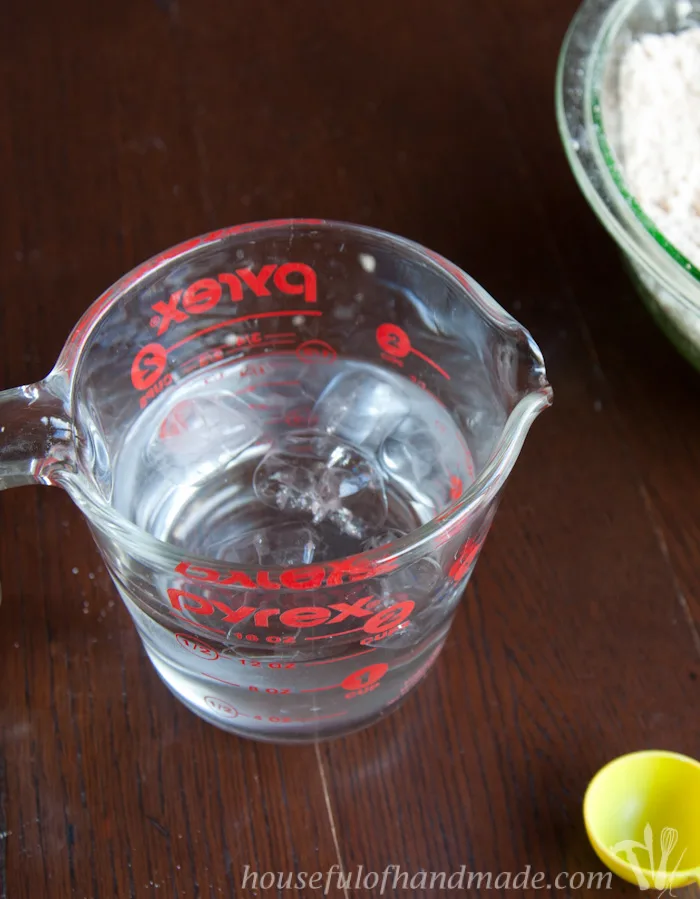
You will start by adding about half of the water the recipe calls for, then carefully stir it together. Make sure not to over-mix.
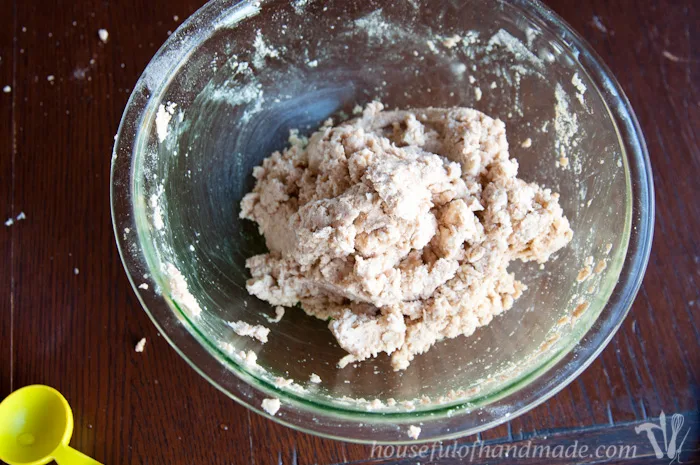
Then add 1 Tbsp at a time until the dough just comes together. You will never know exactly how much water you need, the humidity of the day, the weather outside, the flour, all these things can affect the moisture in the dough. That is why you go slow, so you only use what is needed.
When the dough starts coming together, toss the spoon and pat it together with your hands. Do not knead the dough. Any overworking will result in a tough crust.
Keep the Dough Cold Before Rolling
I usually place the dough in the fridge while I prepare my area for rolling it out. That way my warm house doesn’t ruin all my tender care.
You can even prepare the dough hours or even a day in advance and store it in a bag in the fridge until you need it. I just needed to clean up my space cause I am a pretty messy cook.
This recipe makes enough dough for 2 pie crust bottoms (like you need for pumpkin or a cream pie) or 1 crust bottom and 1 top (like for a cherry or apple).
Before you roll out the dough, you will want to cut your dough in half. I use a pastry scraper. You can find all kinds of fancy stainless steel ones out there, but my favorite ones are plastic ones I got for free or for $1 because they are branded.
I use this handy tool a lot in my kitchen, you can cut dough easily (and it doesn’t scrape your counter if you have the plastic one), scrape your counters clean, and I use it to scrape the rolled dough up if it sticks when you roll it out (you’ll see below).
I want to make some apple hand pies, so I am only making 1 crust today. Yeah, I am still trying to use up all the apples I got from my sister in September.
How to Roll and Shape a Pie Crust
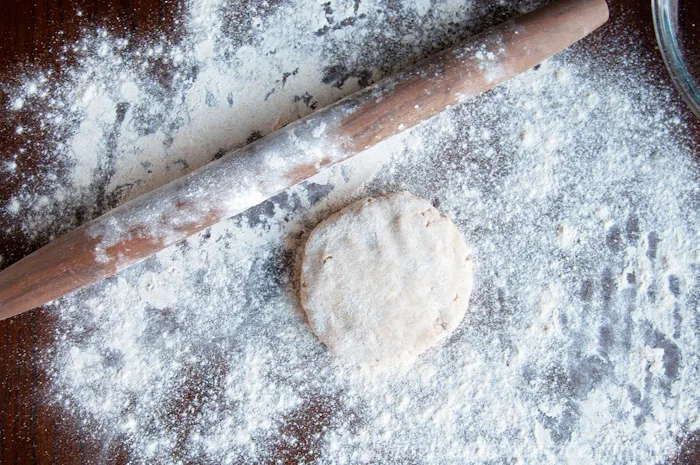
Generously flour your work surface with your whole wheat pastry flour. Put your dough in the center of the flour and pat some flour on top of it.
I also like to roll my rolling pin in the flour so it is well coated before I start.
Then to roll a (pretty good) circle, you will roll from the center up, then from the center down, then from the center to the right, then to the left. Repeat that again, but instead of going straight up/down/left/right to create a “t”, you will go between the first rolls so you create an “x”.
Then repeat as necessary until the dough is slightly bigger than your pie pan.
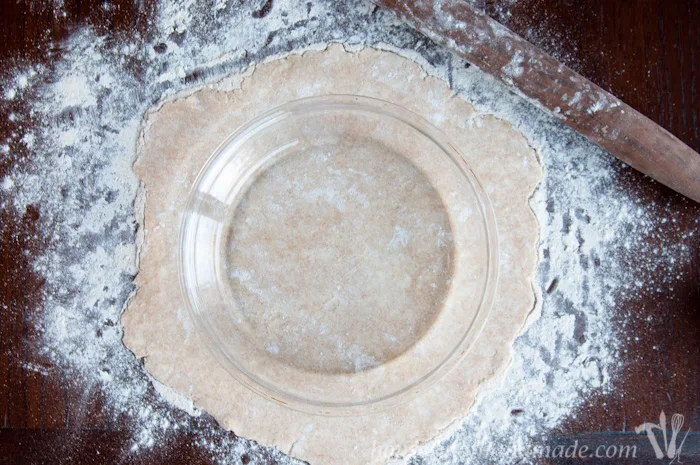
Add a little more flour to the top of your dough and grab your pastry scraper. You are going to carefully fold the rolled out dough in half and use your scraper to carefully scrape the dough that stuck to the table below it.
When it’s folded in half, you can carefully scrape off any of the other half that is stuck.
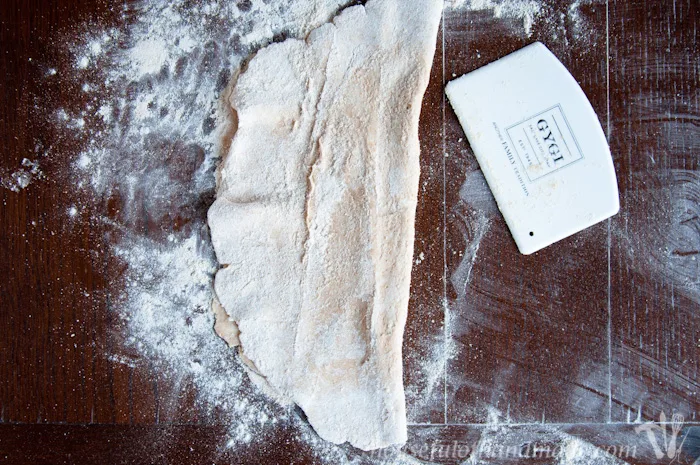
Lift the folded dough into your pie pan and center the fold in the center of the pan.
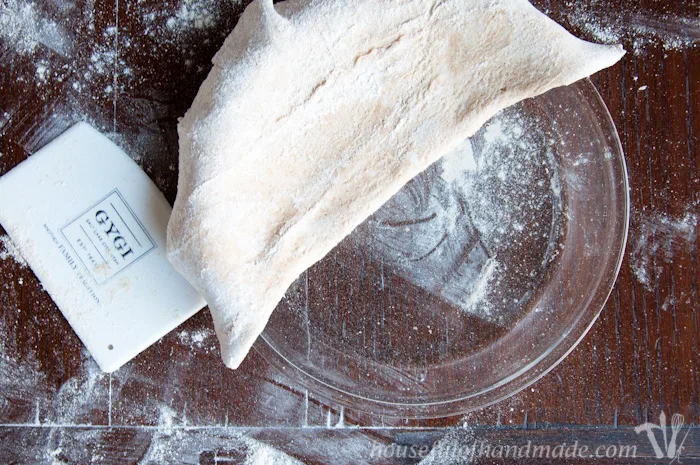
The rolled dough should easily unfold and then you can pat it into the sides. Now the dough is in the pan!
This was always a stressful part for me and now it is so easy (especially with my dough scraper).
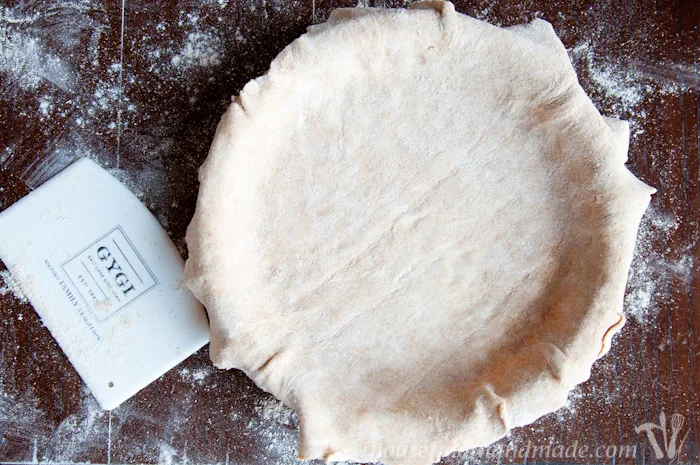
How to Crimp the Edges of Pie Crust
Time to make the edges of the pie crust pretty. There are lots of options out there. Heck, you don’t even have to make it pretty at all, does it really make the pie taste better?
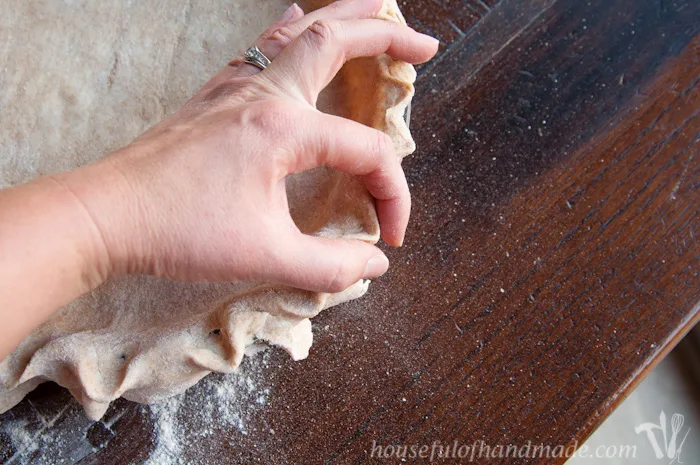
But my mom always did it this one way so that is the way I do it and that is the way I will show you. The challenge with this technique is, it takes two hands, which I have, but I cannot take a picture of my hands doing this while using both hands.
Since I am right handed, I use my thumb and pointer finger on my left hand and slightly pull the excess dough from the outside of the pan up, while using the pointer finger of my right hand to pinch down the dough in between my fingers on my other hand making a wave out of the dough.
Then move around the whole perimeter of the pie crust that way and it will look very close to awesome (see even after doing this for 20 years, mine still look handmade with love).
Using a butter knife, run it under the lip on the pie pan and cut off the excess dough. And now your pie crust is done! Yeah!
You can bake it empty, just stab the bottom a bit with a fork or fill it with pie weights so it doesn’t puff up in the middle. Then fill it with a delicious cream pie filing.
Or add your filling/fruit and bake the whole pie. Oh yeah, hot pumpkin or apple pie, dripping with melting cream! The possibilities are endless.
You can use this crust to make hand pies, pot pies, quiche, or even homemade poptarts. I think I’m getting hungry!
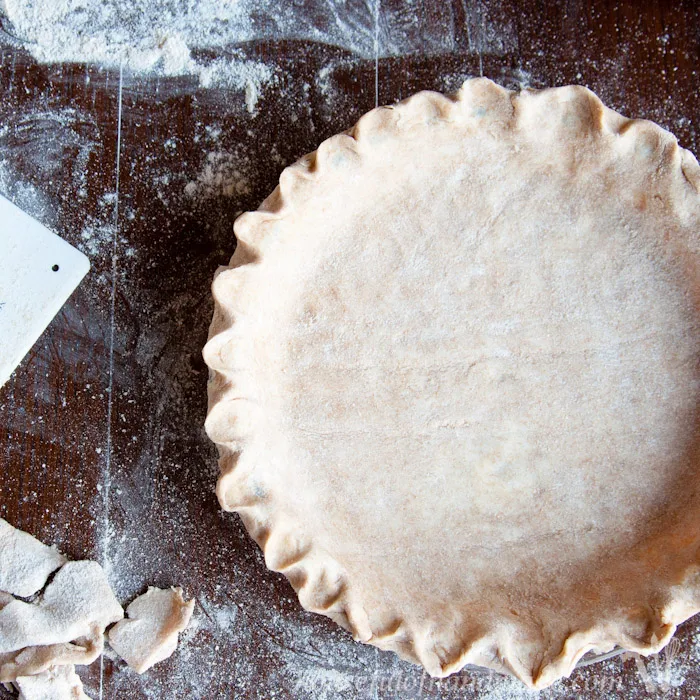
My mom would always take the left over scraps of dough and roll it out into a blob, then sprinkle it with cinnamon sugar and bake in the bottom of an extra pan. We would munch on the sweet cinnamon crust while waiting for the rest of the pies to bake!
If you made it all the way through this really long post about just the shell of the pie, you must be a pie lover too. I hope this was helpful. And if you are ready to fill up your pie crust, I will have more deliciousness to share soon 😉
Now to go eat some pie…
How to Make the Best Whole Wheat Pie Crust
Learn how to make the best whole wheat pie crust ever! Tons of great tips and tricks so you can make the best pies for your Thanksgiving gathering.
Ingredients
- 2 cups whole wheat pastry flour, plus more for rolling out dough
- 1/4-1/2 tsp salt
- 1 cup cold butter
- approximately 1/2 cup ice cold water
Instructions
- Mix together the flour and salt in a large bowl.
- Cut in butter with a pastry blender until it resembles corse crumbs.
- Add 1/4 cup ice cold water and carefully stir with a spoon. Be careful not to over-mix.
- Continue adding water 1 Tbsp at a time just until dough comes together. Pat it into a ball with hands.
- Cut dough in half. Roll one half into a 1/4 inch thick circle just larger than your pie pan.
- Transfer rolled dough to the pie pan. Cut excess dough from edges.
- To bake empty, bake in a 425 degree oven for 12-15 minutes. To bake filled, follow directions for your pie filling.
- Enjoy!

Yen
Friday 29th of March 2024
Hi. Is this recipe for a double crusted pie?
Kris
Wednesday 17th of October 2018
can the butter be salted ?
Kati
Monday 22nd of October 2018
Yes! I always use salted butter.
Lisa
Thursday 30th of November 2017
I made this yesterday to use as top crusts for individual turkey pot pies. The recipe was super easy and the texture of the dough came out beautifully. The end results were delicious. Prior to baking, I brushed the dough with an egg wash which added to the presentation of the pot pies. Thank you for the terrific recipe.!
Kati
Thursday 30th of November 2017
I'm so glad you liked it Lisa! I love this pie crust on turkey pot pies (which is actually what we ate for dinner last night too). I always forget about the egg wash part though. It does make the crust look superb!
Kim~madeinaday
Monday 26th of September 2016
Interesting post, I have not tried to make pice crust. Thanks for the recipe! Thanks for linking up to Merry Monday! Sharing on G+! Have a great week! Kim
Kati
Monday 3rd of October 2016
You should definitely try making a pie crust. Homemade pie crusts taste so much better!
Janet Vinyard
Monday 26th of September 2016
Hi Kati, I have a grain grinder and I love to make fresh whole wheat flour with it, too. I've never made whole wheat pie crust but it sounds great, with the slight nutty flavor the whole wheat would lend to it! I look forward to trying your recipe! Thanks for the great instructions! Blessings, Janet
Kati
Monday 3rd of October 2016
Thanks Janet. The nutty flavor of the whole wheat is my favorite part of the pie crust. It is yummy with savory and sweet pies. I hope you enjoy it as much as we do.