Decorate for fall and Thanksgiving with this fun dollar store pumpkin craft.
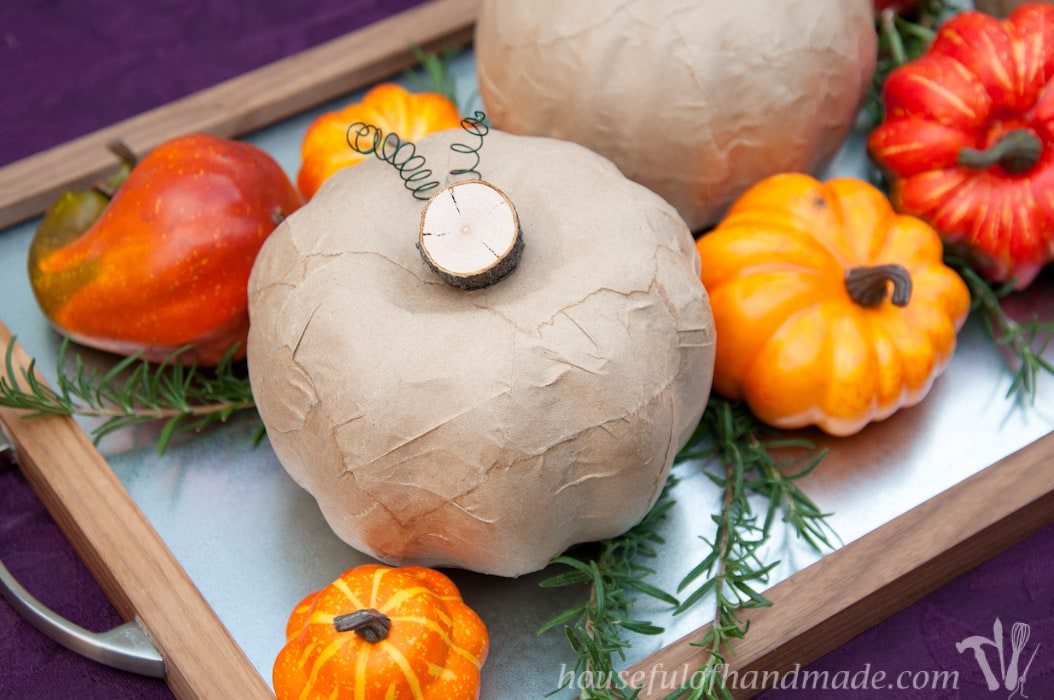
This simple centerpiece started with this simple wood and steel serving tray. And looking through my craft supplies, I found a few orange carveable pumpkins you can find at the dollar store before Halloween.
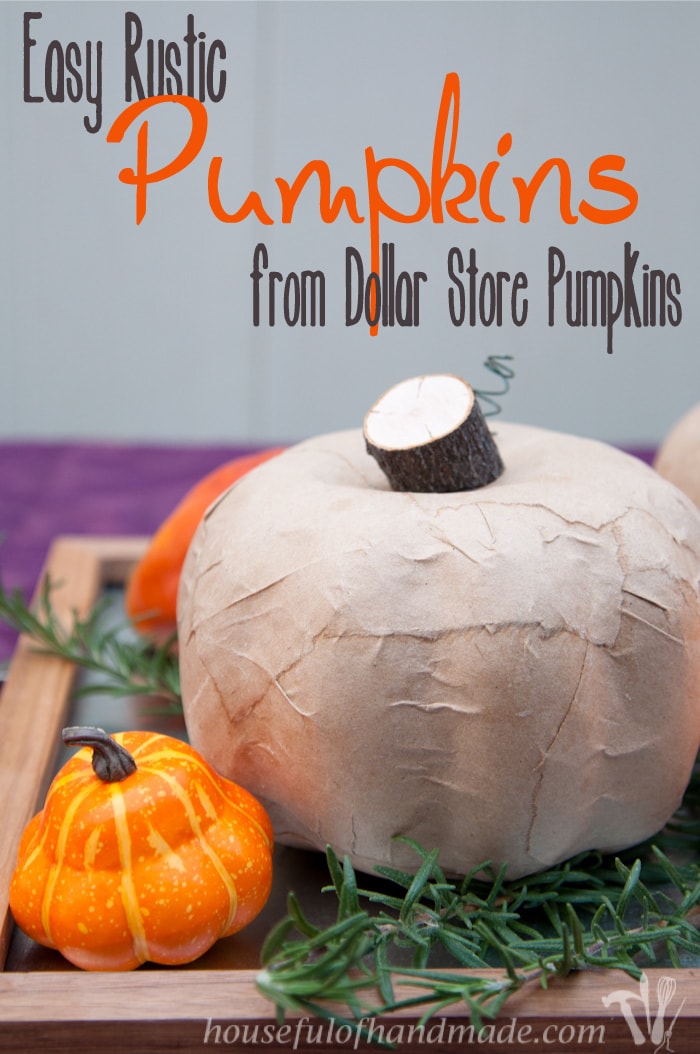
But they did not work with the rustic look I wanted. So it was time I made them into something beautiful. With just a little time and something I rescued from the trash, I turned then into beautiful rustic pumpkins!
There are a lot of options to cover up the cheap orange pumpkins. With my rustic theme, I wanted something with a natural texture and color.
This post may contain affiliate links. As an Amazon Associate I earn from qualifying purchases. Click here to read my full disclosure policy.
After rummaging through my piles of craft supplies with no inspiration, I went to put away groceries and had a lightbulb moment! The brown paper bags would be perfect and they’re free.
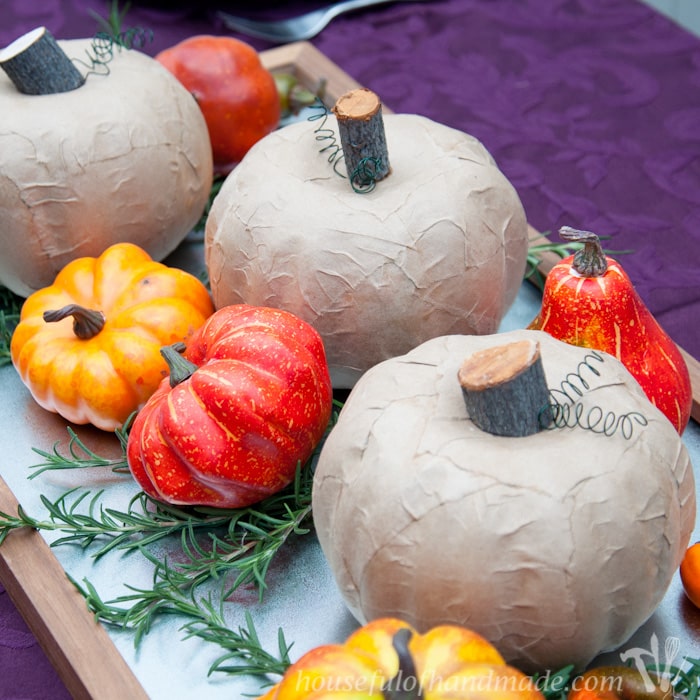
These 3 rustic pumpkin decorations cost less than $4 to make! They are made with just dollar store pumpkins, free brown paper bags, Mod Podge (about $0.50 worth of the whole container that cost me $5.50), branches from the yard, and a couple feet of floral wire.
Who says cheap crafts have to look it? These pumpkins look like they cost way more than $4.
I decided the easiest way to get the paper bags onto the pumpkin was to Mod Podge them on. Sadly, I had to wait a couple days to pretty up my pumpkins.
Apparently I have been using too much Mod Podge (if that’s possible) and was completely out. So after a quick trip to the craft store, I was ready to begin.
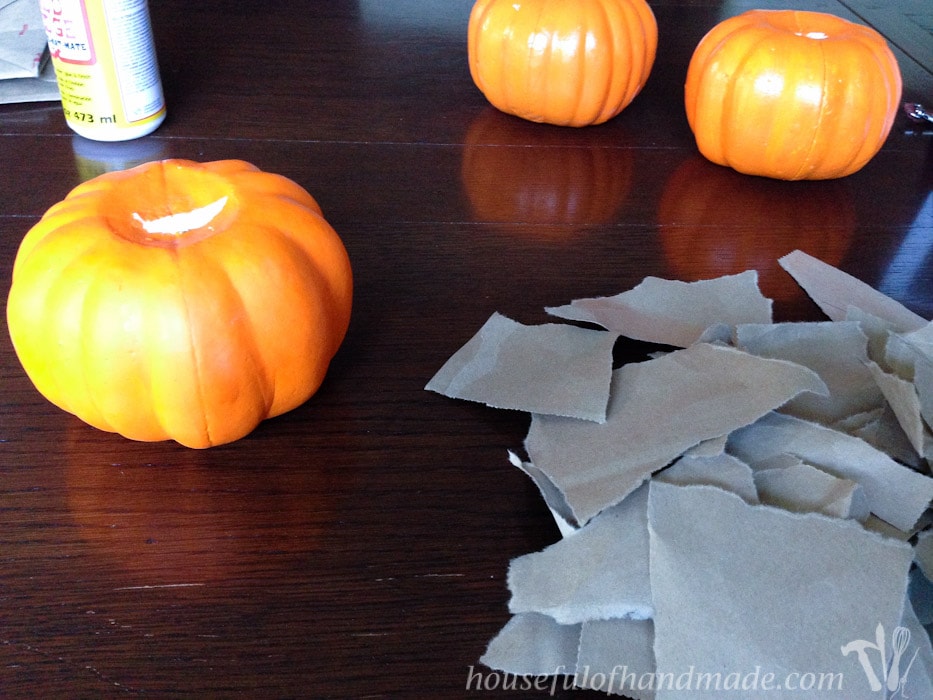
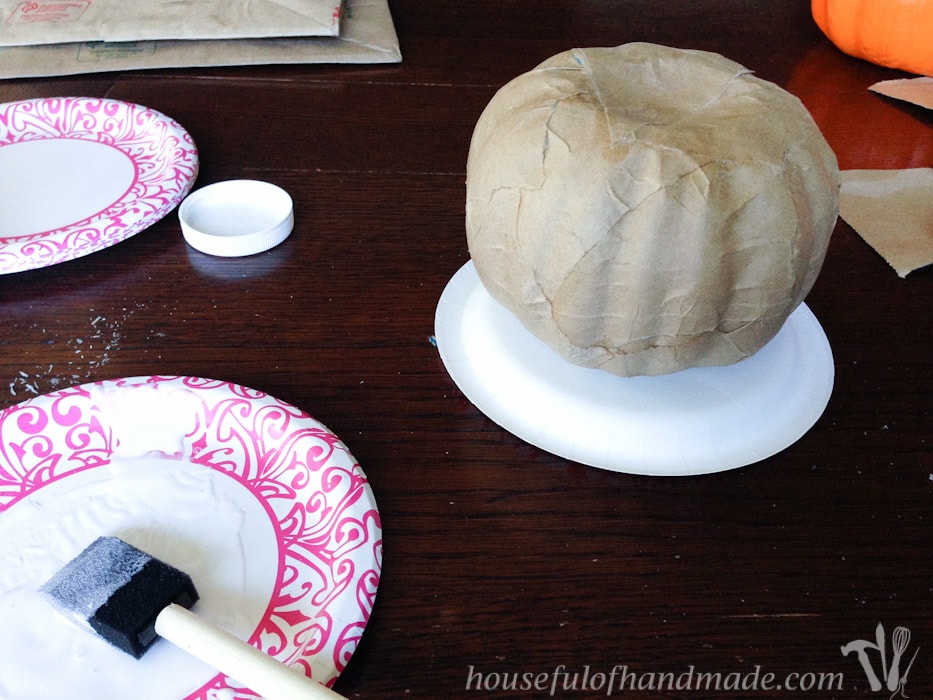
Start by popping the foam stems off the pumpkins, these can be thrown away. Then rip up a brown paper grocery bag into random sized pieces. I like ripping the bag so there is a soft edge to the pieces.
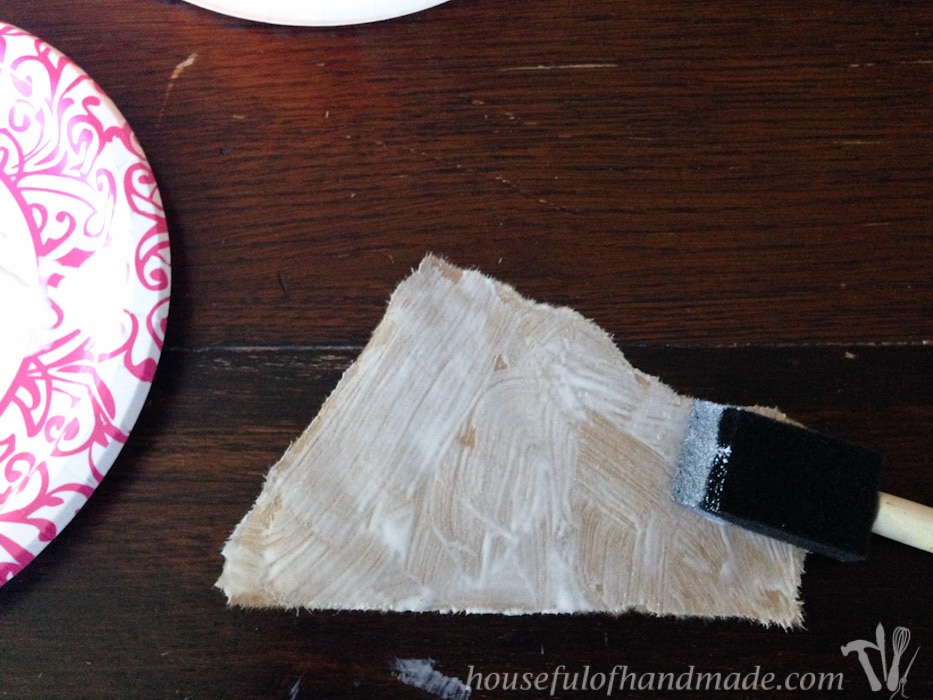
Paint the Mod Podge onto the front side of a piece of paper (the side with any printing on it). Give it a good thick coat of the Mod Podge.
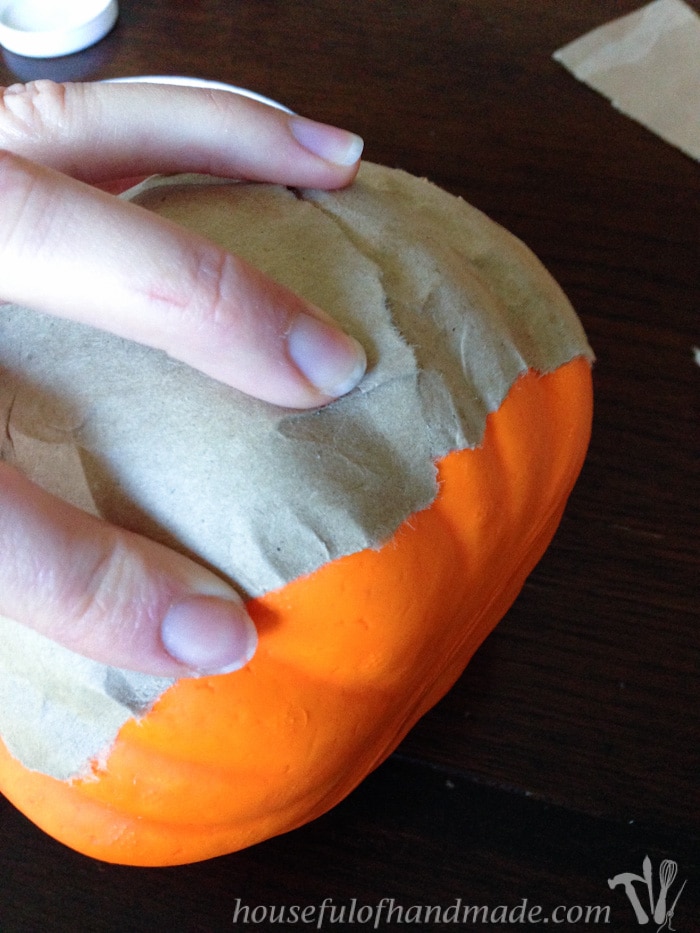
Then press it onto the pumpkin. Use your fingers to press it into the grooves and crease and crinkle the paper to confront to the irregular shape of the pumpkin.
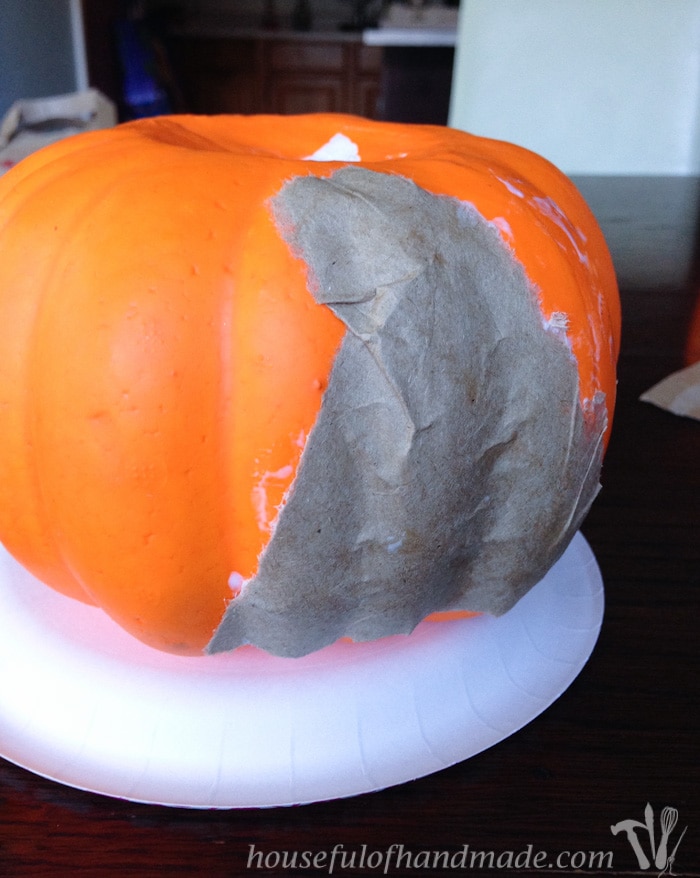
Once it is sufficiently adhered, grab another piece of the paper bag and repeat.
Continue adhering the pieces of paper bag until the pumpkin is completely covered. Then let it dry.
I got all three pumpkins done in an hour and with only one grocery sized paper bag.
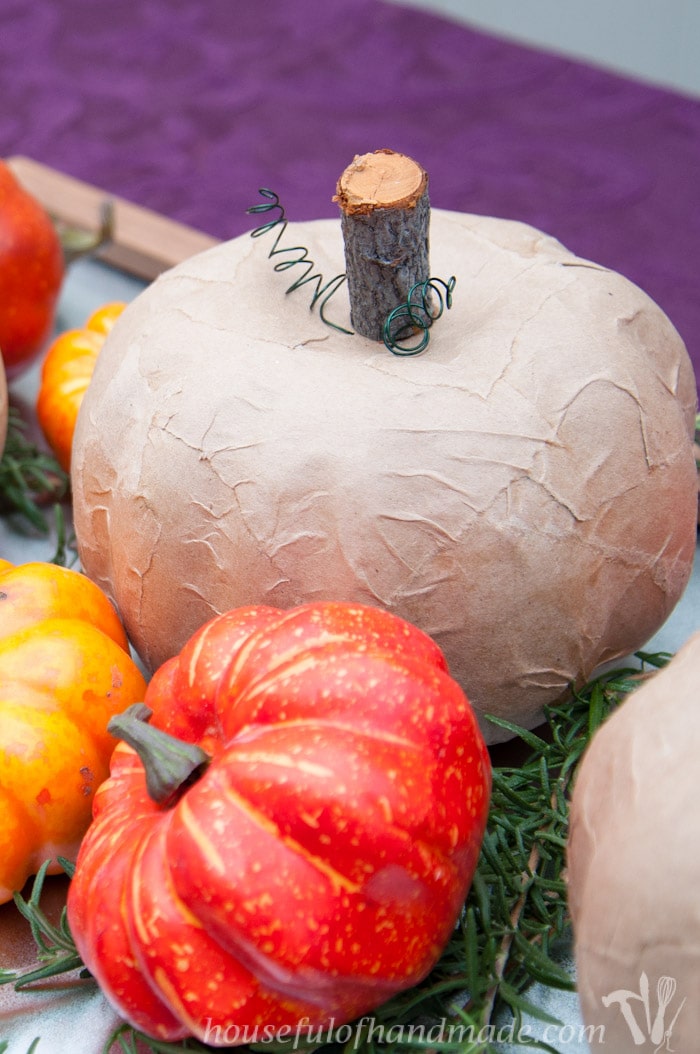
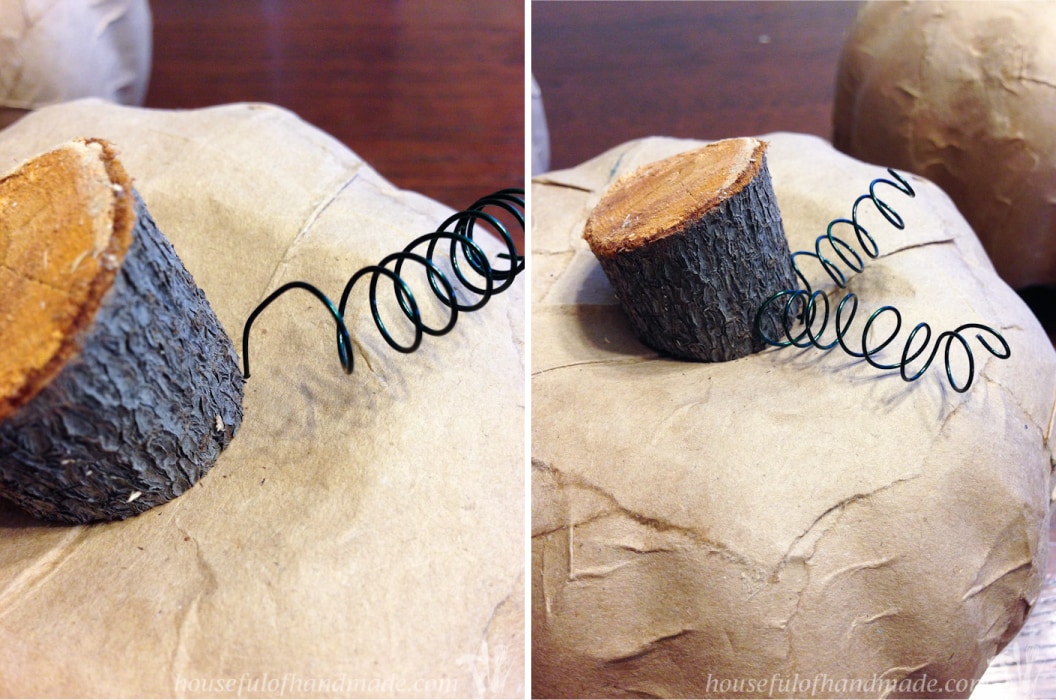
After they were completely dry, it was time to add some appropriately rustic stems and decor. I cut a couple small pieces of wood from some branches trimmed off our trees. Then I glued it into the center of the pumpkin with super glue.
I wanted to add some more pizzaz to the rustic pumpkins, so I made curls out of some green floral wire by wrapping it around a pencil. To attach the curls to the pumpkins, I just stuck the wire into the pumpkin next to the stem. Beautiful!
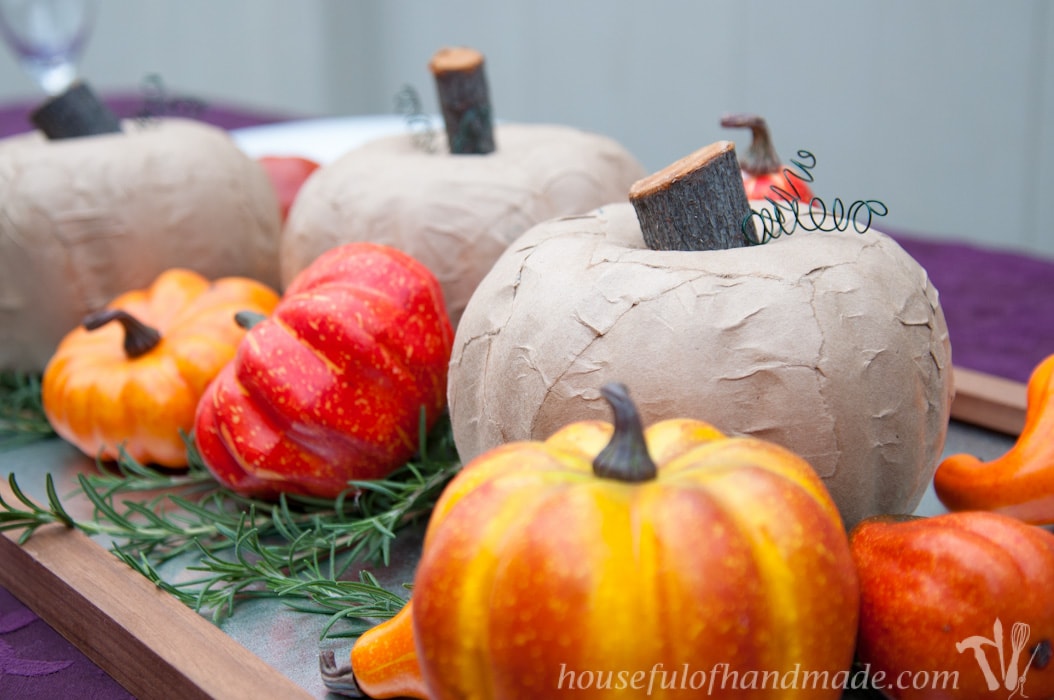
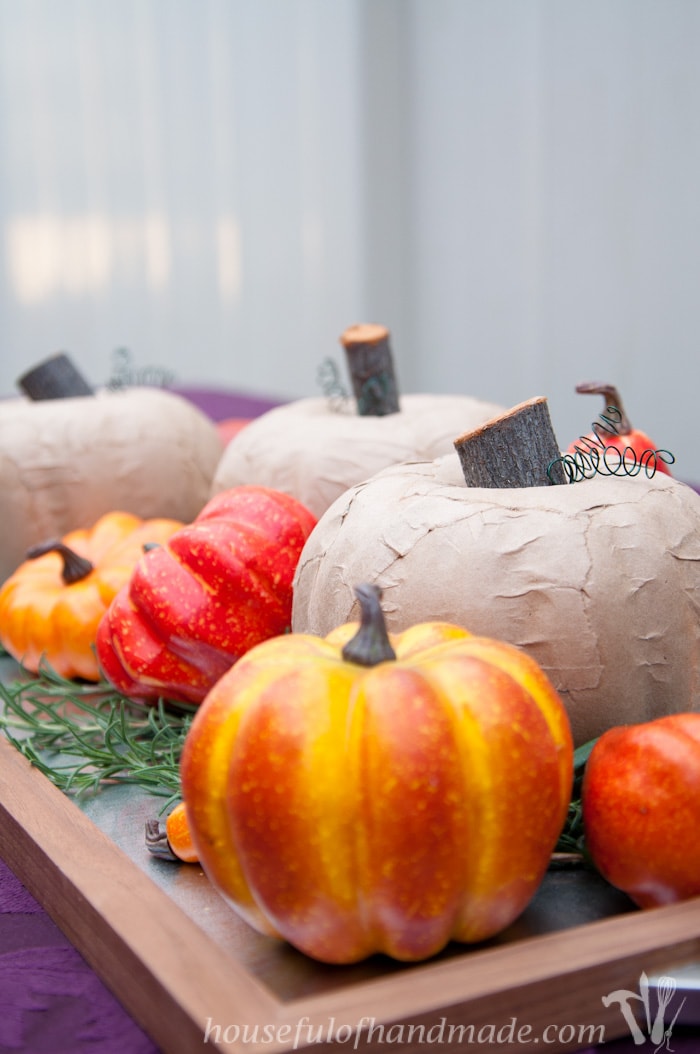
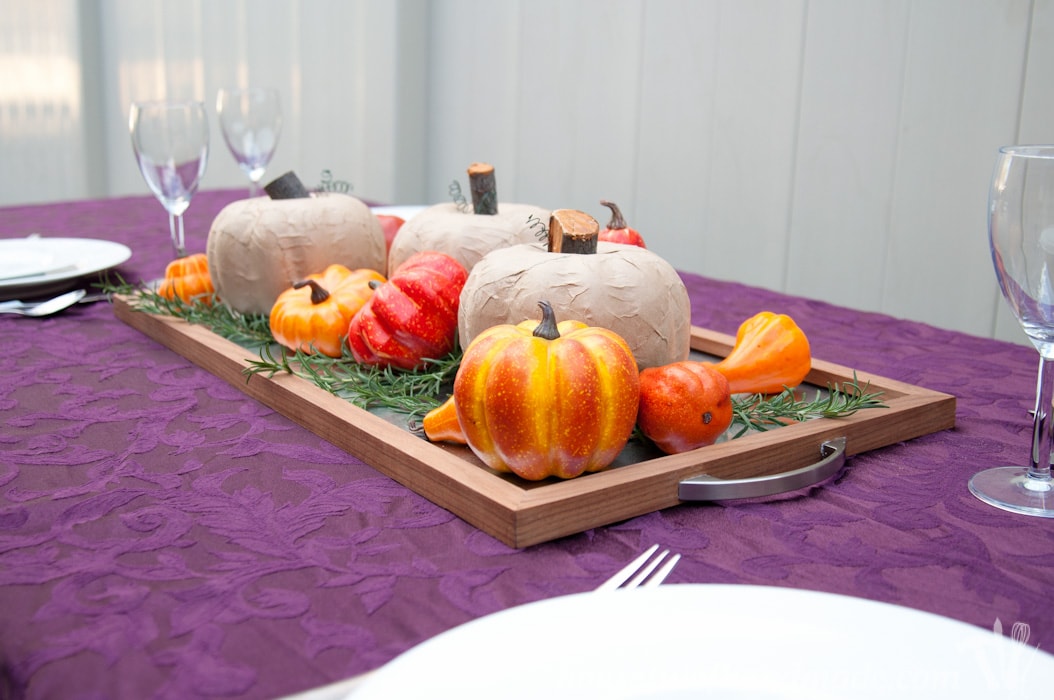
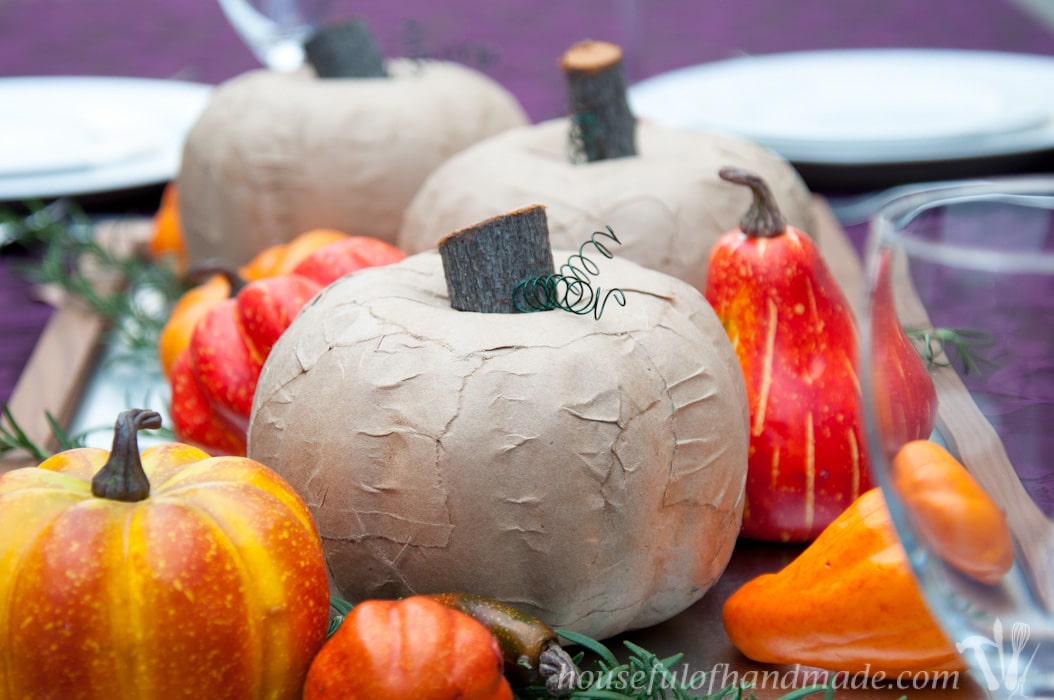
Now it was time to add my beautiful rustic pumpkins to my Thanksgiving centerpiece. I love having the centerpiece on my wood and metal serving tray because I can easily move it around as needed, and it looks great too.
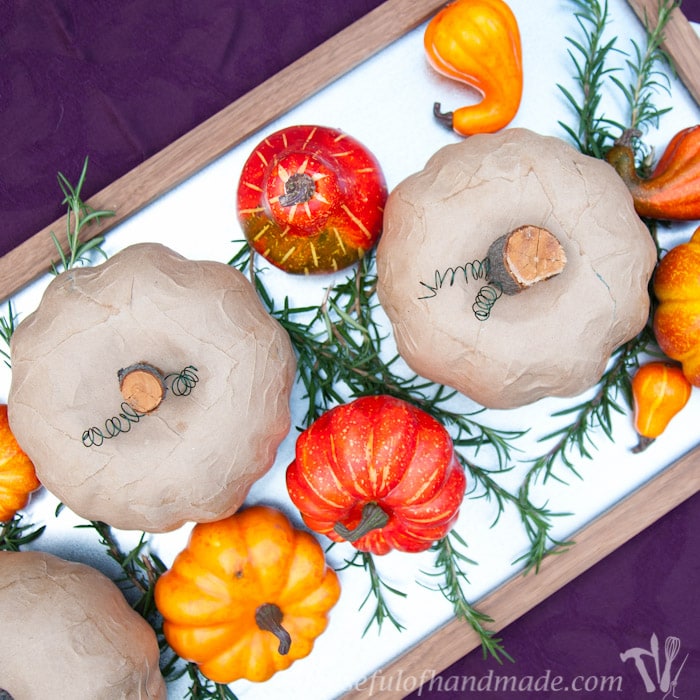
To finish out the centerpiece, I added some small floral pumpkins I bought for a craft a couple years ago. Then I stuck a few springs of rosemary from my herb garden in and around all the pumpkins.
It adds a beautiful natural element and smells amazing!
I think I am now officially ready for Thanksgiving. Time to buy a turkey and plan the menu!
Clearissa Coward
Wednesday 21st of September 2016
I am totally in love with these cute pumpkins and the fact that the project was cost effective is even more reason to love them. They turned out great!
Kati
Sunday 25th of September 2016
Thanks Clearissa! I am a sucker for a budget craft for sure :)
Victoria @DazzleWhileFrazzled
Tuesday 20th of September 2016
Love how they look with the ripped paper decoupage. Very clever! Visiting from Wednesday Showcase.
Kati
Sunday 25th of September 2016
Thanks Victoria! They turned out so perfect for fall and were so easy :)
Sherry
Thursday 26th of November 2015
These look fantastic! Thanks for sharing with us at Funtastic Friday. Please join us for this week's party.
Kati Farrer
Saturday 28th of November 2015
Thank you!
Amanda @The Kolb Corner
Monday 23rd of November 2015
These turned out so well! Love the idea of using brown paper bags--frugal but fabulous! Thank you for sharing at Merry Monday!
Kati Farrer
Monday 23rd of November 2015
Thanks Amanda! I am all about using cheap supplies to make amazing looking crafts.
Amila
Thursday 19th of November 2015
I really like this decorative idea.Perfect for arranging the dining table with this kind of centerpiece.
Kati Farrer
Thursday 19th of November 2015
Thank you Amila! I am loving our centerpiece.