No tools are needed to make these fun vintage style DIY crates!
Well, unless you consider scissors and a glue gun a tool?
Because these farm fresh DIY crates I made for my fall decor are made out of paper! Can you believe it?
No I know what you are thinking… paper is not strong enough for a crate to actually hold anything. Well, I solved that little problem with a piece of foam board from the dollar store!
This post may contain affiliate links. As an Amazon Associate I earn from qualifying purchases. Click here to read my full disclosure policy.
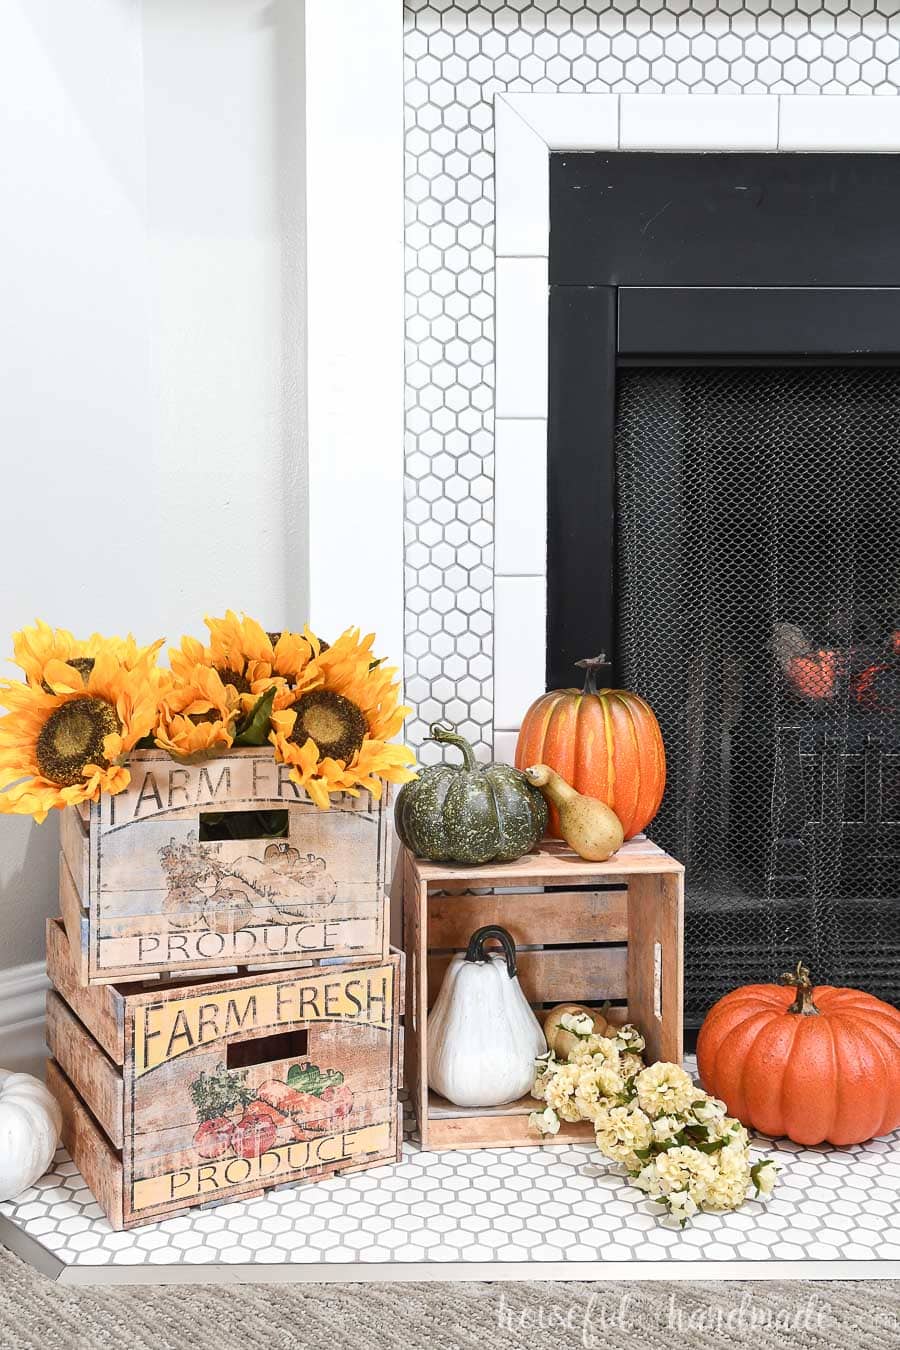
So armed with some paper, $1 foam board, and some glue, I set out to make the perfect decorative crates for my farmhouse fireplace this fall. And I have to admit, I am in love.
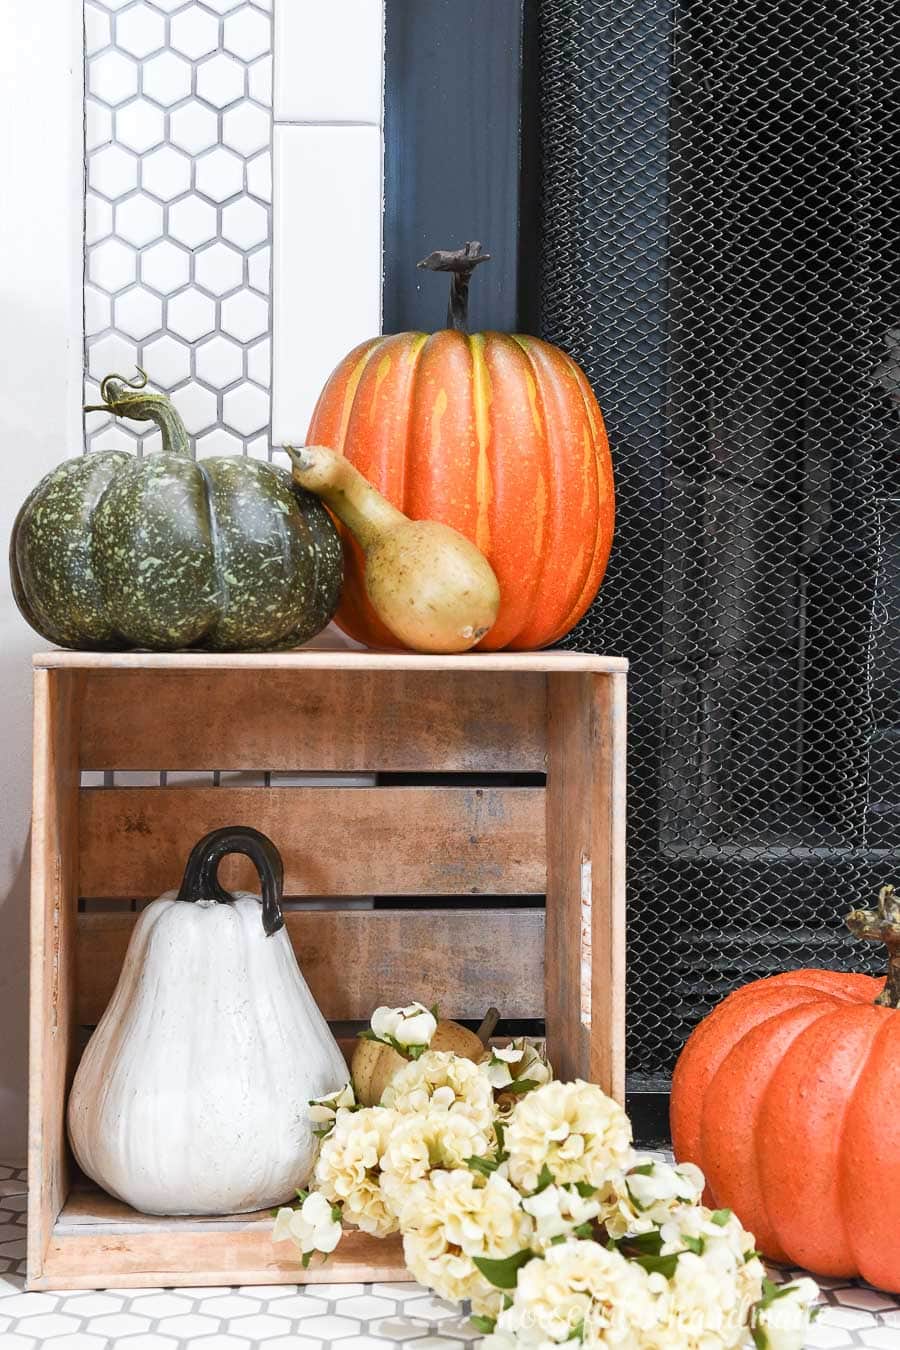
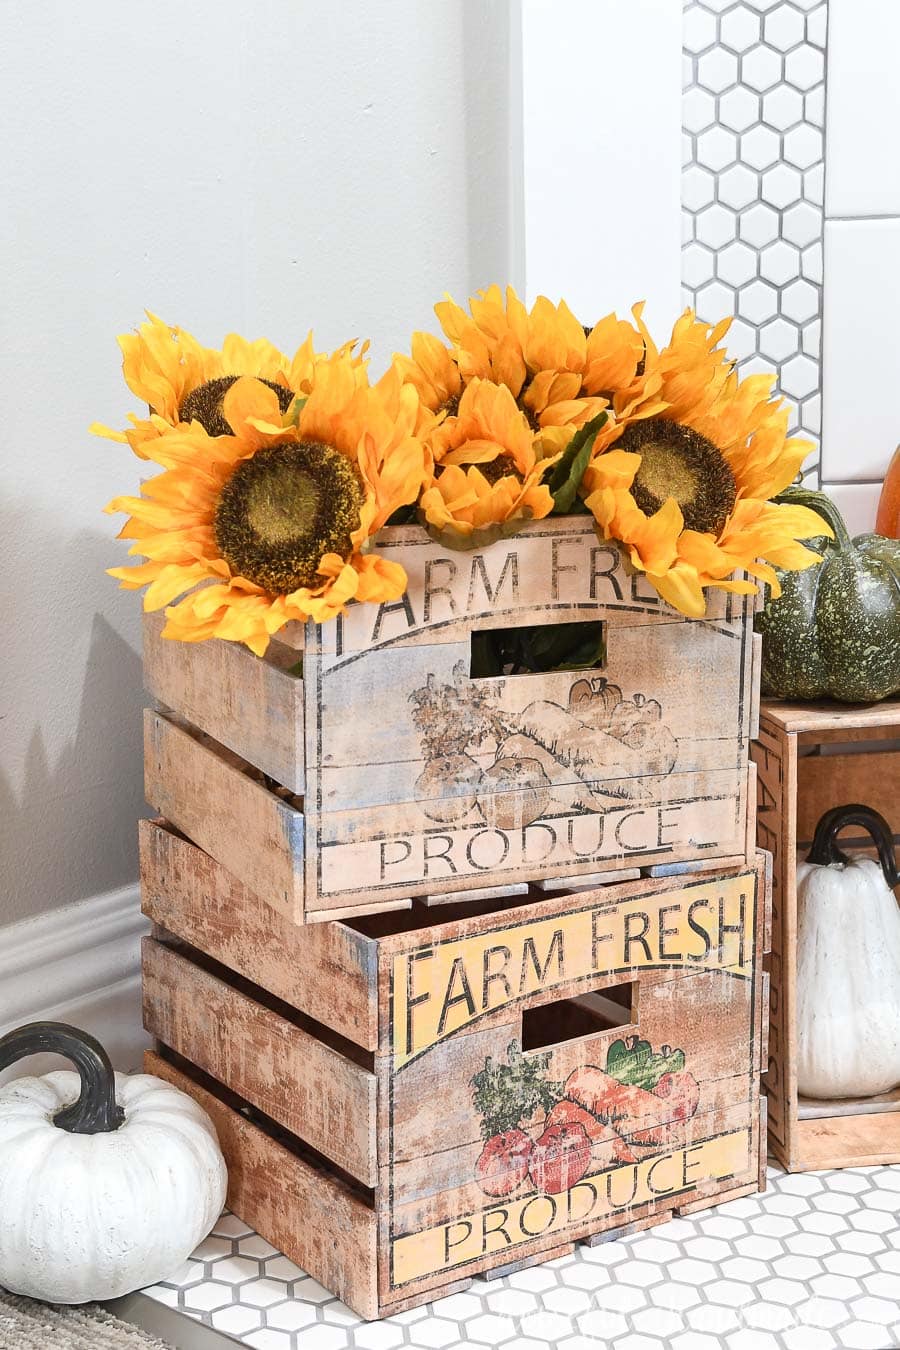
These simple DIY crates make our hearth look like a display at the local farmers market. The crates are perfect for displaying sunflowers, pumpkins, and gourds.
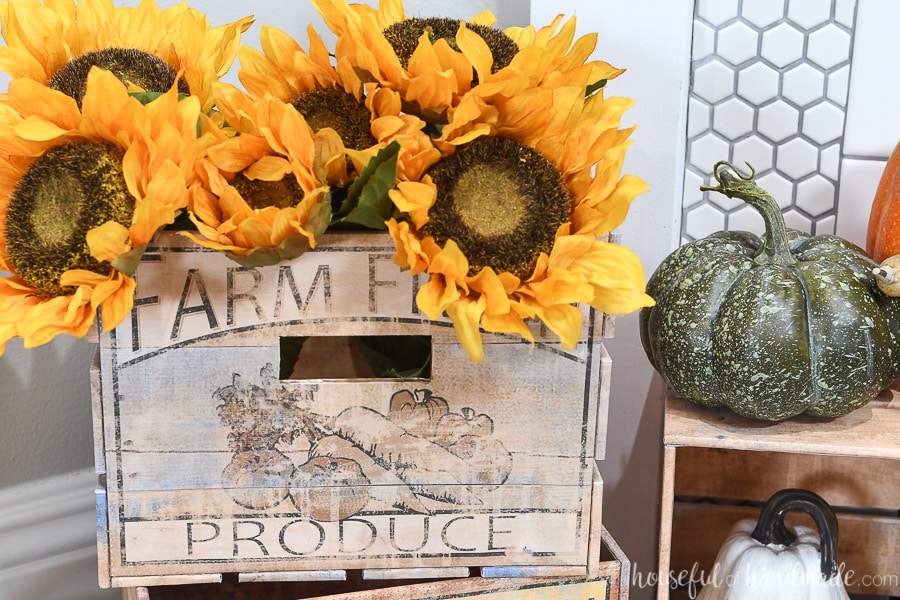
And worn out farm fresh design on the front works perfectly for decorating anytime of the year.
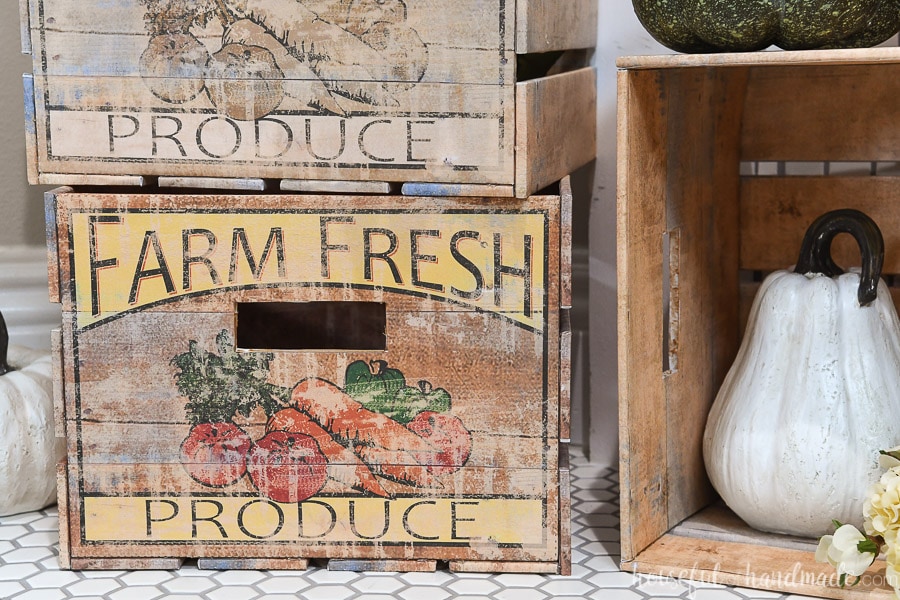
Plus, since I couldn’t decide if I preferred the crates with a colorful front, or all muted and gray… I made both!
Pick which one you like the best, or make some of both to create a stunning farm display like I did.
But of course the best part, anyone can make these crates for some easy farmhouse decor. I’ll show you how below.
How to Build Paper Crates
Supplies:
- Farm fresh crates template
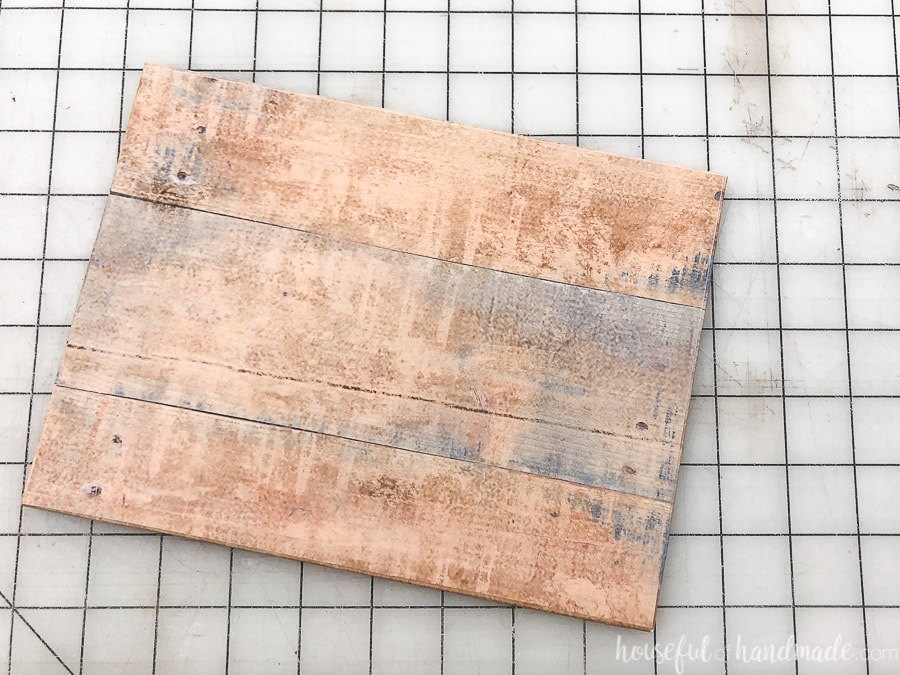
- Paper
- I prefer to use 25 lb printer paper for printing full color designs on.
- Foam board
- Scissors
- X-acto knife
- Ruler
- Spray glue, glue stick or Mod Podge
- Hot glue gun with glue sticks
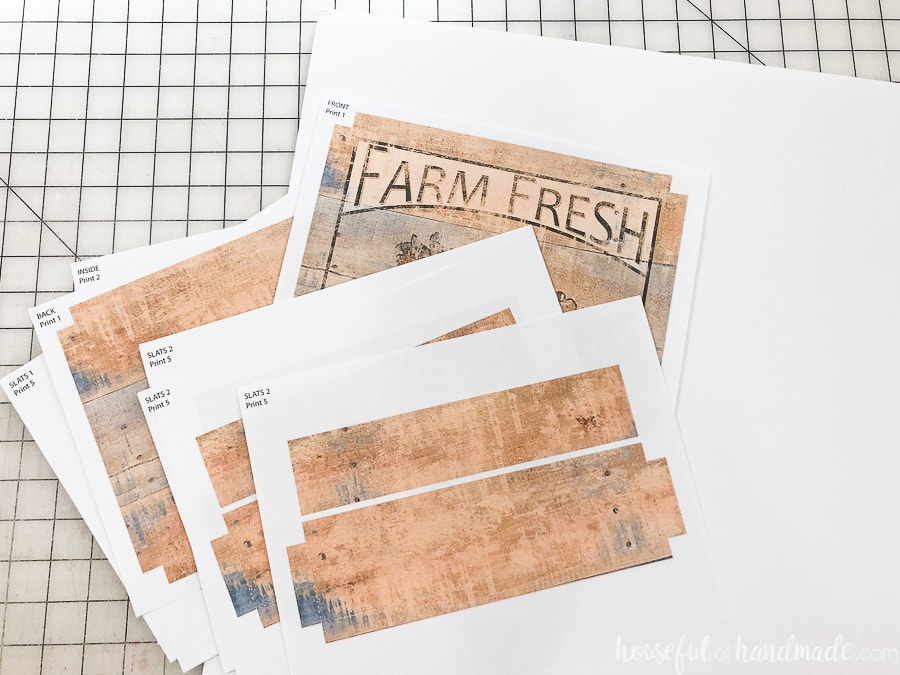
Cut Out all the Pieces
Print out the template pieces on your paper.
You can print at home or at a print shop, but make sure to print Actual Size when printing or the size you cut your foam board will need to be adjusted. Each crate will take 14 sheets of paper.
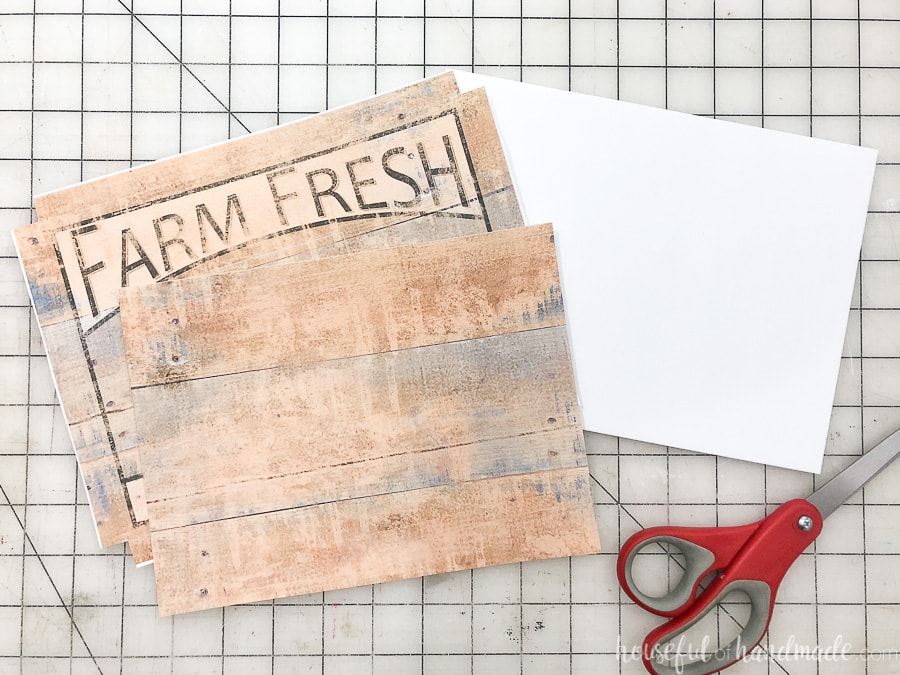
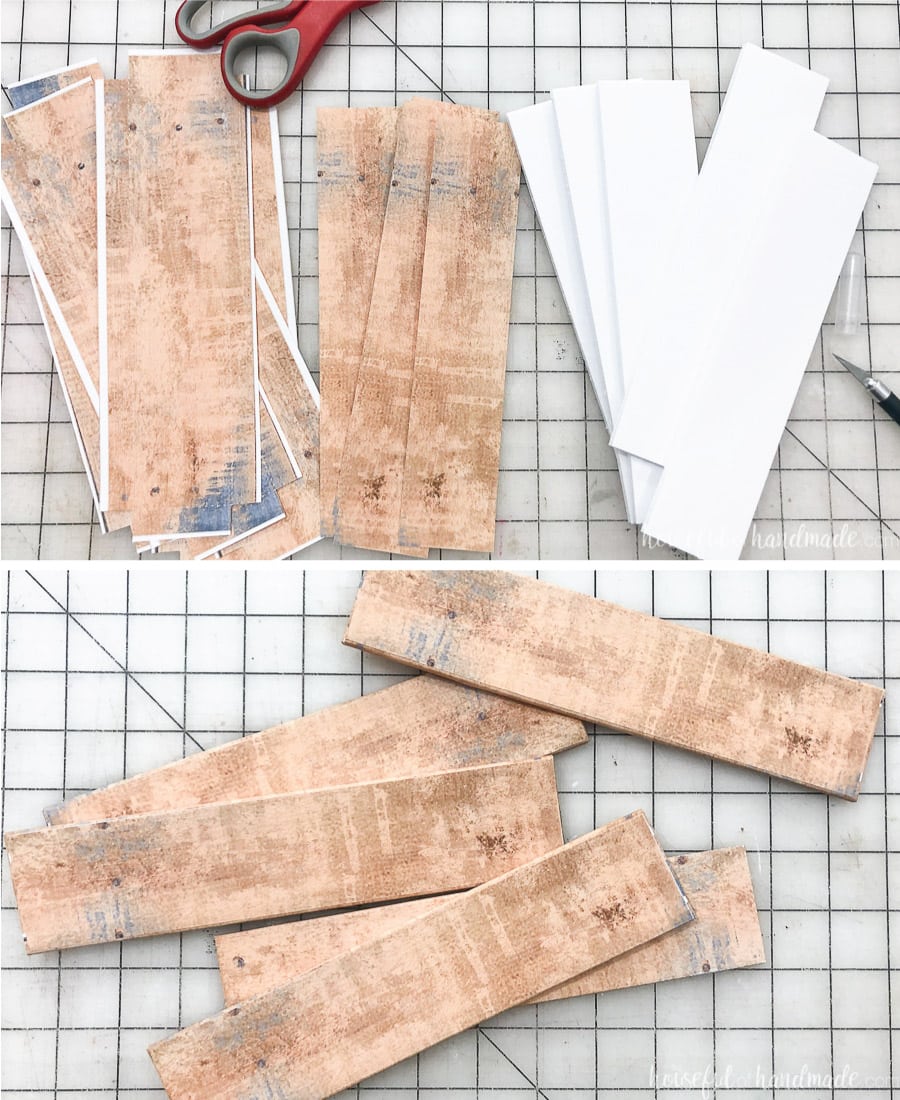
Use your scissors to cut out the pieces.
The front pieces have tabs on all sides to fold over the sides of the foam board. You can be less precise about cutting around the tabs since they will be hidden. But make sure to clip the squares from the corners.
The back pieces will need to be cut more cleanly. Unless you want the white paper visible.
Use your x-acto knife to cut out the following pieces from the foam board.
A sharp x-acto knife and a ruler will give you clean cuts on the foam board.
- 2 cut to 6 3/4″ x 9″
- 10 cut to 2″ x 9″

If you do not care that the bottom of the crate is made with slats, you could just cut a piece of foam board to fill it completely saving yourself 4 pieces of paper.
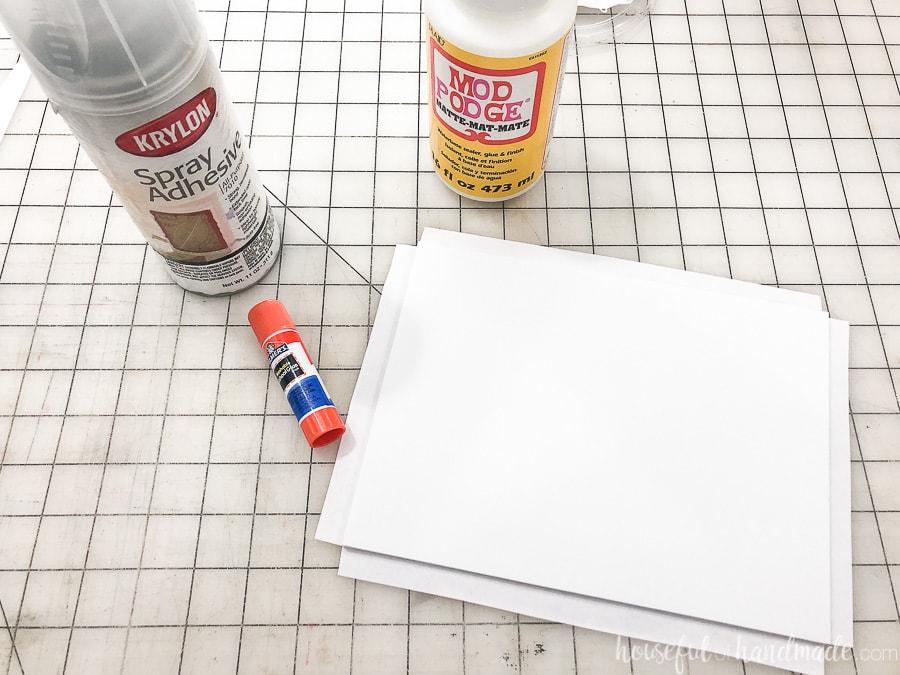
Glue Together the Pieces
You can use spray glue, a glue stick or Mod Podge to glue the pieces to the foam board. I have tried all 3 and prefer the spray glue because it is super quick.
Spray glue is more expensive, but I have been using the same can for a while now. Make sure to keep the nozzle clean and you will be able to use it on lots of projects.
The Mod Podge requires more work to ensure there are no bubbles, but you can grab a container at the dollar store when you are picking up your foam board.
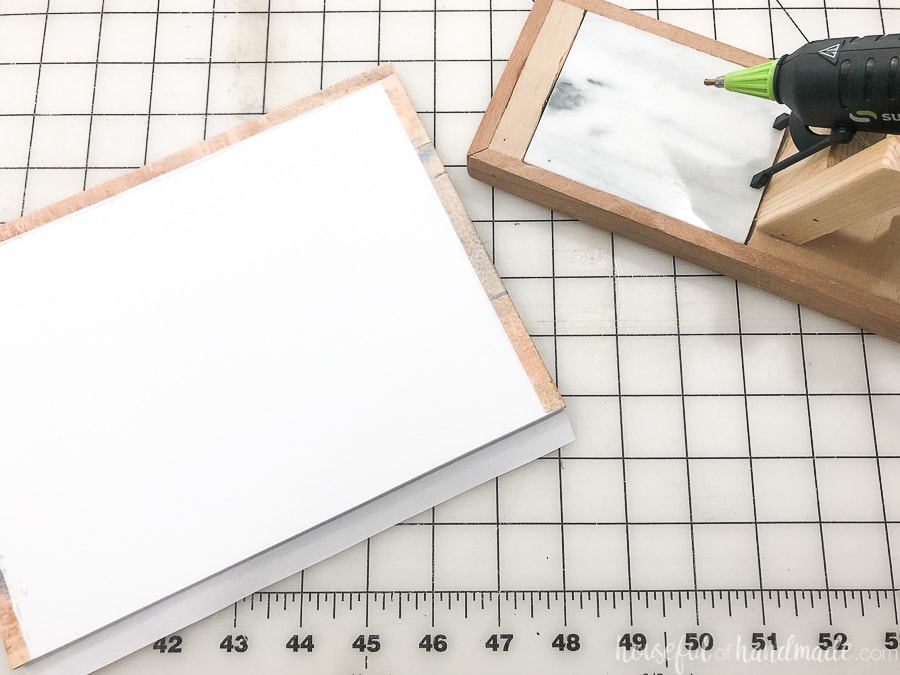
Use the glue all over the back of the front piece. Then lay one of the large pieces of foam board in the center of it. I just lined it up with the clipped corners.
The folded over edges need to be extra secure so the pieces do not come apart, making the crate fall apart (ask me how I know).
So use the hot glue on the tabs then fold them over the edges and secure on the back.
Add your glue of choice to the back of the back piece and center it on the back, covering up the tabs.
If the edges need more securing, use a little hot glue.
Repeat for the back of the crate and all 10 slats.
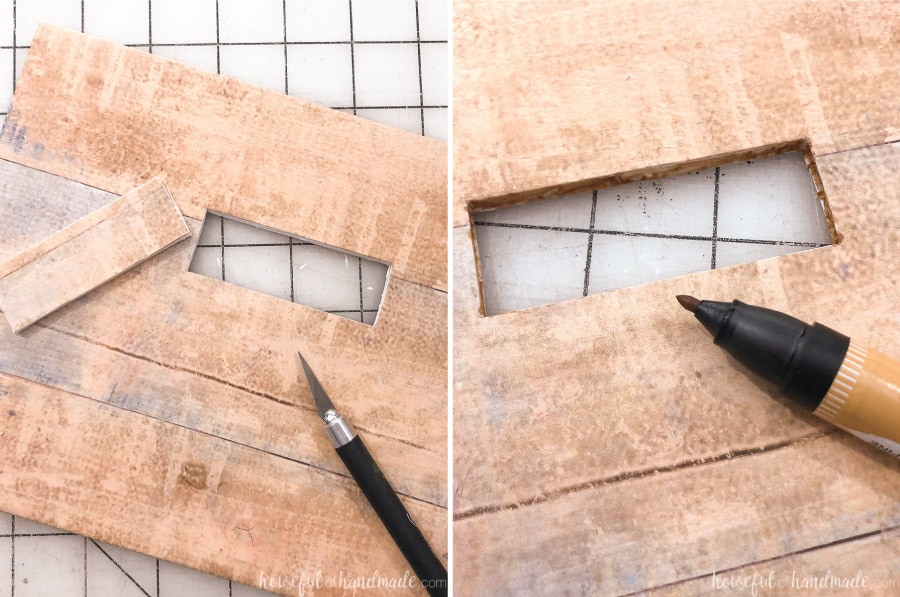
Cut Out the Handles
For the front and back of the crate, you can cut out handles making them easy to carry. Plus they just look cool.
Use the x-acto knife to cut the solid line noted on the front of the assembled pieces. Make sure you cut all the way through the foam board and paper on the back.
Flip it over to confirm and finish any cuts in the corners before popping it out.
If you want, you can use a marker to color the inside of the handle to match the crate template color.
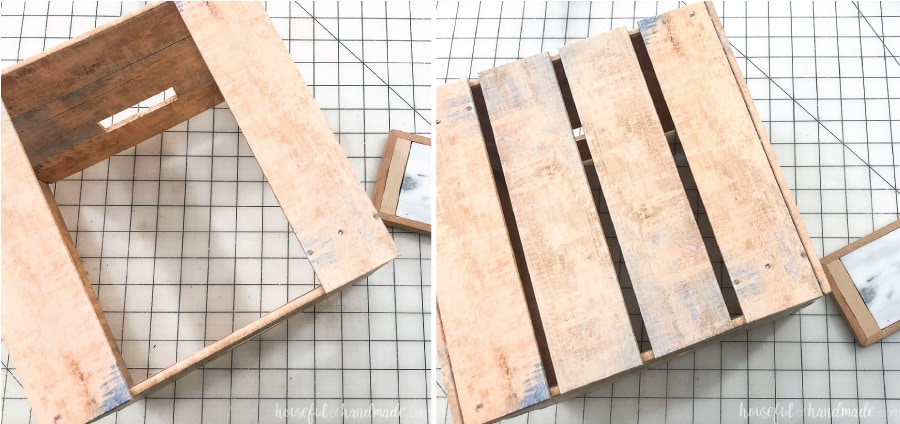
Assemble the Crate
Once all the pieces are glued together it is time to assemble the DIY crate!
Add glue to the back side of one of the slats and secure it to the bottom front corner of the front piece. Make sure it is flush with the side and the front.
Then add glue to the other back side of that slat and secure it to the back piece in the same way. Add another slat to the other bottom front corner.
Next, add slats to the side top corners. This will help the box now hold its shape.
Once the four corners are secure, you can fill the rest of the sides and bottom with the remaining slats. Leave a little gap between them. You can measure if you want, or let them be not perfect, just like a vintage crate.
Now your crates are ready to decorate with!
You can stack them, fill them with things, or just let the beautiful vintage style of the farm fresh label be all the decor you need.
designdreamer
Wednesday 9th of August 2023
these are SO cool! Sorry i missed this one!
Michelle
Thursday 3rd of October 2019
Amazing! I would have never thought they were not real wood. They're beautiful!
Kati
Thursday 10th of October 2019
Thanks Michelle! They turned out so great.
Krystal Minton
Friday 20th of September 2019
Where is the templates for this crate?
Kati
Friday 20th of September 2019
It is in my subscriber library. After you subscribe you will get a password. Scroll down until you see the picture and click on the links below to download.
Nicole Dehner
Friday 20th of September 2019
These look great. Can't wait to try!
Kati
Friday 20th of September 2019
Thanks Nicole! Have so much fun crafting.