A gift card box is the perfect way to wrap a gift card.
Don’t let it get lost under the tree in a tiny gift card envelope, instead make a statement with these unique gift card holders.
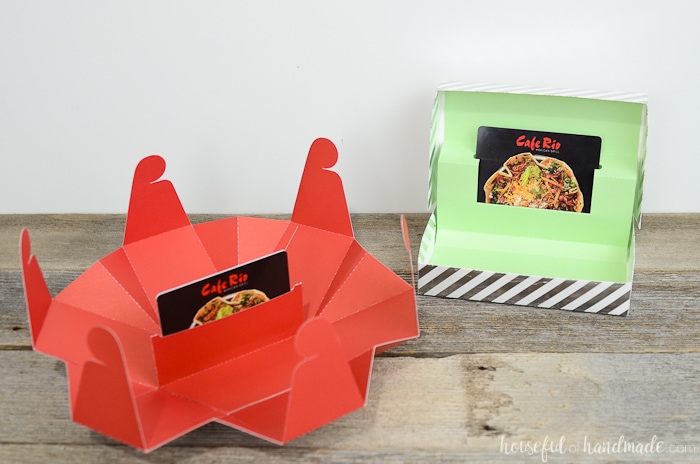
If you are giving gift cards this Christmas, you are going to love these gift card box templates. Make a gift card holder that looks like the perfect present.
No need to worry about the gift card envelope getting lost in the craziness of Christmas morning. And they are super easy to make with the cut files and templates!
This post may contain affiliate links. As an Amazon Associate I earn from qualifying purchases. Click here to read my full disclosure policy.
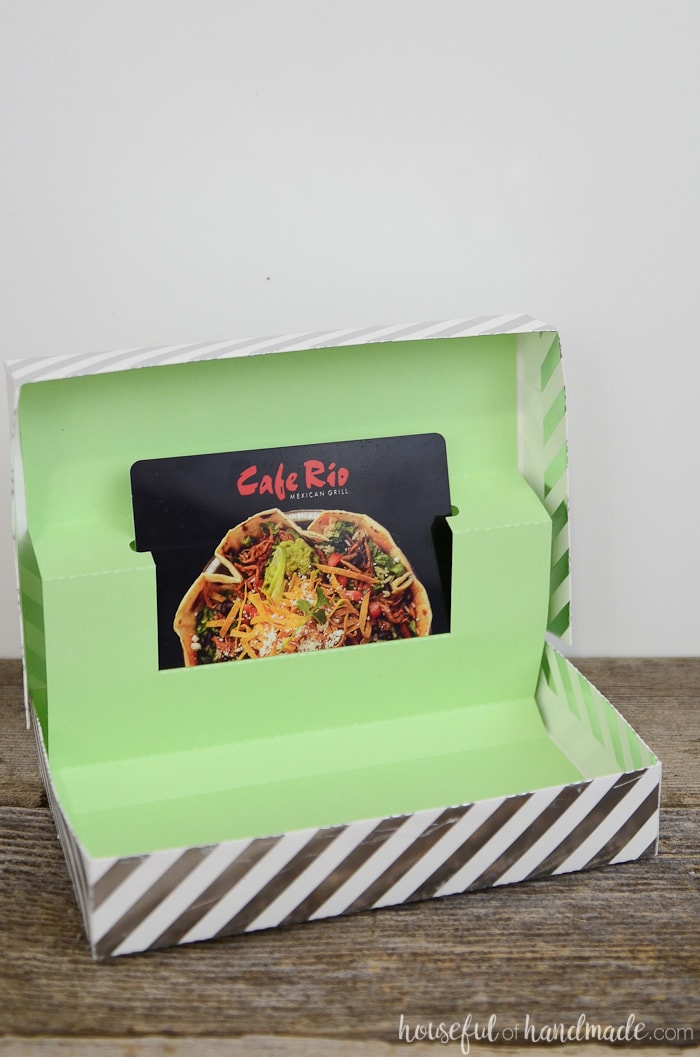
As I was finishing up the last minute gift wrapping (at least for all the gifts that are done, still DIYing a couple things), I decided I wanted a better way to wrap up the gift cards we are giving.
Gift cards are a great gift, but those tiny envelopes just look so sad under tree. I wanted a cute little gift card box that would make those gift cards look as special as they are! I mean who doesn’t like to receive money for Christmas?!
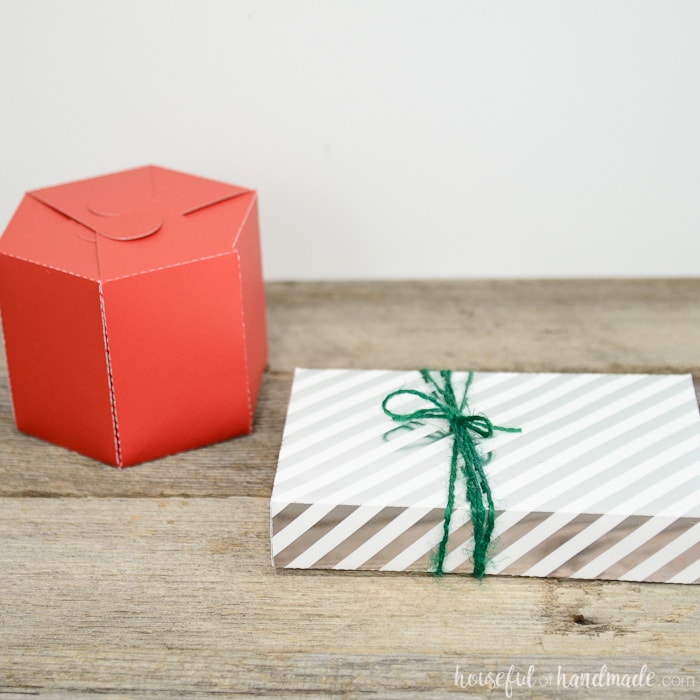
The first one I made is a pretty standard gift card box, but of course I jazzed it up with some sparkly scrapbook paper. Then a quick tie with some twine and it’s the perfect way to wrap a gift card.
And this box is so easy to put together!!! It’s easier than wrapping an irregular box (or those kids toys that have open fronts on the boxes, I hate wrapping them!).
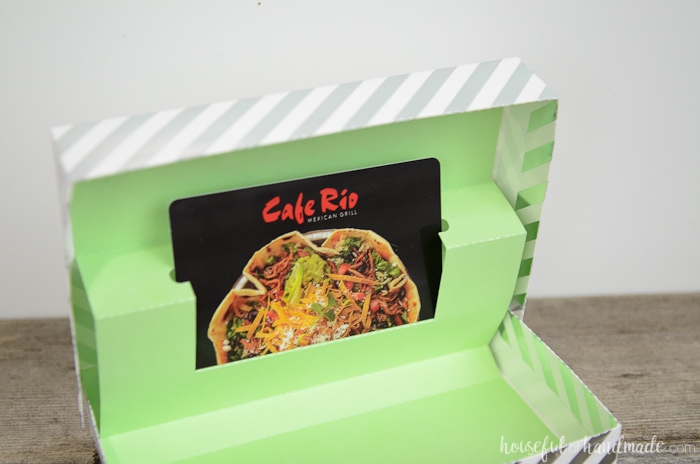
But I also had an idea for another style of gift card box. One that would fall open and reveal the pop-up gift card inside.
This gift card holder almost didn’t happen. The top of the box was giving me oh, so many issues. I used up about 12 sheets of paper cutting, redesigning, and cutting again. It was late last night and I almost gave up.
Luckily, I didn’t have to wake up early this morning and I persisted!

They say 3rd times a charm, but this one took me 6 tries. It was worth it because the gift card box opens like a flower to reveal the prize inside.
And it too is easy to make (now that I have it figured out). You can leave the box as is, add a cute little tag or bow. But I can’t wait to see how it is opened up in a few days!
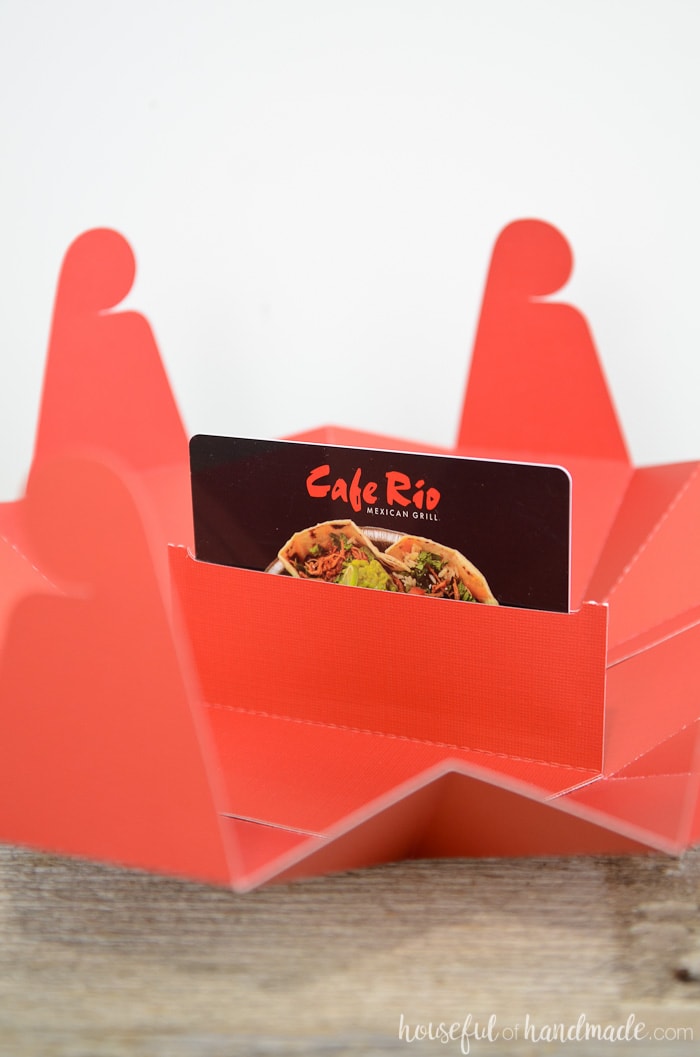
So finish up that last minute wrapping with these amazing gift card box templates. And if you are doing last minute baking gifts, check out this easy cookie gift box DIY too!
How to Make a Gift Card Box
- Gift card box templates
- The cut files & PDF for these gift card boxes were free to my subscribers until 12/6/2018. Now they are available to purchase in the shop. Make sure to subscribe so you will be notified of new freebies!
- Cardstock
- You will need (1) 12″x12″ sheet and (1) 8 1/2″x11″ sheet for the rectangle gift card box and (2) 12″x12″ sheets for the hexagon gift card box.
- Glue
- I prefer my hot glue gun for 3D paper crafts, but a glue stick would work too.
- Gift cards
- Optional: Electronic cutting machine like a Silhouette Cameo or Cricut Maker
For the Hexagon Gift Card Box
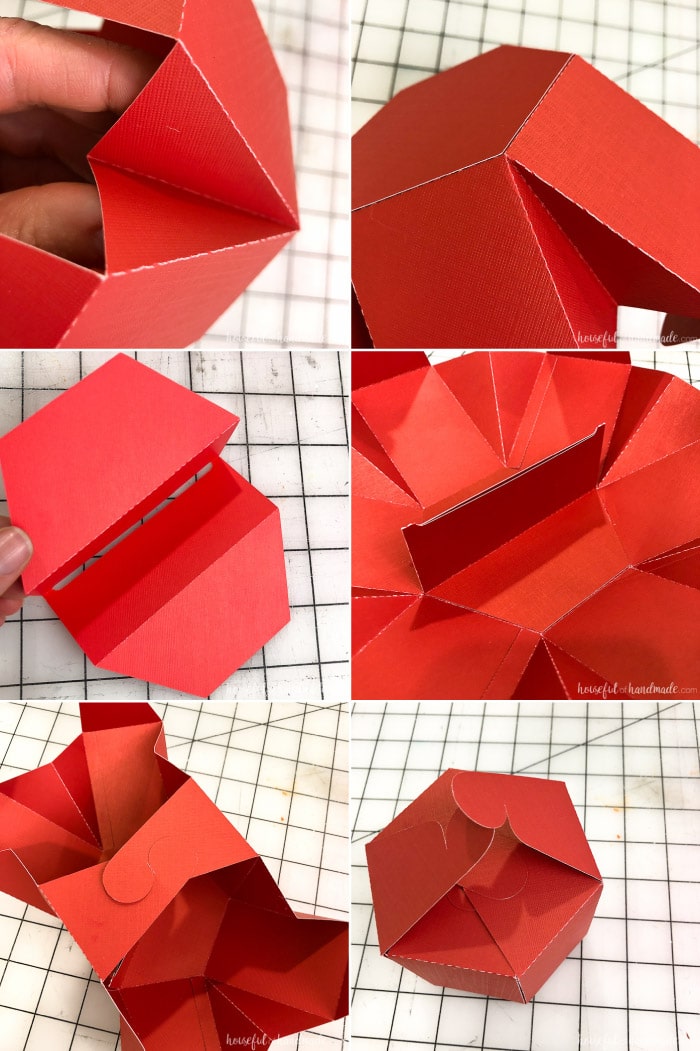
Cut the template out of the cardstock. You will need 1 of the gift card holder centers and 2 of the box side pieces per box. Fold along all the dotted lines.
Pinch the triangle sections between the sides together in your fingers while folding up the sides. Glue the two side pieces together at the tabs to create one large circle.
Secure the bottom with glue. Fold the pop-up gift card holder together and secure with a small line of glue just around the outside. Glue into the bottom of the hexagon box.
To close the box, latch together opposite sides. You will have 3 latches total to close the entire box.
For the Rectangle Gift Card Box
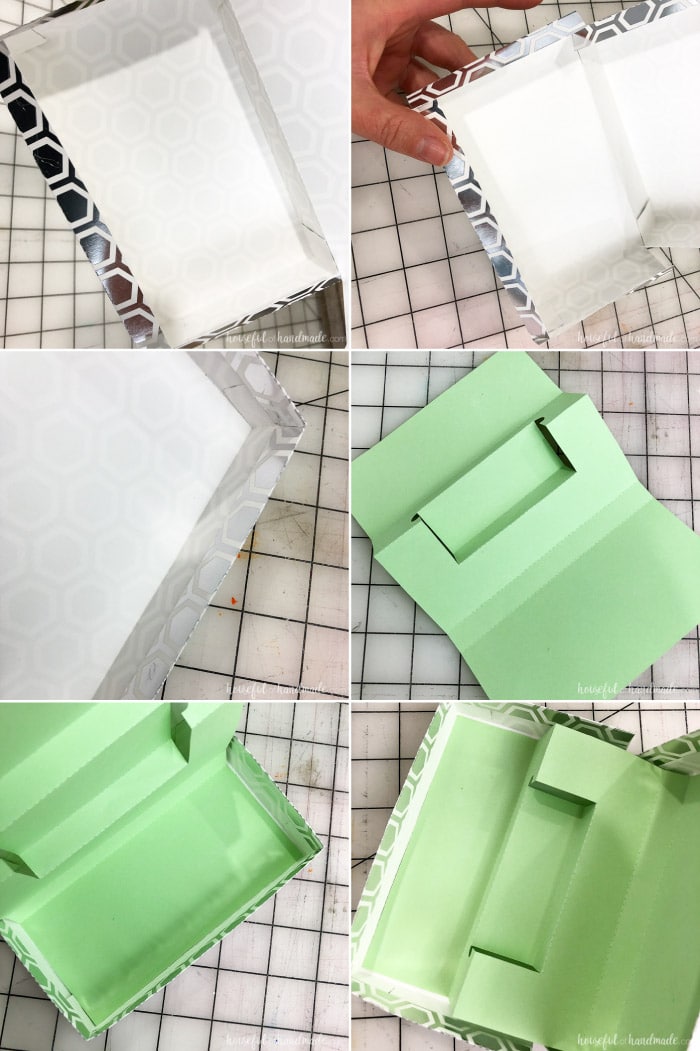
Cut the template out of the cardstock. You will need 1 of the outer gift card box and one of the center gift card holder piece per box. Fold along all the dotted lines.
Secure the side tabs on the bottom of the box. Then repeat for the top lid of the box.
Fold over the edging and secure with glue.
Fold the gift card holder inner piece as shown. Pinch the sections between your fingers to get a clean line.
Glue the bottom of the inner piece into the front bottom of the box. Then glue the top of the inner piece into the front top of the box.
Now you are ready to load up your new gift card boxes. Don’t forget to write down how much is on the card (just under the gift card in the cute holder is the perfect place).
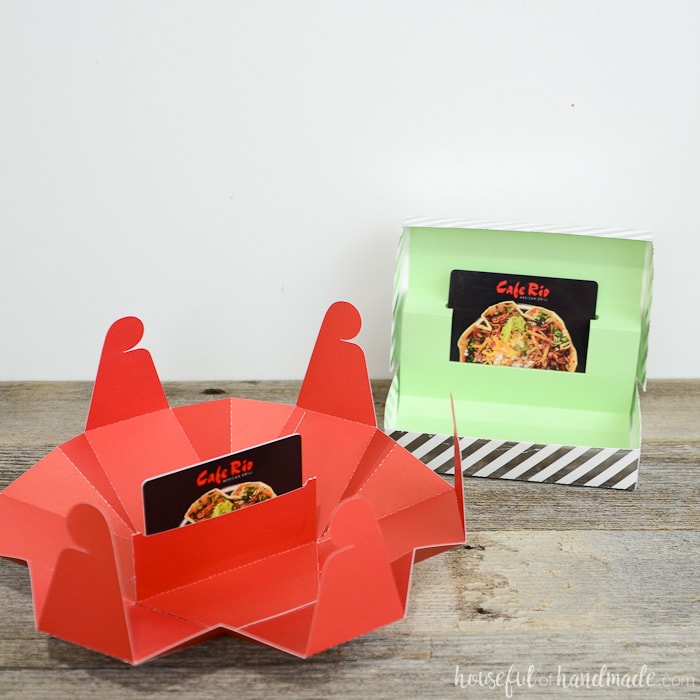
One more thing crossed off my to-do list for Christmas! How about you?