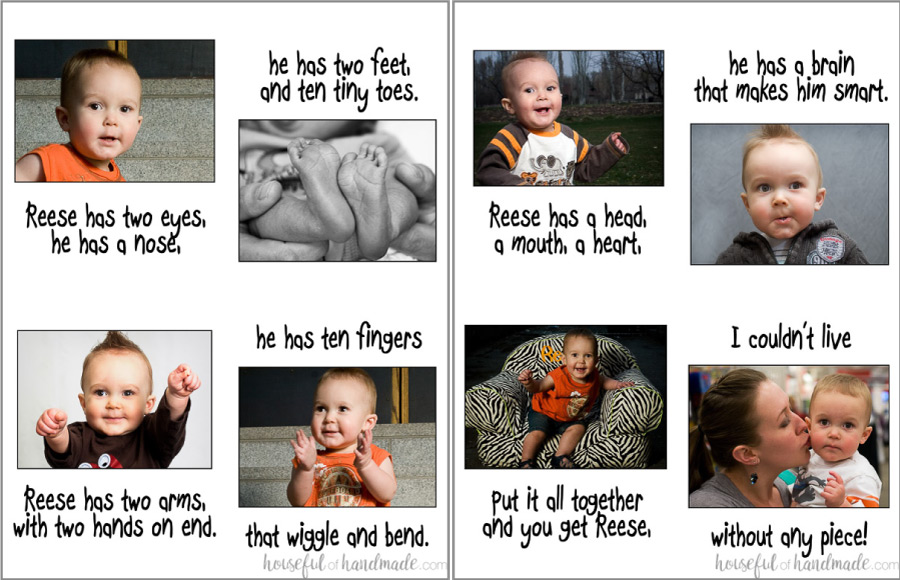
See how easy it is to make a personalized kids book with your own pictures and text.
Nothing makes a kid happier than seeing their own face in a book! But personalized kids books cost a lot of money.
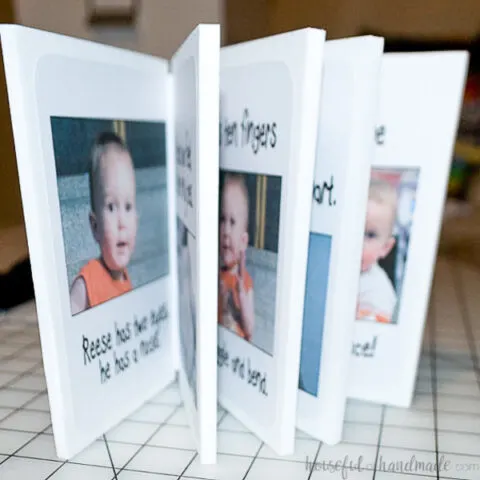
So instead… let’s make a custom kids book out of inexpensive craft foam!
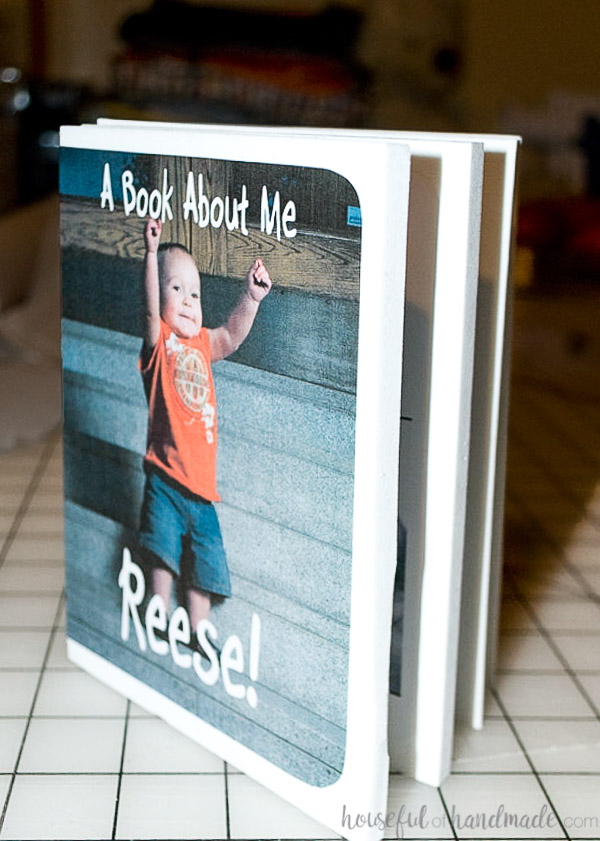
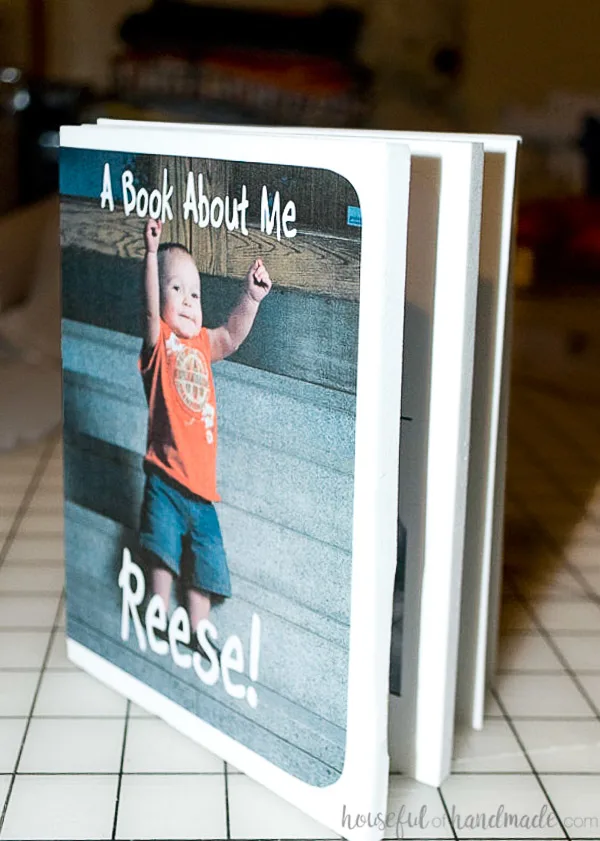
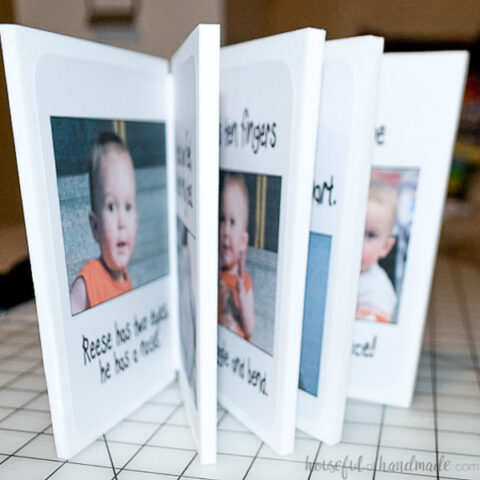
This personalized book has been loved. It is one of my son’s favorite books to read.
This post may contain affiliate links. As an Amazon Associate I earn from qualifying purchases. Click here to read my full disclosure policy.
But after 4 1/2 years it’s still in good shape. All the pages may not line up perfectly anymore and there are some bite marks (why do toddlers always bite foam books?), but the pages are still together and it look good.
Designing a Custom Childrens Book
For young kids and toddlers, keep the words simple. Use simple poems and rhymes. These will help your child follow the book with the rhythmic text.
If you are not a writer, you can still make your own custom kids book. Use your kids favorite nursery rhyme or poem.
For older kids, write out memories or tell stories that they love to hear. This would be a fun way to retell them their birth story with pictures of them that they will never forget.

Use a variety of pictures. Include pictures of any of the following to make a fun personalized book:
- Your child
- Friends
- Family members
- Pets
- Their bedroom
- Vacation pictures
- Their own artwork
Design the layout of your custom book in any design program. I used Adobe Illustrator for mine, but you can also do it in a free design program like Canva. You can even use a word processing program like Google Docs, Apple Pages or Microsoft Word.
Easy Personalized Kids Books
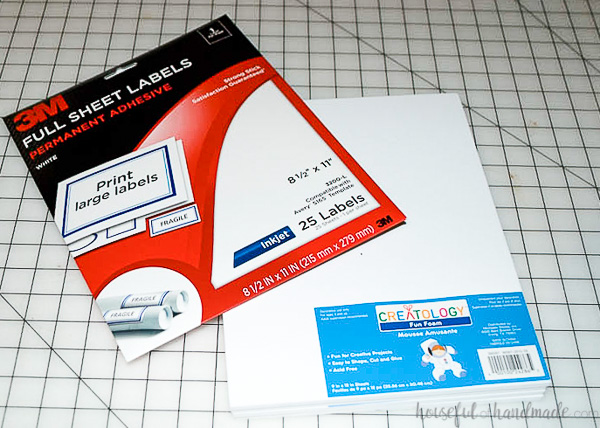
Supplies:
- 9″ x 12″ sheets thick craft foam
- Some labels say 6 mm, but just get sturdy foam that doesn’t bend when held up. You may choose a thinner foam if you want more pages in your book.
- Full sheet printer labels
- Printer
- Ruler
- Rotary cutter or x-acto knife
- Scissors

Create the Story
Design your book (see above for ideas for the story and pictures).
The design area for each set of pages should be 8 1/2″ x 5 1/2″. You can put two sets of pages on each printer label sheet.
My book has a total of 8 inside pages (4 sets) and a front and back cover. For this same amount of pages you need 2 foam sheets and 3 label sheets.
After finishing your story and adding pictures, go ahead and print the pages onto your label sheets.


Assemble the Book
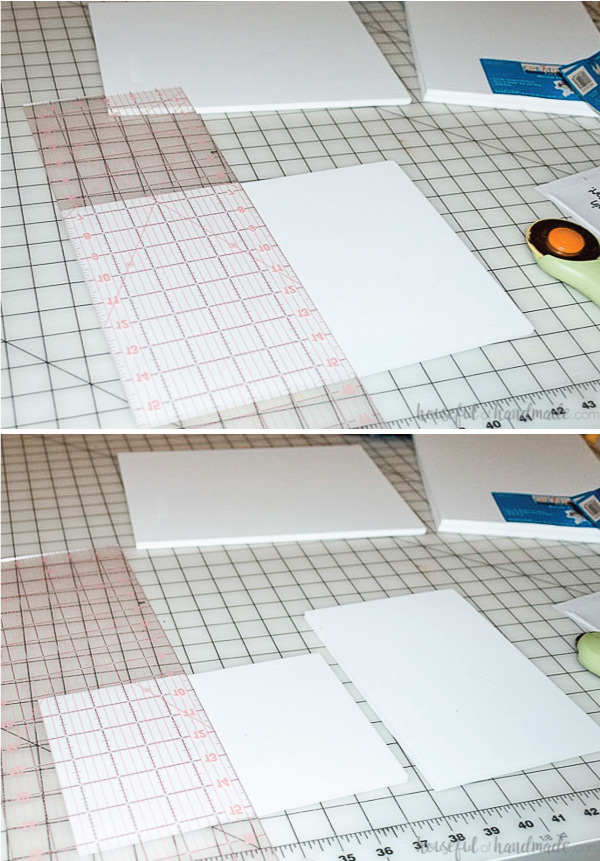
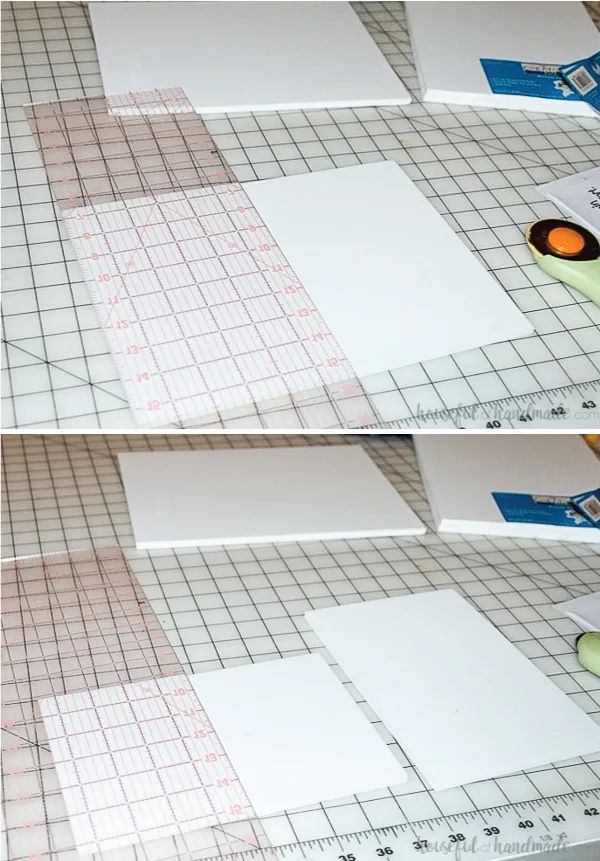
Now it’s time to cut the foam. Using a ruler, mark the exact center of your foam sheet. Cut along this line.
Do not use scissors to cut your foam, it will squish it and you will not get a clean cut. Instead use a rotary cutter or x-acto knife.
Next measure the center of all the pieces and cut again. You will be cutting each foam sheet into quarters.
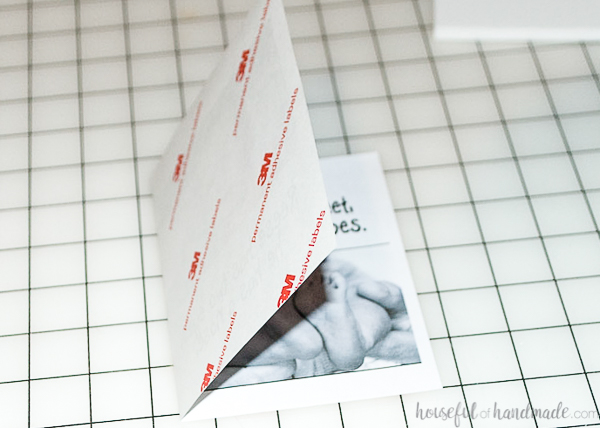
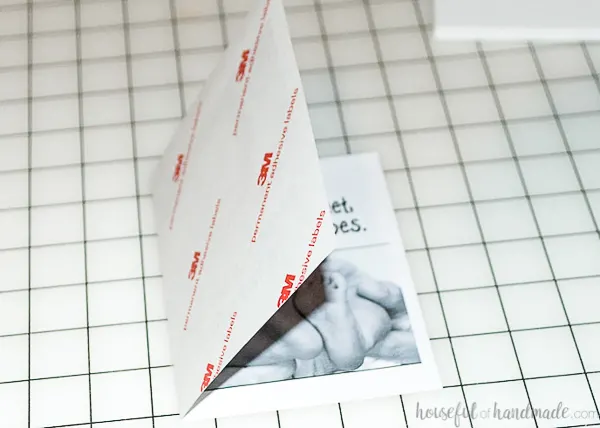
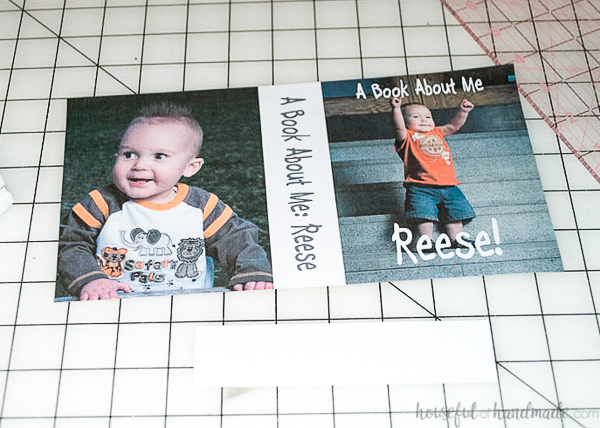
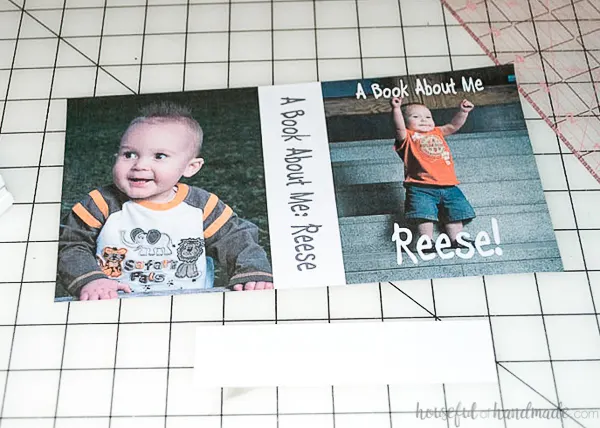
Now you need to cut the printed labels. Only cut these in half, you will leave the two pages attached in the middle (see below).


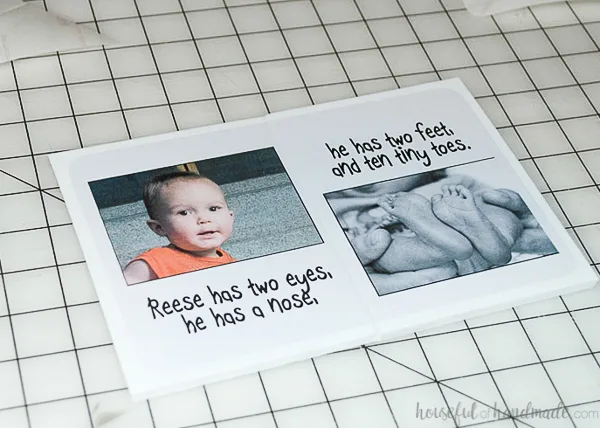
Fold the printed label in half so the printed part is in the middle. The seam that you make will be how you line up the pages when you stick it to the foam.
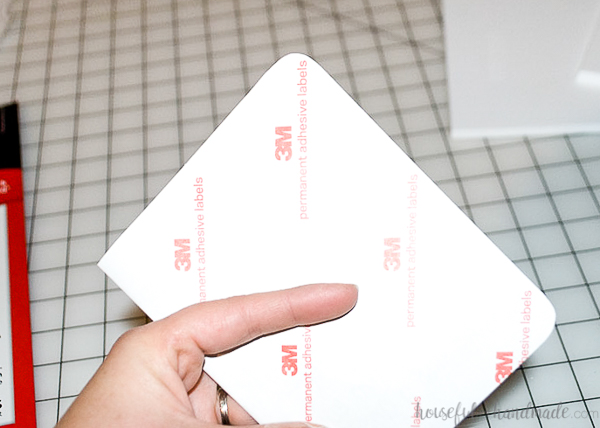
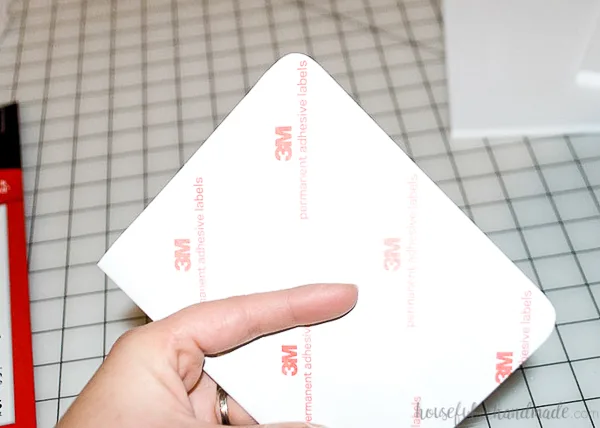
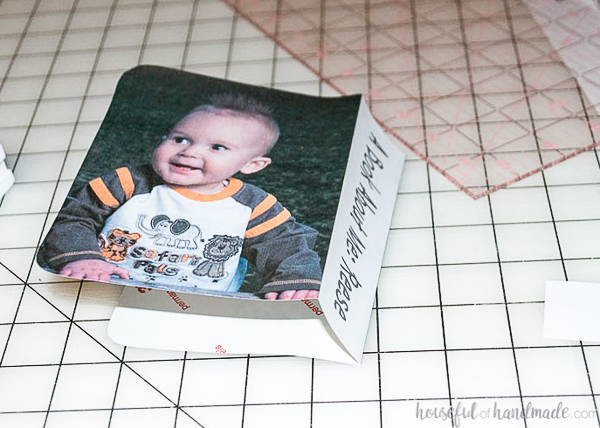
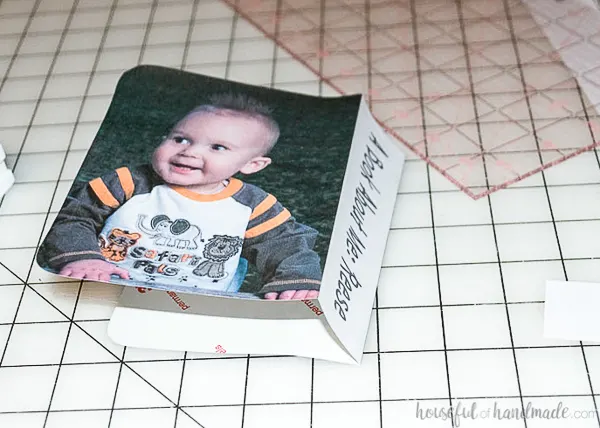
Using scissors, round over the outer corners of the printed label. This helps keep the sharp edge from coming unglued from the book. I just did a quick curve with the scissors while the printed label was folded in half.
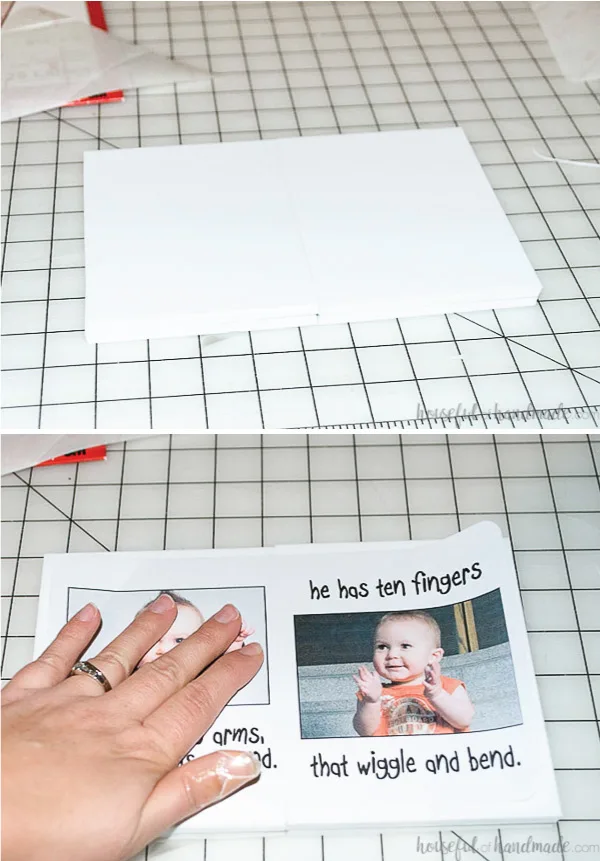
Now put two pieces of cut foam next to each other. Line up the center seam of the label with the cut in between the two sheets of foam. Then stick it down!

Continue to do that to all the pages. You will need to use the other cut pieces of foam to keep the pages level when you are sticking down new sheets.

After you get all the inside pages stuck to the foam in order, you will start to see your completed book, but you are not done yet. It is time to add the cover.
Add the Cover
Start by measuring your book’s spine. The spine is the thickness of the completed book.
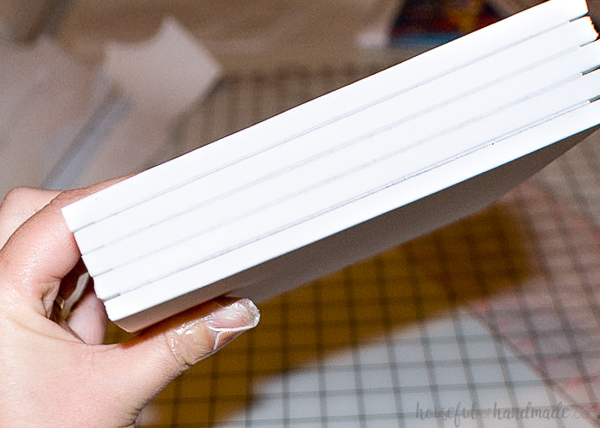

When you design the cover you will need the measurements for the front and back of the book (4 1/4″ x 5 1/2″) and the spine (mine was 1 3/8″ x 5 1/2″).
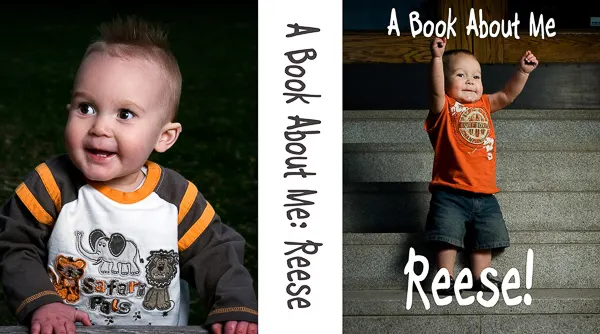
For the design, put the back cover on the left, the spine in the middle and the front cover on the right. This will all be one continuous printed label.
Because it will be wider than your 8 1/2″ x 11″ sheet, you will have to print it landscape and then cut off the excess. Here is my cover and spine design.

After printing the cover label, cut it to size. From the excess cut a piece of label that is the exact size of the spine.
Make creases in the cover label around the spine. This time with the printed part on the outside.
You do not want the spine to stick to the book so we will cover it up with the piece cut from the excess.
Take the backing off of the label over the spine area and the backing off of the extra piece. Stick the extra piece to the back of the cover under the spine section.

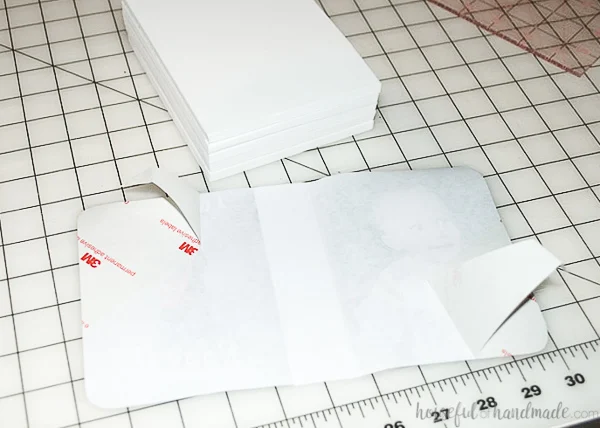
Then line the spine up with the rest of the book and carefully stick the front to the front and the back to the back.
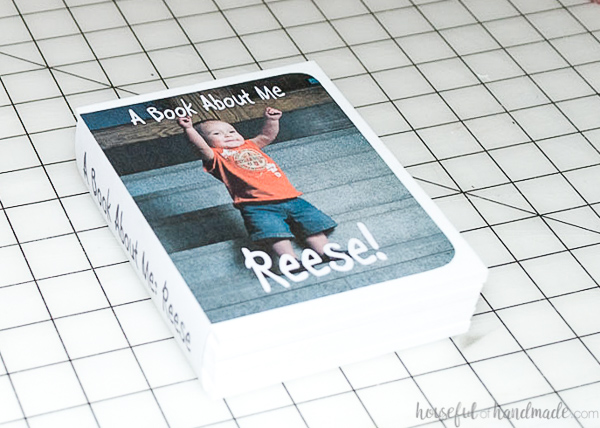
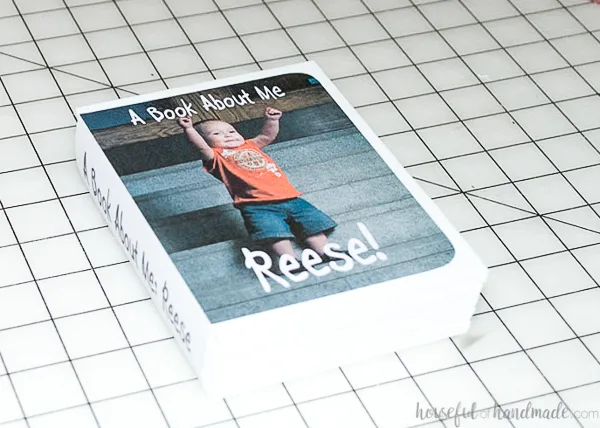
And you’re done. You now have a personalized children’s book for your kid!
Have fun creating books for gifts, special occasions, trips, and more.
And you don’t have to only make this book out of foam. Have fun experimenting with other thick materials that would hold up to toddlers and kids. You could use pressboard to make a personalized cardboard book for kids too!

I am excited to make another one! But this time I am seeing princesses and pink for my daughter.
DIY Personalized Kids Book
Creating your own personalized children's books is easy! These kid friendly foam pages are perfect for little fingers and they will love reading the personalized stories about themselves over and over.
Materials
- 9" x 12" sheets thick craft foam
- Full sheet printer labels
Tools
- Printer
- Ruler
- Rotary cutter or x-acto knife
- Scissors
Instructions
Create the Story
- Design your book (see above for ideas for the story and pictures).
- The design area for each set of pages should be 8 1/2" x 5 1/2". You can put two sets of pages on each printer label sheet.
- After finishing your story and adding pictures, print the pages onto your label sheets.
Assemble the Book
- Cut the foam sheets into quarters. Using a ruler, mark the exact center of your foam sheet. Cut along this line.
- Next measure the center of all the pieces and cut again.
- Cut the printed labels. Only cut these in half, you will leave the two pages attached in the middle (see below).
- Fold the printed label in half so the printed part is in the middle. The seam that you make will be how you line up the pages when you stick it to the foam.
- Using scissors, round over the outer corners of the printed label. This helps keep the sharp edge from coming unglued from the book.
- Put two pieces of cut foam next to each other. Line up the center seam of the label with the cut in between the two sheets of foam. Then stick it down!
- Continue to do that to all the pages. You will need to use the other cut pieces of foam to keep the pages level when you are sticking down new sheets.
Add the Cover
- Start by measuring your book's spine. The spine is the thickness of the completed book.
- When you design the cover you will need the measurements for the front and back of the book (4 1/4" x 5 1/2") and the spine (mine was 1 3/8" x 5 1/2").
- For the design, put the back cover on the left, the spine in the middle and the front cover on the right. This will all be one continuous printed label.
- After printing the cover label, cut it to size. From the excess cut a piece of label that is the exact size of the spine.
- Make creases in the cover label around the spine. This time with the printed part on the outside.
- You do not want the spine to stick to the book so we will cover it up with the piece cut from the excess.
- Take the backing off of the label over the spine area and the backing off of the extra piece. Stick the extra piece to the back of the cover under the spine section.
- Then line the spine up with the rest of the book and carefully stick the front to the front and the back to the back.
And you're done. You now have a personalized children's book for your kid! Have fun creating books for gifts, special occasions, trips, and more.
Notes
Do not use scissors to cut your foam, it will squish it and you will not get a clean cut. Instead use a rotary cutter or x-acto knife.
Happy crafting!