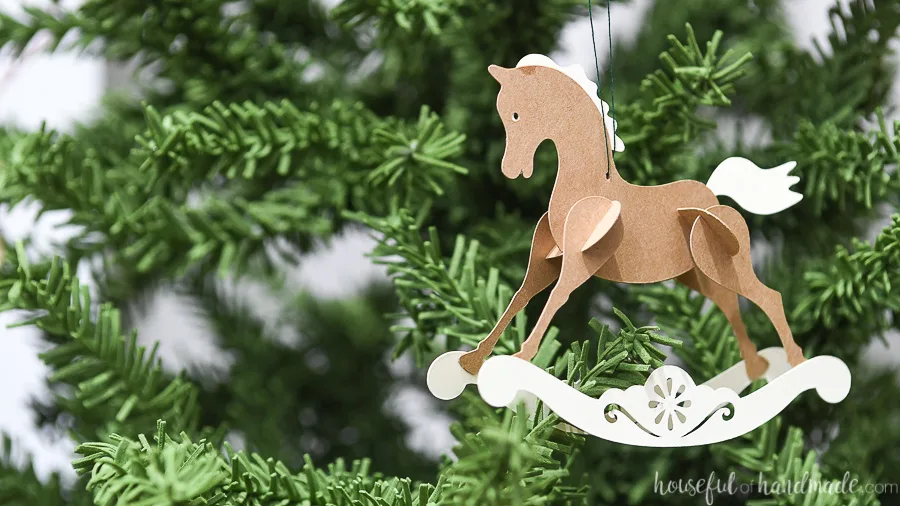
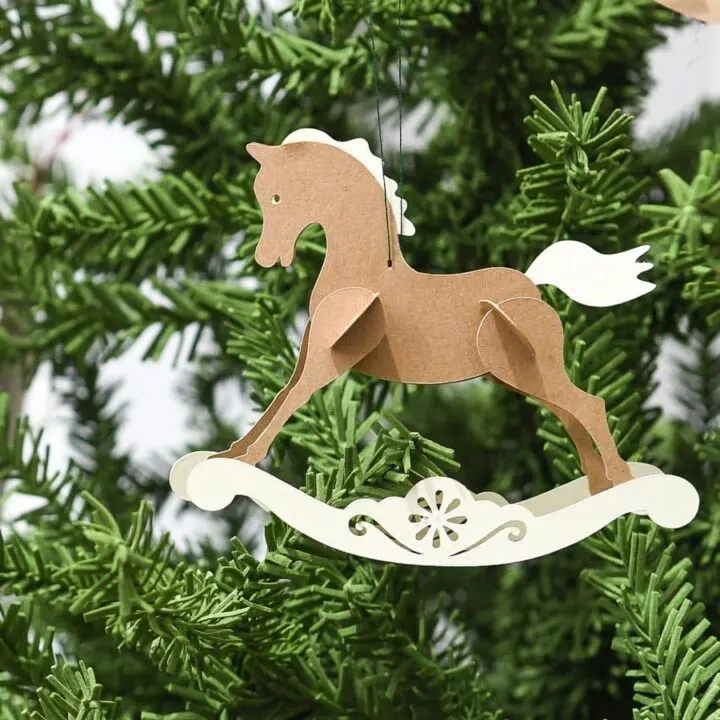
These adorable paper rocking horse Christmas ornaments look just like wooden rocking horses.
I cannot believe we are on the last 7 Days of Paper Christmas decor project this year. I love all the projects so far, but I might have saved the best for last because how cute are these rocking horse paper Christmas ornaments?

These little ornaments are so quick to assemble. The legs are just pressed together like puzzle pieces. And with just a few drops of glue you will be ready to hang your cute little horses.
But even better than that… I made all 5 of these rocking horses out of just 2 sheets of cardstock!
This post may contain affiliate links. As an Amazon Associate I earn from qualifying purchases. Click here to read my full disclosure policy.
Scandinavian Christmas Decor
This year I have been using a Scandinavian or Nordic inspiration for all our Christmas decor. One of the things I noticed was pretty prominent was rocking horses.
The wooden rocking horse is such a nostalgic vintage thing, probably something was that handmade for Christmas gifts.
So it makes sense that they are perfect for sweet, simple Christmas decor!
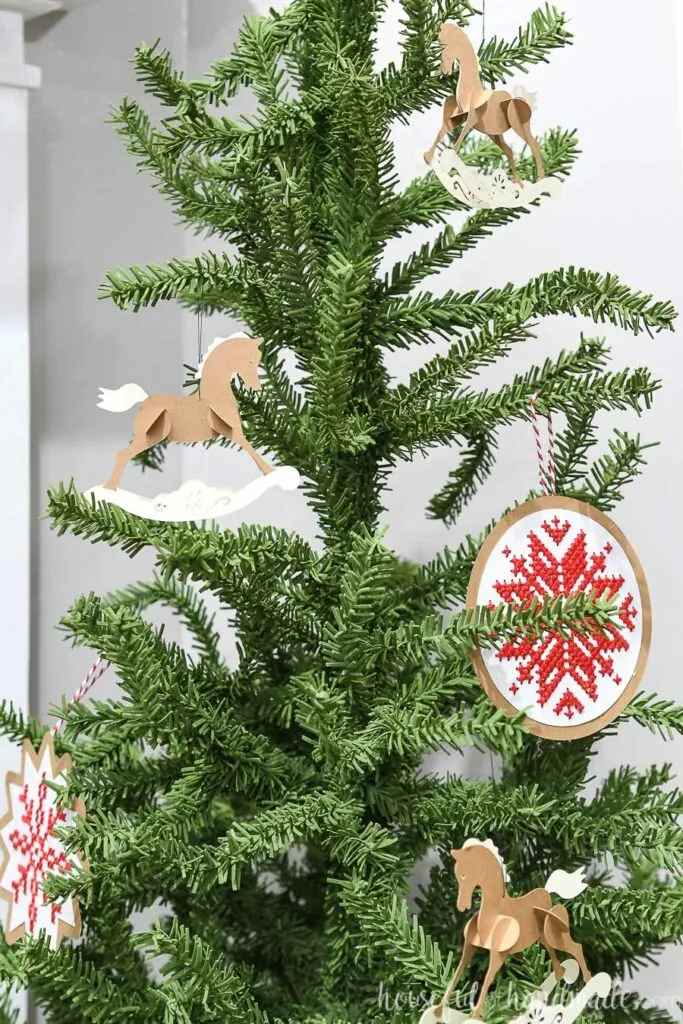
Obviously I could make a wooden rocking horse. But to make tiny little Christmas ornaments, why not use paper!
And the paper rocking horses can be put together easily. They will be the perfect finishing touch for your Scandinavian Christmas tree!
How to Make Paper Rocking Horse Ornaments
Supplies:
- Rocking horse template
- The cut files & PDF for these paper rocking horses were free to my subscribers until 11/30/2019. Now they are available to purchase in the shop. Make sure to subscribe so you will be notified of new freebies!
- Brown Kraft cardstock
- Cream cardstock
- Precision tip superglue
- You could use a glue gun and glue sticks but it will add a little bulk to the horse body.
- Needle and thread
- Optional: Electronic cutting machine like a Silhouette Cameo or Cricut Maker
- You can cut these out with scissors and X-acto knife, but it will take more time.
Cut the Rocking Horse Template
Cut the horse bodies without the mane and tail, legs, and joint pieces out of the brown Kraft paper. Make sure you have 2 of each for each ornament.
Cut the horse bodies with the mane and tail, and rockers out of the cream paper. You need 1 body with mane and tail and 2 rockers per ornament.
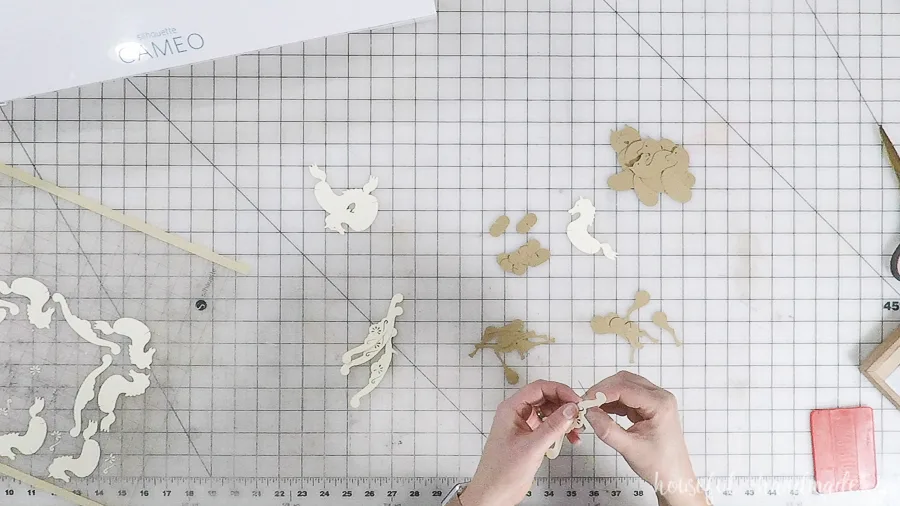
Use a pin or needle to poke out any small cut out pieces.
Assemble the Rocking Horses
The rocking horses are super easy to assemble!
Start by glueing the body with the mane & tail between two bodies without. The super glue is best for this because it will not add bulk to the paper.
If you use hot glue you may have to cut the slots in the joint pieces a little bigger to accommodate the extra bulk.
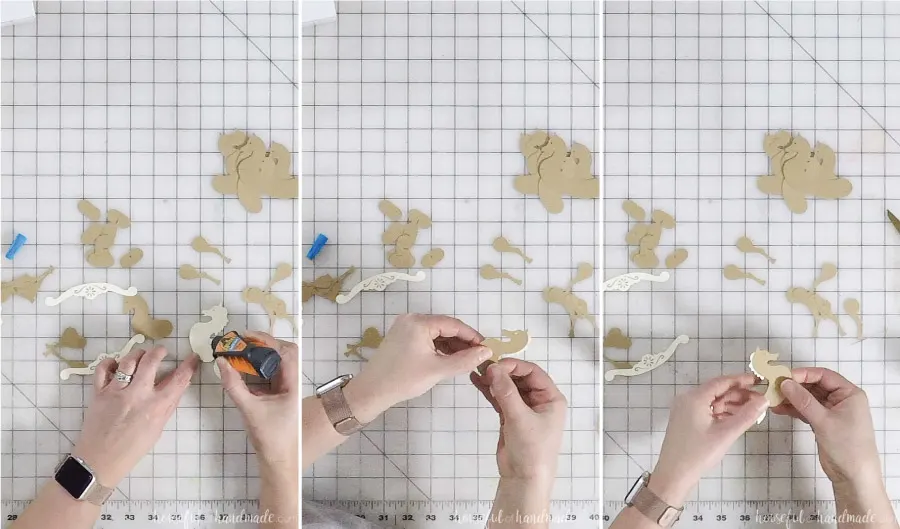
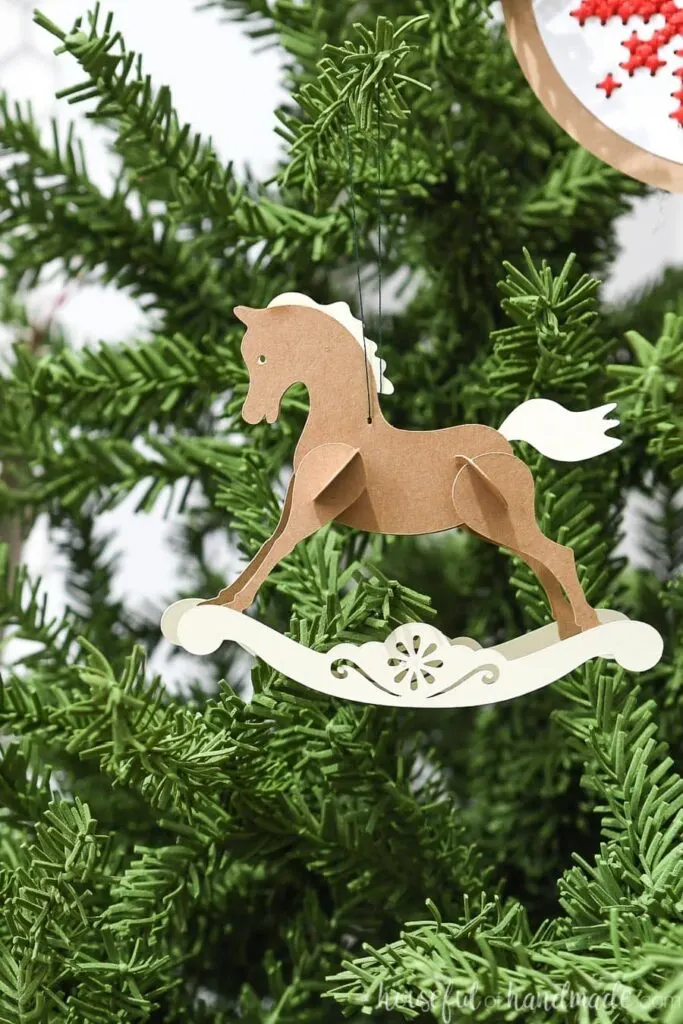
After the bodies are dry, press the larger slot on the joint pieces into the body slots. They should fit tightly, but if not (or if you want to make sure someone can’t pull them apart) you can secure with a little glue.
Press the legs into the small joint slots. The back legs are the ones with the slight bend to them. Make sure they are on straight by checking the hooves are pointing forward.
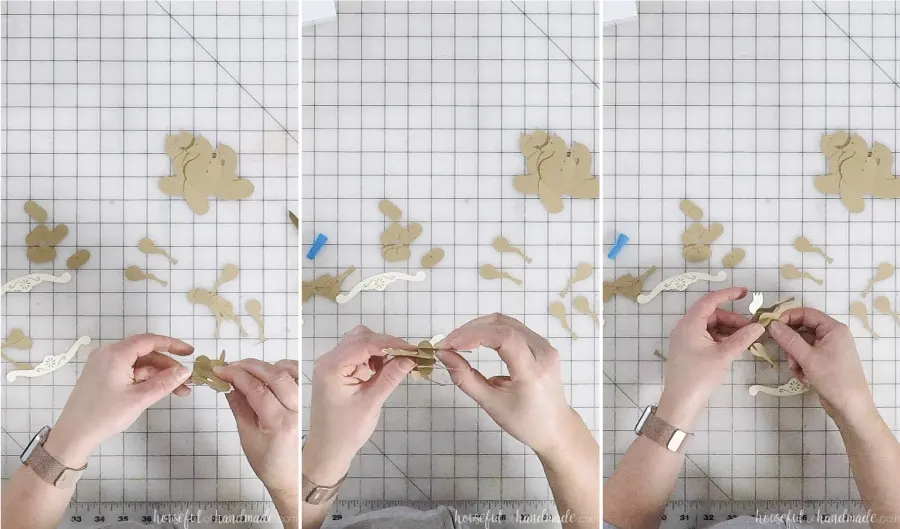
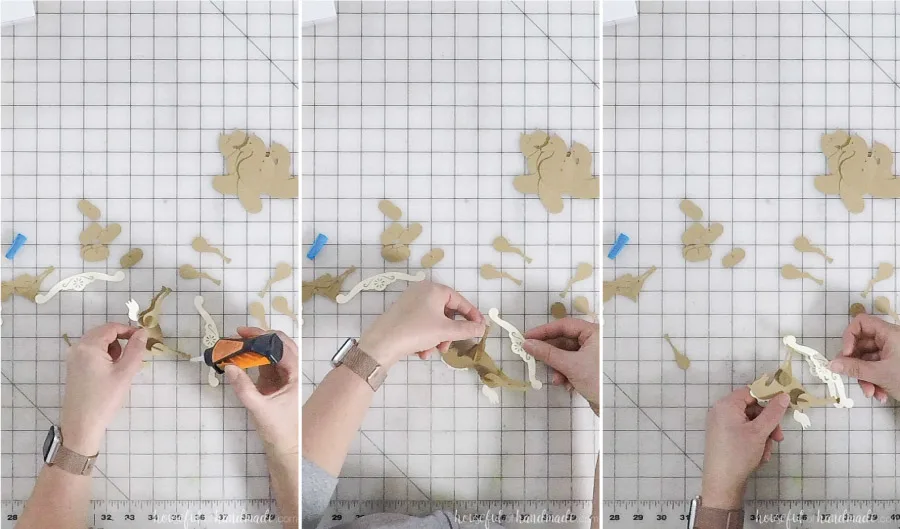
Place a small dot of glue on the hooves and attach the rocker piece. Repeat on the other side.
To hang your new rocking horse ornaments, thread some thread on a needle (I used a forest green color so it blended in with the tree). Poke it through the body of the rocking horse just under the mane.
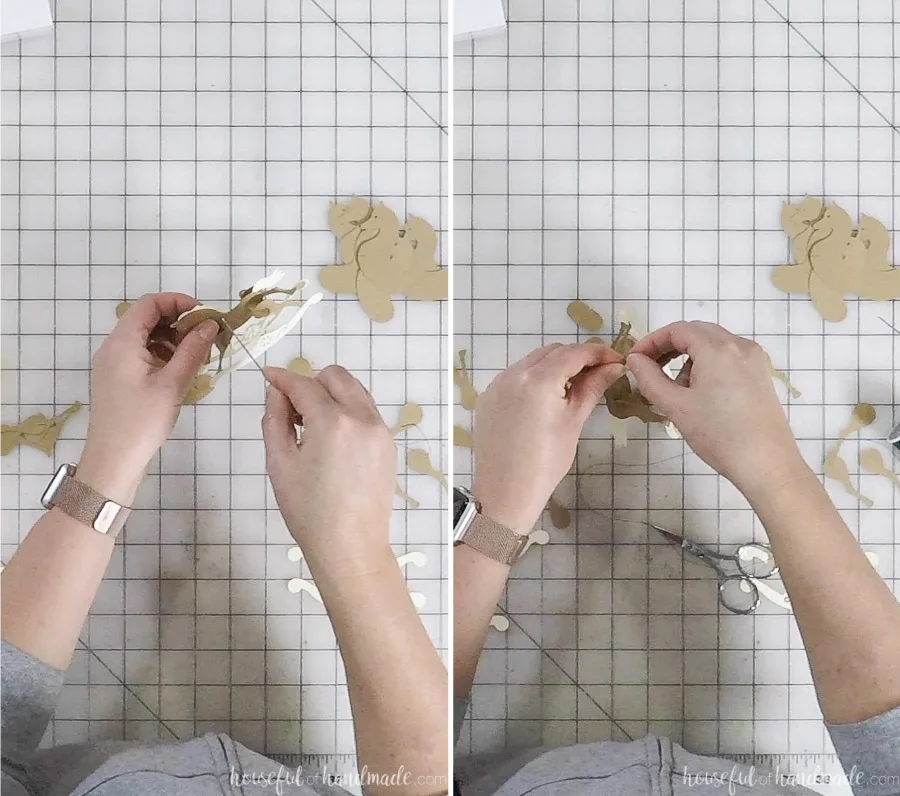
Tie a knot and hang your rocking horse on your tree!
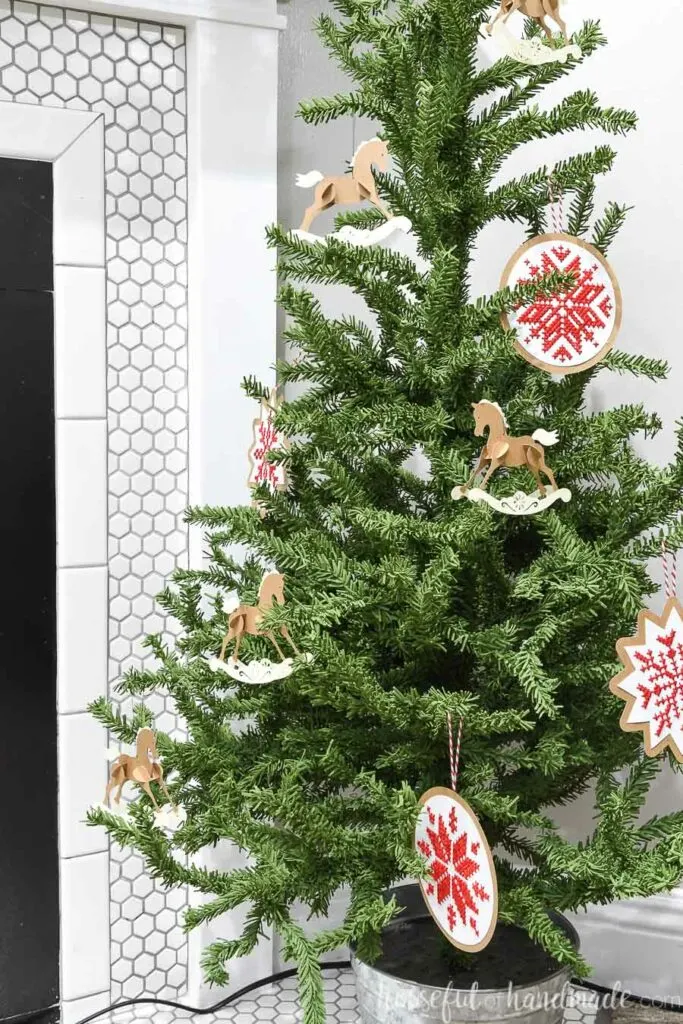
Don’t they look so great on the tree with the cross-stitched Nordic snowflake ornaments? It’s the perfect start to our Scandinavian Christmas tree.
How to Make a Paper Rocking Horse Christmas Ornaments
Make These adorable paper Christmas ornaments that look just like wooden rocking horses.
Materials
- Rocking horse template
- Brown Kraft cardstock
- Cream cardstock
- Precision tip superglue
Tools
- Needle and thread
- *Silhouette Cameo or other electronic cutting machine
Instructions
- Cut the horse bodies (without mane, tail, legs, and joint pieces) out of brown brown kraft paper.
- Cut the horse bodies (with the mane, tail, and rockers) out of the cream paper.
- Use a pin or needle to poke out any small pieces.
- Glue the body with the mane & tail between two bodies.
- After the bodies are dry, press the larger slot on the joint pieces into the body slots.
- Press the legs into the small joint slots.
- Place a small dot of glue on the hooves and attach the rocker piece.
- Repeat on the other side.
- Attach thread with a needle for hanging.
And they are the perfect project to end the 7 Days of Paper Christmas decor series this year! In case you missed any of the other projects, check them out below.
- Day 1: Easy Christmas Cookie Trays
- Day 2: Scandinavian Paper Christmas Village
- Day 3: Nordic Cross-Stitch Ornaments
- Day 4: Cross-Stitch Village Printable Art
- Day 5: Nordic Christmas Tree Lanterns
- Day 6: Decorative Paper Christmas Trees
- Day 7: Rocking Horse Paper Ornaments
You can also check out all the paper Christmas projects from last year for more budget Christmas decor!
Darlene
Tuesday 6th of December 2022
I love your horses .Ijust found your site and amso happy I did. you areso talented.Thank you