These beautiful DIY wall vases are so quick and easy to make and can be used in many different ways!
I am still in shock that the office & craft room makeover is done, and for only $100!
If you haven’t seen the whole space, you need to check out the full office/craft room reveal here (it’s on my other website). Lot’s of my favorite budget decor ideas went into this one room.
On the very last day, I was scrambling to add some decor to the walls. All the big pieces were done, but I needed a little character in the room.
This post may contain affiliate links. As an Amazon Associate I earn from qualifying purchases. Click here to read my full disclosure policy.
With a little creativity, and some old peanut butter jars, I made some DIY Wall Vases to add a little rustic charm and organization to my new space.
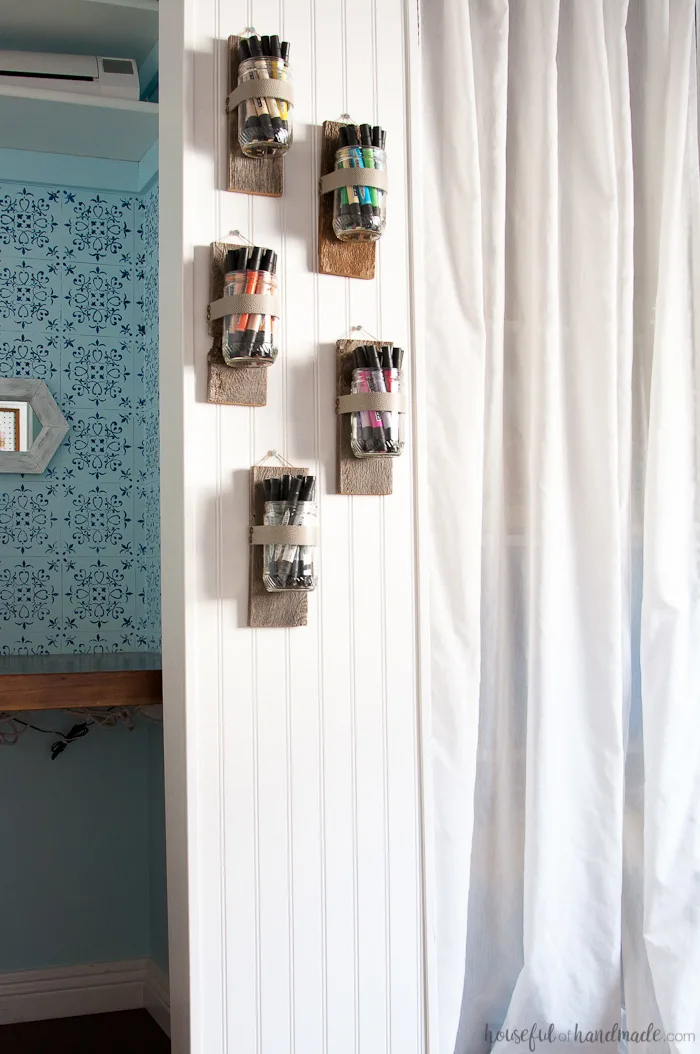
To help save lots of money in the makeover, I decided to use my craft supplies as decor. On one wall I have a fancied up pegboard with lots of tools and supplies on it.
Next to my desk I have paint storage shelves showing off my spray paint and craft paints. On another wall I have an ironing board and iron shelf that was prettied up to be a beautiful part of the room.
But I had a little section of blank wall between my closet desk and the storage closet that also needed something.
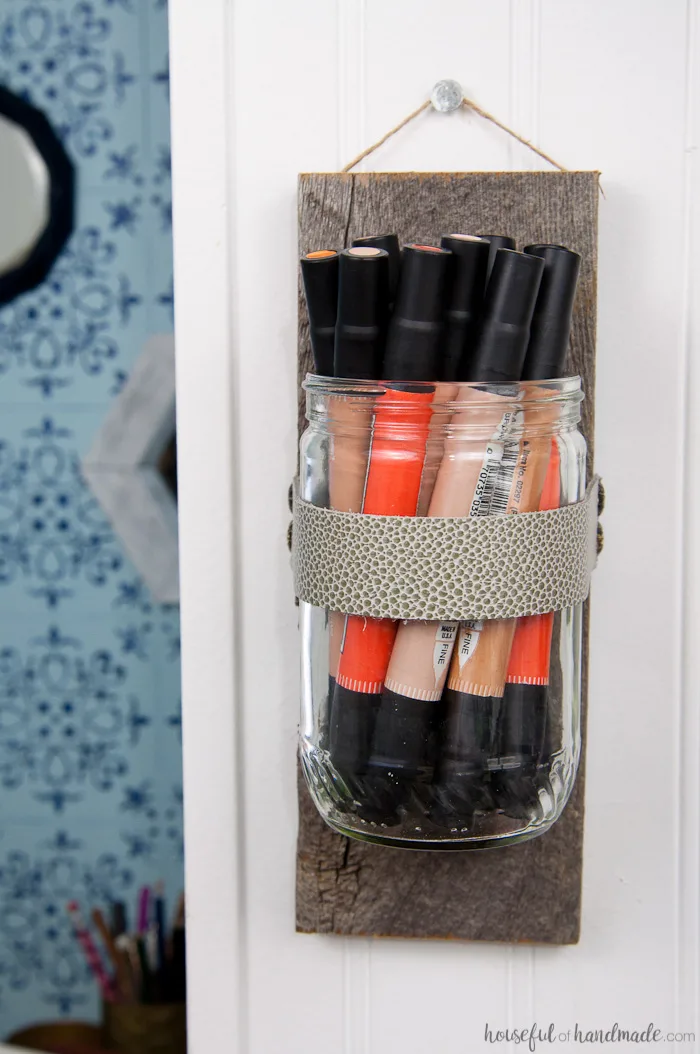
As I was organizing all my supplies, I pulled out a bin full of colorful art markers. Sadly, these have not been used a lot lately (I probably couldn’t have located them before even if I wanted to use them).
These would be the perfect “art” for the empty little wall. I just needed to decide how to make them a beautiful part of the decor.
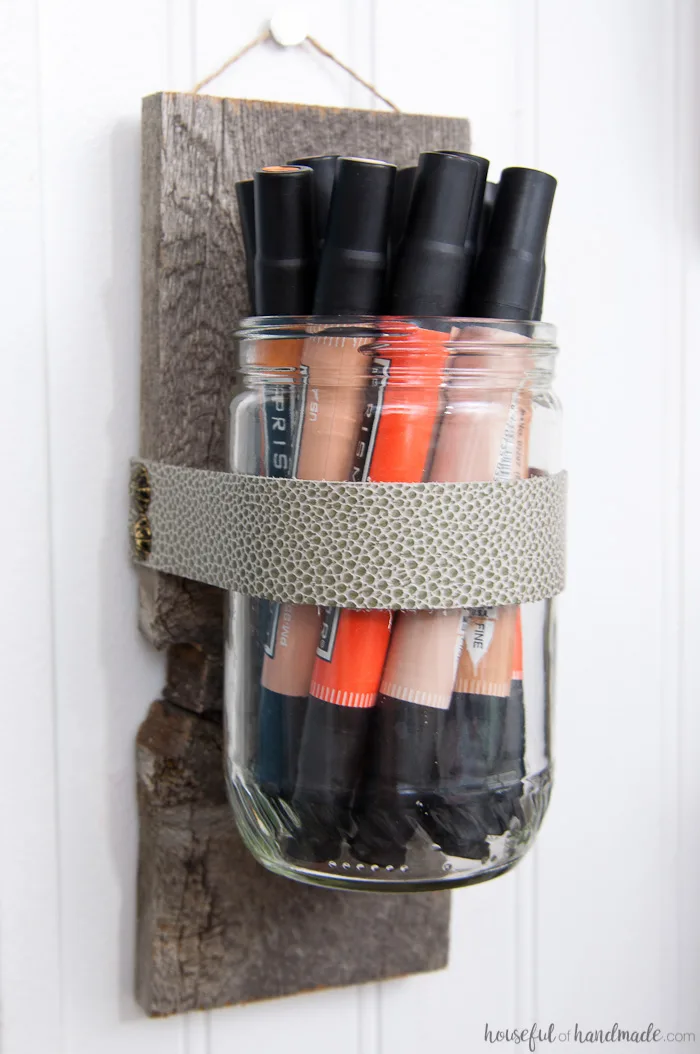
Luckily for me, my family LOVES peanut butter. Seriously we empty a jar a week. And the two brands that I buy (Target brand and Adams brand) come in nice little glass jars.
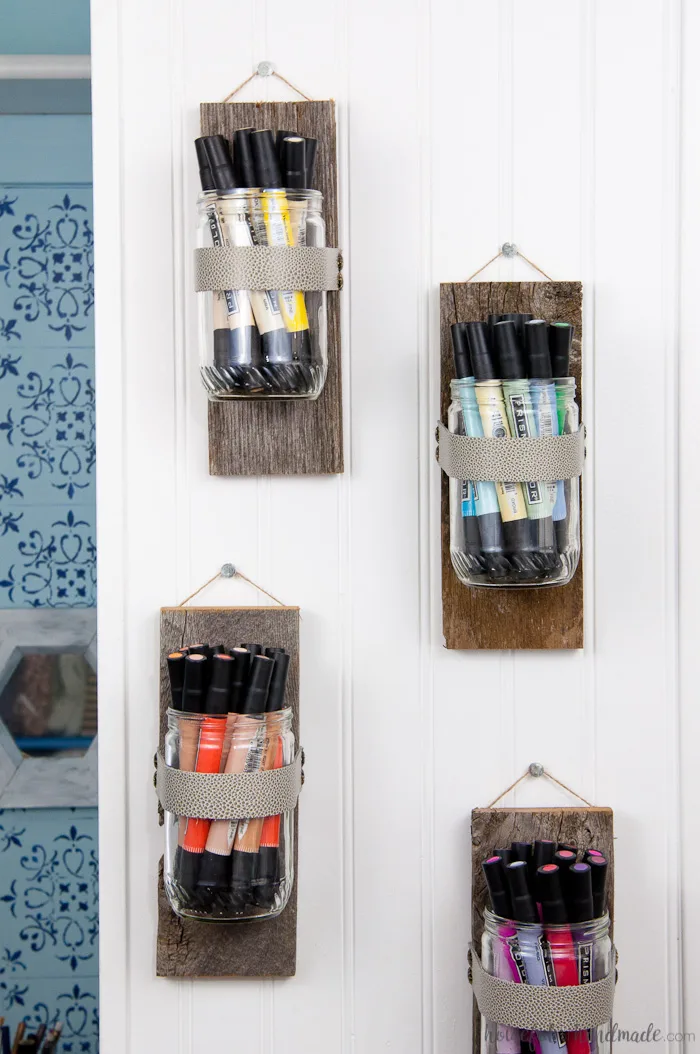
I never throw these jars away. Sometimes I even use them to store homemade sauces and salsas in the fridge. But this time, I upcycled these old peanut butter jars into beautiful DIY wall vases to hold my art markers.
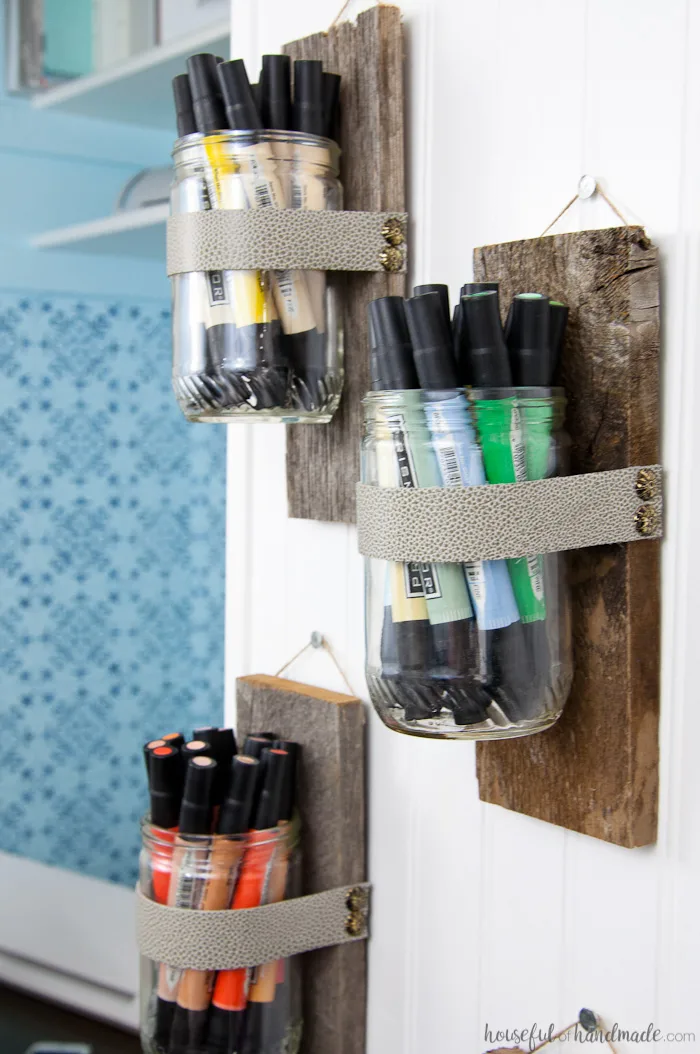
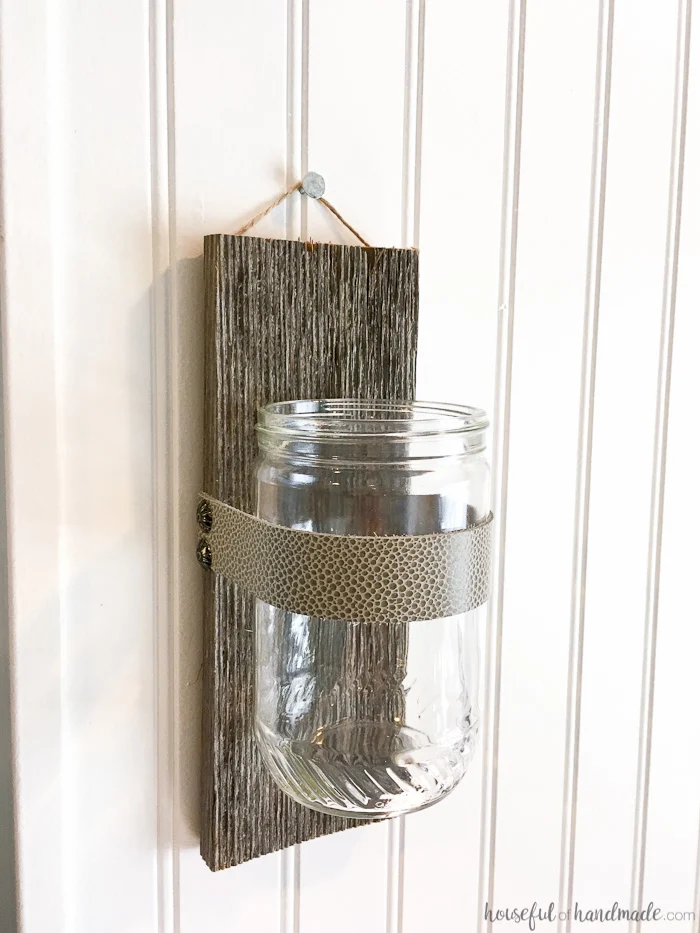
To give the DIY wall vases a rustic look, I used reclaimed wood for the back. This super fancy wood was pillaged from my parents old fence.
If you are not lucky enough to have an old fence at your disposal, these vases would also be beautiful with pallet wood or even new wood with your favorite stain.
Then I used leather left over from my succulent wreath to secure the vases. The result is the perfect balance of storage and decor.
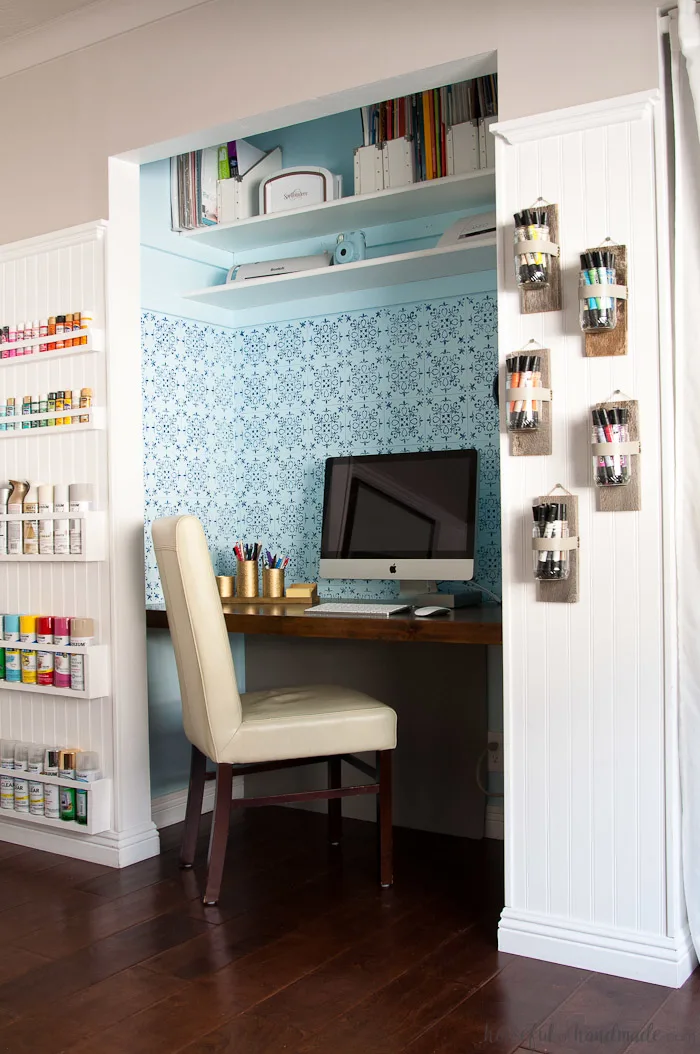
You can also use these easy DIY wall vases to hold non-craft supplies. How cute would they be in a dining room with your favorite flowers? Or even filled with dirt and growing herbs in your kitchen.
And they are seriously super easy to make! I made all 5 of mine in just 20 minutes. So grab those old jars (hurry and eat a few more peanut butter sandwiches), and read below for the full tutorial.
How to Make DIY Wall Vases
Supplies:
- Empty glass jars
- I used small peanut butter jars from the Target brand natural peanut butter.
- 1×4 wood
- I used a 9″ piece of reclaimed wood for each wall vase.
- 1″ strips of leather
- Decorative furniture nails or tacks
- Hammer
- Twine
- Hot glue gun and glue sticks
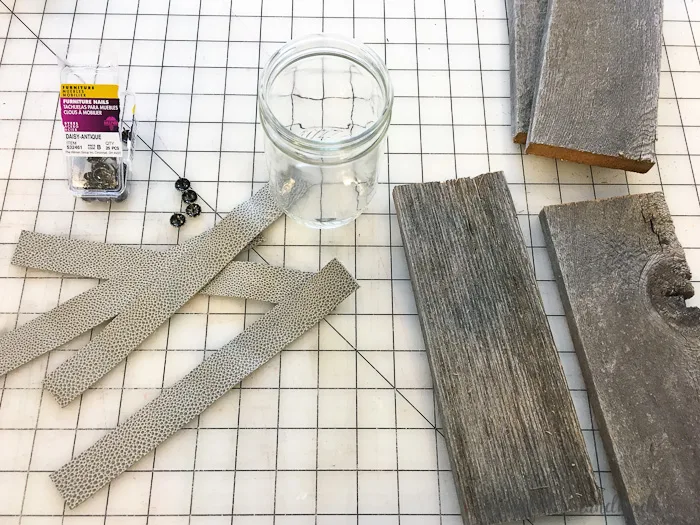
Cut your wood into 9″ pieces (or whatever size you want to work with your jars). Lay one of the jars on top of the wood and measure from the side, over the jar to the other side. Cut your leather into 1″ strips to the length you just measured.
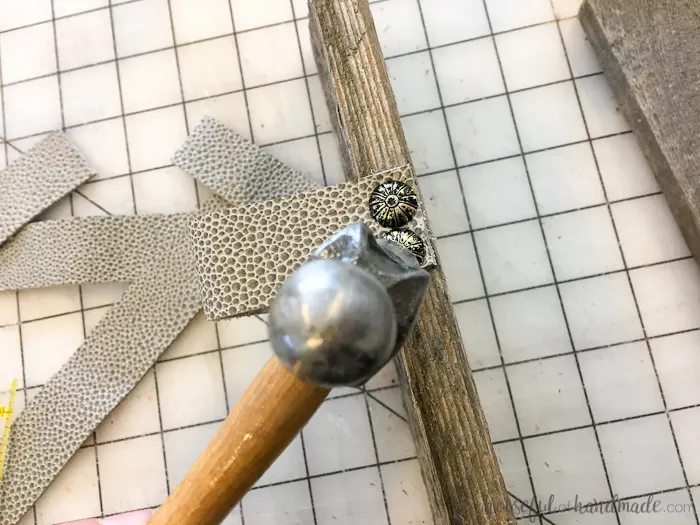
Using the hammer and furniture nails, secure one side of the leather to one side of the wood.
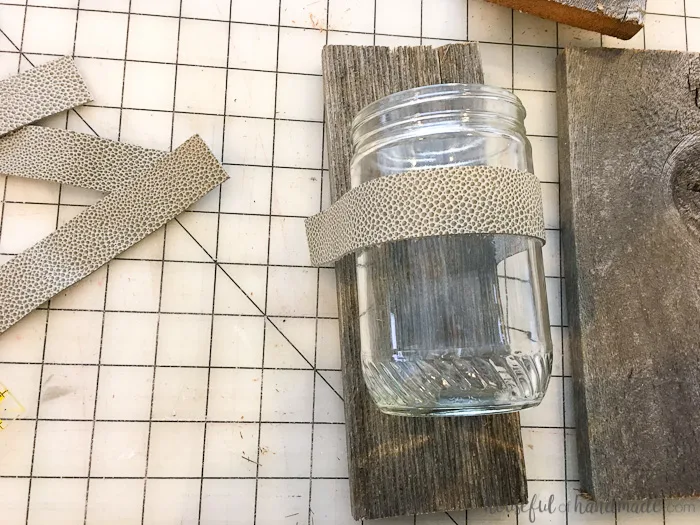
Place the jar on the wood where you want it and wrap the leather strip around it.
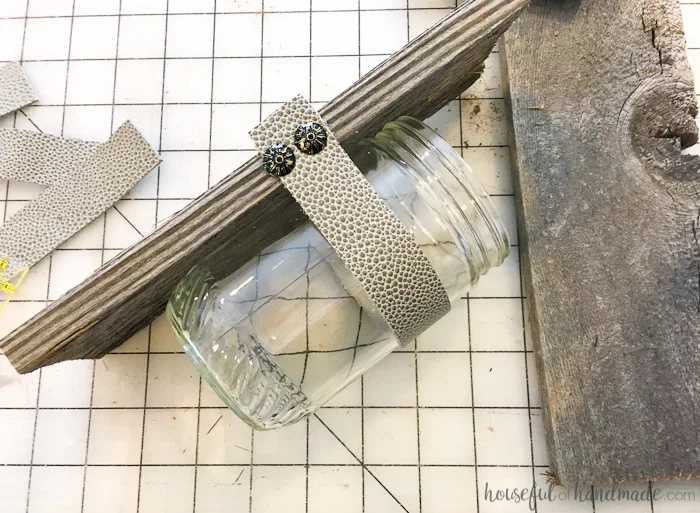
Stretch the leather tight and secure with furniture tacks on the other side. Cut any excess leather off.
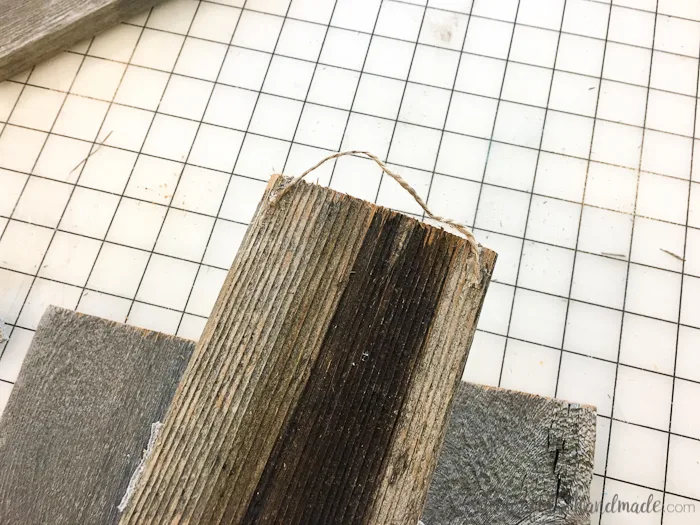
Hot glue twin to the upper back of the wood. The hot glued twine will only work for light loads.
If you want to plant things in your wall vases or fill them with water for fresh flowers, use screws and thicker cord to create a way to hang them. You could also use sawtooth picture hangers to create an invisible hanging solution.
All that is left is to hammer a nail into your wall and display your new DIY wall vases. Can you believe how easy it was? And using upcycled jars that were meant for the trash!
Now you can fill them with your favorite things. They are so perfect for my colorful art markers. I sorted them into a rainbow of colors for easy access.
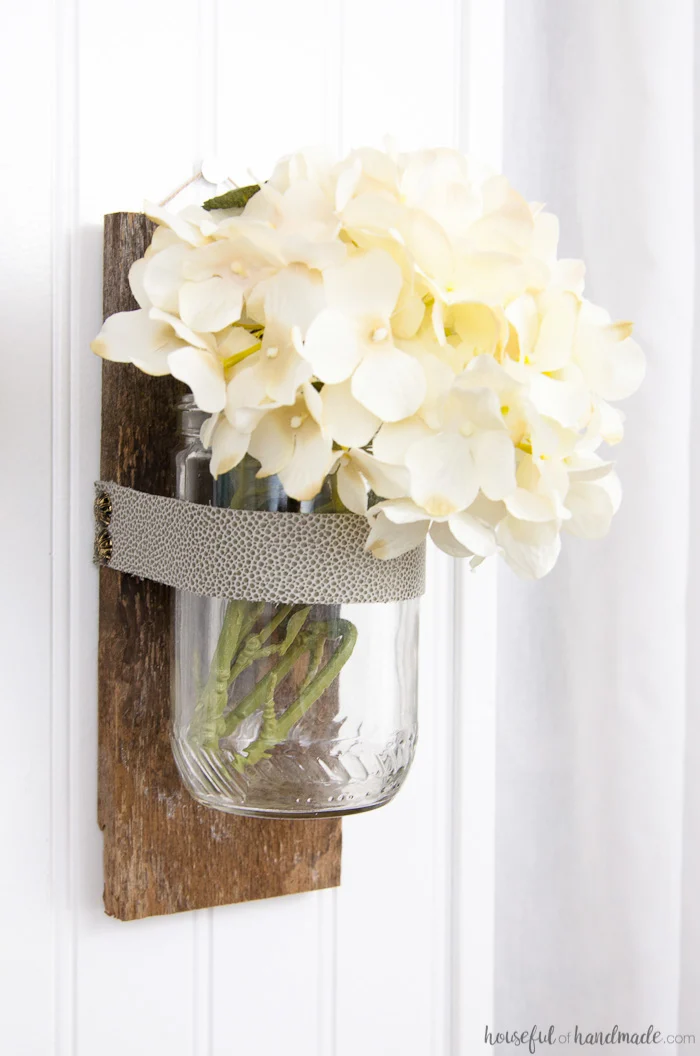
Or fill them with flowers for a little touch of spring.
Don’t you just love creating things that look expensive but were made of trash?
I’m going to go enjoy my new office space now and even get a few more tutorials ready to share!
How to Make Wall Vases from Upcycled Jars
Don't throw out those old food jars, upcyle them into beautiful wall vases instead. This easy craft will be perfect for adding decor to home on a budget!
Materials
- Empty glass jars
- 1x4 wood
- 1" strips of leather or faux leather
- Decorative furniture nails or tacks
- Twine or sawtooth picture hanger
Tools
- Hammer
- Hot glue gun and glue sticks
Instructions
- Cut your wood into 9" pieces (or whatever size you want to work with your jars). Lay one of the jars on top of the wood and measure from the side, over the jar to the other side. Cut your leather into 1" strips to the length you just measured.
- Using the hammer and furniture nails, secure one side of the leather to one side of the wood.
- Place the jar on the wood where you want it and wrap the leather strip around it.
- Stretch the leather tight and secure with furniture tacks on the other side. Cut any excess leather off.
- Hot glue twin to the upper back of the wood. The hot glued twine will only work for light loads. If you want to plant things in your wall vases or fill them with water for fresh flowers, use screws and thicker cord to create a way to hang them. You could also use sawtooth picture hangers to create an invisible hanging solution.
- Now you can hang you wall vase on the wall and fill it with art supplies, cut flowers, plants or more!
