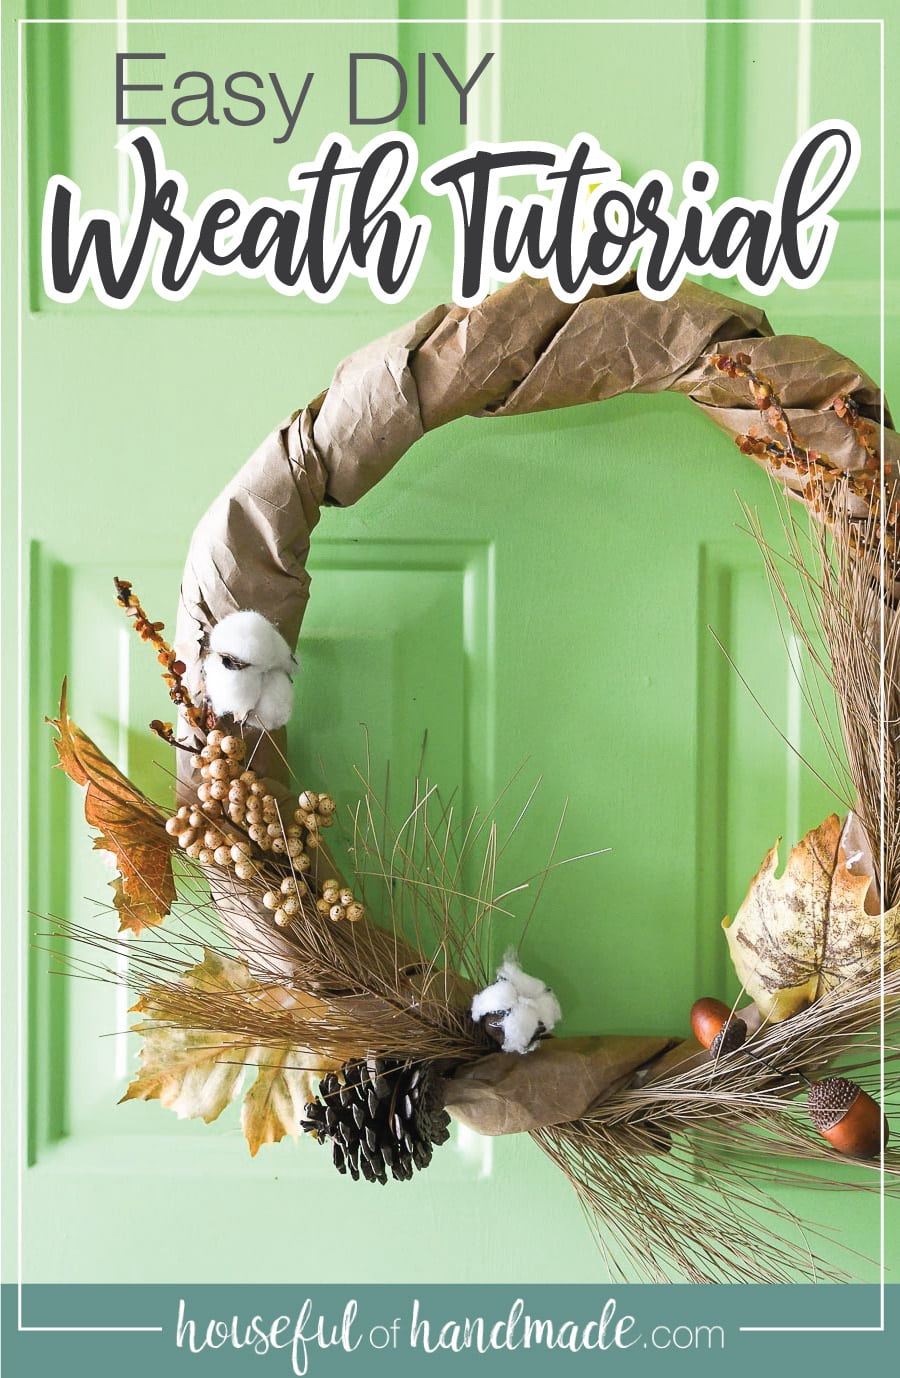
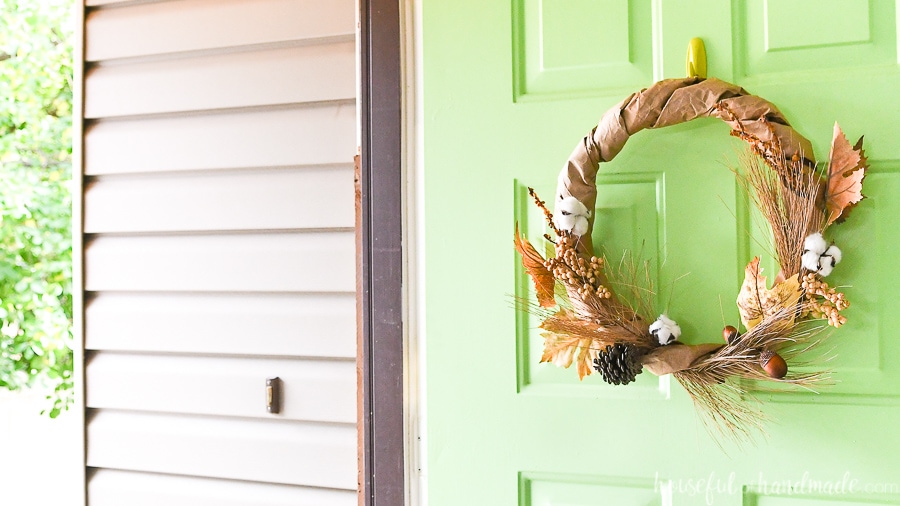
Upcycle paper grocery bags to make a beautiful, budget friendly, wreath for fall
Why do wreaths cost so much money? I love having a wreath on my door for every season and holiday, but if you bought them they would cost so much. So to create a rustic wreath for fall, I decided to upcycle some trash instead!
Okay, so maybe this is not exactly trash. But the wreath form for this new fall wreath is made out of upcycled brown paper grocery bags. Can you believe it?
Instead of spending lots of money on a wreath form, this one was made for just a few dollars. And the fall floral accents that make the rustic brown wreath form look so pretty were bought at a deep discount at the craft store. Bonus!
This post may contain affiliate links. As an Amazon Associate I earn from qualifying purchases. Click here to read my full disclosure policy.
So grab those stashed grocery bags and let’s get to making some beautiful fall decor.
How to Get Faux Floral for Cheap
Adding seasonal floral elements to a wreath is so easy if you know how to save lots of money on them!
I always buy my faux floral at the craft store (Michael’s, Hobby Lobby or even Joann’s Fabrics). They put these items on huge discounts to sell through them during the season.
And if you are buying them early, and they are not on sale yet, don’t pay full price for them. Instead, check the craft store website for a 40% off coupon.
Always check the clearance section for faux florals. They usually sell them for 80-90% off at the end of the season.
And just because it was labeled as Fall doesn’t mean you cannot use parts of it for Christmas. I got gorgeous magnolia leaf bunches on sale for 90% off because they were fall and used them in my Christmas decor.
Or you can buy clearance and store them until next year. That is what I did with this upcycled paper bag wreath for fall!
I bought these fall leaves at the end of last year for just under $1. I kept them in my floral bin in my craft room until this year to make a new wreath!
How to Make a Rustic Fall Wreath
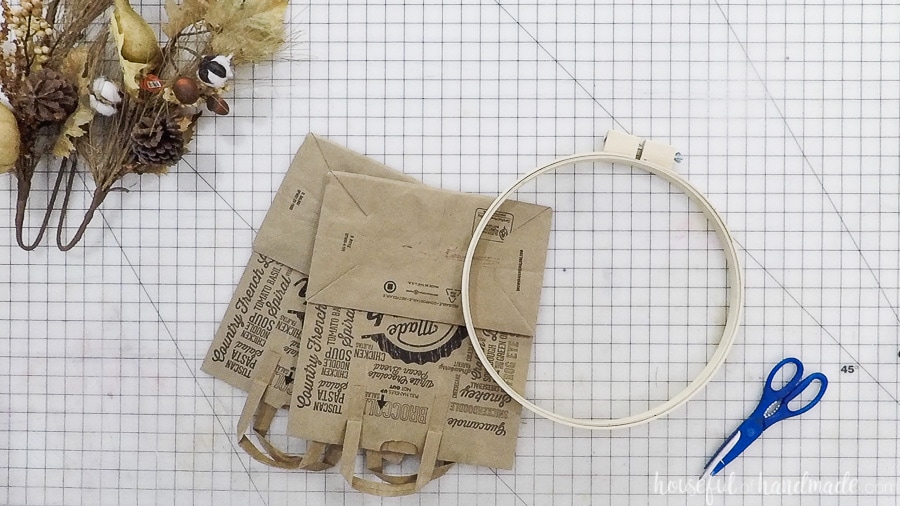
Supplies:
- 14″ embroidery hoop
- You can use any 14″ wide circle since it will be completely covered. The embroidery hoop I bought was only $3 and now I have a second hoop for another project.
- 4 large brown grocery bags
- Scissors
- Double sided tape
- This is optional, you could also use hot glue here.
- Hot glue gun and glue sticks
- Fall faux floral of your choice
- Jute string
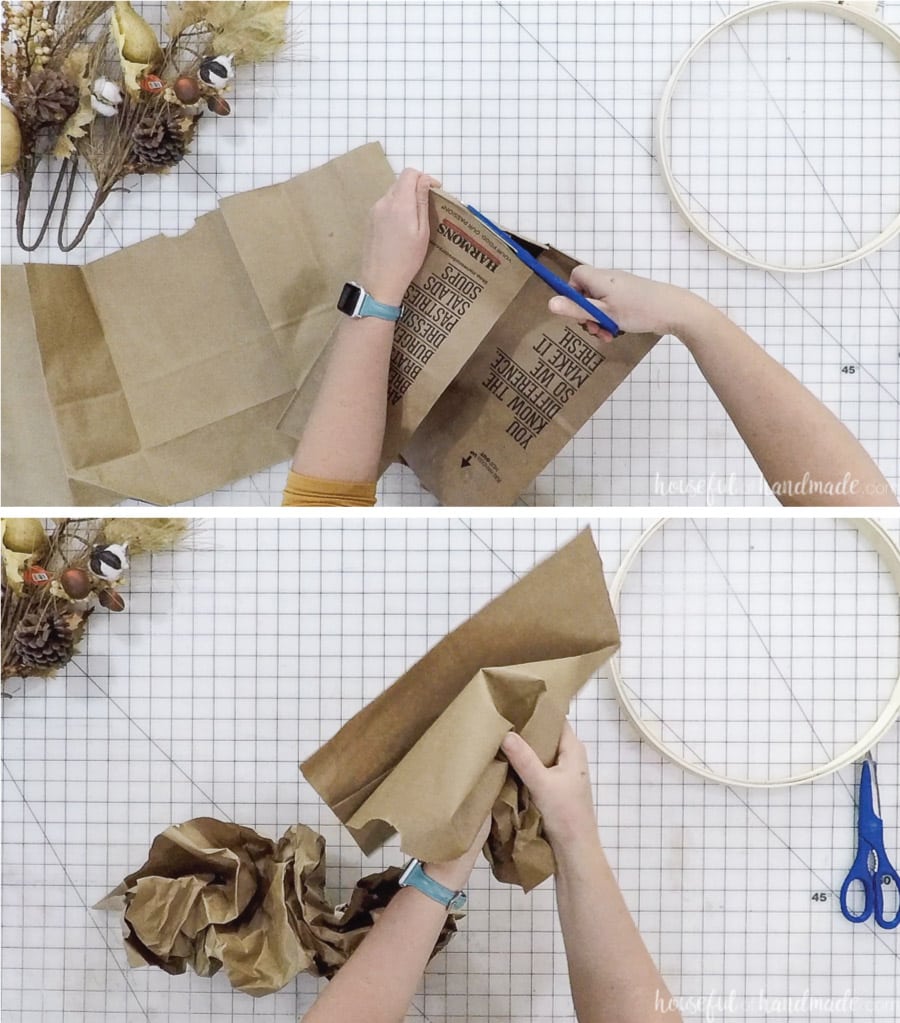
Preparing the Paper Bags
Start by cutting open the brown paper bags. Cut down the seam on the back and then cut off the bottom. Also cut off the back seam where the paper is overlapped and glued.
Crumble the paper bags up to hide the folds and give it a more rustic look. Ironically, this will also make it easier to lay flat later.
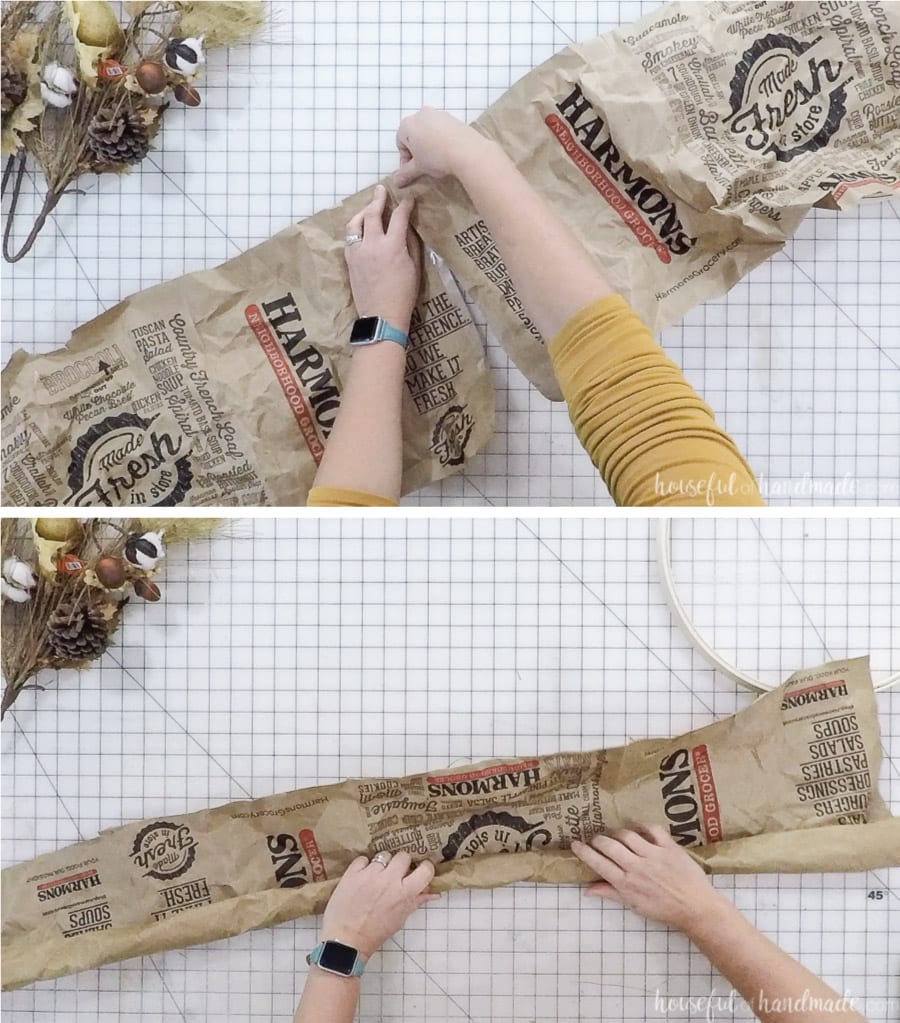
Lay the paper out and smooth it flat. Add double sided tape along one of the short edges of one bag and then add a second bag to it to create one long strip of brown paper.
Press firmly to make sure the bags are stuck together.
Start rolling along the long end of the two paper bags to create a long tube of paper. Make sure to roll so the type is on the inside leaving the pretty brown paper visible on the outside.
Once you get the entire tube rolled up, use a few pieces of double sided tape to keep it rolled.
Repeat with the other 2 bags to create 2 long tubes.
Creating the Wreath
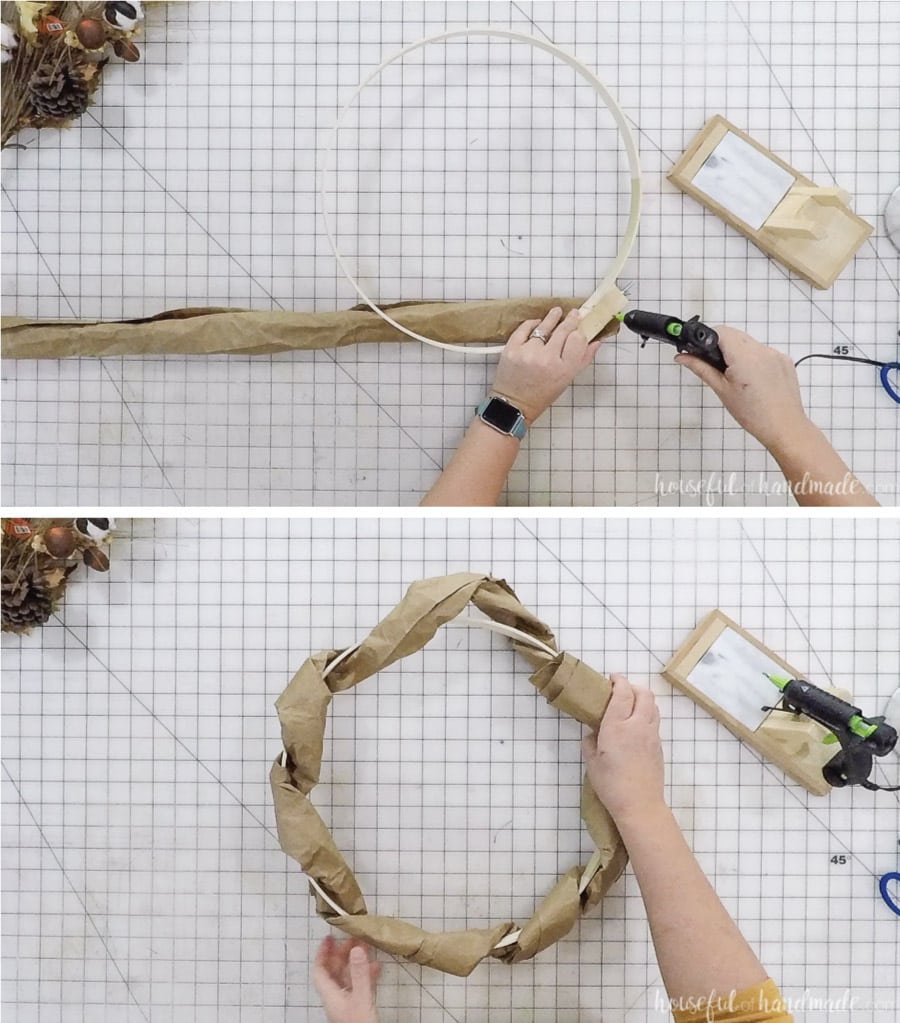
I used the outside of the embroidery hoop for this wreath since I knew the paper would cover the part that opens and closed the outer hoop. This is where I secured the brown paper too.
Add some hot glue to the wood hoop and attach the end of one of the paper bag tubes. Wrap the tube around the embroidery hoop by inserting the end of the long tube inside the circle then pulling it tight to the end.
Continue around the entire hoop until you get to the end. Make sure you have lots of wraps of paper and use most of the tube.
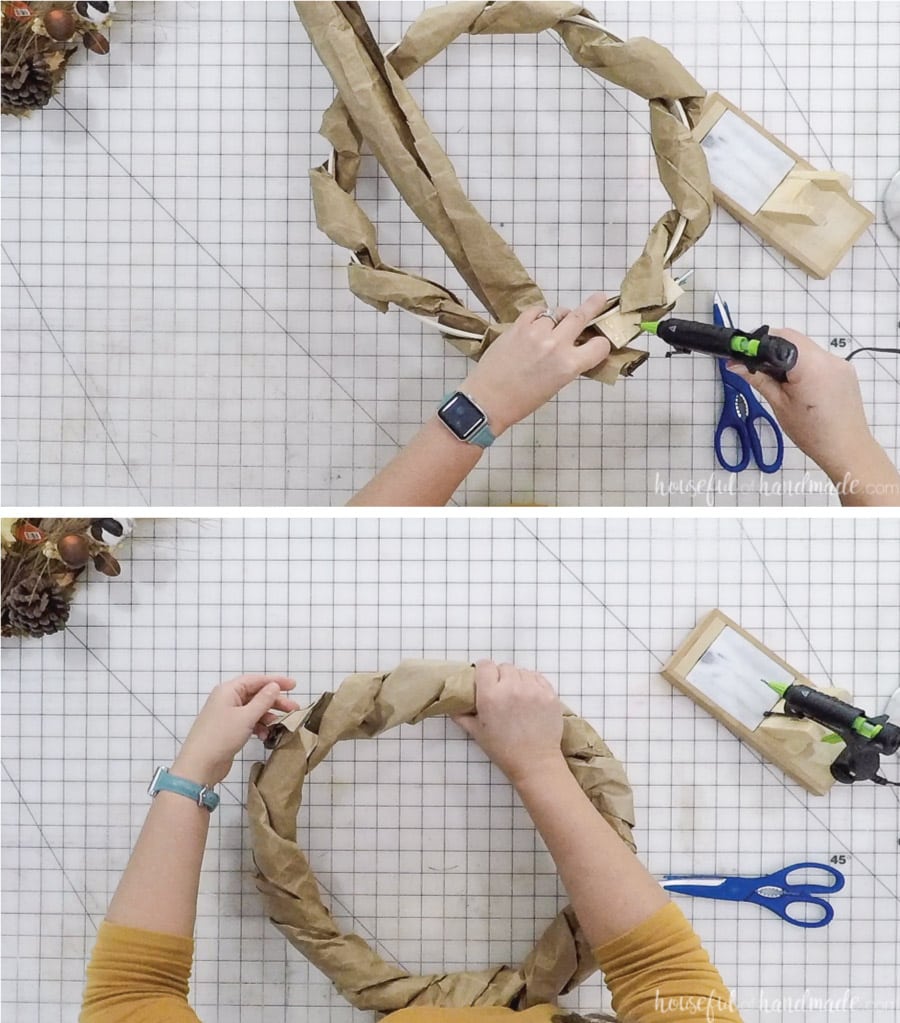
Cut the end of the tube if necessary and glue it next to the start.
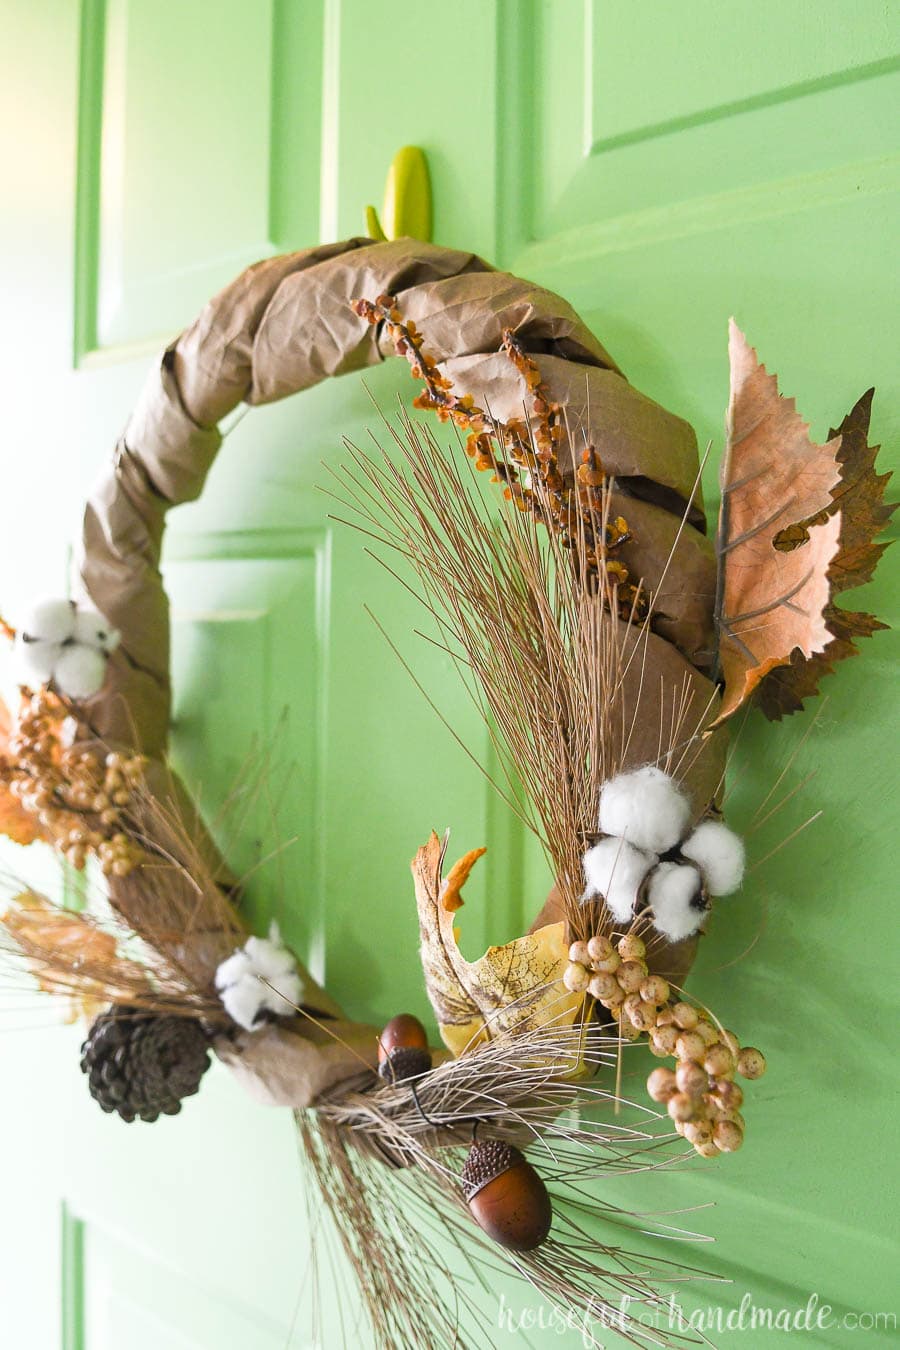
Repeat with the second tube making sure to place the twists of brown paper in the gaps from the first tube. This will completely hide the embroidery hoop and give the wreath form a twisted look.
Finish by securing the end with hot glue.
Decorating the Wreath
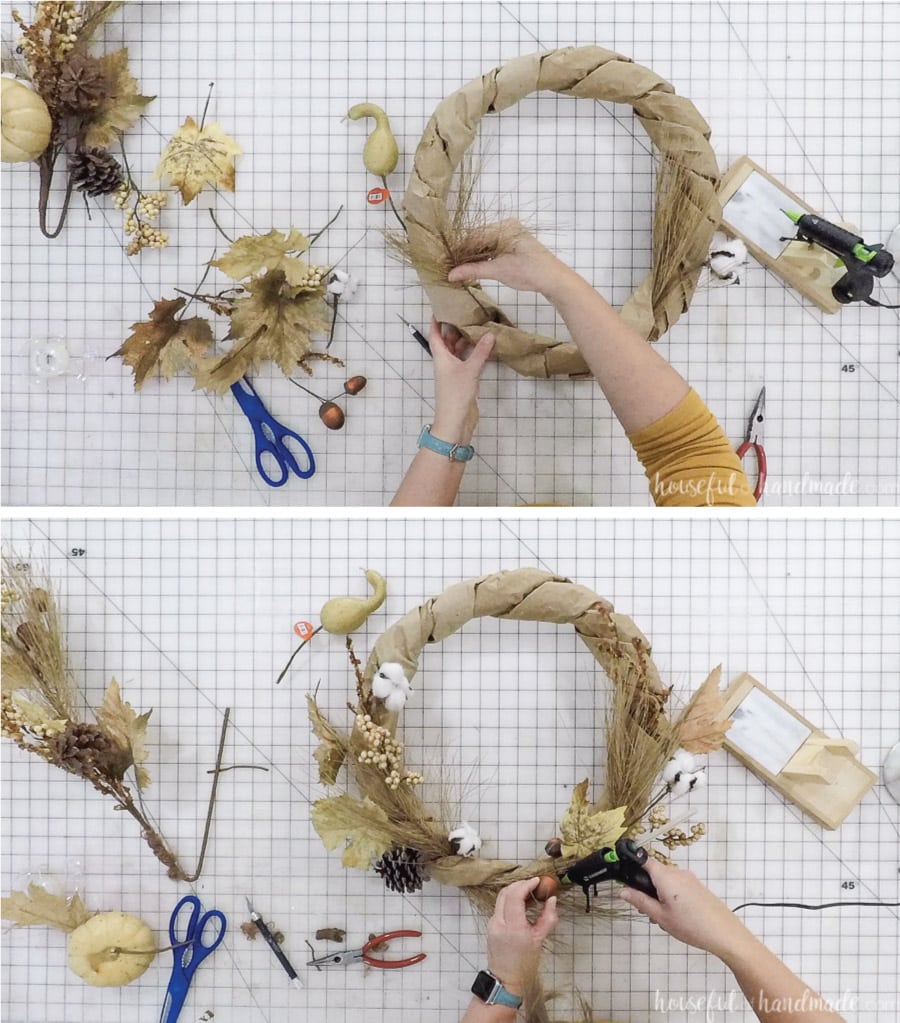
Cut apart your faux floral stems.
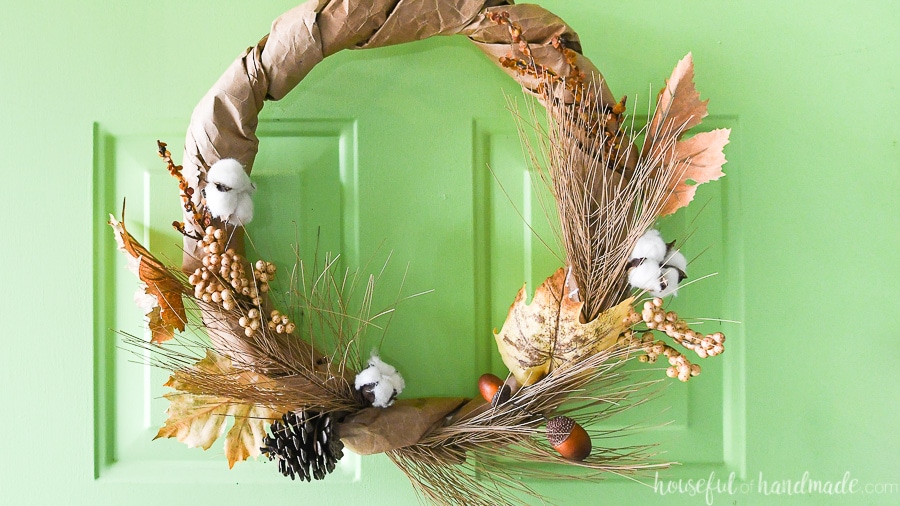
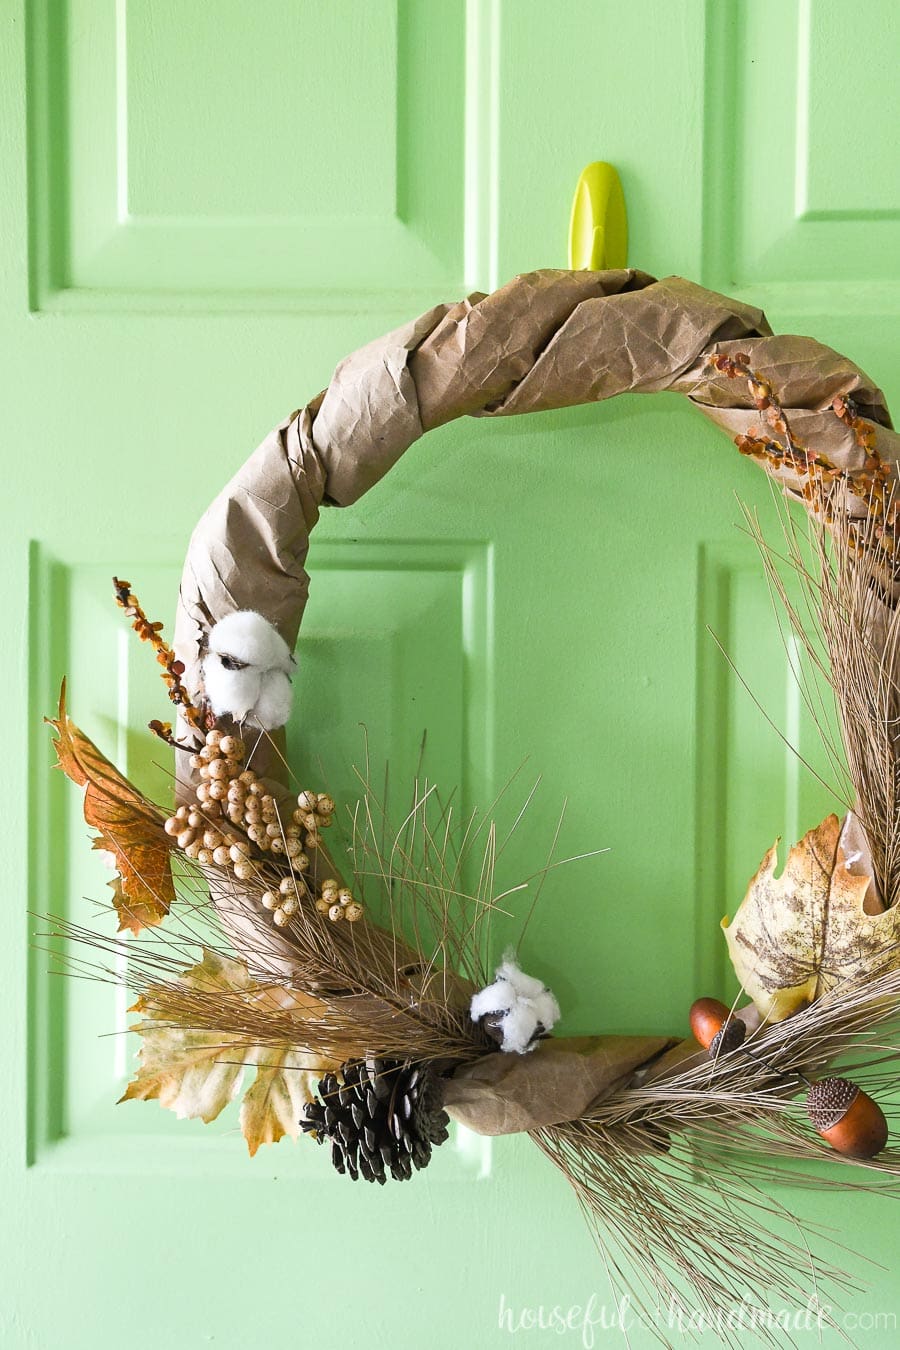
Press the different fall elements into the twists of paper of the wreath form. Tuck them inside to secure.
Add the floral elements however you want on the wreath. I decided to keep mine just toward the bottom making it look like the floral was climbing up the sides of the wreath form.
Once you have all the elements on the form the way you want. Use the hot glue to secure any that need it. If you have a lot of wind you may want to secure them all.
To hang the wreath, add some jute string to the back. Tie it around two of the twists of paper to secure.
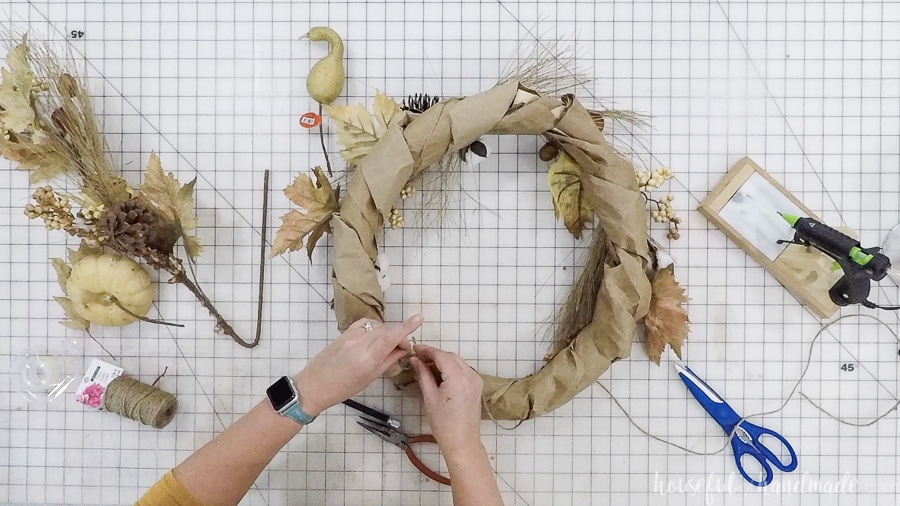
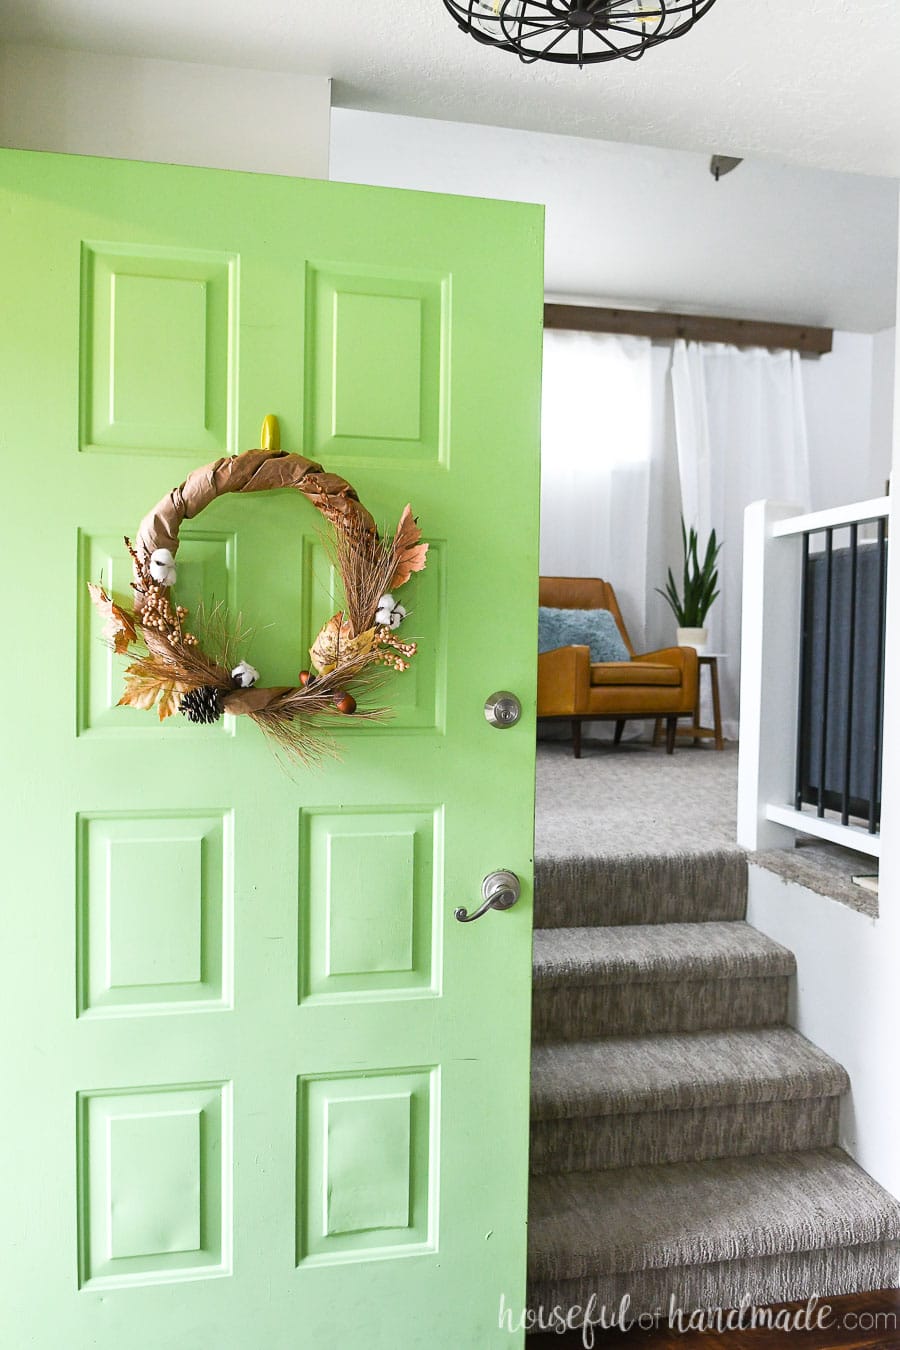
Now your new wreath is ready to hang up! I have a Command hook on my front door that makes it easy to hang wreaths. Or you can use a wreath hanger over your door.
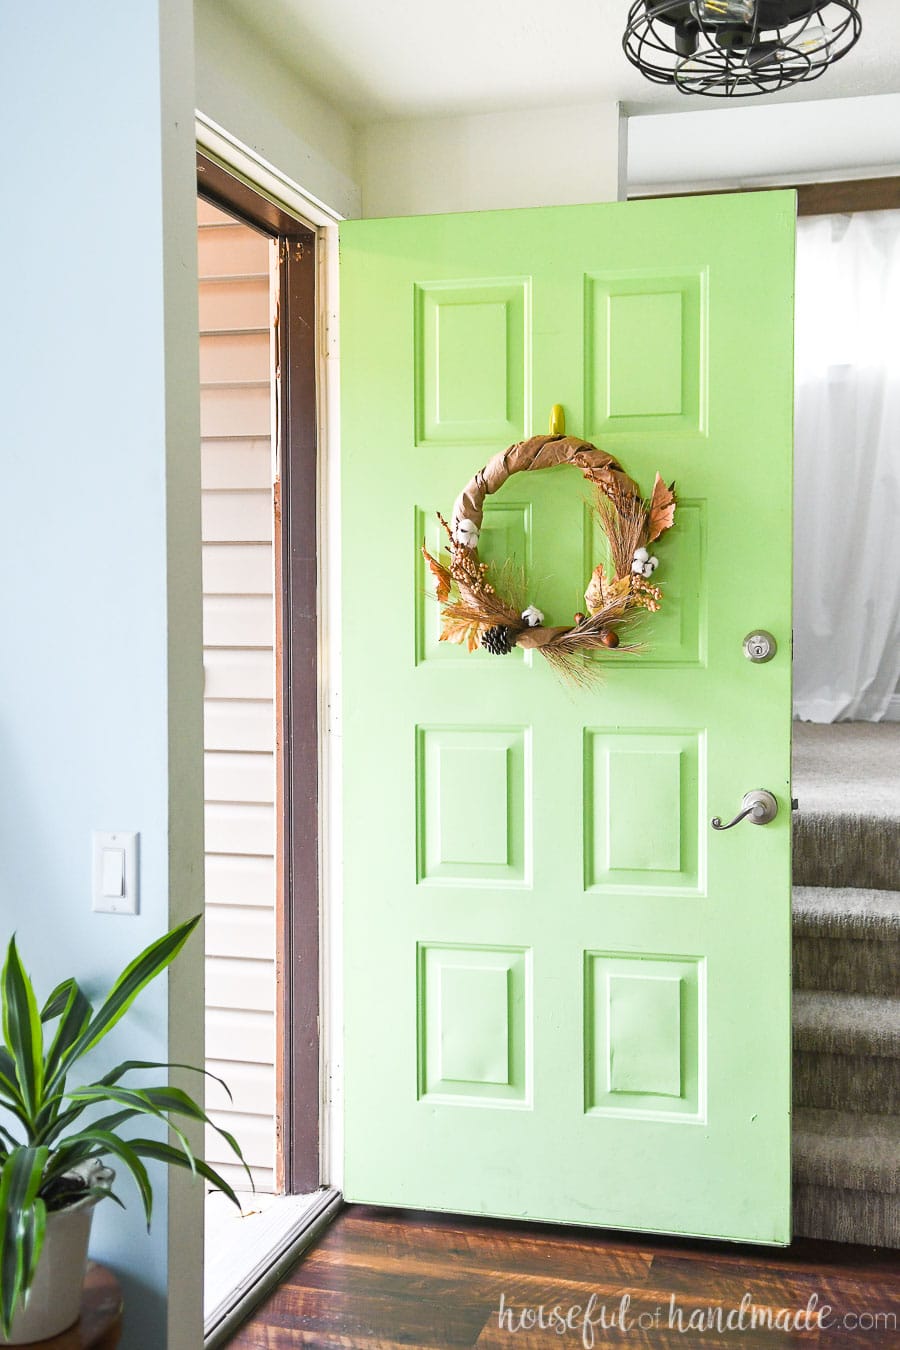
However you choose to hang your new wreath, you will love knowing it was upcycled from something ready to go in the trash! But looks so much more expensive.
How’s that for inexpensive holiday decor?
And if you love this fun way to use up those paper bags, check out these gingerbread house ornaments too.