Save money this year by decorating with beautiful paper Christmas decor, including these 3 easy paper Christmas trees.
It’s the 2nd day of our Paper Christmas Decor series. I love sharing creative way to decorate with paper all year, but even more at Christmas time! It’s amazing how much money can be spent on Christmas decorations, so save some money with me this year and decorate with paper!
Today I have not 1 but 3 templates for fun and easy paper Christmas trees. You can sprinkle them allover the house, wherever you want to add a little Christmas cheer. And for more, check out these 19 Amazing Paper Christmas Decor Ideas.
Day 2: Easy Paper Christmas Trees
I am a firm believer that you can never have too many Christmas trees! There is just something magical about those evergreen branches. So for today, instead of just making one paper Christmas tree to share… I made 3!
This post may contain affiliate links. As an Amazon Associate I earn from qualifying purchases. Click here to read my full disclosure policy.
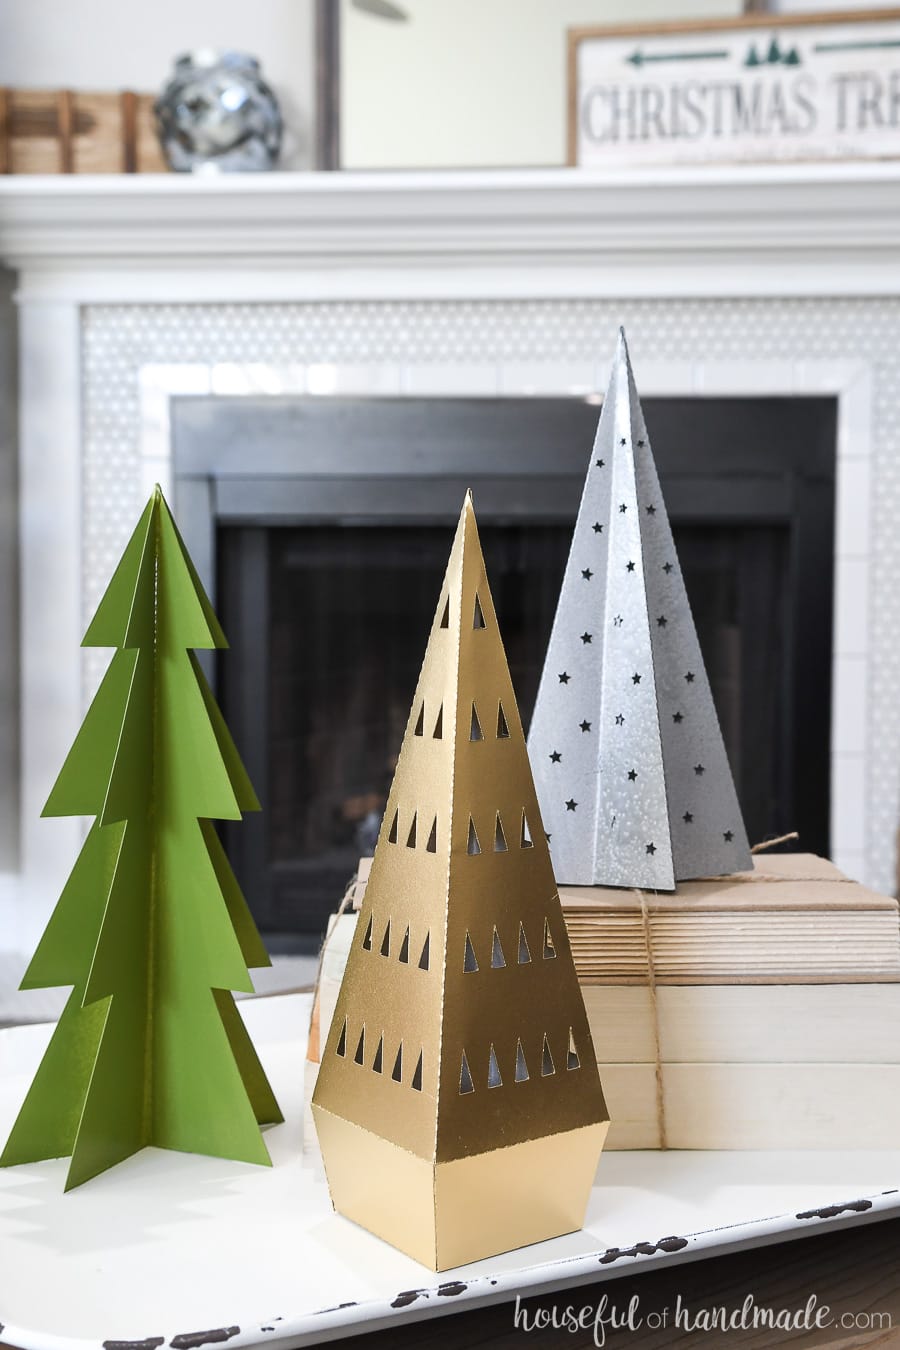
The easiest way to add a little Christmas to any room in your home is with a little vignette of Christmas trees. They are just so versatile. And if you use paper Christmas trees, you can make them any size to fit wherever you want!
And whether you want to just stick with one style of Christmas tree in different colors and sizes. Or use a variety to make a statement. You can easily add them everywhere!
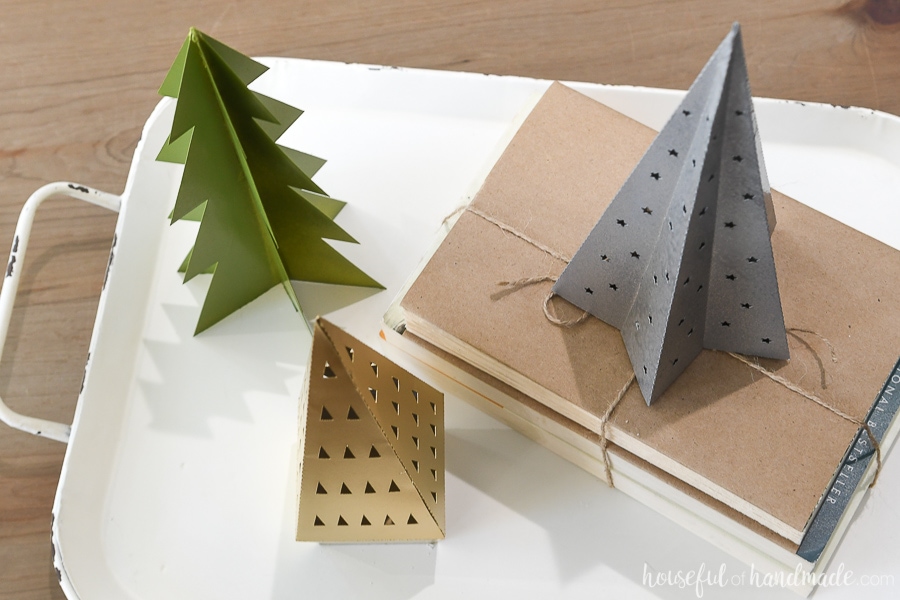
Quick and Easy ways to Decorate with Paper Christmas Trees
- Put a few on the kitchen counter next to a cookie jar or sign.
- Place them in a hutch or bookcase.
- Put a collection of holiday trees on a tray on a table.
- Add a few on the mantel.
- Punch holes in the top and tie a string on it to use as ornaments.
- Place a few in the center of a wreath.
- Add a gathering of trees down the center of a table runner for an easy centerpiece.
So grab that pack of cardstock at the store and let’s make a forest of paper Christmas trees that you can sprinkle all over the house!
How to Make Christmas Trees Out of Paper
Supplies:
- 3D paper trees cut files
- The cut files & PDF for these paper Christmas trees were free to my subscribers until 11/25/2018. Now they are available to purchase in the shop. Make sure to subscribe so you will be notified of new freebies!
- Cardstock
- Hot glue gun and glue sticks
- Spray paint
- This is where you get to customize your
- Optional: Silhouette Cameo
Cut your templates for the paper trees out of cardstock, you can use colored paper or choose to spray paint them once assembled. I like to spray paint paper decor to give it a non-paper look. It covers the paper in a sheen that makes it look like a fancier material, even metal.
Use a Silhouette Cameo to easily cut all the intricate parts of the paper Christmas trees. If you don’t have a Silhouette, don’t fret. You can cut your Christmas trees out with scissors and an x-acto knife. Or you can use punches to add the star details if you want. Then ask the big guy to bring you one for Christmas this year!
Star Paper Christmas Tree
Fold along all the dotted lines in an accordion fashion. I like to keep the flap folded upwards so that it is hidden on the valley of a fold instead of the peak.
Glue the flap on the backside of the opposite side of the tree to make a cone shape.
Stand up the tree and look down the top to arrange the tips of the star evenly.
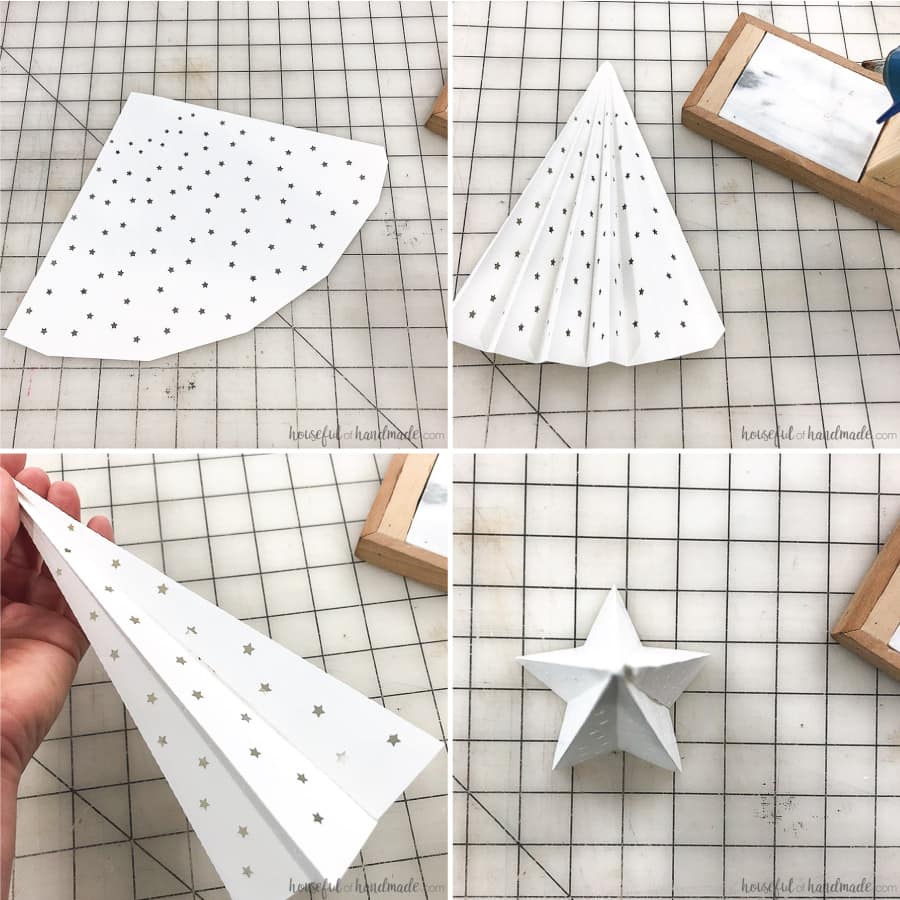
Leave white, or paint with your favorite color spray paint!
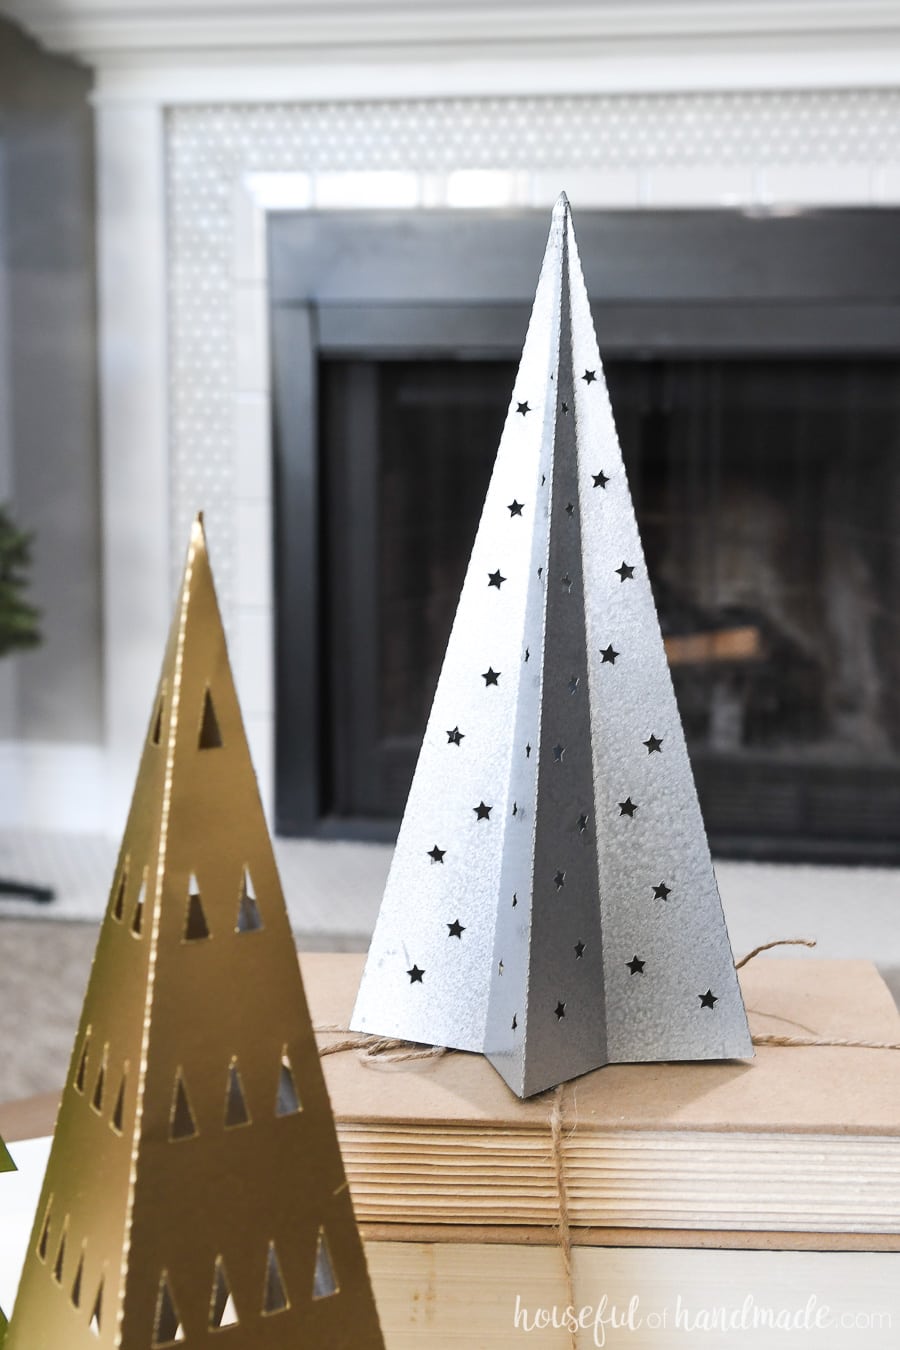
Modern Paper Christmas Tree
Fold along all the dotted lines.
Start by glueing the flaps at the bottom of the tree. Then glue the base.
Add glue to the flap up the side of the tree and close up.
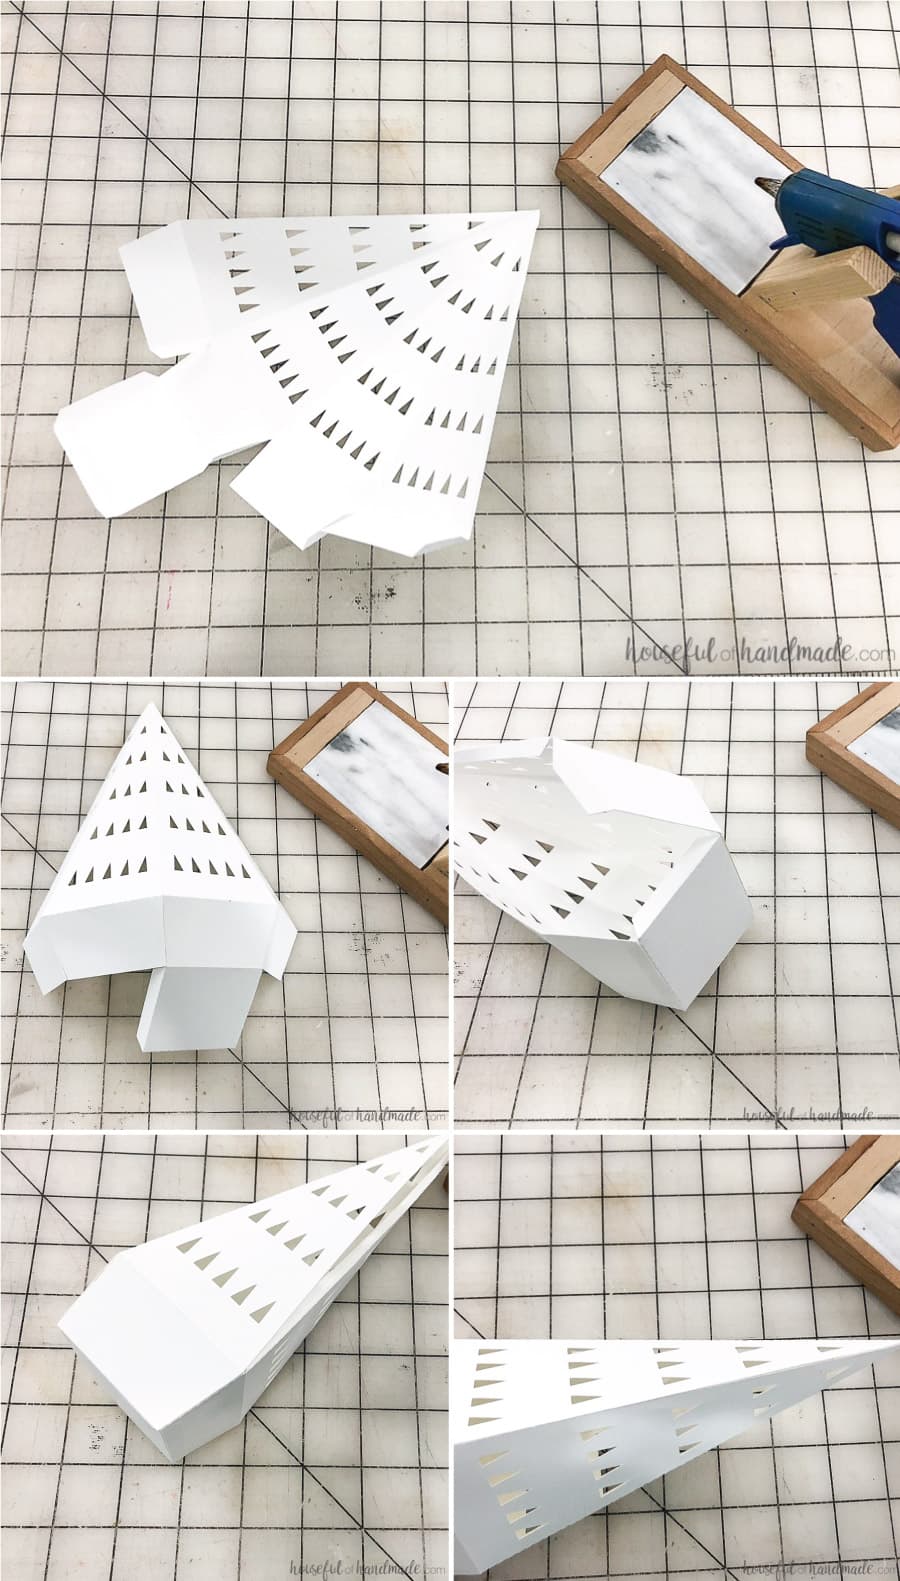
Leave white, or paint with your favorite color spray paint.
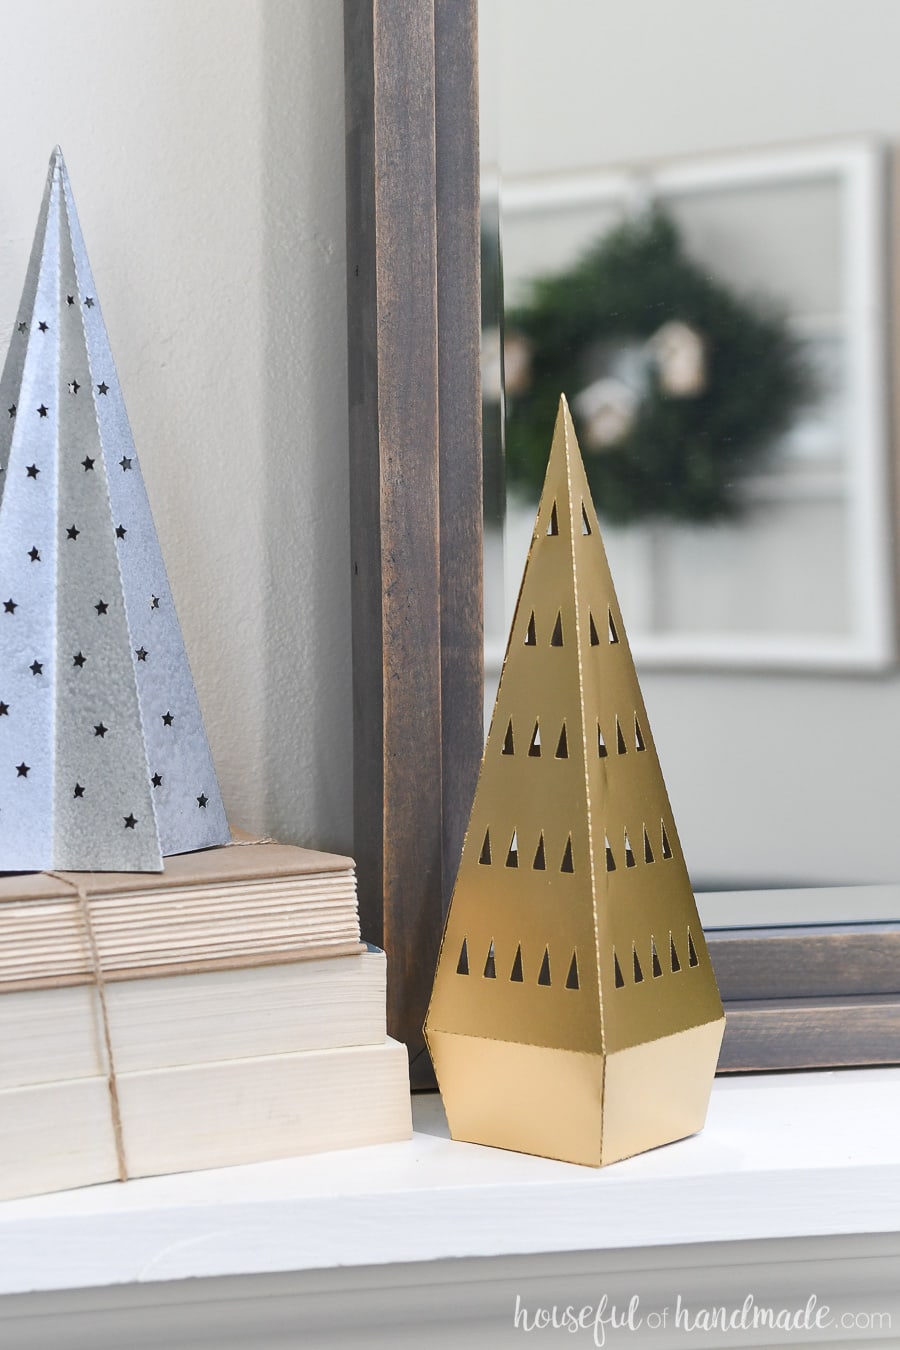
Classic Paper Christmas Tree
Fold the two pieces along the dotted lines. Slide the two folded pieces onto the non-folded piece connecting them at the grooves.
Place a thin line of glue along the inside of the folded line then secure the edge of the non-folded piece to the inside of the fold. Repeat on the other side.
Place a tiny bit of glue on the outside of the fold to connect the two pieces at the top.
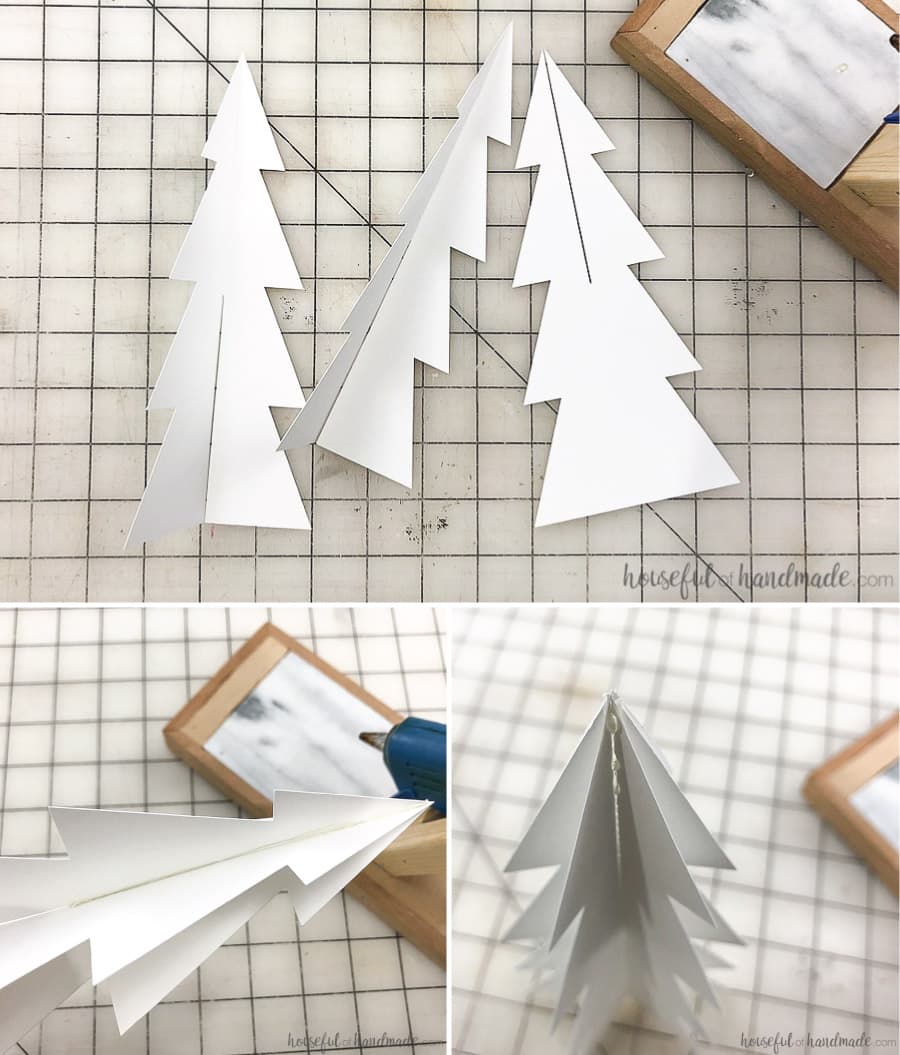
Leave white, or paint with your favorite color spray paint!
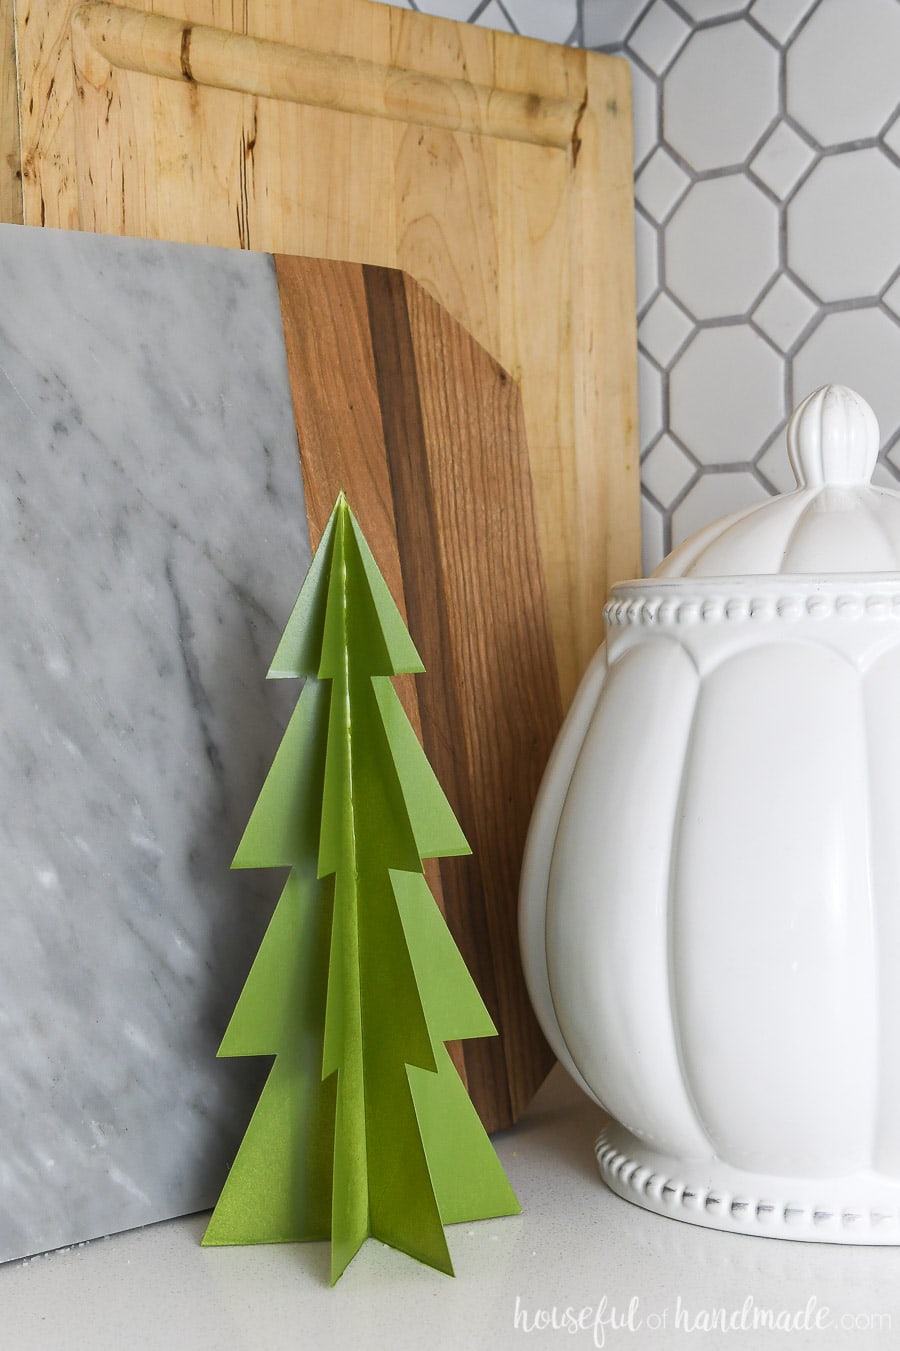
How to Resize Paper Trees
To resize the PDF tree templates, change the % size when printing or copying.
If using an electronic cutting machine, make sure you keep the aspect ratio locked so it resizes the width and height the same percent.

Don’t forget to come back tomorrow for Day 3 of the 7 Days of Paper Christmas Decor. Here is the plan for the week. You won’t want to miss out on anything!
- Day 1: Gingerbread House Paper Christmas Ornaments
- Day 2: 3 Easy Paper Christmas Trees
- Day 3: Christmas Cookie Boxes
- Day 4: Paper Lantern Christmas Ornaments
- Day 5: Printable Christmas Signs
- Day 6: Christmas Reindeer Figurines
- Day 7: Paper Holly Wreaths
And by the end of the week, you will have everything you need to decorate your home for the holidays without spending all your money!

3 Easy Paper Christmas Trees
Add a little Christmas to any room in your home with a little vignette of paper Christmas trees. They are easy to make and inexpensive too!
Materials
- 3D paper trees cut files
- Cardstock
- Spray paint
Tools
- Silhouette Cameo
- Hot glue gun and glue sticks
Instructions
- Cut your templates for the paper trees out of cardstock.
- Use a Silhouette Cameo to easily cut all the intricate parts of the paper Christmas trees.
- Fold along all the dotted lines in an accordion fashion.
- Glue the flap on the backside of the opposite side of the tree to make a cone shape.
- Leave white, or paint with your favorite color spray paint!
Recommended Products
As an Amazon Associate and member of other affiliate programs, I earn from qualifying purchases.


