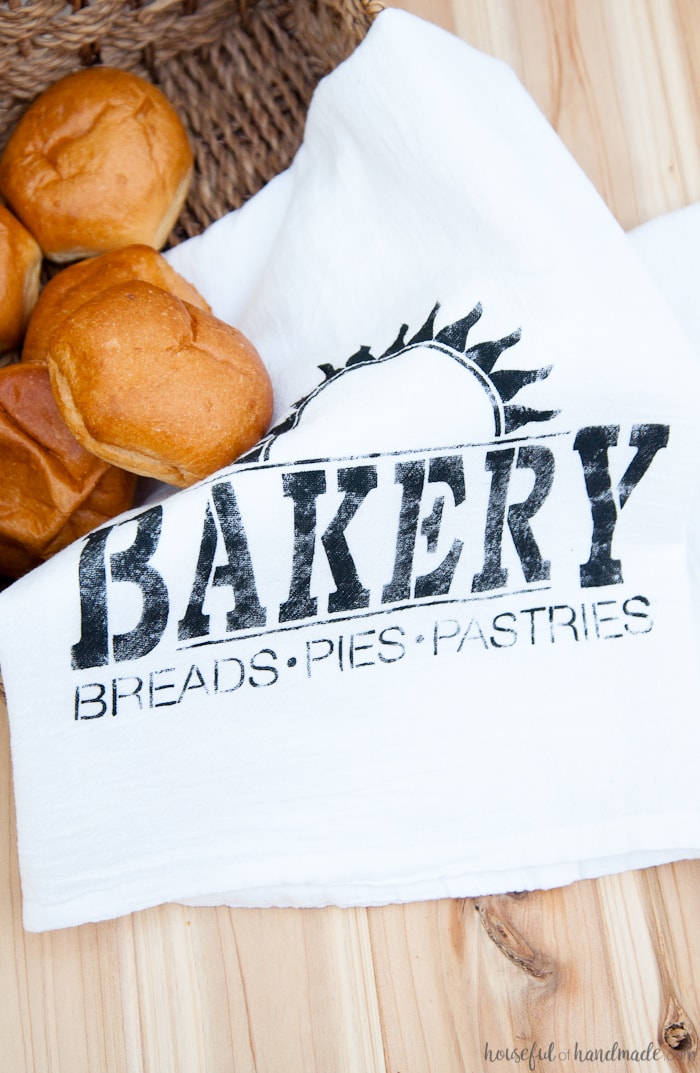
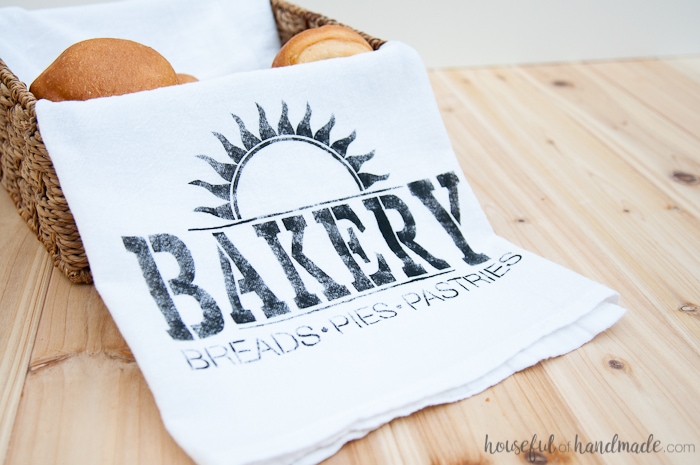
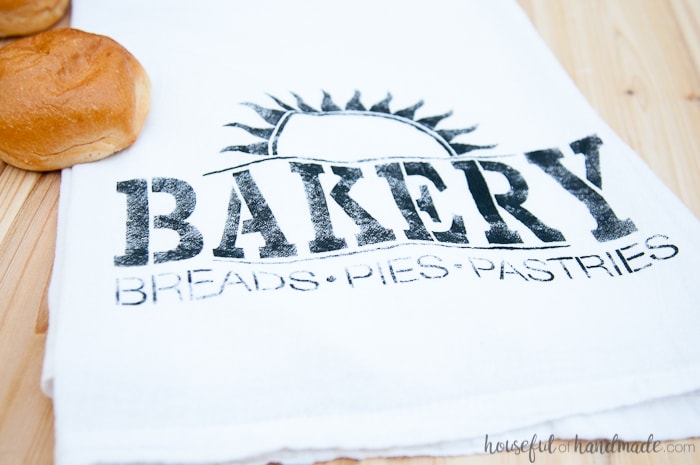
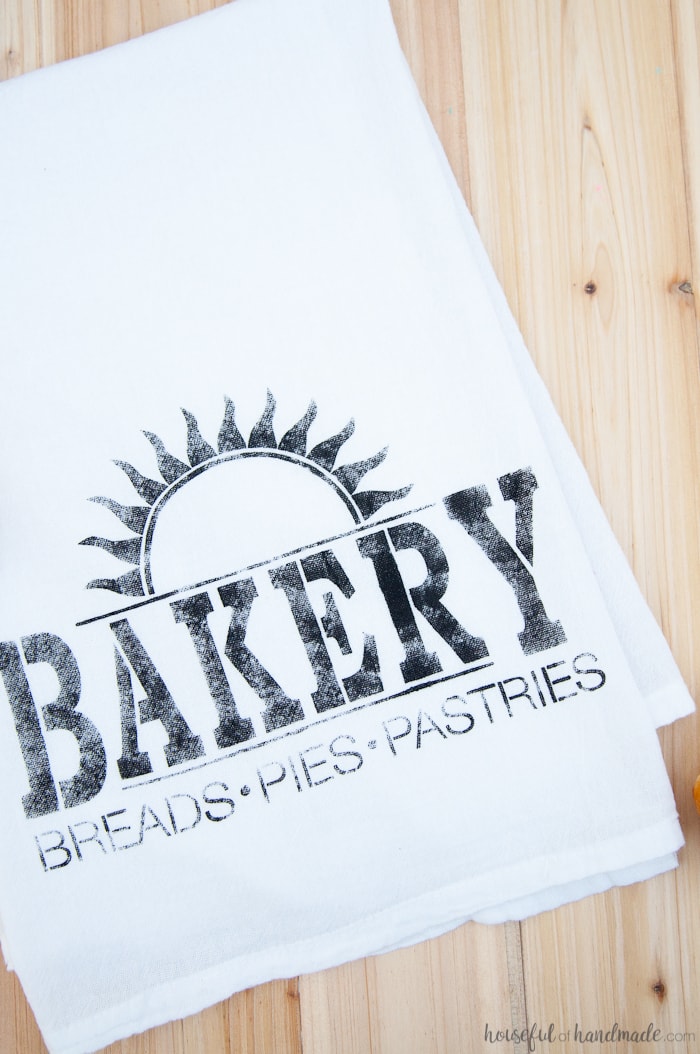
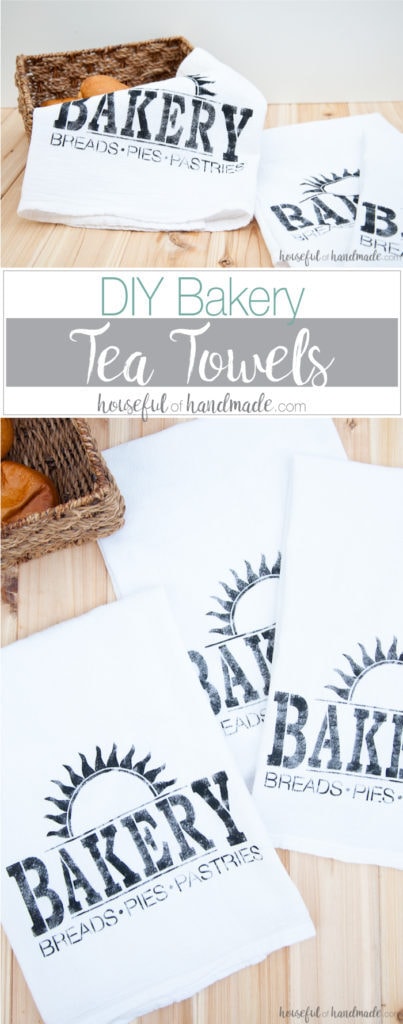
Make your own beautiful bakery tea towels to help around the kitchen with this easy DIY stencil tutorial.
For some reason I can go through my entire drawer of kitchen towels in a couple days. I must be the messiest cook in America (at least that’s what my husband thinks). But I always clean up after myself hence the reason I dirty so many towels.
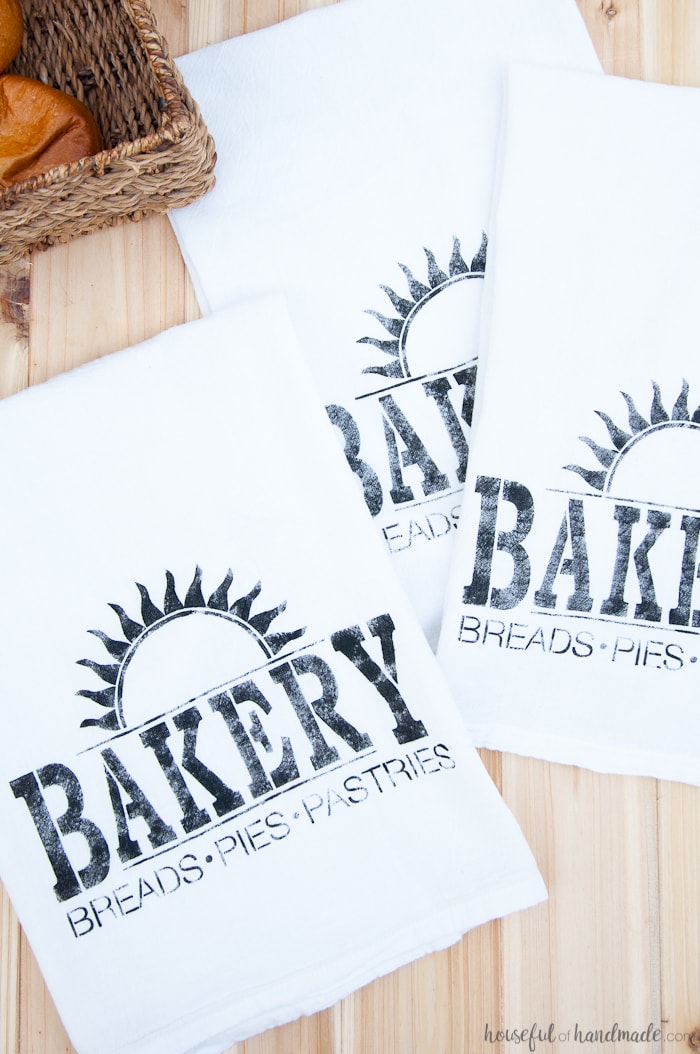
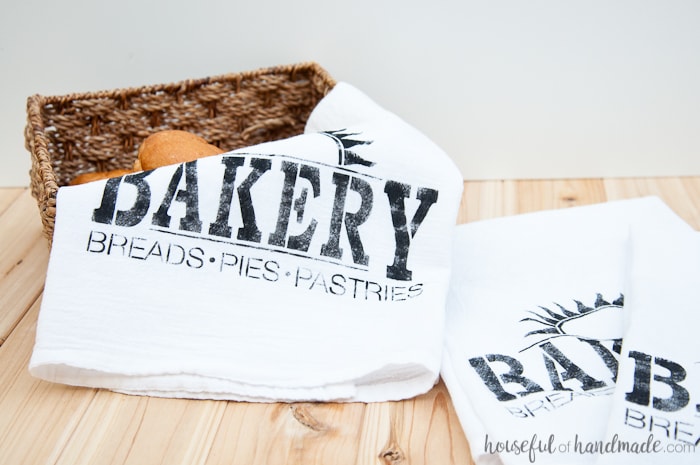
So to ensure I have enough towels to get me through a week, I made these DIY bakery tea towels to share with you today!
You guys know how much I love my Silhouette. It has seriously changed the way I create. I have loads of projects using an electronic cutting machine.
This post may contain affiliate links. As an Amazon Associate I earn from qualifying purchases. Click here to read my full disclosure policy.
I use it to craft everything from stencils to home decor, paper crafts to photo mats, and everything in between.
Typically when I create a stencil for painting, I use vinyl, but when you want to make more than one item, you would have to use a lot of vinyl.
I didn’t want to waste all that vinyl or go through the work of making 4 stencils for my 4 tea towels.
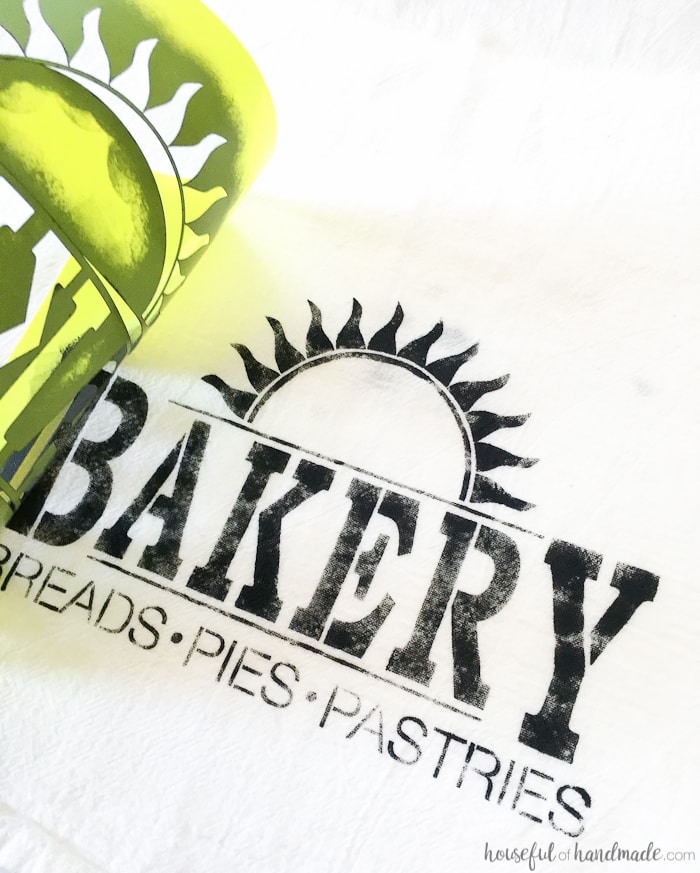
So instead I made a different kind of stencil, a plastic one that could be reused over and over and over.
Using your Silhouette to cut different materials can be scary, the last thing you want to do is to break it. But I have learned that I will never realize all the amazing things it can cut if I don’t put it to the test.
So I experiment with all kinds of things. And after cutting out index dividers for binders for these giant outdoor pinwheels, I knew I could use the same binder dividers to make a stencil.
It worked out better than I could have imagined!
Now I am ready to buy up all the plastic binder dividers so I can make stencils for days!
And if you love tea towels as much as I do, you are going to want to check out these DIY tea towels too. They are so pretty and super easy to make.
How to Make DIY Bakery Tea Towels
Supplies:
- Flour sack kitchen towels or other non-textured white kitchen towels
- Plastic binder dividers
- Cut file for stencil
- I am sharing the cut file for these tea towels for free in my subscriber library. Click here to subscribe to my newsletter and gain access to all the freebies. If you already have your password, click here to go to the library download them.
- Silhouette cutting machine
- Washi tape or masking tape
- Black fabric paint
- Foam paint pouncer
- Iron
Before painting fabric, it needs to be washed and dried to remove any residue and allow any shrinking that might happen. Then iron if needed.
EXPERT TIP: Make sure to wash and dry towels without fabric softeners or dryer sheets. These could add a residue to the fabric making it harder for the paint to adhere.
Open the bakery cut file in the Silhouette software. Size the stencil to fit your towels. My towels were approximately 30″x30″ so I made the stencil 1/3 of the size of the towels.
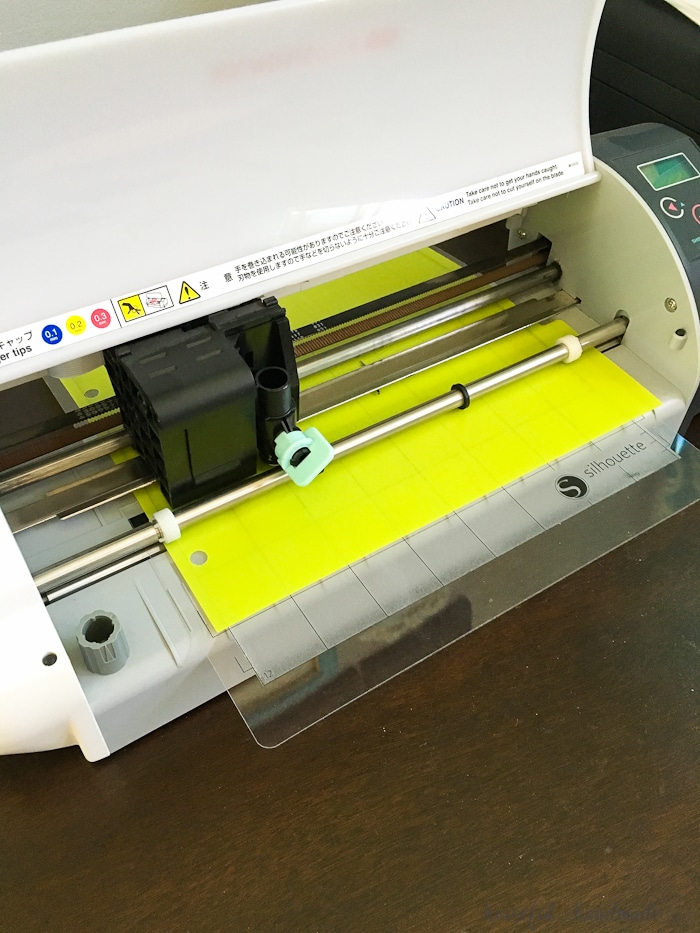
Set the cut settings for cutting chipboard. I typically set the blade to be one number deeper than the default to ensure a clean cut on the binder divider.
Place the binder divider on your cutting mat and cut.
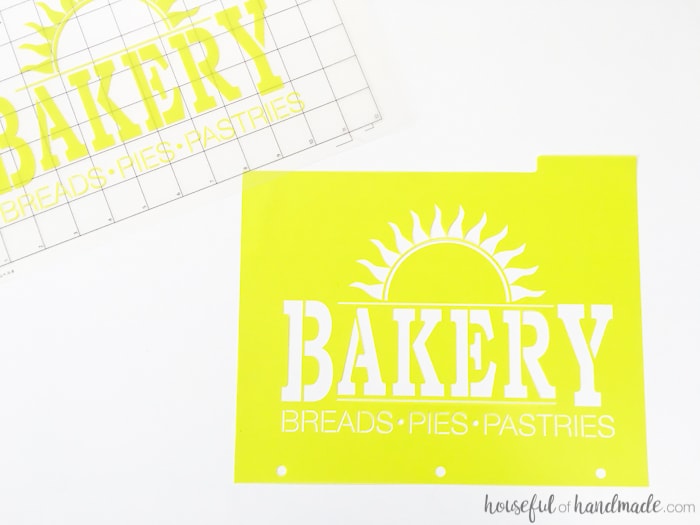
Carefully remove the stencil from the cutting mat. My mat was brand new so it was super sticky and I didn’t want the stencil to stretch so I had to be extra careful.
Now you have a reusable plastic stencil.
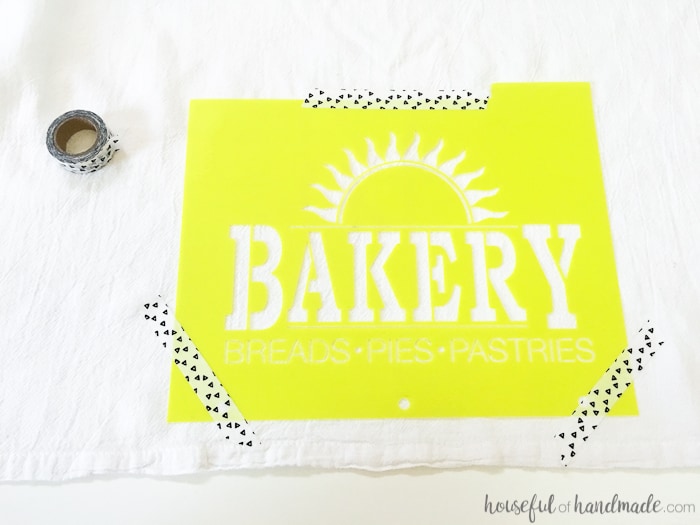
Position your stencil over your tea towel where you want the design. Secure the stencil with some washi tape or masking tape so it doesn’t move.
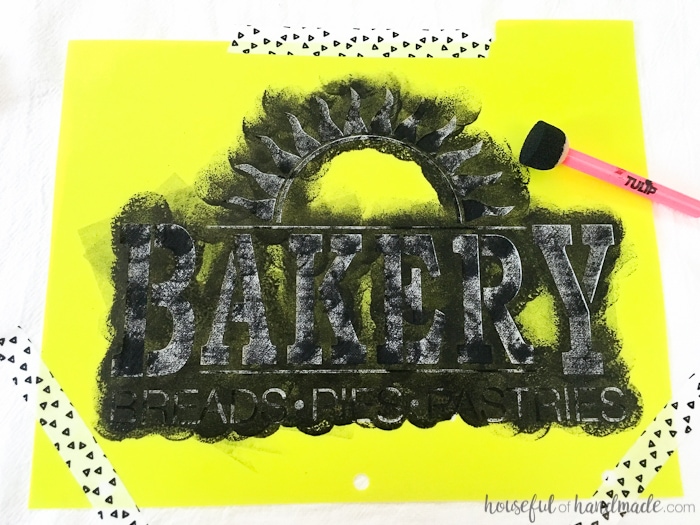
Now it’s time for paint. Use a foam paint pouncer to stipple the fabric paint onto the stencil.
Be careful to only paint in an up-down motion, not side-to-side to get clean paint lines. I wanted a vintage look so I didn’t make my paint perfectly even.
Once the paint is how you want it. Carefully remove the stencil by lifting it straight up so you don’t smear any paint.
Let the paint dry, then iron it with a hot iron to set the paint into the fabric.
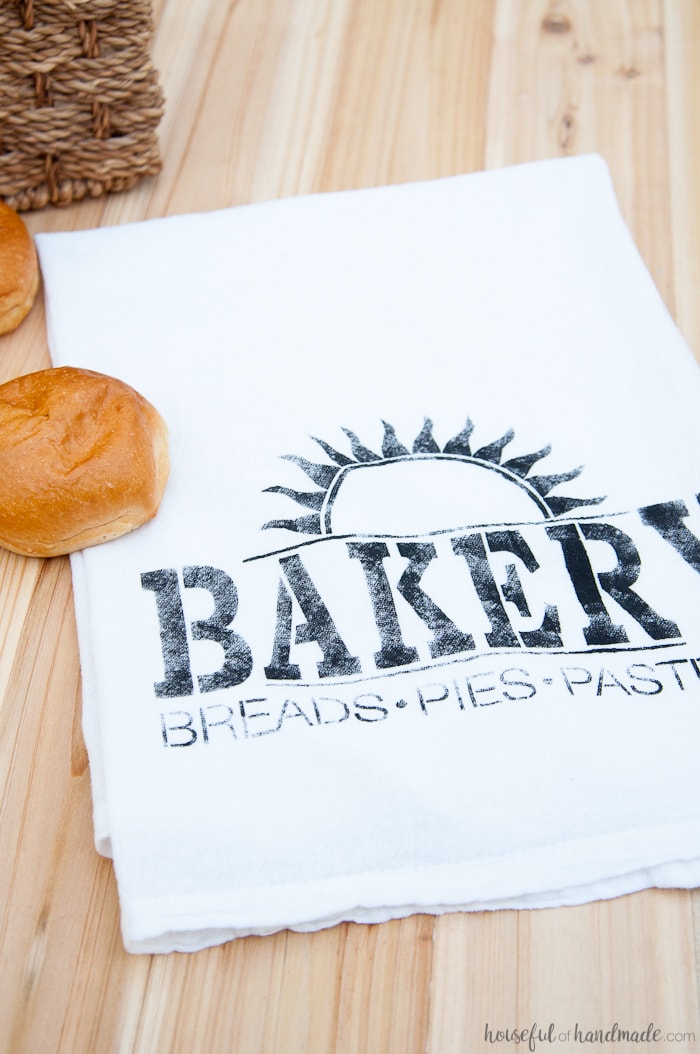
Now you can enjoy your new DIY bakery tea towels. I can’t wait to use them to clean up all the crazy messes in my kitchen.
And how cute would these be for a gift, maybe for a teacher, or gasp, Christmas (it’s not too soon is it)!
You could pair a tea towel or two with a fresh baked goodie, baking mix, or some kitchen utensils. Homemade gifts make me so happy!
And don’t forget to subscribe to the newsletter for lots of craft tutorials and to gain access to the library of free downloads & printables where you can download the stencil cut file and so much more!
Now I’m off to create something else!
Jeanie Puckett
Monday 31st of October 2016
L O V E these towels. I'm gonna make some for my brother who is a baker. I'm having trouble finding good stencil fonts. May I ask which fonts you used for this project? Thanks
Kati
Tuesday 1st of November 2016
Thanks Jeanie. I actually didn't use a stencil font, but carefully cut out parts of the letters to make them into a stencil font. It took a little time but made it so I didn't have to settle for a font I didn't really like.
Tiffany @ Arrows + awe
Thursday 15th of September 2016
oh. my. goodness. I am so happy I saw this post!! I have been taking my weekly trips to Michaels and literally staring at this printer int he aisle. People might think I'm crazy. I keep wondering what i can do with it and WHAT WHAT you just opened my mind! Stopping by from Awe-inspired Pinterest board!
Kati
Sunday 18th of September 2016
I'm so glad you found some inspiration! Thanks for stopping by.
Heidi
Monday 12th of September 2016
Thank you so much for this tutorial! I was wondering about cutting a stencil using my Silhouette and you've answered my questions. Such cute towels too!
Kati
Sunday 18th of September 2016
Thanks Heidi! I love cutting stencils on my Silhouette. I hope you have fun making lots of them.
Morena
Friday 9th of September 2016
Beautiful! What a great idea.
Kati
Monday 12th of September 2016
Thank you Morena!
Rachel Teodoro
Thursday 8th of September 2016
What a great idea! I have never used a binder page before to make stencil but that's genius!
Kati
Monday 12th of September 2016
Thanks Rachel! I love using the plastic binder pages to make stencils. Great for budget stencils :)