Today’s post is a the perfect way to start the week before Christmas. I have teamed up 2 Bees in a Pod and 18 other bloggers for a virtual cocktail party!
Yeah, you heard that right. We are starting the week off with a party and we are sharing 20 fun recipes, drinks, and decor to help you party in style.
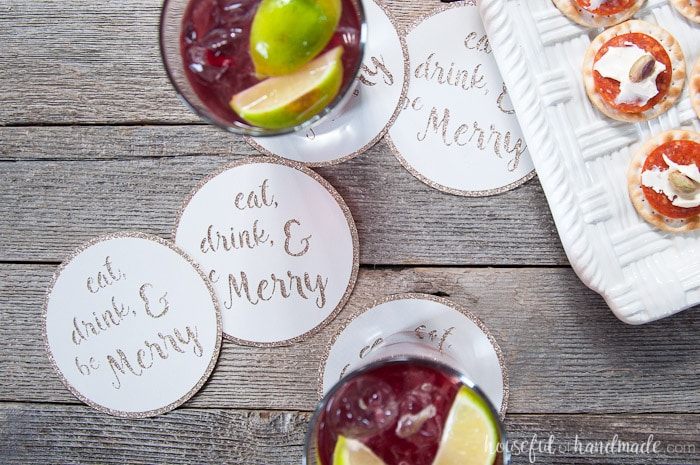
For this party, I decided to focus on the perfect party decor: DIY Drink Coasters.
This post may contain affiliate links. As an Amazon Associate I earn from qualifying purchases. Click here to read my full disclosure policy.
Maybe it’s because I have been crazy strict with my family using coasters on the new farmhouse coffee table I just built.
Or maybe it’s because I just hate cleaning up messes. Either way, having a bunch of DIY drink coasters for a party just seemed like the perfect idea.
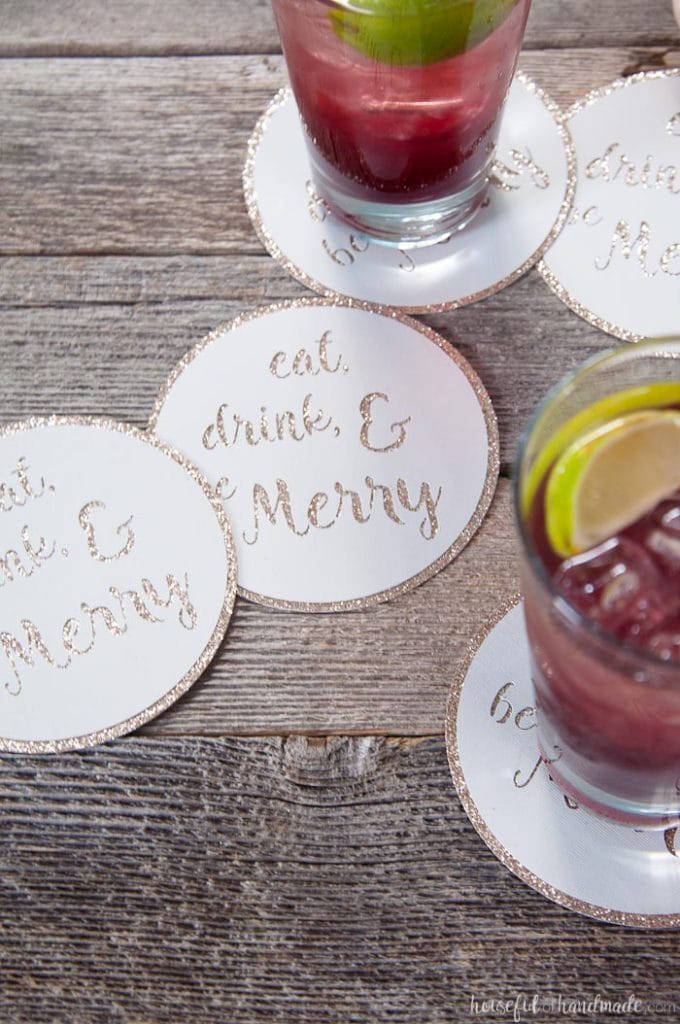
I don’t know anyone that has enough coasters for a whole houseful of guests to use (but if you do that is awesome!).
So when you have lots of people over, what do you do? Just try not cringe when someone puts a sweaty drink on your table top?
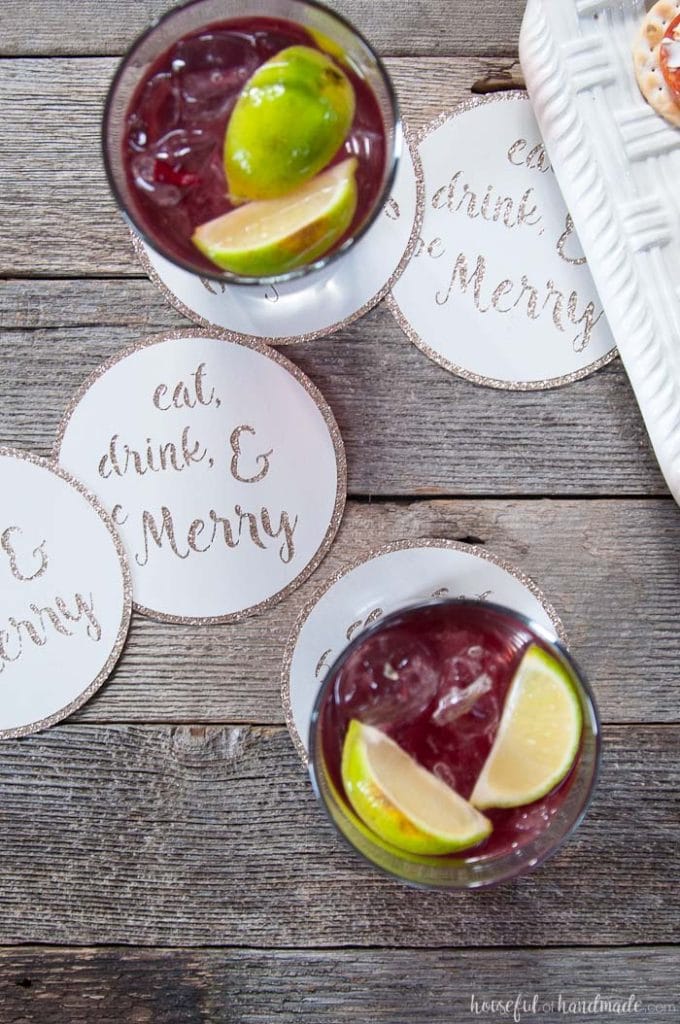
Instead of me stressing out during the party, I decided to just make a bunch of these festive paper coasters to sprinkle on all the table tops in the house. Then people can mingle and party and I can enjoy myself too!
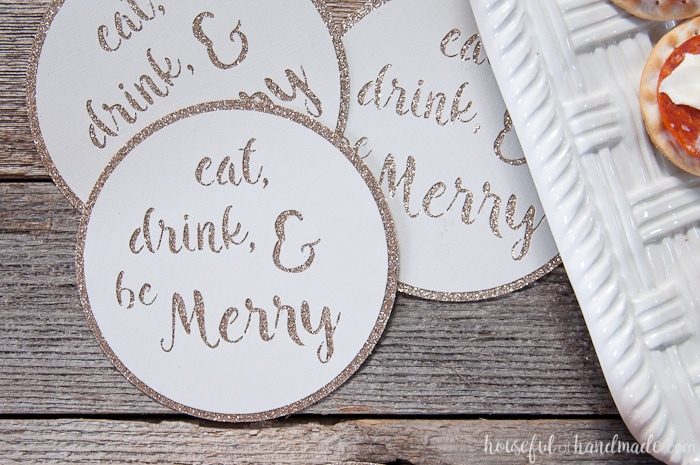
The best part about these DIY drink coasters, they are super easy and inexpensive to make! I used (2) 12″x12″ pieces of cardstock to make 5 coasters with my Silhouette cutting machine.
But if you don’t have a cutting machine, don’t fret, I also made a printable design that you can easily cut out with scissors.
With the printable design, you will be able to get 3 coasters out of 2 8 1/2″x 11″ pieces of cardstock.
How to Make DIY Drink Coasters
Supplies
- Silhouette cutting machine or printer and scissors
- Coaster cut files (or printable designs)
- I am sharing the cut files for the drink coasters in my subscriber library. Click here to subscribe to my weekly newsletter and gain access to all the freebies. If you already have your password, click here to download them.
- Textured cardstock
- Glitter cardstock
- Permanent spray adhesive
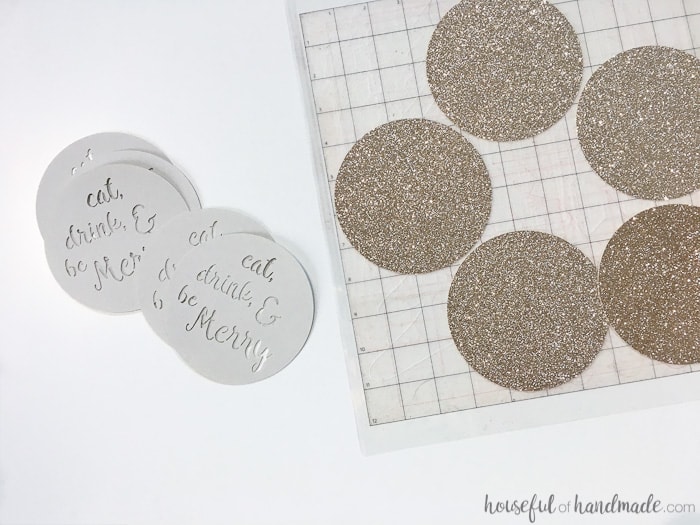
Start by cutting out your coasters. Cut the top design with the words from the textured cardstock.
If you are using the printable design, print the file with the words on the textured cardstock. Then cut the plain circles out of the glitter cardstock.
Use your spray adhesive and spray a coating on the back of the textured cardstock pieces.
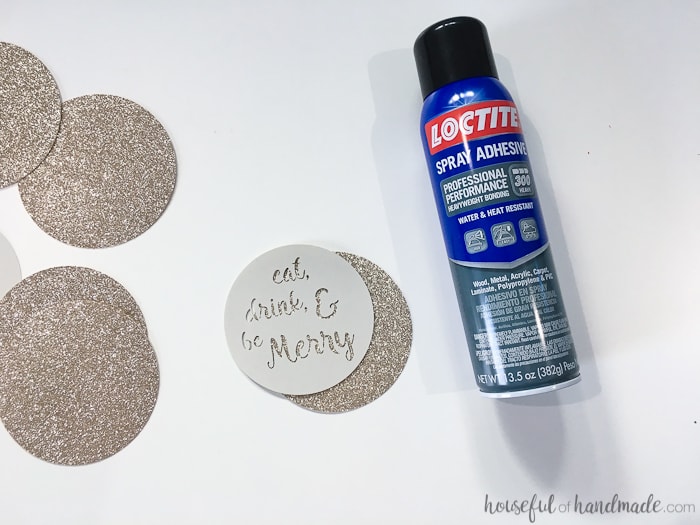
I like the Loctite adhesive that I used because it is a thicker coating of adhesive (it comes out almost in webs) which adheres nicely to the glitter surface.
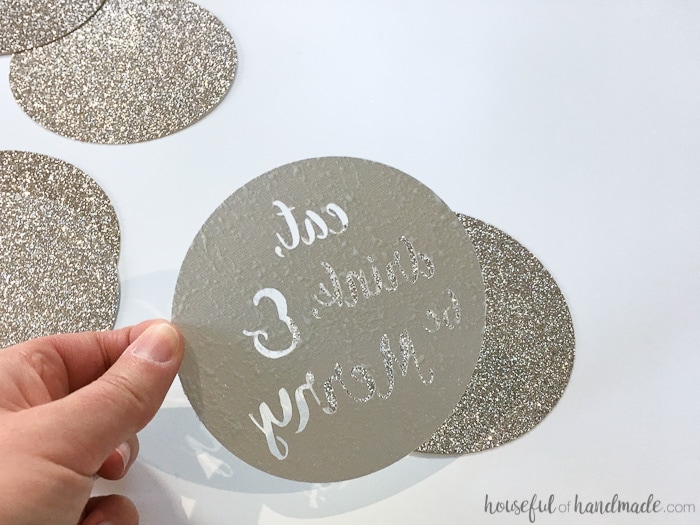
Center the top of the drink coaster onto the glitter circle. Press firmly and you are done!
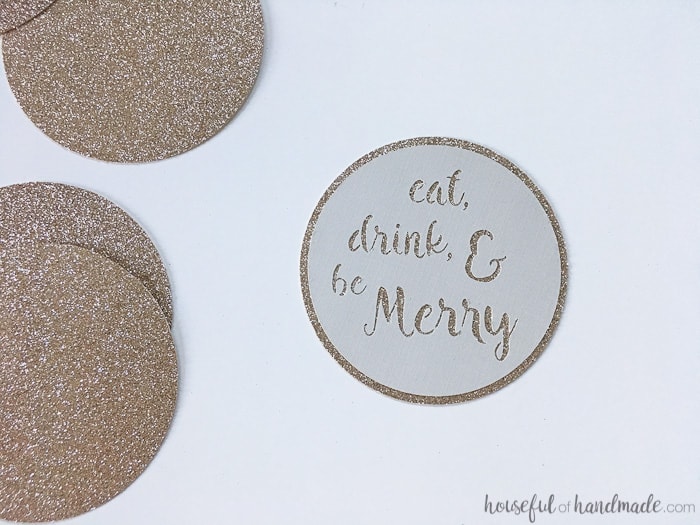
See I told you they were quick and easy to make. It really will only take you a hour or so to make a whole bunch to place on every surface you want to protect.
They also add a little sparkle to your shindig. Perfect for a cocktail party!
And let’s keep the party going, make sure to check out these other posts. They have everything you need to have the perfect party this year!
Sarah
Wednesday 28th of December 2016
These are so cute! I'd love to make some for my friend's upcoming bridal shower!
Kati
Wednesday 11th of January 2017
These would be so perfect for a bridal shower :)
Samantha
Saturday 24th of December 2016
These are so so cute! Love the glitter!
Kati
Wednesday 11th of January 2017
Thanks so much Samantha!
Tara @ Lehman lane
Friday 23rd of December 2016
One of these days I will break down and get a Silhouette machine! Love the glitter and the saying. Have a very Merry Christmas Kati!
Kati
Saturday 24th of December 2016
You will love it when you do! There are so many things it can do.
Mary @ The Cofran Home
Thursday 22nd of December 2016
How cute are these?! I'm obsessed! I'm also crazy about people putting drinks down without coasters, ha!
Kati
Saturday 24th of December 2016
Especially on a piece of furniture you really love. My kids are the worst so I dont let them ever have drinks anywhere but the dining room table!
Amanda
Thursday 22nd of December 2016
Oh my gosh those are adorable! What a great idea!
Kati
Saturday 24th of December 2016
Thank you Amanda!