Keep your closet clean and all your shoes organized with this hanging shoe storage made from inexpensive drop cloth.
This drop cloth hanging shoe storage will keep your shoes off the closet floor. Instead all your shoes are nice and organized. The hanging shoe storage can easily be customized to fit all your shoes and closet space.
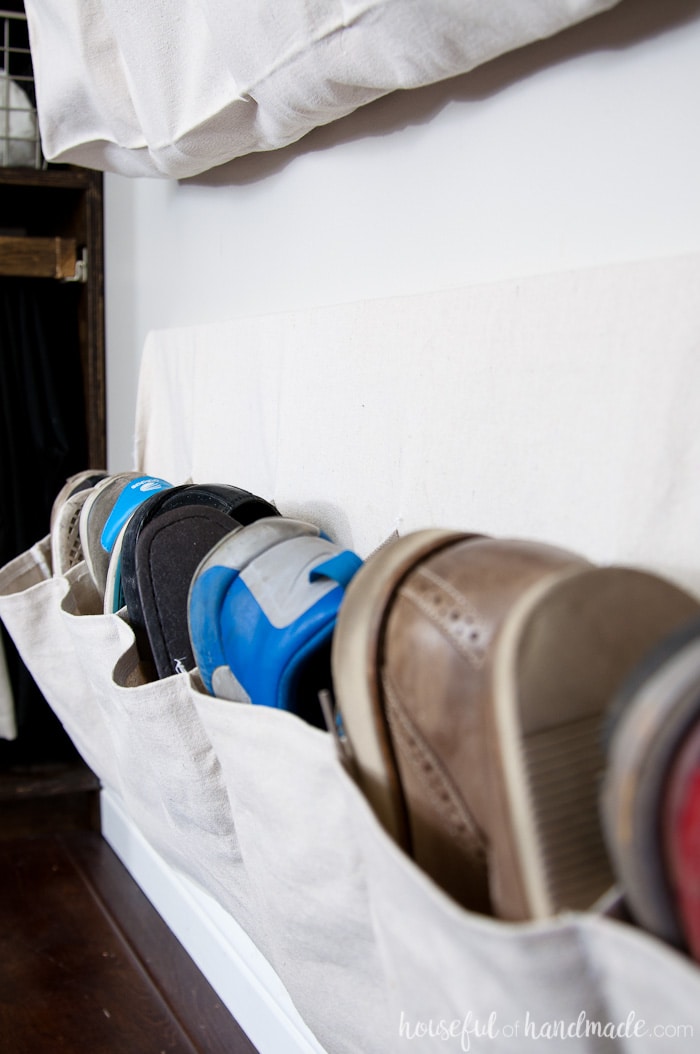
Using wall space to organize your shoes is amazing! It will keep all your shoes off the floor, but doesn’t take up a lot of space. I love utilizing vertical wall space to store all our shoes. Now everything is in sight. It’s the perfect way to complete our $100 walk in closet remodel.
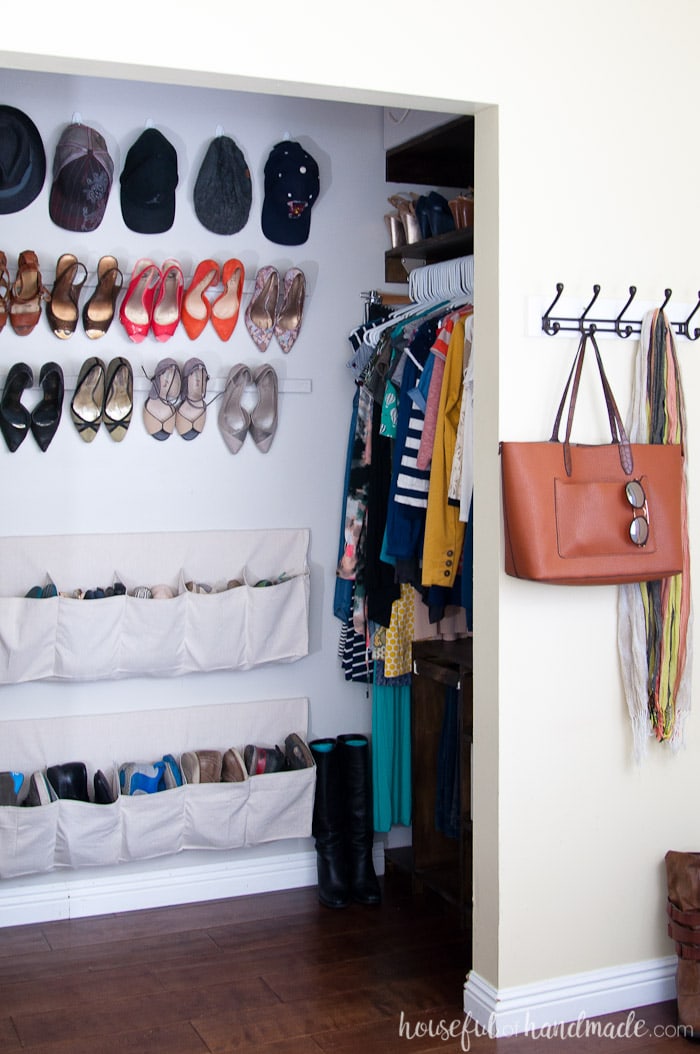
When we set out to makeover our entire master bedroom closet for only $100, we knew we needed at better solution for our shoe storage.
This post may contain affiliate links. As an Amazon Associate I earn from qualifying purchases. Click here to read my full disclosure policy.
I had an over-the-door shoe organizer that was crammed into the closet. The shoes kept falling off or I couldn’t even see what was there.
My husband had a couple shelves, but they were not working and his shoes were mostly in a pile on the floor of closet.
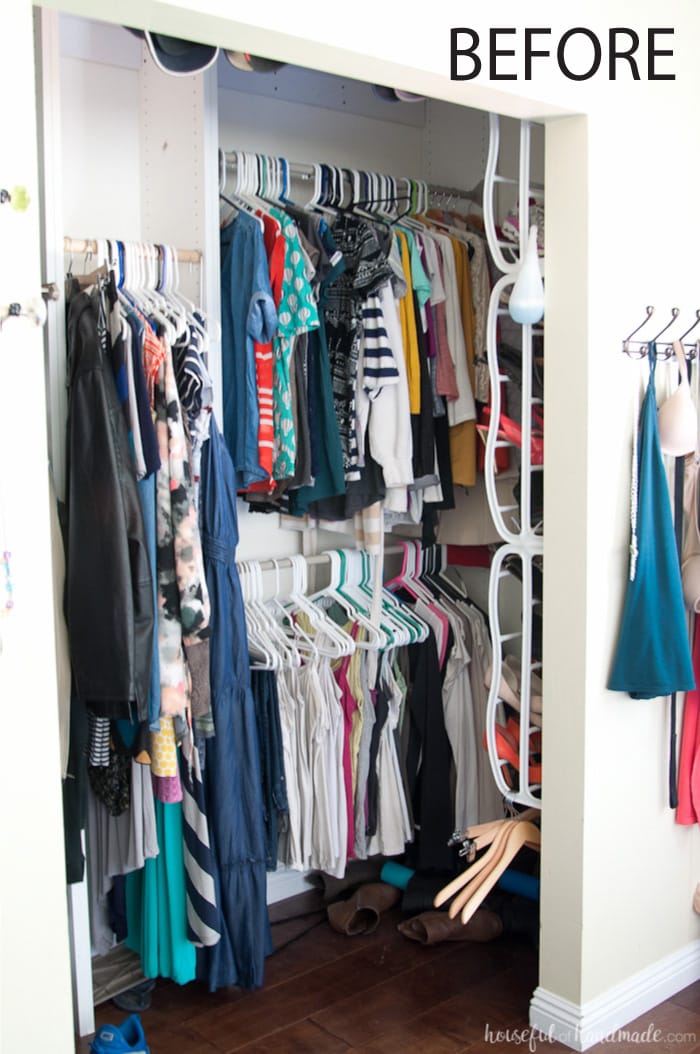
Once we had the plywood closet organizers built and in the closet, I knew I didn’t want to build anything bulky to crowd the new open dressing area we had created.
But we still needed lots of room for shoe organization and storage. So we went vertical! The entire back wall of our closet was empty and I knew it would be the perfect place to create some hanging shoe storage.
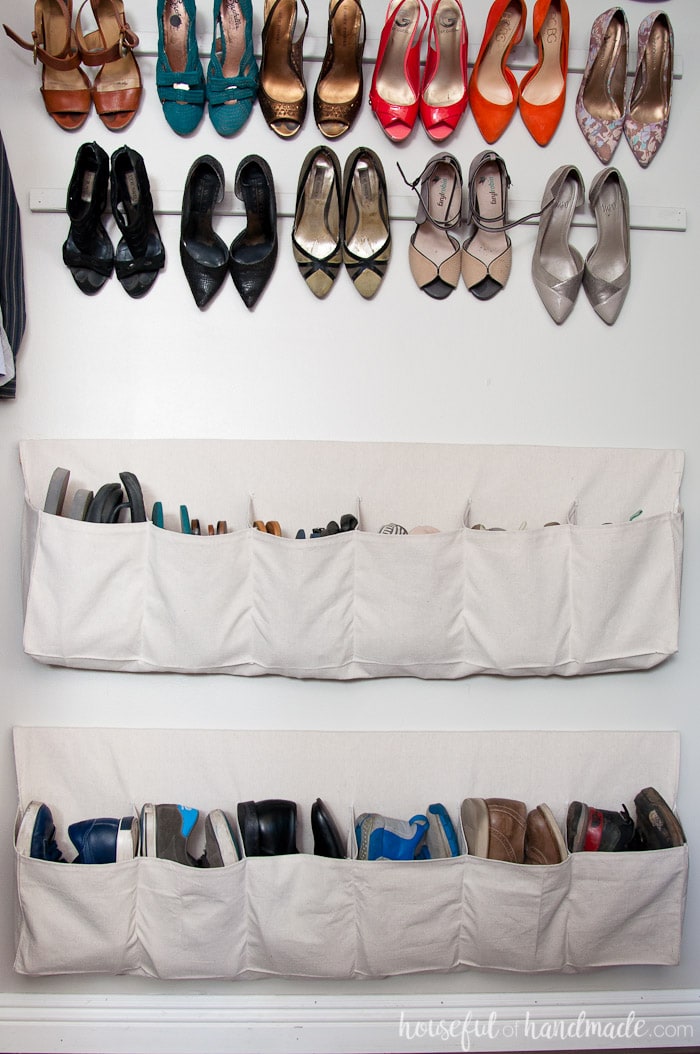
Because we were redoing our entire closet on a very tight budget, I needed a solution that would not cost a lot. By the time I was ready to create our shoe storage solution, I had less than $10 in the budget!
So armed with a $7 drop cloth and 2 $1 1×2 furring strips, I set out to solve all our shoe storage problems. And who would have guesses, it worked!
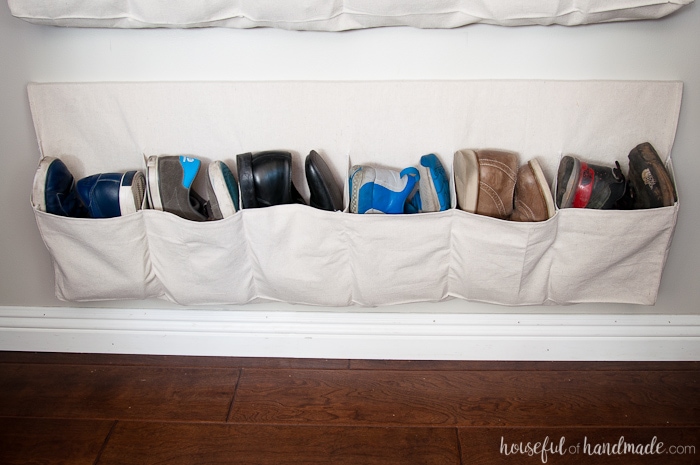
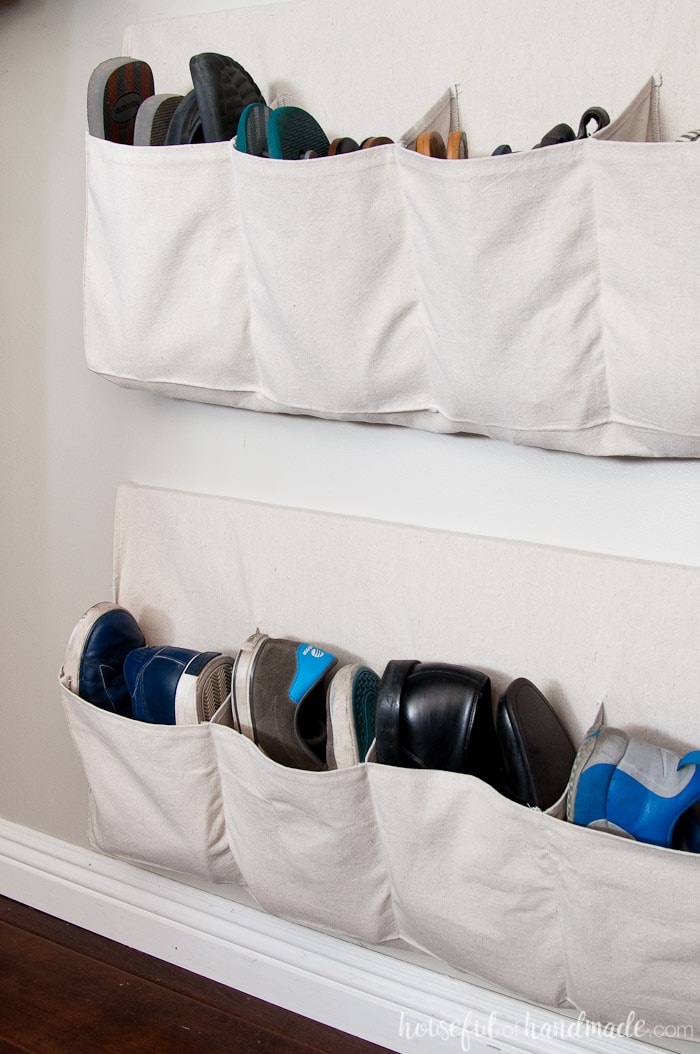
Using the drop cloth, I sewed together these hanging shoe storage pockets. Each pocket holds 6 pair of my husband’s shoes. I can actually fit 2 pair of my flats into each compartment, or 4 pairs of flip flops!
The drop cloth is very sturdy and is stain resistant. So these drop cloth hanging shoe organizers will hold up for many years.
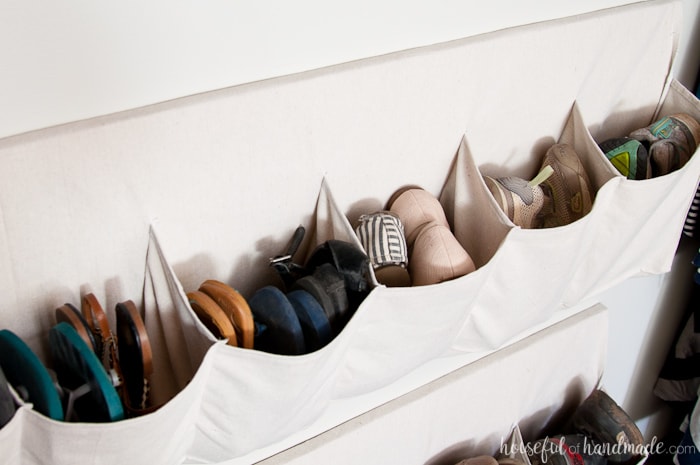
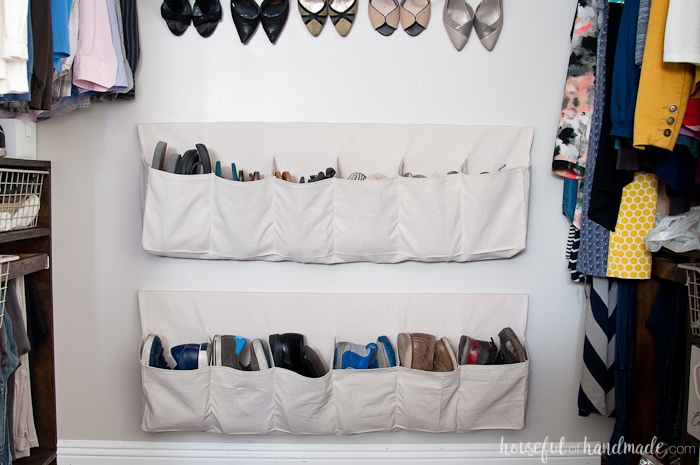
Then to really take our shoe storage to the next level, I also used the vertical space to quickly organize all my high heels. With 1 $1 furring strip attached to the wall, the heels rest nicely on the ledge and are in full view for getting ready each day.
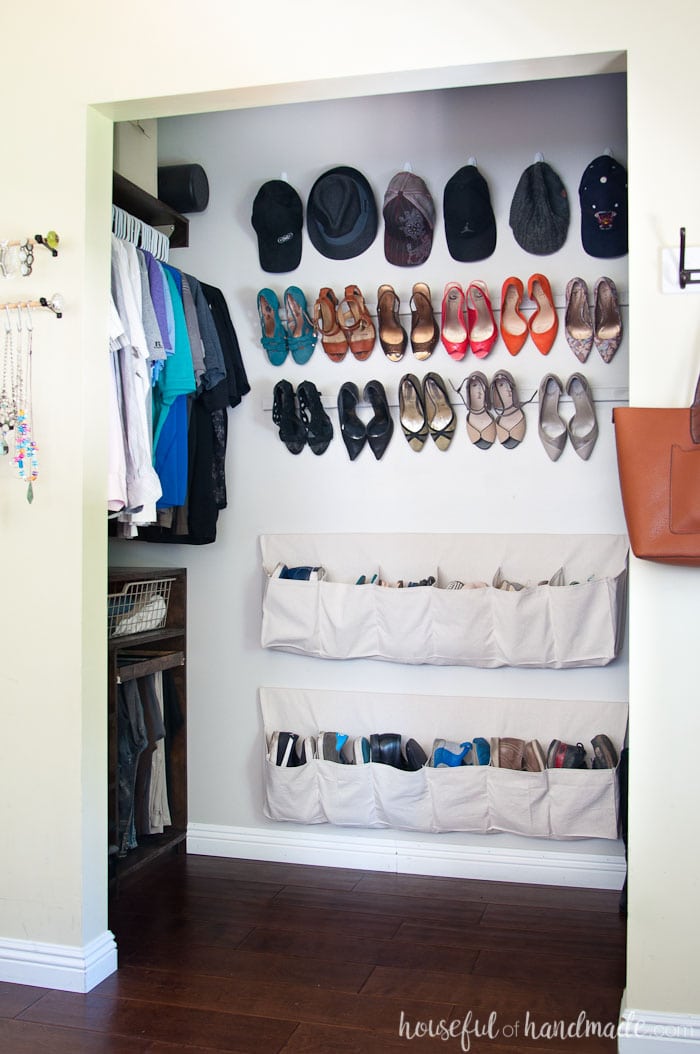
Our hanging shoe storage is truly the frosting on our walk in closet makeover. Not only does it act as the perfect storage for all our footwear, but it also acts as artwork for the space. And all for less than $10!!!
How to Make Drop Cloth Hanging Shoe Storage
Supplies:
- Drop cloth
- 1×2 boards
- Sewing machine
- Disappearing fabric marking pen
- Seam gauge
- Iron
- Pins
- Light duty staple gun
- Optional: Serger – great for finishing the edges of the drop cloth to keep it from fraying
For each row of 6 shoe pockets, cut 1 piece of drop cloth that is 30″ x 45″ and 7 pieces that are 9 1/2″ x 5 1/2″. This size worked well for both my women’s size 7 shoes and my husband’s size 11 shoes. Add more width or height to accommodate the shoes you need storage for.
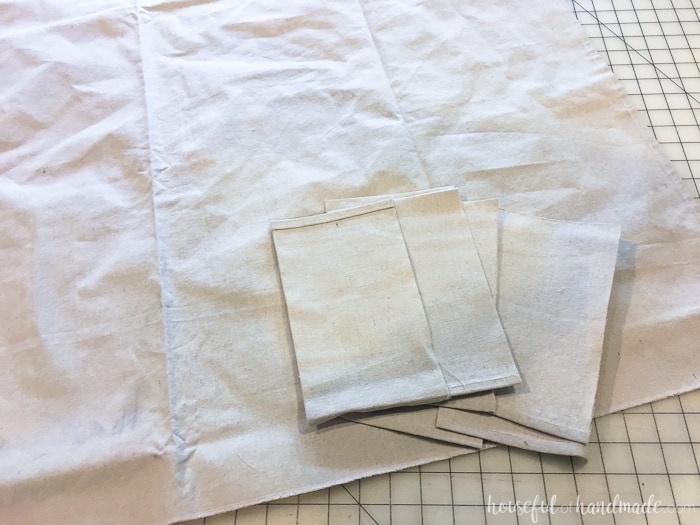
Hem the bottom of the large piece of drop cloth.
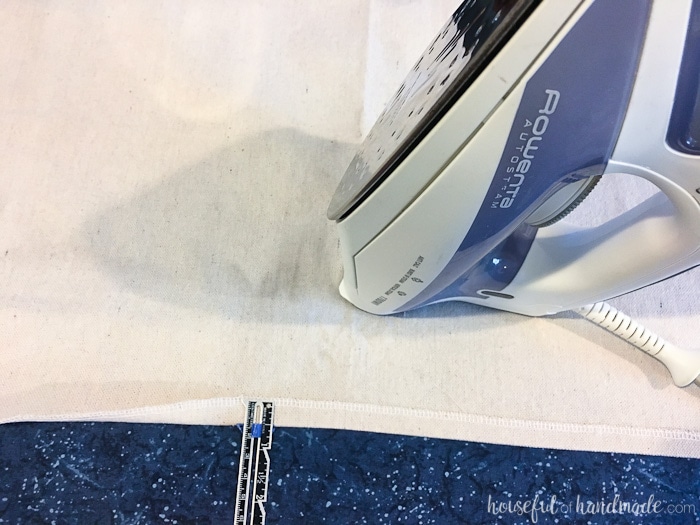
I used the seam gauge to help me easily iron a 1/2″ hem along the edge, then finished it with my sewing machine. Also hem the top of 2 of the smaller pieces.
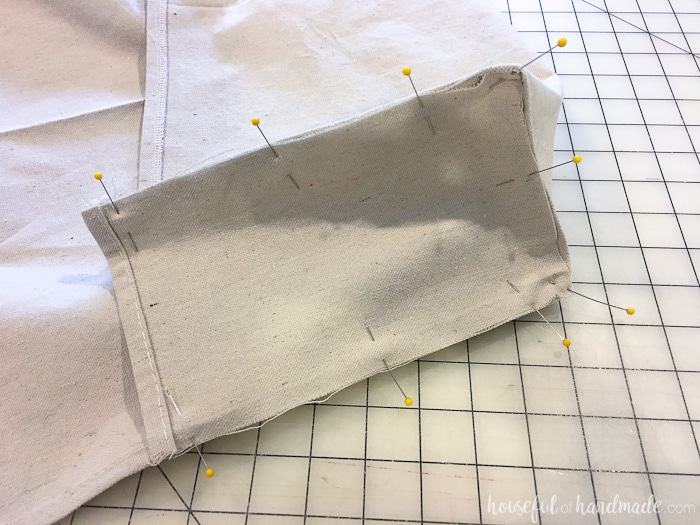
Pin the 2 smaller pieces to the bottom of the large piece so that it creates a pocket.
Sew 1/4″ seam around the edge. I like to use my serger for this to help keep the edge of the drop cloth from fraying, but you can also finish off the edge with a zip-zag stitch from a regular sewing machine.
Evenly divide the new large pocket so all your small pieces can be sewn in to create smaller pockets.
Mark where you will attach the small pieces with a disappearing fabric marking pen on the front of the pocket and the back of the hanging shoe storage. My marks were 7 1/2″ apart.
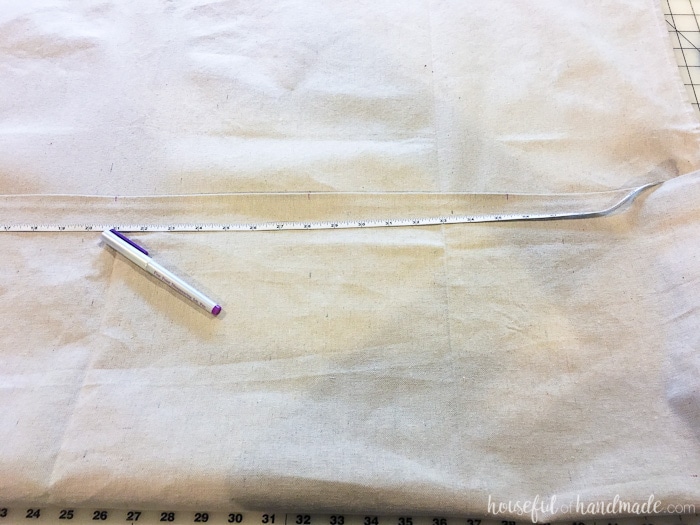
Draw a straight line between the two marks on the inside of the pocket.
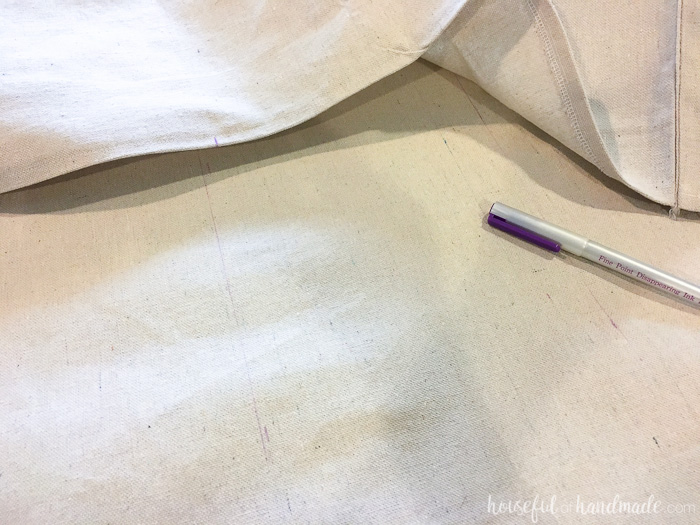
Hem and finish the sides of the rest of the small pieces.
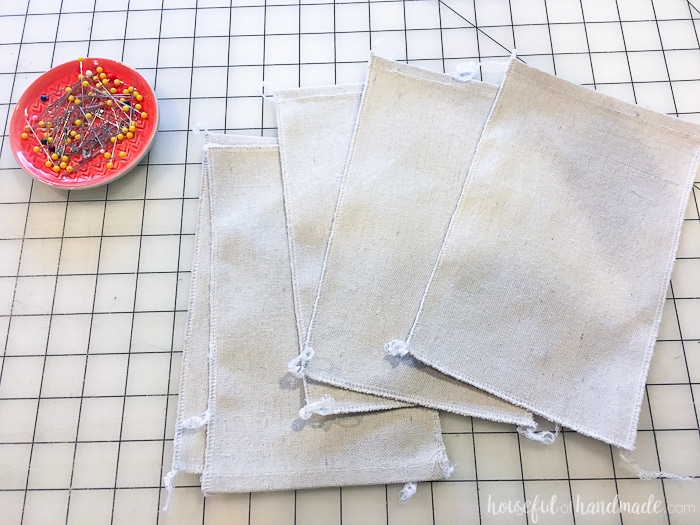
Line up the small pocket dividers so the edge is 1/4″ from the line on the front of the pockets. When you sew the piece on with a 1/4″ seam allowance, the seam will be right on the line.
Make sure the top is flush with the top of the pocket. Sew the front of the pocket dividers with a 1/4″ seam allowance.
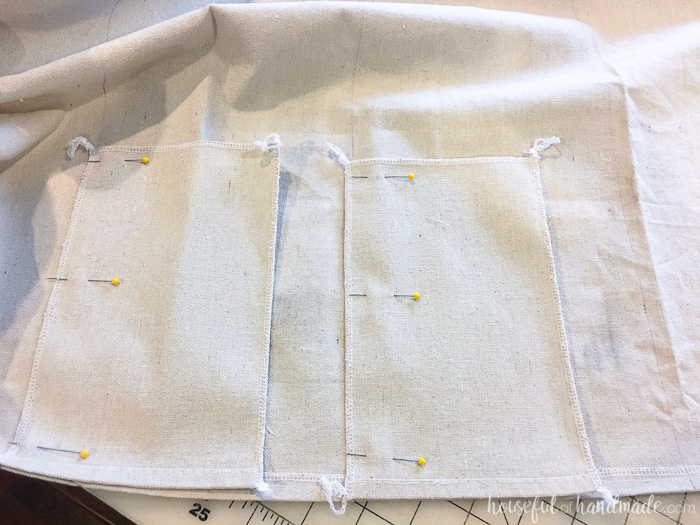
Measure the distance from the top of the hanging shoe storage to the top of the pocket on each side. Mark this measurement on the lines you drew for the pocket dividers. Line the top of the pocket dividers up with this mark and 1/4″ over from the line. Pin well.
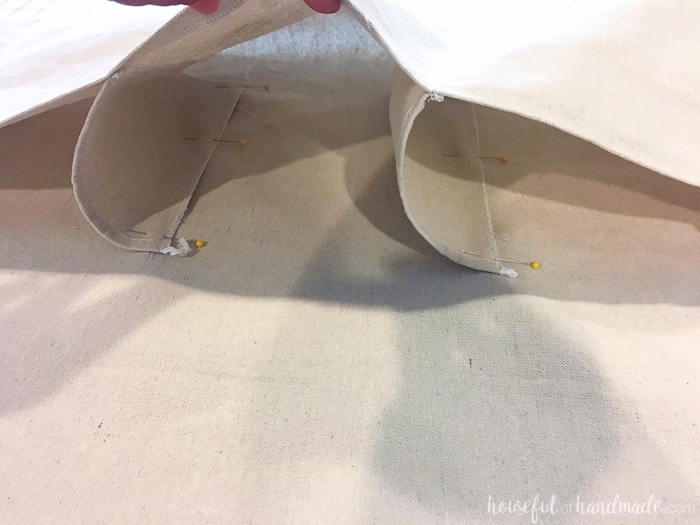
Sew the back of the pocket dividers with a 1/4″ seam allowance.
This is a bit more challenging because you have to work inside the pocket. So make sure you pin the back of the divider well, and go slow.
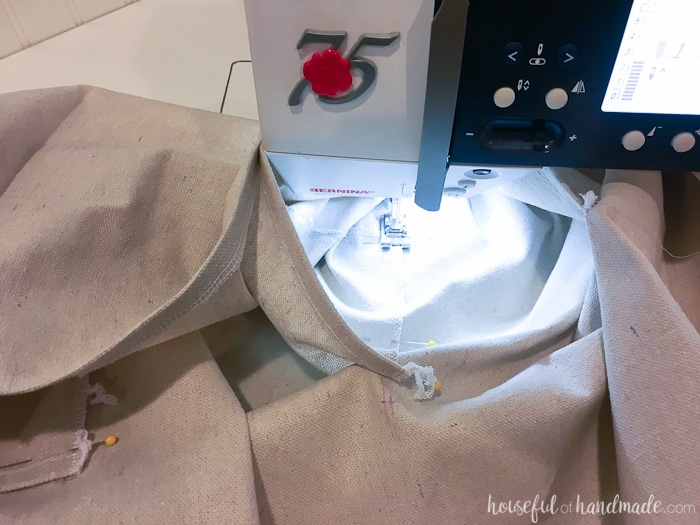
Hem the sides of the hanging shoe organizer. My drop cloth was 45″ wide so the sides were already hemmed and I just let the hem and worked with it.
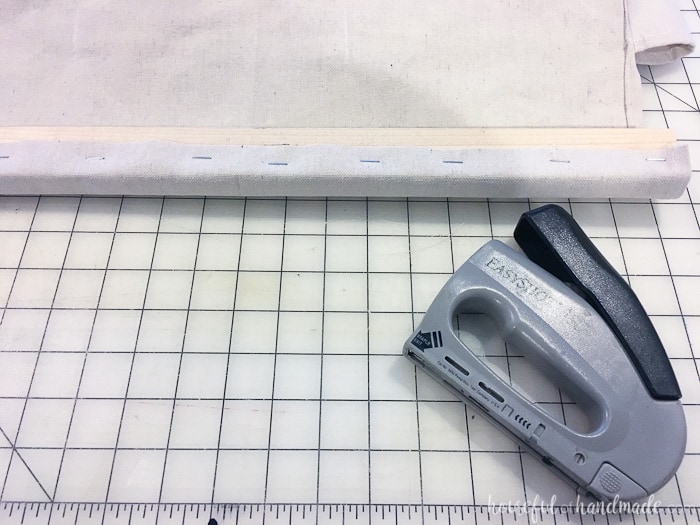
Roll the top of the hanging shoe storage over a 45″ wide piece of 1×2 board. I used furring strips because they do not need to be pretty. Attach the shoe organizer with a staple gun.
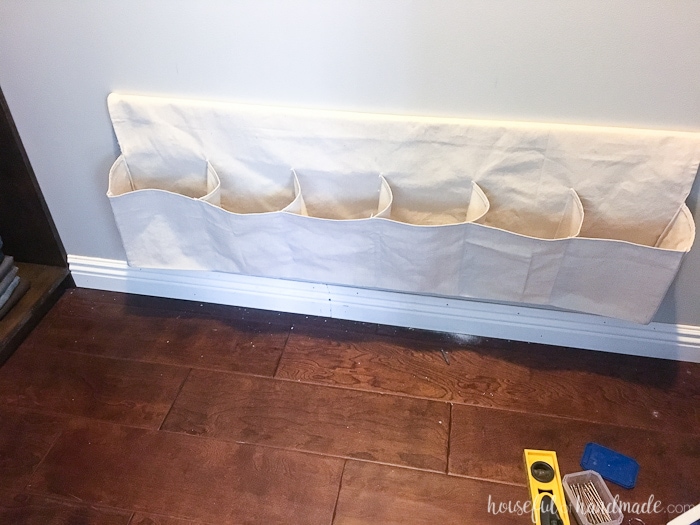
Secure the hanging shoe organizer to the wall with 2 1/2″ wood screws through the 1×2 board. Make sure to secure it into at least 2 studs or the weight of the shoes will just pull it out of the wall.
Now you can load your new hanging shoe storage with all your shoes. I love that the shoes are no longer all over the floor, but the closet is still very open.
And since the new drop cloth shoe organizer is so easy to use, my husband happily puts his shoes back in at the end of the day. That is a big win!
If you love creating your perfect home, check out these other craft tutorials! And enjoy your new, organized shoe storage.
Don’t forget to subscribe to my weekly newsletter so you never miss out on all the DIY fun!
How to Make Hanging Shoe Storage
This drop cloth hanging shoe storage will keep your shoes off the closet floor. Instead all your shoes are nice and organized. It can easily be customized to fit all your shoes and closet space.
Materials
- Drop Cloth
- Seam Gauge
- Pins
- Disappearing Fabric Marking Pens
- 1x2 Boards
Tools
- Sewing Machine
- Light Duty Staple Gun
- Serger (optional)
Instructions
- Cut 1 piece of drop cloth that is 30″ x 45″ and 7 pieces that are 9 1/2″ x 5 1/2″.
- Hem the bottom of the large piece of drop cloth using the seam gauge to iron a 1/2″ hem along the edge, then finish it with the sewing machine. Also hem the top of 2 of the smaller pieces.
- Pin the 2 smaller pieces to the bottom of the large piece so that it creates a pocket. Sew 1/4″ seam around the edge. Use the serger to help keep the edge of the drop cloth from fraying or finish off the edge with a zip-zag stitch.
- Evenly divide the new large pocket so all your small pieces can be sewn in to create smaller pockets.
- Mark where you will attach the small pieces with a disappearing fabric marking pen on the front of the pocket and the back of the hanging shoe storage.
- Draw a straight line between the two marks on the inside of the pocket. Hem and finish the sides of the rest of the small pieces.
- Line up the small pocket dividers so the edge is 1/4″ from the line on the front of the pockets. When you sew the piece on with a 1/4″ seam allowance, the seam will be right on the line.
- Make sure the top is flush with the top of the pocket. Sew the front of the pocket dividers with a 1/4″ seam allowance.
- Measure the distance from the top of the hanging shoe storage to the top of the pocket on each side. Mark this measurement on the lines you drew for the pocket dividers. Line the top of the pocket dividers up with this mark and 1/4″ over from the line. Pin well.
- Sew the back of the pocket dividers with a 1/4″ seam allowance.
- Hem the sides of the hanging shoe organizer. My drop cloth was 45″ wide so the sides were already hemmed and I just let the hem and worked with it.
- Roll the top of the hanging shoe storage over a 45″ wide piece of 1×2 board. I used furring strips because they do not need to be pretty. Attach the shoe organizer with a staple gun.
- Secure the hanging shoe organizer to the wall with 2 1/2″ wood screws through the 1×2 board. Make sure to secure it into at least 2 studs or the weight of the shoes will just pull it out of the wall.
Recommended Products
As an Amazon Associate and member of other affiliate programs, I earn from qualifying purchases.


Scott
Monday 17th of December 2018
Please tell me more about the drop cloth hanging shoe storage system. Where can I find these as I am interested in buying one or maybe two.
Thank you,
Scott
Kati
Monday 17th of December 2018
I dont sell the shoe organizers. But the instructions for you to make them are available on page 2 (just click the Get the Tutorial arrow for all the details).