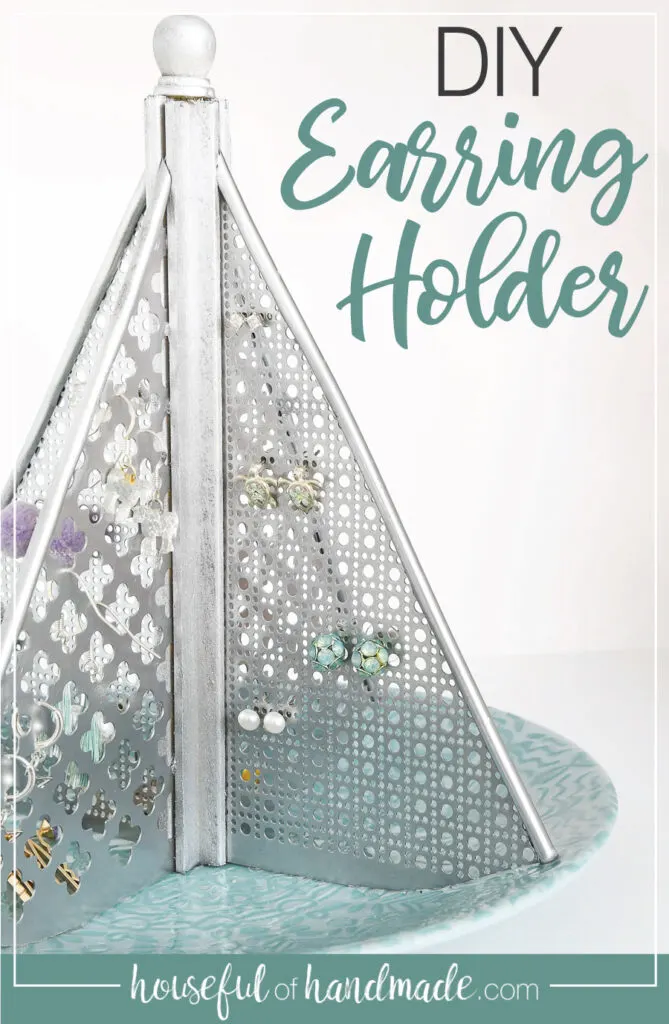
Make this easy DIY earring holder for stud earrings and dangling earrings in one!
My daughter got her ears pierced for her 4th birthday. Now she is 8 and the earrings are out of control. It was past time I made her some earring storage to keep it all organized.
And since I am remodeling her closet for only $100 as part of the $100 Room Challenge, I needed this DIY earring holder to be cheap.
What I came up with is not only inexpensive, but easy to make without any power tools. Plus, it looks great!
This post may contain affiliate links. As an Amazon Associate I earn from qualifying purchases. Click here to read my full disclosure policy.


Features of the Easy Earring Holder
Because I was making this earring storage for my daughter, it needed to be easy to use. And part of that was having an area that she could just place her earrings. So the start of the earring stand is a plate.

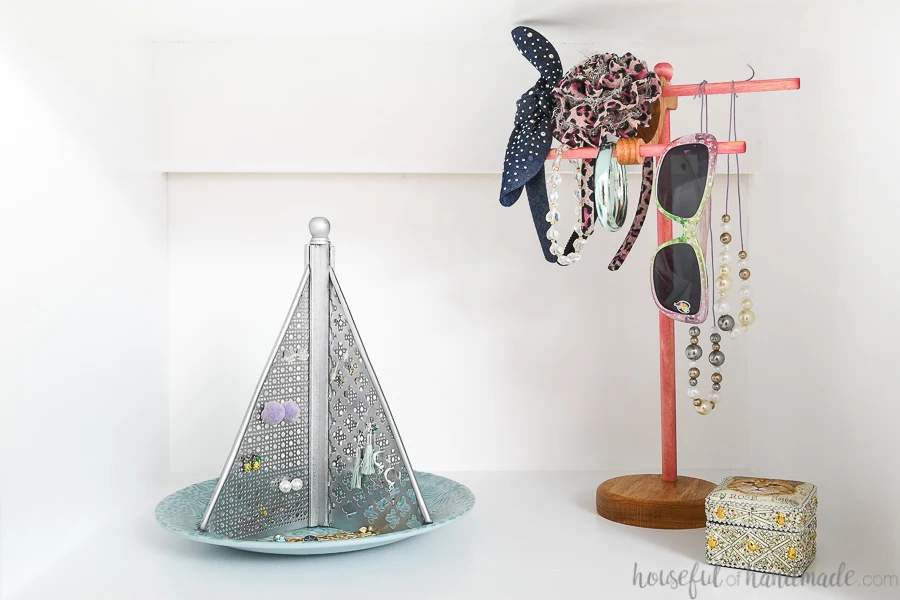
I found this melamine salad plate at Target and it has enough curve on it to create the perfect bowl at the bottom of the earring holder. So if she is in a hurry in the morning, she can just place her studs in the dish and then hang them up later.
And the bottom bowl is perfect for storing other small things like hair pins, rings, and extra earring backs.
The DIY earring holder also needed to have a solution for stud earrings as well as dangling earrings (or dangly as she calls them).
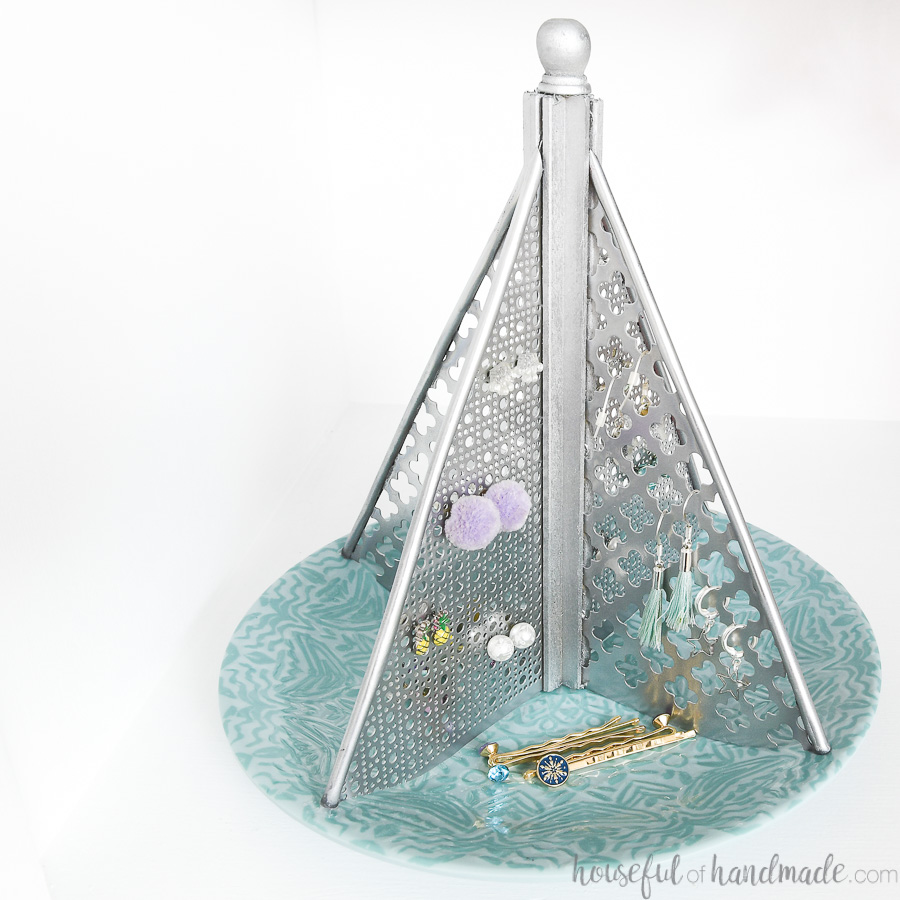
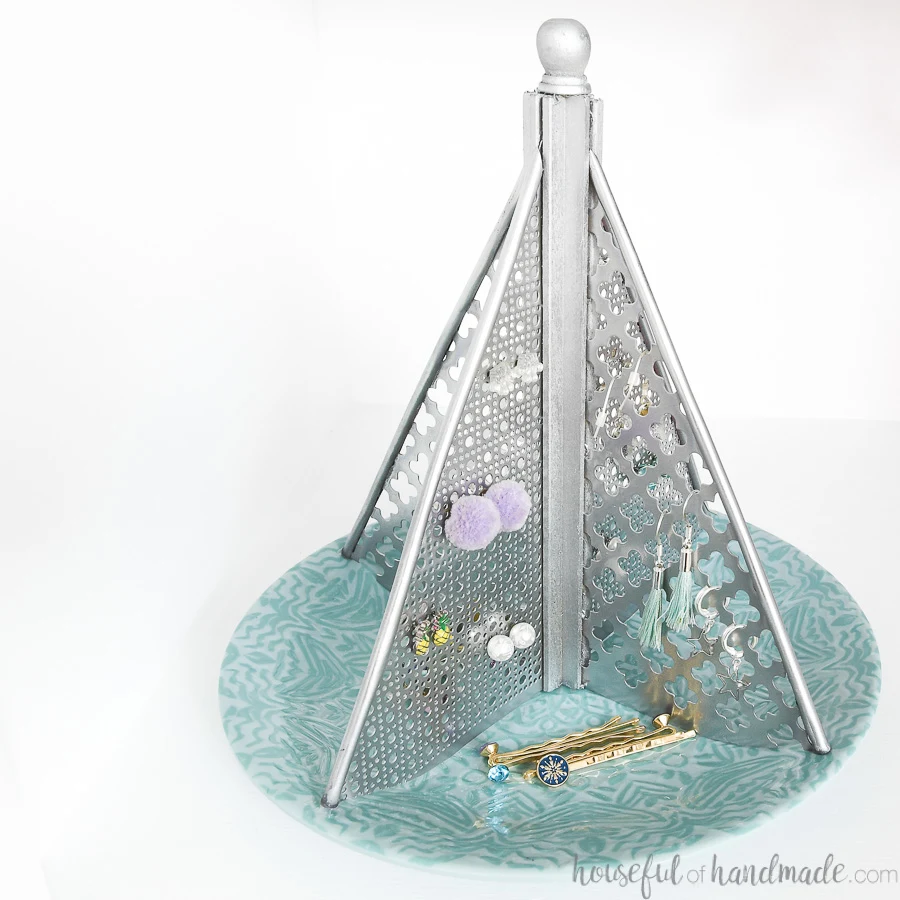
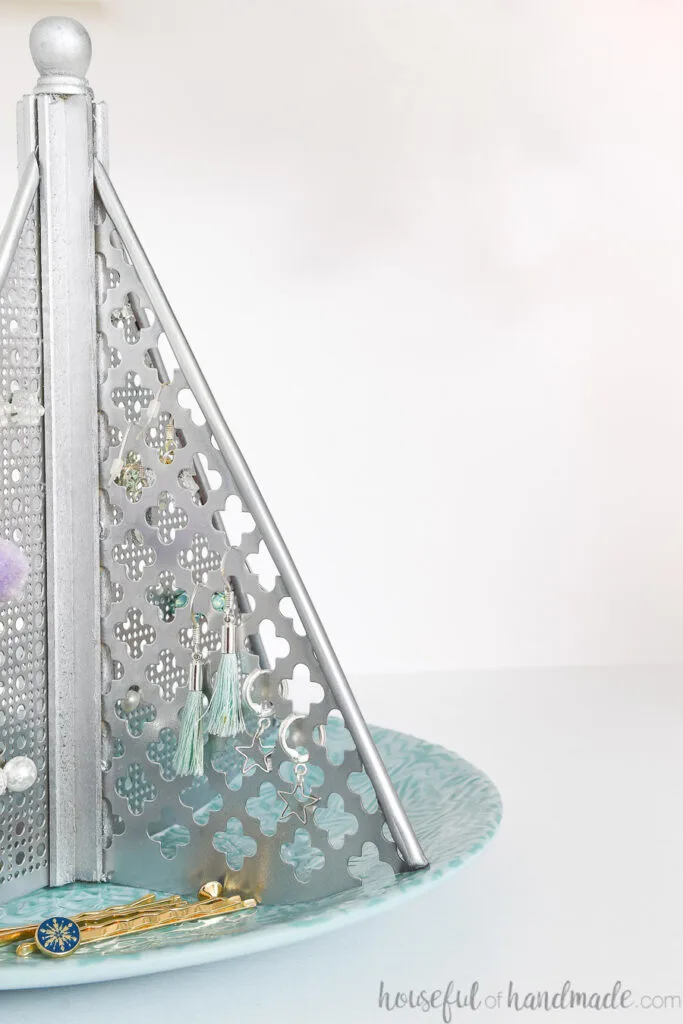
So I used 2 different kids of decorative metal sheets. The one with lots of tiny holes is perfect for stud earring storage. And the one with the larger cloverleaf design makes hanging dangling earrings with backs super quick!
The pyramid design gives you 4 different wings of earring storage too. I made mine with 2 wings for studs and 2 for dangling earrings. It has plenty of room for a growing girls earring obsession!


How to Make an Easy Earring Holder
Tools Needed:
- Tin snips
- Flush cut saw
- Scissors
- X-acto knife
Supplies:
- Small melamine plate
- Piece of cardstock
- Decorative metal sheets
- Sharpie
- (4) small coffee straws
- (1) 3/8″ outside corner trim moulding
- 3/4″ finial
- Gel super glue
- Spray paint
Cut Metal Pieces
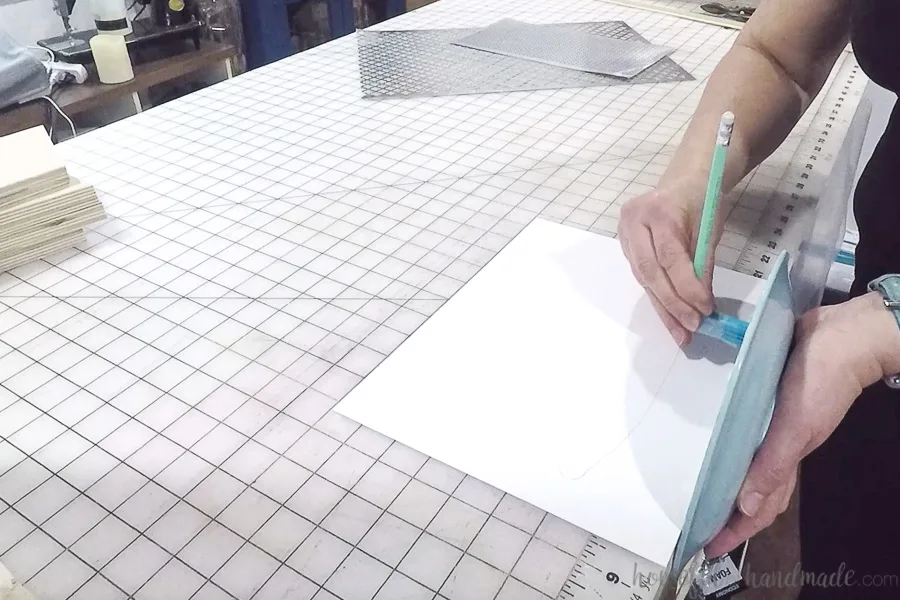
You need to start by creating a template for your decorative metal pieces. I used a piece of cardstock and taped my pencil to a short straight object (mine is a small bag clip).
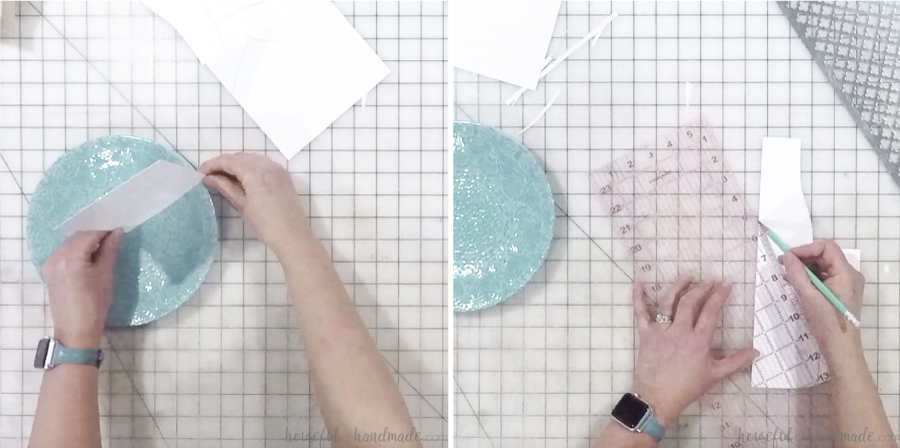
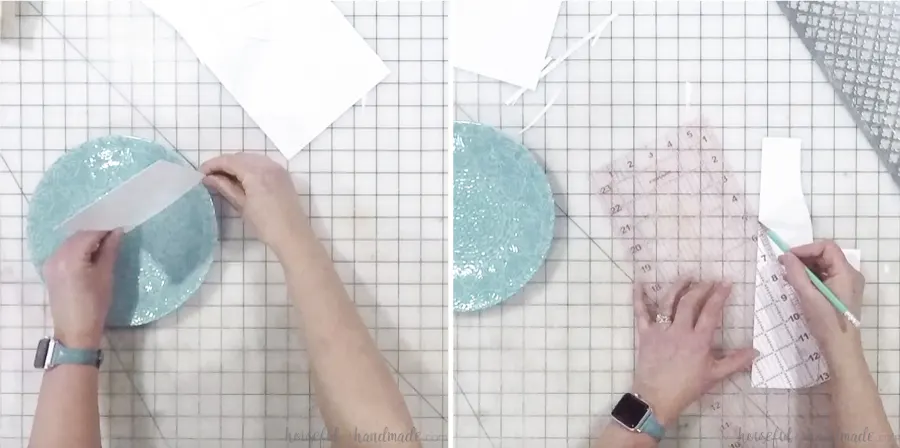
Then when you run the bag clip along the inside of the plate, it scribes the shape of the curve. Cut this out and tweak it to fit the plate as good as you can get it.
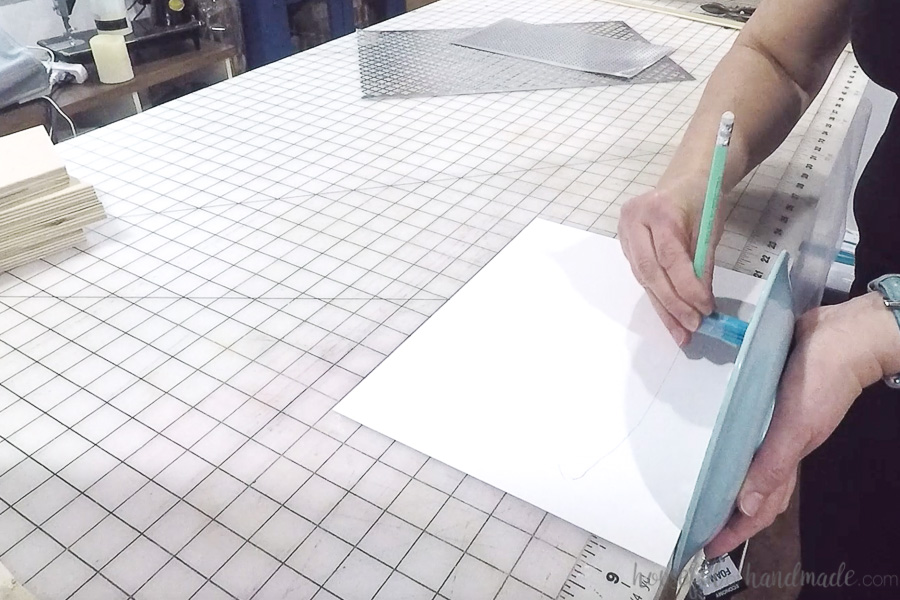
Çut the template in half and trim the side to fit just inside the plate. Then determine how tall you want it.
Draw a line from the top point to the edge and cut.
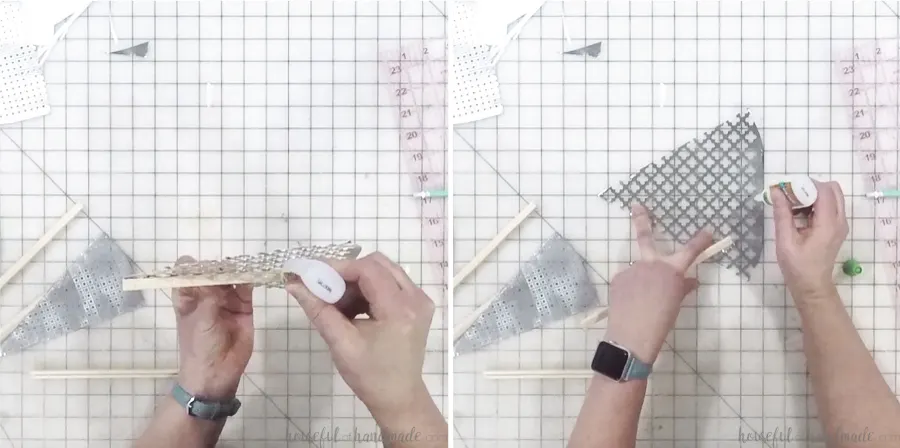
Trace your template on the decorative metal sheet. You will need a sharpie to have it transfer easily to the metal (don’t worry, we will cover it up later).
For the sides, you will need 2 of these.
Carefully cut the metal with your tins ships. It’s just like cutting thick piece of paper with scissors. But the edges are sharp so be careful.
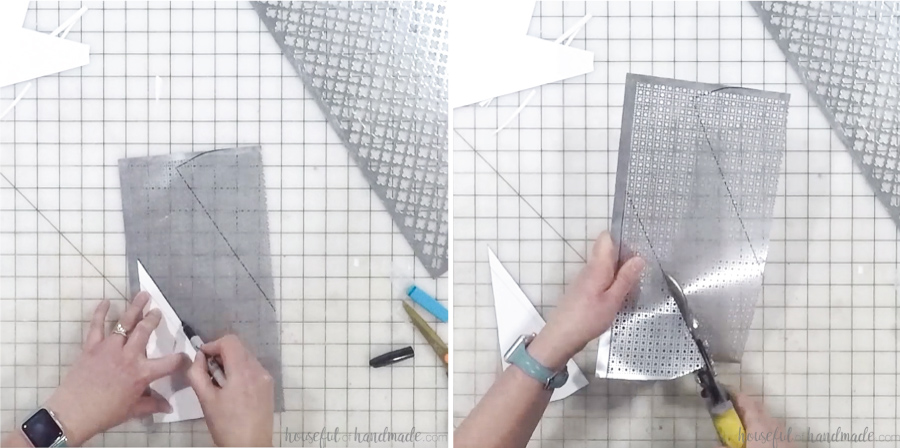
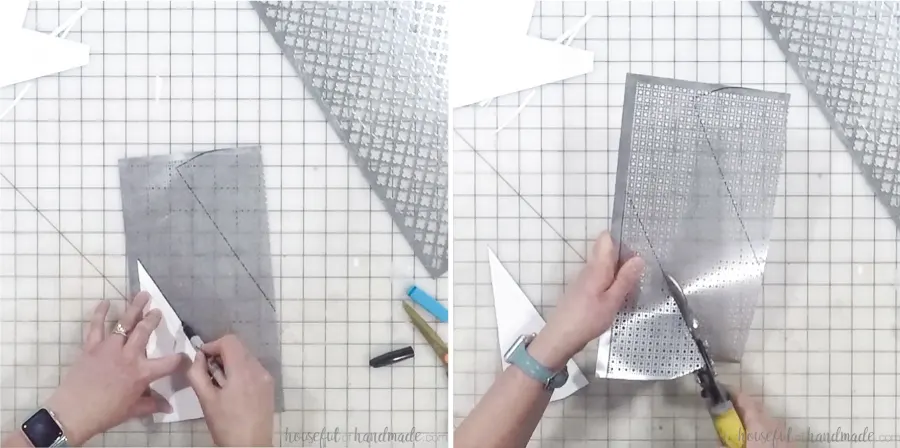
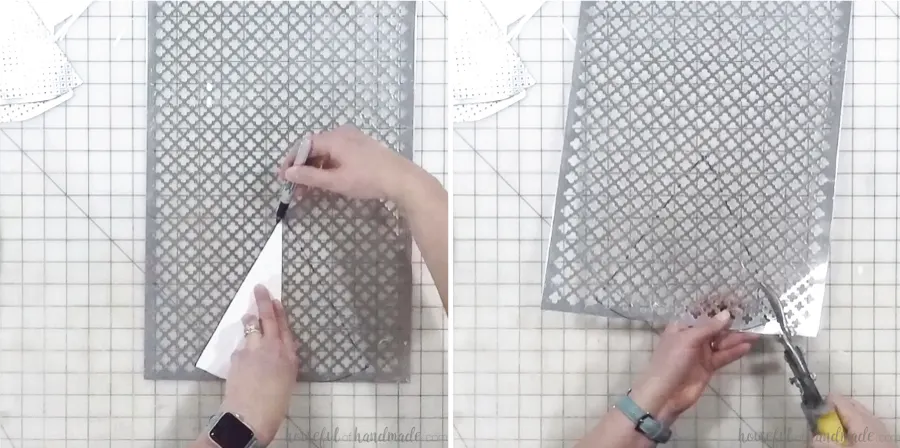
For the other two sides, you want to cut it as 1 piece. So trace the template in the center, the flip it over and trace the other side.
Carefully cut it out with the tin snips too.

Assemble the Stand
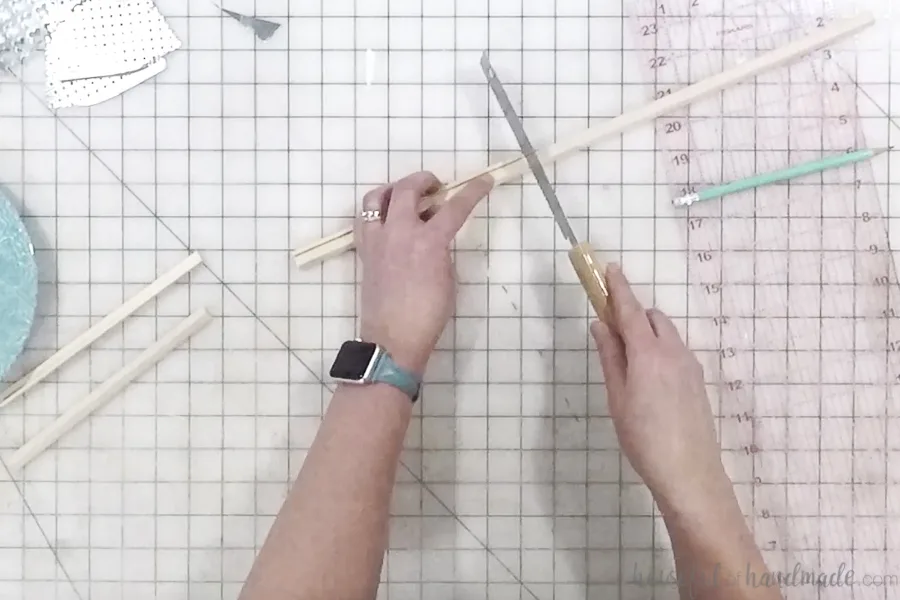
Measure the height of your metal pieces at the center. Then cut 4 pieces of the 3/8″ corner trim to that size.
I prefer to cut this delicate trim by hand with a flush cut saw because power tools can break it easily. It only takes a few swipes to cut it through.

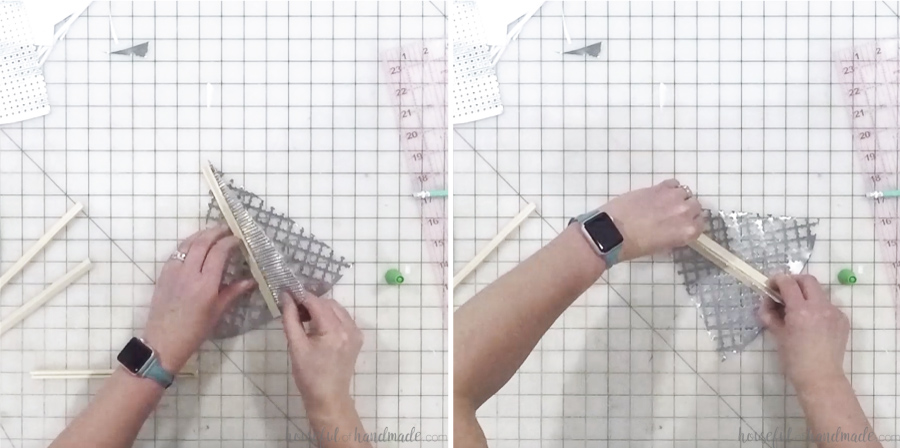
Add glue down the side of the center of the large metal piece. Line on of the corner trim pieces up so the edge is on the center. Hold for 5 seconds while the glue dries.
Then add glue to the other edge of the trim piece and place one of the smaller corner pieces up against it.
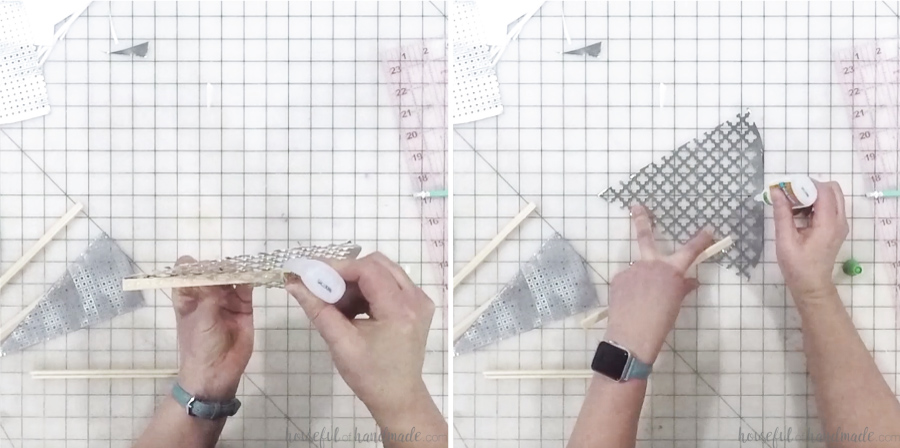
Add glue to both edges of another piece of trim and sandwich it around the other side of the smaller metal piece.
This will hide the sharp corners and create a center brace for the earring holder.
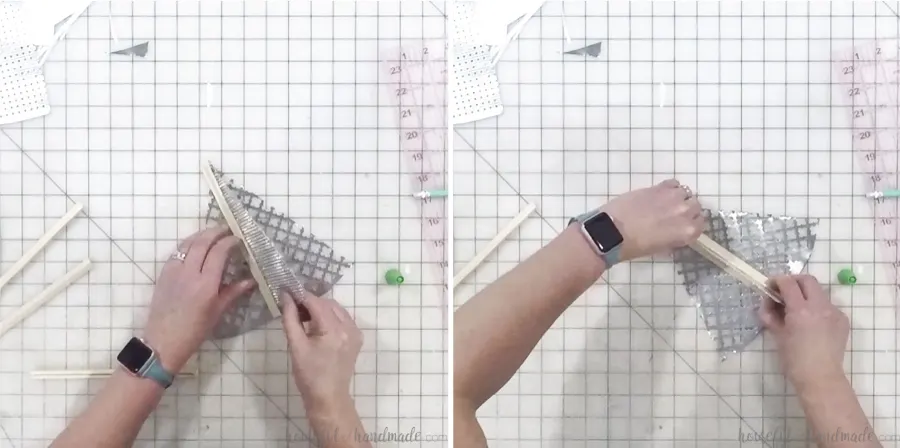
Repeat on the other side so you have a pyramid with 4 wings.
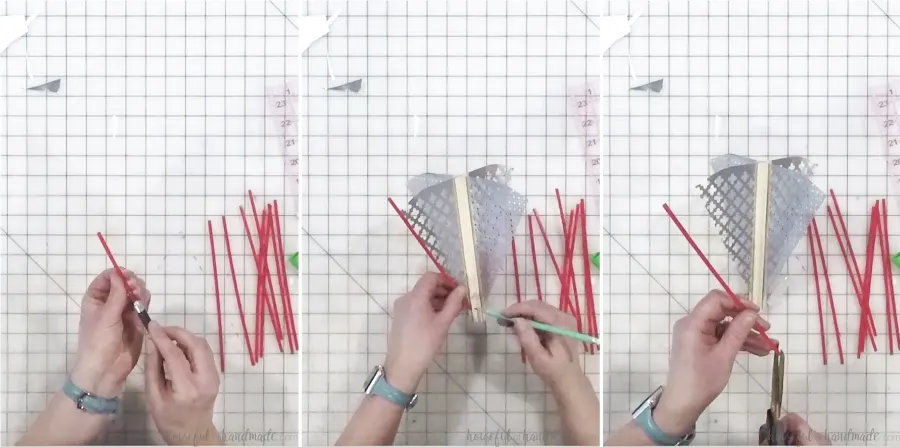
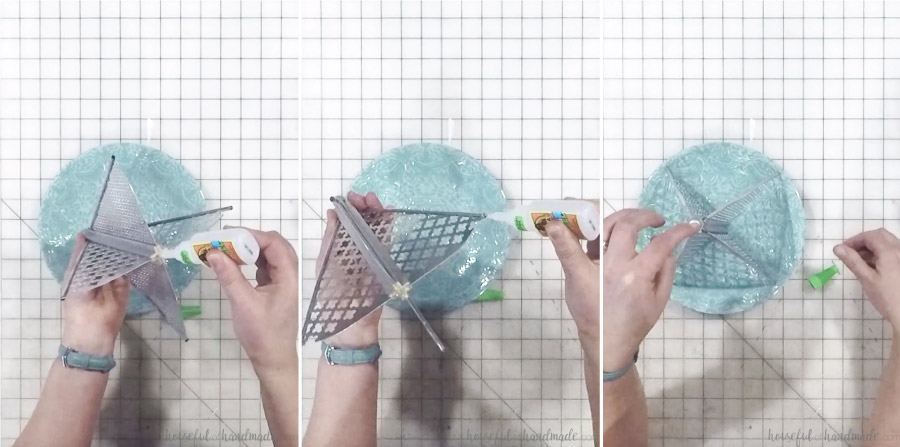
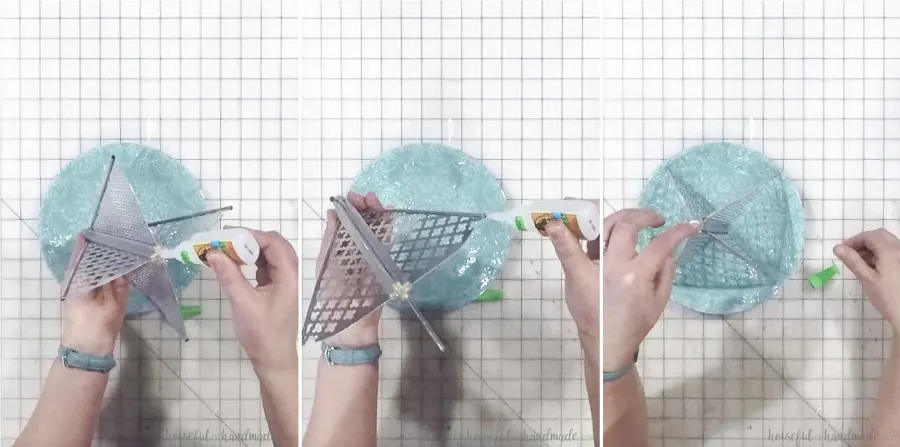
Now we need to cover up the sharp outside edges of our earring holder.
Use the x-acto knife to slice open the coffee straws lengthwise. Slide it onto the side of the metal and mark the angle at the top. Snip it off with scissors.
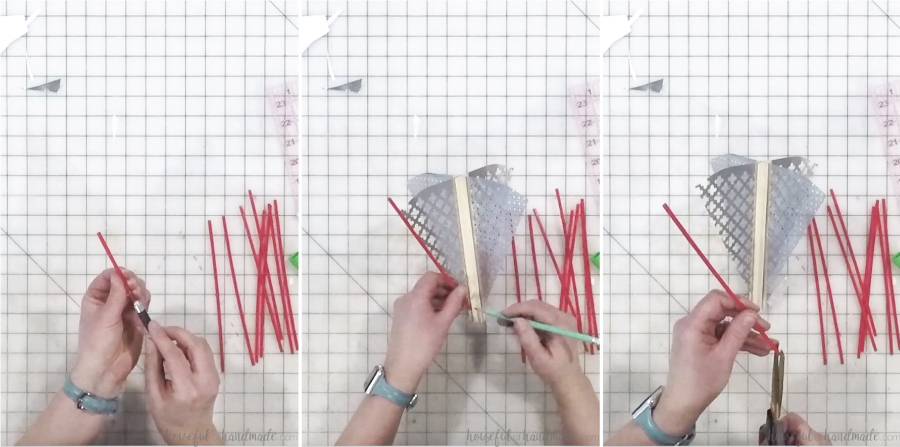
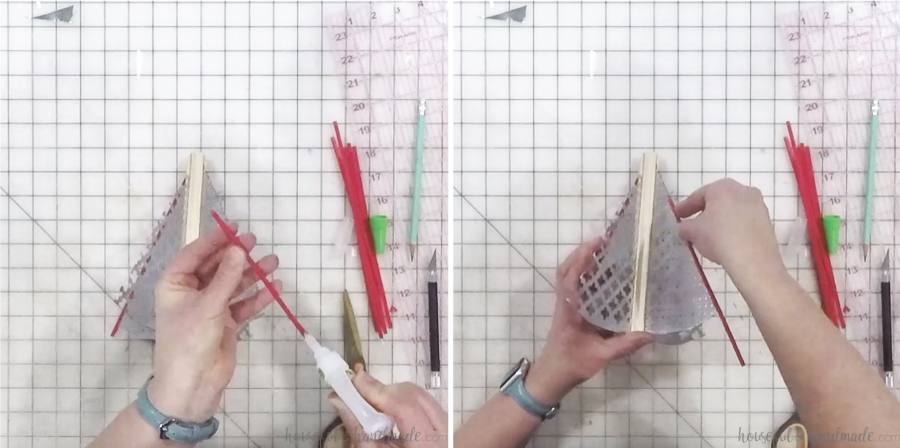
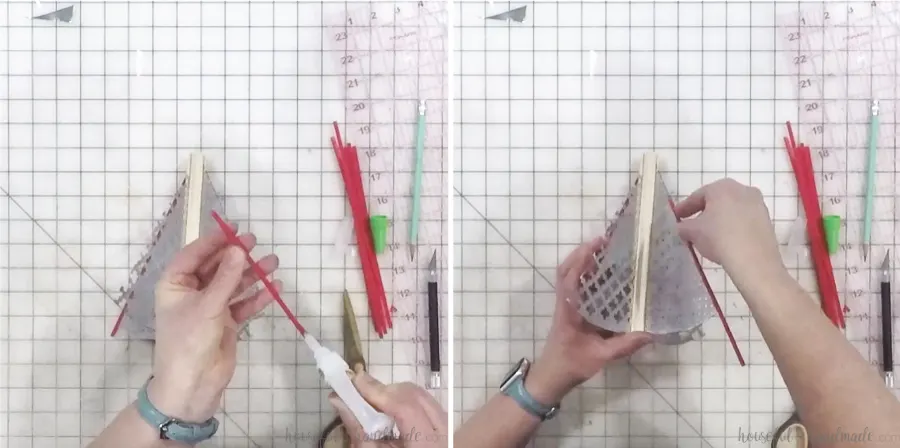
Now use the gel super glue to put a bead of glue inside the straw. Start by placing the tip into the angled part and slide it down inside the straw while squeezing.
Slide the straw back onto the edge of the metal piece and allow to dry.
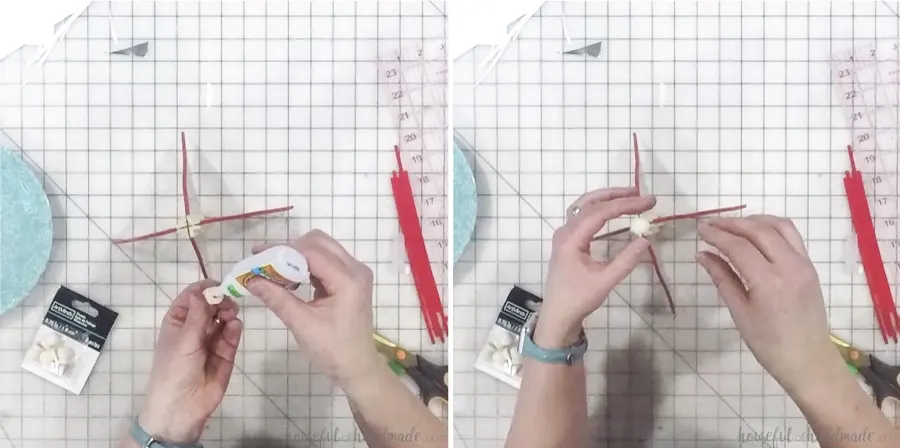
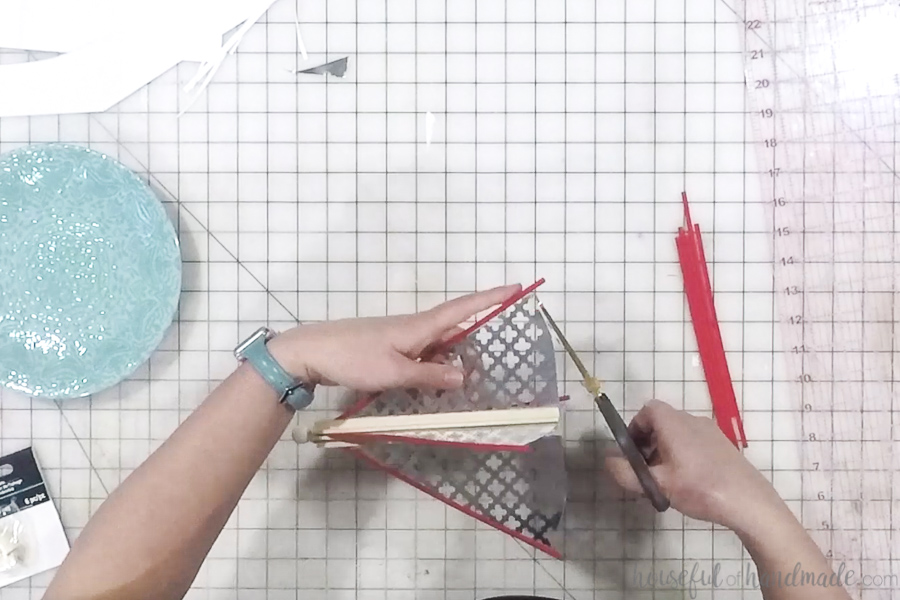
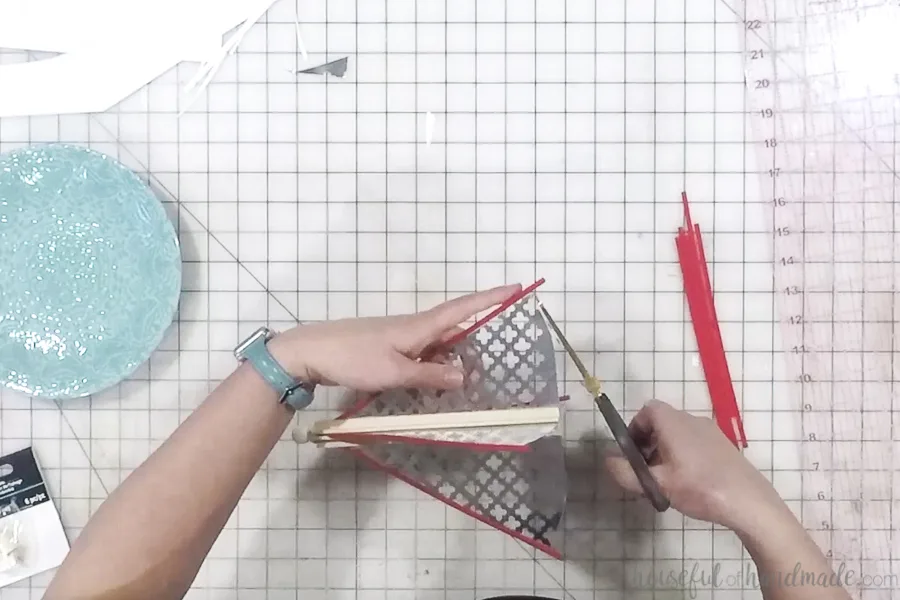
Use the super glue to attach the finial to the top of the wood corner pieces. This will finish off the top of the earring holder.

After the glue dries (so you don’t gum up your scissors), snip the excess straw off the bottom of the metal.
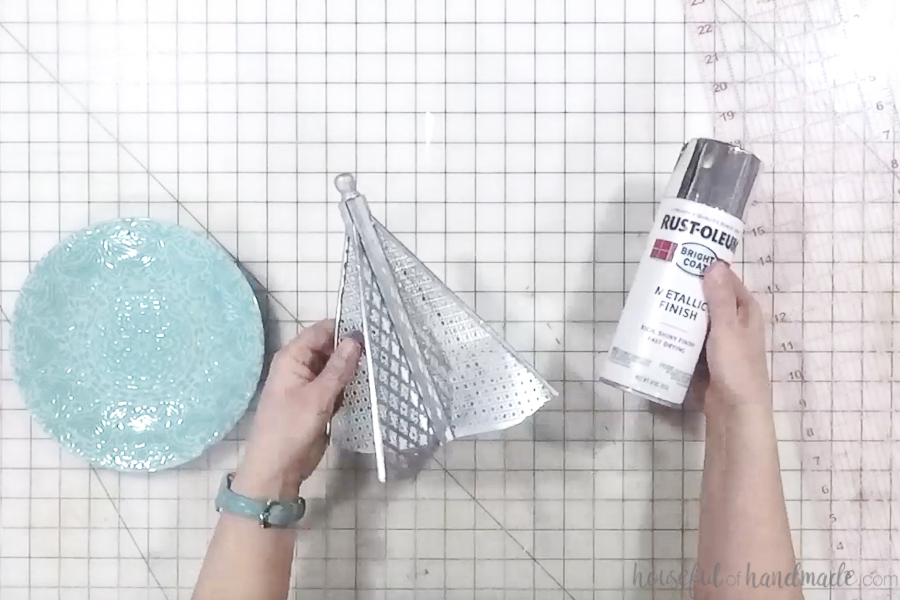
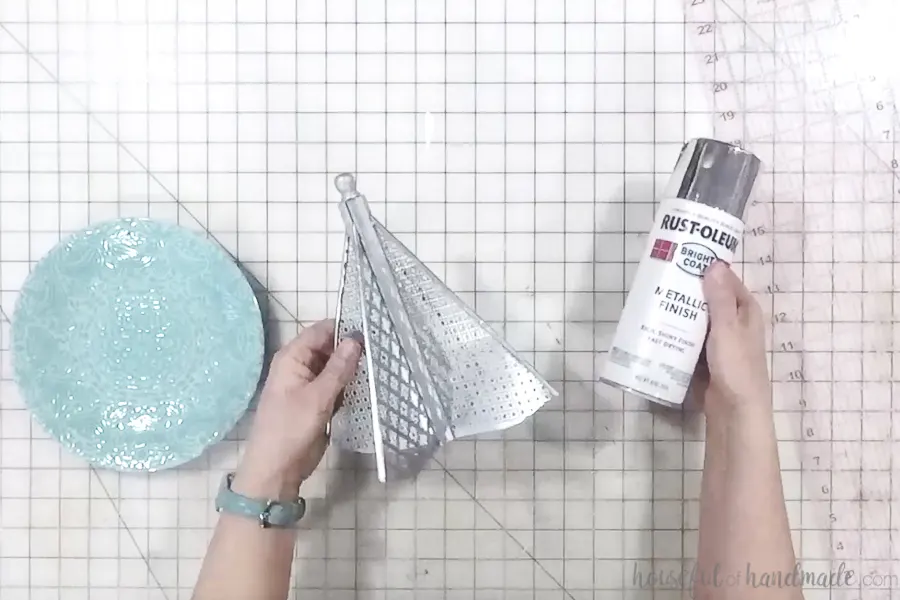
Finishing the Earring Holder
Once all the glue is dry, spray paint the earring holder. This will finish off the straws and wood.
I chose to use silver for my daughter’s room, but I think gold would also be gorgeous! Or have fun and paint it with any color you want to match your plate and space.
Now use the super glue gel to attach the metal pyramid to the plate. Place glue on the center wood frame as well as the bottoms of the straws on the outside.
Press firmly to the plate for 5-10 seconds. Then make sure to let the glue full cure before loading up your new earring holder with all your earrings!
My daughter is loving having all her earrings easy to see and even easier to access. Now she can easily change them out to suit her mood.
And this DIY earring holder has so much more space for her to accumulate more earrings.
Plus if you have a really big earring stash, you could always make one with a full sized plate instead of a salad plate. Then make your pyramid taller to hold all your jewels!

Or if you want more DIY earring holder ideas, check out these tutorial too:

Linda
Tuesday 28th of January 2020
I’m confused. You linked to almost $35.00 worth of metal sheet. Cute project, but with plate and paint and metal sheet you really could have bought something a lot better. For a lot less. I like your projects most of the time, but this just doesn’t add up!!
Kati
Tuesday 4th of February 2020
Part of the challenge is using items you already have and I had the metal from previous projects. I actually adore how the earring holder turned out, it's super functional for my young daughter and looks great in her room! Feel free to show me something that you could buy that would work the same for all the storage we got ;)
Martha Bie
Tuesday 28th of January 2020
Cute idea! Did you make the stand holding your necklaces? That's something I would like to make for all my bracelets. Thanks
Kati
Tuesday 4th of February 2020
Yes I did and I will be sharing that tutorial later this week ;)