Last week I decided to start testing the waters with a little early fall decorating. Nothing too crazy, no pumpkins or fall leaves just yet. I love to start the season with harvest themed decor. Last year I decorated our mantle with farmers market and apple signs.
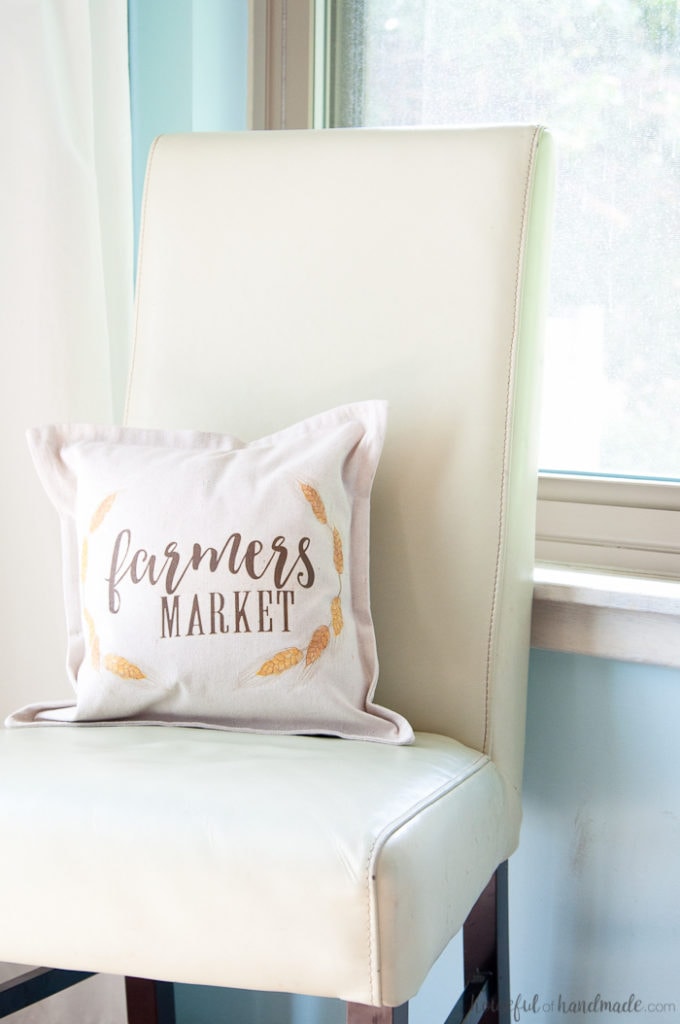
This year I am sticking with the harvest theme because I just love it so much. So last week I shared these fall farm printables and showed you how to put them on a pillow cover. Now today I am making your DIY fall decor even better by sharing this easy drop cloth pillow cover tutorial so you can make your own pillow covers too.
If you’ve been following along for a while, you will know how much I love using drop cloth to DIY all kinds of things. It is a great inexpensive material, holds up to my crazy kids, and gives a beautiful rustic farmhouse style to my DIYs.
This post may contain affiliate links. As an Amazon Associate I earn from qualifying purchases. Click here to read my full disclosure policy.
So when I was deciding what to use to make my pillow cover, I didn’t even think twice about using some left over drop cloth.
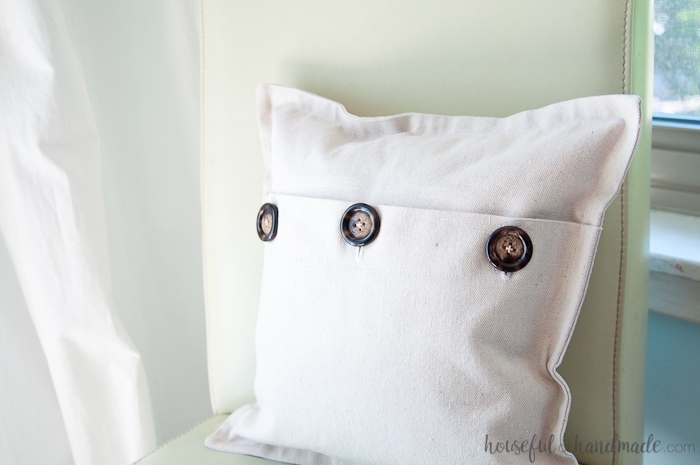
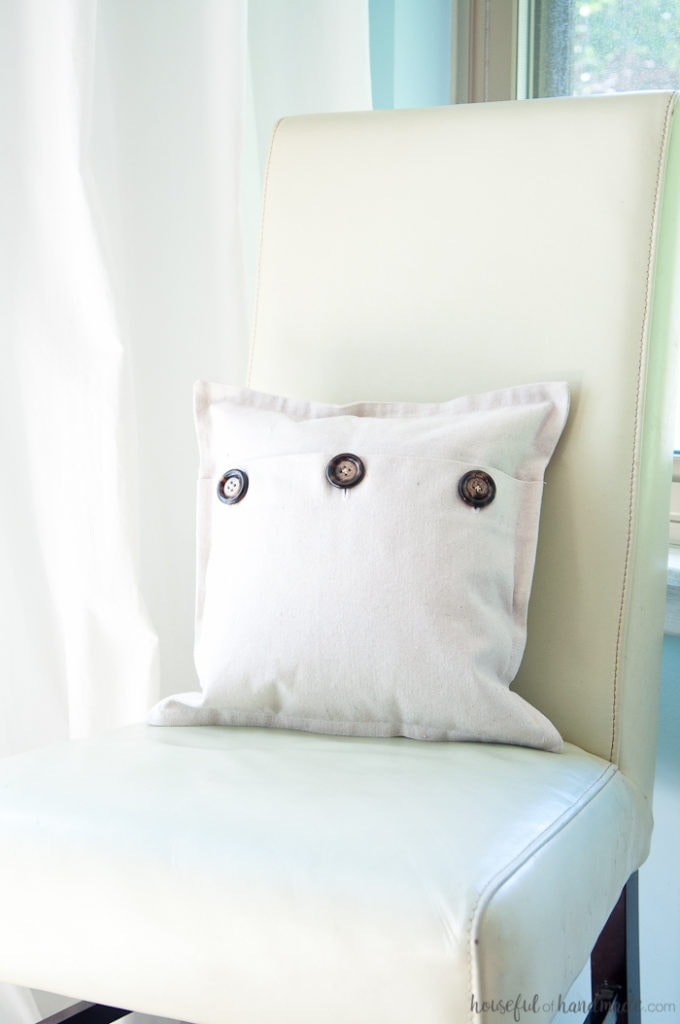
I wanted to keep the front of my pillow cover plain so I could put my farmers market printable on to it. But that didn’t mean I couldn’t have a little fun with the back.
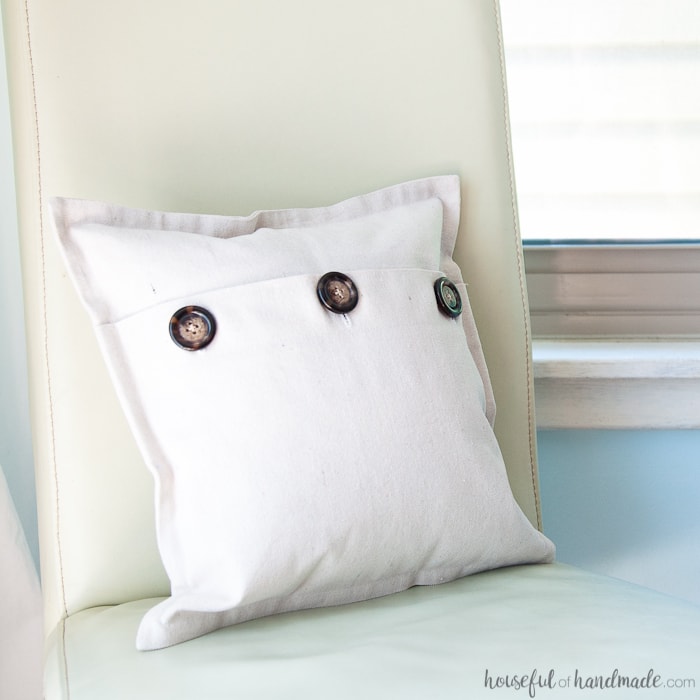
I usually am not a huge fan of the envelope pillow covers because they can sometimes pull or not lay right, unless you have a way to hold the flap closed where it’s suppose to be closed.
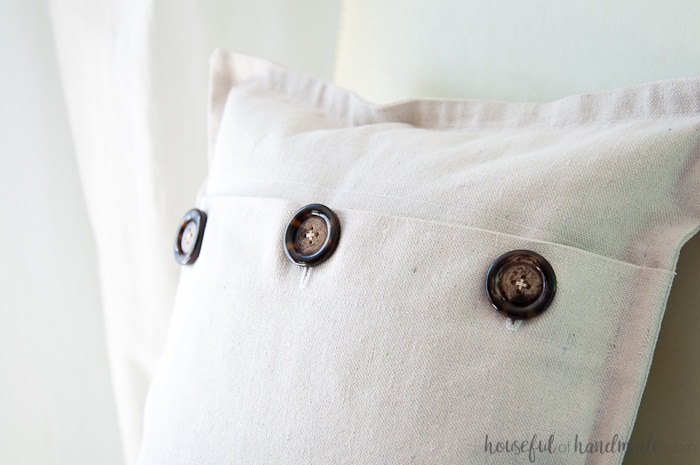
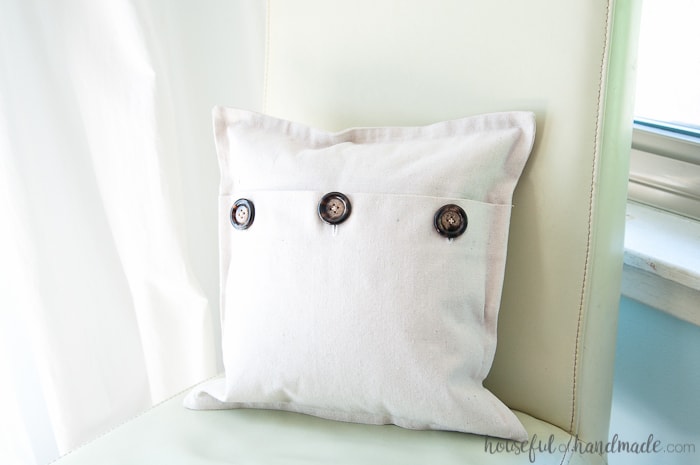
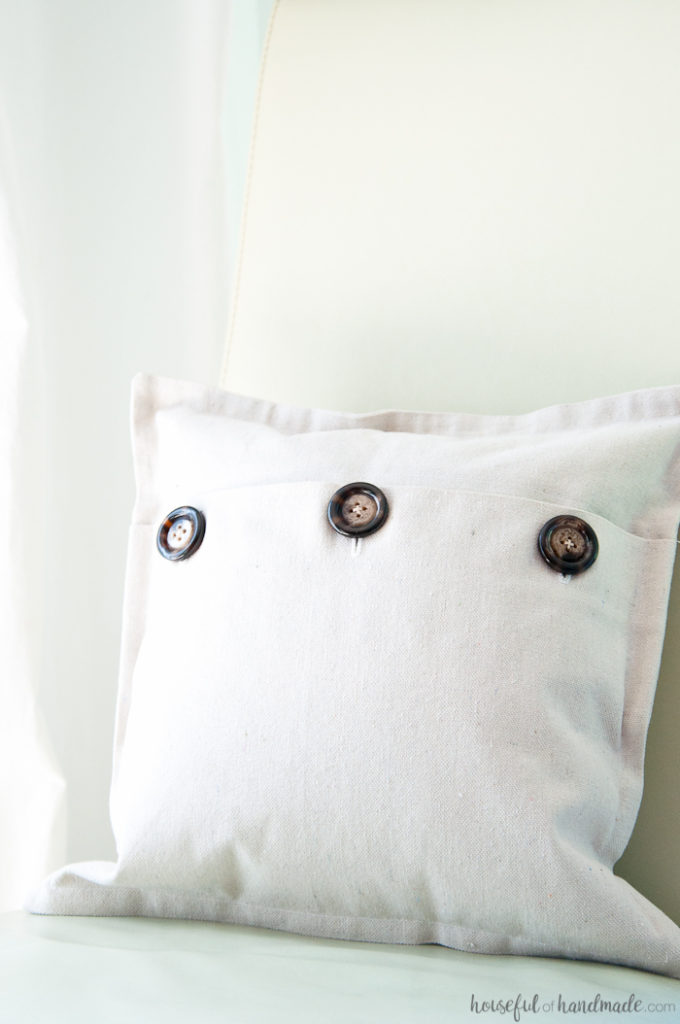
I had a few big rustic buttons in my stash and thought they would be perfect on the drop cloth with the wheat and farmers market printable on the front. And those 3 buttons help hold everything together perfectly!
If you know how to sew a straight line and sew a button hole, you’ll be able to whip up a few of these easy drop cloth pillow covers in no time at all. So grab yourself some drop cloth and let’s get to sewing!
Drop Cloth Pillow Cover Tutorial
Supplies
- Cotton canvas drop cloth
- For this 12″ pillow cover I used 14″ x 38″ of drop cloth, if using fabric you can make a 12″ pillow cover with 1/2 yard
- Buttons
- All purpose thread
- Sewing machine
- Iron
- Scissors (or rotary cutter and quilters ruler)
- Fabric marking pen
- Optional: serger
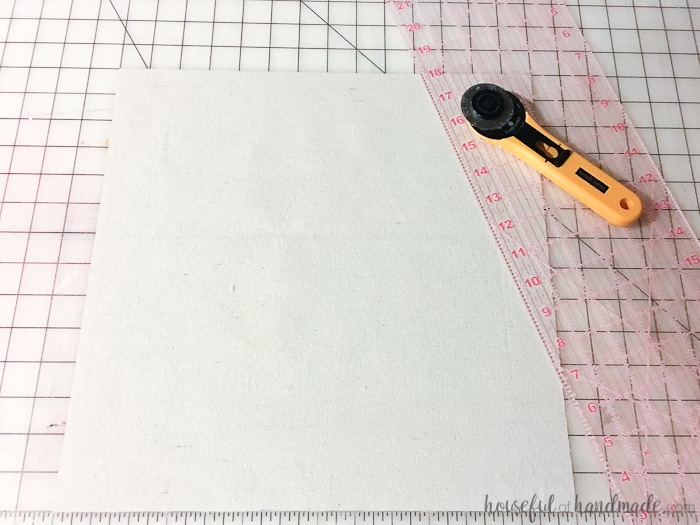
Start by cutting your drop cloth pieces. For the 12″ throw pillow you will need 1- 14″x14″ piece and 2- 12″x14″ pieces. If you are making a larger pillow cover, cut one square piece that is the size of your pillow form+2″ and two pieces that are the width of your pillow form and the height is the size of your pillow form+2″.
Now it’s time to prepare the flaps of the envelope pocket. I like to have a large, reinforced pocket so it will lay nicely and the buttons will have a study place to live.
Finish one of the 14″ sides of each of the 12″x14″ pieces. I used my serger to finish the flap edge because the drop cloth tends to fray easily. If you don’t have a serger you can just sew a line at the end to help prevent excessive fraying.
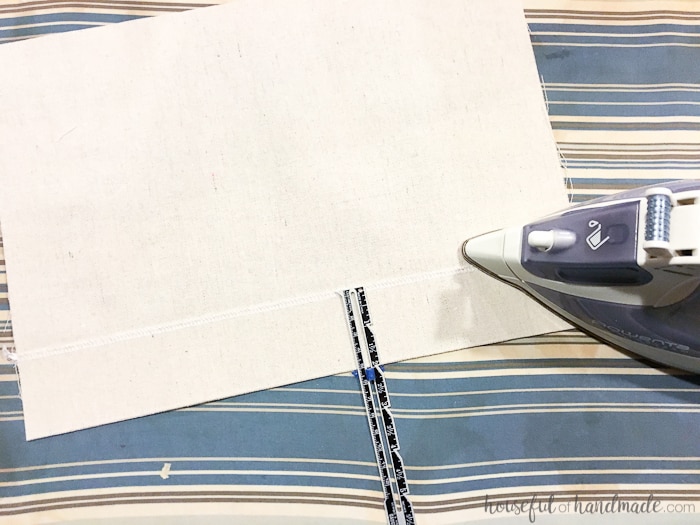
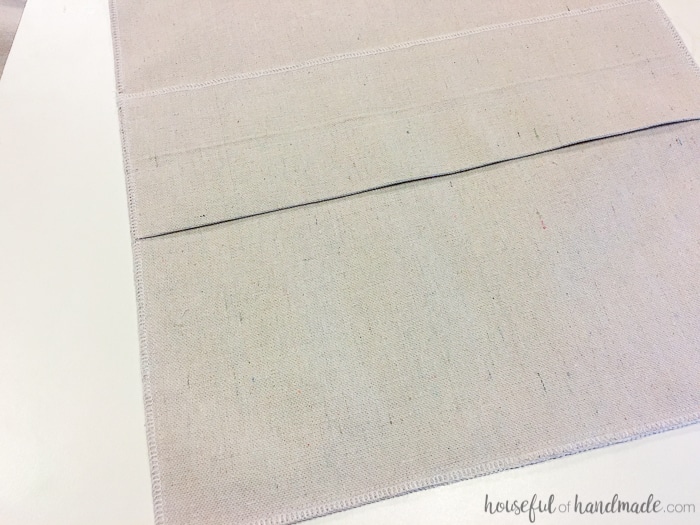
Fold the finished edge over 2″ on one piece and iron it flat. On the other piece fold over the finished edge 4″ and iron it flat.
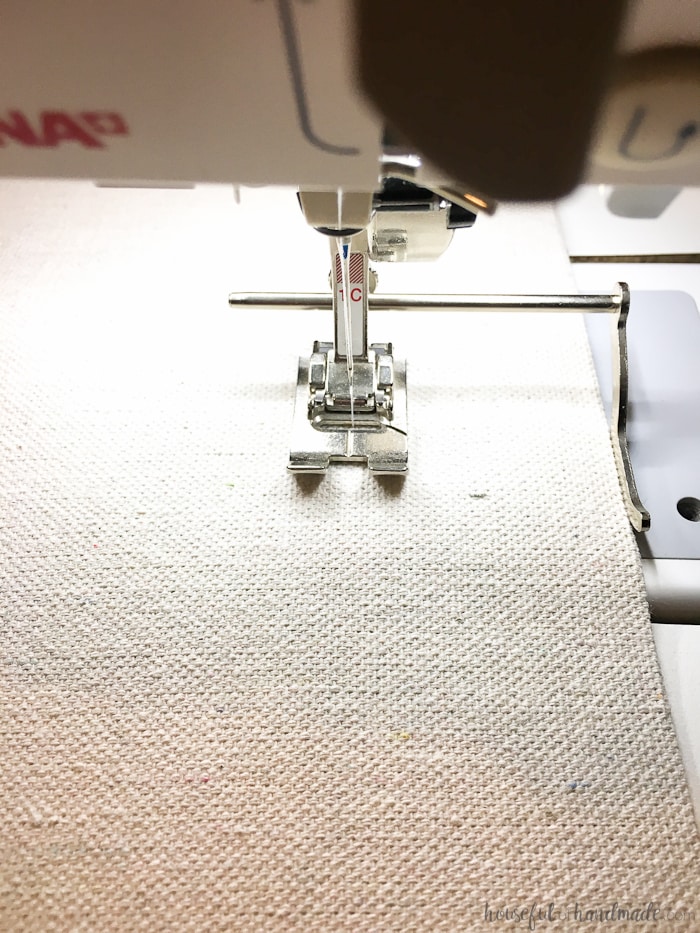
Sew a straight line close to the inner edge of the flap (about 1/4″ in from the newly finished edge) and another straight line 1/4″ in from the folded side. Repeat on the other 12″x14″ piece.
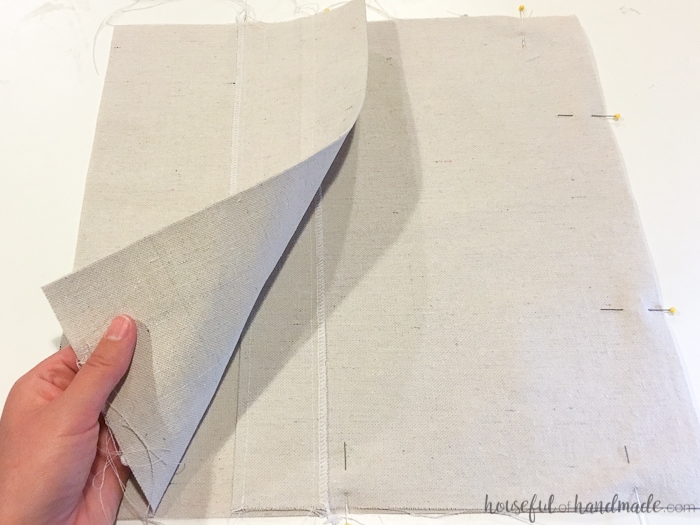
Now stack the three pieces on top of each other. Start with the 14″x14″ piece with the right side up, then lay down the 2″ flap piece with the 3 unfinished edges lining up with 3 of the edges of the 14″x14″ piece and the right side facing down.
Then lay the 4″ flap piece on top of it with the finished flap on top of the other finished flap, right side still facing down and lining up the other 3 edges with 3 edges of the 14″x14″ piece. Pin around the outside.
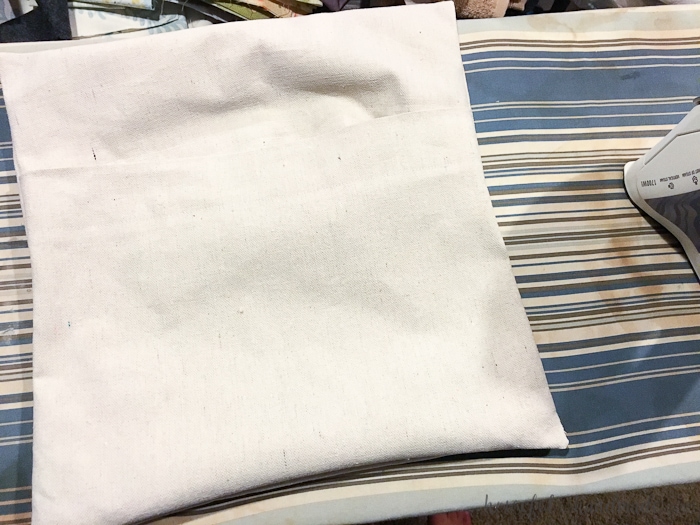
Sew all the way around the outside of the 14″x14″ piece with a 1/2″ seam allowance. I also used my serger to finish all the edges after sewing.
Trim the corners then turn entire pillow right sides out. Use a blunt object to turn the corners so they have nice points. Then iron all the edges well.
Next sew all around the perimeter of the pillow 1/2″ in from the edge to create a border.
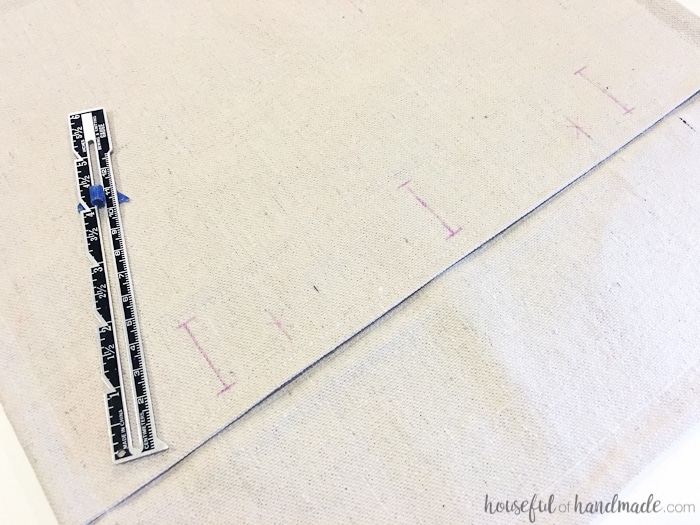
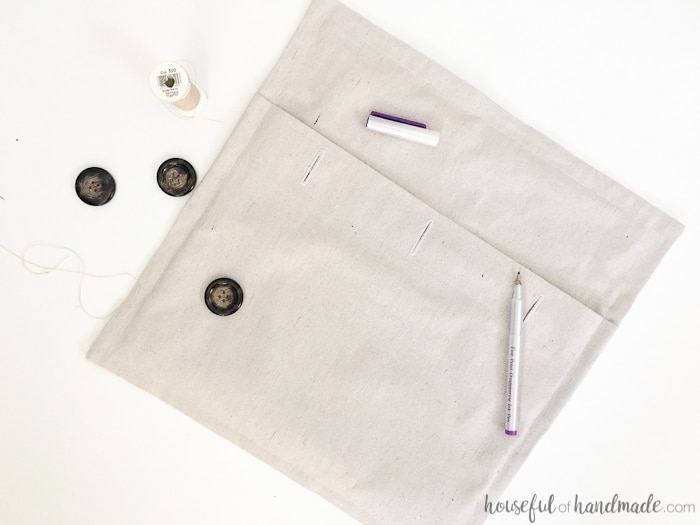
Now it’s time to add the buttons to hold the flap closed properly. Measure where you want your buttons to go on the flap and mark with a fabric pen.
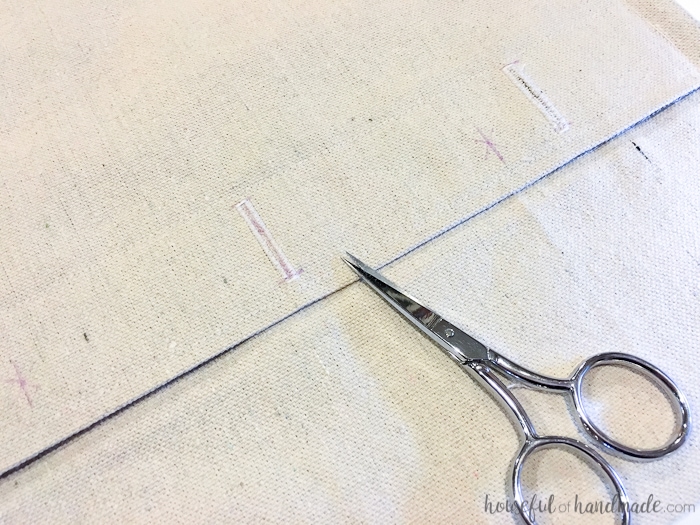
Sew your button holes and cut the center.
Mark through your button holes where you need to sew the buttons on.
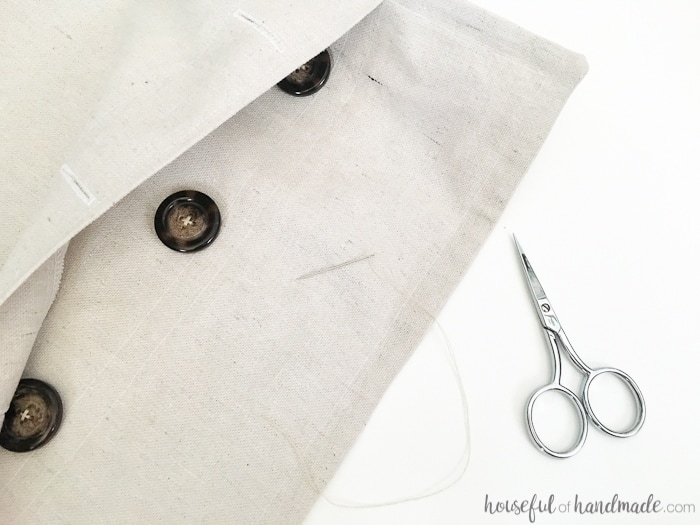
Then hand sew the buttons into place.
Now it’s time to add the pillow form and enjoy your new pillow! It’s so simple and rustic, the perfect farmhouse style throw pillow.
I love the pillow form as is, but I made it to put a fall farm printable on the front, so I did. And I love it even more with the wheat. Now it’s the perfect decorative pillow for our fall farmhouse!
Either way you enjoy your drop cloth pillow covers, I know you will love them. I am ready to make a whole bunch more (but first I need to finish that master bathroom vanity).
Shirley Wood
Thursday 1st of September 2016
It turned out so pretty. Love the big buttons. Thanks for sharing with us at Merry Monday. We're pretty excited about fall and looking forward to seeing lots of fall ideas shared at the next party now that we have made it into September.
Kati
Thursday 8th of September 2016
Thank you Shirley! I am excited for all the fall posts too.
Amanda @ The Kolb Corner
Thursday 1st of September 2016
I love the big buttons on it! When you get tired of the front (if you ever do) you can just turn it around because it's beautiful from both sides.
Kati
Thursday 8th of September 2016
Or when my kids never can manage to put the pillows on right :) Either way it's cute!
Randi
Thursday 25th of August 2016
This is cute! Love the buttons!
Kati
Monday 29th of August 2016
Thanks Randi! The buttons make me happy :)
Carol
Thursday 25th of August 2016
Great tutorial - I like the button side of the pillow. It has a nice contrast.
Kati
Monday 29th of August 2016
Thanks Carol. I love the buttons too, a fun surprise.
Kathi Riemer
Tuesday 23rd of August 2016
What a lovely pillow! Thank you for the great tutorial!
Kati
Monday 29th of August 2016
Thank you Kathi!