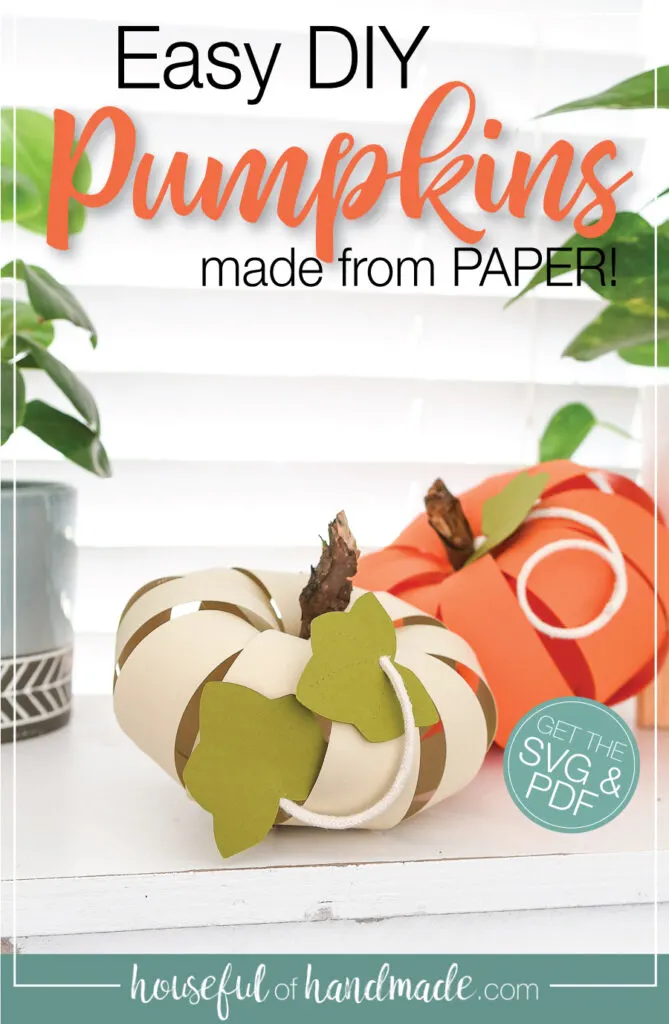
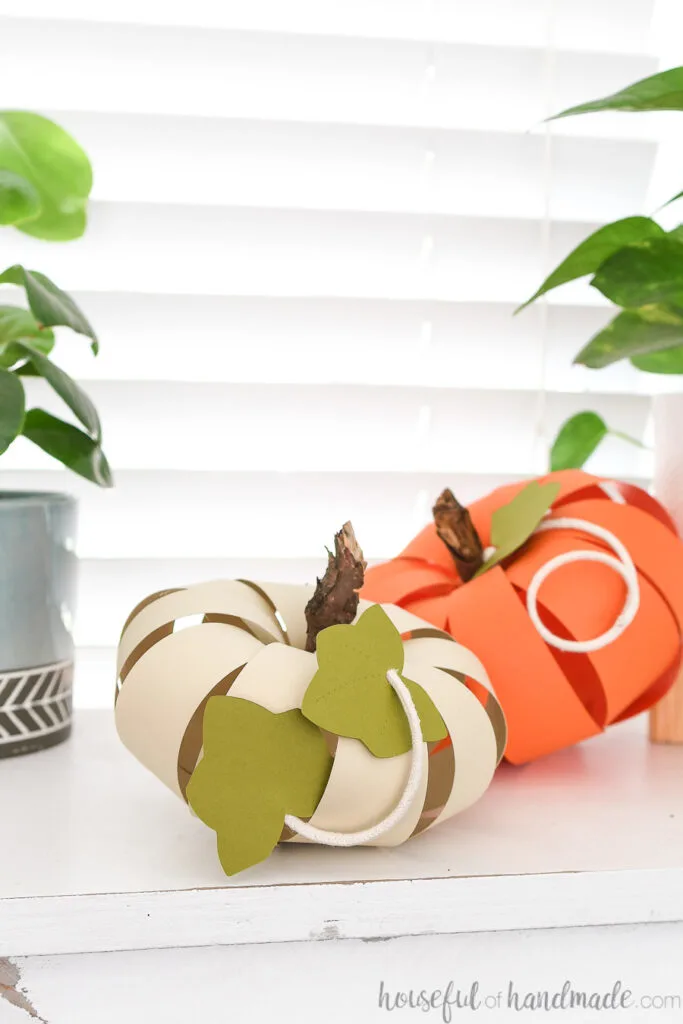
Decorate your home for fall with these fun paper pumpkins that can be made in minutes.
It’s October and that means it’s time to decorate everything with Pumpkins!!!
So to kick things off, I thought it would be fun to add a new series to the blog: 5 Days of Pumpkin Crafts!
Everyday this week I will be sharing a new pumpkin craft. Each of these crafts will make the perfect fall decor item for any room in your home. And we are of course starting with a paper decor project: easy paper pumpkins!
This post may contain affiliate links. As an Amazon Associate I earn from qualifying purchases. Click here to read my full disclosure policy.
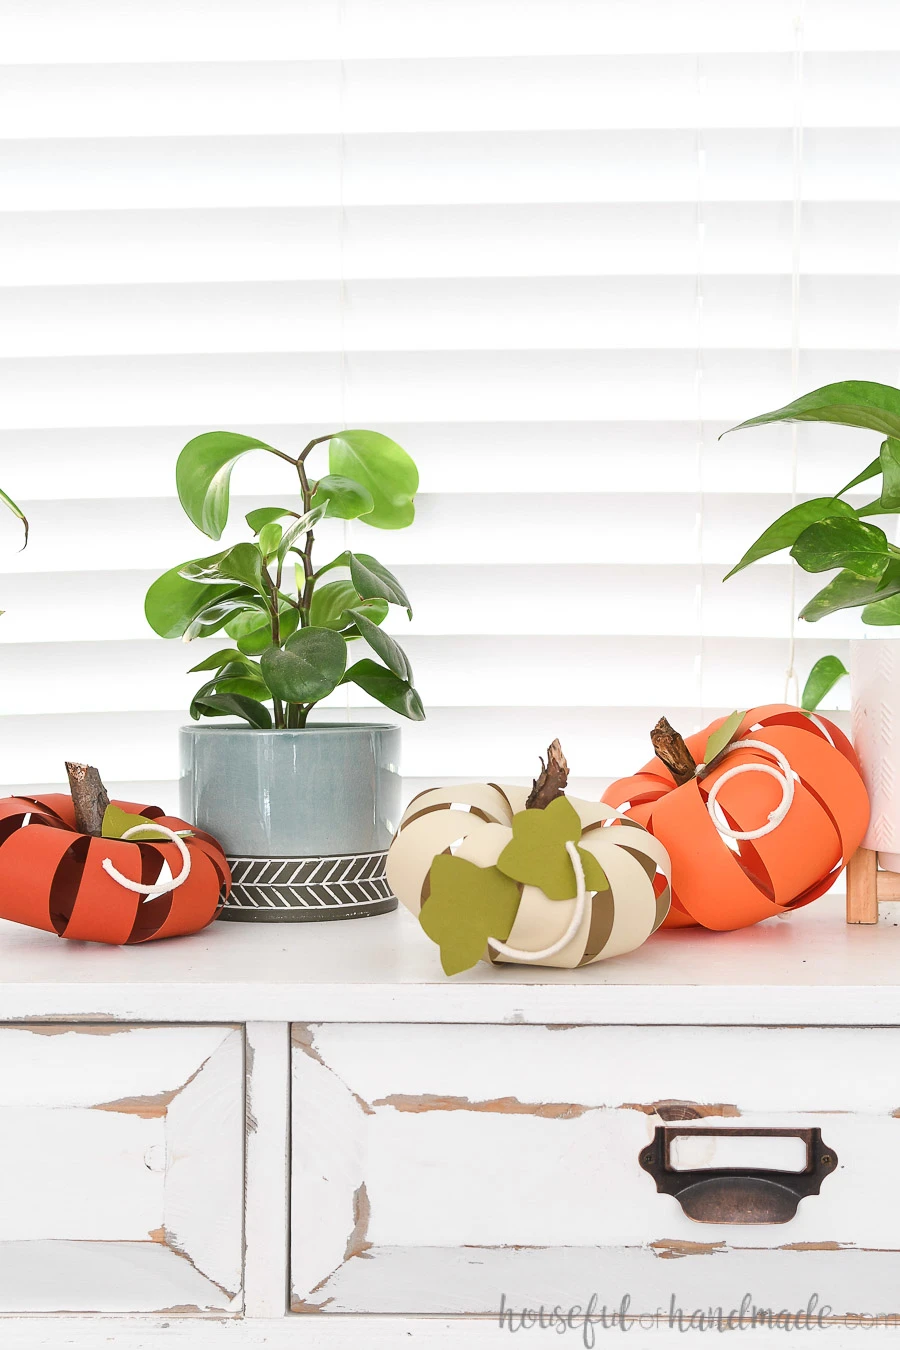
Fall Paper Crafts
If you have been a long time reader, you know I love turning paper in wonderful home decor. Paper crafts are easy to do and the materials are inexpensive too!
So I knew we had to start the pumpkin crafts series with a paper pumpkin. These paper pumpkins are super easy and quick to make too.
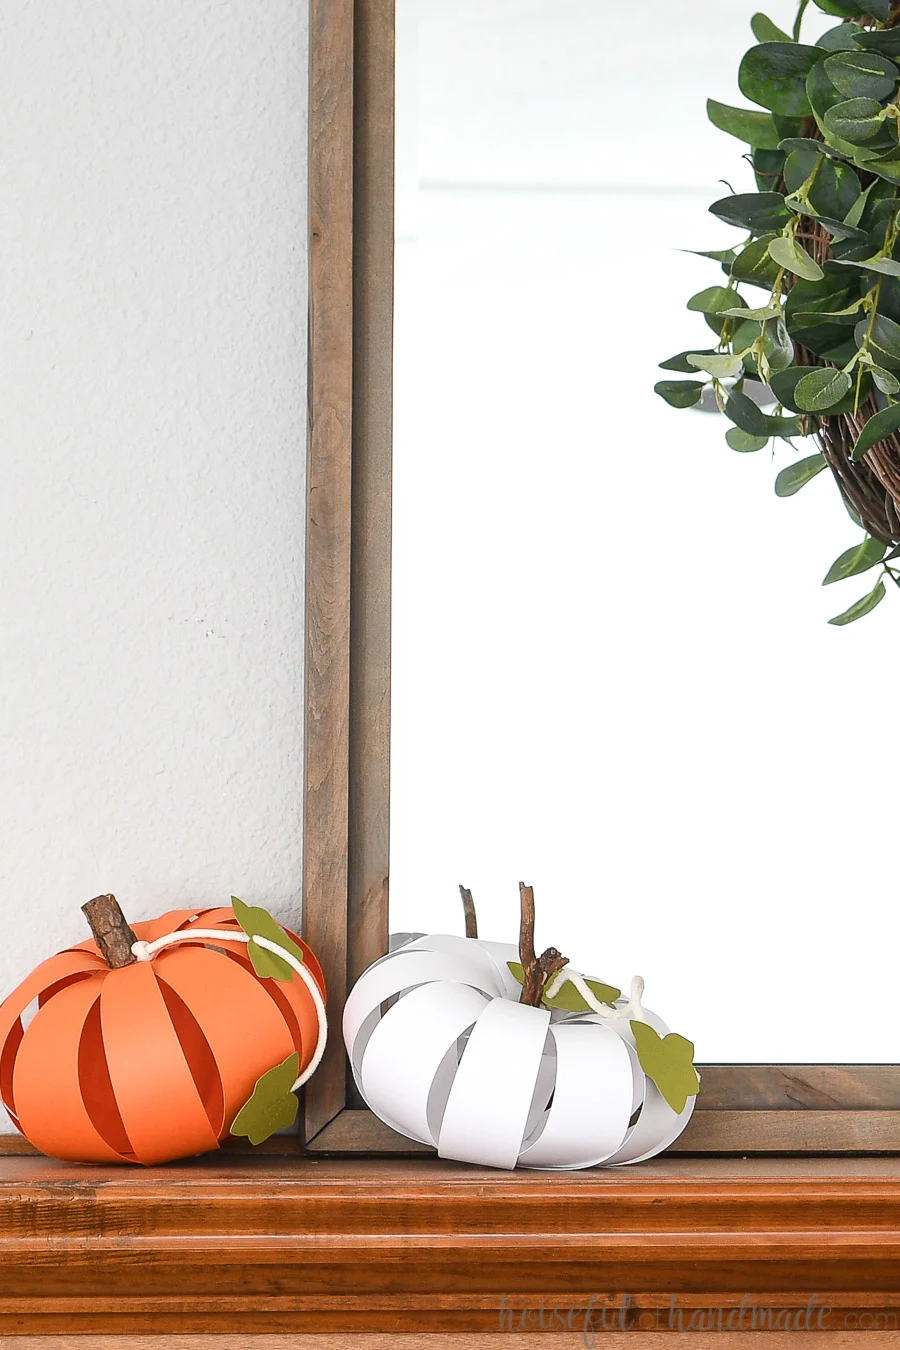
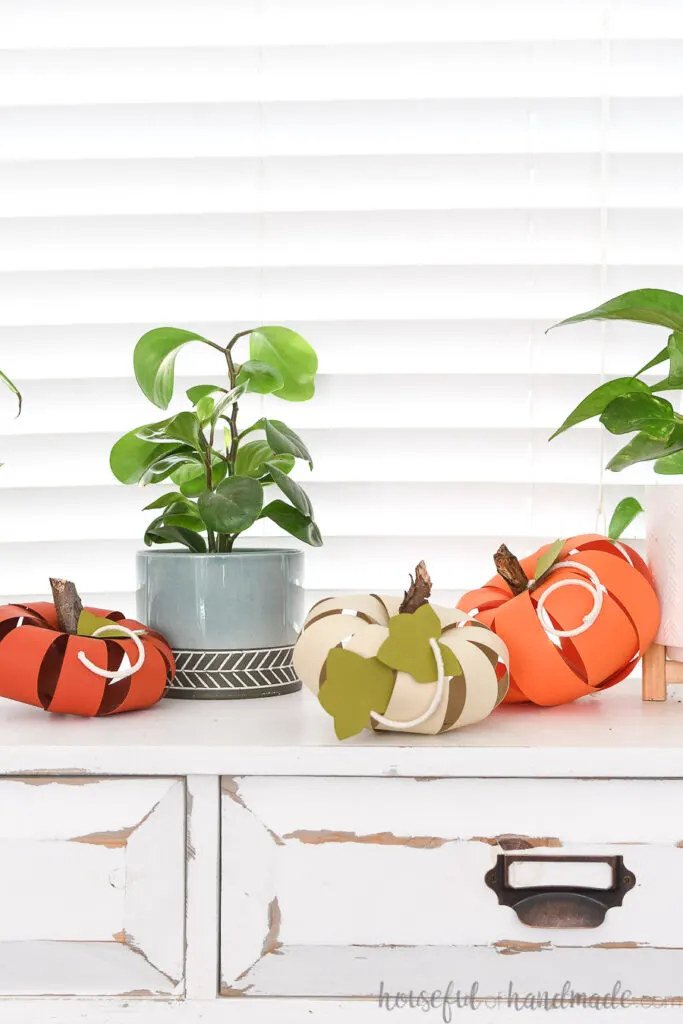
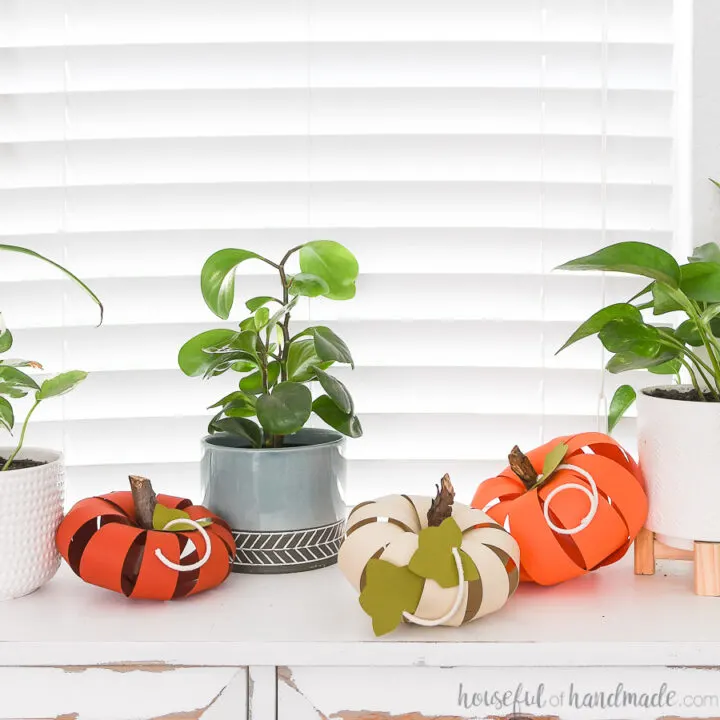
You can make your paper pumpkins any color you want, to coordinate with your fall decor. I chose to stick to more traditional pumpkin colors of oranges, creams, and white.
But how amazing would they be if you did blues and teals like these wood pumpkins I made last year. Or with purples and teals like the new October digital wallpaper.
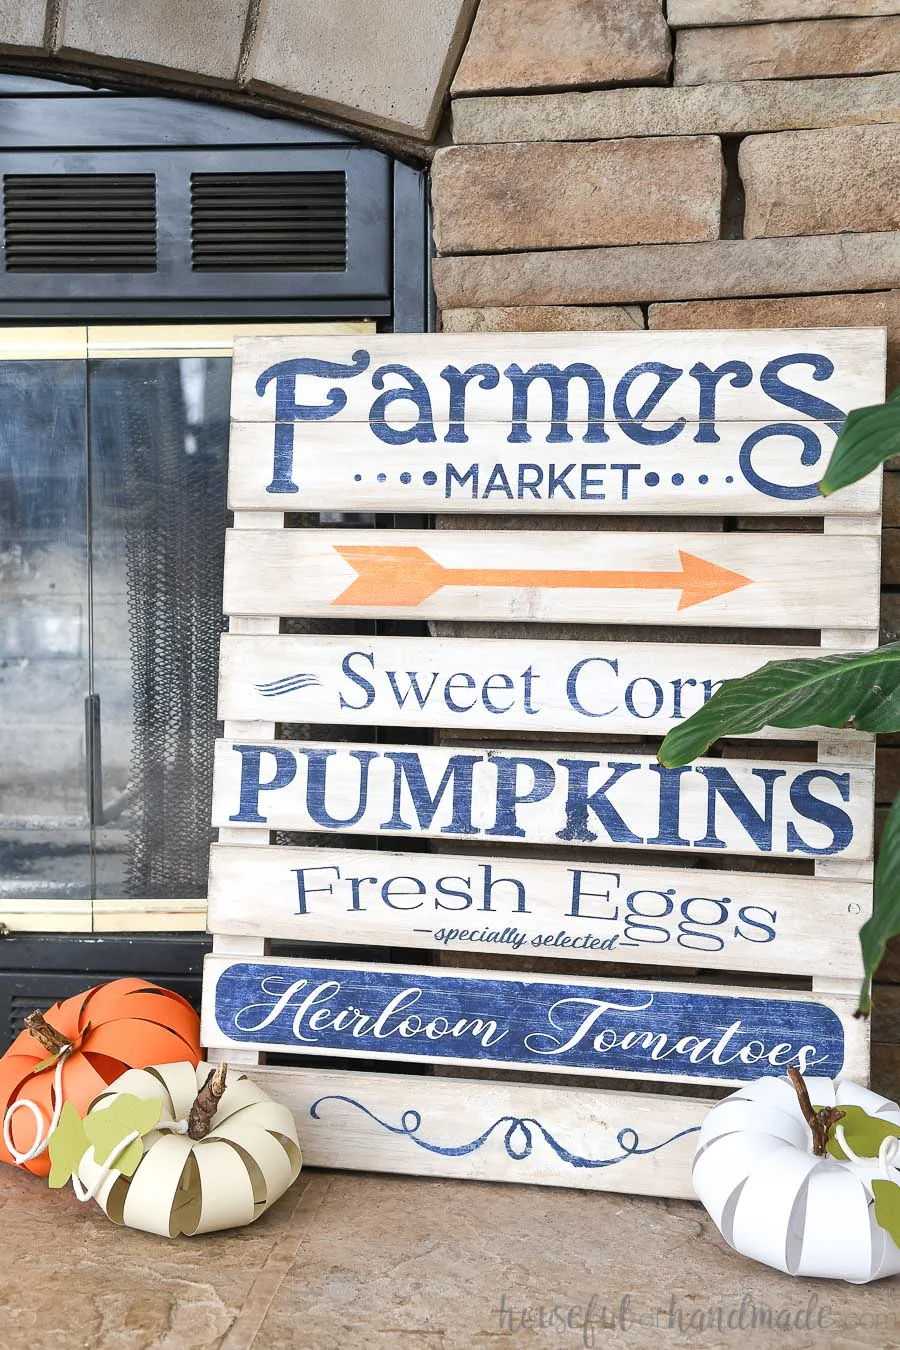
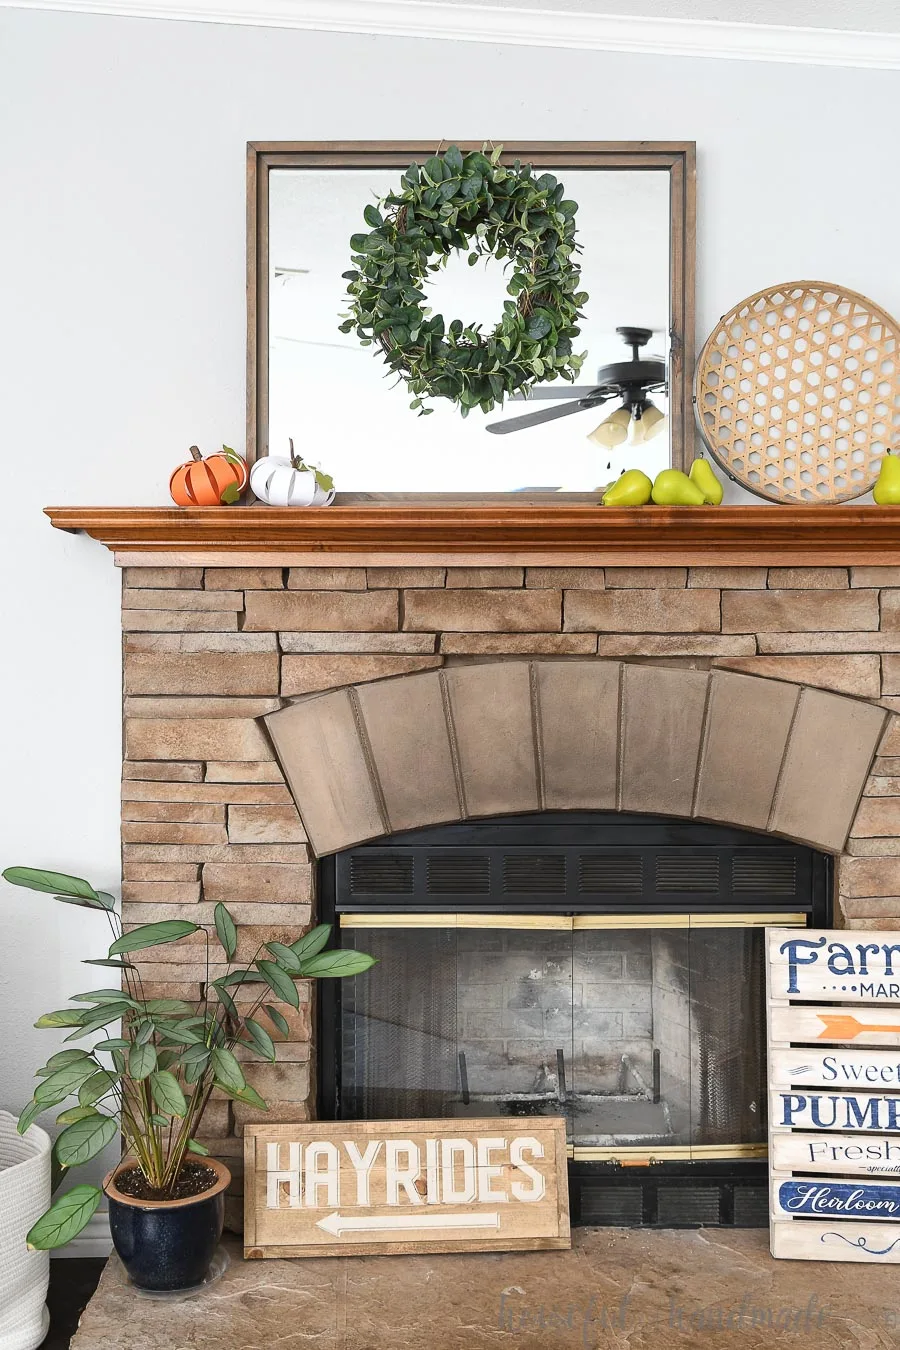
And these easy paper pumpkins would be great to sprinkle around the entire house. Here are just a few places you can add instant fall decor to your home with them:
- On your mantel
- On a bookcase
- On open kitchen shelves
- On a console table
- On a shelf
- On the fireplace hearth
- On a hutch
Your entire house could be decorated for fall easily after an afternoon of making some colorful paper pumpkins.
How to Make Paper Pumpkins
Supplies:
- Paper pumpkin template
- Cardstock in whatever colors you want your pumpkins
- 3mm macrame cording
- Hot glue gun & glue sticks
- You could also glue them together with glue sticks, but I prefer hot glue for paper crafts since it dries quickly and holds permanently.
- Sticks/twigs
- Hand saw
- Optional: Electronic cutting machine
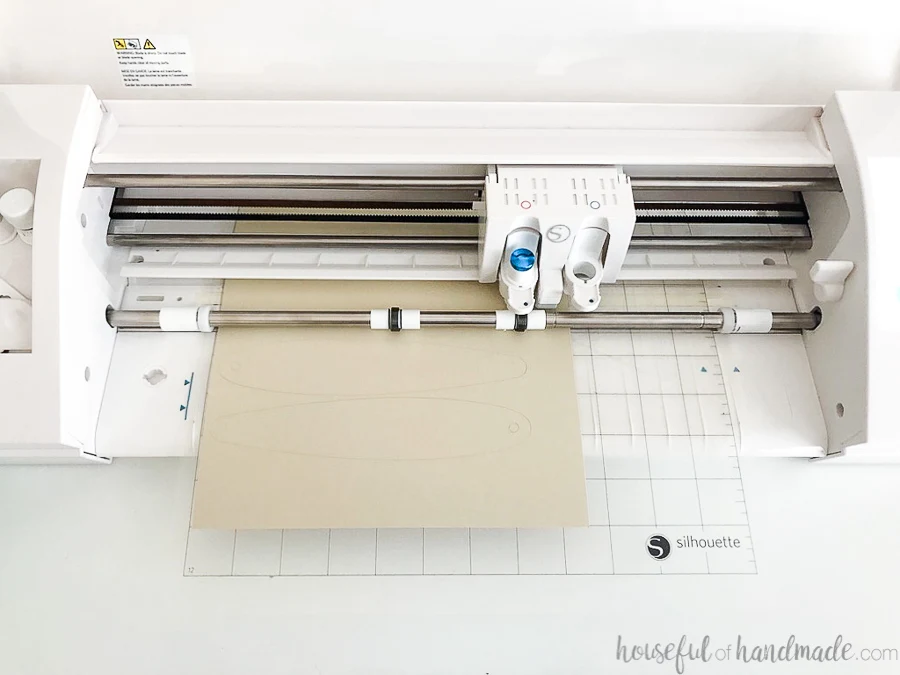
- I used my Silhouette Cameo to cut out the pieces for my pumpkins, but you could also cut them out with scissors. You would need to use a hole punch for the holes and an X-acto knife to cut the slots.
Cut out the pieces
You will need 2 pieces of cardstock for each each pumpkin. Also, if you want leaves that are a different color, you will 1 sheet for that as well.
Cut out all the pieces along the solid lines. The dotted lines on the pumpkin pieces are fold lines.
The dotted lines on the leaves are for decorative purposes only, but if you want to give them more shape you can pinch along those lines as well.
You can resize the pumpkins to make slightly smaller and large ones, just make sure to resize all the pieces the same percent. Also, make sure to lock the aspect ratio so they resize in all directions the same.
I made 3 slightly different sized pumpkins in total. The larger pumpkin did need 3 sheets of cardstock to fit all the pieces.
Assemble the pumpkin
Start assembling the pumpkins with the wider/shorter pieces. slide the slot with the dotted line into the outside slots on the top donut piece.
Slide the piece in only until it hits the dotted line and fold it over toward the outside of the donut.
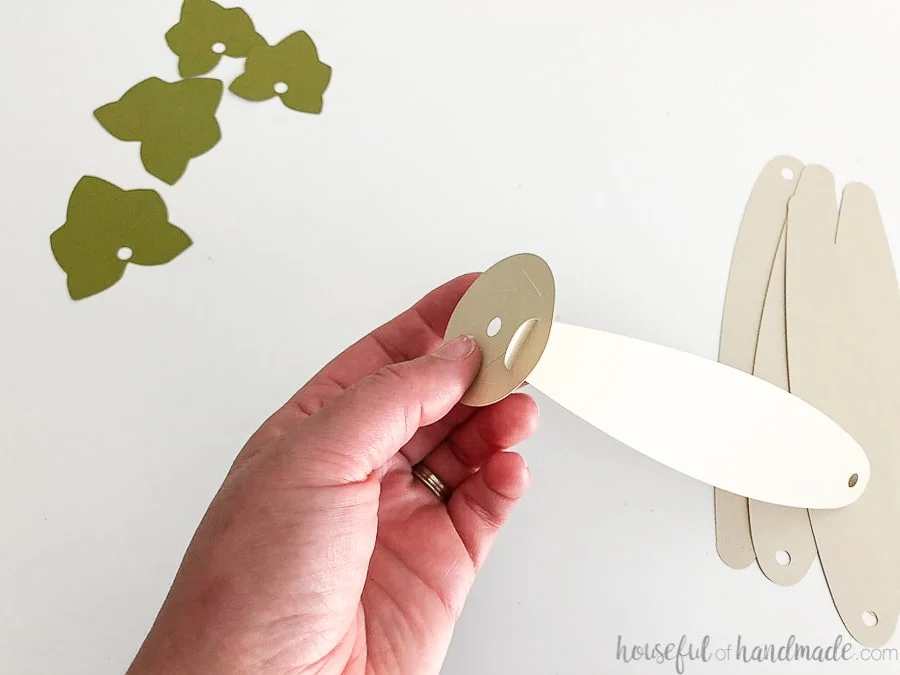
Glue the flap down to the back of the donut. Then repeat for all the wider/shorter pieces.
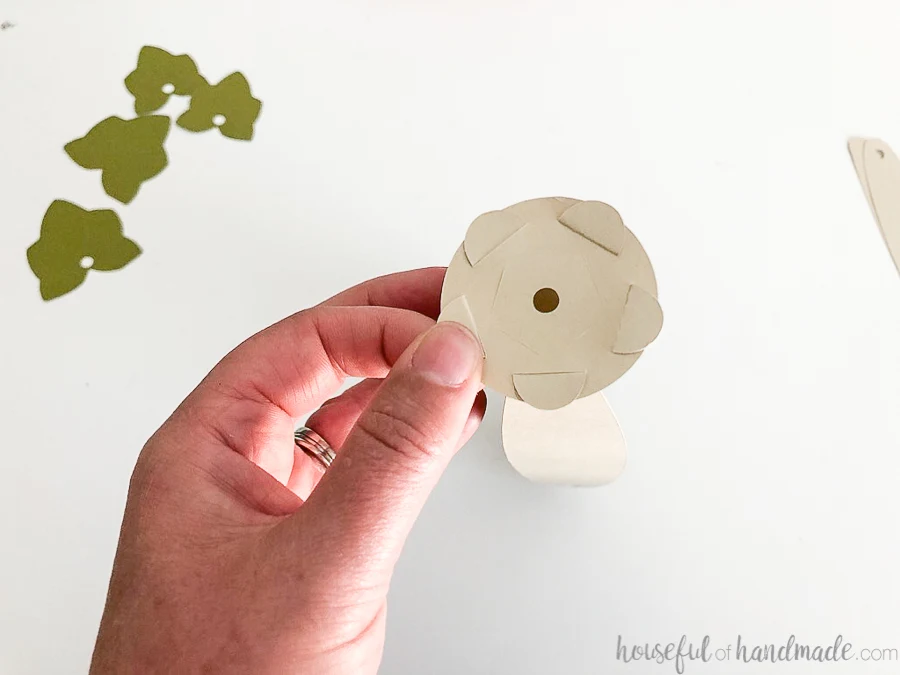
Next use the thinner/longer pieces and insert them into the slats toward the center of the top donut.
Insert the piece to the flap and fold over toward the outside of the donut.
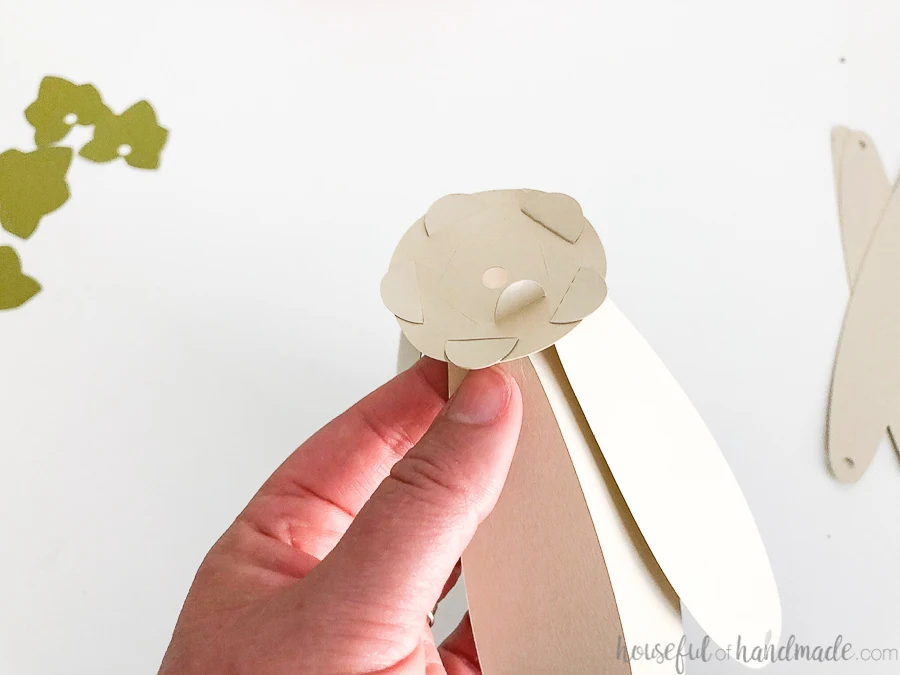
Glue the flap to secure.
Then finish with the rest of the thinner/longer pieces. This can get a bit tricky as you are managing all the pieces already attached. But if you start with the inner pieces, you will cover up the outer slats.
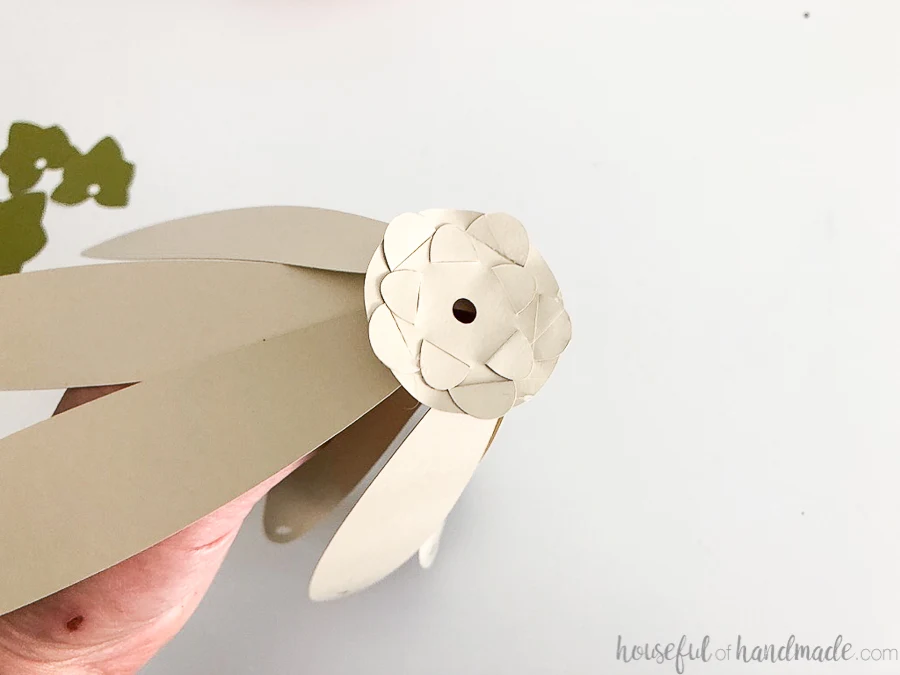
Once all the pieces are attached to the donut, flip it over.
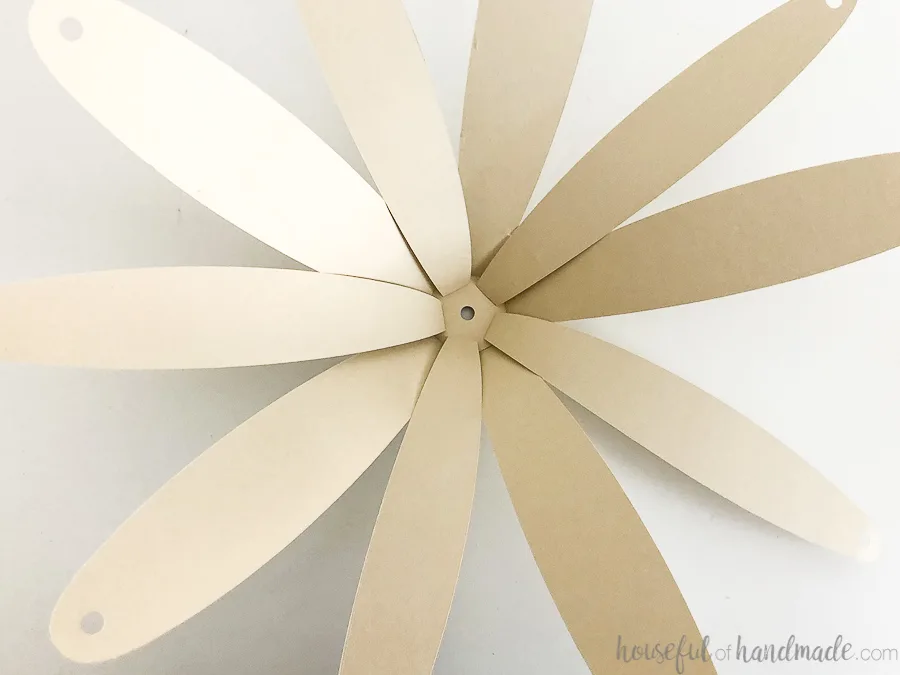
Cut a piece of the cording about 6″-10″. The smaller the pumpkin the shorter the string needs to be.
Tie a knot approximately in the center of the string. Exact is not necessary.
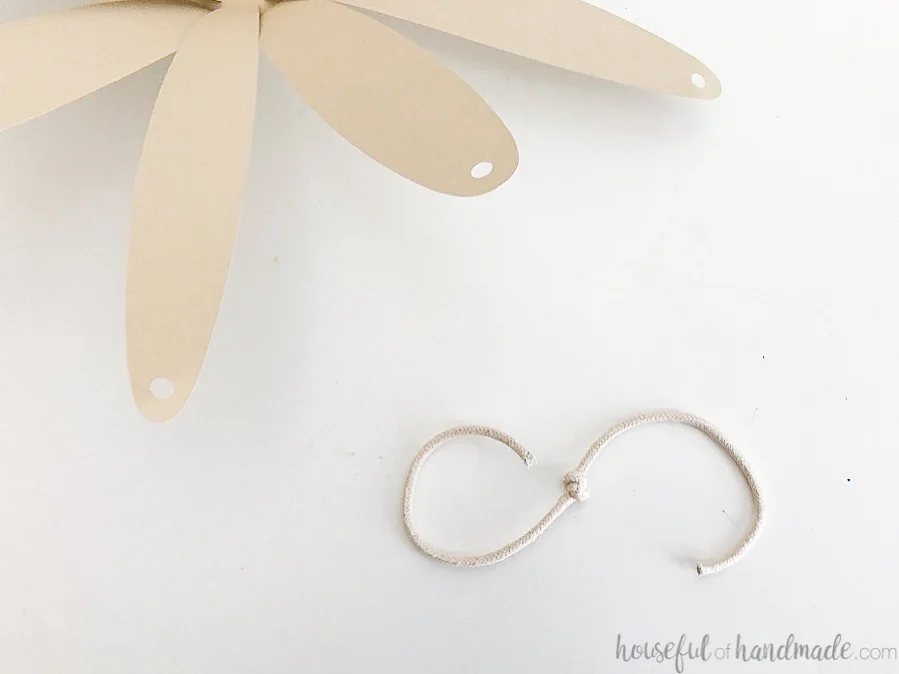
Feed the string through the top of the donut so all the pieces are splayed out around the sides. Then flip the pumpkin over. The string should stop at the knot.
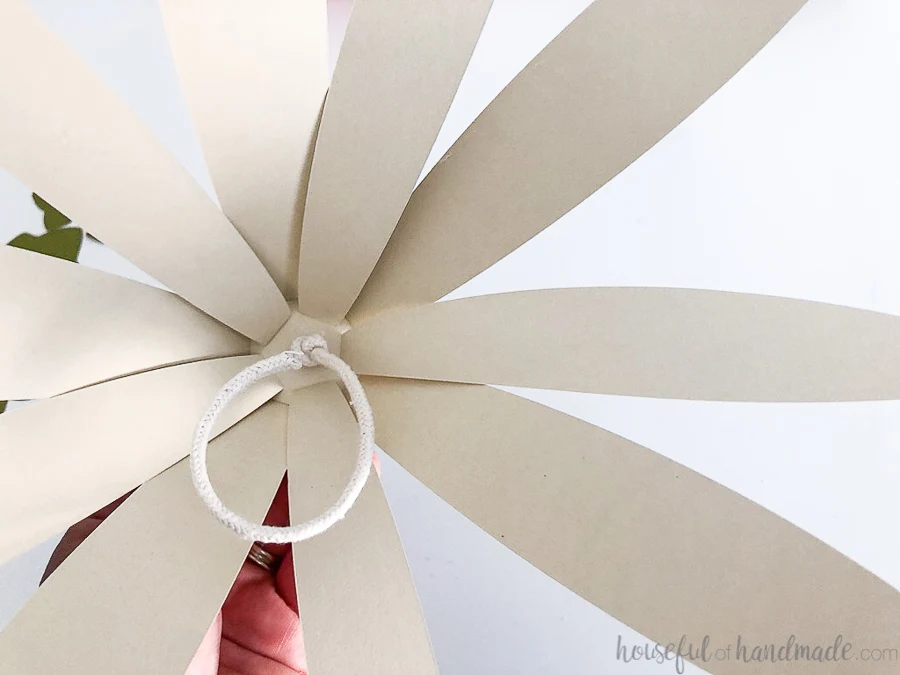
Thread all the ends of the pumpkin pieces onto string starting with the shorter/wider pieces.
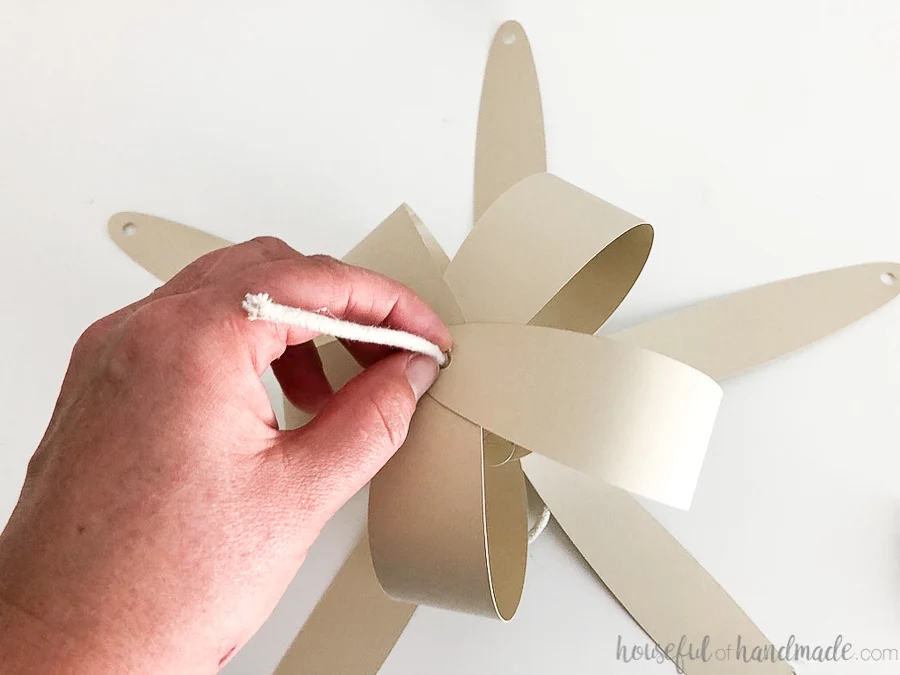
Then thread all the thinner/longer pieces onto the string.
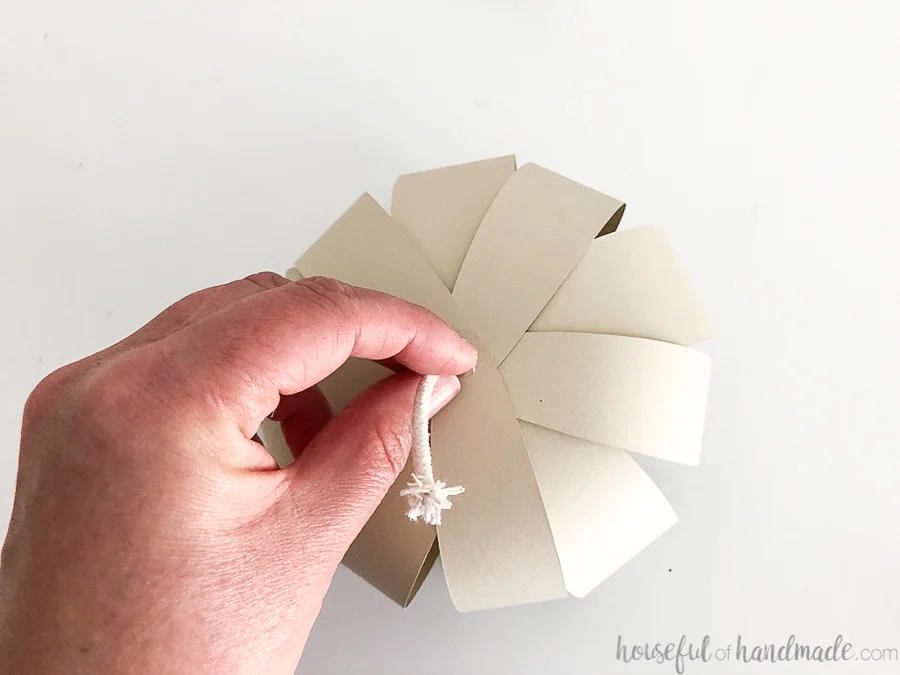
Once all the pieces are on the string you will tie a knot to secure them, but here you can decide if you want a rounder or more squished pumpkin by pulling the tension on the string before tying the knot.
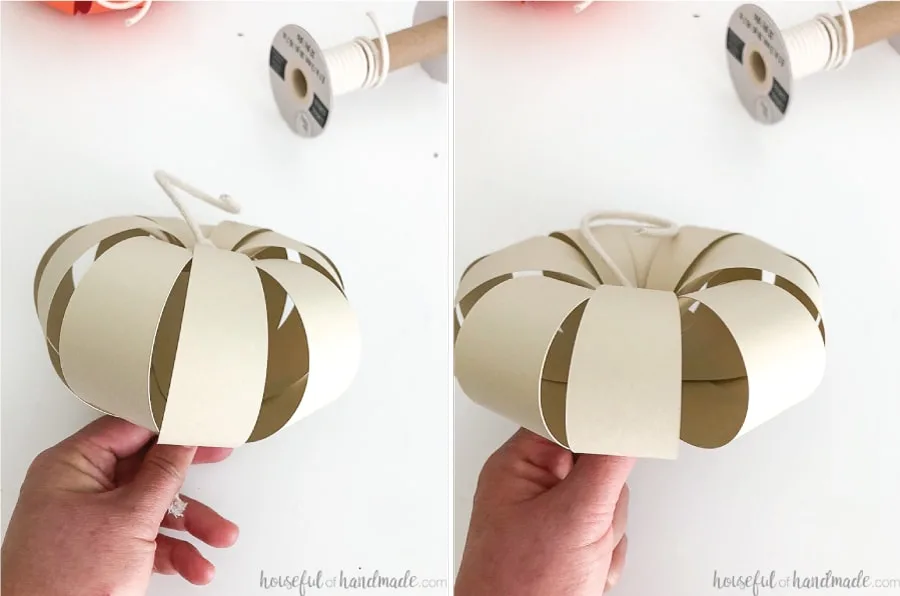
Add a bit of hot glue to the knot as you pull it tight, then trim the string right up against the knot.
Add decorations
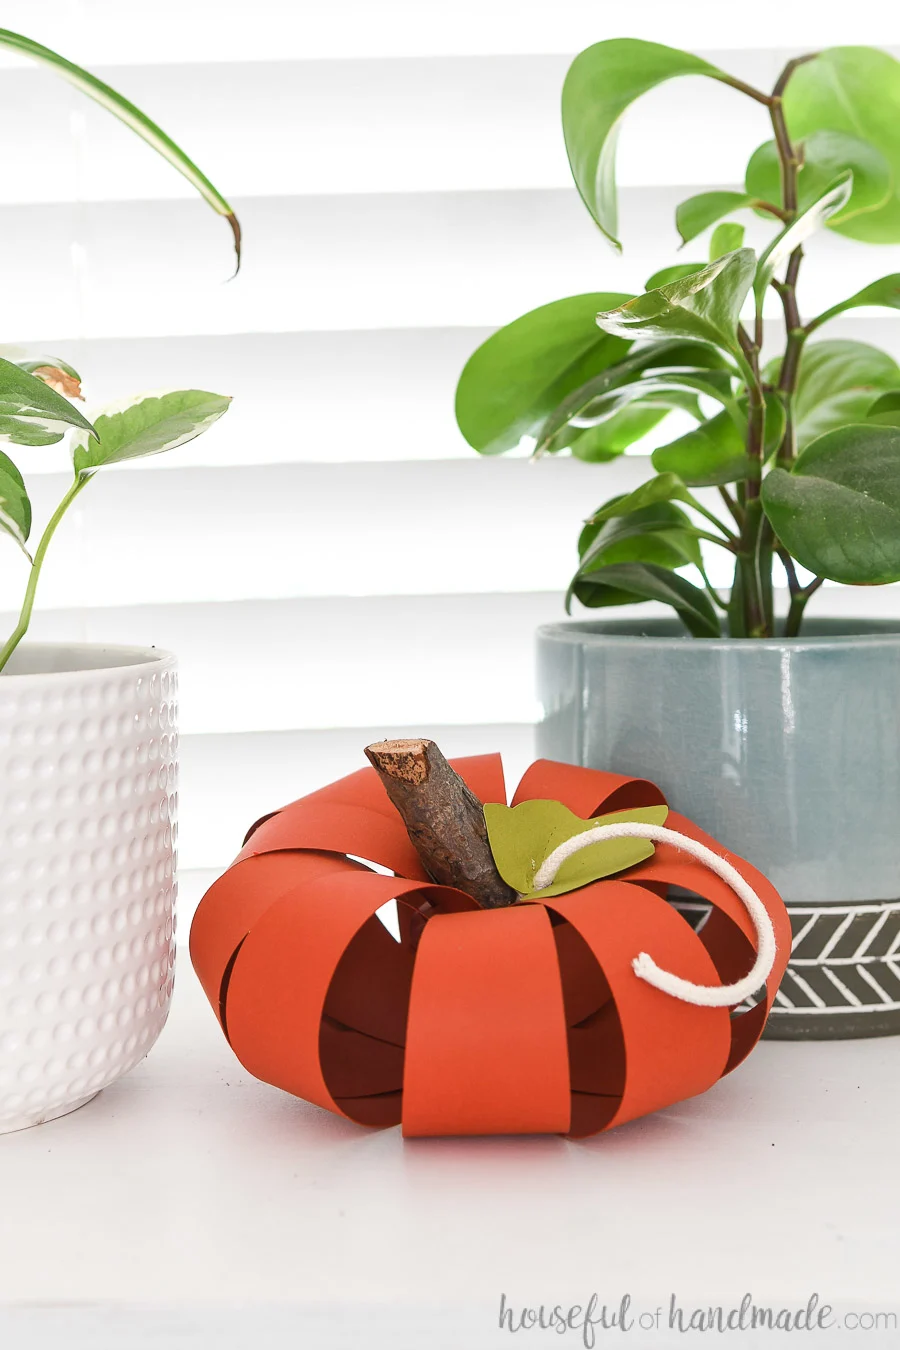
To finish off your cute paper pumpkins, cut a piece of a stick/twig to work as the stem to the pumpkin. Glue it to the top center of the donut. You will have to move the knot on the string to the side.
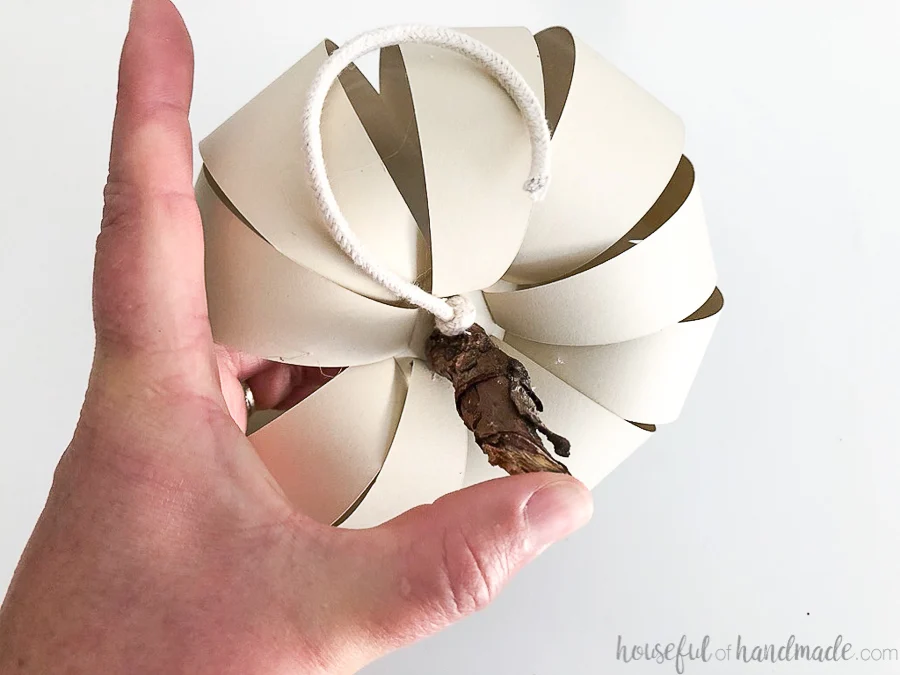
Then glue the leaves to the stem or string of the pumpkin. I added leaves in lots of different ways on all the different pumpkins.
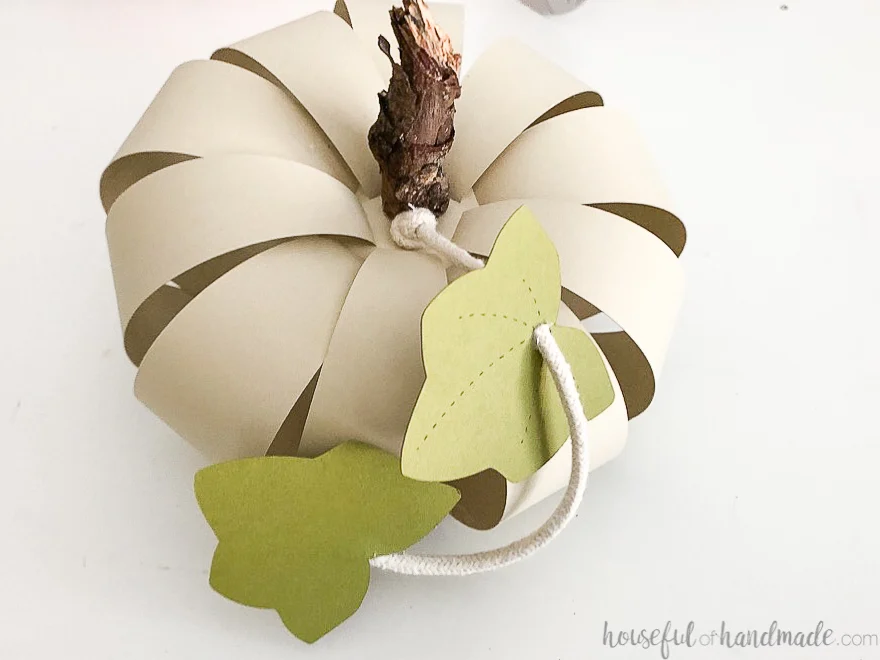
Some of them I added a hole to the bottom of the leaf and strung it on the string. Others were glued on top.
Also, some of the strings were glued to the pumpkin to create twirls. Others were left to hang naturally.
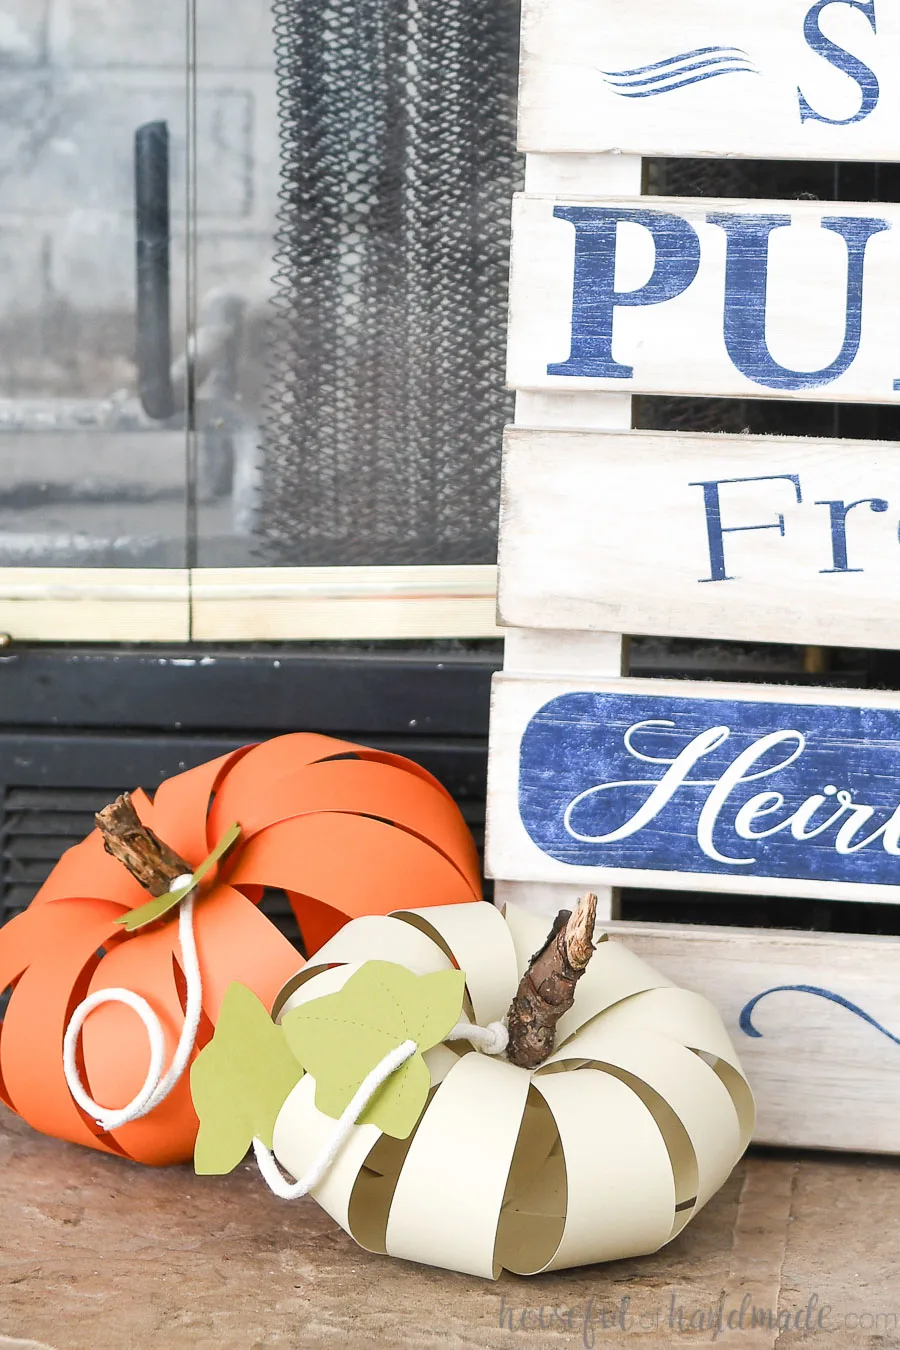
Now all that is left is to admire your cute pumpkins and have so much fun decorating your whole house with them!
And make sure to come back tomorrow for more pumpkin crafts! I have 5 total crafts planned and cannot wait to share.
How to Make Easy Paper Pumpkins
Make these adorable DIY paper pumpkins that make a fun addition to your fall home decor. They are so easy to make with this tutorial.
Materials
- Paper pumpkin template
- Cardstock in whatever colors you want your pumpkins
- 3mm macrame cording
- Hot glue gun & glue sticks
- Sticks/twigs
Tools
- Hand saw
- Optional: Electronic cutting machine
Instructions
- Cut out the pieces. You will need 2 pieces of cardstock for each each pumpkin.
- Fold along the dotted lines.
- Start assembling the pumpkins with the wider/shorter pieces.
- Slide the slot with the dotted line into the outside slots.
- Glue the flap down to the back of the donut.
- Repeat for all the wider/shorter pieces.
- Use the thinner/longer pieces and insert them into the slats toward the center of the top donut.
- Insert the piece to the flap and fold over toward the outside. Glue the flap to secure.
- Finish with the rest of the thinner/longer pieces. \
- Cut a piece of the cording about 6″-10″.
- Tie a knot in the center of the string.
- Feed the string through the top of the donut so all the pieces are splayed out around the sides.
- Thread all the ends of the pumpkin pieces onto string. Repeat with all the thinner/longer pieces onto the string.
- Once all the pieces are on the string, tie a knot to secure them.
- Add a bit of hot glue to the knot, then trim the string right up against the knot.
- Cut a piece of a stick/twig for the stem of the pumpkin and glue it to the top center.
Recommended Products
As an Amazon Associate and member of other affiliate programs, I earn from qualifying purchases.
Happy crafting!
