Summer evenings are the best, aren’t they?!? The nights cool off a little bit and our side patio is on the east side of the house so by 4ish it is totally shaded. It makes for a beautiful place to enjoy dinner outside!
I still haven’t put legs on my picnic table that I bought the top for years ago, but I don’t let that stop me. If it’s just me and the kiddos we can eat on their new nautical picnic table or I can pull out my old folding table when we need more space. It’s not ideal, but it works for now 🙂
This post may contain affiliate links. As an Amazon Associate I earn from qualifying purchases. Click here to read my full disclosure policy.
If you are a sewer, you probably have a stash of fabric. I have a BIG stash of fabric. I’ve been doing much better lately, but back in the day, when I saw a fabric I liked, I would grab a yard or two. And when a whole fabric collection spoke to me… well let’s just say, I didn’t have any self control.
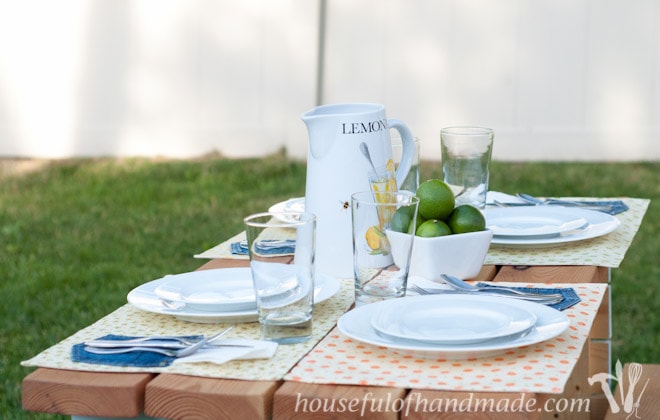
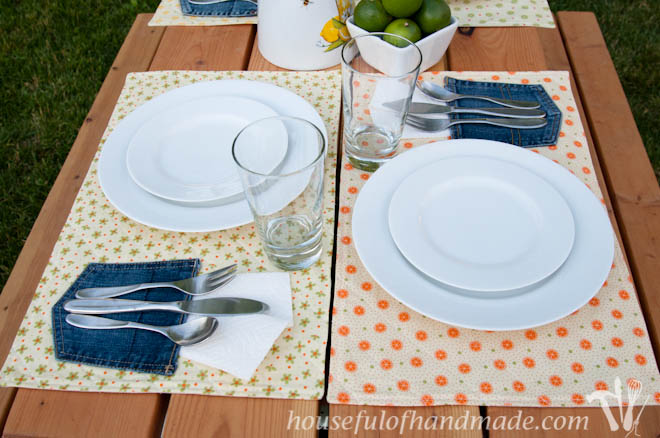
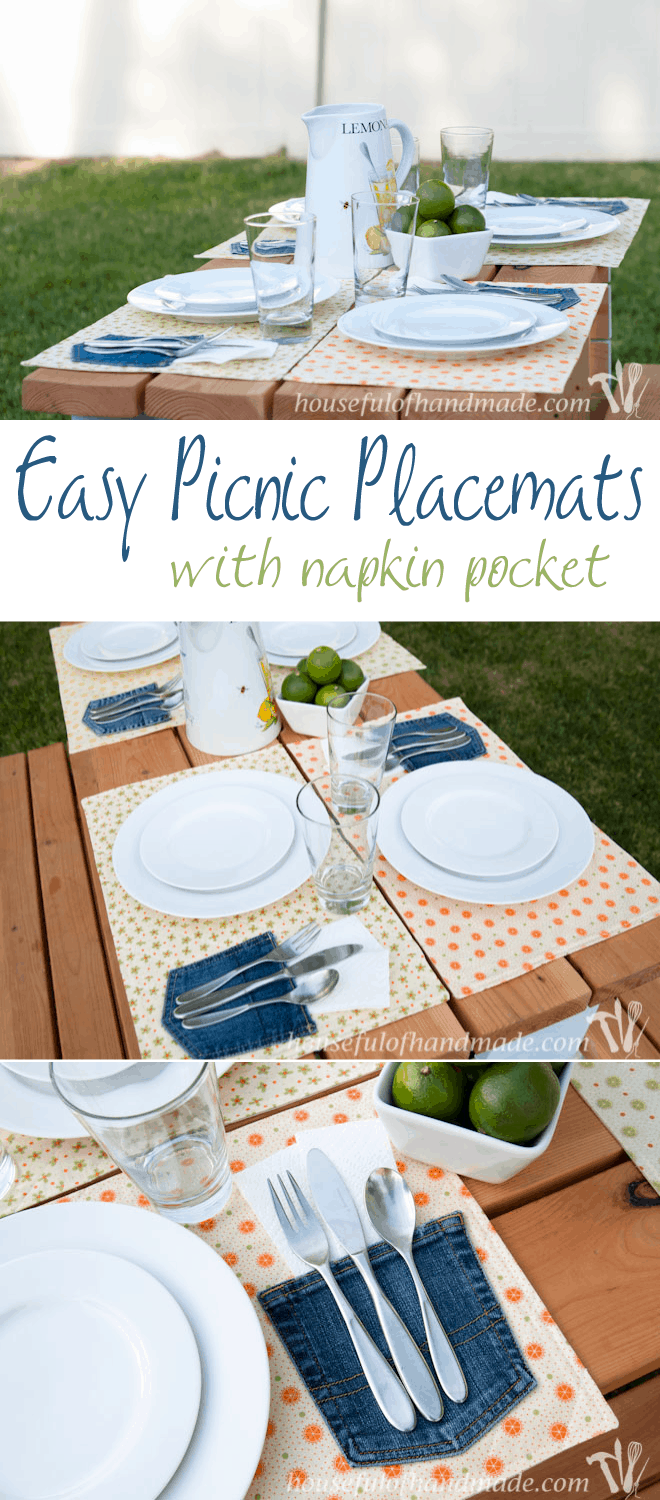
I have a bunch of yards of fabric from a Moda line from a few years back that was all citrusy. I just knew I would find something perfect to use it for, but I haven’t yet. However, I did find a way to use up a little bit. I made these fun placemats for eating outside this summer.
One of the things I hate about eating dinner on the patio, is the wind. Table cloths never stay down, and the worst, your napkin always blows away right before the watermelon starts dripping down your chin!
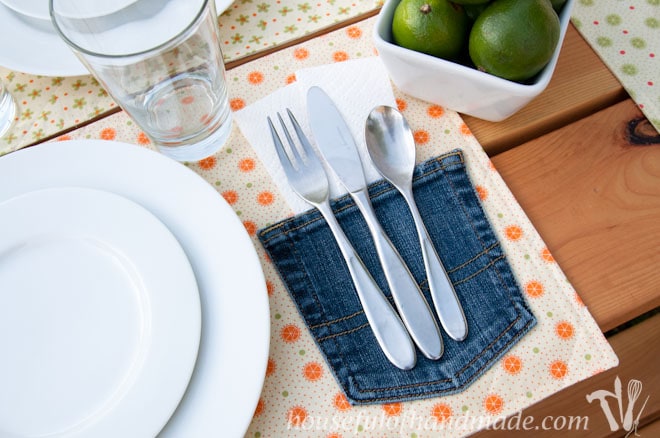
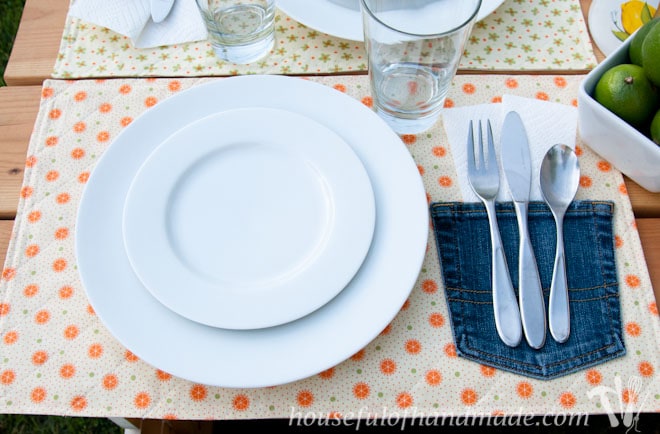
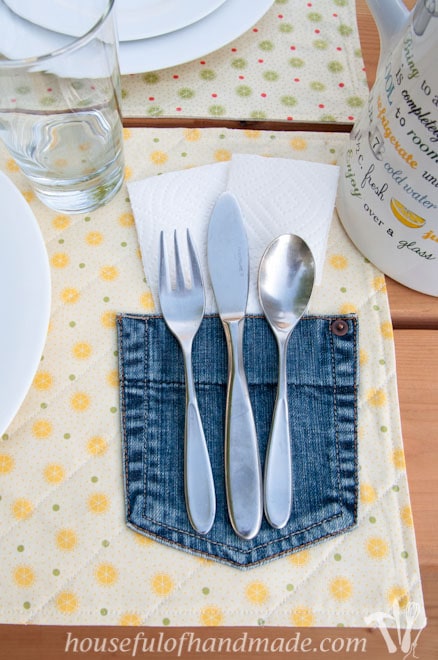
Then you have to chase down all the napkins around the yard when you’re done. So when I started thinking about making a fun placemat, I knew I wanted a napkin pocket so I could easily tuck it away to keep it by my plate. I happen to have a handful of old jeans in my fabric stash so I decided to use denim pockets for the napkin pockets.
And the citrus and denim combination is making me happy!
I am so excited to share this tutorial with you. They were super easy and I was able to whip out 4 placemats in a couple hours.
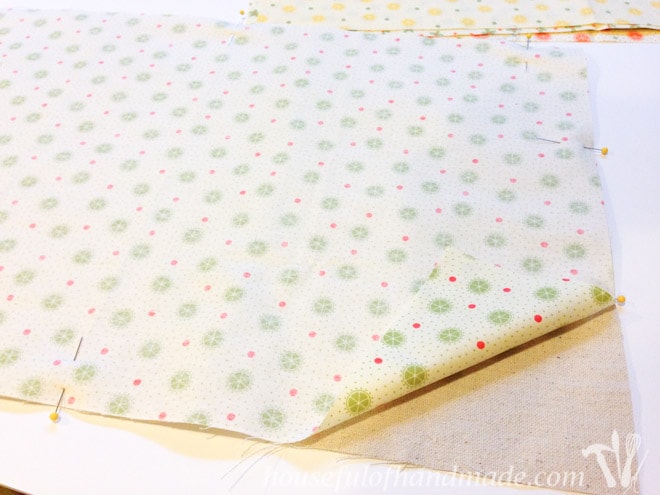
I used the fun printed fabric for the top of the placemats and some left over drop cloth for the back. I love that the drop cloth will help the bottom of the placemats hold up to the dirtiness of the outdoors. And they are super sturdy because the drop cloth is nice and thick.
To start, I cut out a rectangle of fabric from each of my 4 prints and 4 out of drop cloth. I wanted the final dimension to be 20″x12″ so I cut the rectangle out at 21″x13″ to allow for 1/2″ seam allowances. Then put a printed fabric and drop cloth rectangle together with right sides touching. Pin a bit to keep it all together.
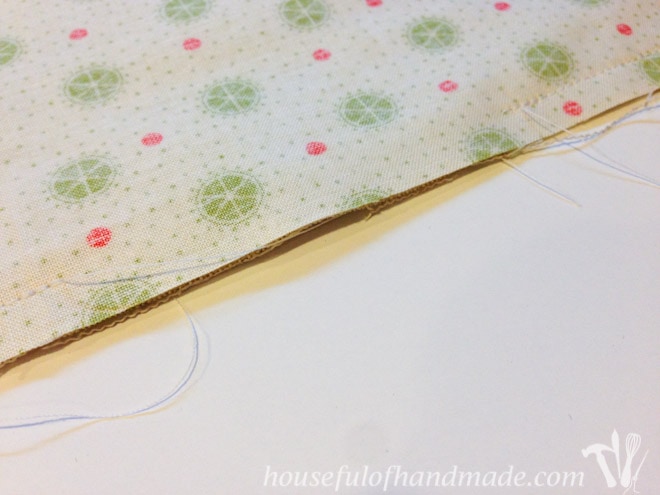
Sew around the entire outside edge, but leave a gap open on one side. I left a ~4″ opening. Too small of an opening will make it hard to turn it right sides out.
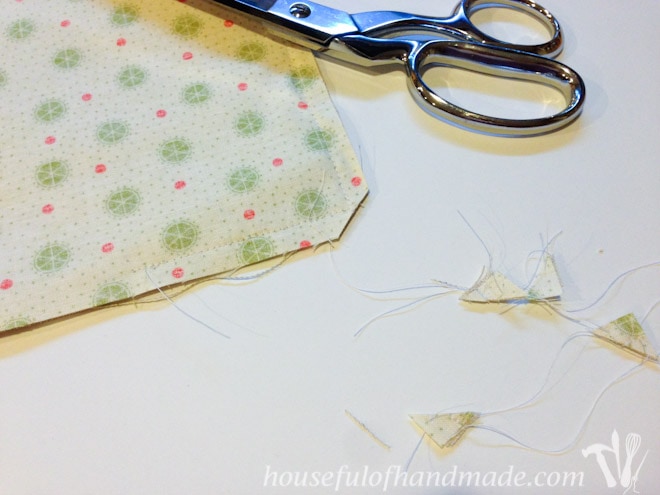
Clip all the corners close to the stitching, but be careful not to cut it all off or your corner will be weak.
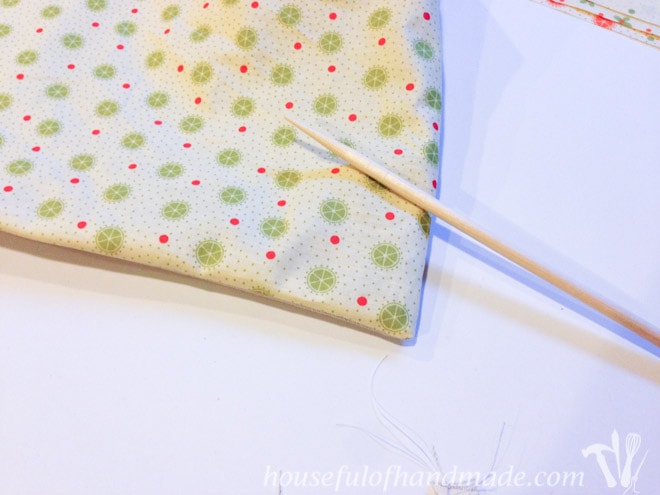
Pull the right sides of the placemat out through the opening. Make sure to poke your corners out nice and tight so they are super pretty. I have a little turning tool that I use. It’s a really fancy dowel with one end tapered. It makes getting sharp corners really easy.
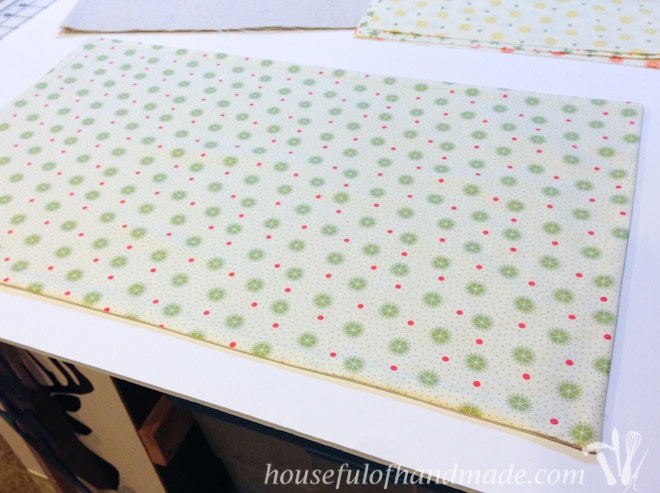
Now iron it all flat. Use a lot of steam but be careful not to put the iron directly on the drop cloth or it can burn. I just ironed on the pretty fabric and it worked beautifully.
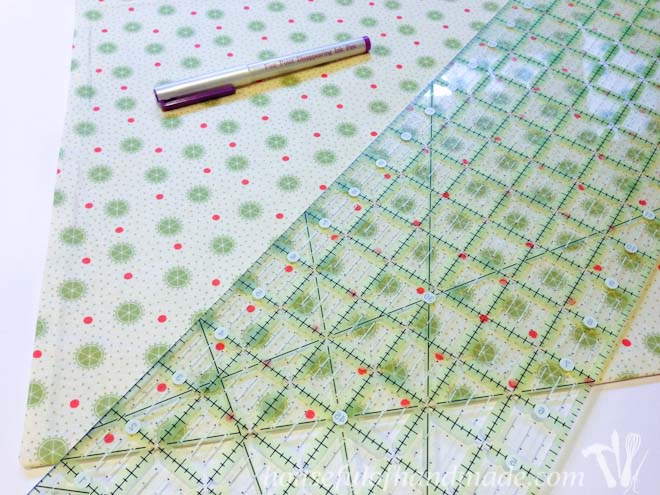
Next I decided to give the whole placemat a “quilted” type of look. It looks really sharp and keeps everything together. I decided on diagonal lines across the whole placemat spaced 1 1/2″ apart. I also wanted the lines to be at 45 degree angles, not corner to corner. To do that I drew my first line, using the angled line on my ruler as a guide, with my vanishing fabric marker.
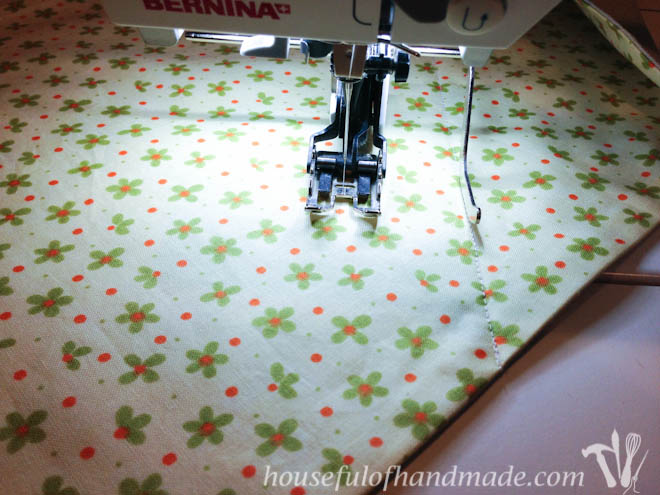
Then I sewed down this line. I used my walking foot, if you don’t know what that is, it’s a foot that has feed dogs on the top of the foot so it helps pull the fabric on the top along at the same pace as the bottom. It helps make sewing things like this easier, but it’s not necessary.
Then to make life even easier, I used a seam guide that attaches to my machine’s feet and set it at 1 1/2 inches. Then to make all the rest of the lines, all I needed to do was line the seam guide up to the line that was already sewn and sewn across the placemat while keeping the guide on the previous seam.
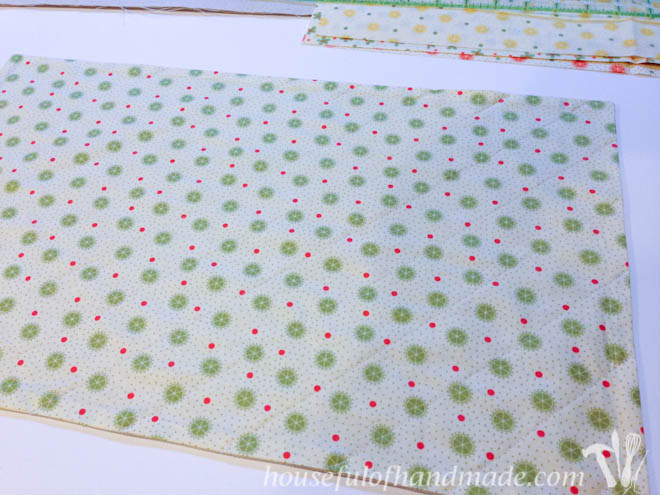
Keep doing this until the whole placemat is covered in beautiful diagonal lines.
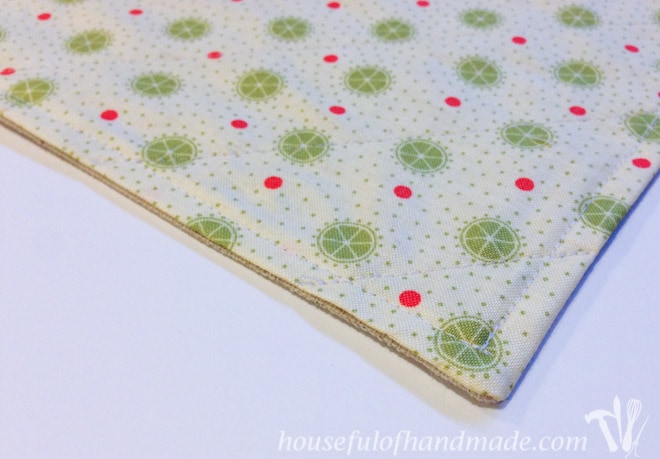
Lastly, I wanted to sew around the edge of the entire placemat to finish off the edges. And it is the easiest way to close up the opening that we left to turn the thing. If you want, you could hand sew this closed, but I find sewing around the perimeter with a 1/4″ seam allowance does it nicely and finishes off the look of it all!
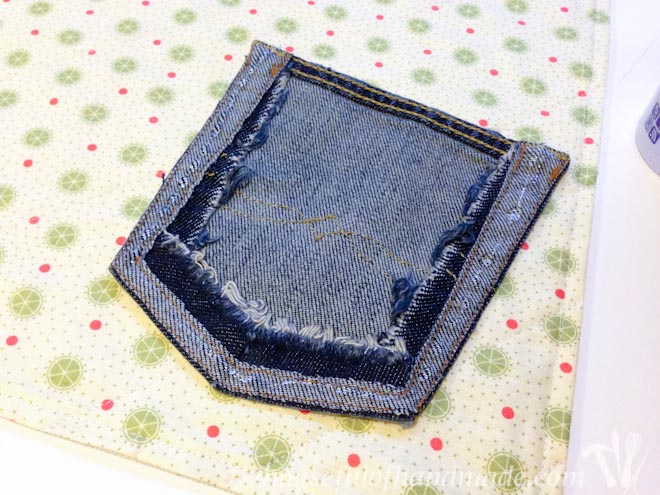
I cut out the back pockets of the old jeans I had lying around. I cut it really close to the stitching on the inside and outside of the pocket. This allowed me to keep the original stitching in tact.
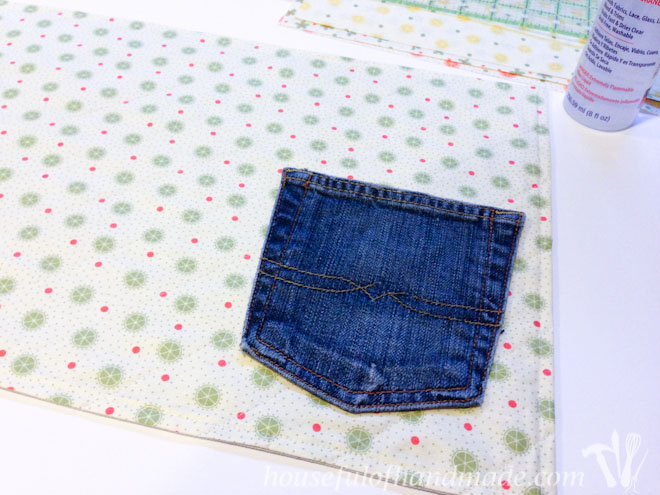
To attach the pockets, I didn’t want to sew them on because I wanted only wanted the original details of the pockets. I also didn’t want to see the extra lines on the back of the placemat so I used a permanent fabric glue and glued it to the top of the placemat.
I glued the pocket 1″ up from the bottom and 1/2″ in from the right side. To keep it secured while the glue dried, I put a large book on the top of each pocket then let it dry overnight.
And then they were ready for a picnic!
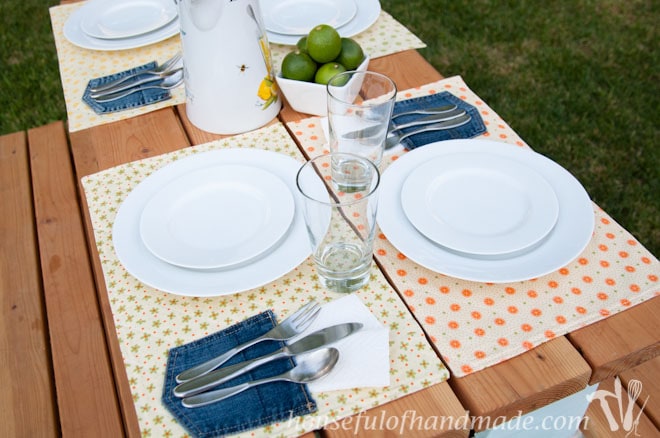
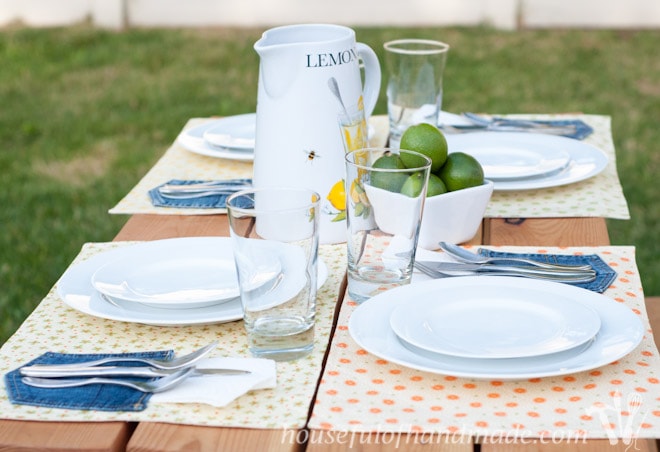
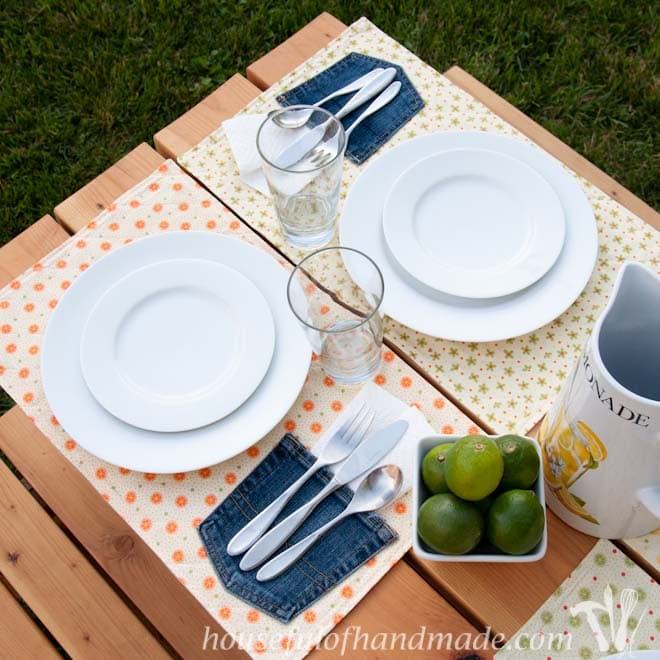
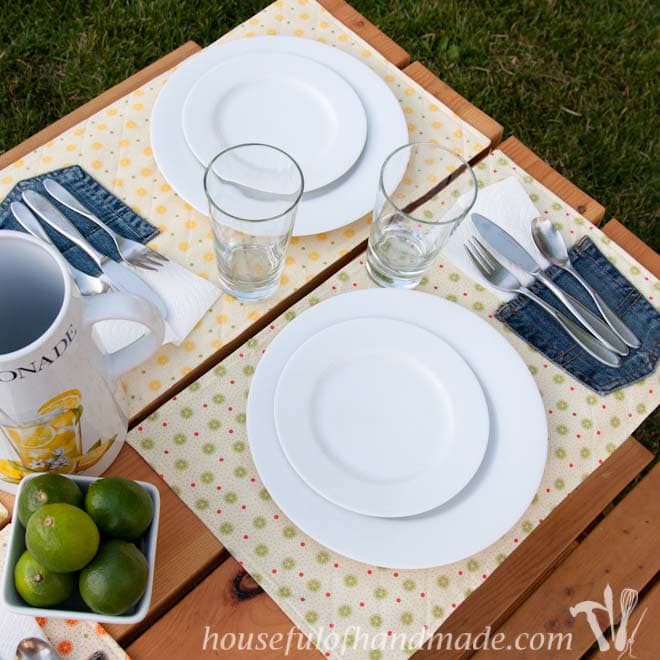
I had too much fun taking pictures in the beautiful dusk light so I hope you don’t mind seeing all my favorite parts of these placemats.
I am in love with how they turned out. The citrus green, orange and yellow are some of my favorites colors (add in some turquoise and I am a happy camper)!
And I am really loving the pocket. It will make it easy to have dinner outside now. No more blown-away napkins 🙂
So now I need to make a couple more placemats so we can use them when we have people over. And it’s a good way to use up some more of my fabric stash.
I hope I have inspired you to go have dinner on the patio, and maybe make a few fun placemats to keep your napkin put while you do!
Natalie
Tuesday 29th of March 2016
What a fun idea for a summer picnic or party! I love how easy they are and I could just roll them up and pop them in the picnic basket. What fun!
Kati Farrer
Thursday 31st of March 2016
Thank you Natalie! It works great to roll up and take everywhere :)
Jenny @ Refresh Living
Monday 28th of March 2016
These are the cutest place mats I've ever seen!! I'm picking these as my feature this week at Dream. Create Inspire. Link. I need to make some of these for this Spring/Summer!
Kati Farrer
Tuesday 29th of March 2016
Thank you Jenny :) I love these placemats, now if it would just stop snowing so we could use them!
Janet Vinyard
Wednesday 23rd of March 2016
Hi Kati, What a great way to recycle jeans! Very clever and well done! Blessings, Janet
Kati Farrer
Saturday 26th of March 2016
Thank you Janet! I love recycling jeans because we go through enough of them in our house. I'm working on another jean recycling project too :)
CD Loken
Wednesday 23rd of March 2016
Your picnic placemats are absolutely ADORABLE! I LOVE the denim pocket!
Kati Farrer
Saturday 26th of March 2016
Thank you so much :) The denim pocket is my favorite too.
Jessy @ The Life Jolie
Tuesday 22nd of March 2016
This is such a great project- I'm not the craftiest, but these look so simple and adorable!
Kati Farrer
Tuesday 22nd of March 2016
Ha ha Jessy! They were pretty easy, just a bunch of straight lines. I'm sure you can do it :)