It’s time for more Silhouette fun with this month’s Silhouette Creator’s Challenge!
This month’s theme is all about summer. It could be anything summer related. Think summer vacation, summer clothes, summer fun.
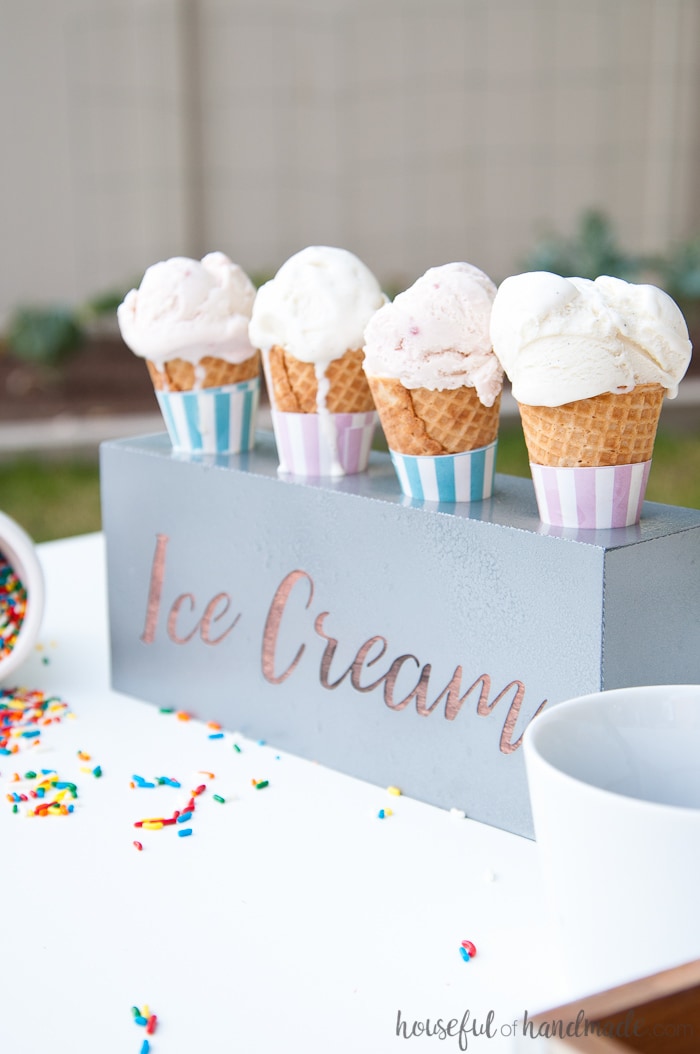
I, of course, thought of ice cream! I am an ice cream addict and we eat a lot of it in the summer. I created this Farmhouse Ice Cream Cone Holder DIY for this month’s challenge using my Silhouette Cameo.
This post may contain affiliate links. As an Amazon Associate I earn from qualifying purchases. Click here to read my full disclosure policy.

Last week while I was treating the kids (and of course myself) to an afternoon ice cream cone, I realized how much I needed an ice cream cone holder.
The kids were out playing in the new playhouse. I told them to just keep playing and I would bring out the treat. Well, I learned that I am not good at holding 3 sugar cones while trying to fill them with icy cold goodness.
I struggled through and served only slightly messy cones to the kids, then promptly forgot about the thought I had to create an ice cream cone holder DIY.
But then as I was sitting at my computer thinking of all things summer for this month’s challenge… BOOM! There it was again. Could I make an ice cream cone holder with my Silhouette Cameo? Of course I could 🙂
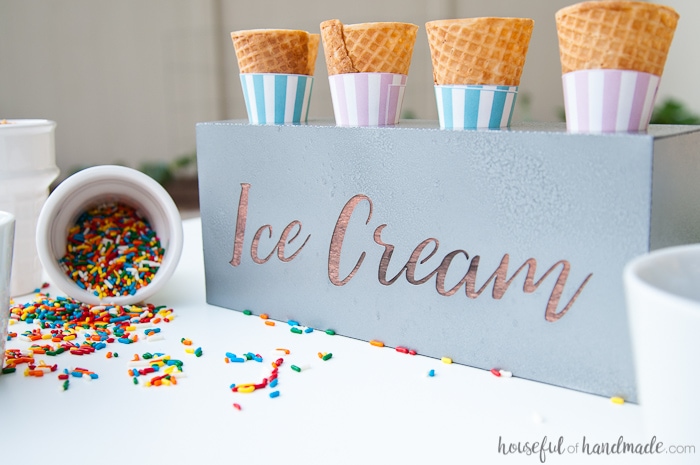
Now I could have created a basic functional ice cream cone holder DIY, but that’s not how I roll. I decided to rustic it up a bit and turn it into a farmhouse ice cream cone holder with metal and wood accents.
But no metal or wood was used in the making of this beautiful ice cream cone holder. Instead, I used some of my favorite tricks to make paper look like these farmhouse materials.
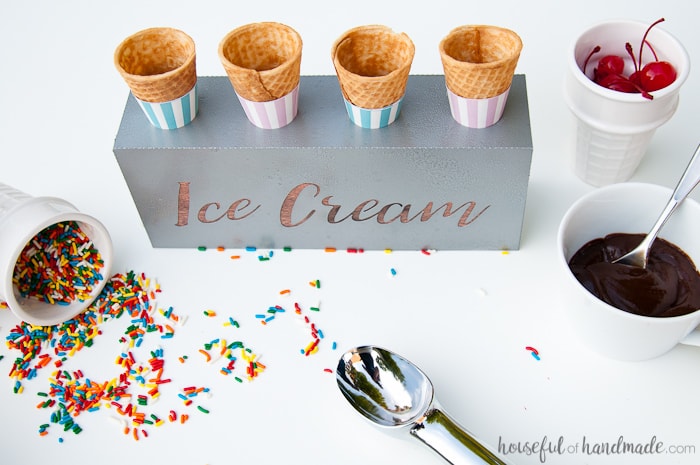
So after creating the perfect farmhouse ice cream cone holder DIY, I decided it was the perfect time for a fun ice cream cone bar. After dinner we gathered the family in the warm evening air and covered our ice cream cones with sprinkles and sauce and cherries.
The kids thought it was the best summer activity and I loved that I could easily fill all the cones without needing a second (or third) arm.

And the best part, after the season is over, you can toss your homemade ice cream cone holder.
No need to store it all winter long. Since it’s made out of paper, and so quick to make, you can whip one up again next summer for all the ice cream cones you will be eating!
How to Make a Farmhouse Ice Cream Cone Holder DIY
Supplies:
- Silhouette Cameo
- Ice cream cone holder cut file
- I am sharing the cut files for the ice cream cone holder DIY in my subscriber library. Click here to subscribe to my weekly newsletter and gain access to all the freebies. If you already have your password, click here to download them.
- Coverstock
- You will need 1 sheet of 12×12 coverstock and 1 sheet of 8 1/2×11 coverstock. I had a hard time finding it in 12×12 sheets so I purchased these 11×17 sheets and cut it down to 11×11 and it worked perfect for this project.
- Cardstock
- Regular printer paper
- Printer
- I love my HP printer with their Instant Ink program. I can print all the full color pages I want and never run out of ink!
- Hammered metal spray paint
- Spray adhesive
- Hot glue gun & glue stick
Start by cutting out the ice cream cone holder template and ends with your Silhouette Cameo. For coverstock paper, I like to use the following settings: Blade – 8; Speed – 1 ; Thickness – 33; Overcut – 0.1mm on each.
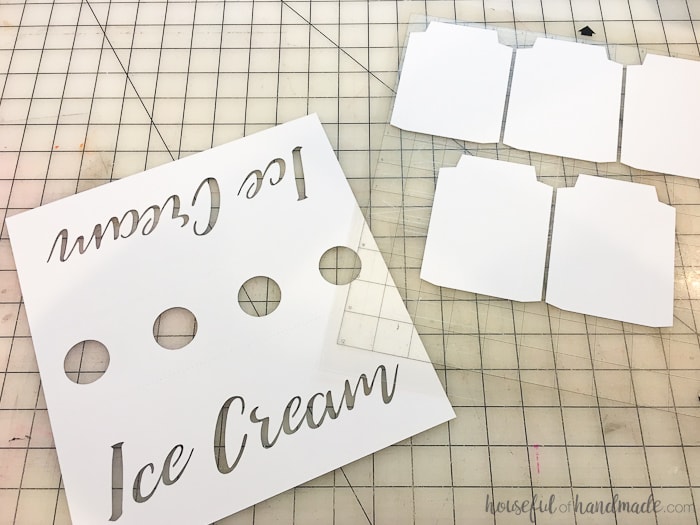
Fold the template pieces on the dotted lines.
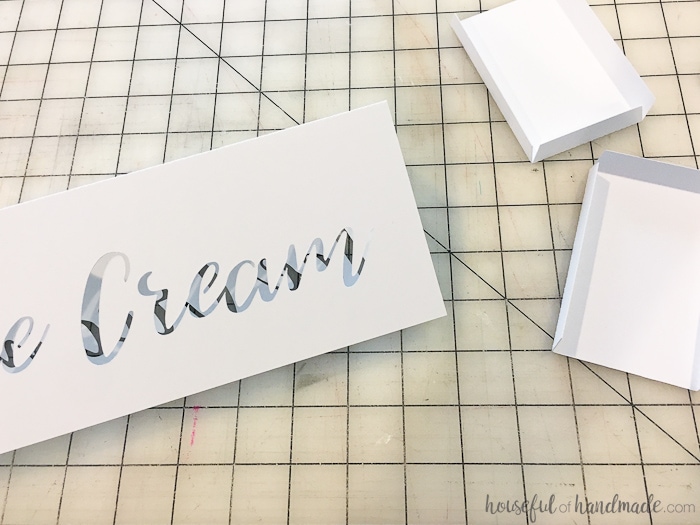
Using your hot glue gun, attach one of the ends to each side of the ice cream cone holder. Save the 3rd end for later.
You may notice in the pictures that I cut out 5 end pieces. I thought I would need more support, but the coverstock is very sturdy and they were not needed.

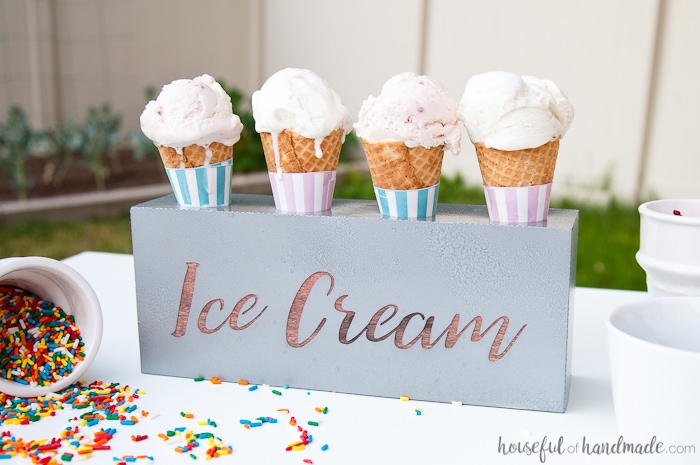
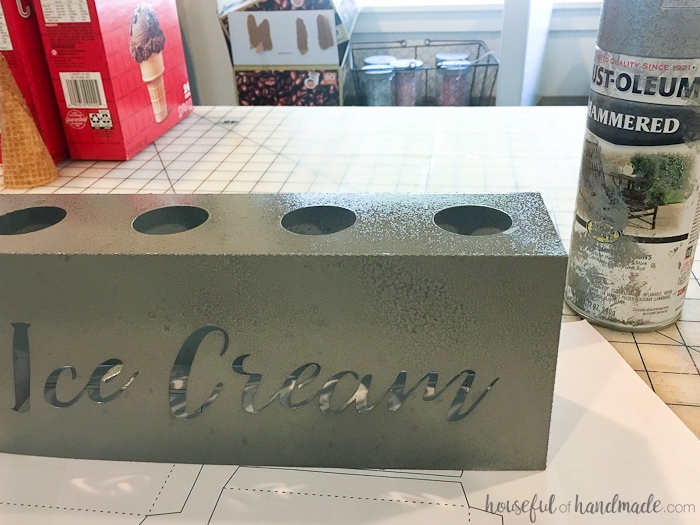
Spray the outside of the ice cream cone holder with the hammered metal spray paint.
You will need to get some parts very saturated for the hammered effect to appear (the paper is very porous so it absorbs the paint).
While the paint is drying, print out the wood texture pieces on a piece of cardstock. I set them up with the print & cut feature in my Silhouette and then quickly cut the two pieces.
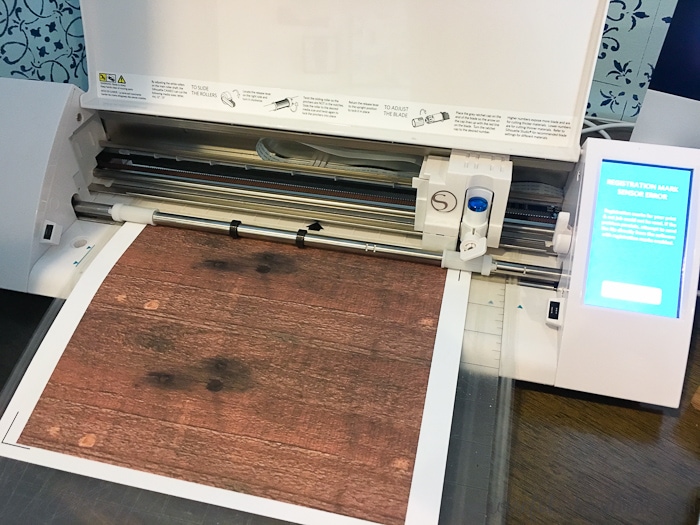
Add spray glue to the inside of the ice cream cone holder sides and secure the wood texture pieces. Then glue the 3rd end piece in the middle for a bit of extra support.

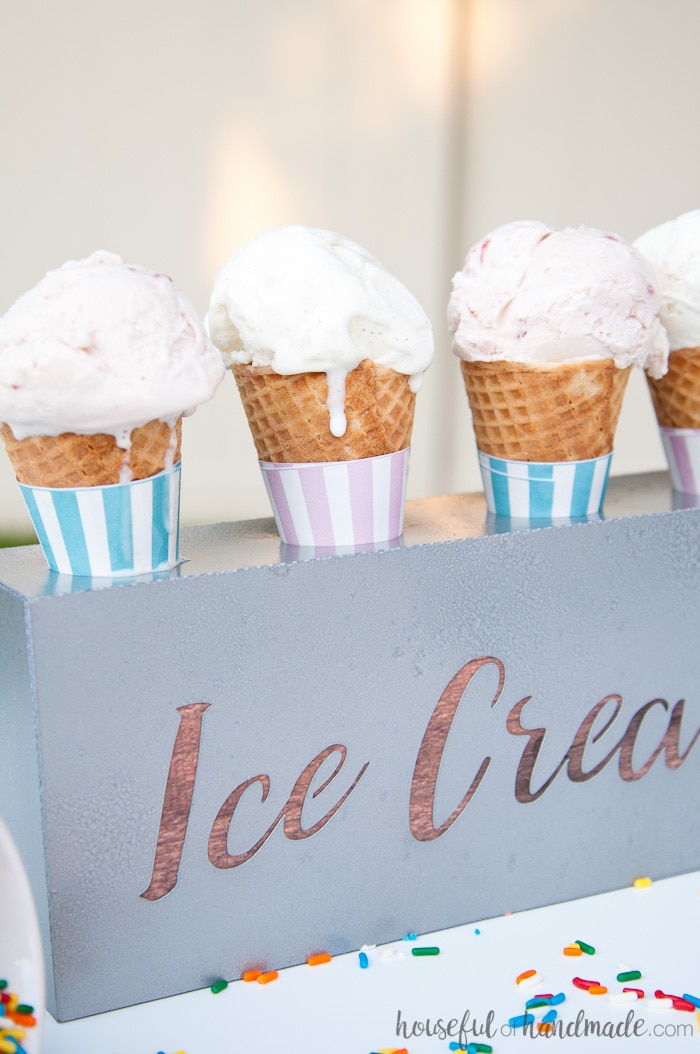
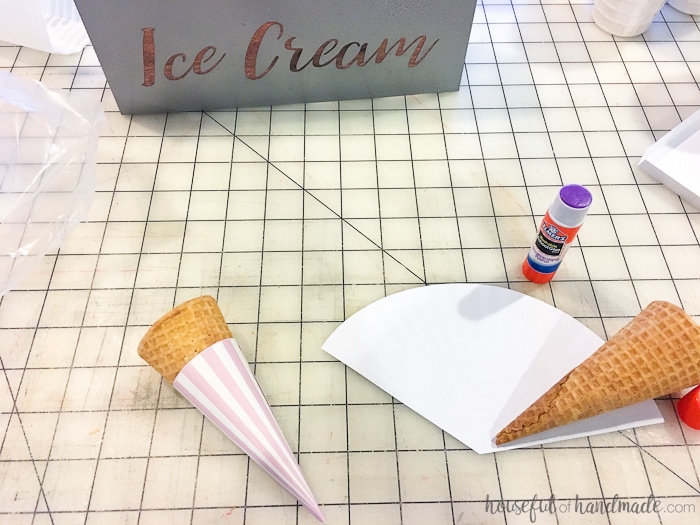
To really make the ice cream cone holder DIY look like a vintage treasure, I decided I needed some striped cone wrappers.
Soft pastel stripes make me think of old-fashion ice cream parlors! Print the cone wrappers out on regular printer paper with the print & cut feature.
Then cut them out. Wrap them around the bottom of the cones and secure with glue.
Now you are ready for the perfect summer activity: ice cream cone bar! Add your favorite fixings and enjoy some time with the family.
How to Make a Farmhouse Ice Cream Cone Holder
Create a Farmhouse Ice Cream Cone Holder DIY out of paper using a Silhouette, or other cutting machine. It's such a fun idea for summer!
Materials
- Ice cream cone holder cut file
- Coverstock
- Cardstock
- Regular printer paper
- Hammered metal spray paint
- Spray adhesive
Tools
- Printer
- Silhouette Cameo
- Hot glue gun & glue stick
Instructions
- Cut out the ice cream cone holder template and ends with your Silhouette Cameo.
- Fold the template pieces on the dotted lines.
- Attach one of the ends to each side of the ice cream cone holder with the hot glue gun.
- Spray the outside of the ice cream cone holder with the hammered metal spray paint.
- Print out the wood texture pieces on a piece of cardstock.
- Add spray glue to the inside of the ice cream cone holder sides.
- Secure the wood texture pieces.
- Glue the 3rd end piece in the middle for extra support.
- Print the cone wrappers out on regular printer paper with the print & cut feature.
- Wrap them around the bottom of the cones and secure with glue.
Recommended Products
As an Amazon Associate and member of other affiliate programs, I earn from qualifying purchases.


Have a wonderful summer!
Carla Gittens
Friday 19th of June 2020
What size are the holes
Kati
Monday 22nd of June 2020
They are about 1 1/4" diameter.
Sandy
Thursday 6th of June 2019
What weight paper is coverstock? Is that the same as card stock?
Kati
Wednesday 12th of June 2019
Coverstock is 110 lb and regular cardstock is typically 65 lb.
Erica @ Dwell Beautiful
Friday 14th of July 2017
OH this is so genius! And I had no idea it was made out of paper - it really does look like metal/wood! Wow! So cool :)
Kati
Monday 31st of July 2017
Thank you Erica! I love testing the limits of paper and it turned out perfectly ;)