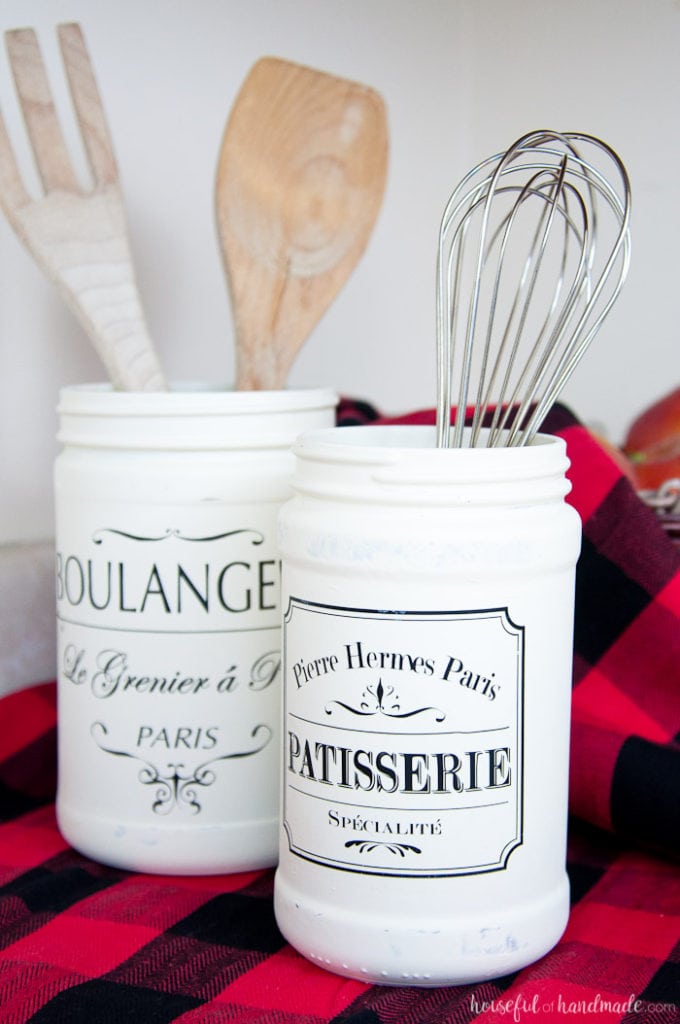
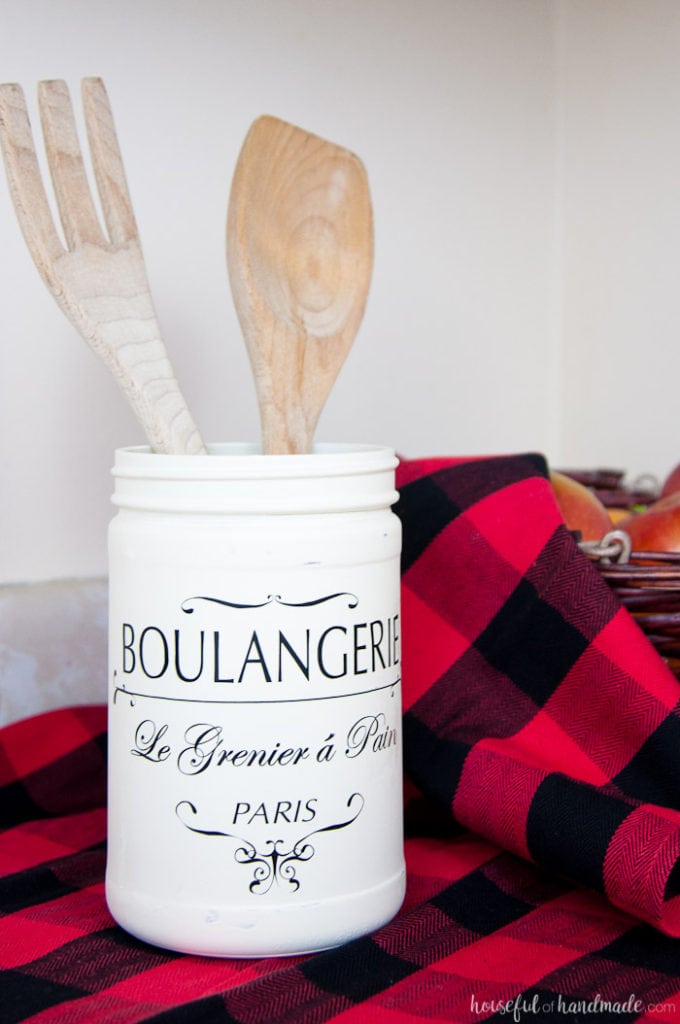
This Farmhouse Kitchen Canister is the perfect way to add some vintage charm to your kitchen without spending a lot of money.
Organize your kitchen with this beautiful farmhouse kitchen canister. Made from old peanut butter jars that were transformed to look like porcelain french bakery jars.
The vintage inspired DIY is perfect for holding your kitchen utensils. Learn how easy it is to make the farmhouse kitchen canister with the help of your Silhouette Cameo.
It’s the first Silhouette Creator’s challenge of the year! I love having the themed challenge to help stretch my creativity and this month’s theme definitely made me think.
This post may contain affiliate links. As an Amazon Associate I earn from qualifying purchases. Click here to read my full disclosure policy.
This month we were suppose to “Refresh” and make something old new again. Sounds easy enough but for some reason I was coming up with some serious brain block. So instead of crafting, I tried avoiding. Ha ha!
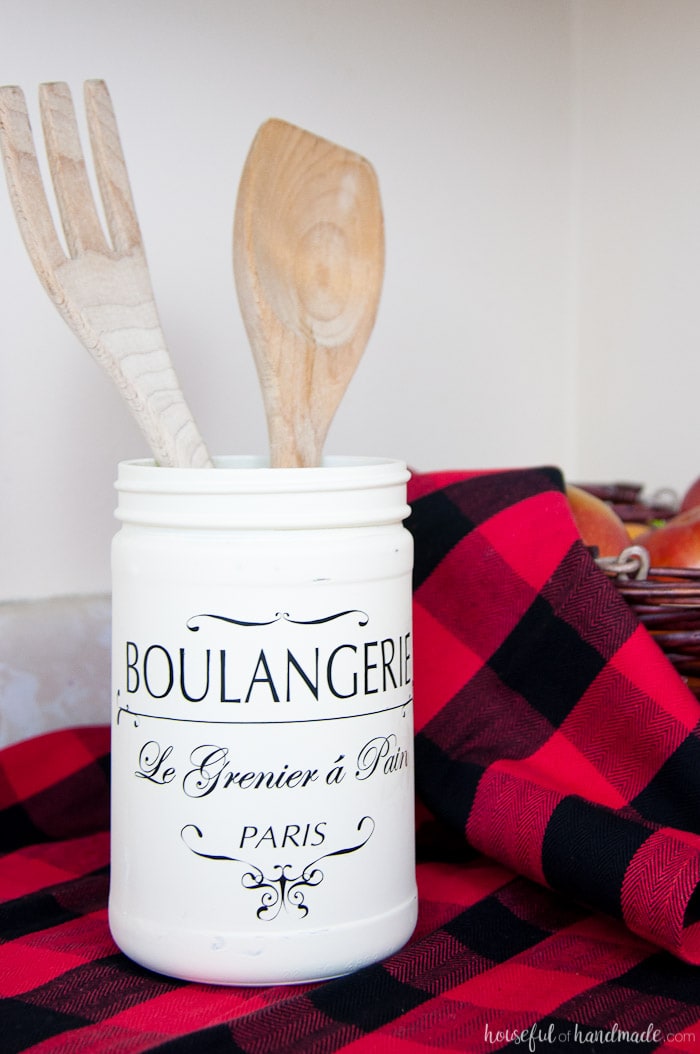
During my avoidance I was browsing the world wide web and stumbled upon the Magnolia Market shop (cause I never spend hours and hours drooling over the beautiful decor there) and saw these beautiful french kitchen canisters.
I loved them so much and then it hit me, I could create my own version for the challenge and I came up with this Farmhouse Kitchen Canister DIY.
Upcycle old food jars into beautiful french bakery kitchen canisters.
Obviously this challenge has to start with the awful before photo since we are refreshing it. Are you ready to find out what these gorgeous canisters started out as? Peanut butter jars!
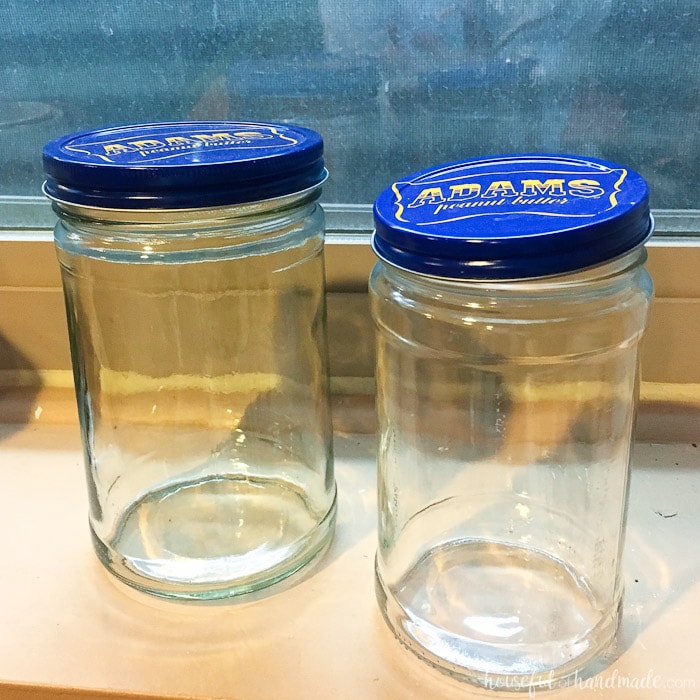
Yep, my family has a slight obsession with peanut butter and our favorite brand (Adam’s) comes in these nice glass jars. I never throw them away when we are done because they are perfect for reusing.
Whenever I make homemade salsa, I use an old peanut butter jar to store it in the fridge. If I have a bunch of craft supplies to organize, peanut butter jars to the rescue!
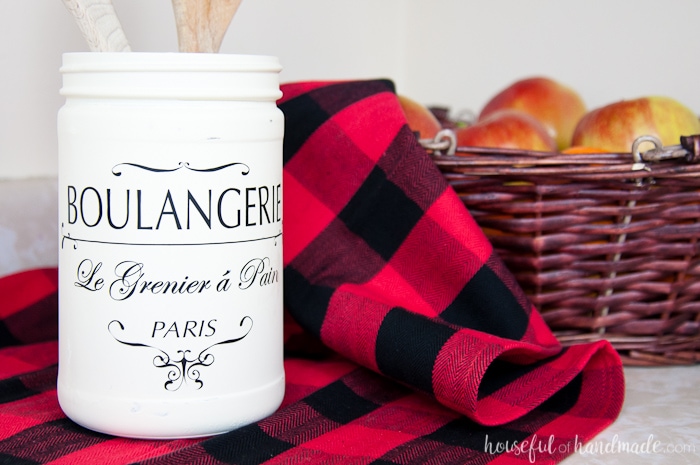
So when I needed a jar for my Farmhouse kitchen canister I knew a couple peanut butter jars would be perfect. With a little DIY, I turned them from glass jars to “porcelain” canisters. Now all that I needed was some beautiful labels.
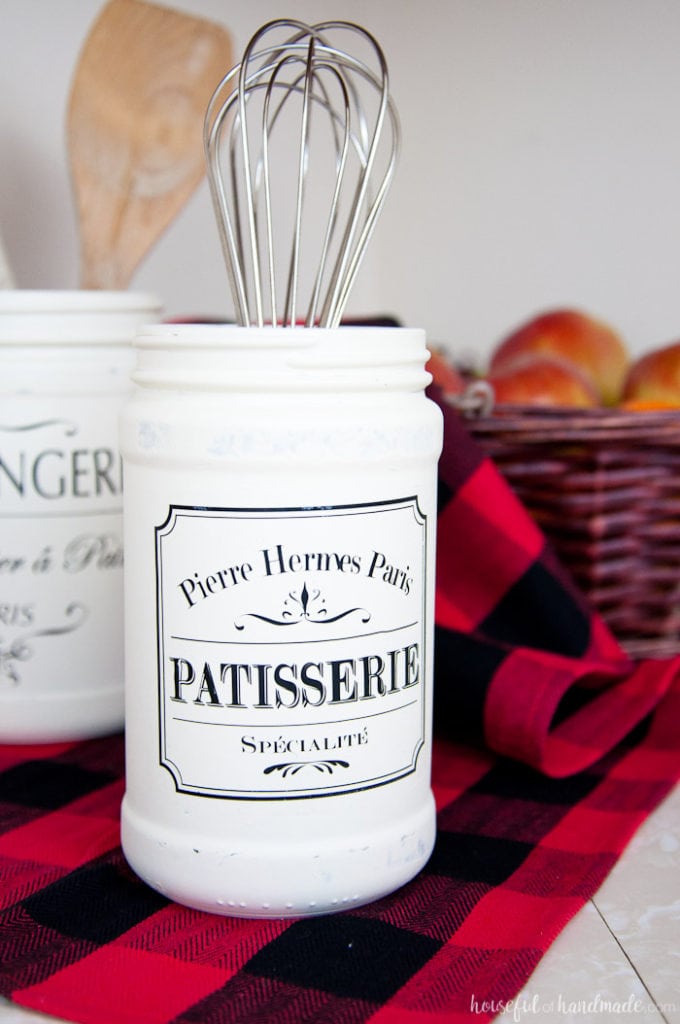
I actually had way too much fun creating these vintage french bakery inspired designs for the canisters. Being able to create whatever I can dream up is my favorite thing about the Silhouette cutting machine.
But after I got everything designed, I realized the detailed label would be a big pain to cut and weed without messing it up with regular vinyl. There are some seriously thin lines and lots of tiny details. I
have yet to try putting heat transfer vinyl onto something hard so this was my first test run. I am happy to report it’s my new favorite way to use HTV and I’m going to be exploring it more.
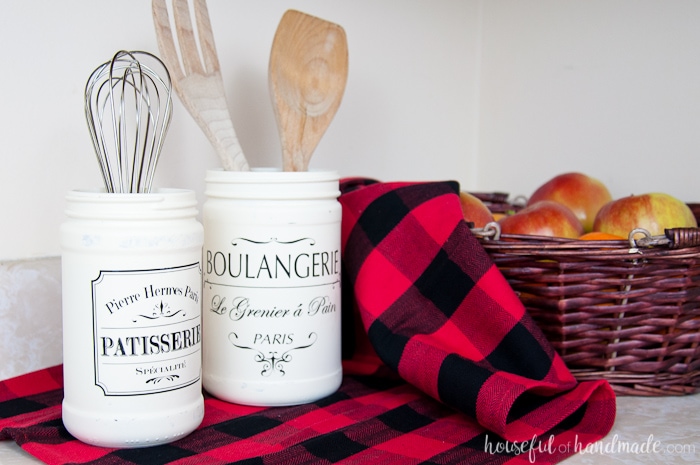
How to Make a Farmhouse Kitchen Canister
Supplies:
- Peanut butter jars
- French bakery cut files
- I am sharing the cut files I created for these kitchen canisters in my library of free printables & downloads. Click here to subscribe to my weekly newsletter and gain access to all the freebies. If you already have your password, click here to download it.
- Chalky finish spray paint
- Heat transfer vinyl (HTV)
- Silhouette cutting machine
- Iron
Start by making sure your peanut butter jars are clean and the labels are removed. Prepare the surface to receive the paint by wiping it down with white vinegar or soapy water.
Lay the jar upside down and start spraying. It took quite a few coats of spray paint to get solid coverage, but be patient. Putting too much paint on at once just causes it to run. It took me 6 coats to get the jars how I wanted them.
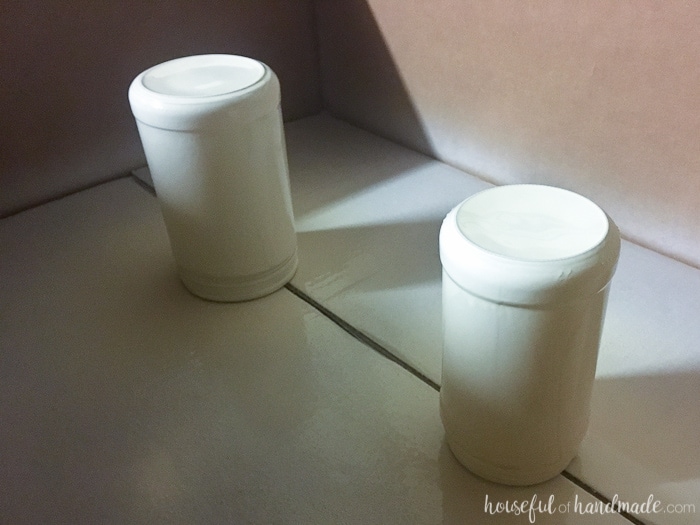
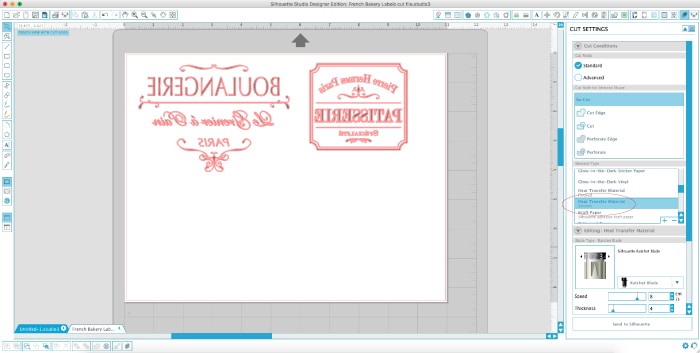
While the jars are drying, cut out your vinyl. When using HTV you always need to mirror your image before cutting. Size your image to fit your jars and cut it out with the HTV vinyl setting in your Silhouette software.
Carefully weed out the excess HTV. I found holding the design up to the light allowed me to easily see where I still had vinyl to be removed.
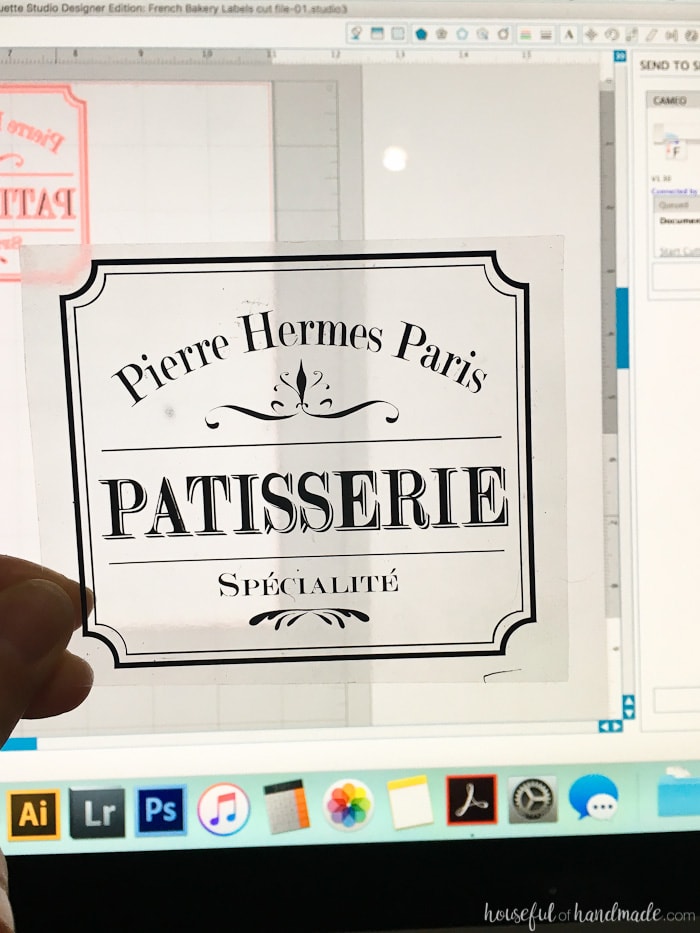
Once your HTV is ready, heat up your iron to the cotton setting and turn off the steam. Grab a towel and roll it up on either side so you can cradle your jar. Place the HTV on the jar.
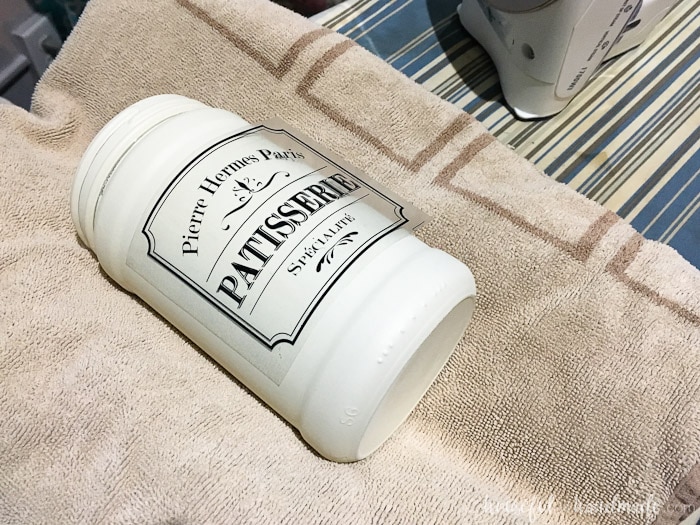
Now before you start ironing, let me tell you what I learned.
I started out using a pressing cloth, but when I removed the pressing cloth I discovered the places the iron hit the jar that didn’t have the plastic HTV backing protecting it stuck to the pressing cloth (I had to repaint the top a bit).
For the second canister, I didn’t use the pressing cloth and tried to carefully iron without getting the iron on any non HTV backing areas.
This worked much easier. The iron on the hard round surface is a little tricky, but take your time and don’t rush it.
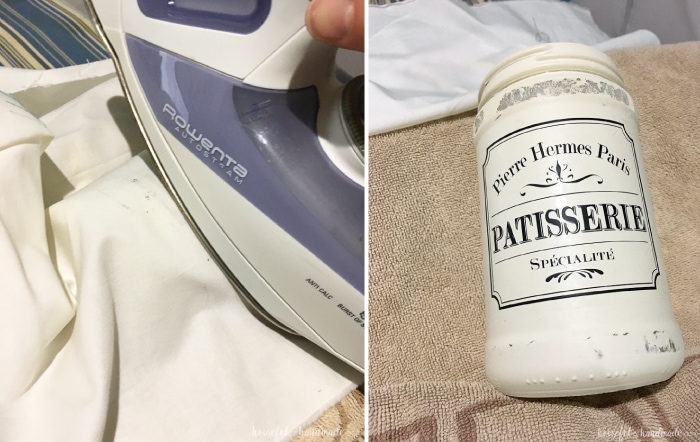
Once the HTV is ironed on, carefully remove the backing. You may have areas that need to be re-ironed so keep the iron handy when removing the backing so you don’t loose any small details.
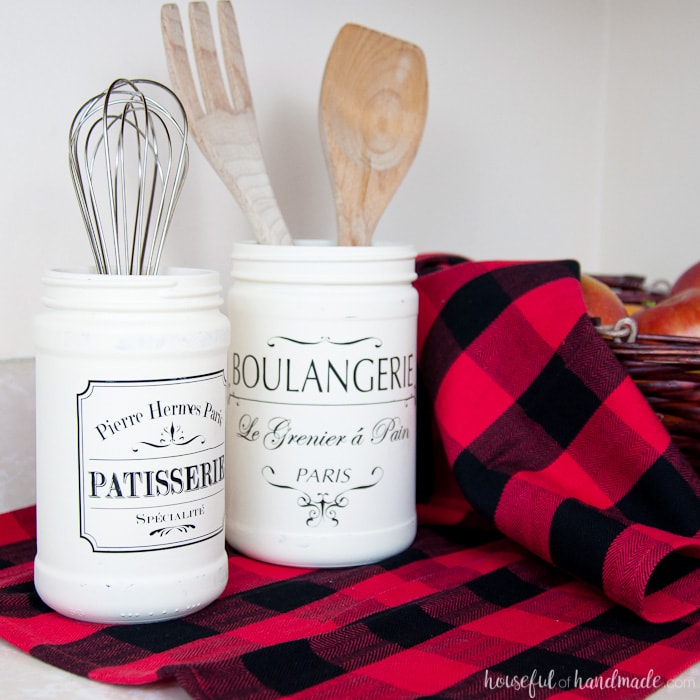
Now all that is left is to put your new farmhouse kitchen canister in the kitchen and admire your work.
No more boring glass peanut butter jars, instead lots of french charm. I can’t wait until I get to remodel my kitchen so it will be full of farmhouse goodness.
But until then I will keep putting fun farmhouse items in our home!
Have a great day!
How to Make Farmhouse Kitchen Canisters
This Farmhouse Kitchen Canister is the perfect way to add some vintage charm to your kitchen without spending a lot of money.
Materials
- Peanut Butter Jars
- Chalky Finish Spray Paint
- Heat Transfer Vinyl
Tools
- Silhouette Cutting Machine
- Iron
Instructions
- Clean your peanut butter jars and remove the labels.
- Prepare the surface to by wiping it down with white vinegar or soapy water.
- Lay the jar upside down and start spraying.
- While the jars are drying, cut out your vinyl.
- Size your image to fit your jars and cut it out with the HTV vinyl setting in your Silhouette software.
- Carefully weed out the excess HTV. heat up your iron to the cotton setting and turn off the steam.
- Grab a towel and roll it up on either side so you can cradle your jar. Place the HTV on the jar.
- Once the HTV is ironed on, carefully remove the backing.
Mari
Tuesday 9th of November 2021
Hi these are awesome! Are they washable?
Kati
Sunday 21st of November 2021
I would only wash by hand.
Linda
Wednesday 2nd of June 2021
WOW! that's great...I have 1 question....It looks like your vinyl is "Clear" rather than "white"....Is it clear? and where do you get clear vinyl? I looked around on Amazon.... (I just bought a Cricut Explore2 it's still in the box...I'm a little scared of it so far...lolol) but when I do get started I'd like to do this.... Thanks
Kati
Friday 4th of June 2021
Hi Linda, the vinyl is not clear, the one I used here is called Heat Transfer Vinyl. It is black on a clear backing. When you apply heat to it, the vinyl sticks and then you can peel off the backing. Don't be scared, get it open and start playing!!!
Connie Hill
Sunday 6th of October 2019
where do I create or get a password for your site?
Kati
Thursday 10th of October 2019
Once you subscribe to the newsletter, an email will be sent to you.
Deborah
Wednesday 11th of July 2018
Can these be made with plastic jars? Using permanent vinyl? I have some coconut oil jars that would look awesome for this.
Deborah
Saturday 4th of August 2018
I used my glass canning jars and made labels for them. I’ll have to take a picture and post it.
Kati
Saturday 4th of August 2018
I definitely would not use heat transfer vinyl on plastic, but I do not see why the permanent vinyl would not work. Because the wording and detail on the image is so thin, make sure you are using a newer cutting blade for clean cuts. I'd love to see them when they are done. Please feel free to tag me on your social media!
Ann B
Friday 8th of June 2018
Hi! I just found your beautiful web site. I love these jars but I don't have a cutting machine. Is there any way you could make them pdf files that I can print out and decoupage on? That would be so awesome! And thank you for your lovely work!
Kati
Monday 11th of June 2018
Hello Ann. I do not have a PDF yet, but can add it to my list to get it done hopefully by the end of this month.