Add some fun to y0ur winter decorating, with these faux wooden snowflake decor.
If you have been following along for a bit, you may have already seen this Faux Wooden Snowflake decor. I used it in my Christmas mantle and love it.
But December was just so full, I wasn’t able to share it. I figured since it’s a snowflake decor it also works for my winter mantle. It’s not totally for Christmas right?
I plan to use it at the center of my winter mantle. So today I finally get to share this totally awesome faux wooden snowflake decor
This post may contain affiliate links. As an Amazon Associate I earn from qualifying purchases. Click here to read my full disclosure policy.
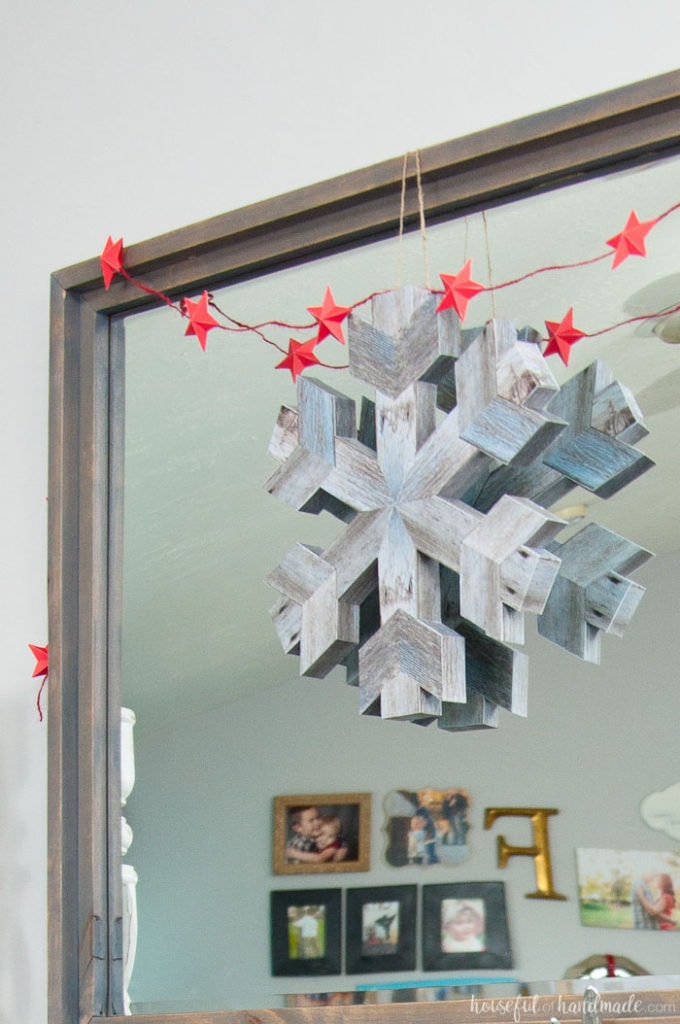
You may be asking “Why is it a faux wooden snowflake?”. It looks just like it was made from wood… but it isn’t.
There were no power tools used in the making of this snowflake because it is made out of paper!
I think I might actually be addicted to creating amazing things out of paper that you wouldn’t expect.
After making this Anthropologie mirror knock-off, I was ready to see what else I could do with paper and this faux wooden snowflake decor was born.
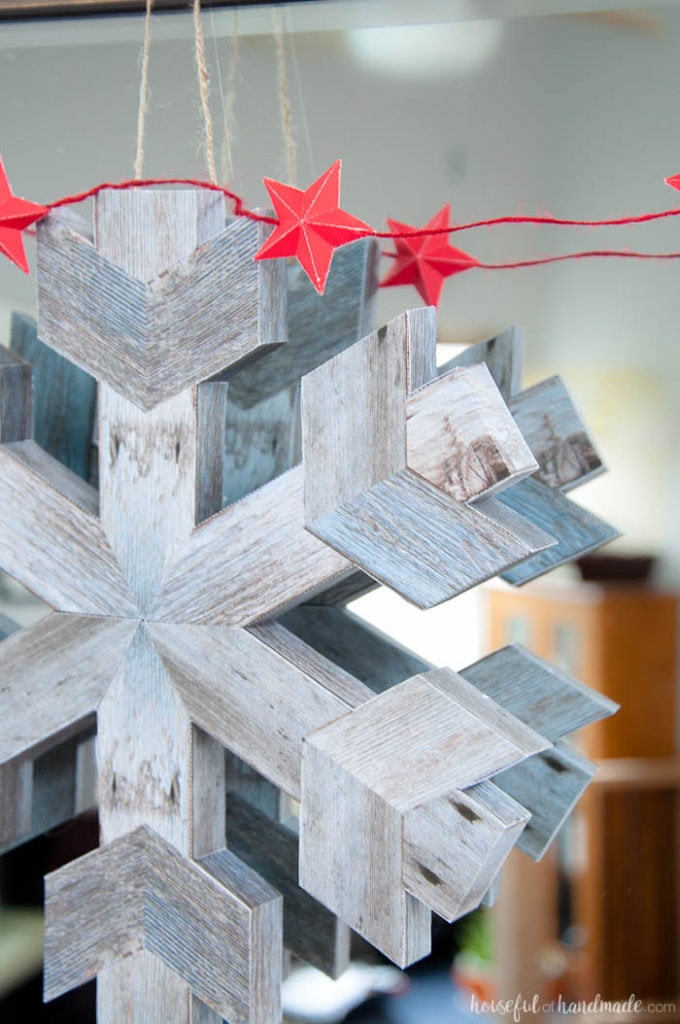
Before you think that this snowflake doesn’t look as awesome as it does in the photos, I promise it does.
My sister was visiting the other day and we were talking about the different finishes on the projects in my living room. She pointed to the snowflake and asked what I used to finish it.
I pulled it off the mantle and threw it at her laughing, “This one is made out of paper” as she frantically tried to catch it before it hit her in the head. Sitting in the room with me she had no clue the snowflake wasn’t made out of wood!
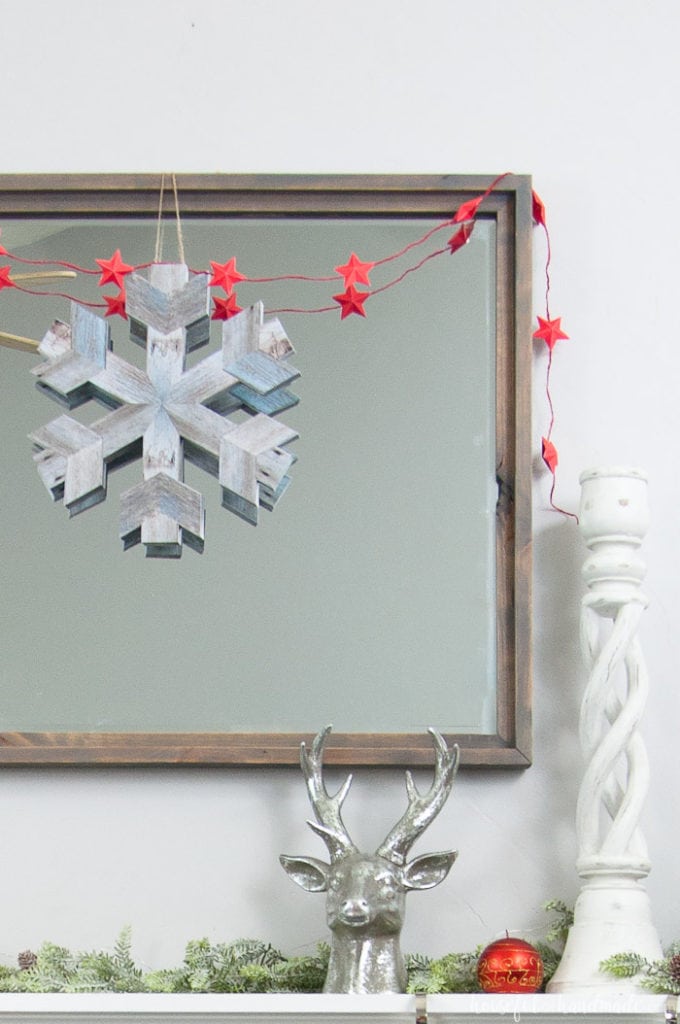
The secret to the rustic wood finish is the design that is printed on the template. So it is even easier to make. You will need to have access to a printer, but then you can make loads and loads of faux wooden snowflakes.
I did use my Silhouette cutting machine to quickly cut out the design, but it isn’t necessary.
I love my Silhouette for making quick work of cutting out my paper crafts and so much more. If you don’t have a cutting machine yet, I also include a PDF of the design so you can print and cut the old-fashion way.
How to Make a Faux Wooden Snowflake Decor
Supplies:
- Snowflake print and cut file
- I am sharing the cut files for the faux wooden snowflake in my library of free printables & downloads. Click here to subscribe to my weekly newsletter and gain access to all the freebies. If you already have your password, click here to download it.
- White cardstock
- Printer
- Silhouette cutting machine or scissors
- Hot glue gun and glue sticks
- Twine or string
For each snowflake you need 6 arms. There are 3 different wood patterns included in the designs. Each page includes a front and back for one design. You can use whatever combination of 6 you like. I made it easy with 2 of each.
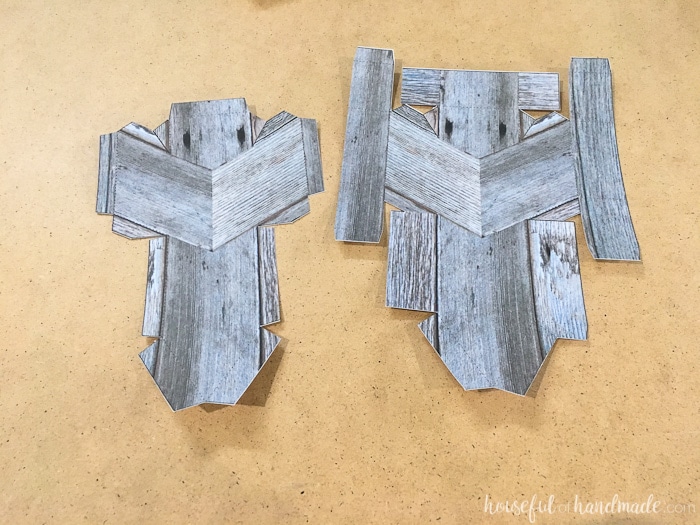
Print and cut out 6 arms. If using a cutting machine, make sure to use the print and cut feature.
I made my registration marks as wide as I could so I could make my design as large as I could. If you are not using a cutting machine, you will also want to score the dotted fold lines.
Place the printed side down and fold along all the dotted lines up so the printed side is on the outside.
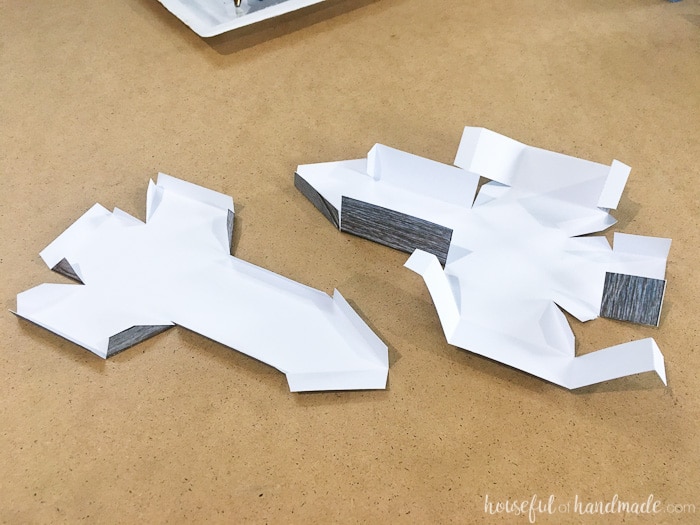
Starting with the front of the design (the piece with the sides attached), glue the little tabs to make a 3D shape. I like to use hot glue for my 3D paper shapes because it holds well and dries fast.
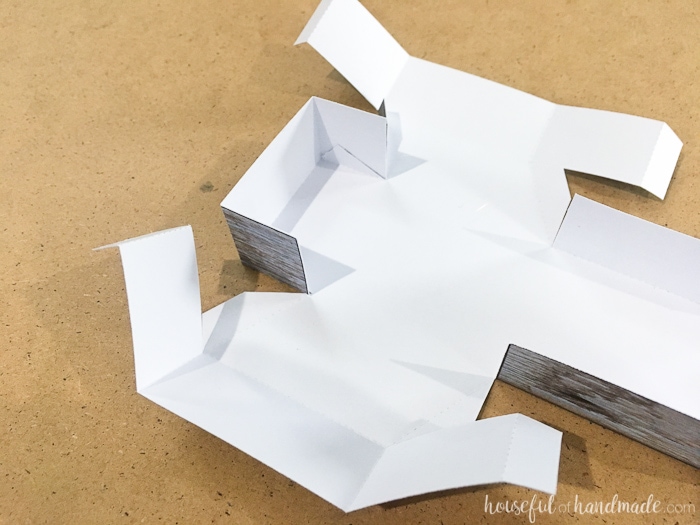
You will only want to secure the top of the arms and around the jut-outs to begin with, not the base (believe me, you will need the extra wiggle room or you will pull your hair out).
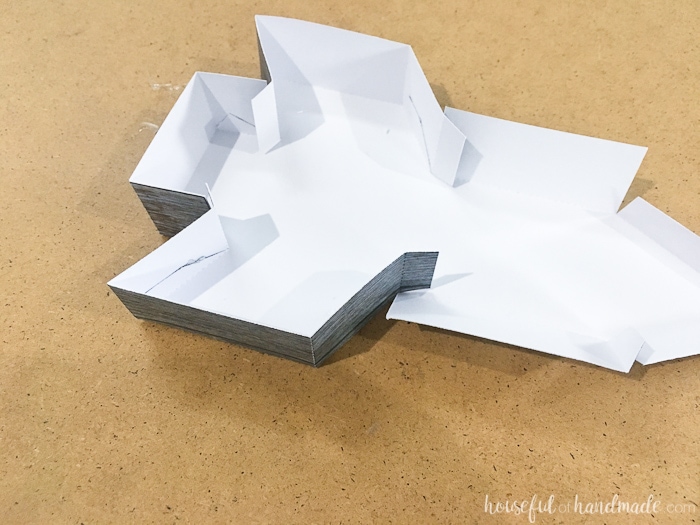
Next start glueing the tabs on the back piece to the inside of the arm to close the shape. Start at the top and work your way around the jut-outs.
Now you can close up the bottom below the jut-outs. but the very end tip will not be secured. Finish with all 6 arms.
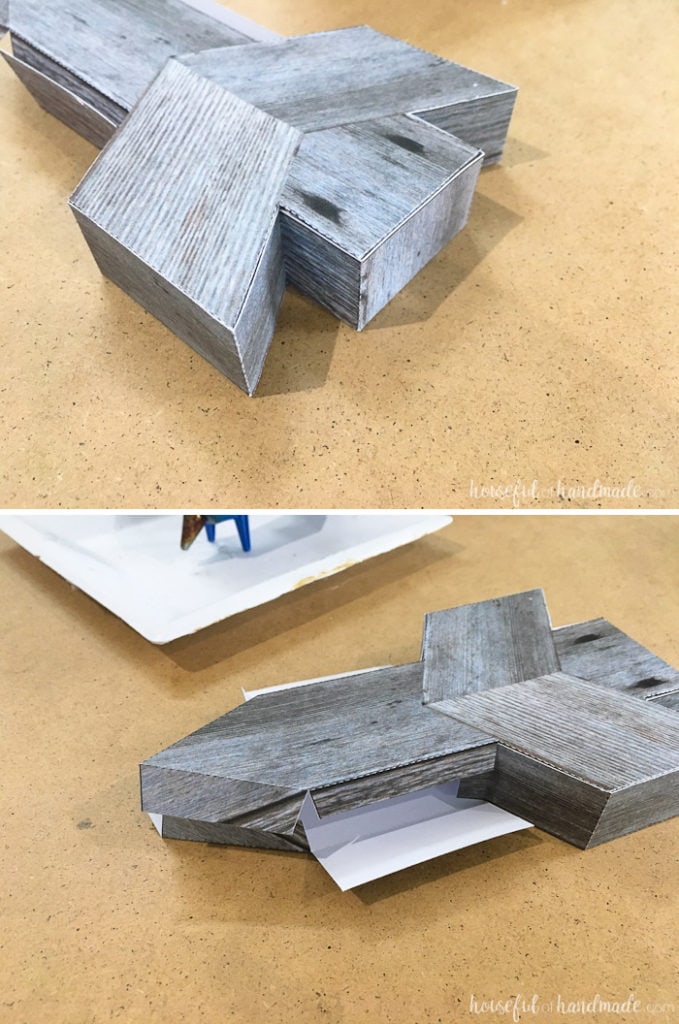
Now all you need to do is glue the 6 arms together. Start by glueing the center top flaps together.
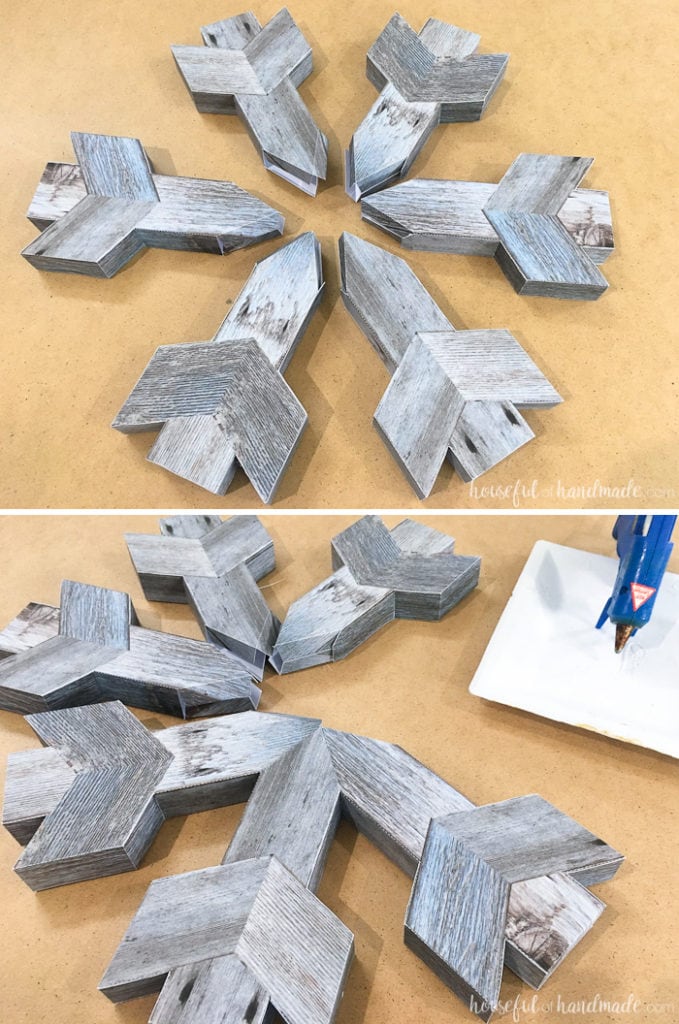
Finish by turning the snowflake over and gluing the center bottom flaps together.
The last couple flaps will need to be carefully held apart and glue squeezed into the opening because things will start to get tight (but that is good).
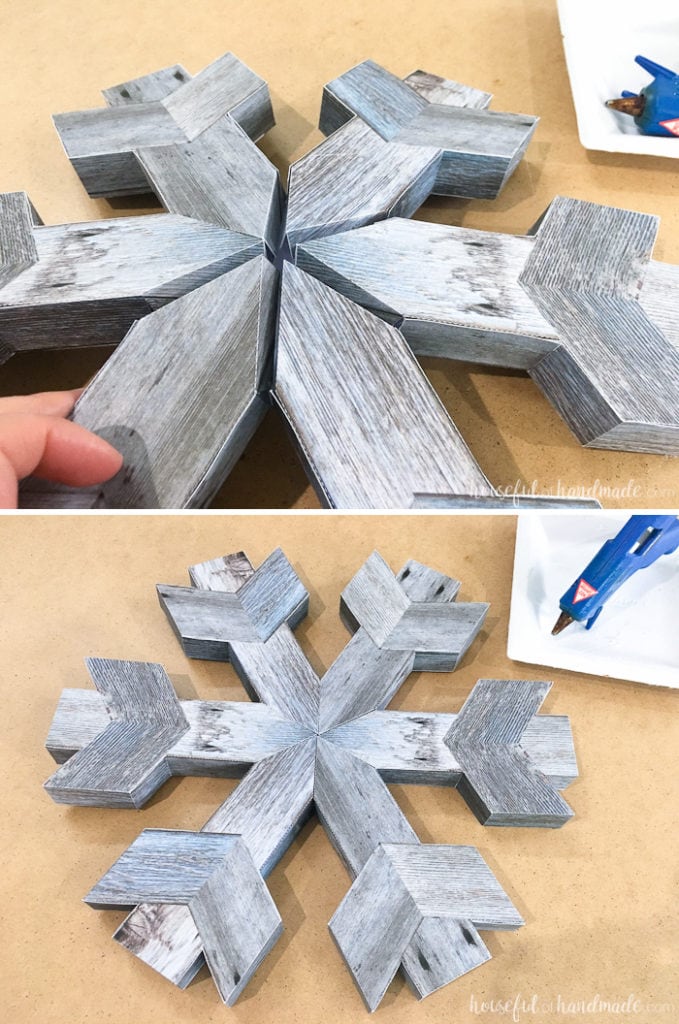
If you are hanging your snowflakes, you can tape a piece of twine or string to one of the arms. Your new faux wooden snowflake decor is so light that it can be held up with just tape!
And you can hang them anywhere because they will hang without big nails. I used tape again to hang the twine to my mirror!
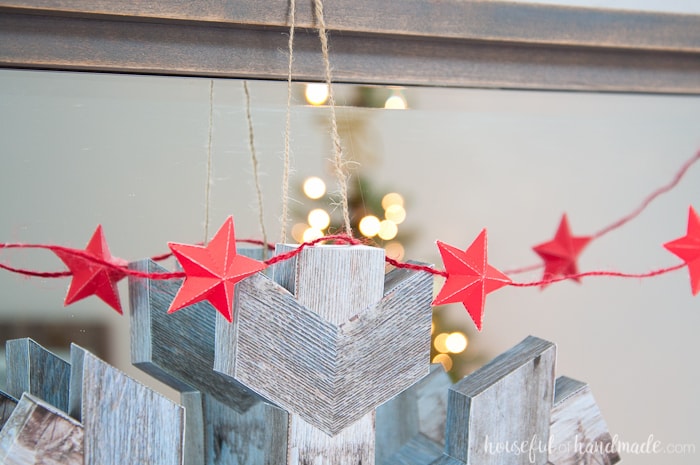
I love our faux wooden snowflakes so much. I can’t wait to finish off our winter mantle around it (and maybe make some more) and next year I am thinking of make a bunch for the Christmas tree too.
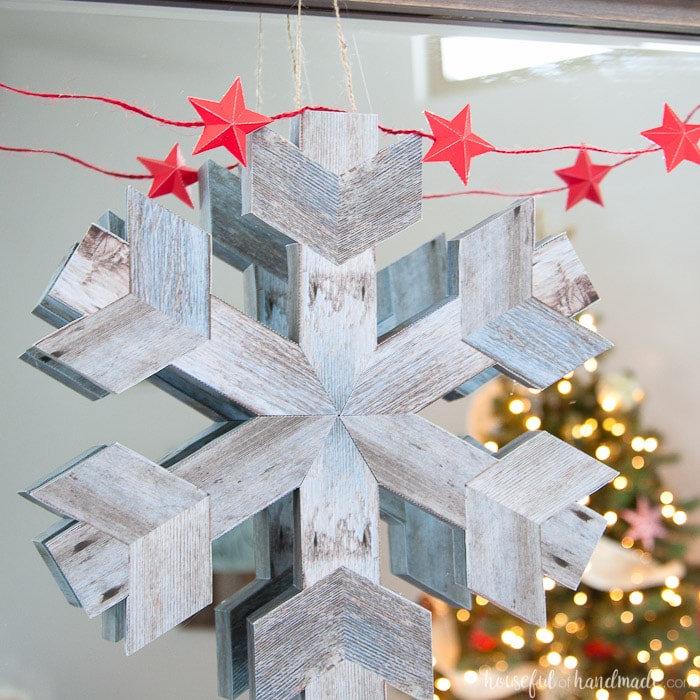
And don’t forget to sign up for the weekly newsletter for access to my library of free printables and downloads. Inside you can download the files to make this faux wooden snowflake decor and so much more.
Now I need to go to bed because the real snow is piling up outside and I’ll need to wake up extra early to get the kids to school.
How to Make Faux Wooden Snowflake Decor
Make this awesome faux wooden snowflake decor to add a fun touch of winter decor to your home.
Materials
- Snowflake print and cut file
- White cardstock
- Twine or string
Tools
- Printer
- Silhouette cutting machine or scissors
- Hot glue gun and glue sticks
Instructions
- Print and cut out the snowflake pieces.
- If using a cutting machine, make sure to use the print and cut feature.
- If not using a cutting machine, score the dotted fold lines.
- Place the printed side down and fold along all the dotted lines.
- Glue the little tabs on the front piece to make a 3D design.
- Continue gluing the tabs on the back piece to the inside of the arm to close the shape.
- Finish all 6 pieces, then glue the 6 arms together.
- Turn the snowflake over and glue the center bottom flaps together.
- Tape a piece of twine or string to one of the arms for hanging.
Recommended Products
As an Amazon Associate and member of other affiliate programs, I earn from qualifying purchases.


Amy @ mylifefromhome
Sunday 15th of January 2017
I never would have guessed these were made of paper!! What a great project. Love them!
Kati
Tuesday 17th of January 2017
Thank you Amy! I might be slightly obsessed with making things out of paper lately.
Amanda @ The Kolb Corner
Friday 13th of January 2017
I wouldn't have EVER thought it was made from paper. That's awesome! Thank you for sharing at Merry Monday!
Kati
Tuesday 17th of January 2017
Thanks so much Amanda! It's been fun to see what I can create out of paper.
BonBon
Thursday 12th of January 2017
Wow that is amazing that you make this out of paper. Very pretty
Kati
Tuesday 17th of January 2017
Thanks so much BonBon!
Kim
Wednesday 11th of January 2017
That is amazing! I, too, love using paper as a medium. It's so fun to see what you can make with such an everyday material. Awesome, awesome job!
Kati
Wednesday 11th of January 2017
Thanks Kim! I agree paper is so fun to manipulate.
Amanda
Tuesday 10th of January 2017
I never would have guessed it was made out of paper! That is SO cool!
Kati
Wednesday 11th of January 2017
Thank you so much Amanda!