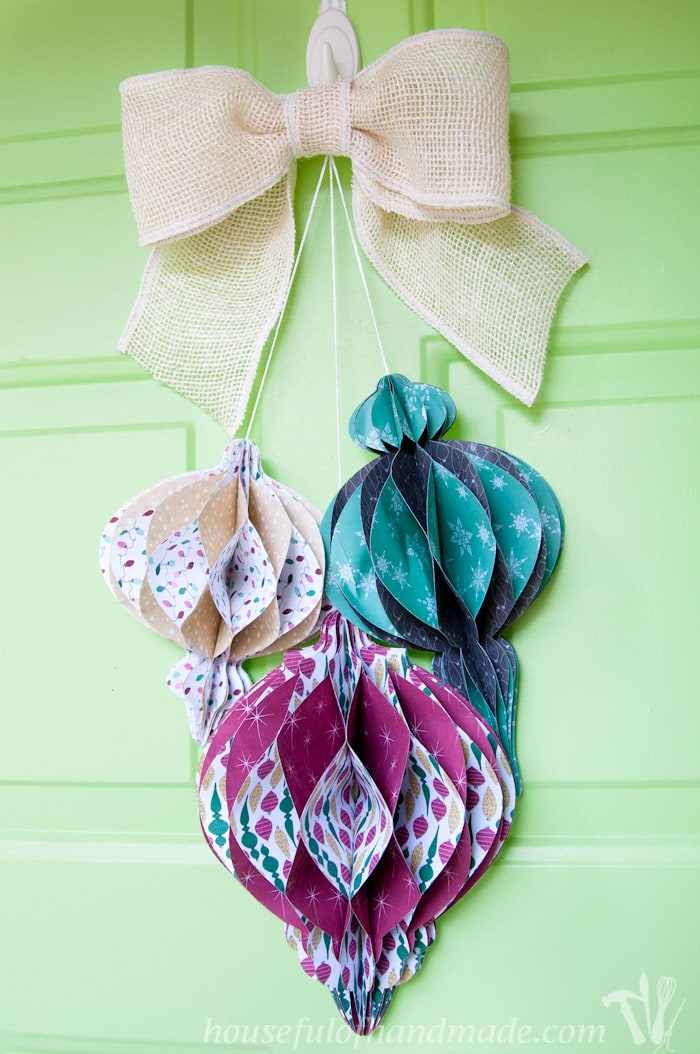
Decorate your door for Christmas with a non-traditional wreath: Giant Paper Ornaments!
I am so glad to finally have this post ready to share with you! I have never had such a fight figuring out how to make something work. But the fight is sometimes what makes the end result so fabulous, right?
I definitely did a little victory dance when I finished my wreath and it looked just like I had imagined. So today I am excited to finally share my DIY giant paper ornament Christmas wreath.
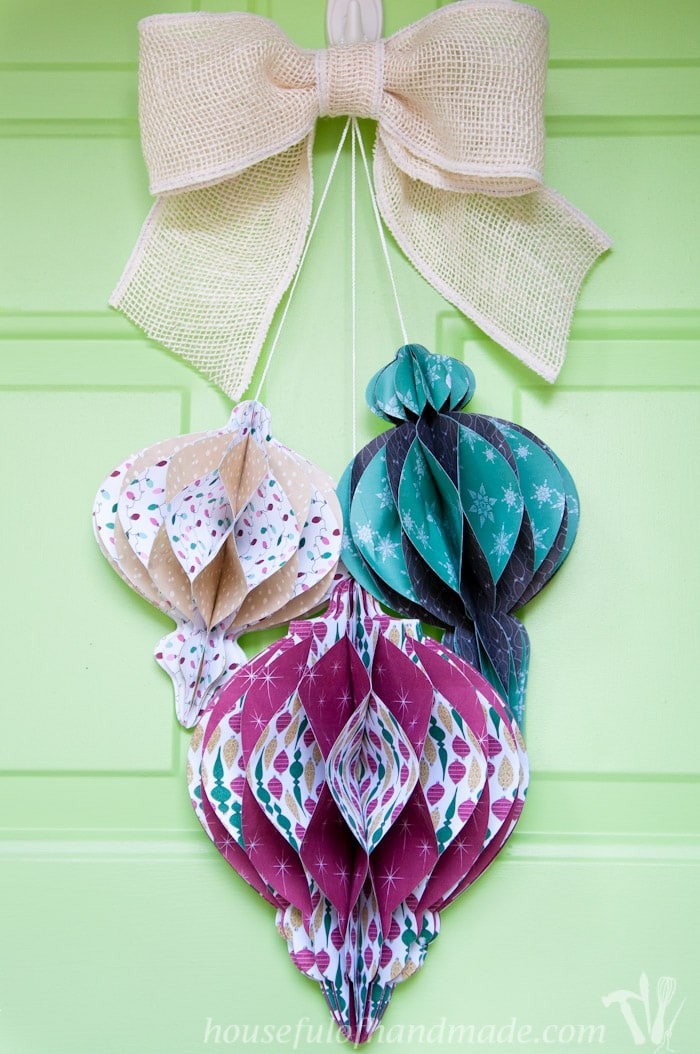
I love creating a fun wreath for every season. It is usually the first decoration I put out as the season changes.
This post may contain affiliate links. As an Amazon Associate I earn from qualifying purchases. Click here to read my full disclosure policy.
This year I was having a hard time finding inspiration for my Christmas wreath.
I could have pulled out a wreath from last year, but I just wasn’t feeling it. I was looking on Pinterest for some ornament inspiration when I came across a post from All Things Paper about the Anthropologie Christmas decorations from last year.
Anthropologie decorations are always super inspiring and this was no exception. This giant paper ornaments were speaking to me. I want them all over my house! Maybe a few nestled into my Christmas tree too!
I definitely wanted them to hang on my front door instead of a traditional wreath.
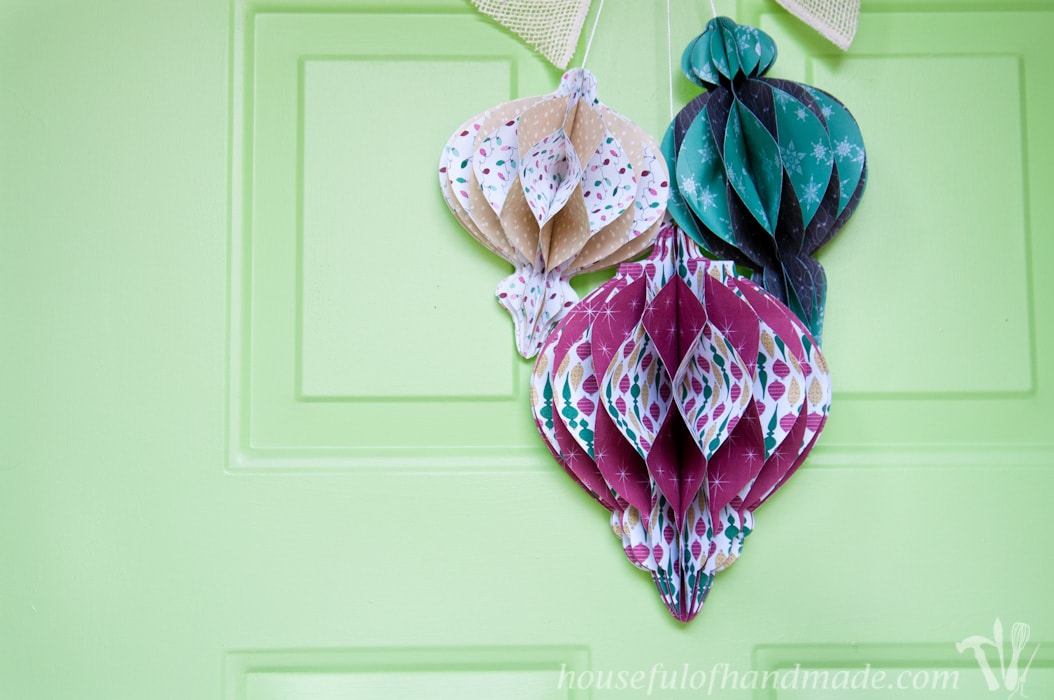
I started by making three different shapes for the DIY giant paper ornament Christmas wreath. I wanted them big so I made each ornament fill up an 8 1/2 x 11 sheet of paper (with a little variation so they weren’t all the same size).
Then it was time to find some paper.
I really wanted double sided paper so the design of the ornaments would pop, but I did not have any luck finding anything. So I decided to design some myself. I am so glad I did because the papers work perfect for my vision of the giant ornaments.
You can check out this post to see the double-scrapbook papers I shared!
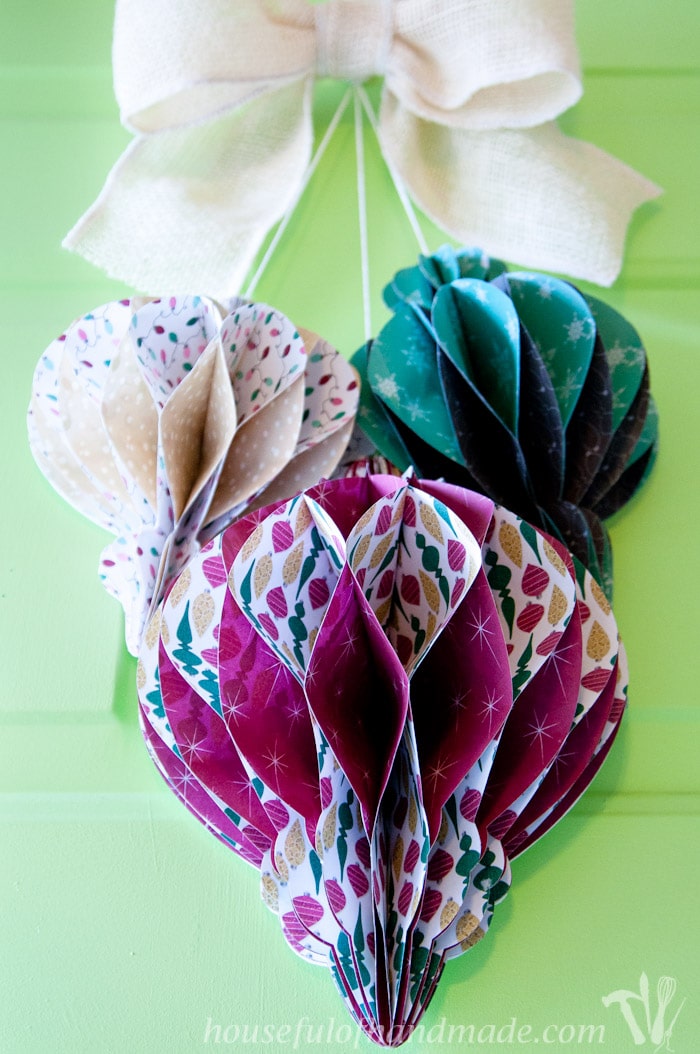
To make each ornaments I needed 8-9 sheets of double sided paper. I started with 7, and the green/chalkboard ornament is made with only 7.
But after making all three (and making one of them twice because it took me a minute to figure out the tricks to not getting confused), I learned a lot.
You really do want more papers and more points stuck together to make the ornaments have an accordion style with both papers peaking out.
So I would plan at least 8 papers per ornament, but 9 is even better for the larger ornaments.
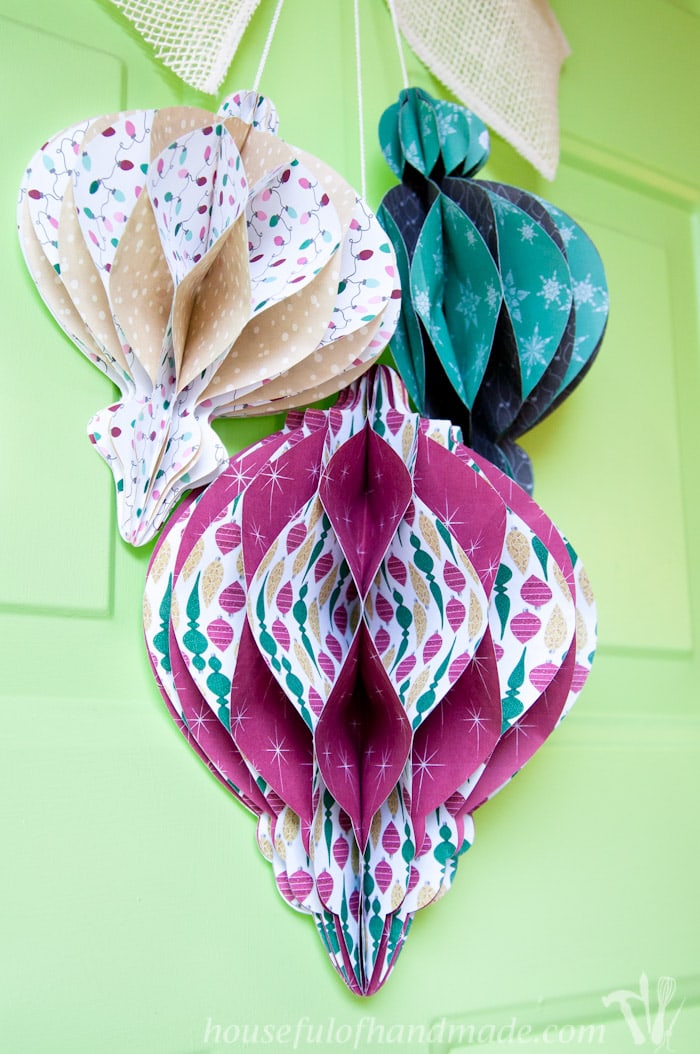
I used my Silhouette Cameo to cut out my ornaments, but it’s not necessary. The ornaments are pretty simple and could be cut by hand while watching your favorite Hallmark Christmas movie.
I created Silhouette cut files as well as PDFs of the ornaments for you to make. And I also included a template for where I put the glue (or for the long green/chalkboard one where I would put the glue if I were to redo it cause it was my first one) on the PDFs.
And if you love this creative paper wreath, you are going to love the these amazing Paper Christmas decor tutorials.
How to Make a DIY Giant Paper Christmas Ornaments
Supplies:
- Double-sided scrapbook paper (at least 8-10 sheets per ornament)
- Giant ornament template
- The cut files & PDF were free to my subscribers until 11/13/2019. Now they are available in the the shop. Make sure to subscribe so you will be notified of new freebies.
- Coverstock, empty cereal box or other strong cardboard like material
- Hot glue gun & glue sticks
- Nylon string
- Burlap ribbon
- Optional: craft magnets
Start by cutting out your 8-10 papers per ornaments, then fold them in half. Make sure the same color is on the outside on all the papers.
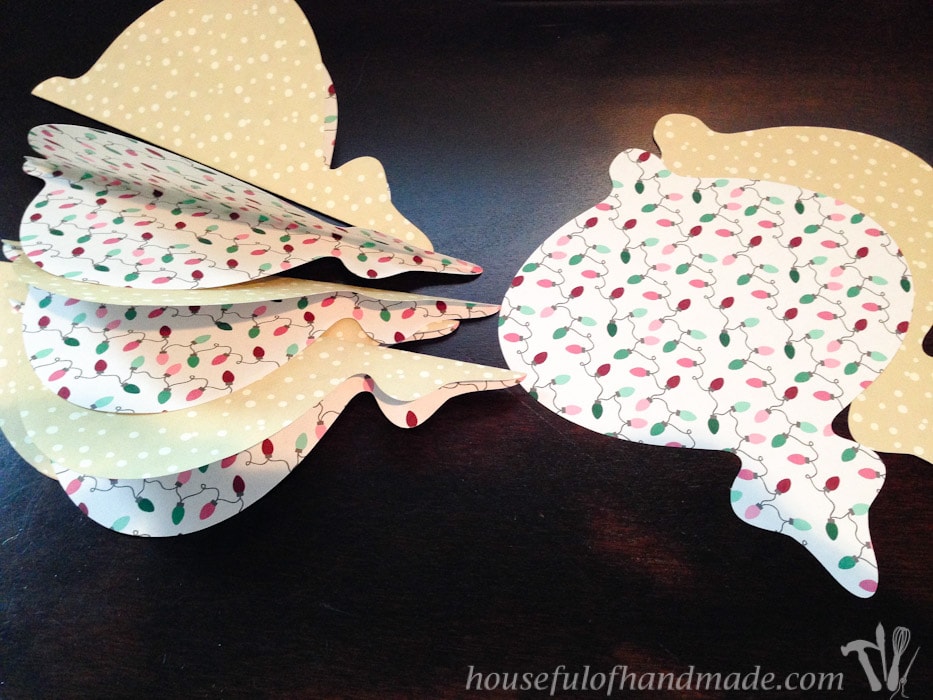
To make sure the ornaments stay flay on the back, I needed a stiff backing for them. I accidentally bought some 100 lb cardstock (also known as coverstock) instead of regular cardstock and it works perfectly for things like this.
If you don’t want to buy some thick cardstock, you can also use an empty cereal box or something similar.
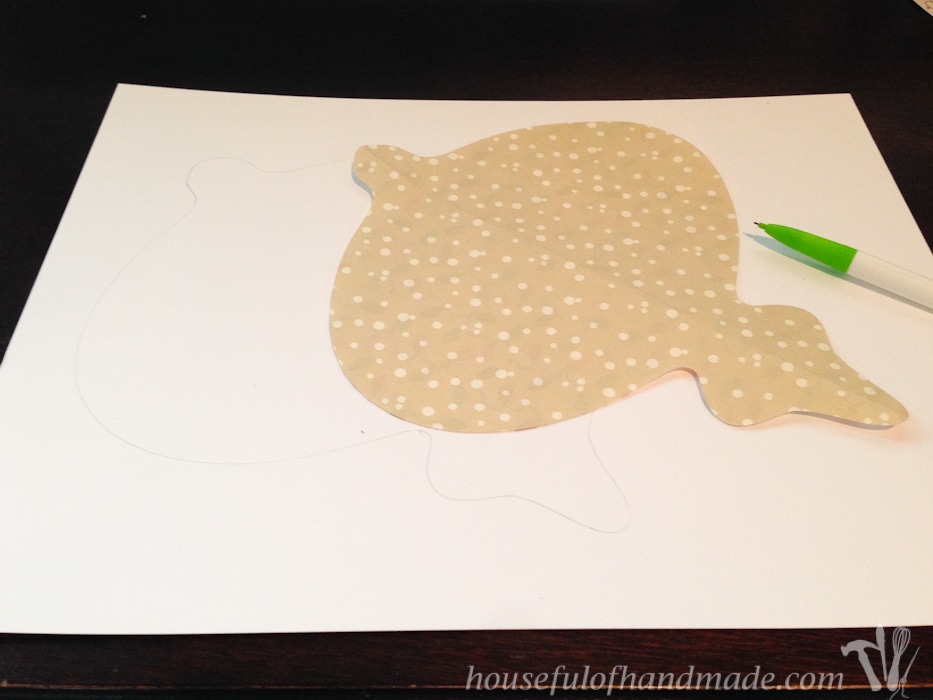
I was having issues getting my Silhouette to cut the really thick cardstock, so I traced one of the already cut out ornaments onto the sheet of coverstock and cut it out with scissors.
Make sure to keep the outside of the coverstock for the template to help keep your brain straight when glueing.
To get me started on assembling my ornaments, I referred to this tutorial from Splitcoast Stampers. They used glue dots, but I didn’t have any of those and figured I could do it with my glue gun. I was right!
The glue gun worked great, just make sure to use just a little bit of hot glue so you don’t accidentally glue all the papers together.
Using your template you will glue your folded papers together. This part got a little confusing for me so I am going to try to help you out with my own tips:
- Instead of just 1s & 2s on my template, I found it was easier to write the color or pattern of the paper on them so I never forgot what was suppose to be 1 or 2.
- The #2 glue areas went inside the folded papers and the #1 glue areas glue two different papers together.
- When putting the two papers together, I started with glueing the top and bottom tips of two papers together so they held still while I glued the rest.
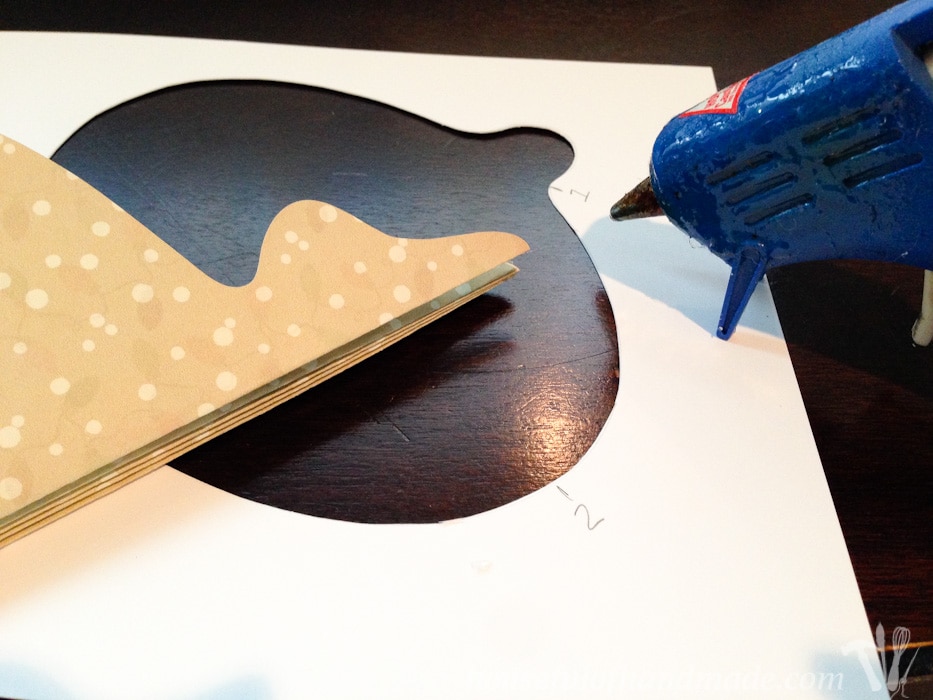
Keep glueing inside, then outside of all your folded papers. You will leave it all flat like in the picture.
Once you are all done, give it a second to make sure your glue is totally solid, then carefully open it up to see your final ornament. You may have to stick your fingers inside the different sections to make sure it opens up the right way.
Then you will want to glue the ornament down on your thick coverstock backing. One ornament down, 2 more to go!
When all the ornaments were done, I glued a piece of small nylon string to the back of each ornament, then held them up against my door and adjusted the lengths until I was happy.
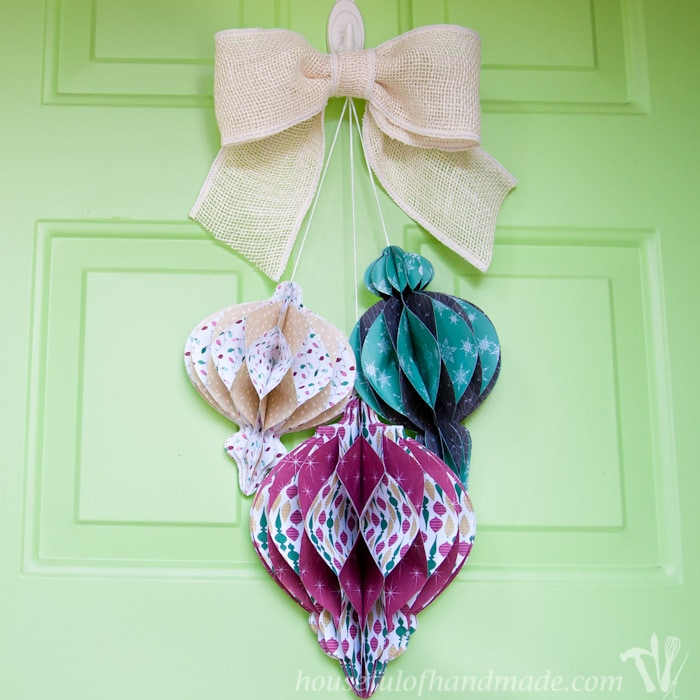
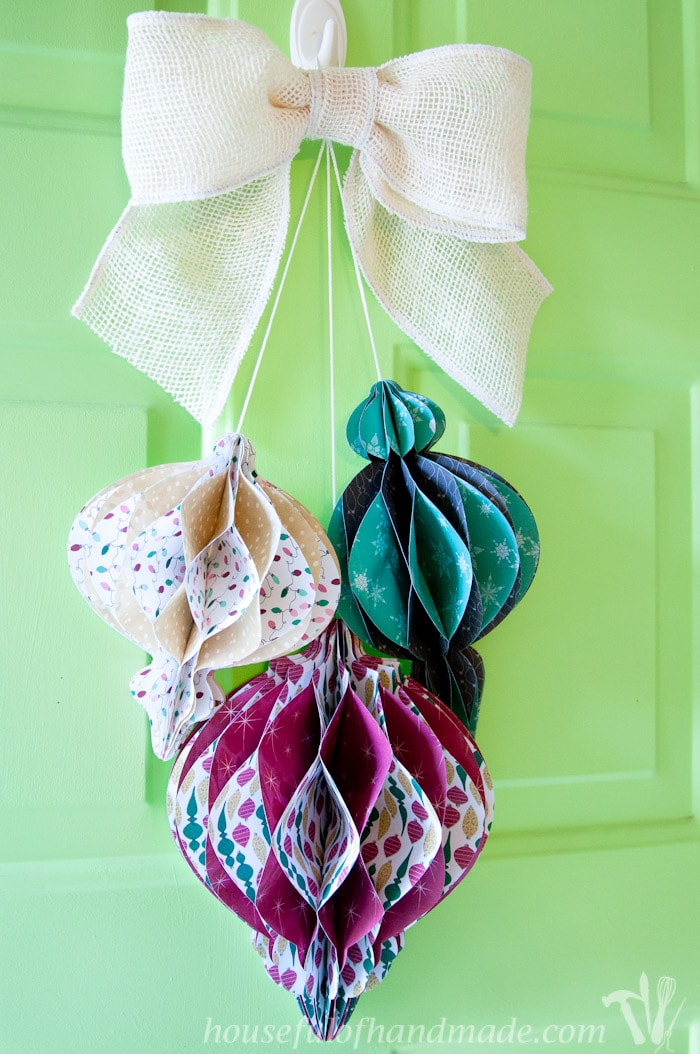
Once happy, I tied the three strings together then made a loop to hang it on my wreath hook on my door. I added a large bow made out of some cream burlap ribbon and did my happy dance! All done 🙂
I really am super excited with how they turned out! I am thinking I should definitely make some a bit smaller to hang on our Christmas tree.
One last trick, the ornaments don’t stay perfectly flat against the door when it is opened and slammed shut over and over (our door is extra hard to close these days cause I just put on new weather stripping).
My husband had the idea of double sided tape, but I thought I would put a magnet on the back of each of the ornaments since my door is metal.
I have to go buy some still so I haven’t tried it yet, but I use magnets on the door all the time for the kids to play with so I hope it works like I imagine.
I just love how they turned out. The fun texture and beautiful colors make me happy! And now our entry is finally decorated as festive as the inside of our house.
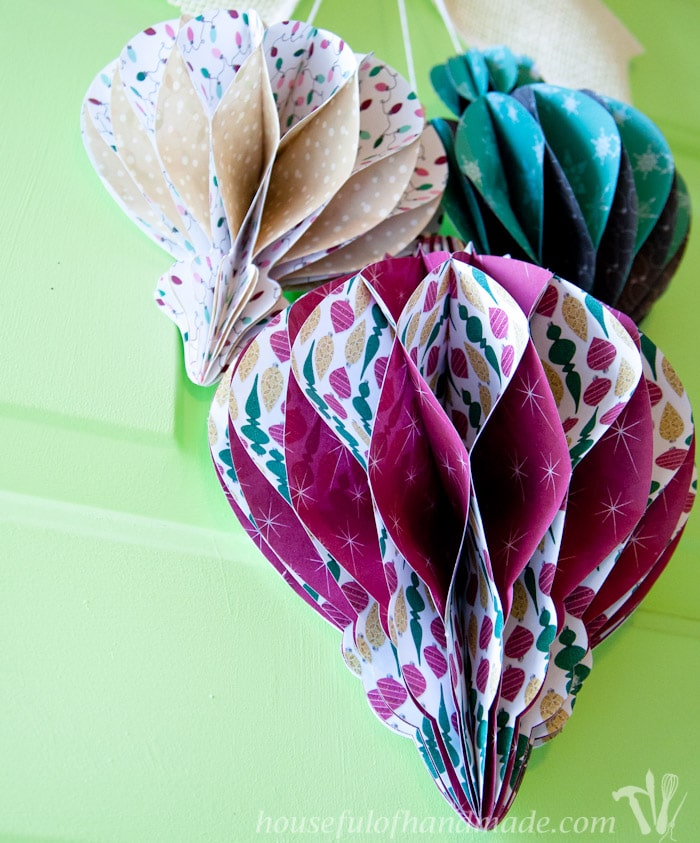
Christmas is definitely the most wonderful time of year and we are having tons of fun celebrating by decorating. Decking our halls make me happy!
And don’t forget to sign up to receive the weekly newsletter so you never miss a post and have access to my growing library of free downloads & printables.
DIY Giant Paper Ornament Christmas Wreath
Make a beautiful DIY giant paper ornament Christmas wreath. I used a cutting machine, but you could also cut this template by hand.
Materials
- Double-sided scrapbook paper (at least 8-10 sheets per ornament)
- Giant ornament template
- Coverstock, empty cereal box or other strong cardboard like material
- Nylon string
- Burlap ribbon
- Optional: craft magnets
Tools
- Hot glue gun & glue sticks
Instructions
- Cut out your 8-10 papers per ornaments, then fold them in half. Make sure the same color is on the outside on all the papers.
- Trace one of the already cut out ornaments onto the sheet of coverstock and cut it out with scissors. Make sure to keep the outside of the coverstock for the template.
- Using your template you will glue your folded papers together. See the notes below.
- Keep gluing inside, then outside of all your folded papers. You will leave it all flat like in the picture.
- Make sure your glue is totally solid, then carefully open it up to see your final ornament.
- Glue the ornament down on your thick coverstock backing.
- When all the ornaments are done, glue a piece of small nylon string to the back of each ornament.
- Tie the three strings together then make a loop to hang the wreath hook on your door.
- Add a large bow out of cream burlap ribbon.
Notes
- Instead of just 1s & 2s on my template, I found it was easier to write the color or pattern of the paper on them so I never forgot what was suppose to be 1 or 2.
- The #2 glue areas went inside the folded papers and the #1 glue areas glue two different papers together.
- When putting the two papers together, I started with gluing the top and bottom tips of two papers together so they held still while I glued the rest.
Happy crafting!
Kristina & Millie
Sunday 20th of December 2015
beautiful! love these paper ornaments for a wreath! Just think of all the different colors/styles you could do for year round wreathing!
Kati Farrer
Monday 21st of December 2015
Thank you! I have been thinking about all the different ways I could use this idea year round! I have a really fun idea for Spring... stay tuned :)
Amanda @The Kolb Corner
Friday 18th of December 2015
These are so cute! Kuddos to you, I think I would get way too confused and give up lol. Thank you for sharing at Merry Monday!
Kati Farrer
Saturday 19th of December 2015
I thought about giving up, but I was way to invested. I'm glad I toughed it out. Thanks Amanda!
Donna
Monday 14th of December 2015
This is lovely and so crafty! Thanks for sharing at Funtastic Friday!
Kati Farrer
Monday 14th of December 2015
Thank you Donna!
Teresa
Monday 14th of December 2015
I love these ornaments. Just last Friday I came home with a pack of double sided Christmas paper I found at the craft store (and just couldn't resist), it would be perfect for this!
If you have time, I would love for you to share this post over at the Holidays Celebration link party that is live right now! (http://keepingitrreal.blogspot.com.es/2015/12/holidays-celebration-link-party-5.html)
Have a wonderful week!
Kati Farrer
Monday 14th of December 2015
Where did you find the paper? I had a really hard time finding anything. I'll have to check out your party! Thanks for stopping by :)
Carrie
Sunday 13th of December 2015
So pretty!! I would love to have you share at my craft link party: http://craftymomsshare.blogspot.com/2015/12/handmade-christmas-craft-book-review.html!
Kati Farrer
Monday 14th of December 2015
Thanks for stopping by, I'll have to check out your party!