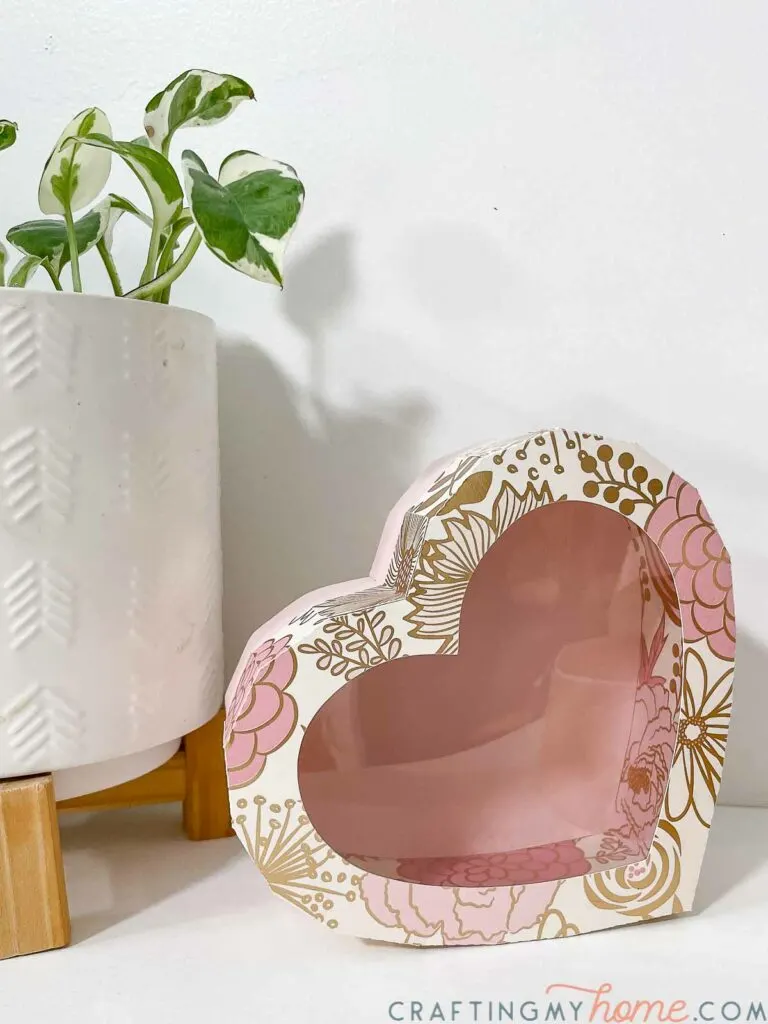
This stunning heart box is the perfect way to gift a Valentine or treat.
Valentine’s Day is coming and that means it’s time to think about a Valentine’s gift. Or more important, wrapping it!
Make your gifts for Valentine’s or any day of the year extra special by giving them in a beautiful heart box. You can easily make your own heart box with a few pieces of cardstock and some hot glue.

DIY Heart Chocolate Box
Nothing says love like chocolate! Or maybe that is just me, but chocolate was definitely in the back of my mind when creating this beautiful heart box.
This post may contain affiliate links. As an Amazon Associate I earn from qualifying purchases. Click here to read my full disclosure policy.
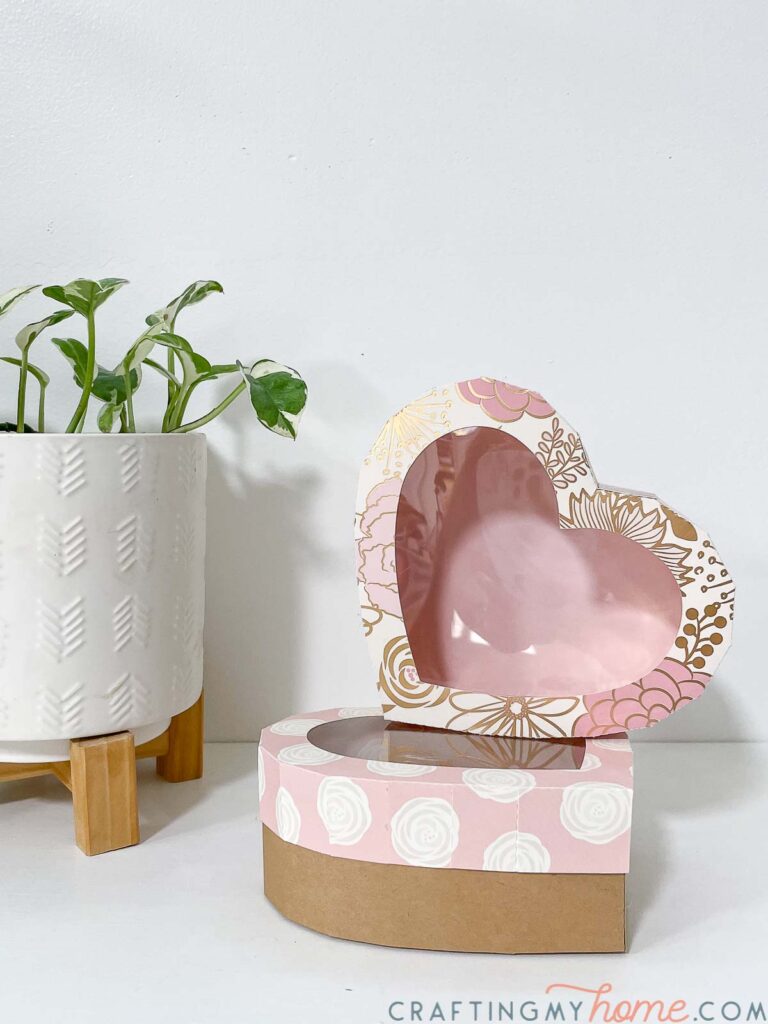
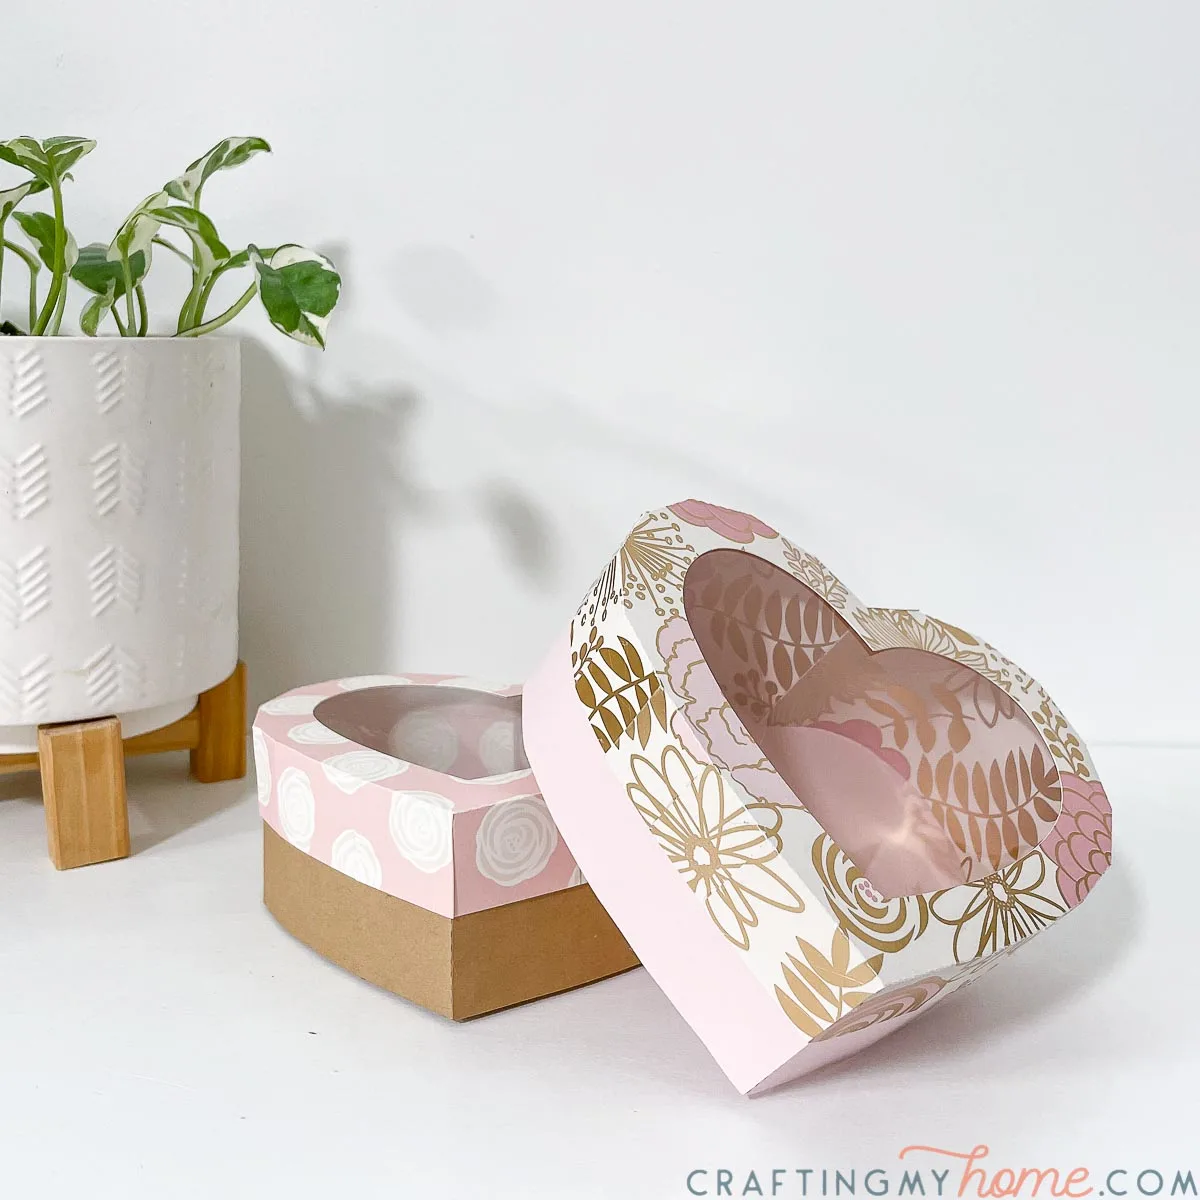
The heart chocolate box has a clear opening in the top of the box to highlight the delicious gifts inside. You can use it for chocolate or any other edible treat.

The bottom and sides of the paper box are reinforced with an extra layer to hold up to anything you want to put in it.
I had fun coordinating the inside reinforcements with a matching paper as the outside, but you can keep it simple and use the same paper as well.

Paper Heart Gift Box
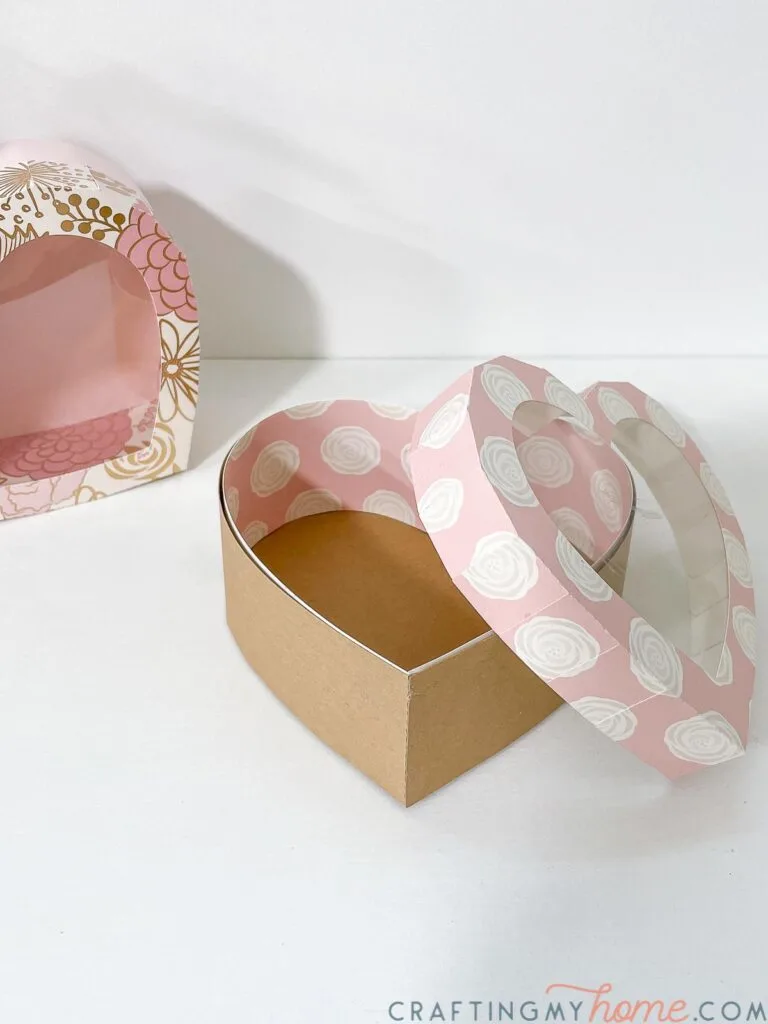
If you want to use the heart box as a gift box for non-deliciousness, you can leave the top solid by not cutting out the center heart on the lid.
This will leave the contents of your heart box a secret until opened!
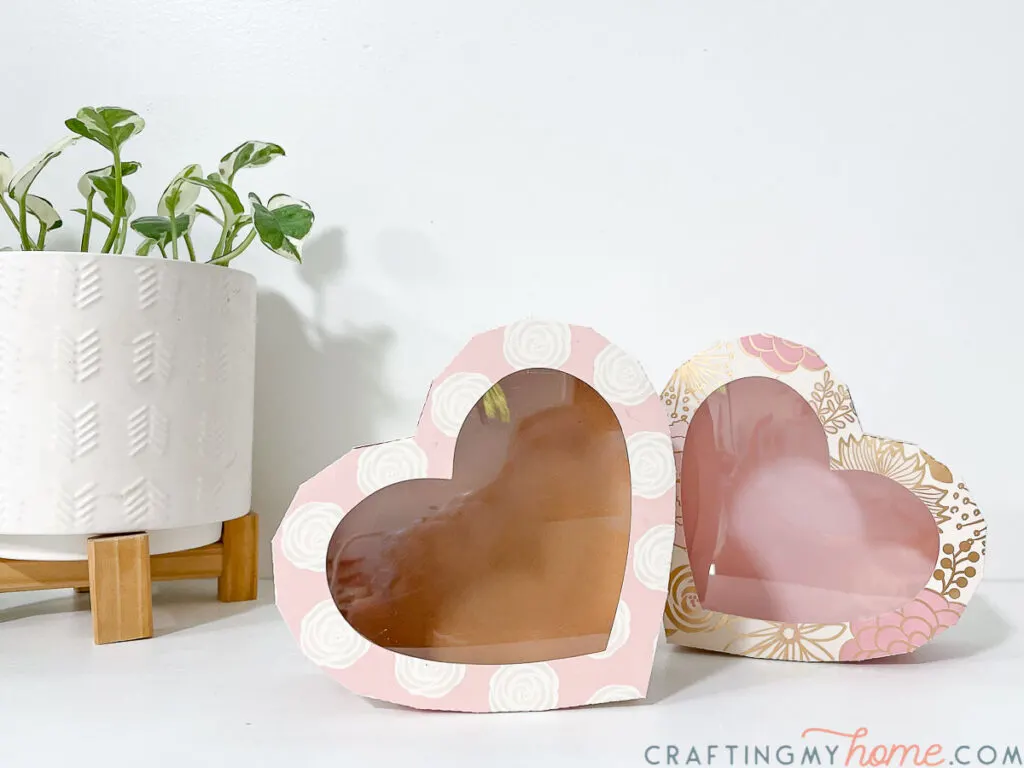
I love the versatility of this sweet heart box. Have some fun with different colors or patterns to make is something special.

How to Make a Heart Box
Supplies:
- Heart box template
- I am sharing the SVG & PDF for the heart box in my subscriber library until 02/14/2021, then they will move to the shop. Click here to subscribe to my newsletter and gain access to all the freebies. If you already have your password, click here to go to the library download them.
- Cardstock
- Thin plastic sheets
- Hot glue gun and glue sticks
- Scissors
- Optional:
- Electronic cutting machine like a Silhouette Cameo or Cricut Maker
- Printer for using the PDF template that you can cut out by hand
- X-acto knife
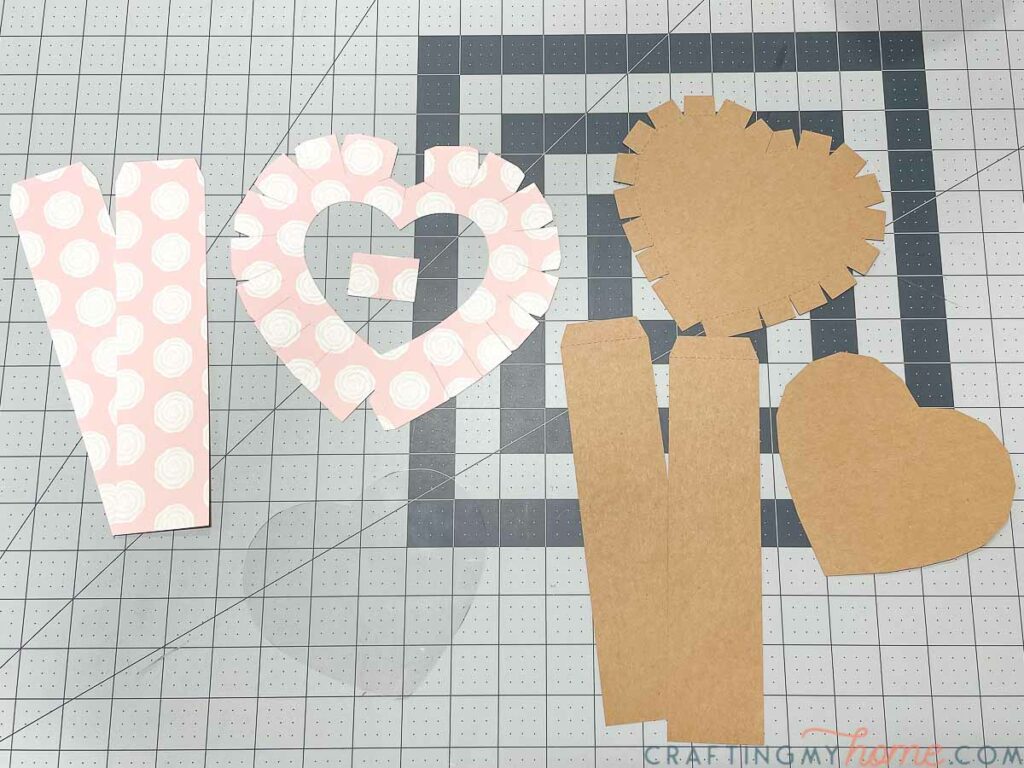
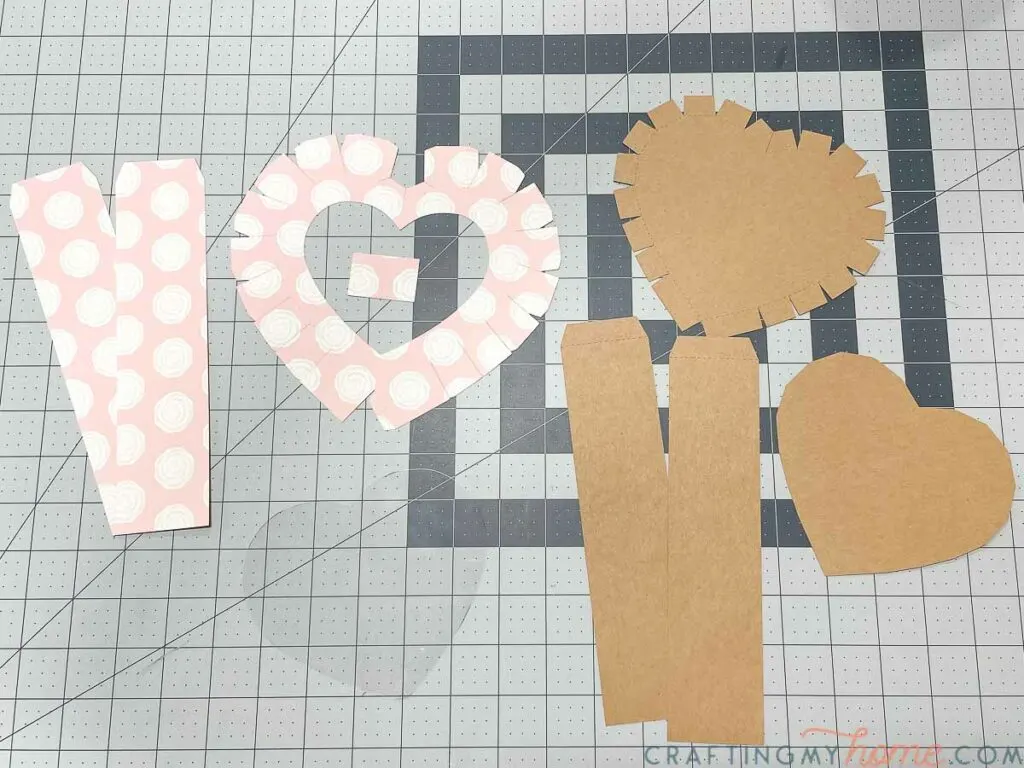
Cut out the pieces
For each heart box you will need to cut out the following pieces (from left to right):
- 2 inside side pieces
- 1 lid piece with small extra lid side piece
- 1 clear window piece
- 1 bottom piece
- 2 outside side pieces (slightly longer than the inside pieces)
- 1 bottom support
If you do not want the opening in the lid, do not cut out the center heart.
The template is set to cut all the side pieces out of 1 sheet of paper to save paper, but if you want to use a contrasting color/pattern on the inside of your box like I did, you will need to use 2 separate piece of paper.
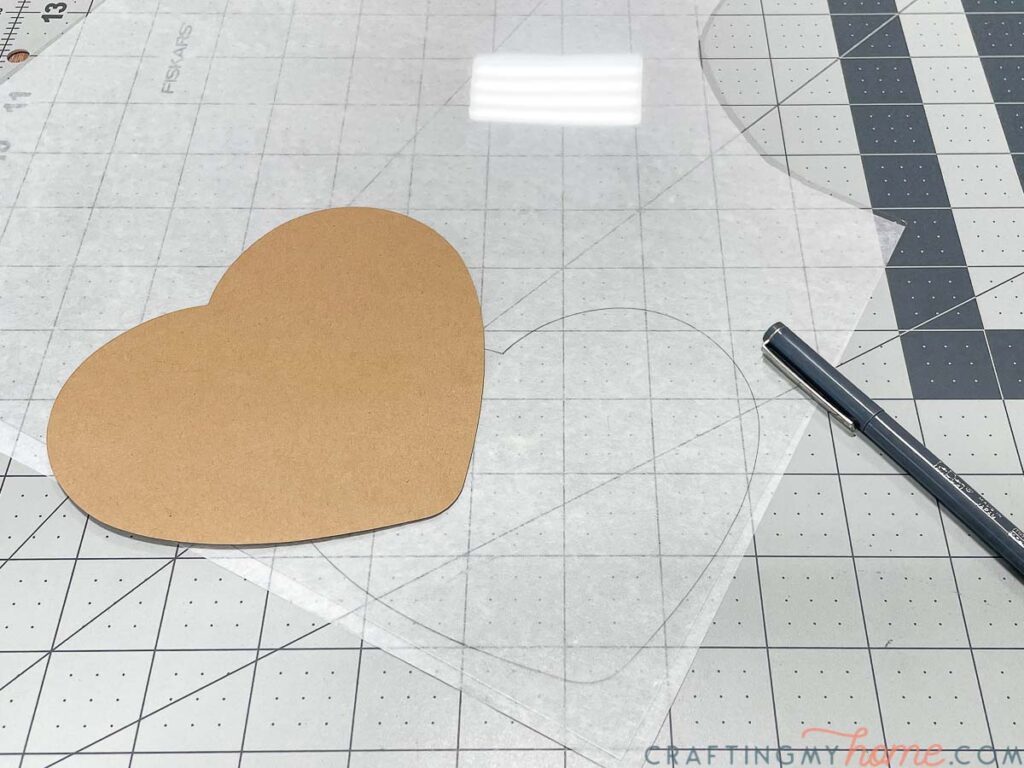
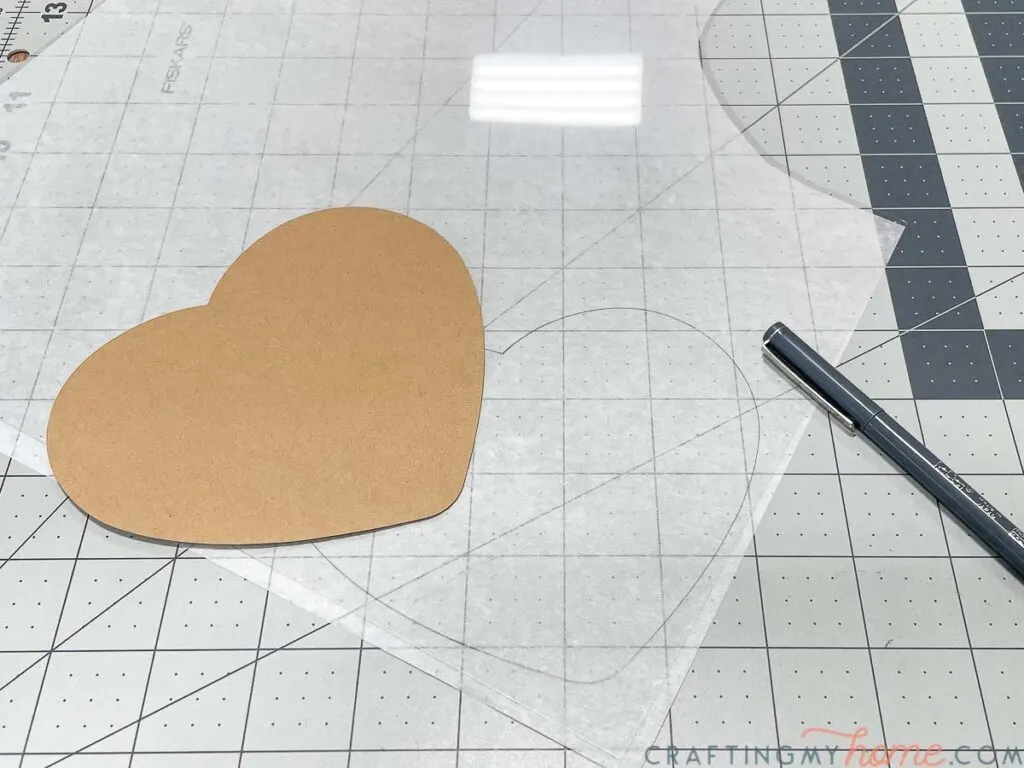
To cut the thin plastic for the window opening, use the template piece and trace the shape onto the plastic.
Then cut it out with scissors. It can be cut with an electronic cutting machine, but I find it wears out the blades faster and requires a lot of passes. The heart is quick and easy to cut with scissors.
Assemble the box
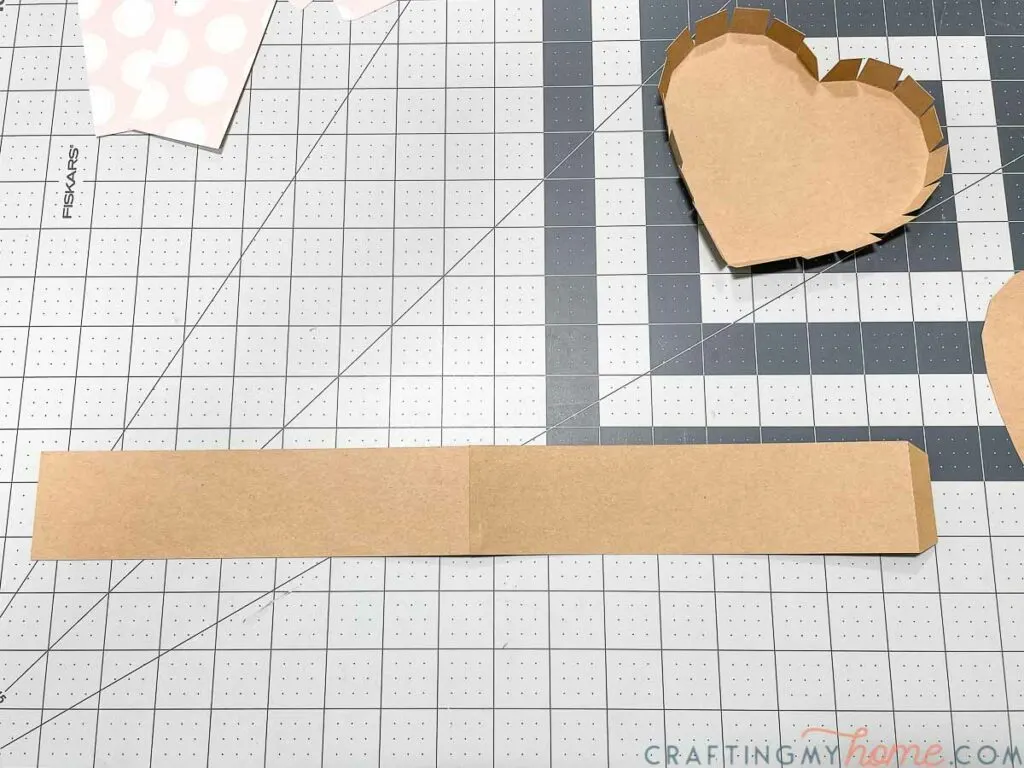
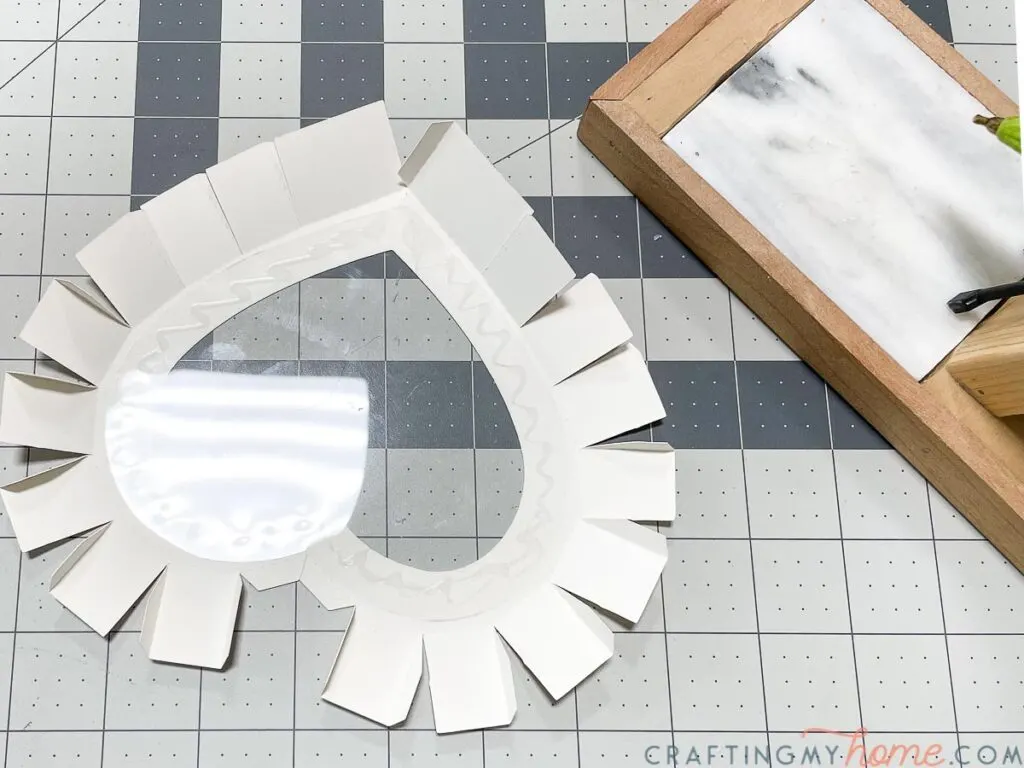
Fold along all the dotted lines on the bottom piece.
Glue the two outside side pieces together at the flap. Make sure to leave the other flap open for now.

Start glueing the side piece to the tabs on the bottom piece at the point of the heart.
Line the point up and glue the tabs to the sides making sure to pull the side piece snug. Continue all the way around the top of the heart to the center.
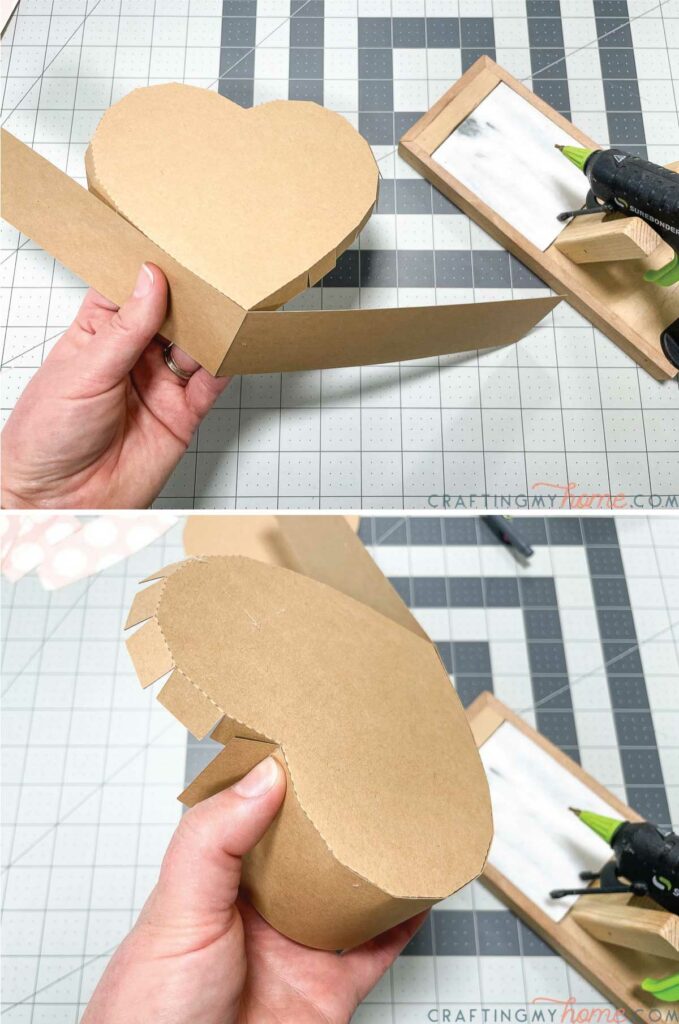

Then go back to the bottom point and start glueing the second side.
When you get to the top, also secure the flap on the side so that it closes the top of the heart box.

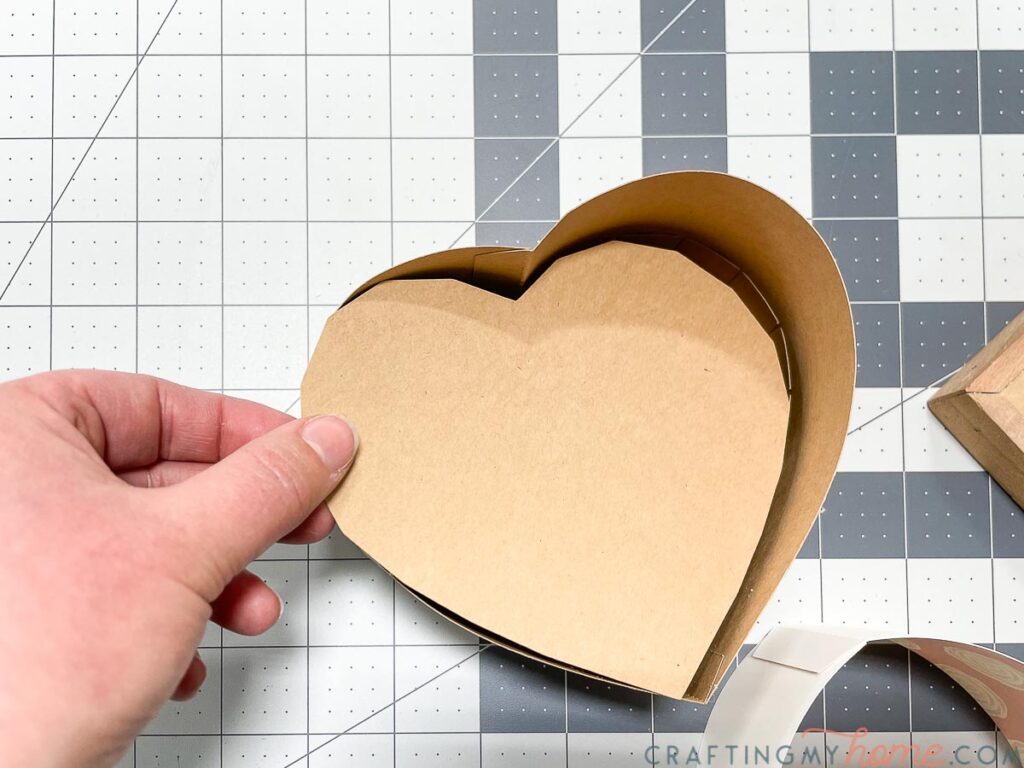
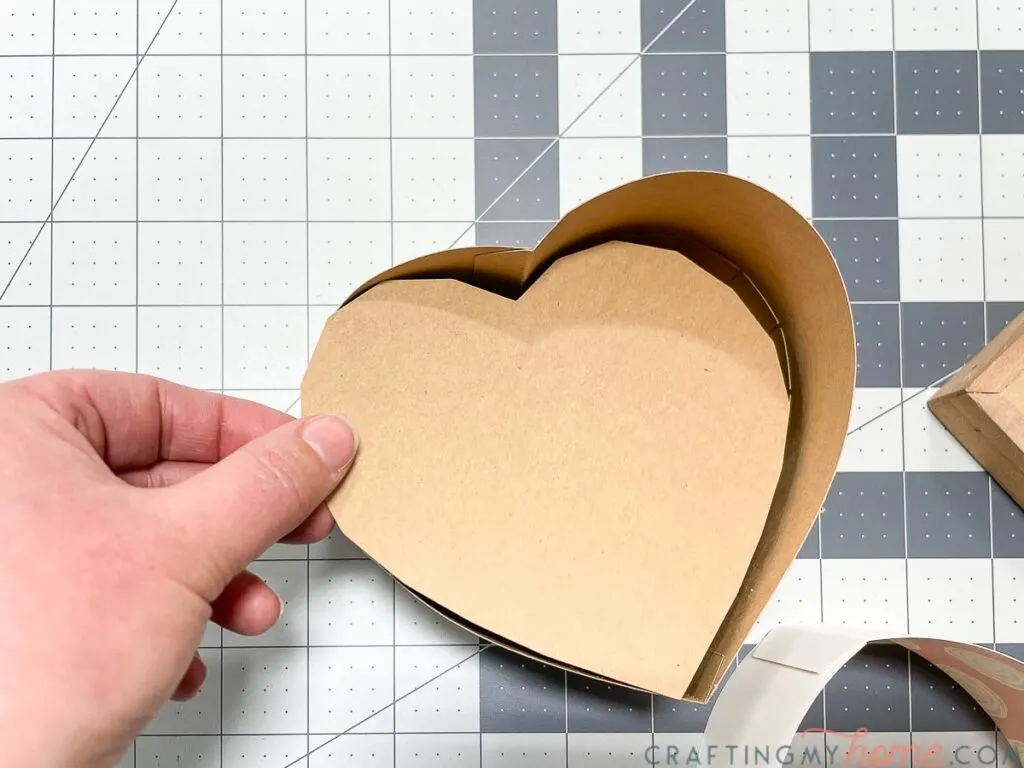
Slip the bottom insert into the box to add a second layer of strength.
I did not glue this one in, but you can if you want even more strength.
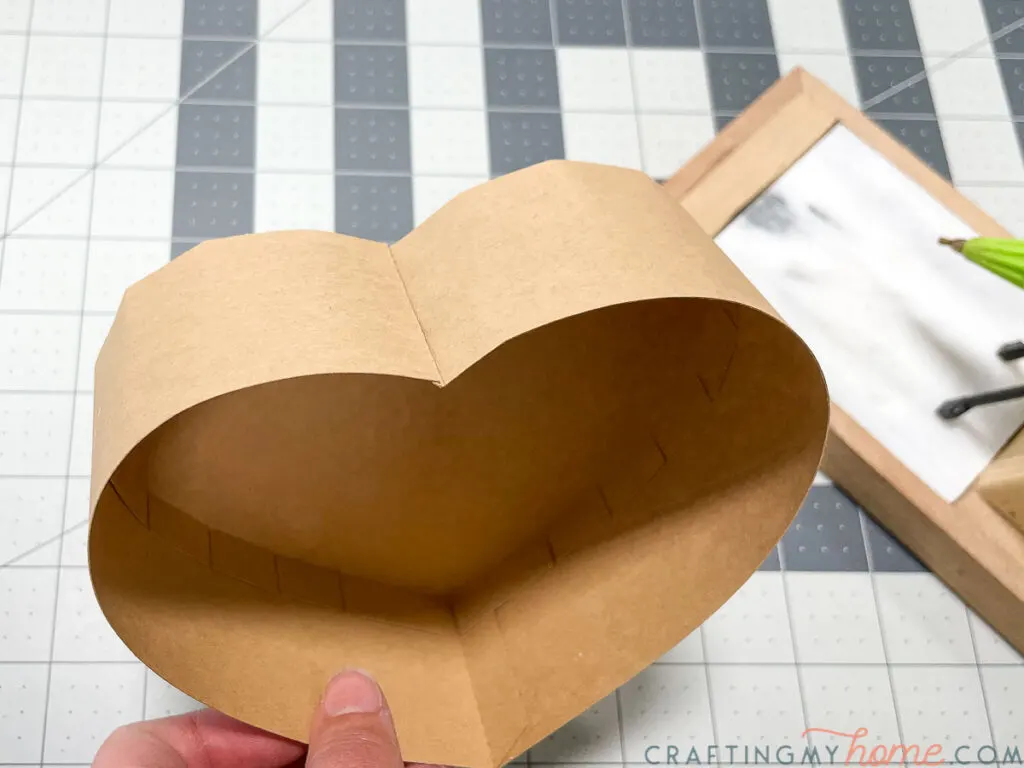
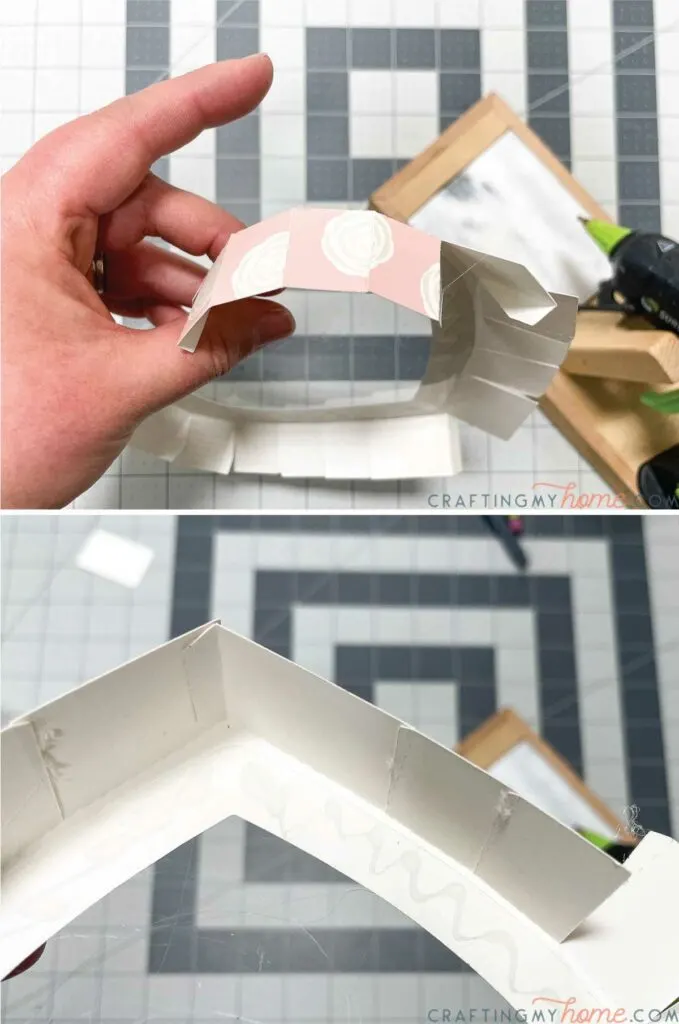
Glue both tabs on the inside side pieces together so that the pattern/color you want showing is on the inside and you have a complete loop.
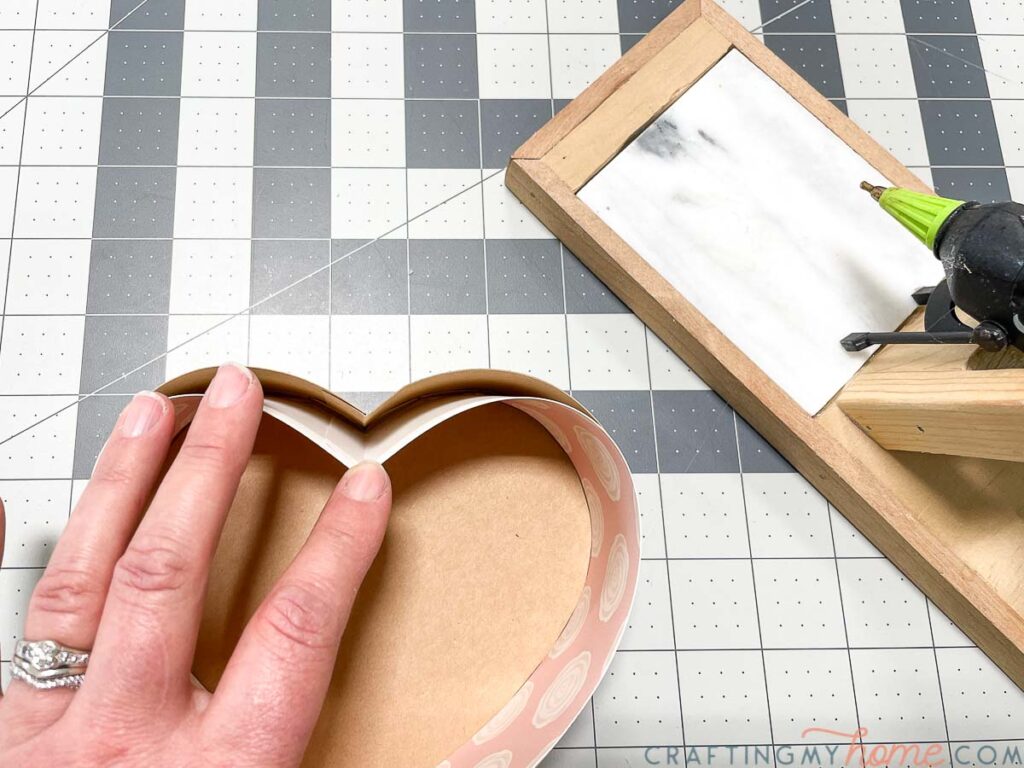
Slip it into the heart box. Line up the point on the top and bottom of the heart.
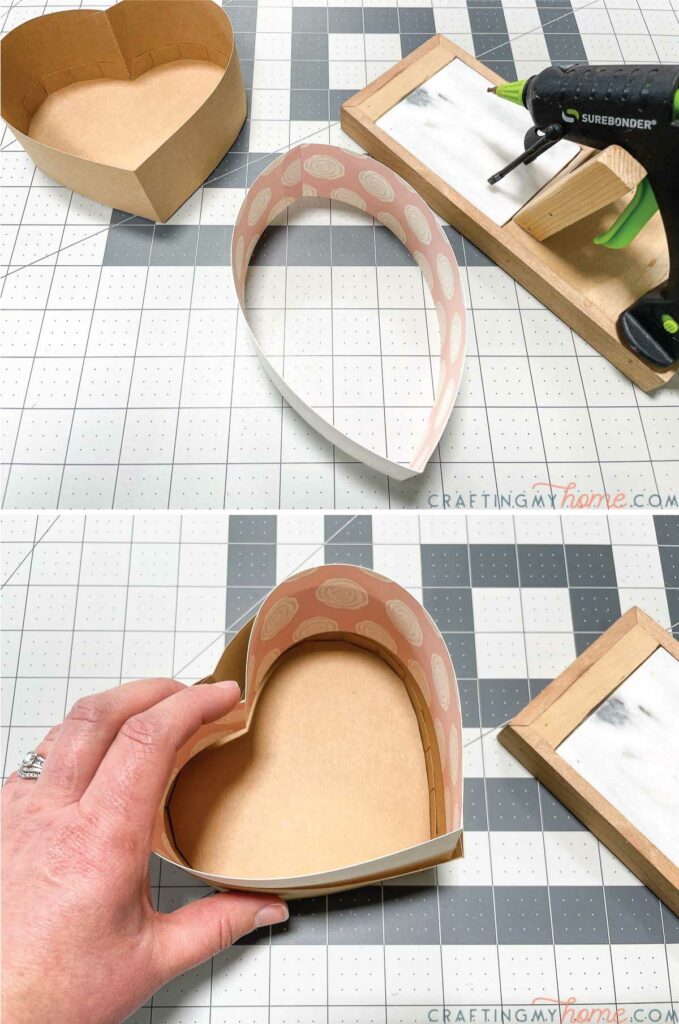
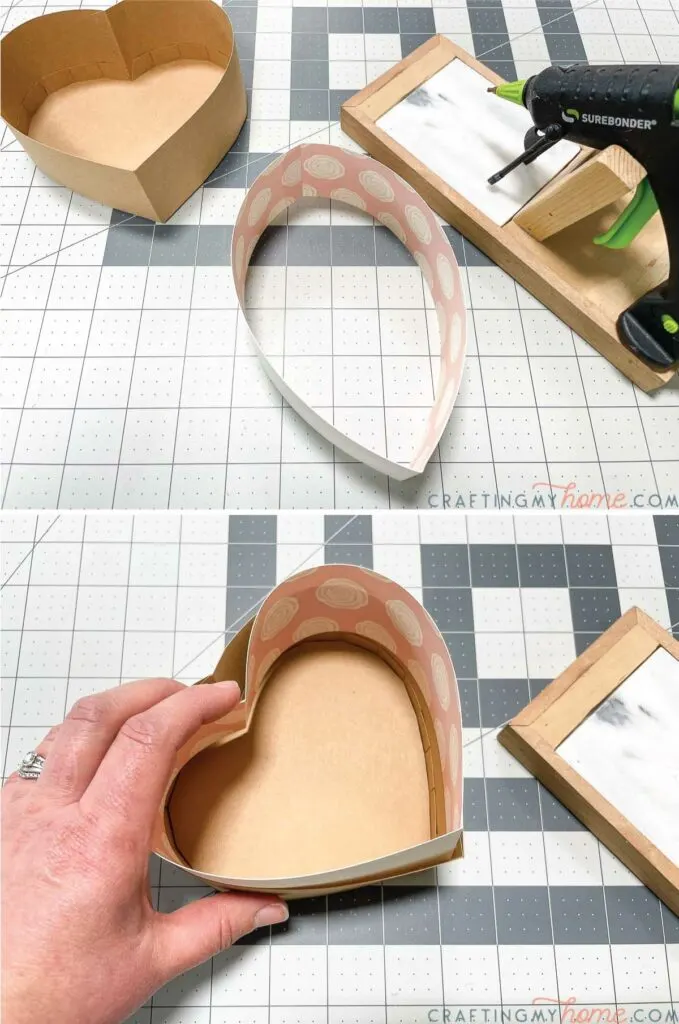
Secure the inside sides to the box with a little hot glue at the top and bottom points.

Assemble the lid
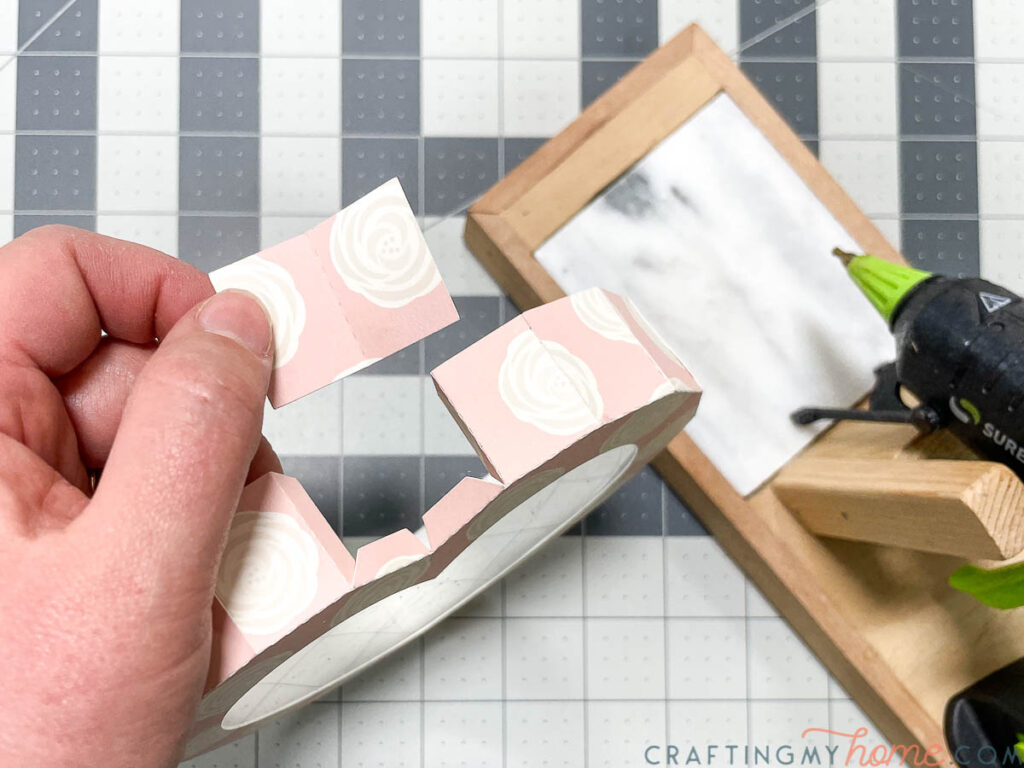
Fold along the lines on the lid piece.
For the pieces on the straighter edge of the heart, the side tabs will be very small. You do not need to fold along these dotted lines.
I glued the clear plastic into the window before assembly. However the hot glue strings stuck to it while assembling the lid, so I now recommend glueing it in last.

Secure the sides of the lid by adding hot glue to the tabs. Make sure to line up the pieces along the dotted lines.
The tiny tabs at the base of the heart will be a little tricky. If you are worried about the hot glue, you could also secure with tape but it won’t be as strong.

Fold the small lid piece in half and secure into the top of the heart point.

Now all that is left is to fill your beautiful new heart box up with chocolates, treats, or anything else you want to gift!


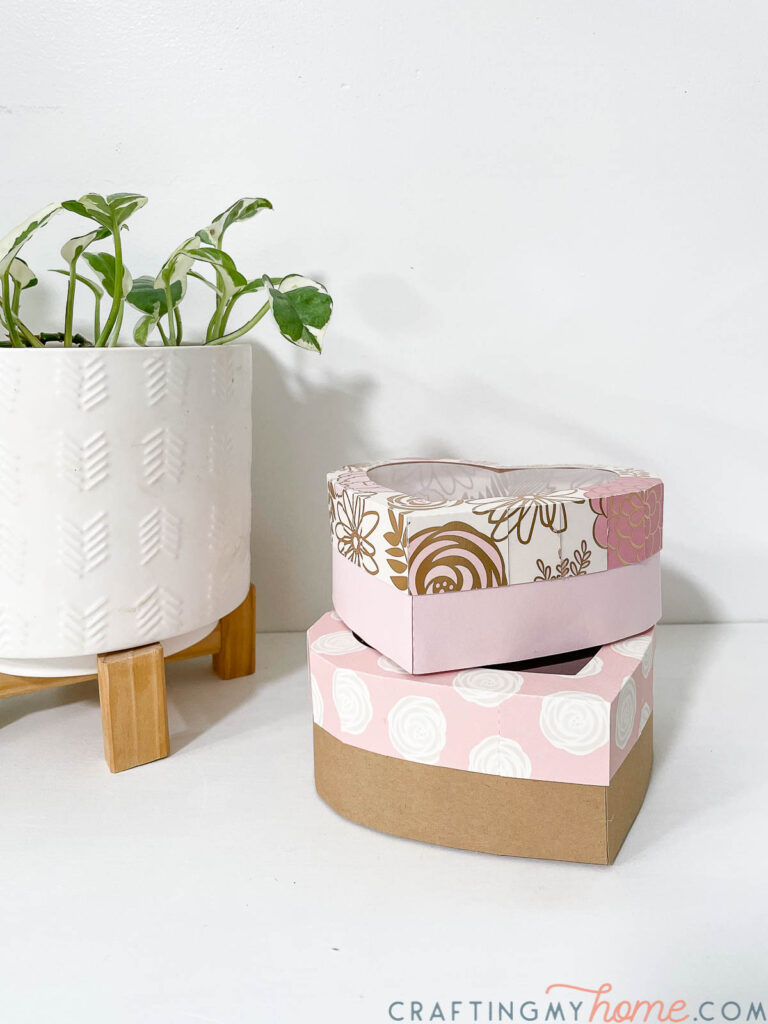
The lid should fit snuggly on top of the heart. You may want to squeeze the sides in to help it slide over.
But it will stay put until your Valentine is lucky enough to open it up! It’s such a fun heart box. I know I can’t wait to share it!


How to Make a Heart Box
Make the perfect gift box for someone you love with this easy DIY heart box. The 5 1/2" X 4 3/4" x 2" box is great for gifting chocolates, treats, jewelry and more!
Materials
- Heart box template
- Cardstock
- Thin plastic sheets
- Glue sticks
Tools
- Detail hot glue gun
- Scissors
- Optional - Silhouette Cameo
- Optional - Cricut Maker
Instructions
- I am sharing the SVG & PDF for the heart box in my subscriber library until 11/25/2018, then they will move to the shop. Click here to subscribe to my newsletter and gain access to all the freebies. If you already have your password, click here to go to the library download them.
- Cut out all the pieces from the template out of cardstock. Trace the window template piece onto the thin plastic sheet and cut out with scissors.
- Assemble the box by glueing the outside side pieces together in the center. Then glue it to the tabs on the bottom piece starting at the bottom point.
- Secure the side all the way around the top of the heart. Finish off by glueing the tab at the top point to close it up.
- Insert the bottom support for extra strength in your box. Glue the inside side pieces together and nest them inside the box for more strength on the sides too.
- Assemble the lid by folding down all the sides pieces. Secure them to each other with glue on the tabs.
- Hot glue the window piece into the top of the lid.
- Now you can fill your heart box up and slide the lid on top!
Happy crafting!