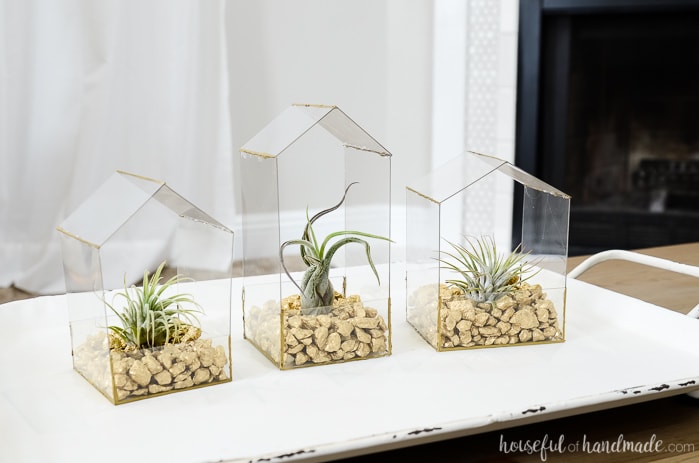
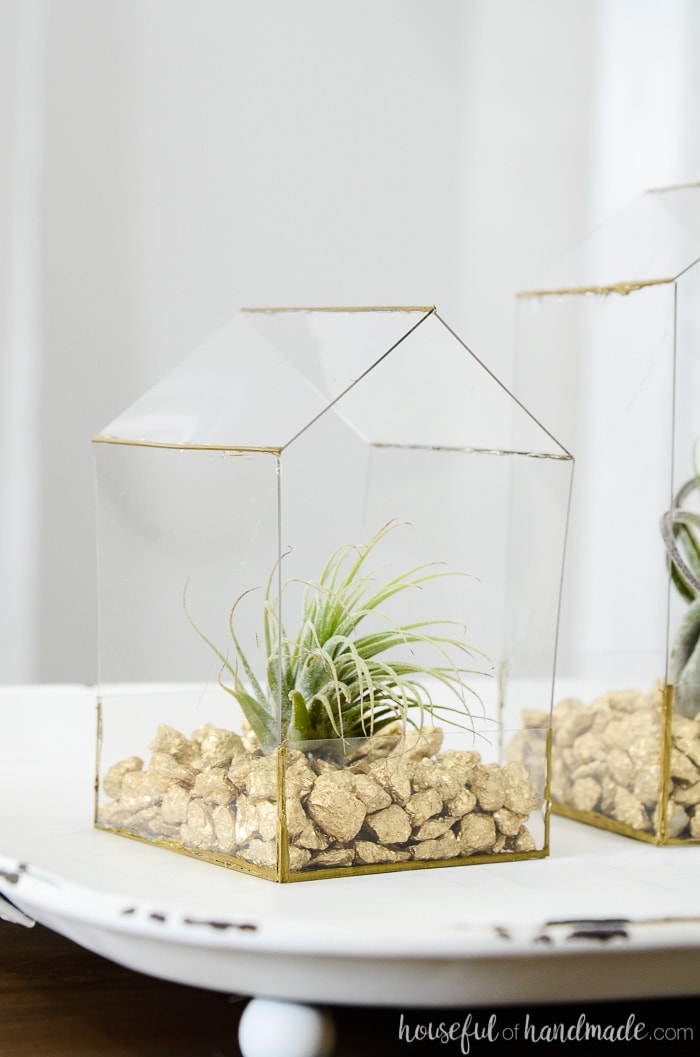
Display your favorite air plants in this modern house shaped air plant holder.
Do you love all the house shaped home decor? Well why not make house shaped air plant holders for your little air plants too! You can make this DIY air plant holder in just a few minutes or whip up a whole village air plant display in an hour.
These air plant terrariums are quick and easy to make. I used plastic sheets that can be cut with an x-acto knife and ruler. Then assembled them with hot glue!
The combination of these house shaped holders and these DIY hanging air plant holders make my house full of wonderfully beautiful air plants!
This post may contain affiliate links. As an Amazon Associate I earn from qualifying purchases. Click here to read my full disclosure policy.
Why Air Plants?
My goal for last year was to add more plants to our home. Sadly though, I kill houseplants!
So this year’s goal is to find plants that I cannot kill and add them to the home! Along with my peace lily, spider plant, and hardy succulents, I decided it was time to introduce some air plants.
I was told air plants are hard to kill because all they need is air (and an occasional spritzing with water). Guess what I happen to have in our home… lots of air! Ha ha.
The Best Way to Water Air Plants
Air plants absorb the water they need from the air, but if you live in a place that is less humid than their natural habitat, you will need to water them! I read about a lot of different ways to water them.
And after a year of keeping them alive, I have found the best way to water them!
Since air plants absorb their water though their “leaves” they need to have water on their leaves for a significant period of time. Spritzing them did not give them the water they needed and my plants started to shrivel up (it also made a mess to clean up around the air plant display).
Instead, follow these easy steps each week to give your air plants the water they need to stay alive even in the driest of places:
- Fill a small bowl with distilled or other non-chlorinated water.
- Place the air plants inside the water for 1 hour (if you forget about them and leave them in overnight, don’t worry it does not kill them).
- Remove them from the water and place them back in their holder.
That is it! Super easy and your air plants will be much happier than if you just spritzed them because they get a nice big drink.
DIY Air Plant Holders
When I went to buy my new air plants, I looked at the pretty glass air plant holders. But they are expensive! And I don’t want to invest all that money if I am possibly going to kill these cute little plants.
Instead I knew I could DIY something even better. Last year I bought some .020 thick plastic sheets to use as wall stencils. It was too thick for that so I went back for the thinner material. But I was left with these sheets and nothing to use them for.
Fast forward to last week when I was trying to figure out how to make my own air plant terrarium. Since their little homes do not have to be water tight, why not use this thin, clear plastic to make the perfect little air plant holder. And then it hit me… why not make the perfect little air plant houses!
I am sure you have seen all the house shaped shelves, decor and such. I must admit, I love it. We even added little houses to our Christmas tree last year. And out of all the crazy shapes I could have picked, houses are easy to make. They require just a few pieces with no complicated math or angles. Perfect!
So armed with a few helpless little air plants and some plastic sheets, I set off to DIY the perfect air plant holder… Air Plant Houses. And my husband is sick of me asking how cute they are because now I am obsessed. They are too cute for words so I will just let the pictures do the talking for me.
How to Make a DIY Air Plant Display
Supplies:
- .020 plastic sheets
- You could also use thin plexiglass or acrylic sheets.
- Mini hot glue gun & glue sticks
- Gold Sharpie paint pen
- Decorative rocks
- I couldn’t find gold rocks, so I used white rocks from the dollar store and spray painted them with Rustoleum Metallic Gold paint.
- Small air plants
Cut out your plant sheet. You will need two pieces for the side walls, one for the bottom, two for the roof and two for the front/back support. I made 3 different sized houses using the following measurements:
For the tall house:
- Side walls: 4 1/2″ tall x 2 1/2″ wide
- Bottom: 2 1/2″ long x 2 1/2″ wide
- Roof: 1 5/8″ long x 2 1/2″ wide
- Support: 1 3/8″ tall x 2 1/2″ wide
For the wide house:
- Side walls: 3 1/4″ tall x 2 1/2″ wide
- Bottom: 3″ long x 2 1/2″ wide
- Roof: 1 3/4″ long x 2 1/2″ wide
- Support: 1 1/4″ tall x 3″ wide
For the small house:
- Side walls: 3″ tall x 2 1/2″ wide
- Bottom: 2 1/2″ long x 2 1/2″ wide
- Roof: 1 3/4″ long x 2 1/2″ wide
- Support: 1″ tall x 2 1/2″ wide
As you can see all the houses are 2 1/2″ wide. So I cut 2 1/2″ wide strips off my 12×12 sheet of plastic. I used almost one sheet to make all 3 houses.
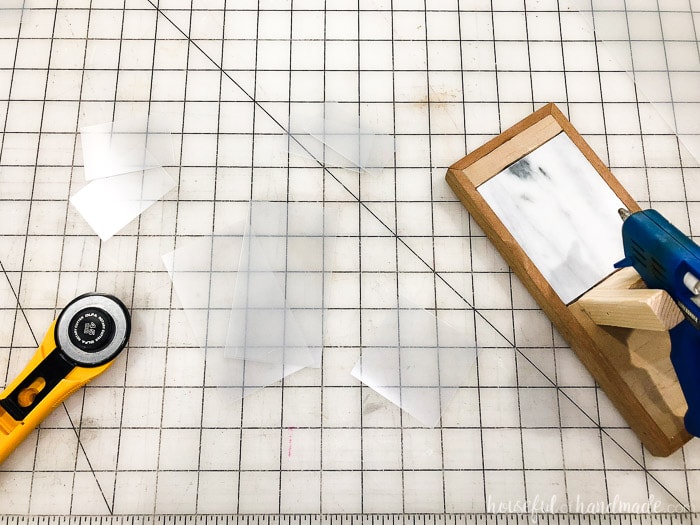
Once the pieces were cut, I had to peel the protective film off both sides of the pieces before glueing them together. Now it is a perfectly clear piece of plastic.
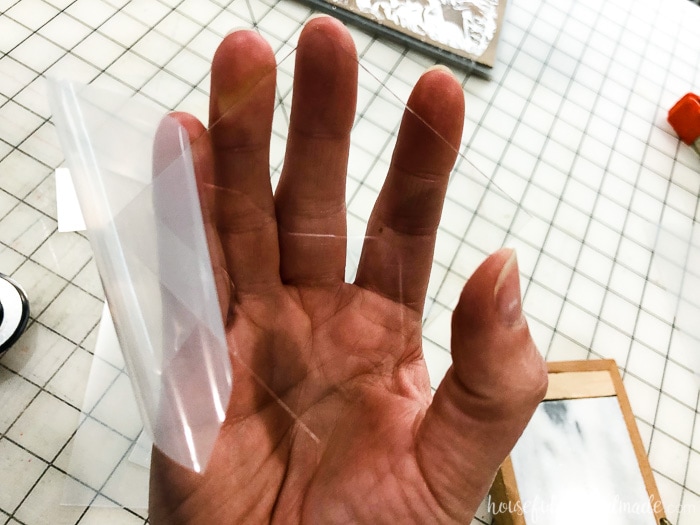
Run a small bead of glue along the bottom edge of the side piece and attach it to the side of the bottom piece. Repeat on the other side so you now have a U shaped piece.
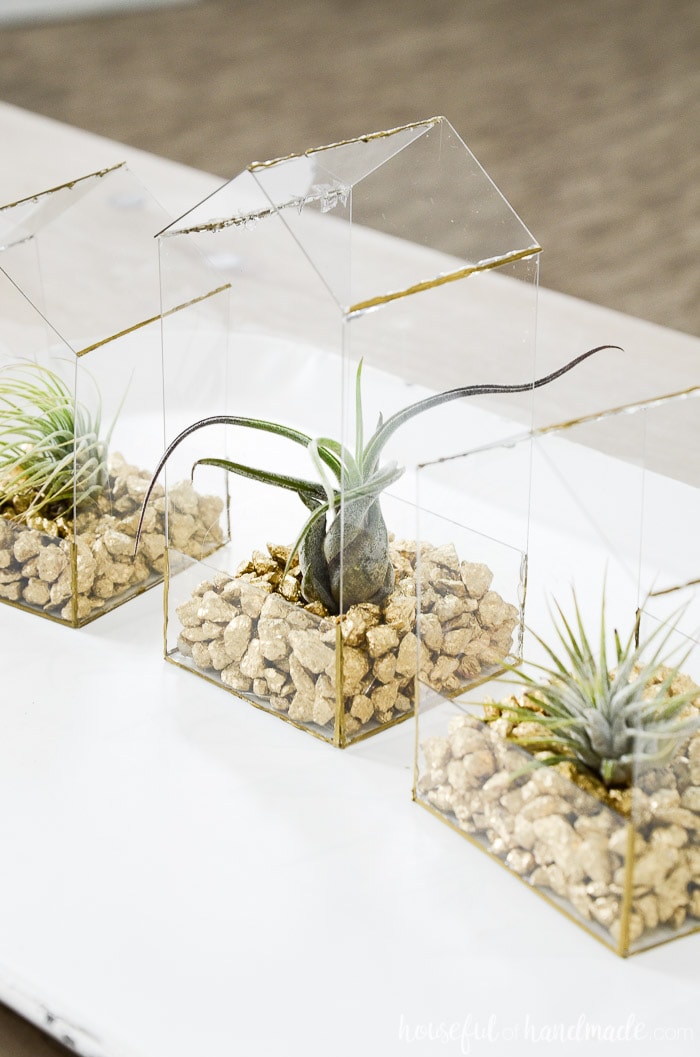
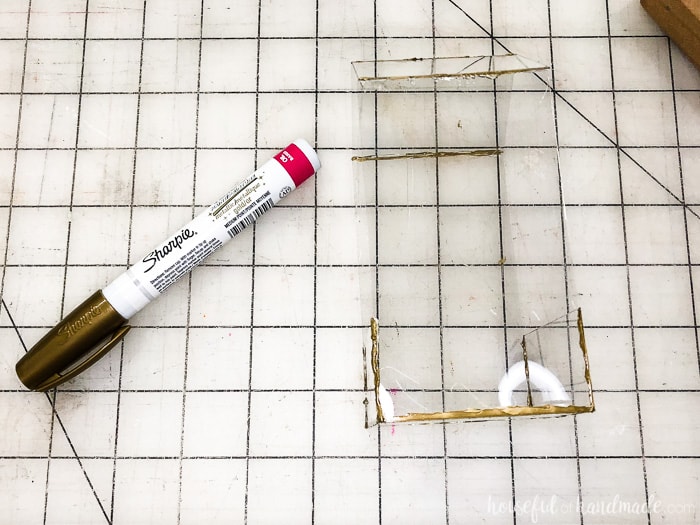
I prefer my mini glue gun for this to get a nice thin line of glue. Don’t stress too much about seeing the glue lines, we will paint those later with the gold to make it look like they are held together with lead so the bumpy glue is a good thing.
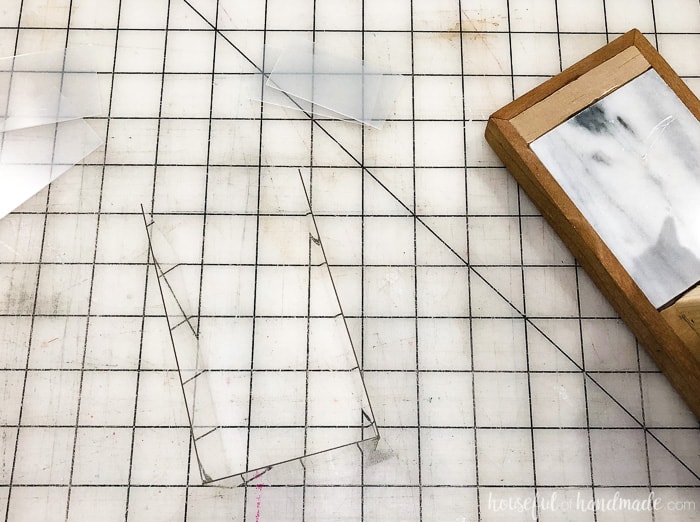
Attach the front and back supports by running a thin bead of glue along the front edge of the bottom and just the lower part of the sides and then place the support piece on top of it. Repeat on the back.
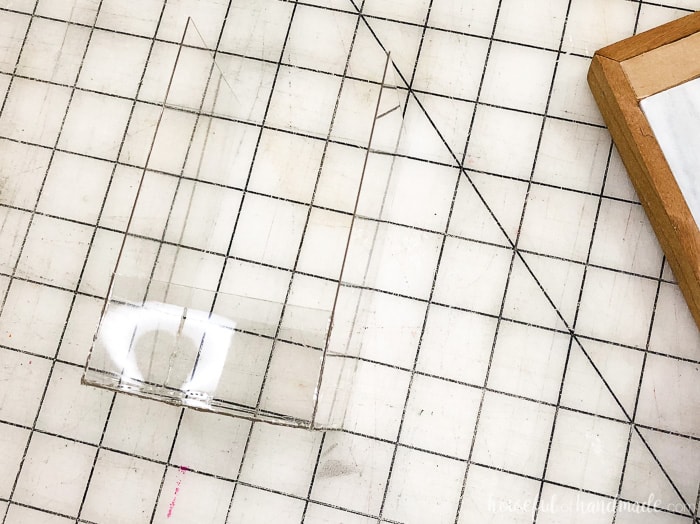
To attach the roof. Glue run a thin bead of glue along the top of the side piece and then attach the roof piece at an angle. Attach the second roof piece to the other side.
Don’t worry too much about the angle because it will all fit together when you attach the two roof pieces in the center. Then run a bead of glue to one of roof piece tops and press the other to secure.
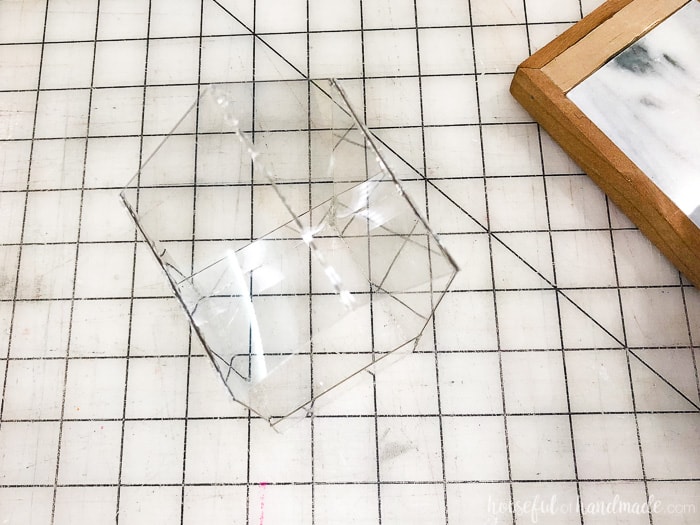
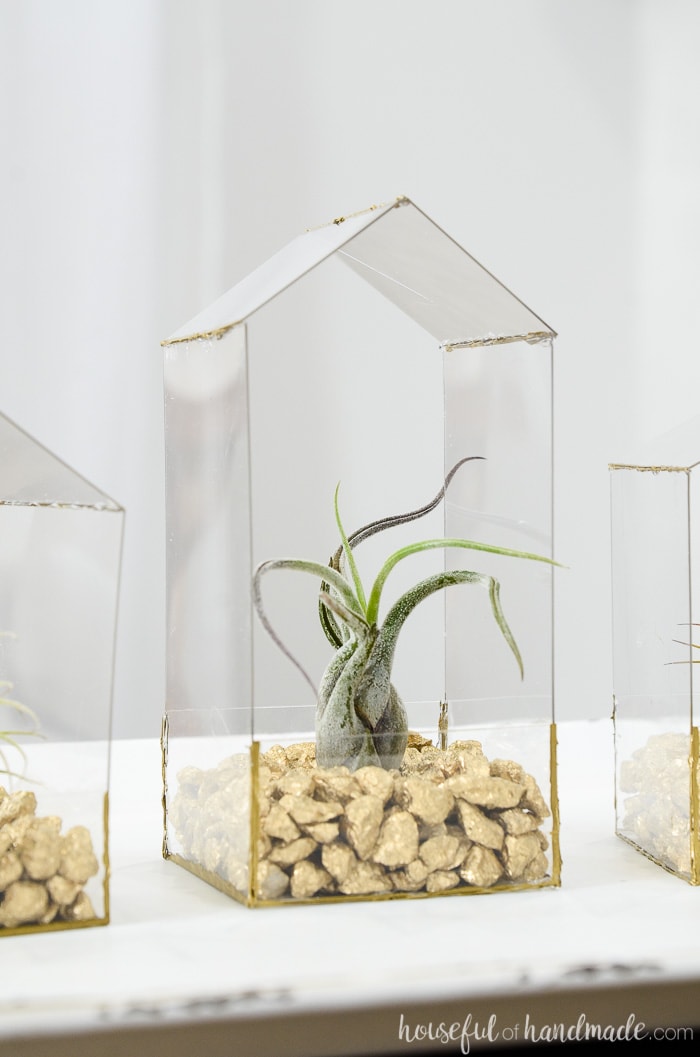
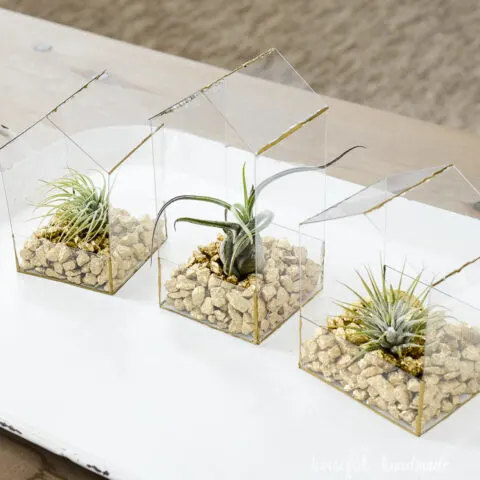
Use the gold Sharpie pen to paint over the glue and corners. This makes it look like glass and gold lead instead of hot glue, very fancy!
How to Plant Air Plants
The best thing about air plants, is they do not have to be planted. You can fill your DIY air plant terrarium with decorative rocks, soil, marbles, or vase filler.
- Create a small dent in the center of your filler with your fingers.
- Nestle the air plant into the dent to keep it from falling over.
That is it!
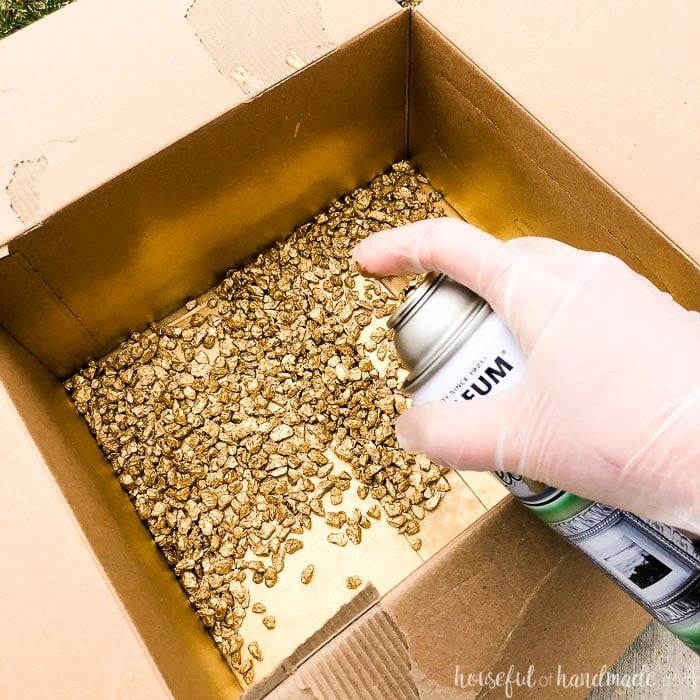
If you want to paint your decorative rocks like I did, the easiest way is to add them to a box. Then you can spray and shake, spray and shake, spray and shake, till all the rocks are evenly coated in a layer of gold paint.
I always wear a latex glove when I spray paint to prevent the paint getting all over my finger when I push on the nozzle.
Where to Put Air Plants
Air plants don’t need lots of direct light. They can survive for years in a room with decent indirect sunlight (I know, mine have been alive for over a year now). So I put together a list of places to display your new house-shaped air plant holders.
- As a vignette on a coffe table
- Nestled among the decorations on a shelf
- To add some greenery to a console table
- As a centerpiece on your dining table
- To add plants to your nightstand
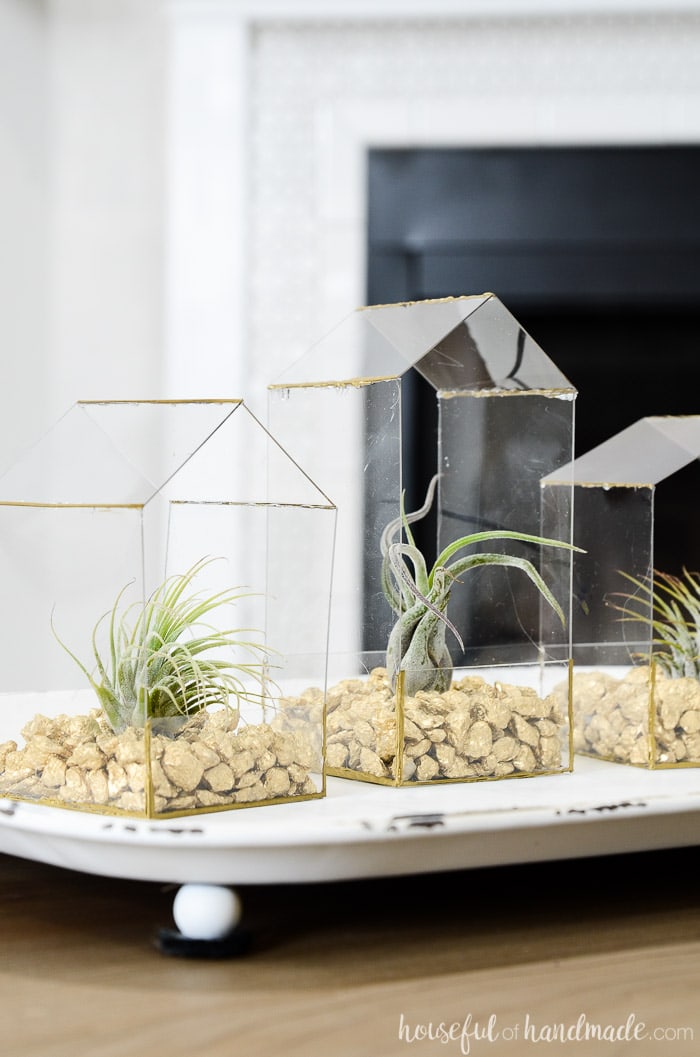
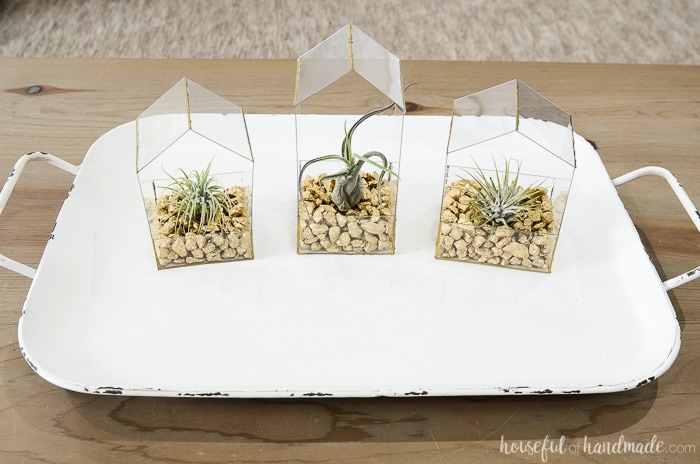
Really you can place them anywhere you need the beautiful of a real plant without the hassle of most potted plants. I put the three little house shaped air plant holders on a tray on my coffee table. I love how they turned out so much!
How to Make a House Shaped Air Plant Holder
Make fun and modern house shaped air plant holders with this simple tutorial.
Materials
- .020 plastic sheets
- Gold Sharpie paint pen
- Decorative rocks
- Metallic Gold paint.
- Small air plants
Tools
- Mini hot glue gun & glue sticks
Instructions
- Cut out your plant sheet to size with two pieces for the side walls, one for the bottom, two for the roof and two for the front/back support.
- Once the pieces are cut, peel the protective film off both sides of the pieces before gluing them together.
- Run a small bead of glue along the bottom edge of the side piece and attach it to the side of the bottom piece.
- Repeat on the other side.
- Attach the front and back by running a thin bead of glue along the front edge of the bottom and just the lower part of the sides.
- Place the support piece on top of it. Repeat on the back.
- Attach the roof by running a thin bead of glue along the top of the side piece and then attach the roof piece at an angle.
- Attach the second roof piece to the other side.
- Run a bead of glue to one of the roof piece tops and press the other to secure.
- Use the gold sharpie paint pen to paint over the glue and corners.
- Fill your DIY air plant terrarium with decorative rocks, soil, marbles, or vase filler.
- Create a small dent in the center of your filler with your fingers.
- Nestle the air plants into the dent to keep it from falling over.
Recommended Products
As an Amazon Associate and member of other affiliate programs, I earn from qualifying purchases.
-
 Grafix Ultra Clear .020 Plastic, Durable and Archival Film, Perfect for DIY Crafts, Stencils, Journals, Cards, 3D Embellishments, and More, 12" x 12", 4 Pack
 -
 Icona Bay 24x36 Clear PET Plastic Plexi Glass, PET Plastic Sheets are Ideal for DIY Art Projects & Protective Barriers
 -
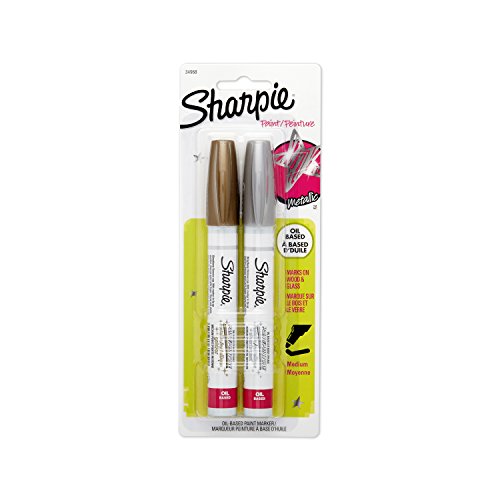 Sharpie Oil Based Paint Markers, Medium Tip, Metallic Gold/Silver, Pack of 2
 -
 Rust-Oleum 7270830 Stops Rust Metallic Spray Paint, 11 oz, Gold Rush
Barb
Saturday 29th of August 2020
How often do you give them the water?
Kati
Tuesday 1st of September 2020
Soak them for 20-30 minutes in non-chlorinated water (distilled or filtered) once every week. Make sure to shake off any excess water because they shouldn't stay wet or they will rot. They are super easy to care for plants!
Cindy
Saturday 28th of July 2018
I love your glue gun stand. Did you make it? I've never seen one like that before. I'm always putting my glue gun on a piece of cardboard or newspaper and then having to clean up the globs. If you made that stand, I'd love to see a post with instructions.
Kati
Saturday 4th of August 2018
I did make it, but I used this post from my friend at https://www.virginiasweetpea.com/make-diy-glue-gun-holder/ to make it. I was always using a paper plate to store mine before. This is so much better!
Rachel
Thursday 29th of March 2018
This is beyond genius! I thought for sure you soldered those together. It looks amazing!
Kati
Tuesday 3rd of April 2018
Ha ha! Since I do not have a soldering iron I had to make do. Nothing a glue gun cannot fix ;)