Curtains are expensive! We’ve been in our house for ever and I swear curtains were one of the last things that I got around to. Spending my hard earned money on something that only covered the windows was a hard thing for me to get used to, but as the heat of the summer sun is coming into my dining room through our large sliding glass door, I knew I needed to get some curtains up to help keep us cool.
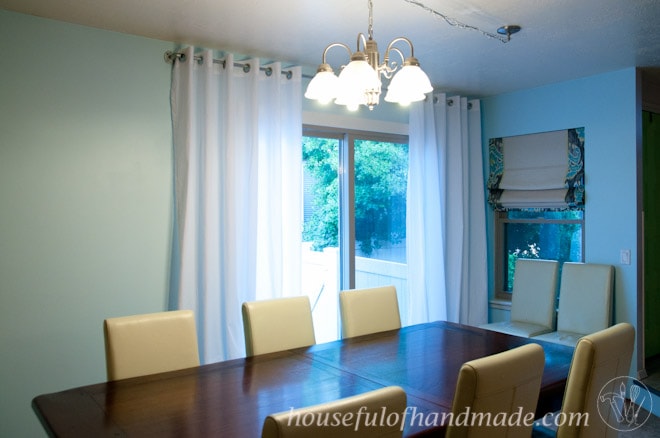
I love the light that our dining room slider gives the space and definitely don’t want to loose it. So I knew I wanted a thinner material, not a sheer, but something that let the light in, and I needed to keep the budget low. I decided I would use muslin fabric.
This post may contain affiliate links. As an Amazon Associate I earn from qualifying purchases. Click here to read my full disclosure policy.
It has a decent weight to help block the heat but is thin enough to let in the light. I also love that muslin can be bought in larger widths then the normal 45″-60″ fabrics which means I don’t have to have an ugly seam down the center of my panels but can make the panels big enough to cover the whole slider and some! And muslin is CHEAP!
It only cost me $20 for 6 yards of 90″ wide muslin (using a 40% off coupon at Joann’s) which allowed me to get 8 foot long curtain panels that are 86″ wide. Then I used 3 packets of grommets (8 in each packet) that I actually didn’t have to pay for because my mom bought some that she didn’t end up using, but they will cost you about $7 a packet.
For a total cost of $45 for curtains big enough to cover a 9′ span with beautiful grommets! So if you want to tackle your own curtains, don’t be scared. It’s a great beginner sewing project because you are working with straight lines. Yeah, it couldn’t be easier!
When working with cotton fabric, like muslin, I always like to pre-wash my fabric. There is nothing worse than making beautiful custom curtains, then have them shrink the first time you wash them so they are now too short.
So give them a quick wash in warm water to get all the shrinking out. Then when it’s all dry you will need to give it a good iron. Use a hot iron with lots of steam to get your wrinkles out!
Then you are ready to start sewing. I started by ripping my fabric in half since I wanted 2 curtain panels. If you are new to sewing, ripping your fabric is a very handy tool. You can use it when you need to cut a straight line along the grain of the fabric.
All you need to do is cut a little notch in the fabric where you want it to rip, grab each side and pull it apart! Now you have two equal pieces. Each of my pieces was 9 feet long (or 3 yards). This gave me lots of room for my 4″ header for the grommets and a nice thick hem.
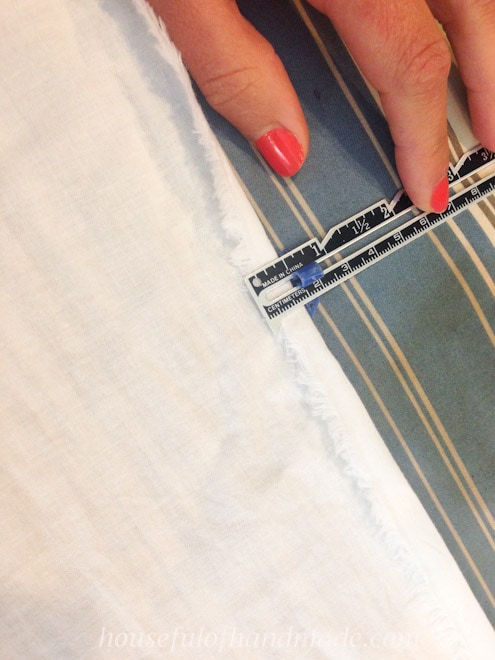
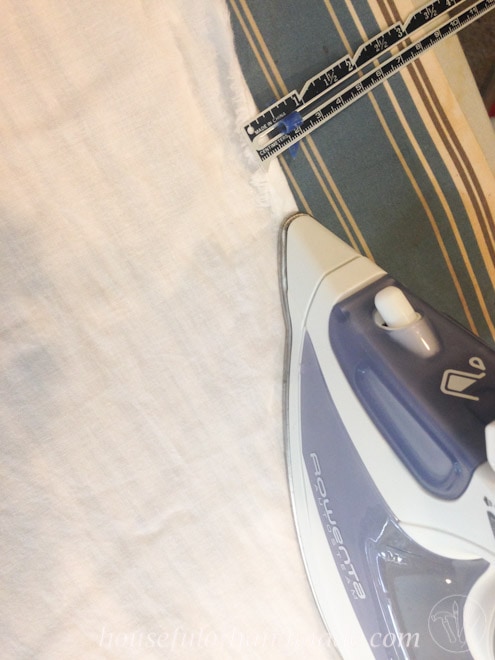
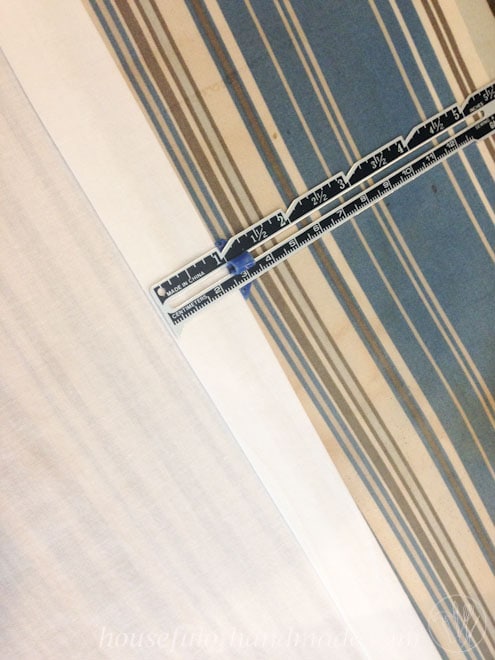
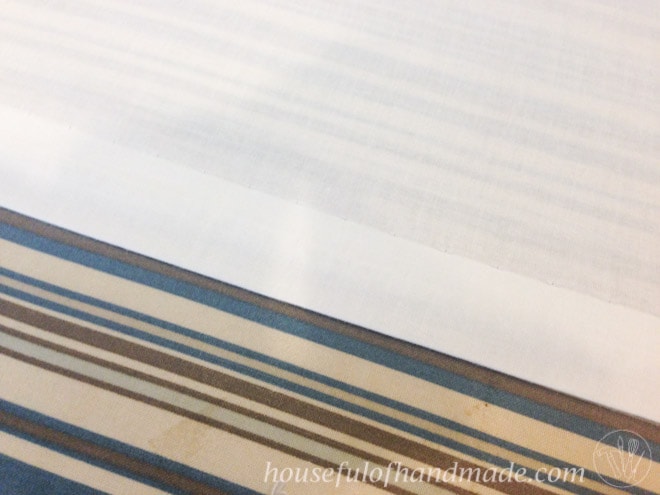
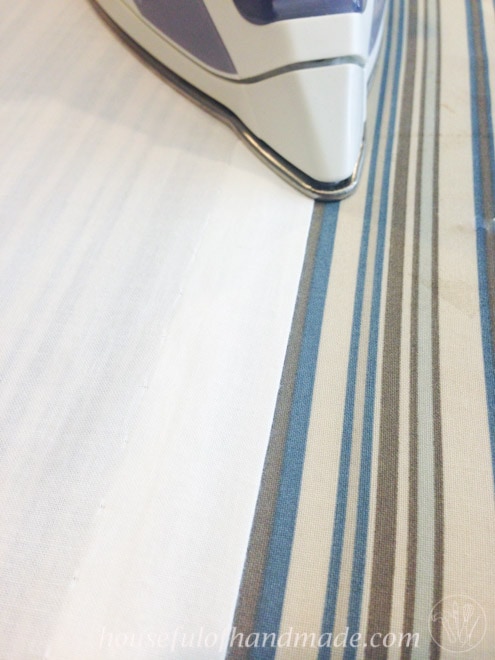
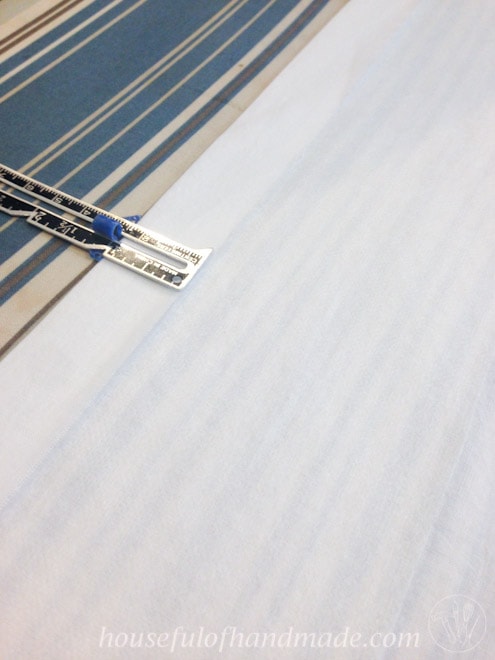
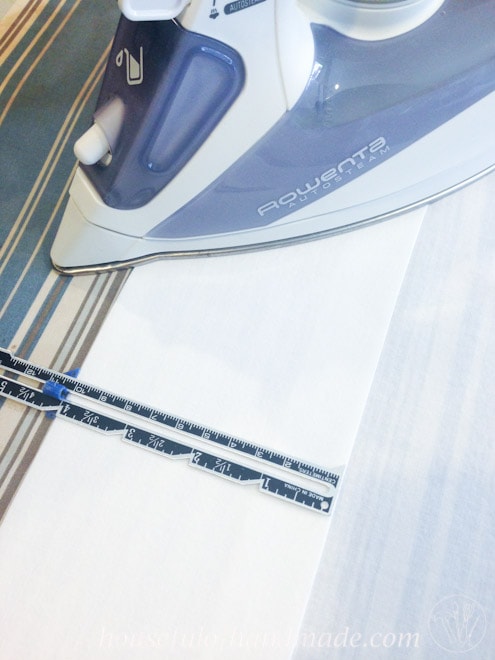
I always hem the sides first on curtains. I wanted a blind hem so that there was a real fancy seamless look to the curtains. I started by folding over 1/2″ and ironing it nice and flat (use lots of steam, it’s your friend when using cotton fabric). I LOVE my seam gauge. It is a must have tool in my sewing room.
When ironing hems, all you need to do is set your length on the seam gauge then use it to keep the seam lined up as you iron it flat.
Next I folded it over 1″ and ironed again. This will enclose the unfinished edge completely in your seam and make it look beautiful and professional.
Then I sewed the seam that I so perfectly ironed. The ironing made the seam sit so flat and nice I didn’t even need pins to hold it. I used a blind hem for the side seams.
This is a way to hem without showing the stitches. I find the line of stitching can be a little heavy on the sides of curtains. This eliminates that problem.
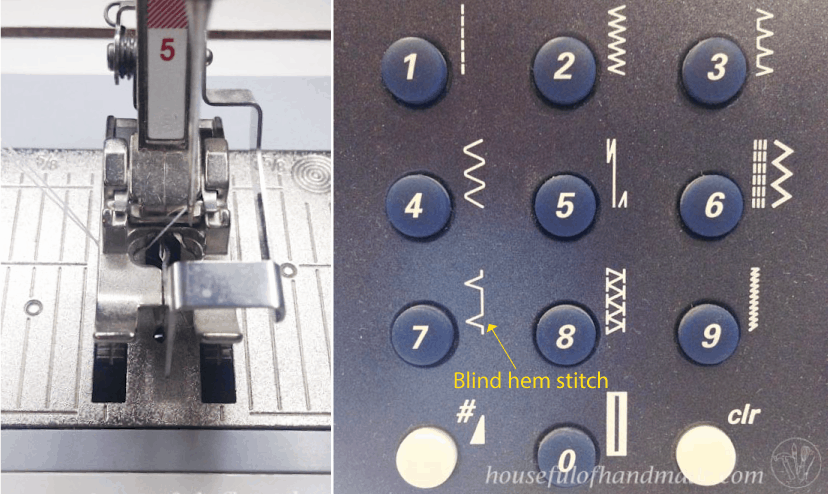
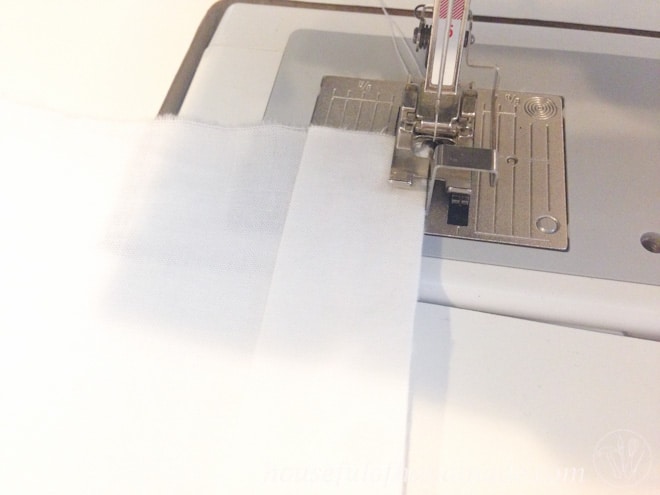
If you’ve never done a blind hem, don’t be scared, it’s pretty easy. One thing that makes it even easier is a blind hem foot on my sewing machine. I have a Bernina machine and the blind hem foot is #5.
The blind hem stitch is a straight stitch with a zig zag every 3 stitches. It’s the little zig zag stitch that grabs the fabric and so you have just a little stitch showing on the front of your fabric.
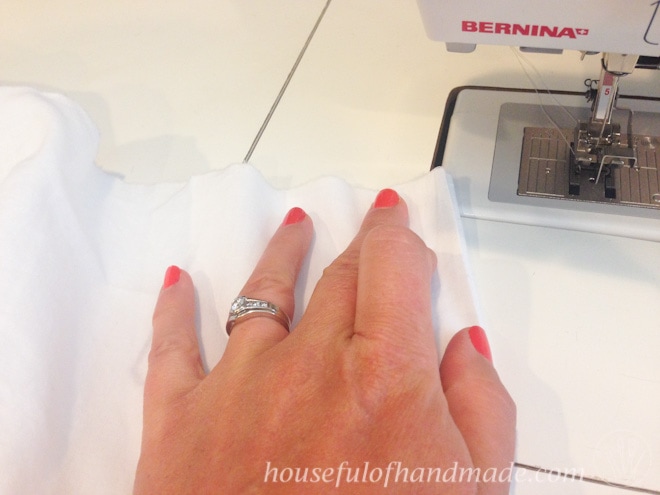
When sewing the blind hem, you will fold the hem back on top of the fabric so the backside of the hem is facing you.
Then you insert it under your blind hem foot lining the edge of the fabric/hem against the center guide of the foot.
Now you will sew. You will have 3 straight stitches that sew off the right of the fabric and then one stitch that will jump over the enter guide and grab the fabric and the hem just a little bit.
When you open your finished hem, you will see little bitty stitches holding it together, but don’t worry, it’s a great hem.
It’s such a clean hem and that makes me happy 🙂
Now do the same thing on the other side of the fabric. Then iron the hems out nice and flat. Again, use lots of steam!
It’s time to add the top header that you will put the grommets in. I wanted a little extra stiffness on the header so it would have a very pretty fold on the top of the curtains when they are open. So I added a lightweight iron-on interfacing in the top.
The instructions for the grommets said you needed at least a 4″ header, so I cut a strip of interfacing that was 4″ and ironed it onto the fabric 1″ from the top of my curtain panels. Then I folded over that 1″ and ironed it down.
Now fold over 4″ and iron flat.
I didn’t use a blind hem for the top, but instead I sewed a regular straight stitch 1/4 from the top of the curtain and 1/4″ from the bottom of the 4″ header.
Then it was time to add grommets. I always wait till the very end to hem the bottom, and prefer to hang them to figure out the length to get the perfect length. So I left the bottoms undone and finished the top.
Adding grommets was so easy. It was the first time I have done it, but I will definitely do it again!
Start by measuring out the center of each grommet. When you decide how many grommets you want, you will want o use an even number so that the ends of your curtains are both pointing towards window.
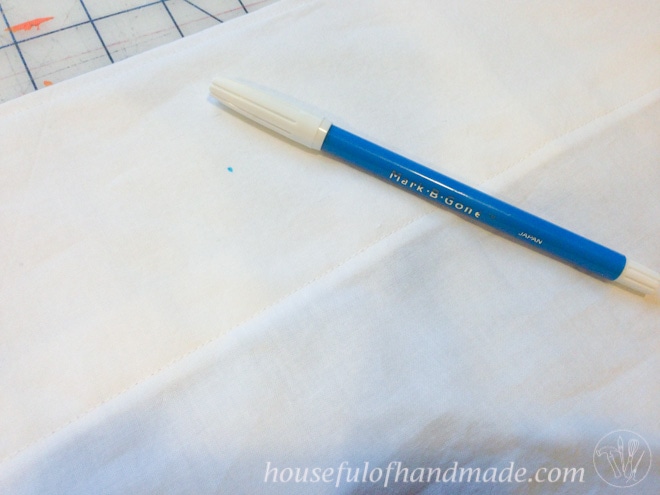
I had 7 1/8 inches between grommets from center to center. For each end, you will do half of that. I used my fabric marker to put a simple dot in the middle of where the grommet would be.
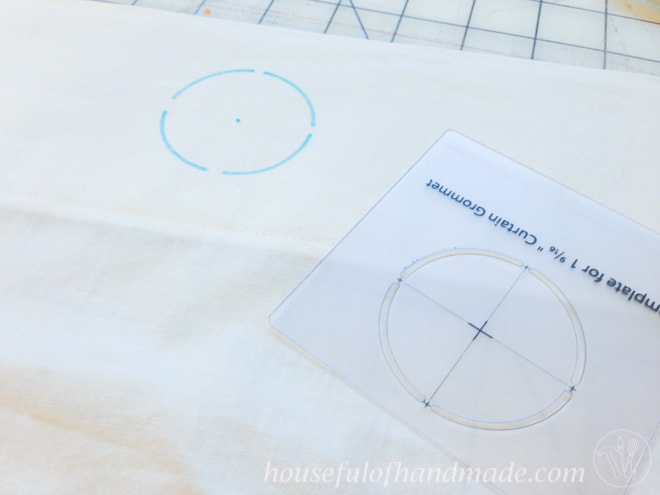
Then I used the template that came with the grommets and marked my circles with my fabric marker.
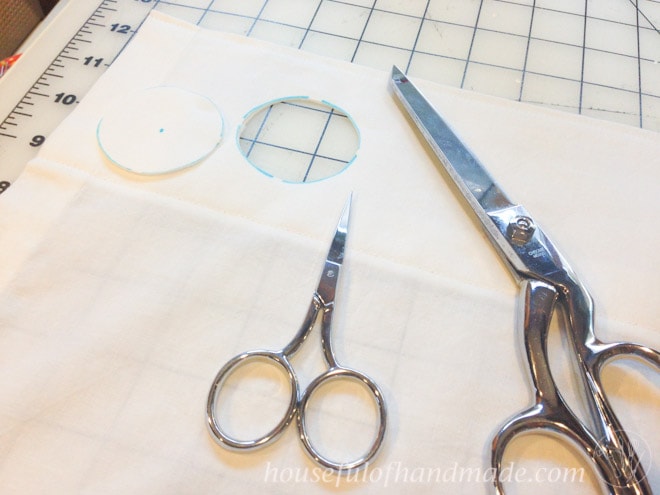
Now to cut out the circles, I started by using my little snips to start the cutting because they are super sharp and can easily get into the fabric. Then I finished cutting the circle out with my nice sharp fabric scissors.
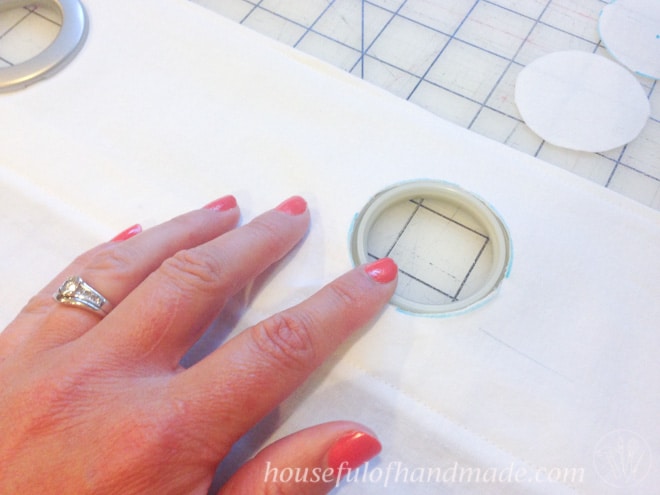
Then put the back part of the grommet behind the fabric centered in the hole.
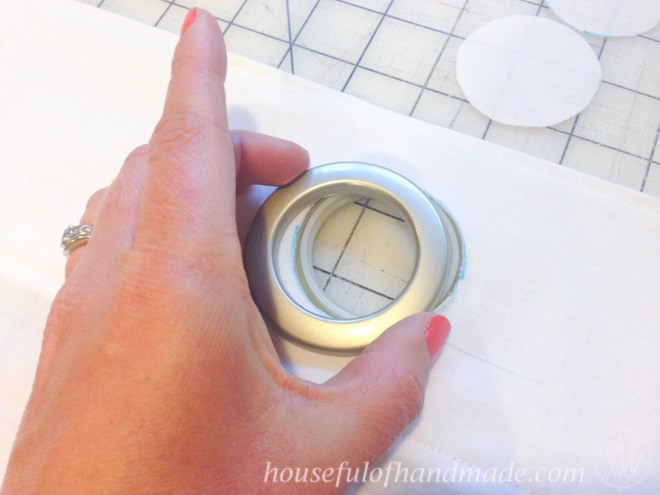
Put the top of the grommet on the top of the fabric over the hole.
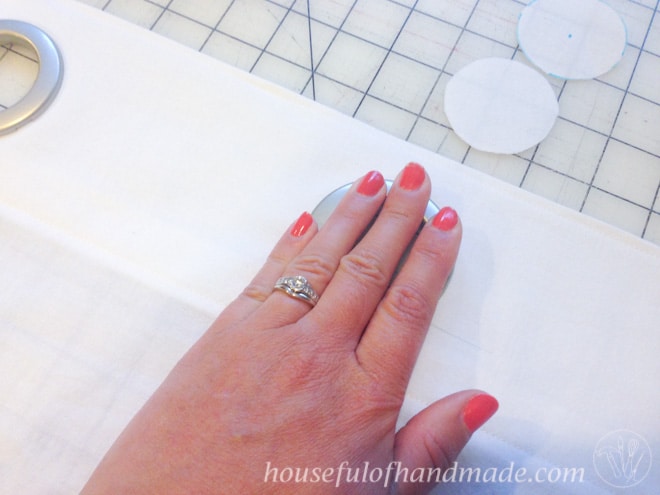
And press firmly to snap it together. You will hear an audible snap and feel it come together.
Then you are done with the grommet, continue until all the grommets are on your curtains. It only took me about 15 minutes to do all 12 once I got going (and the kids stopped bugging me).
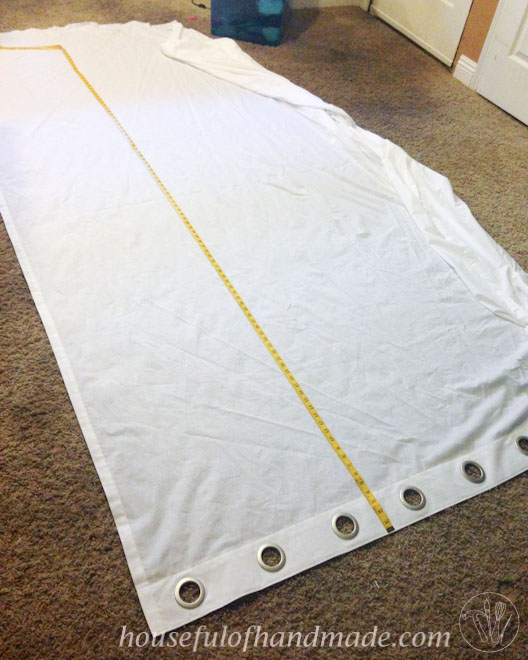
This is where I stopped and hung up the curtains to get my length. I like to have my curtains about 1/2″ longer than needed so they pool a little bit on the floor. That is my preference, you can do whatever length you want.
I marked the length a few places, then played the curtains out on the floor to measure the hem out so it was super even.
I wanted a nice fat bottom hem, so I cut my fabric 6″ longer then the length I wanted, folded over 1″ and ironed. Then folded over 5″ and ironed. Then I did a blind hem again for the bottom of the curtain panel.
A nice good ironing is needed, then hang them up and smile. You just made yourself some nice curtains with grommets.
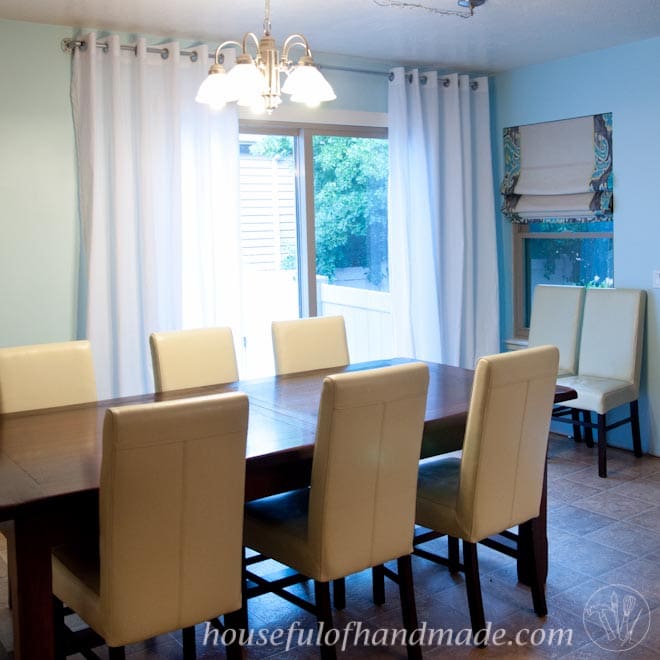
I hung them up and stood back to admire my work!
It’s been so nice to have the sun blocked out in the morning (our slider faces east) to help us stay cool and keep us from going blind while eating breakfast.
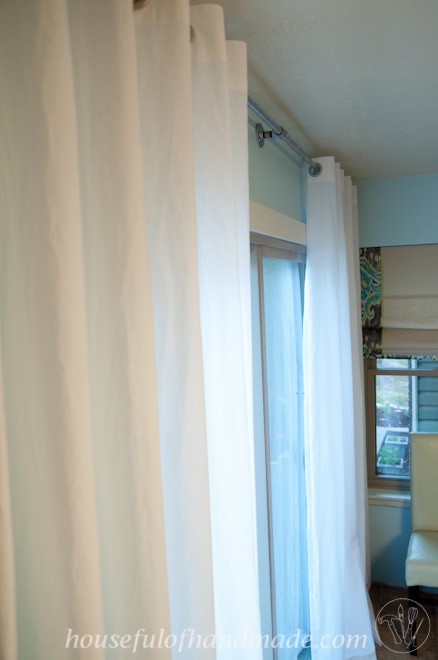
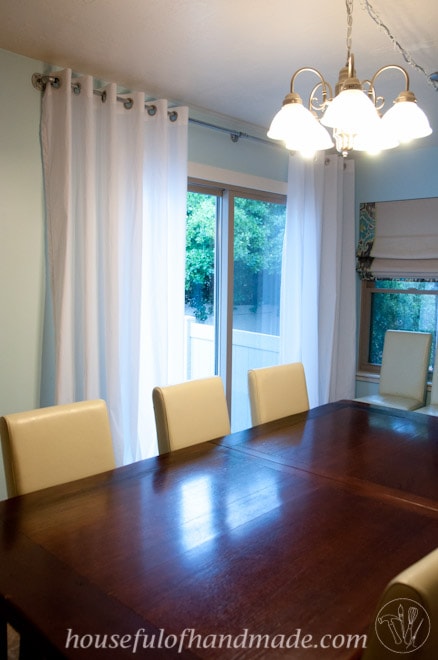
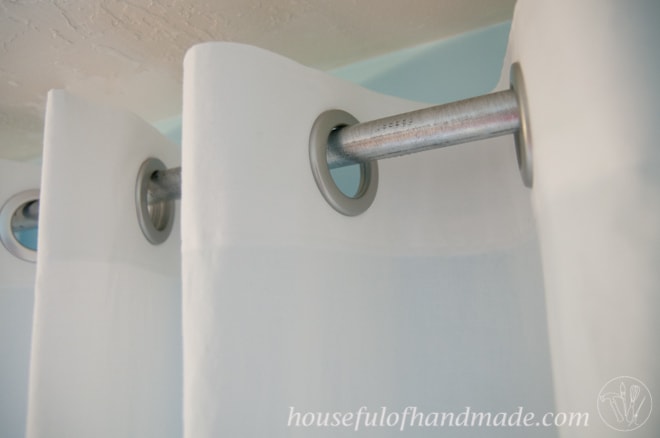
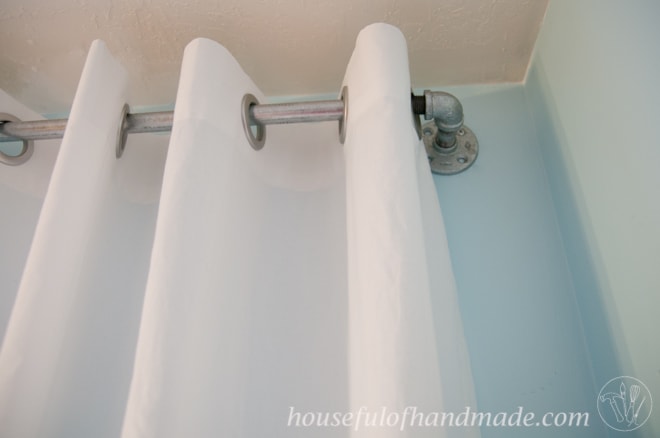
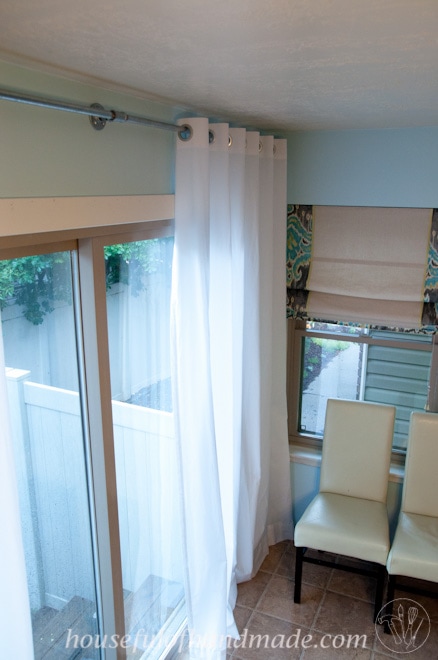
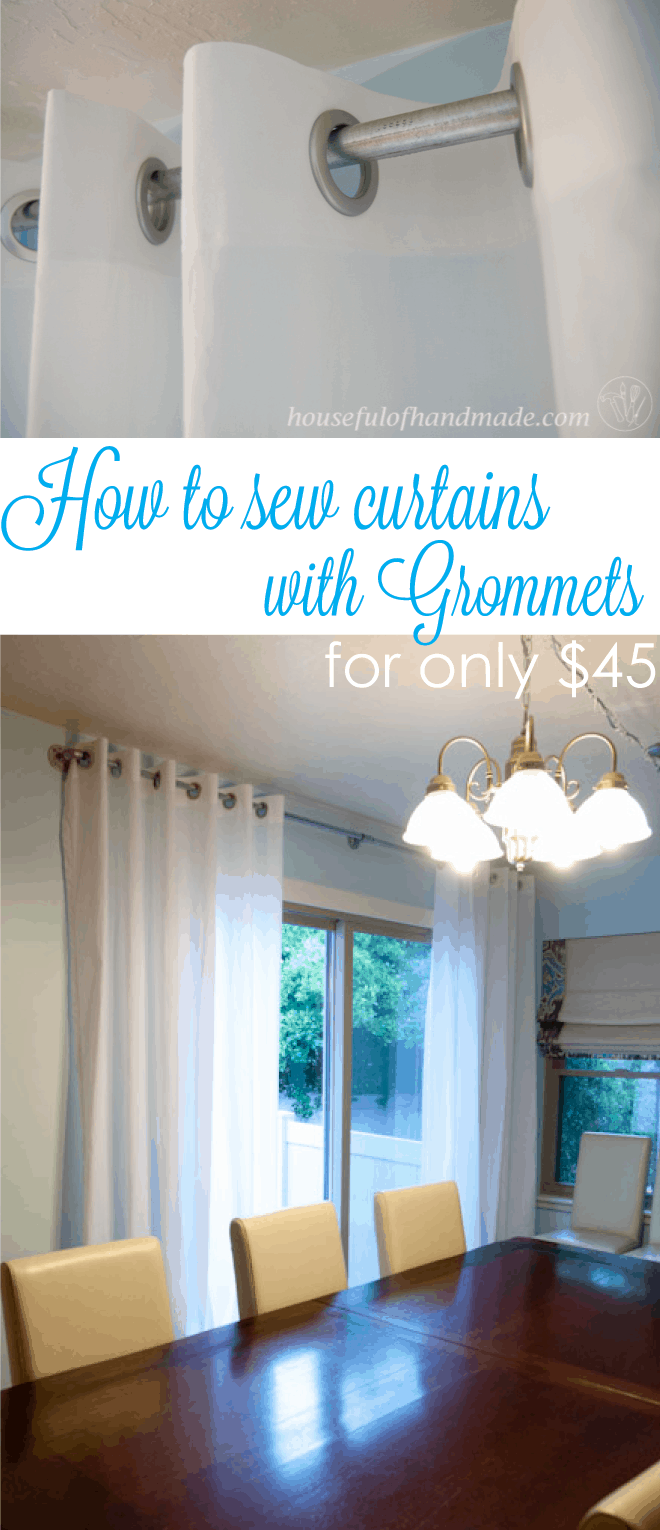
I love the soft clean curtains, they remind of me of a beach house, next to the more industrial curtain rod I made out of plumbing pipe.
It’s hard to get a full length picture of the curtains without moving my very heavy dining room table, and the hubby wasn’t home, so here is the best option.
I still want to add some pizzaz to my curtains with some paint, but I haven’t decided what pattern I want just yet, so I will let them just be simple white curtains with beautiful grommets for now.


valarie collins
Monday 8th of August 2016
could you show us how to make the plumbing curtain rods? they look sturdier than other curtain rods.
Kati
Wednesday 10th of August 2016
Hello Valarie! I used a tutorial from another blog to make my curtain rod. It is super sturdy (my kids have put it to the test) and easy to make. Here is the tutorial for you: http://www.hisugarplumsblog.com/2013/08/diy-galvanized-pipe-curtain-rod.html
Georgia @ Silver Spiral Studio
Tuesday 21st of July 2015
These look fabulous! The tutorial is so helpful. Thanks for sharing :)
Kati Farrer
Tuesday 21st of July 2015
Thanks Georgia! I am still loving the curtains so much :)
Amanda
Saturday 27th of June 2015
Thank you so much for sharing this with us at Merry Monday. This will be my featured post at tomorrow night's party!
Kati Farrer
Saturday 27th of June 2015
Thanks Amanda! I'm so excited to be featured at your party!
Cathy
Friday 26th of June 2015
Wow, you are talented! These look amazing! I am so so glad that you shared them on Making Memories Mondays! Hope to see you again on Sunday night! :-) Cathy
Kati Farrer
Saturday 27th of June 2015
Thanks so much Cathy! You are so sweet :)
Lou Lou Girls
Friday 26th of June 2015
They look so amazing!Pinned and tweeted! Thanks for being a part of our party. I hope to see you, Monday at 7 pm. Lou Lou Girls
Kati Farrer
Saturday 27th of June 2015
Thank you!