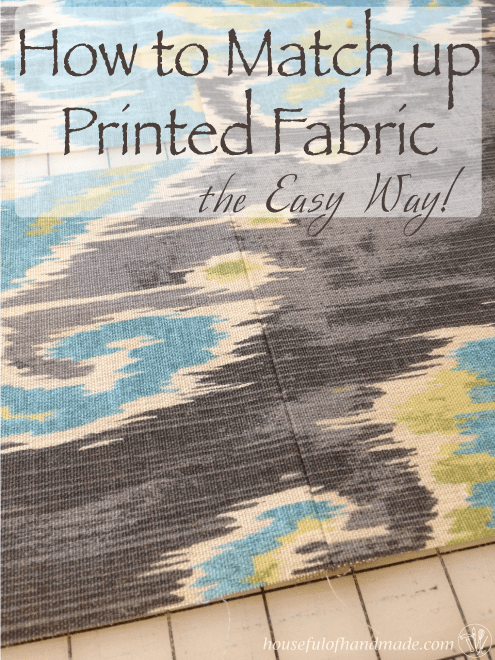
Save money by using up your scraps with this easy tutorial sharing how to match up printed fabric.
Don’t waste those scraps of printed fabric! You can learn how to match up printed fabric to create larger pieces to use in your next project. Save money and save waste… yay!
In our dining room, I needed new drapery. But I hated the mini blinds that were already there. So instead, I decided to convert them into a beautiful roman shade!
I had left over fabric from the cushions on the built-in bench with storage I made for the dining room and thought it would be perfect.
This post may contain affiliate links. As an Amazon Associate I earn from qualifying purchases. Click here to read my full disclosure policy.
When I made my pattern with all the proper measurements and pulled out the remaining fabric I had a little dilemma… not enough fabric.
I wanted to have my fabric run the with the Ikat weave running top to bottom. But my fabric remnant wasn’t long enough for my window…
So I decided to match up the fabrics perfectly to make a seamless look. It looked like a big deal, but was surprisingly easy! Here are the steps to easily line up printed fabrics.
The Easy Way to Match up Printed Fabric
I started by cutting a strip of fabric about 2 inches bigger than the final measurement I needed so I would have some wiggle room.
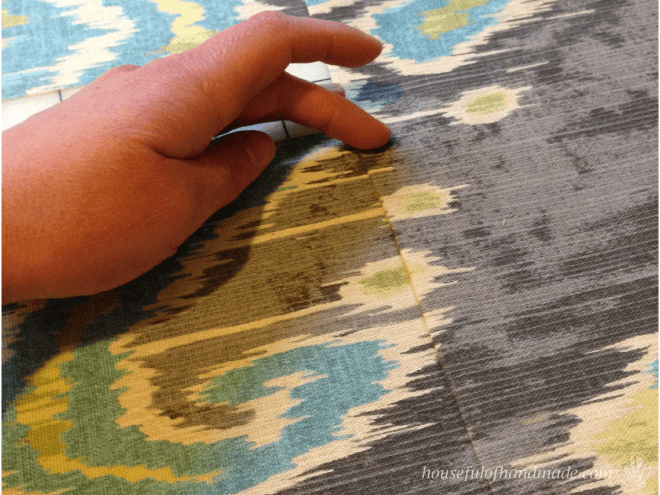
Then I placed it on the rest of the fabric to find a place where the print matched up.
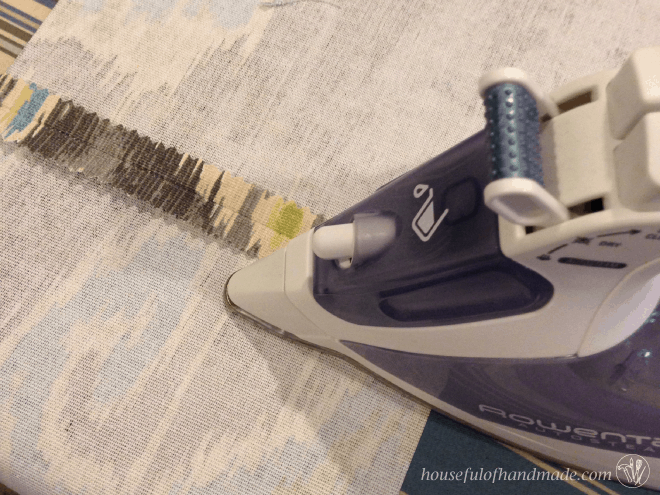
I took the strip off and ironed a 1/2 inch fold on the end.
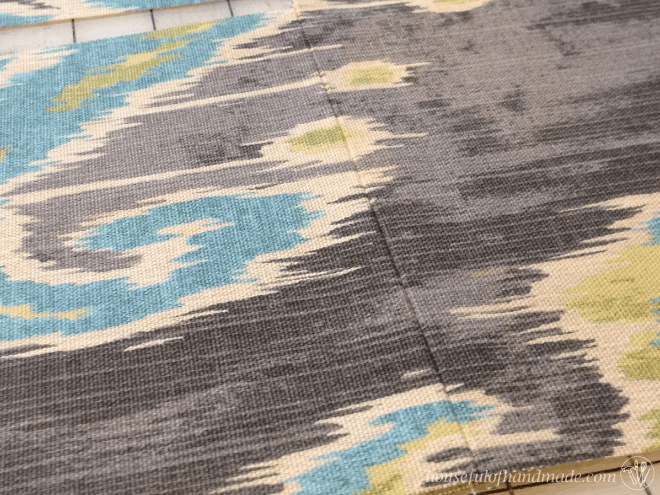
Then I placed it back on the other fabric piece and re-lined it up all pretty. Look how nice it looks already!
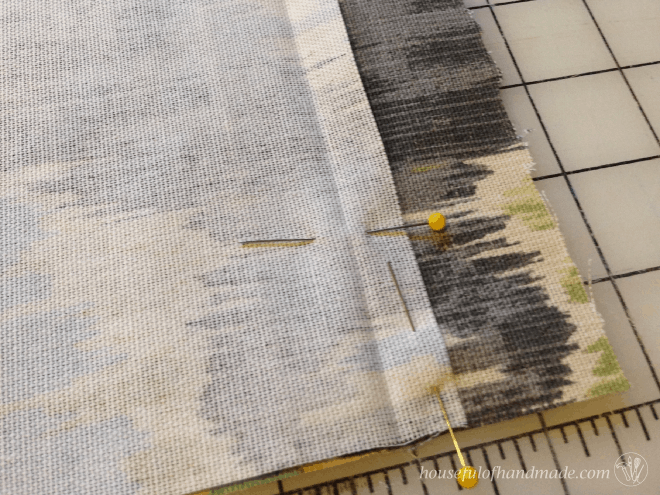
Next I pinned the top fabric piece down in that perfect spot.
I started by pinning it from the sides while it was placed down all lined up pretty, hence the sideways pin in the picture below. Then I flipped the top over so I could pin down the middle section.
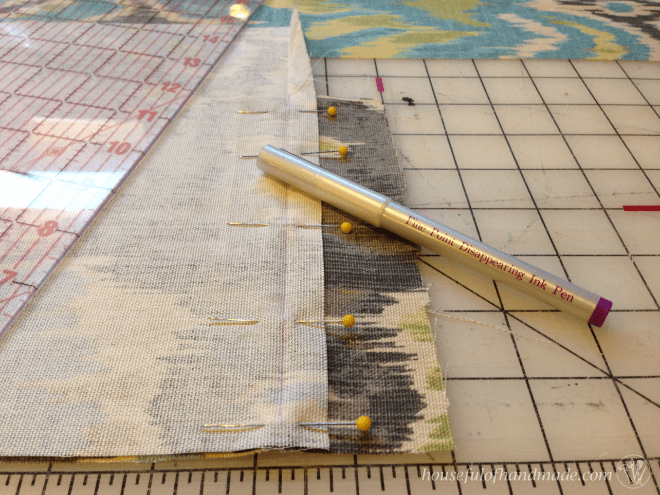
After I got it all pinned, I used my disappearing ink pen to mark the fold line. This will be the line you will sew down.
I tried to skip this and go straight to sewing, but it was hard to see the fold when it was pushed flat under the sewing machine foot. So I recommend marking it first.
I also love the disappearing fabric marker cause it just disappears after a day or two, no water needed.
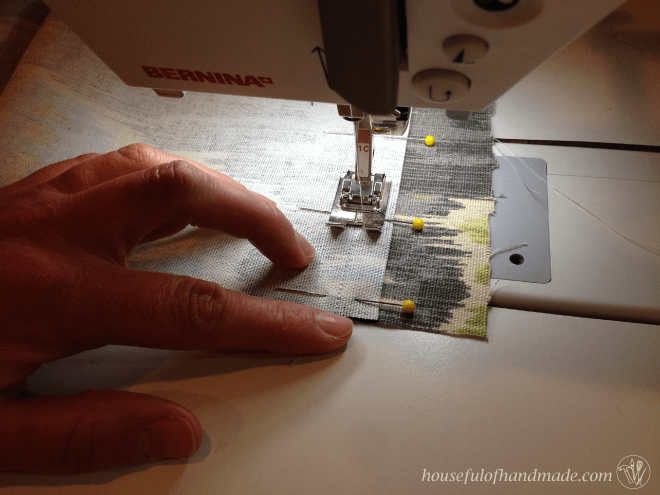
Now go slow and carefully sew down that line. If you get your sewing right down the line it will line up best in the end.
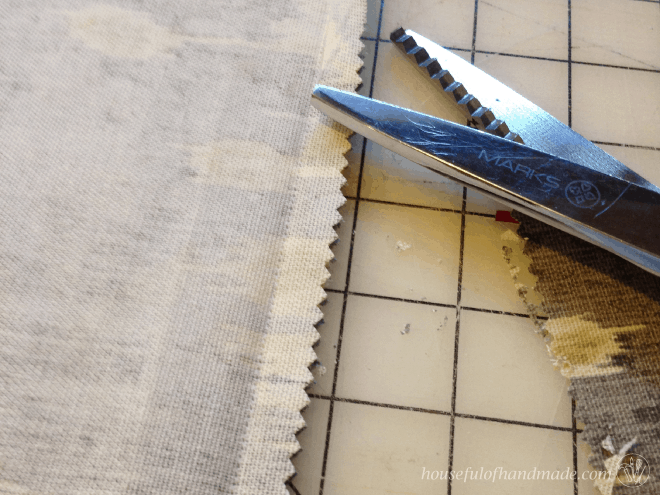
I used my pinking shears to trim up the edge. The pinking shears are a great way to get a finished edge that will resist fraying.
I use my serger a lot to finish seams, but I didn’t want to add the extra bulk to this seam so I kept it simple! And pinking shears are cheaper than a serger if you don’t have one.
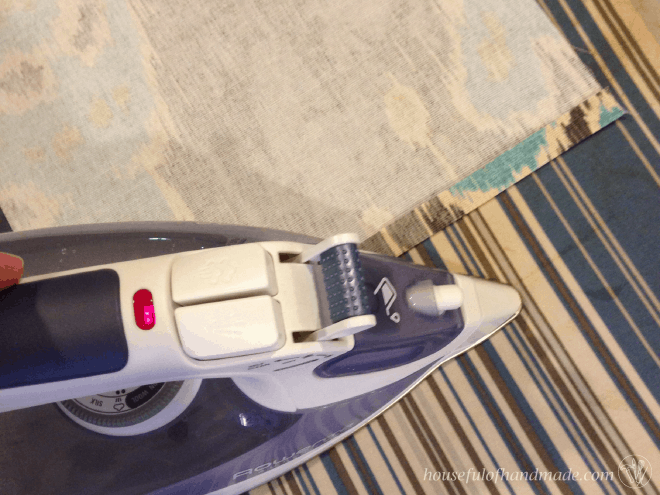
Iron your seam flat. If you are sewing on a cotton fabric, use lots of steam to get a nice, flat seam.
Now flip it over and admire your work. Oh, so pretty! And it was painless and easy.
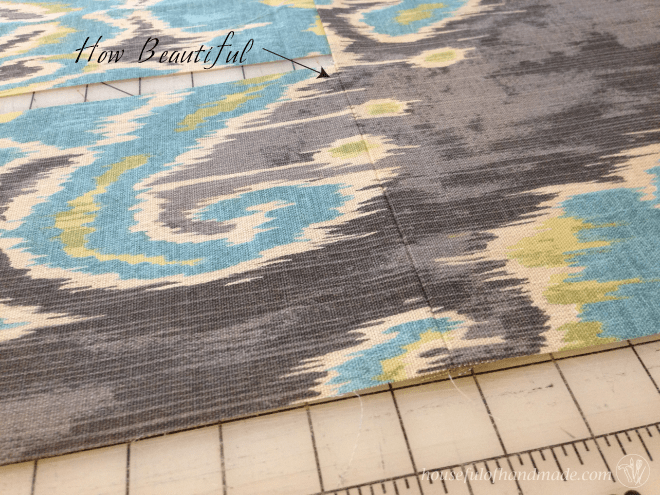
After I got it all sewn into the roman shades it was nearly impossible to find the seams.
I had to do 3 total match-ups, one on each side and one on the bottom, but it looks amazing and doesn’t look like it was totally pieced together from my scraps!
Now you can go piece together some scraps so you can use it in another project. It feels good being thrifty!
Happy sewing!