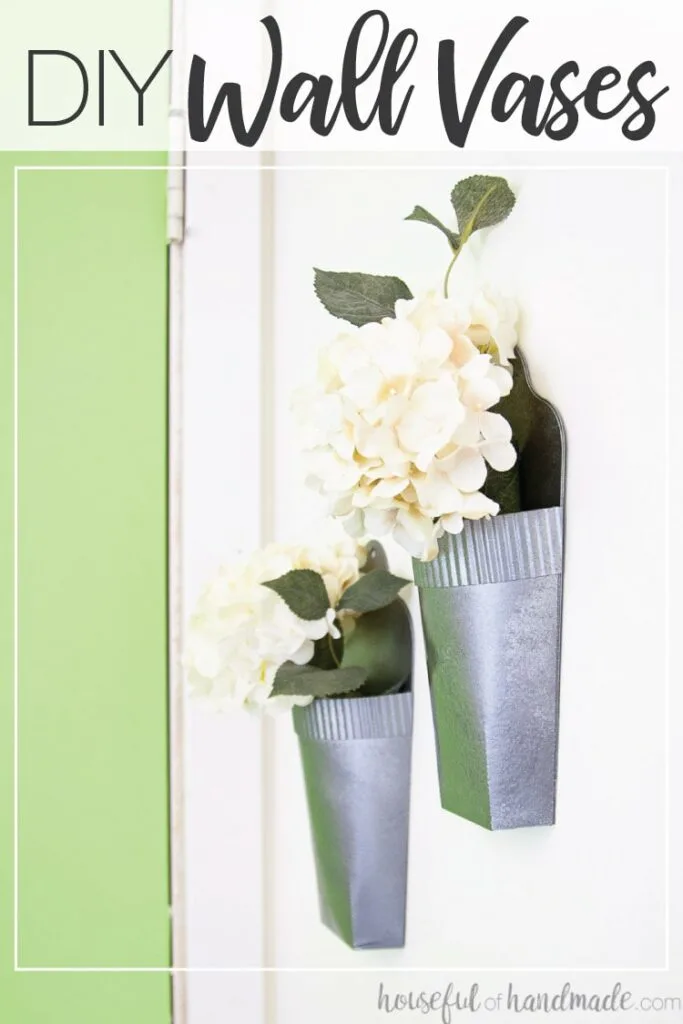
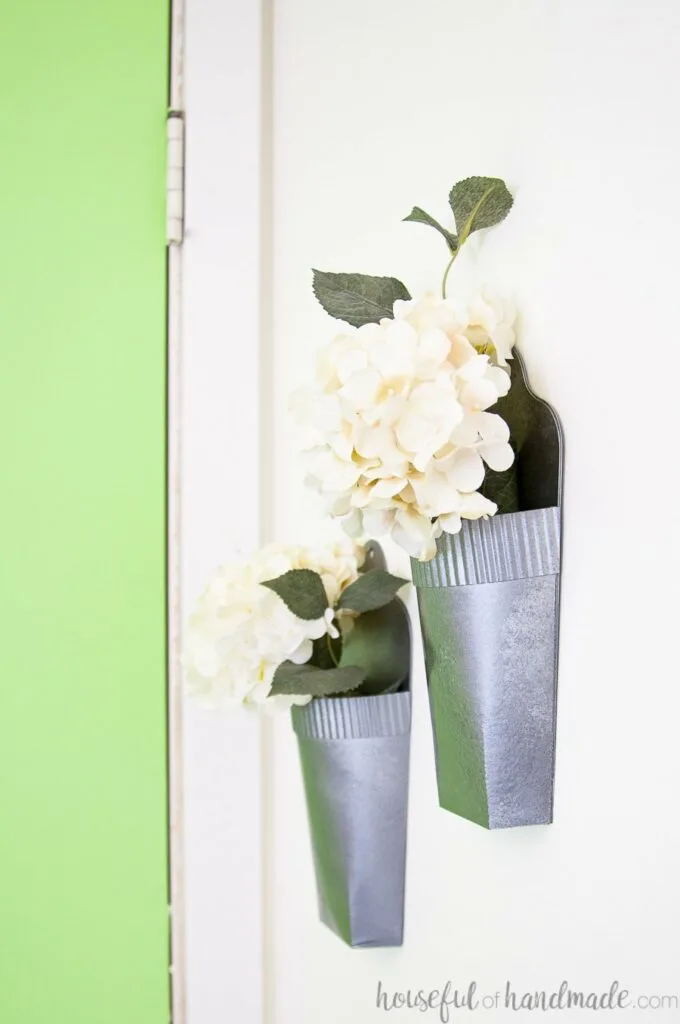
Decorate your home on a budget with these faux metal wall vases made from paper!
I’m reaching for my favorite easy craft medium for home decor again… paper!
Using paper crafts for home decoration is the perfect way to decorate on a budget. And with these beautiful “faux” metal wall vases, you don’t even have to sacrifice style for budget!

I love seeing all the beautiful wall vases, or wall pockets, or wall planters.
This post may contain affiliate links. As an Amazon Associate I earn from qualifying purchases. Click here to read my full disclosure policy.
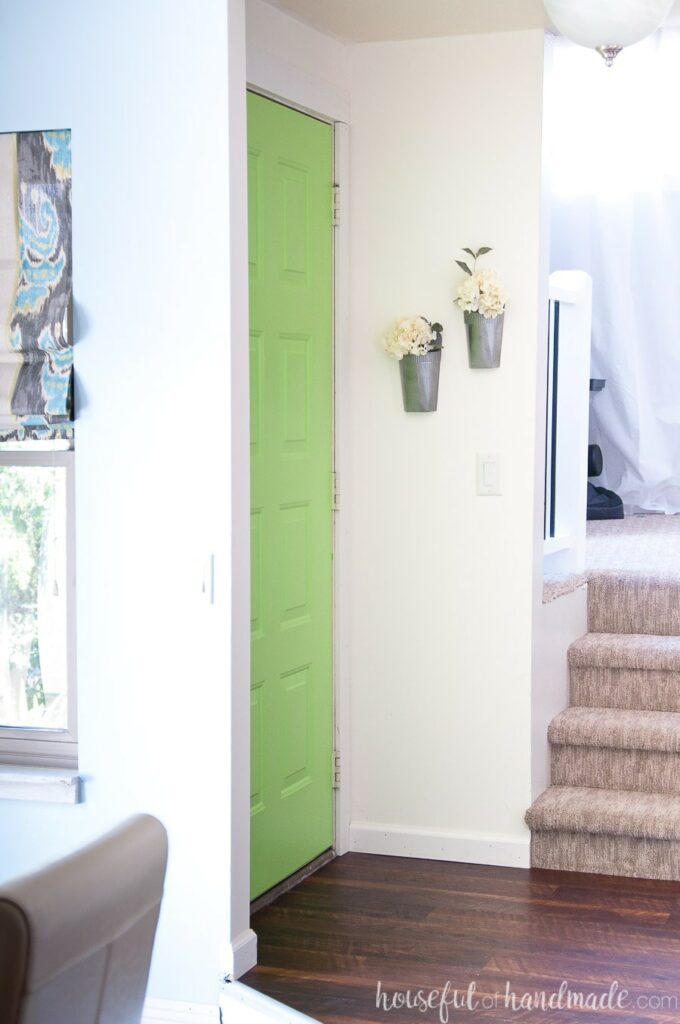
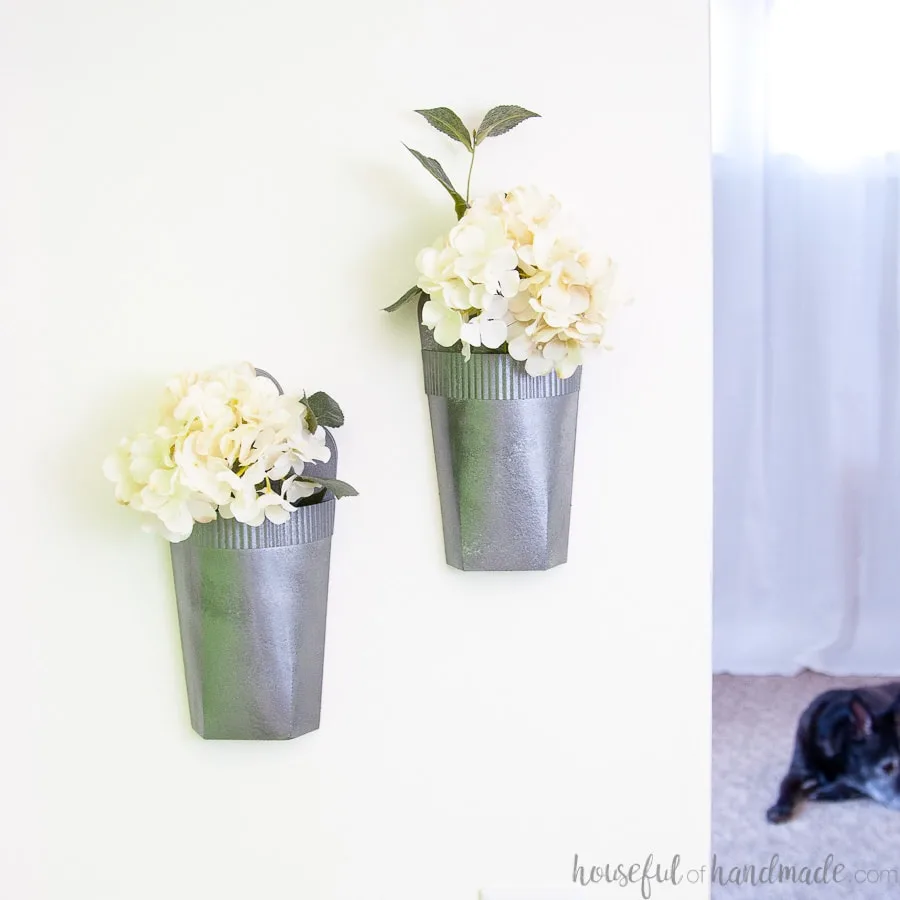
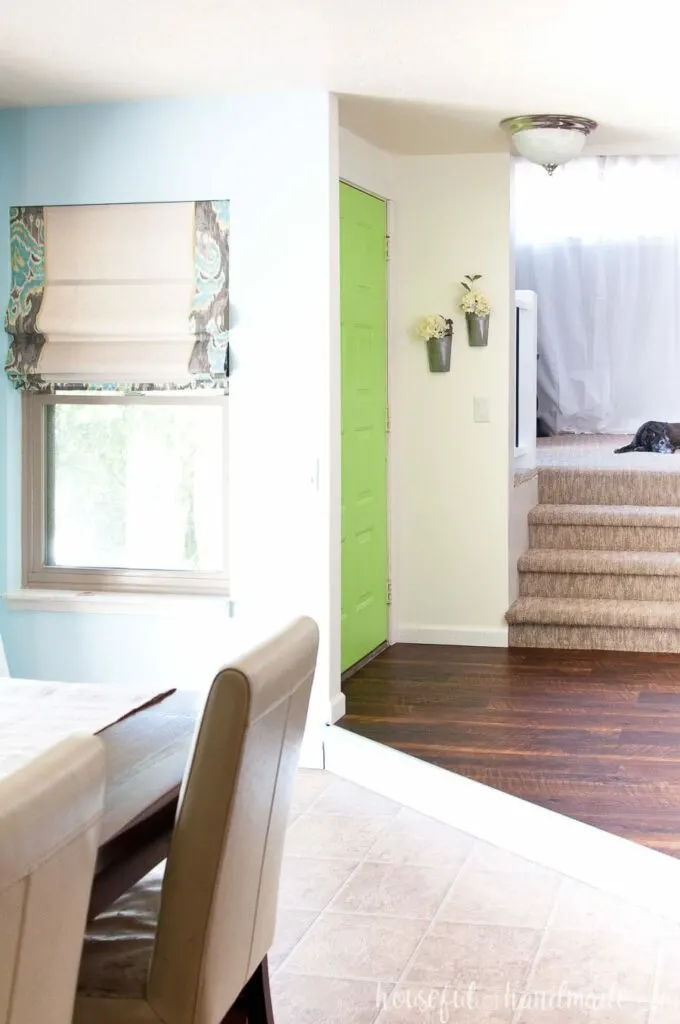
Whatever you call them, they are a great way to add some style in those nooks and dead spaces in your home.
Wall vases hang on the wall and can be filled with plants (faux plants for me). They add a little farmhouse charm without taking up too much space.

Cheap Wall Decor Idea!
But instead of spending lots of my hard earned $$ for some fancy metal wall vases, I decided to make my own for just pennies!
Yep, this faux metal wall planters are made out of a couple pieces of cardstock. How’s that for a cheap wall decor idea?

Obviously these paper wall vases cannot hold a real plant, but since I am still working hard to keep real plants alive, the faux ones work way better anyway.
But you can place a watertight plastic container inside your wall pocket and use it for real flowers from you garden this spring. Or plant some of your favorite succulents.
Or even use them with some large air plants.

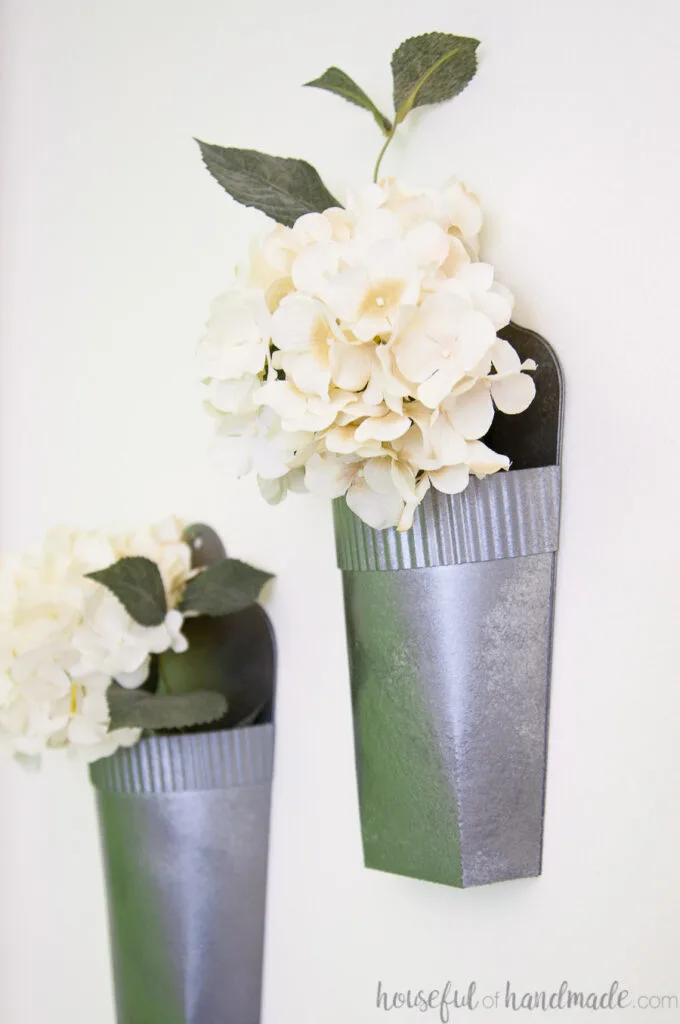
Anyway you fill them, no one will ever guess that these beautiful galvanized wall vases are not actually metal. Paper decor to the rescue for decorating our home on a budget again!
How to Make DIY Wall Vases
Supplies:
- Wall vase cut file
- 110 lb coverstock
- Hot glue gun and glue sticks
- Hammered metal spray paint
- Paper crimper
- Scissors
- Optional: Electronic cutting machine like a Silhouette Cameo or Cricut Maker
Cut out the pieces
Cut out all the pieces in the cut file from the coverstock (heavy weight cardstock). To cut the coverstock cleanly on my Silhouette Cameo, I like to use the following settings:
- Blade: 7
- Speed: 5
- Force: 33
- Passes: 1
- Line overcut: On – set to 0.20 mm for Start & End Ext.
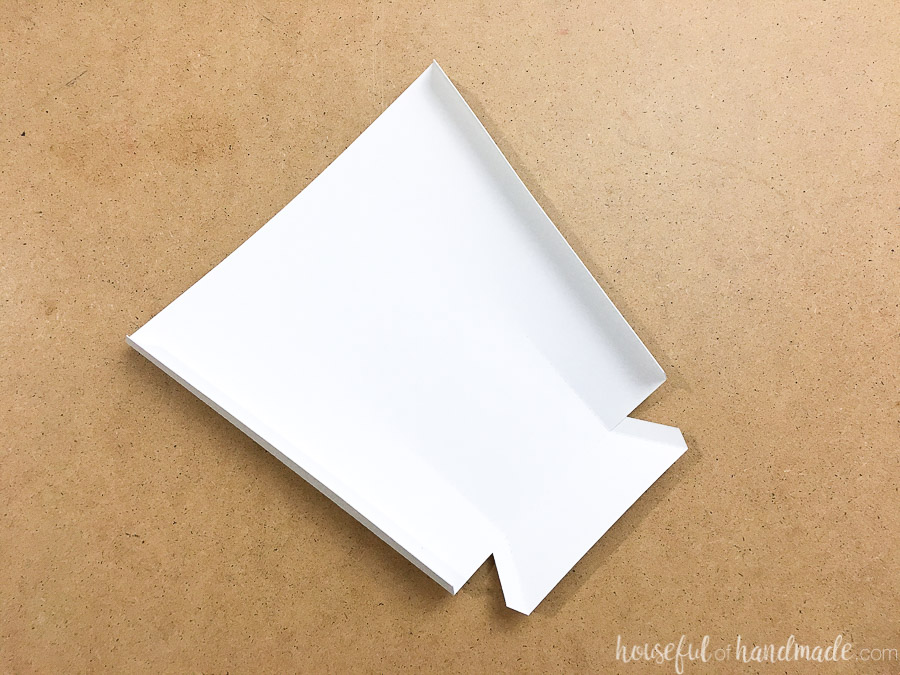
Fold all the pieces along the dotted lines to give them a sharp crease.
Assemble the Wall Vase
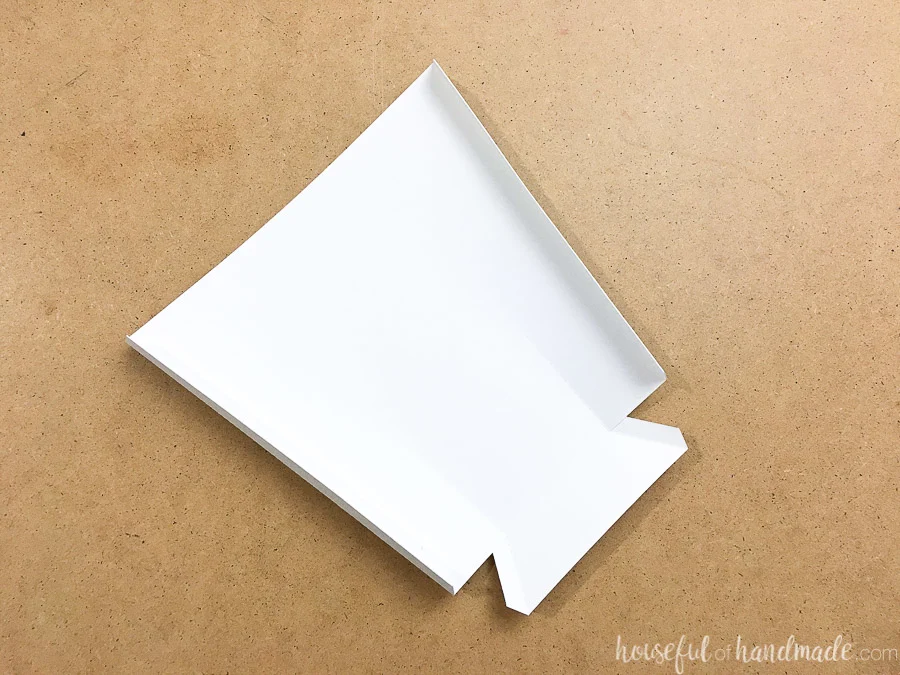
Secure the flaps on the bottom of the wall pocket to the sides to create the bottom.
Slide the smaller back piece inside the back of the wall pocket. Glue the flap on the bottom inside the base of the vase.
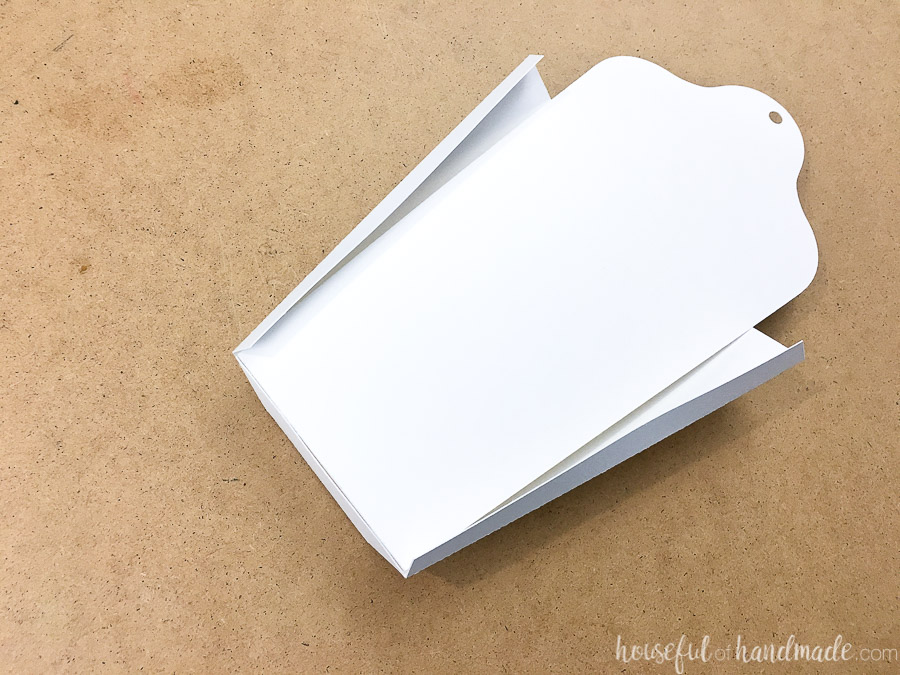
Glue the sides to the back side of the smaller back piece.
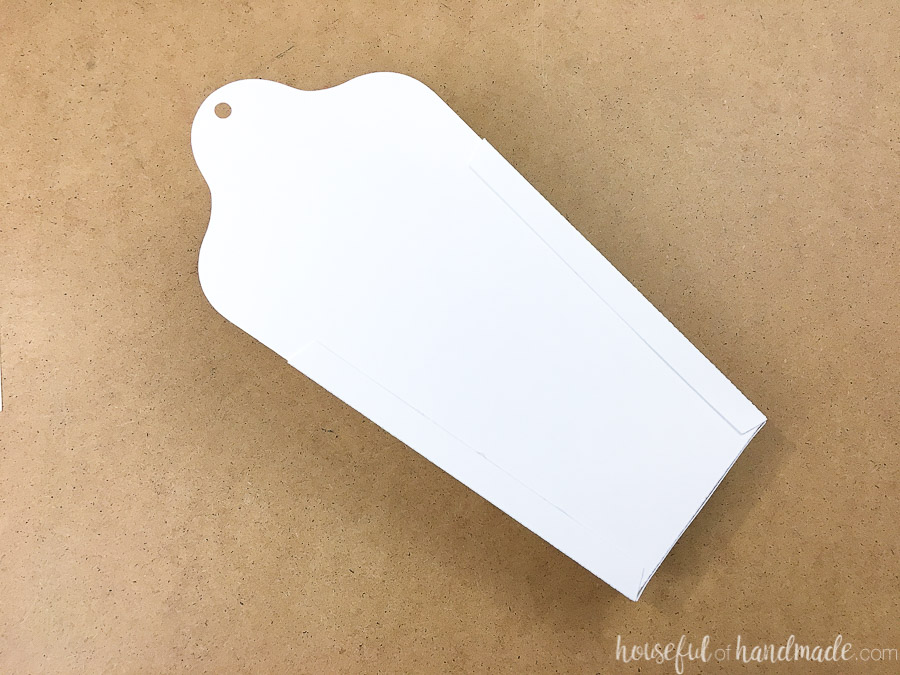

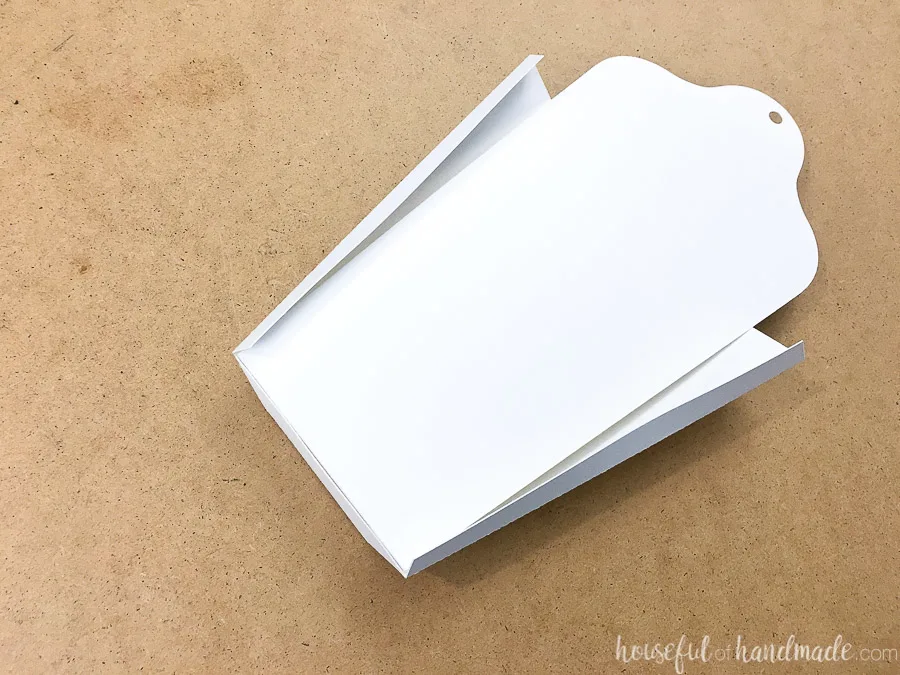
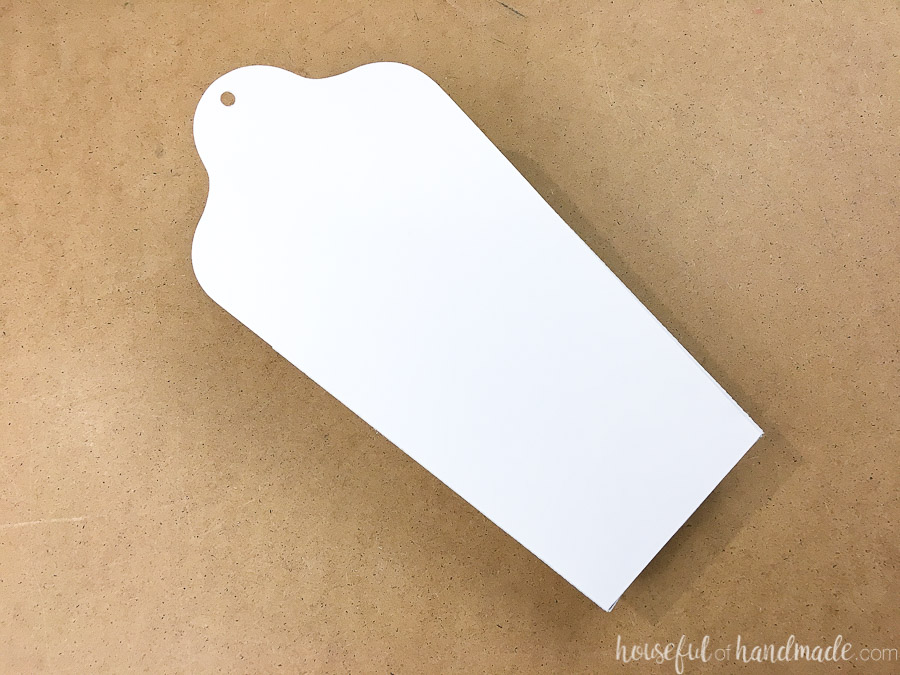
Carefully center the larger back piece over the smaller piece. Make sure the hanging holes line up and the slight reveal around the outside it even. Secure with glue.

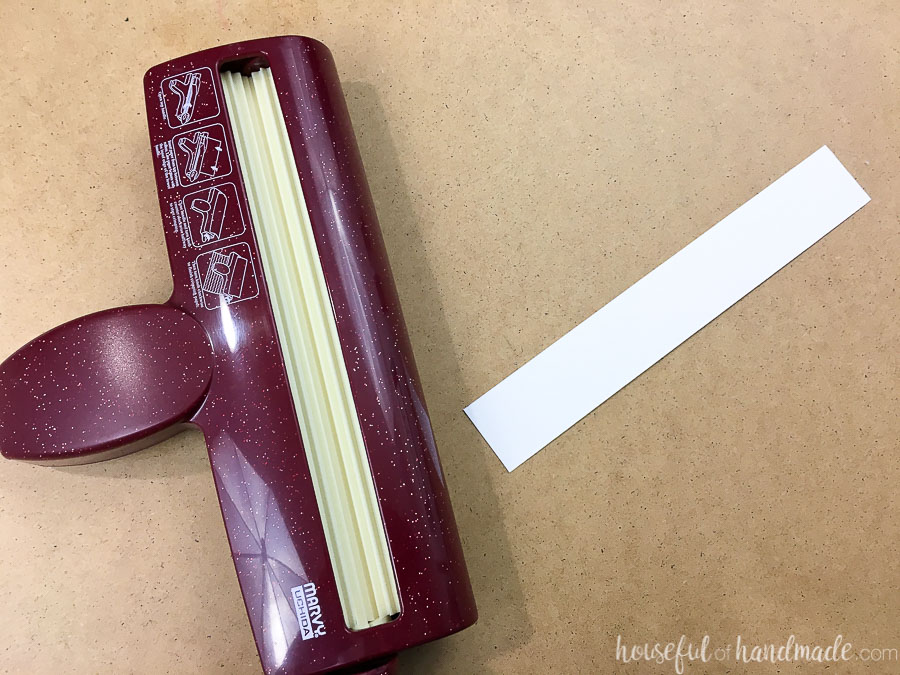
Crimp the small rectangular piece with the crimping tool. Try to keep the piece straight as you feed it into the tool so the crimping is straight up and down.

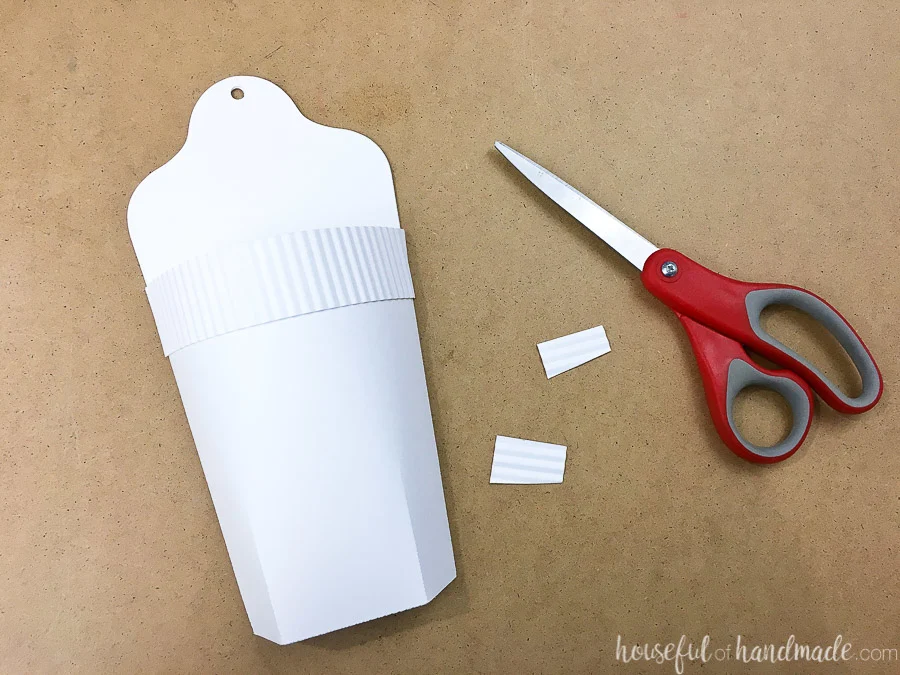
Glue the crimped piece to the top of the pocket on the front of the wall vase. Start in the center and move towards the back. Cut off any excess with scissors.

Finish the vases
Spray paint the entire wall vase with you favorite hammered metal spray paint. I love this one for giving my wall pockets a galvanized look.
To get more hammers in your metal paint, use a thick coat. Unlike normal spray paint where you want it to be light coats.
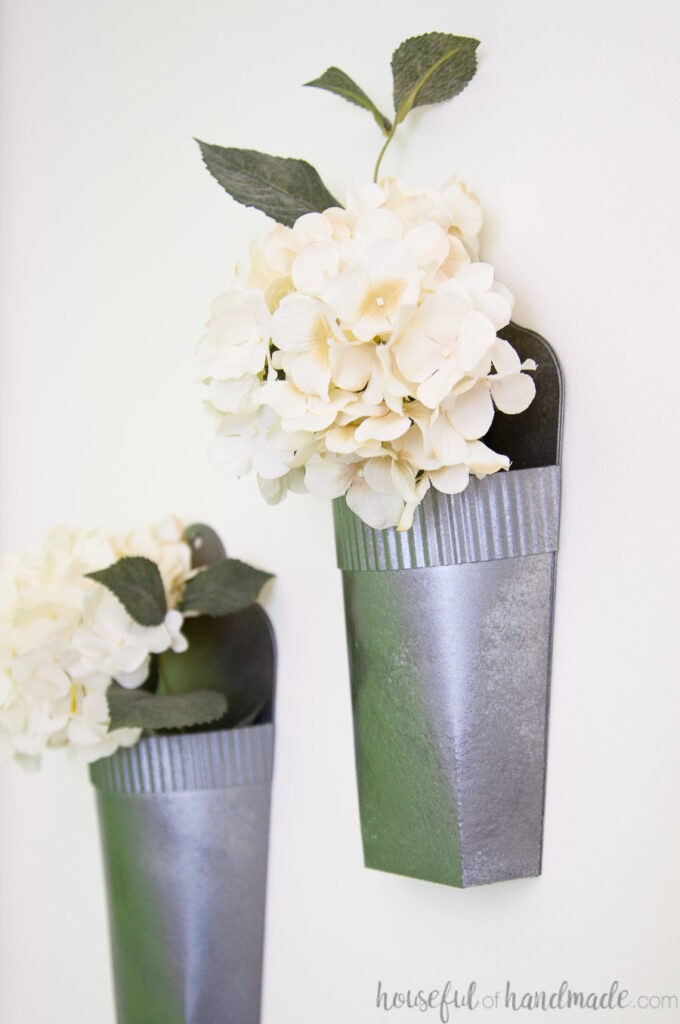
Hang your new “metal” wall vases on a small nail or one of my favorite picture hangers and fill them up!
Remember, if using real plants, add a watertight plastic insert (maybe cut the top off an empty condiments jars). Or use faux flowers and succulents to get the green look without having to remember to water.
Happy Crafting!