Decorate for Halloween with these easy paper Jack-O-Lanterns with 3 different spooky faces.
Pumpkins aren’t just for fall! So for the last day of our 5 Days of Pumpkin Crafts series, I turned those pumpkins into Jack-O-Lanterns to get the house ready for Halloween too.

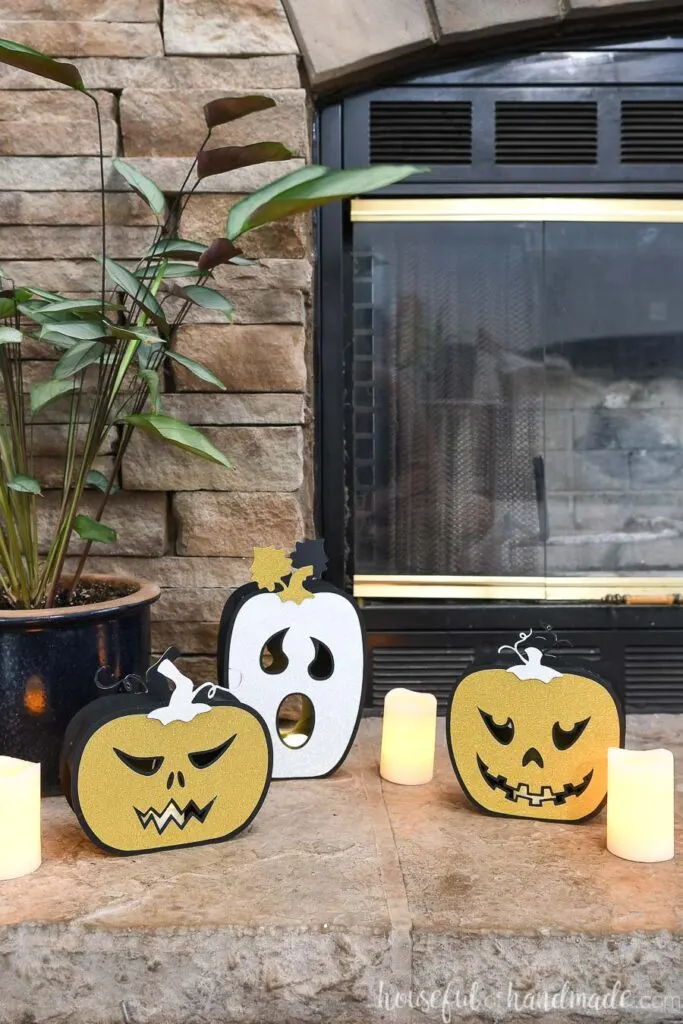
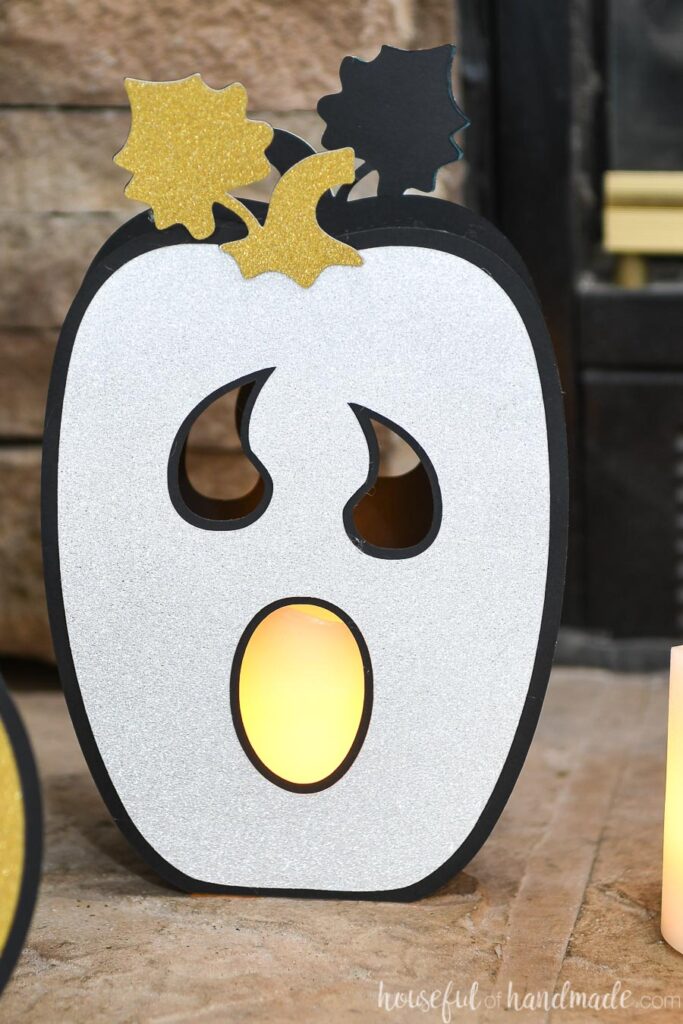
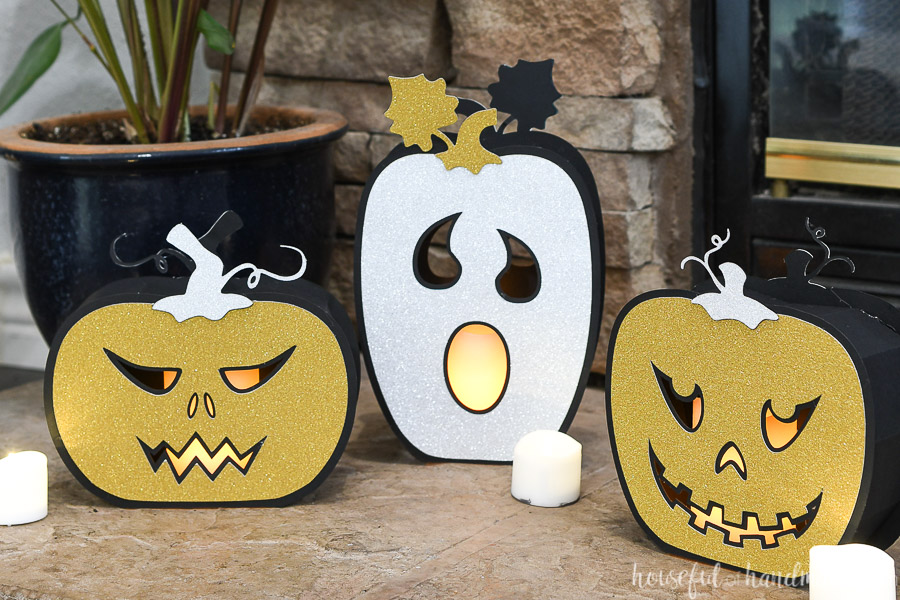
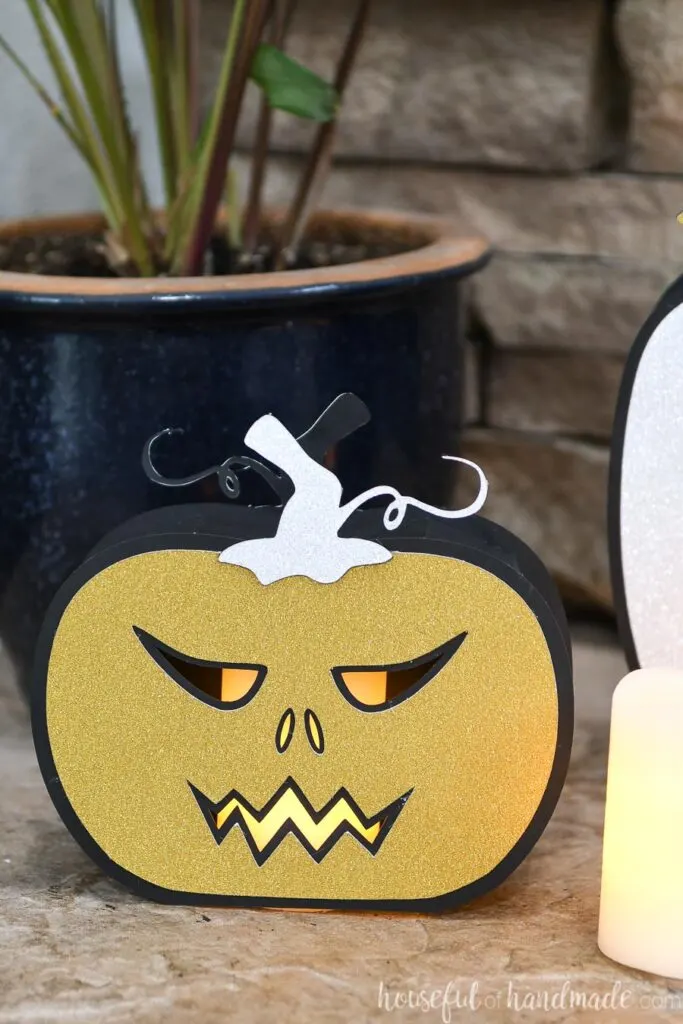
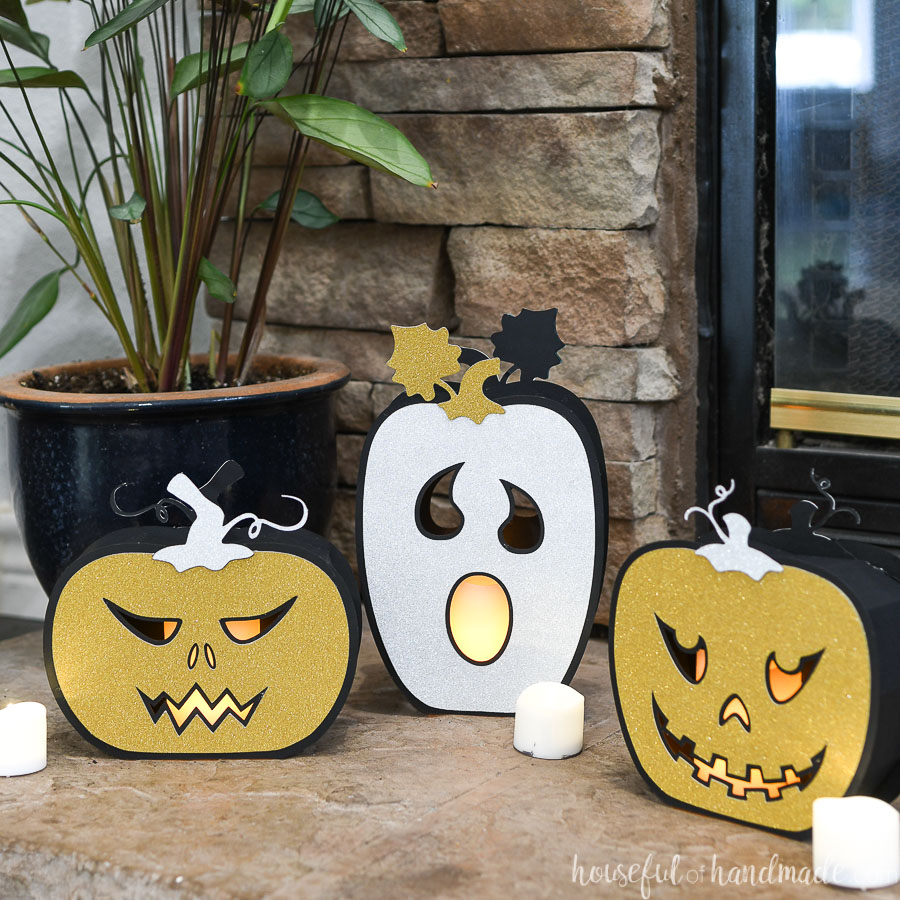
Of course the best way to turn pumpkins into Halloween decor is to turn them into Jack-O-Lanterns. I had some fun creating spooky faces for 3 different shaped pumpkins.
The effect is the perfect trio of jack-o-lanterns for our hearth that I don’t have to to worry about going bad before Halloween!
This post may contain affiliate links. As an Amazon Associate I earn from qualifying purchases. Click here to read my full disclosure policy.

Decorative Jack-O-Lanterns
Instead of the traditional carved pumpkins, these decorative Jack-O-Lanterns are carved out of paper for decor that you can use anywhere in your home.
The style of these Halloween lanterns mimics the Nordic Christmas tree lanterns I made last year. But this time with a spooky twist.
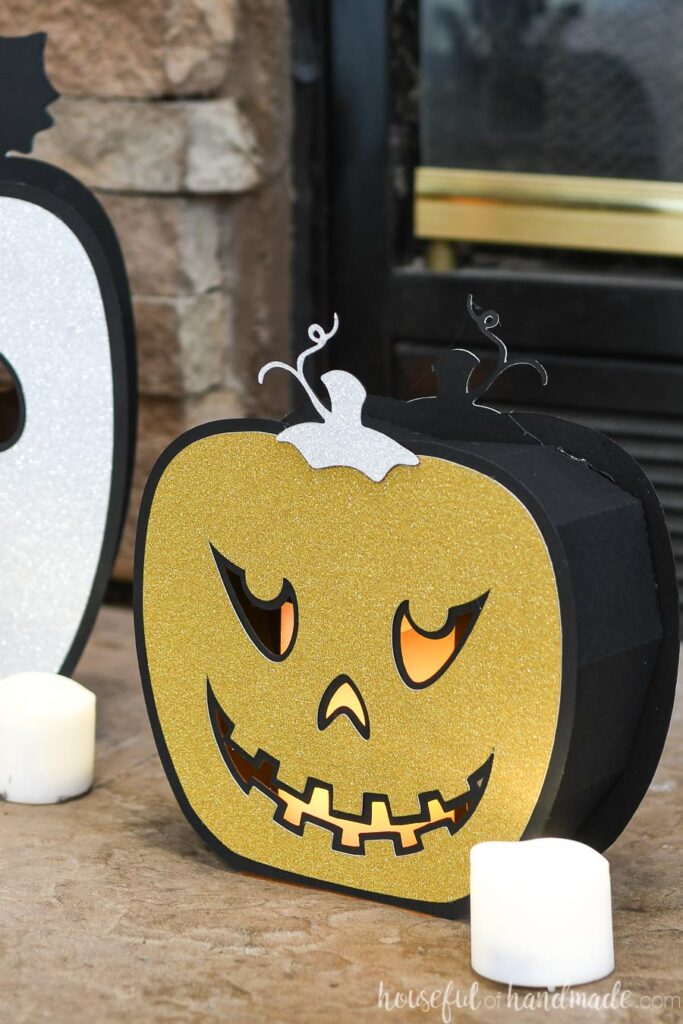
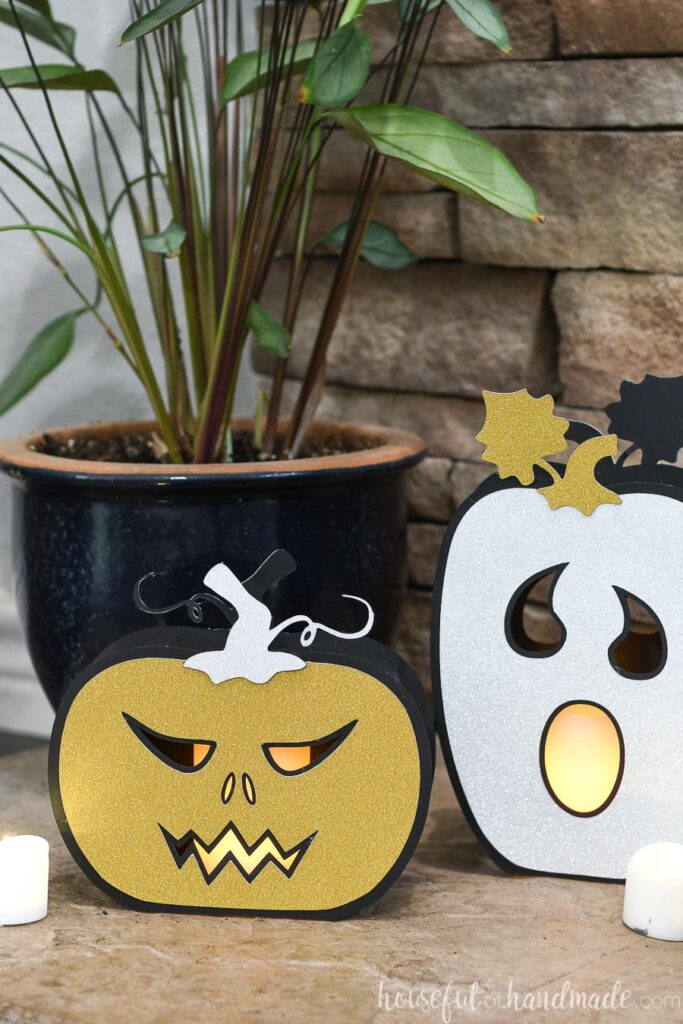
The base of the lanterns is made from solid black cardstock. I love that is just seems to disappear. Then the front and back of the lanterns are cut out of gold or silver glitter cardstock.
Of course you could use any color of cardstock, with or without glitter, to make your own jack-o-lanterns. But I love the little bit of sparkle and glam on the spooky faces.

These lanterns are easy to assemble with just a hot glue gun. And then are brought to life with a flameless candle (definitely not a real candle since the jack-o-lanterns are made from paper!).
And these spooky faces will be perfect to use anywhere you need to add a little Halloween to your home:
- On your mantel
- On a bookcase
- In a tablescape
- On a console table
- On a shelf
- By the fireplace
- On a covered porch
Wherever you put your own lanterns, have some fun making them your own!

How to Make Paper Halloween Lanterns
Supplies:
- Jack-O-Lantern template
- I am sharing the SVG cut files & PDF for these paper lanterns in my subscriber library until 10/11/2020, then they will move to the shop. Click here to subscribe to my newsletter and gain access to all the freebies. If you already have your password, click here to go to the library download them.
- Cardstock in black & whatever colors you want your pumpkins
- Hot glue gun & glue sticks
- You could also glue them together with glue sticks, but I prefer hot glue for paper crafts since it dries quickly and holds permanently.
- Flameless wax candles
- Optional: Electronic cutting machine
- I used my Silhouette Cameo to cut out the pieces for my lanterns, but you could also cut them out with scissors. You would need to use an X-acto knife to cut the faces.
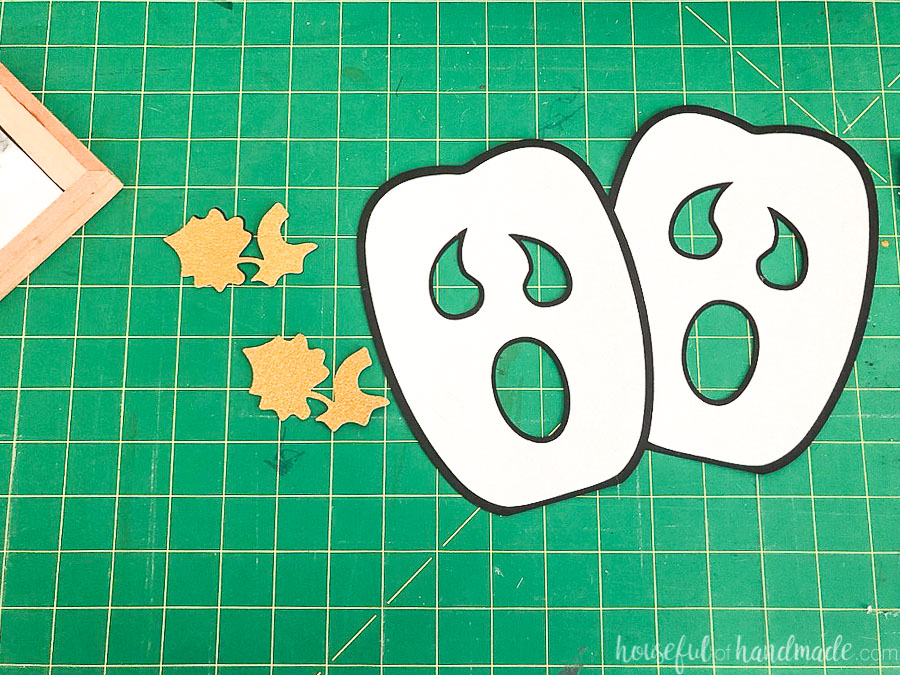
Cut the Lantern Pieces
For each pumpkin you will need to cut the following pieces from black cardstock:
- (2) of the larger pumpkin shape
- (2) of the stem shape
- (1) of each of the side pieces
Then cut the following from the glitter/colored cardstock (use a contrasting color for the stem to make it stand out more):
- (2) of the smaller pumpkin shape
- (2) of the stem shape


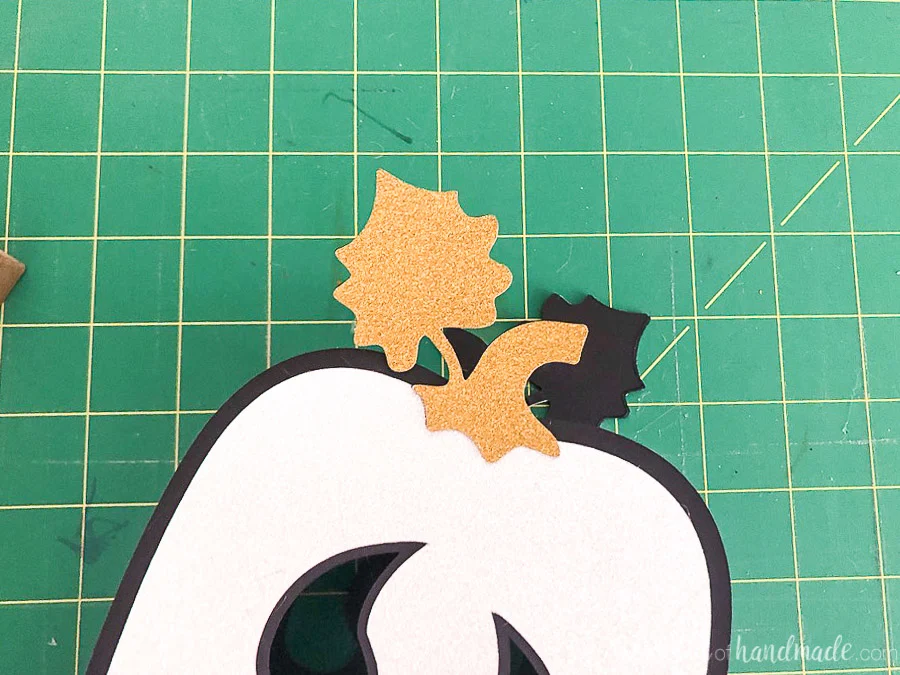
Assemble the Lanterns
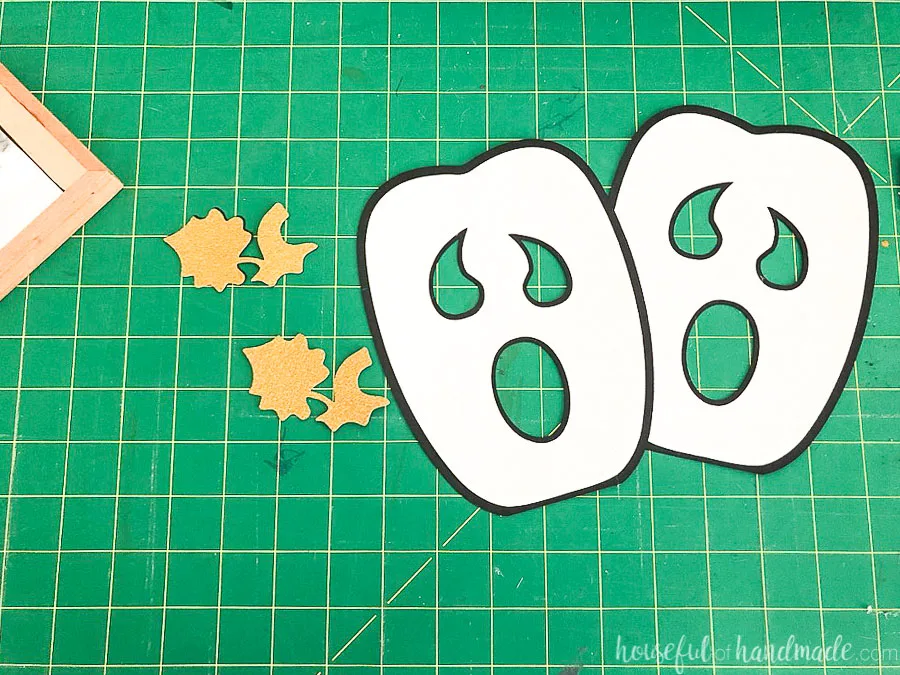
Glue the two pumpkin pieces together so the smaller piece is on top. If you are using glitter, make sure the glitter is facing out.
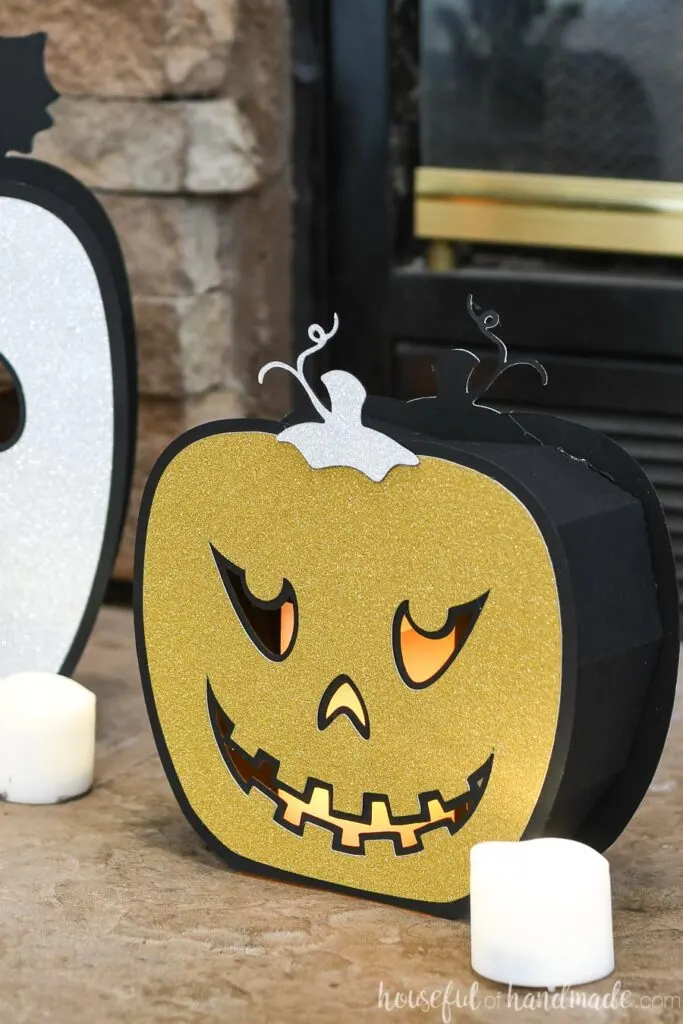
The black reveal around the inside of the face should be even. Secure with hot glue.
Do the same for the stem pieces, but these pieces are the same size so there will be no reveal.
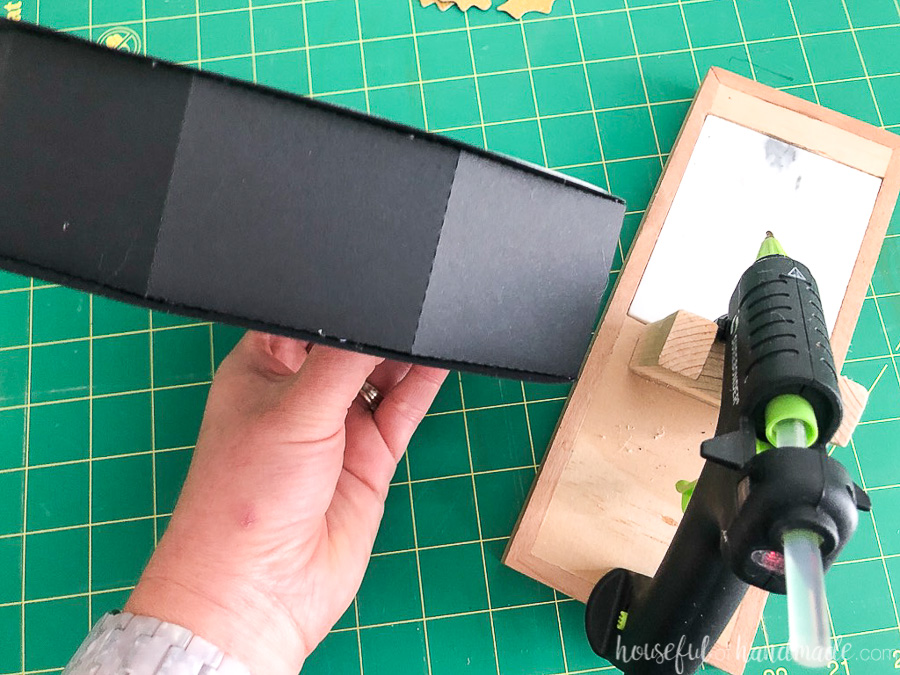
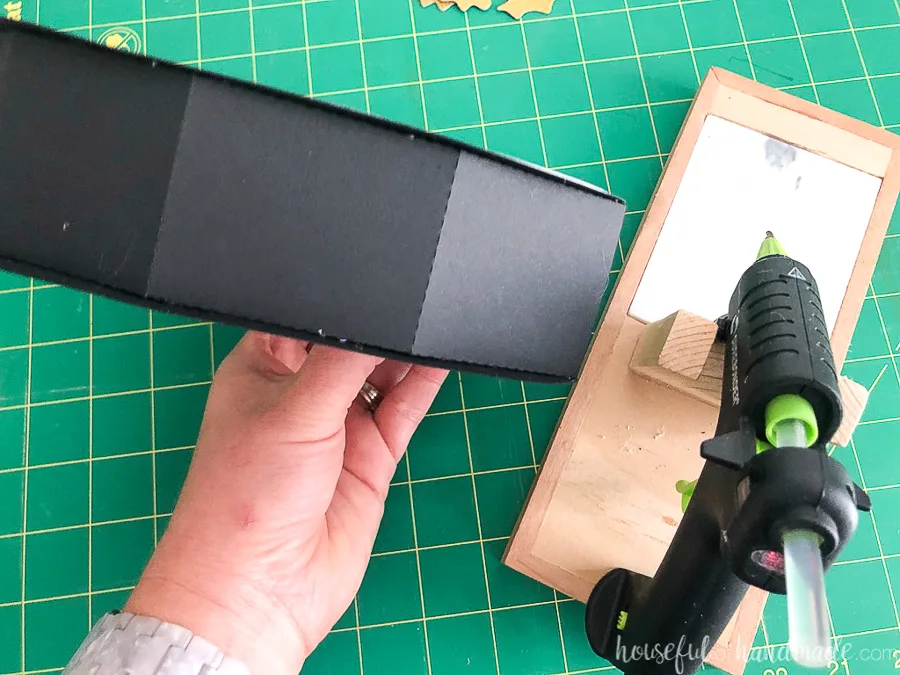
Fold along the dotted lines of the side pieces. Glue the two pieces together using the top flap.
Attach the side pieces to the back of one of the pumpkin faces (on the black cardstock). Following along the dotted lines.
Start attaching it by securing the two pieces at the bottom first. The tabs should be flush with the bottom of the pumpkins.
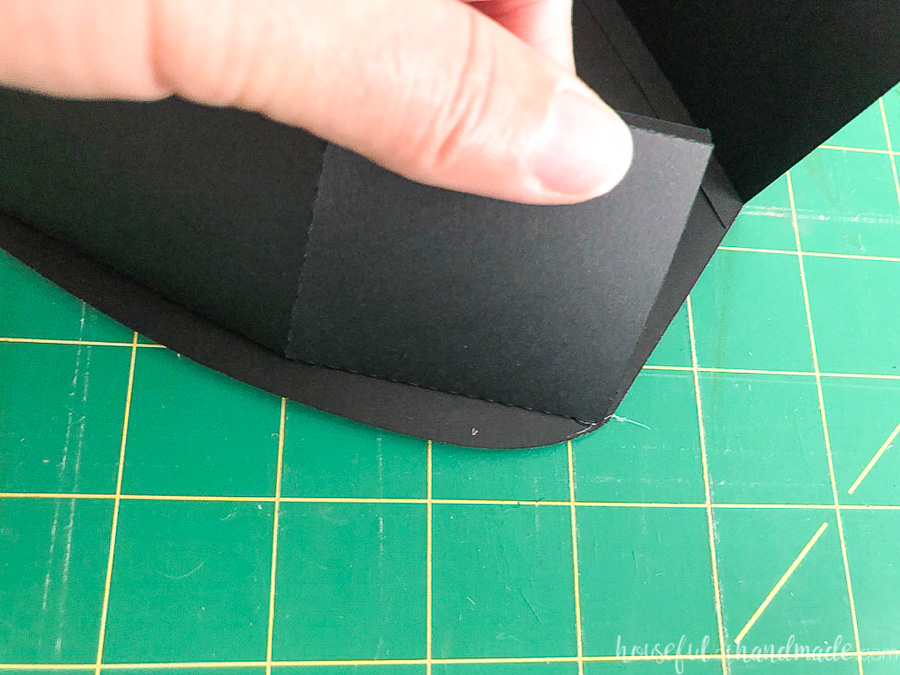

Then work your way around the rest of the sides. Secure the sides so the fold is inside the lantern and the edges line up to the dotted lines.
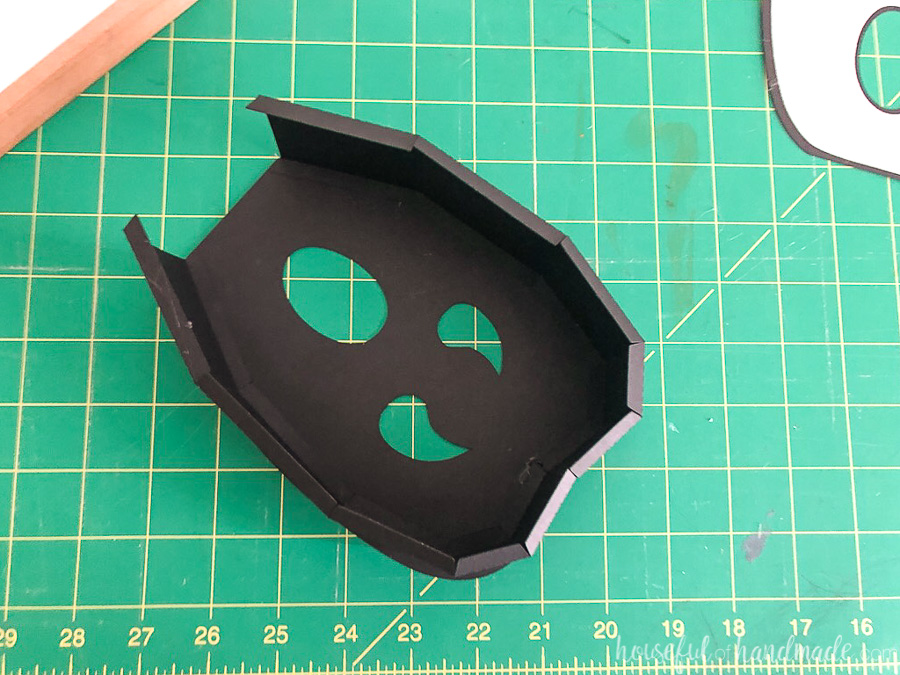

Now repeat for the other jack-o-lantern piece to close in the lantern shape.
Finish by glueing the stem to the top center of the pumpkin on either side of the lantern.

Now your Halloween lanterns are ready for their candles!
The faces light up when the flameless candles are inside. I cannot wait to see how fun they look at night to really get the look of the faces shining through.

I love that these fun jack-o-lanterns do not require any cleaning out. And I don’t have to worry about them fading or going bad before Halloween.
And these fun lanterns can of course be scaled up or down to fit wherever you need a little Halloween decor. I am thinking I need to make them even bigger to put on the porch now that we finally have one to decorate.

Where will you put your Halloween pumpkin lanterns?
I hope you had as much fun as I did with the 5 Days of Pumpkin Crafts. If you missed any of the other projects, don’t forget to check them out:
Happy crafting!
Debbie Nicholson
Friday 9th of October 2020
Love these and can't wait to set up my cricut this weekend to make a couple.
Definitely please offer 5 days of Halloween next year. I just finished making an easy DIY Crate. So simple to make and great looking!
Thanks for sharing your designs.
Kati
Tuesday 27th of October 2020
Thanks for the feedback Debbie! I had so much fun with all the pumpkin projects I think I'll definitely do it again ;)