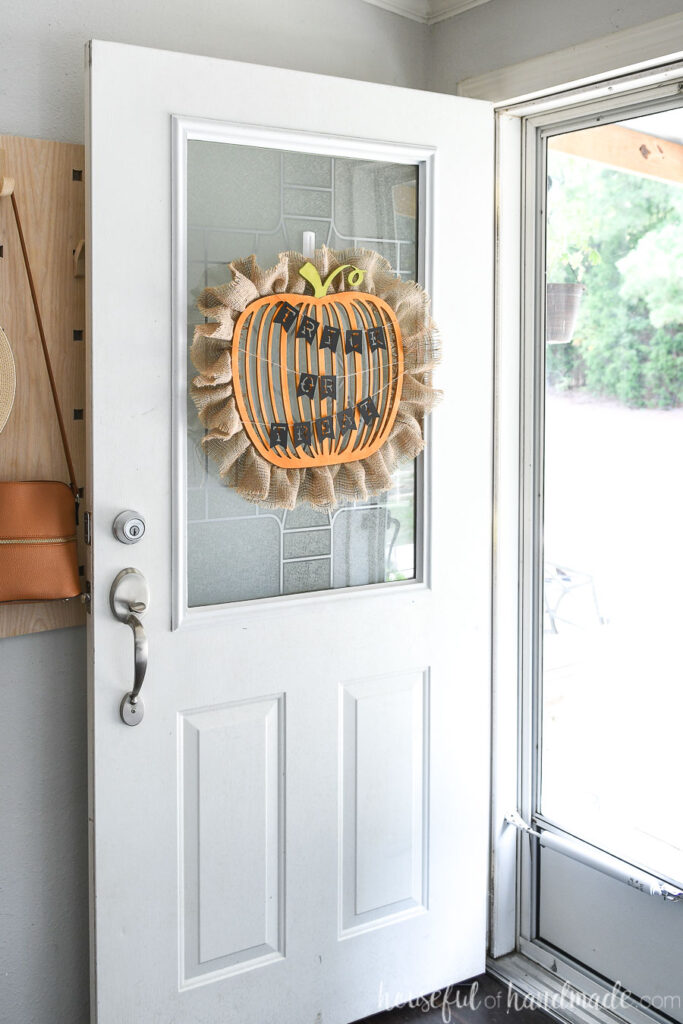
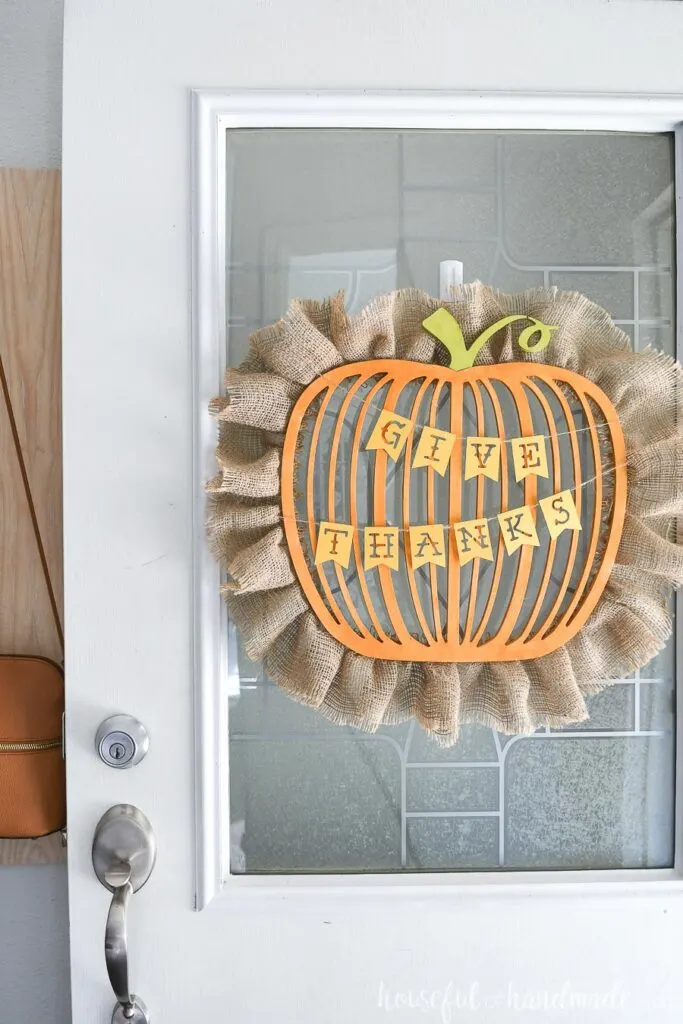
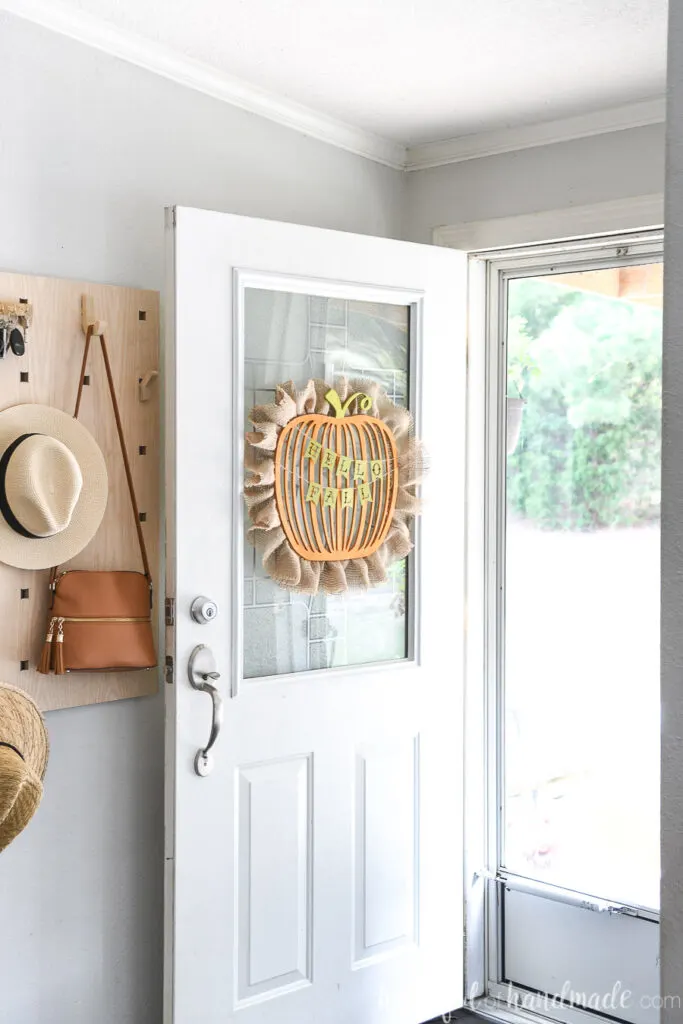
This beautiful pumpkin wreath has interchangeable banners to decorate your door all fall.
The week is almost over… today is the 4th day of the 5 Days of Pumpkin Crafts. It’s sad to think I waited until almost the end to finally add a pumpkin to my front door.
I usually start decorating for each season with a wreath. But haven’t hung one up since we moved into our new home this summer. Until today!
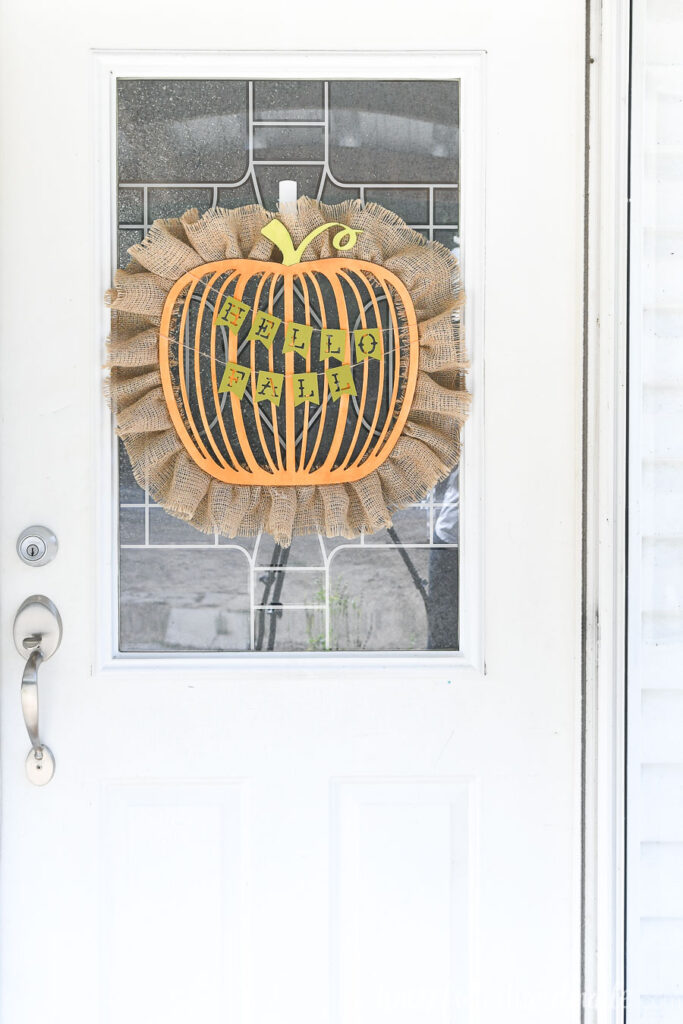

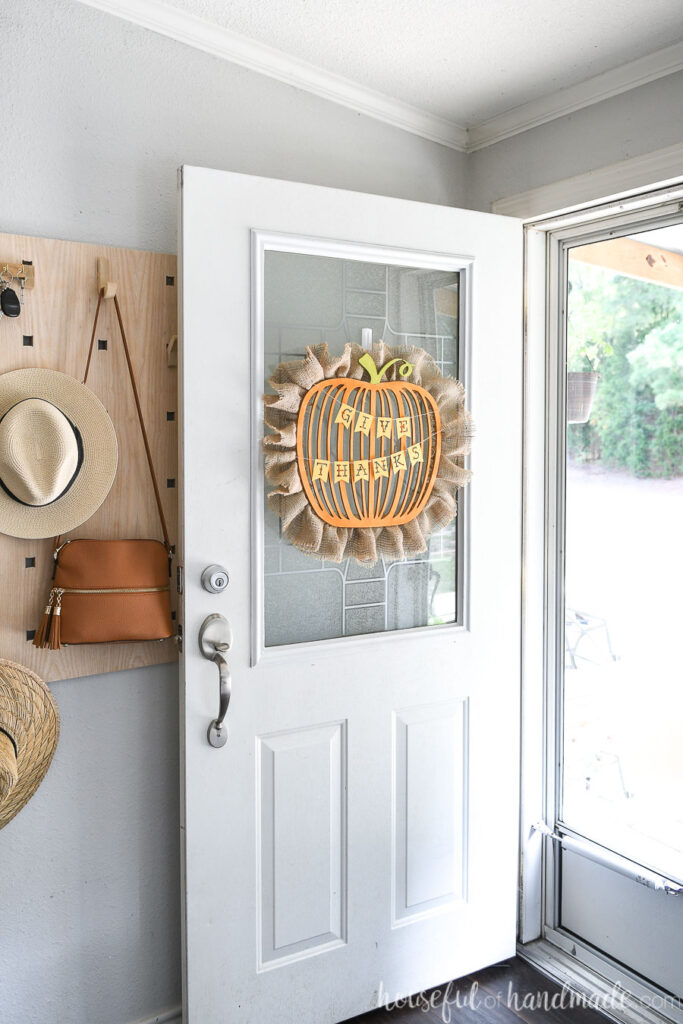
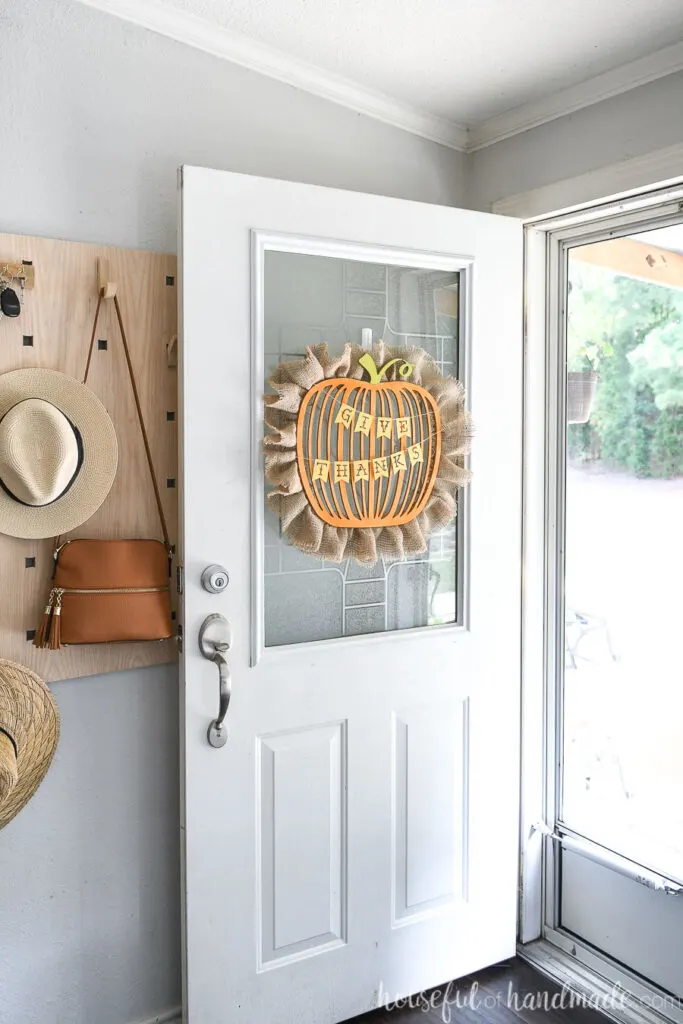
And this new pumpkin wreath is the perfect wreath for fall. It can last all the way from September to Thanksgiving, just change out the little banner each month.
This post may contain affiliate links. As an Amazon Associate I earn from qualifying purchases. Click here to read my full disclosure policy.
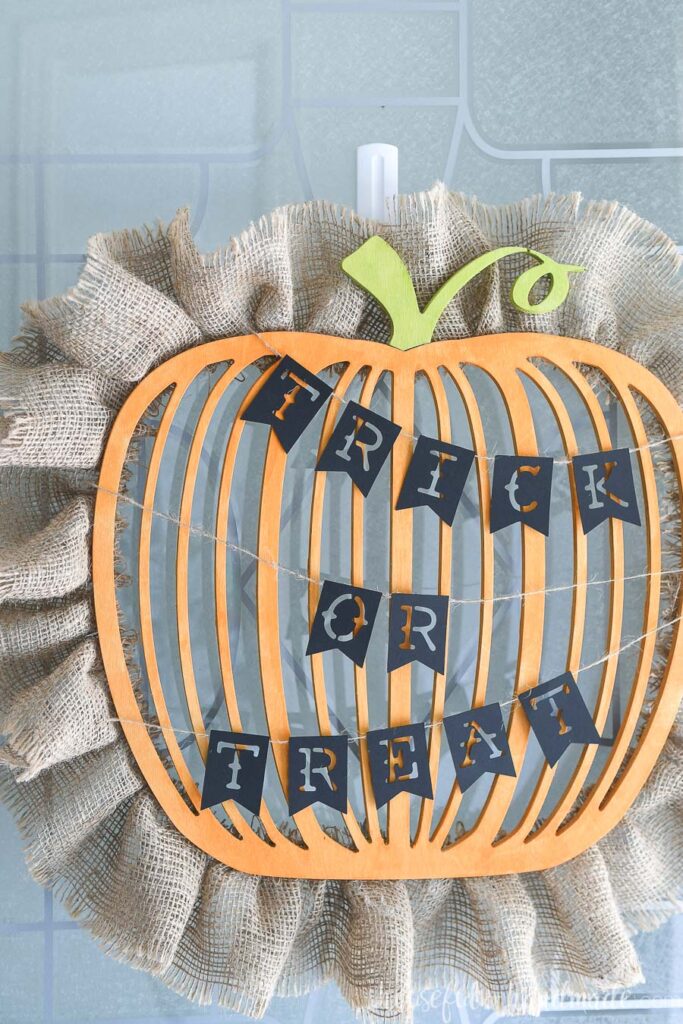
For September there is a sweet “Hello Fall” banner. In October it’s perfect for Halloween with a black “Trick or Treat” banner. Then for November finish the season with “Give Thanks”.

Cutting The Wood Pumpkin
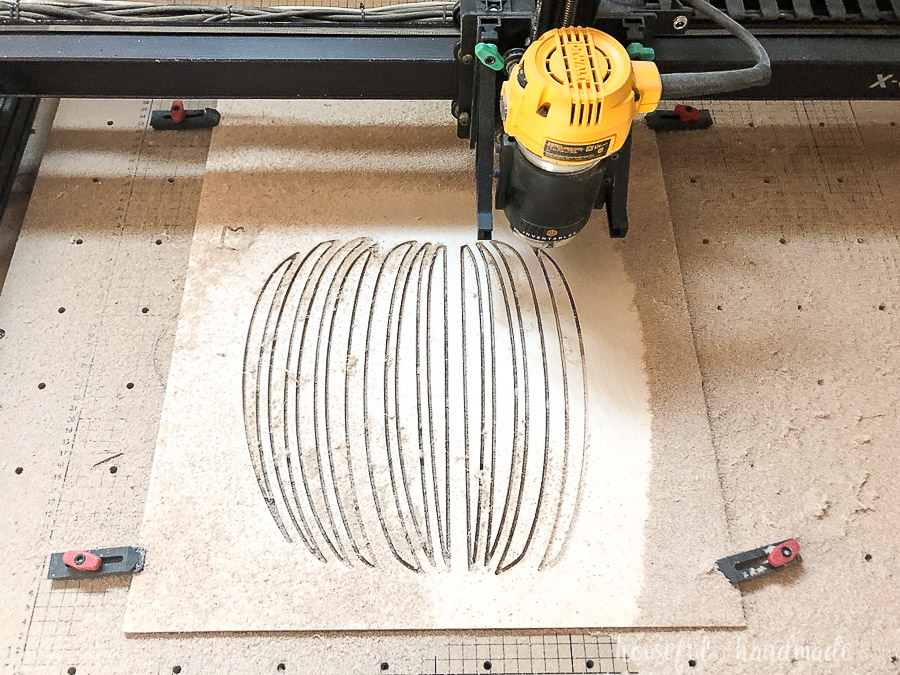
This wreath is nothing without the beautiful modern pumpkin design in the center. Cut out of 1/4″ plywood it is perfect for a door hanger.
To cut the intricate pumpkin design, you will need a scroll saw or CNC machine. If you do not have either of these, you could just cut out the outside shape with a jig saw and then paint or vinyl the details on top.
You could also try cutting the full design out with a detail blade on a jigsaw, but make sure to clamp the wood down tightly. The vibrations of the jig saw could break the delicate lines of the design or chip out the plywood layers.

No Tool Option
Another great option for the wreath would be to use foam core board for pumpkin design. The foam board is easily cut out with an x-acto knife.
Make sure you have a new, sharp blade to get clean cuts on the foam core. And take multiple passes to get through the board without causing tearing.
Then spray paint the foam board the perfect pumpkin color and finish the wreath exactly as above. The foam board will not be as rigid as the plywood, but should hold up well on a front door that is covered and protected from the weather.

How to Make a Wood Fall Wreath
Supplies:
- Pumpkin & banner templates
- I am sharing the SVG cut files & PDFs for this wreath in my subscriber library until 10/11/2020, then they will move to the shop. Click here to subscribe to my newsletter and gain access to all the freebies. If you already have your password, click here to go to the library download them.
- CNC or scroll saw
- See above for a no power tool option
- 1/4″ plywood
- Sandpaper
- Craft paint
- Paint brush
- 3-4″ burlap strips or burlap ribbon
- Hot glue gun & glue sticks
- Large eye needle
- Optional: Electronic cutting machine
- I used my Silhouette Cameo to cut out the banner pieces, but you could also cut them out with scissors and an x-acto knife.
Make the Wood Pumpkin
Cut out the pumpkin shape. My pumpkin was 15 1/2″ wide and about 16 1/2″ tall with the stem.
- If using a CNC:
- Open the SVG in your CNC software.
- Scale it to the desired size.
- Separate the stem from the pumpkin for cutting.
- Cut on the outside of the lines.

- If using a scroll saw:
- Print the PDF.
- Use a light tack spray adhesive to attach the printed template to the plywood.
- Cut out the design on the line.
- Drill holes in the center holes to get the saw blade inside them to cut.
Sand the edges of the wood pumpkin and stem.

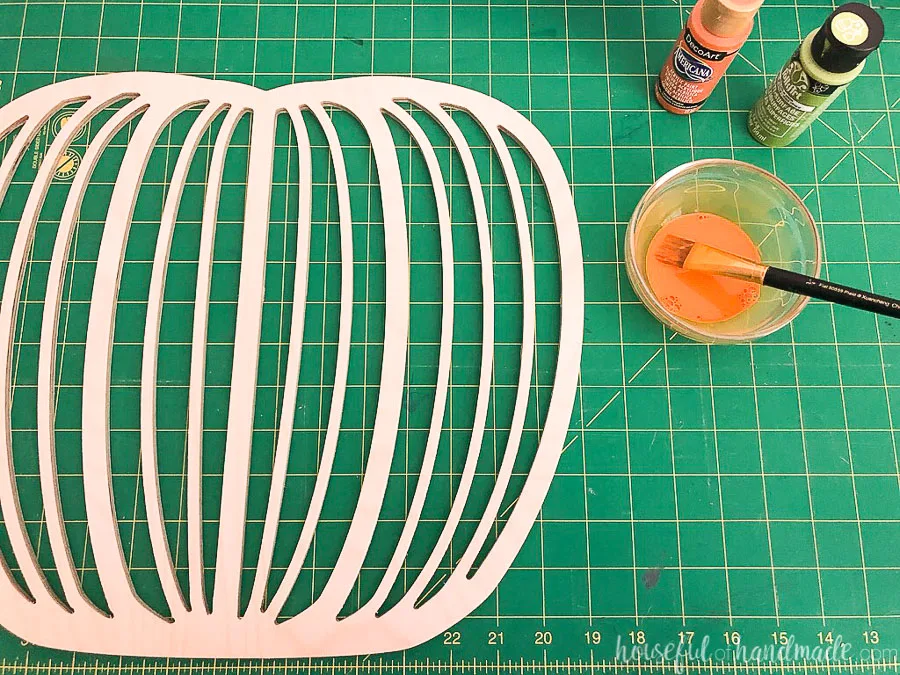
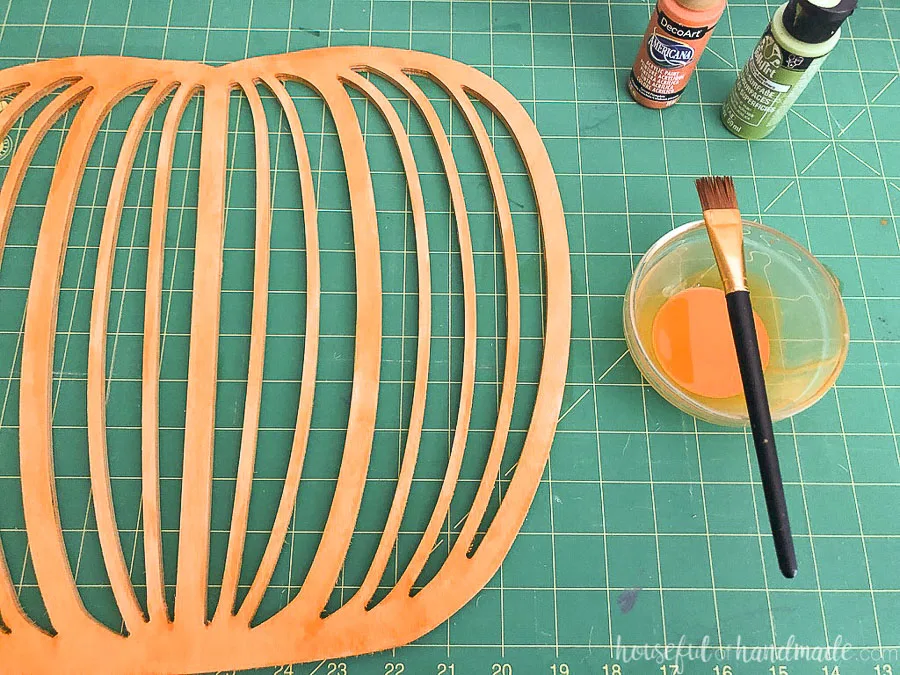
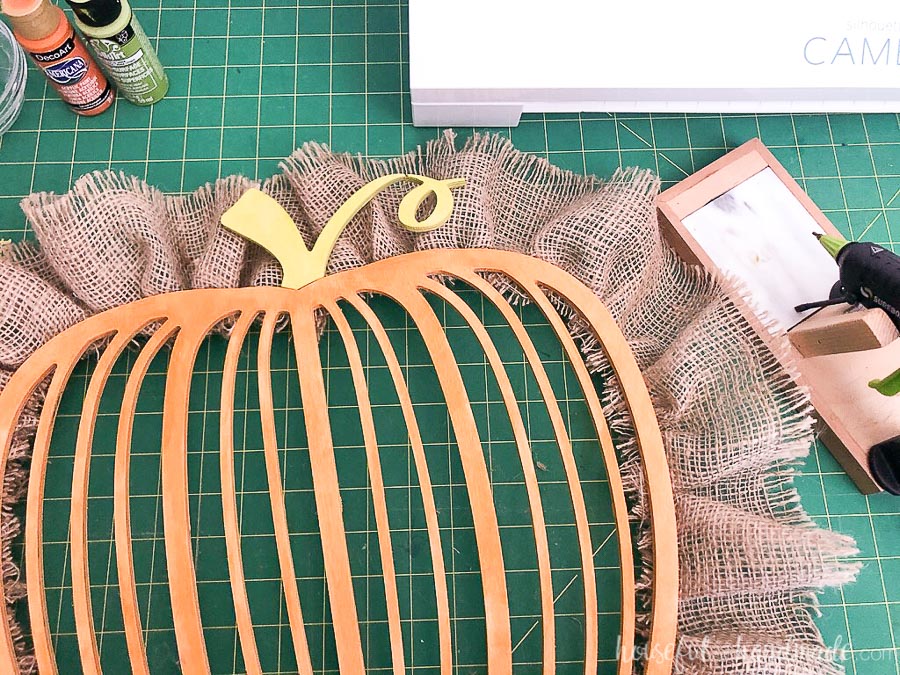
Paint the pumpkin with craft paint. I wanted to give the pumpkin just a light wash of color, so I thinned the craft paint with a ratio of approximately 3 parts water to 1 part paint. Then brushed this on the top and sides of the cut out shapes.

Assemble the Wreath
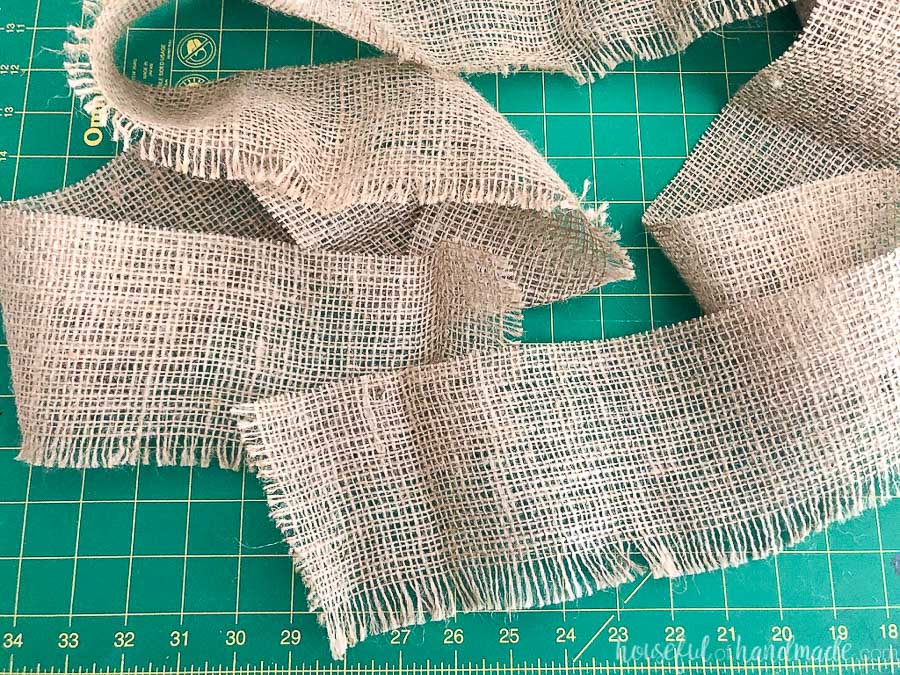
While the paint is drying, cut the strips of burlap, or use burlap ribbon. I used a strip about 3 1/2 to 4 yards long.
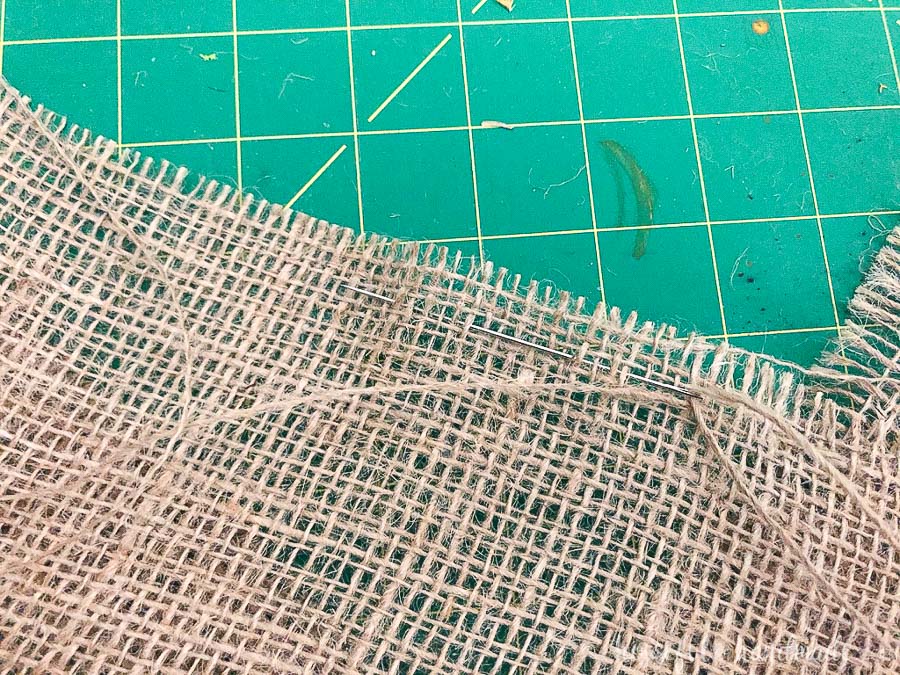
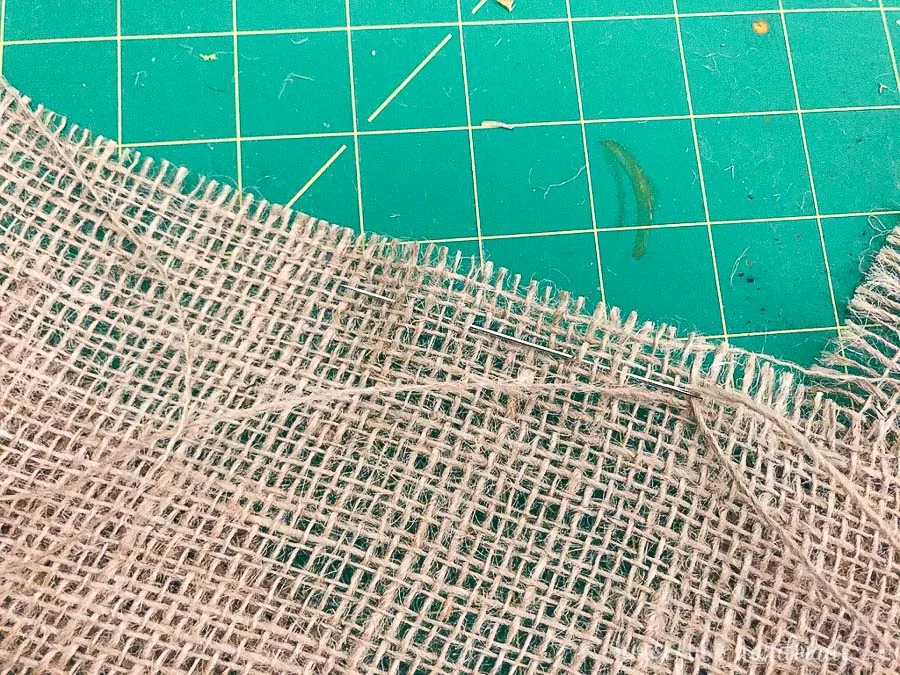
Fray one edge of the strip by pulling out a few of the strings that run along the edge. Save these strings for later.

Thread one of the strings on your large eyed needle and stitch a wide basting stitch along the non-frayed side of the burlap. Tie the string to the end you start to prevent it from pulling through.
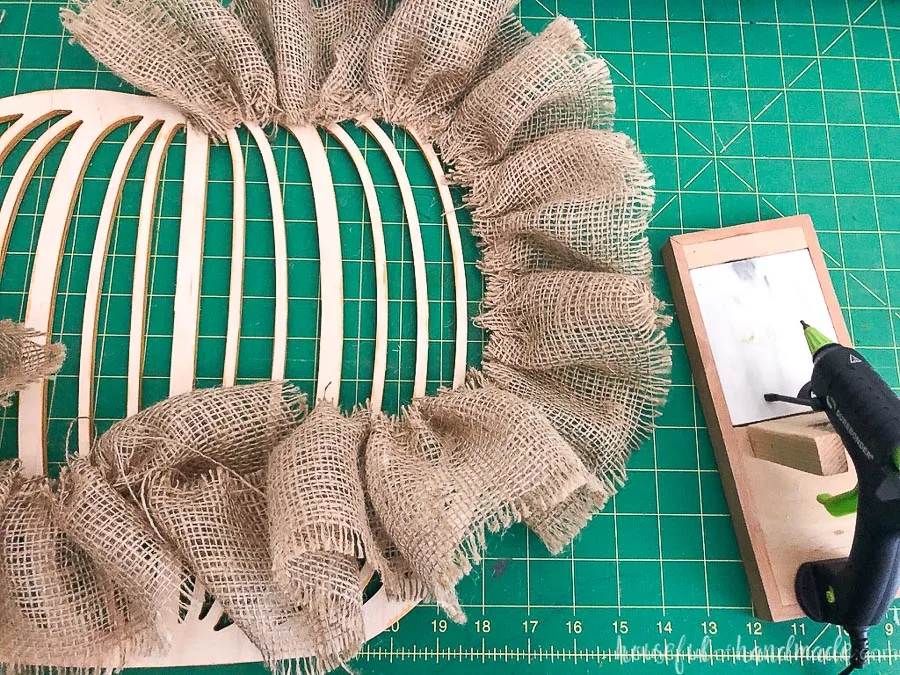
Start gathering the burlap along this string. Gather it up until it is the same size as the outside of the pumpkin.
Hot glue the gathered side of the burlap to the outside of the wood pumpkin all the way around. Start at the top center where the stem will go to help hide the seam.

Once the burlap is attached, glue the stem to the top of the pumpkin with some hot glue.

Create the Interchangeable Banners
Cut out the banner pieces on whatever colored cardstock you want. I used an olive green for fall, black for Halloween and yellow for Thanksgiving.
Flip the piece over so they are spelled backwards. This will ensure that when the banner is hung it will be facing the right direction.
Use an approximately 30″ piece of the string left over from fraying the burlap. Glue the string to the back of the banner pieces with a couple drops of hot glue at the back corners.

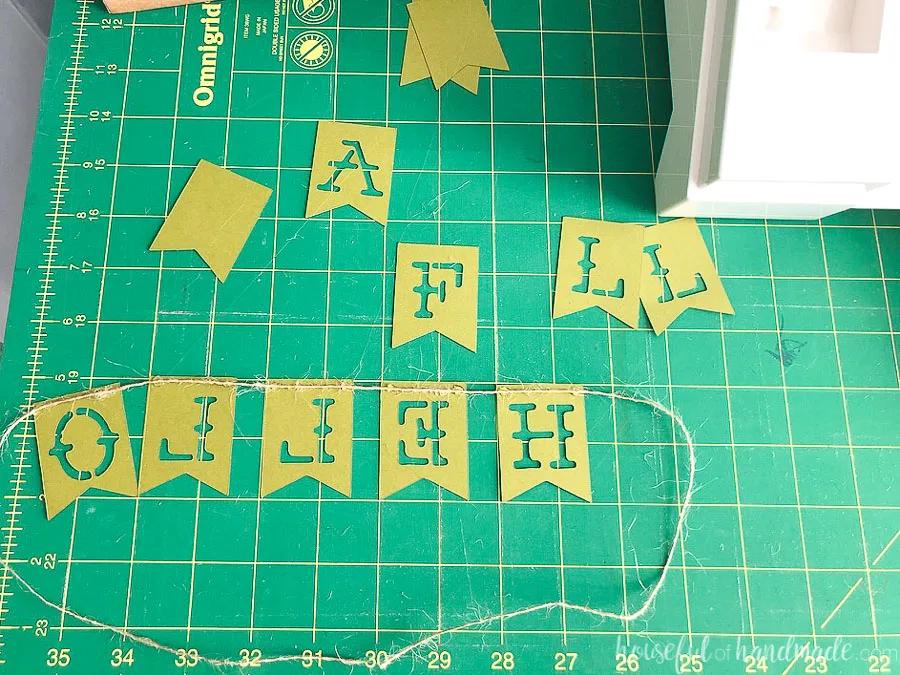
Let the glue dry then to hang the interchangeable banners on the wreath, just weave the ends of the string holding the banner into the burlap. Go in, out, and back in so the string is hanging behind the wreath and the string is secure.
Then when you are ready to change the banner for the next holiday, you can quickly pull the string out, leaving the burlap unharmed, and weave the ends of the new banner into the wreath!

Hang your wreath on your door with a piece of the burlap string secured to the back (I tied it around some of the burlap and hot glued it down). I love using command hooks to hang wreaths on the door so I can remove them when not in use.
I am so glad to have a wreath back on our front door. And it makes our porch a little more festive, even though I have not had time to decorate it yet.
Make sure to stay tuned for the last pumpkin project in the 5 Days of Pumpkin Crafts tomorrow.
And in case you missed any of the other crafts, check them out below:
Happy Crafting!