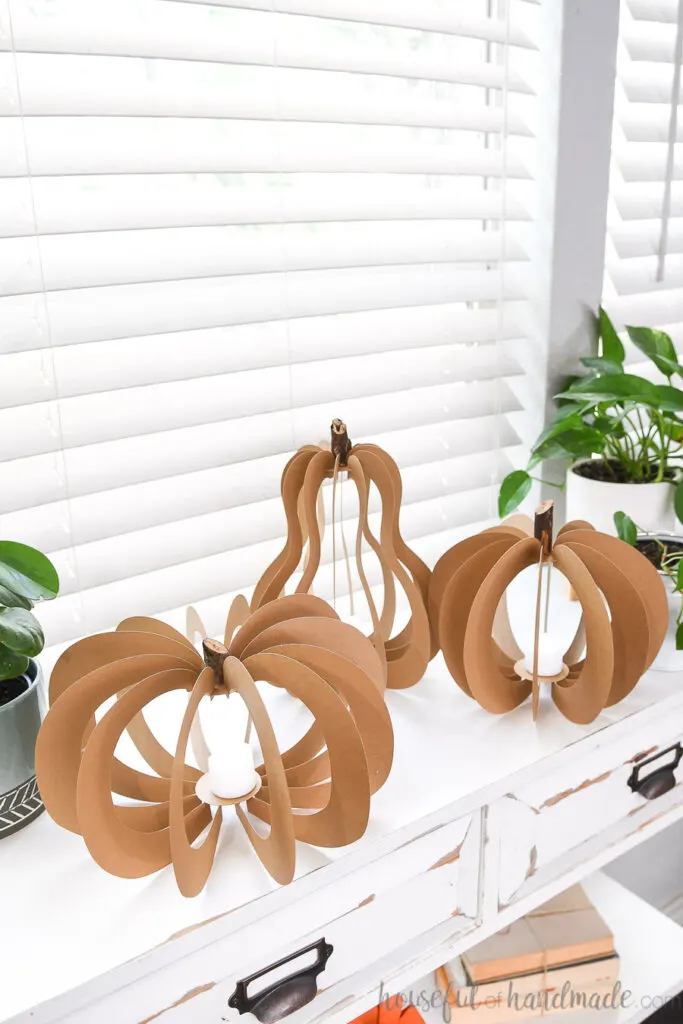
Add a little rustic charm to your home this fall with these 3D paper pumpkin lanterns.
So excited for Day 3 of the 5 Days of Pumpkin Crafts! For the midweek project, I reinvented one of my most popular pumpkin projects ever. But this time, it’s made out of paper instead of wood!
These 3D Wood pumpkins have been a huge hit, but if you don’t have a CNC, scroll saw or other way to intricately cut wood you had to skip them, until today!
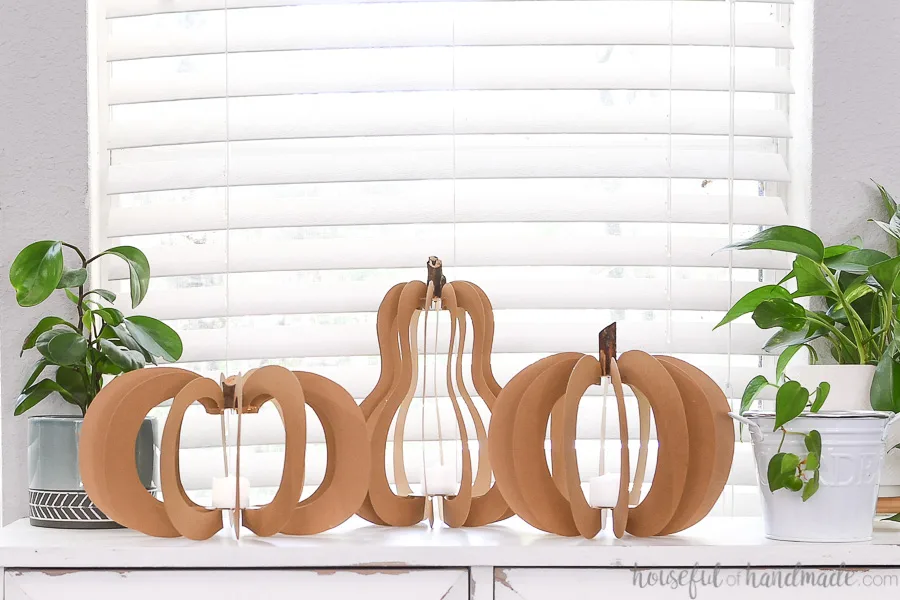
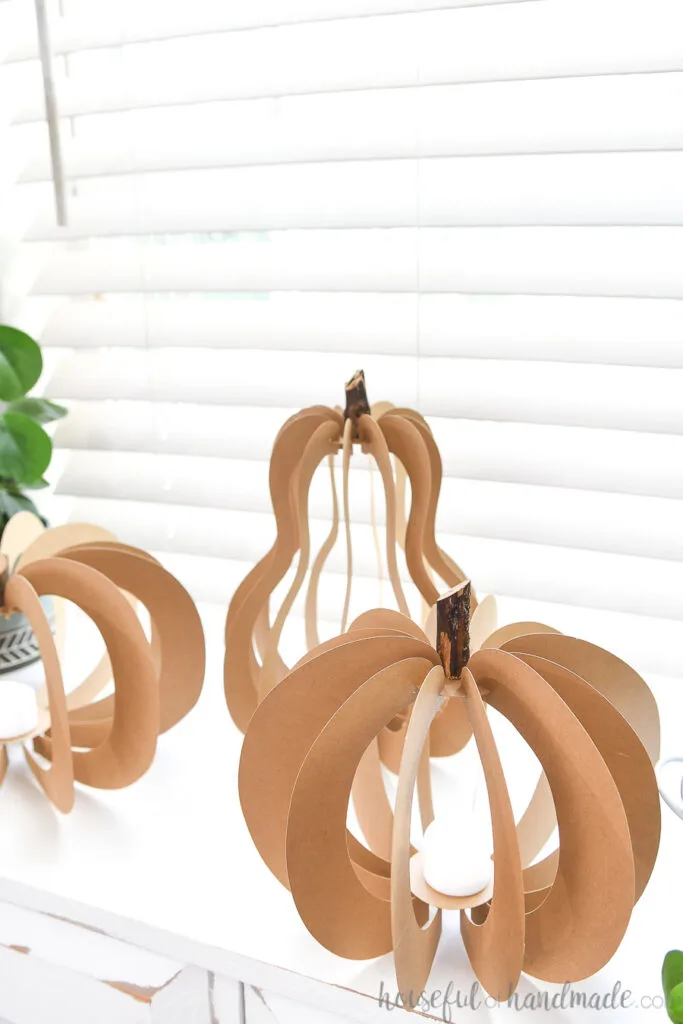
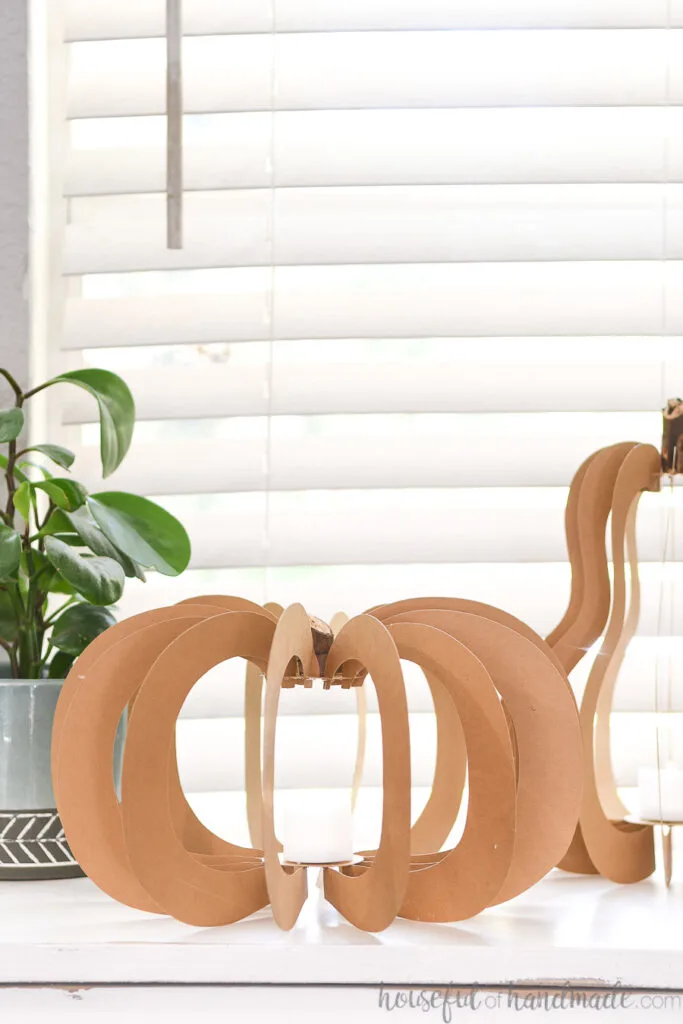
These new 3D Paper Pumpkin lanterns are just as amazing as the original. Made from brown Kraft cardstock for a slightly sturdier design, you get the same rustic feel without all the sawdust.
This post may contain affiliate links. As an Amazon Associate I earn from qualifying purchases. Click here to read my full disclosure policy.
Simple 3D Pumpkins
The simple design of the wood pumpkins translated beautifully to a paper craft. And I love the rustic simplicity the brown paper gives them.
These paper pumpkins are even almost as big as their wood counterpart. But the pieces were all made to fit on a basic 8 1/2″ x 11″ sheet of paper.
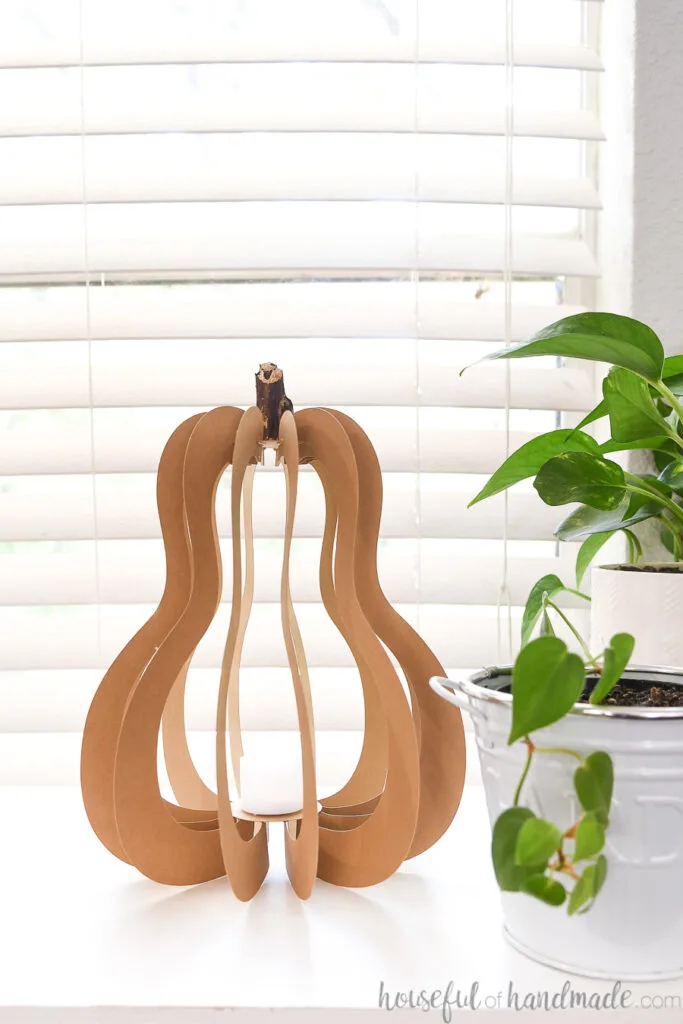
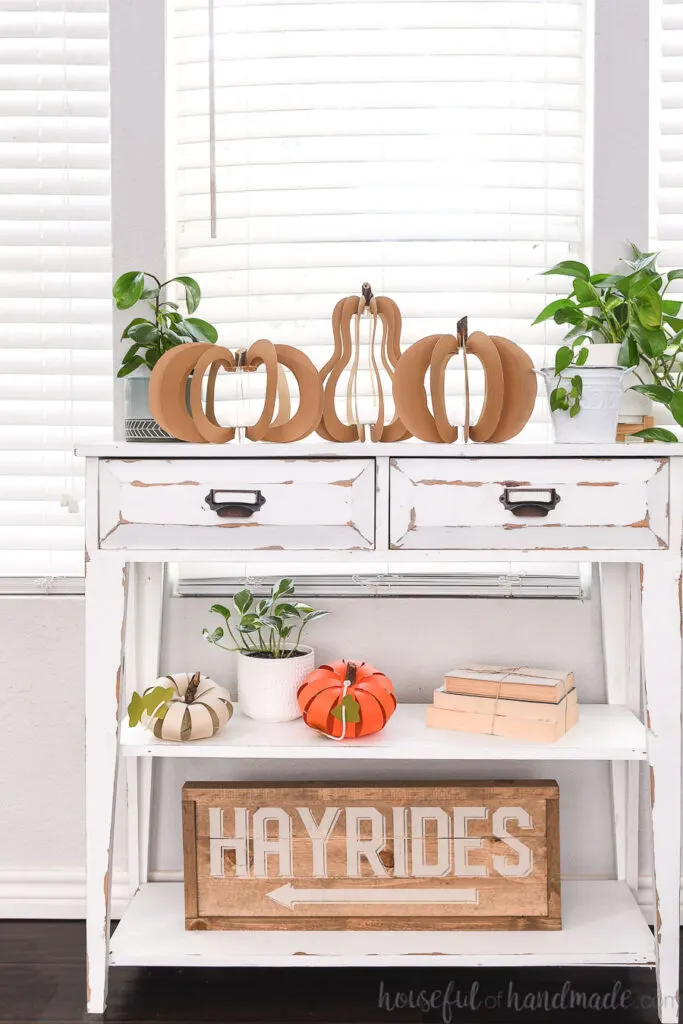
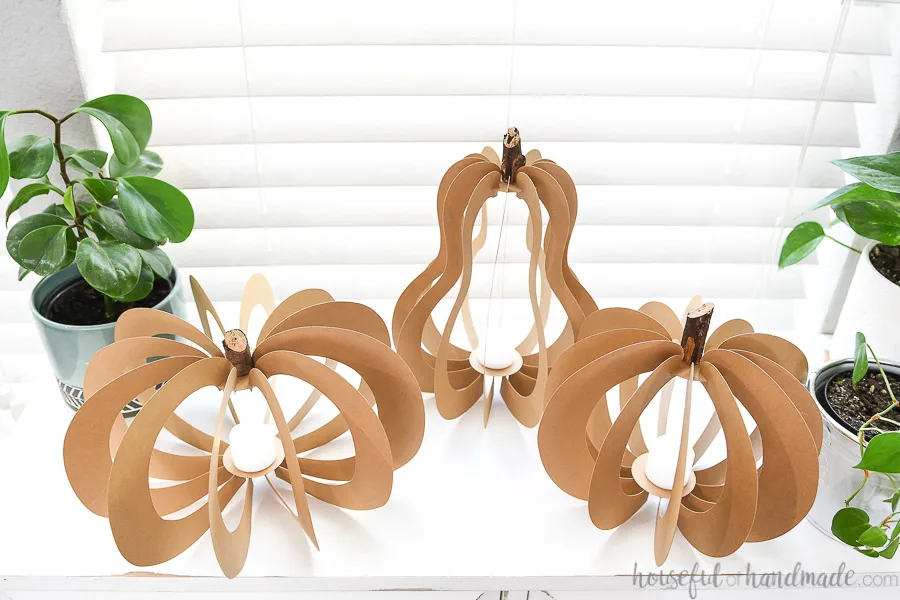
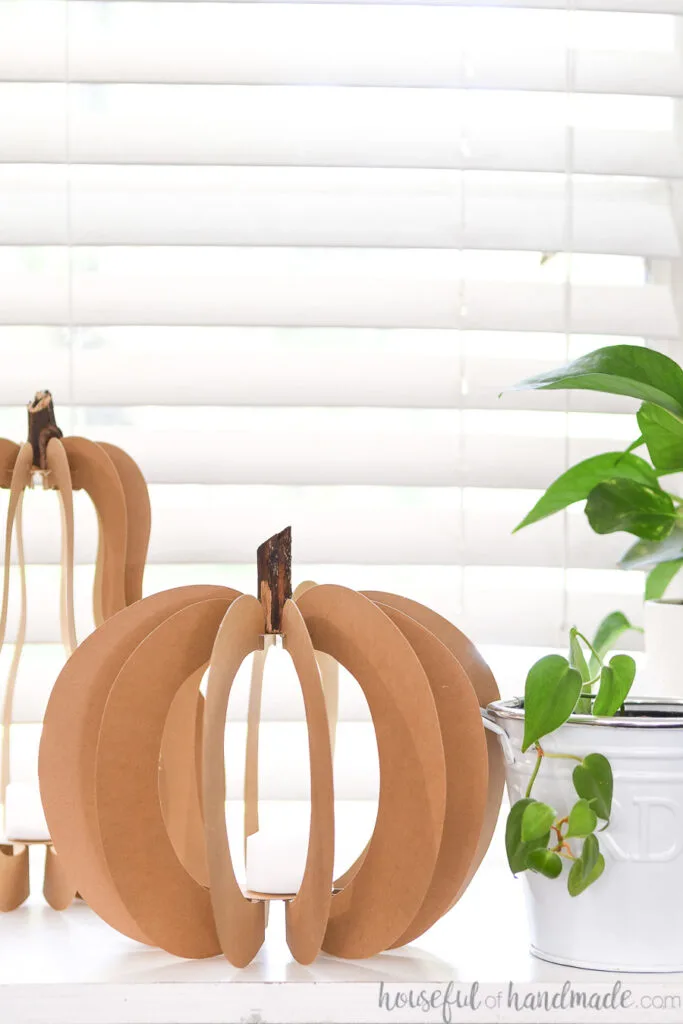
The round pumpkin is 7″ tall and approximately 8″ around. The short pumpkin is 7″ tall and almost 10″ around. And the gourd comes in at 10″ tall and about 7″ around.
And the best thing about DIY is you can always resize the pumpkins if you want smaller or larger decor for your home. Just make sure to resize all pieces the same percent so they fit together perfectly.
I chose to make my pumpkins out of brown Kraft cardstock. It is a bit stiffer than regular cardstock (around 80 lb). Because the shape of the pumpkins is a little delicate, the extra strength is necessary.
If you want to use other colors instead of brown, look for cardstock that is at least 80lbs. You could also use coverstock (typically 110lb or more) for even stronger pumpkin decor.
And if you cannot find thick enough cardstock in the color you want, you can always use my trick to spray paint it!
Spray paint works so great on paper crafts and can give them an almost plastic like appearance when using a glossy paint. But the rustic brown paper worked perfect to blend in with our fall decor this year.
How to Make 3D Paper Pumpkins
Supplies:
- Pumpkin & gourd lantern template
- Brown Kraft cardstock or other heavier weight cardstock
- Hot glue gun & glue sticks
- You could also glue them together with glue sticks, but I prefer hot glue for paper crafts since it dries quickly and holds permanently.
- Sticks/twigs
- Hand saw
- Battery operated tea lights
- Optional: Electronic cutting machine
- I used my Silhouette Cameo to cut out the pieces for my pumpkins, but you could also cut them out with scissors.
Cut out the pieces
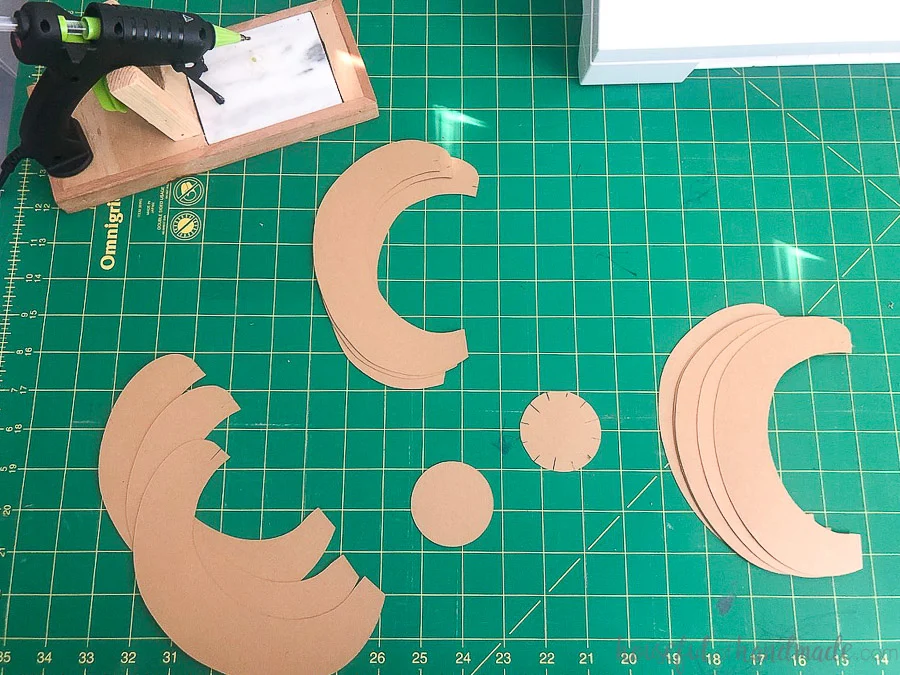
For each template (short, round, or gourd) there are 3 pages, two pages have the top and bottom disks on them. With the disks are the largest and smallest pieces.
The third page has 3 of the medium pieces, you will need to cut two of these pages for a total of 6 medium pieces.
Cut out along all the solid lines. The dotted lines on the bottom disk piece are just for reference.
Assemble the pumpkins
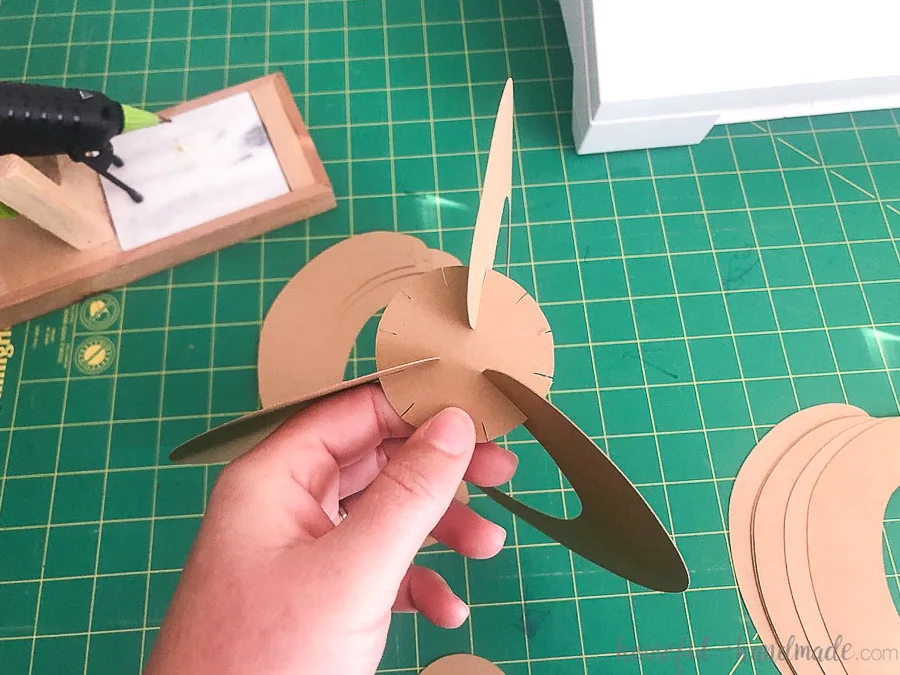
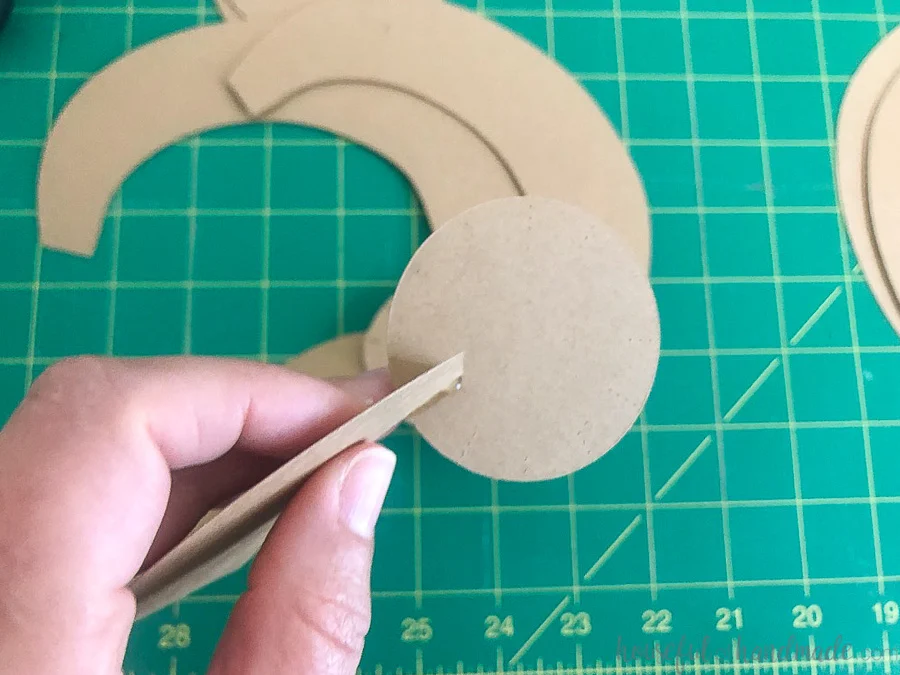
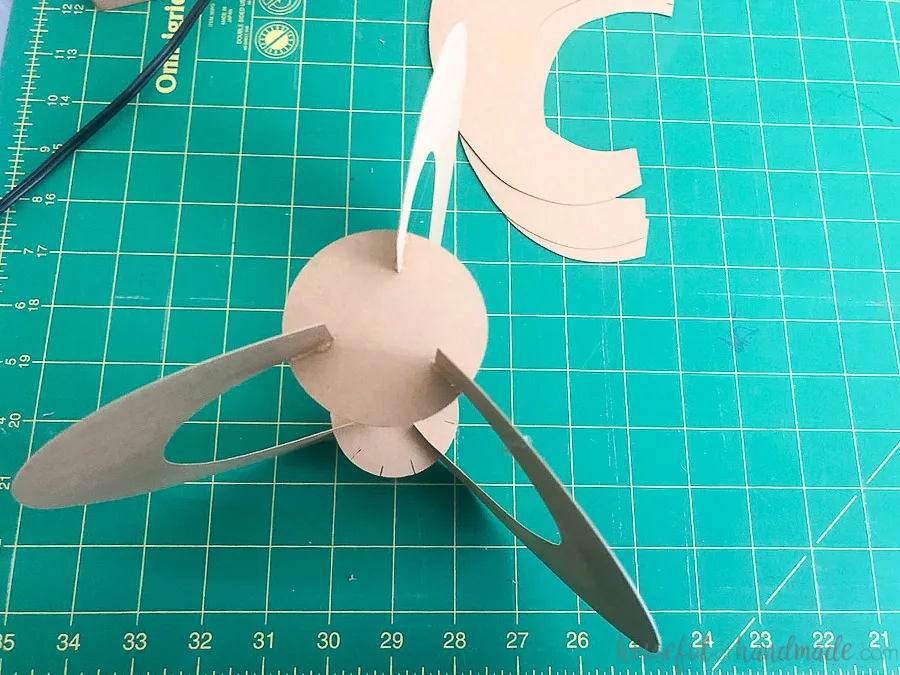
Start with the top disk (the one with slots) and the 3 large pieces. Slide the notch at the top of the large piece into the largest slot on the disk. Repeat for all 3.
Then flip the pumpkin over (the pieces will flop around a bit) and grab the bottom disk (the one with the dotted lines).
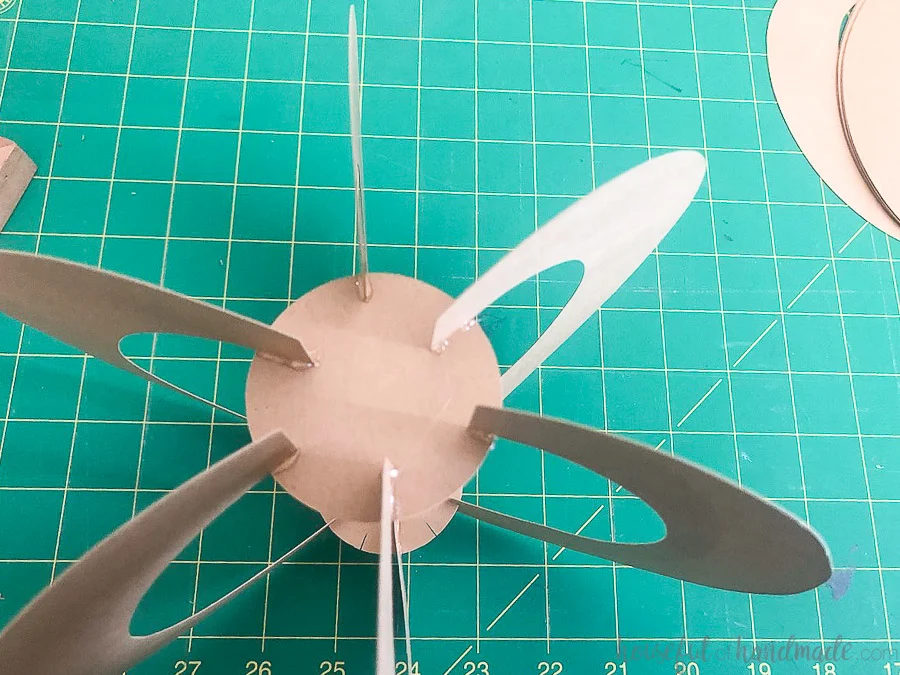
Place a line of hot glue on one of the longest lines and glue the top of the bottom section of one of the pieces to it.
Repet for the other 2.
If you want more stability, run a bead of hot glue on either side of the pieces in top disk just on the underside so you don’t see it.
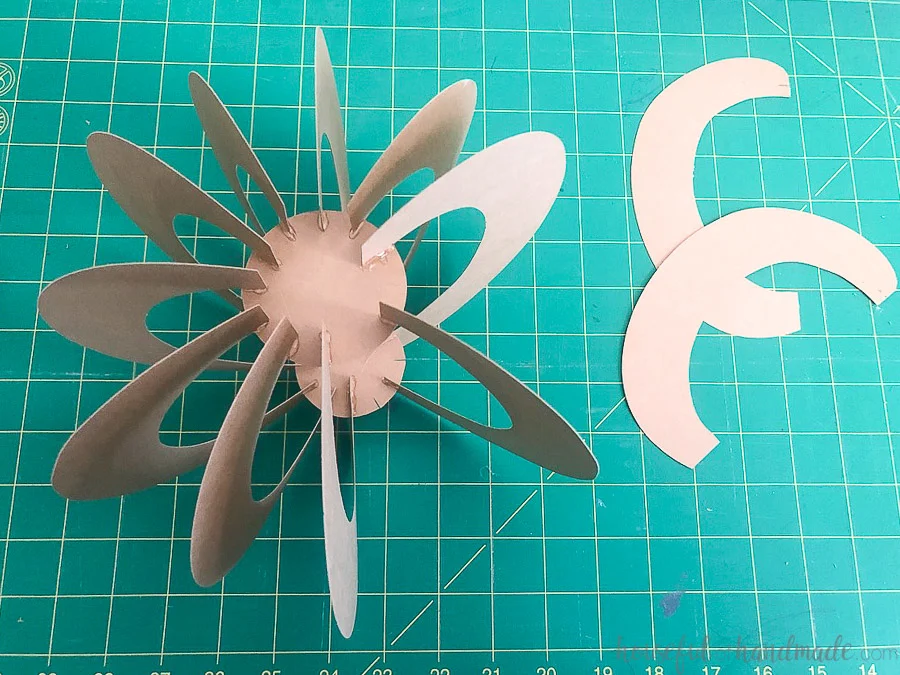
Then move on to the 3 small pieces. Repeat the steps to secure them in the three shortest notches and glue to the 3 shortest dotted lines.
Finish with the 6 medium pieces attached in the same way to the medium notches and dotted lines.
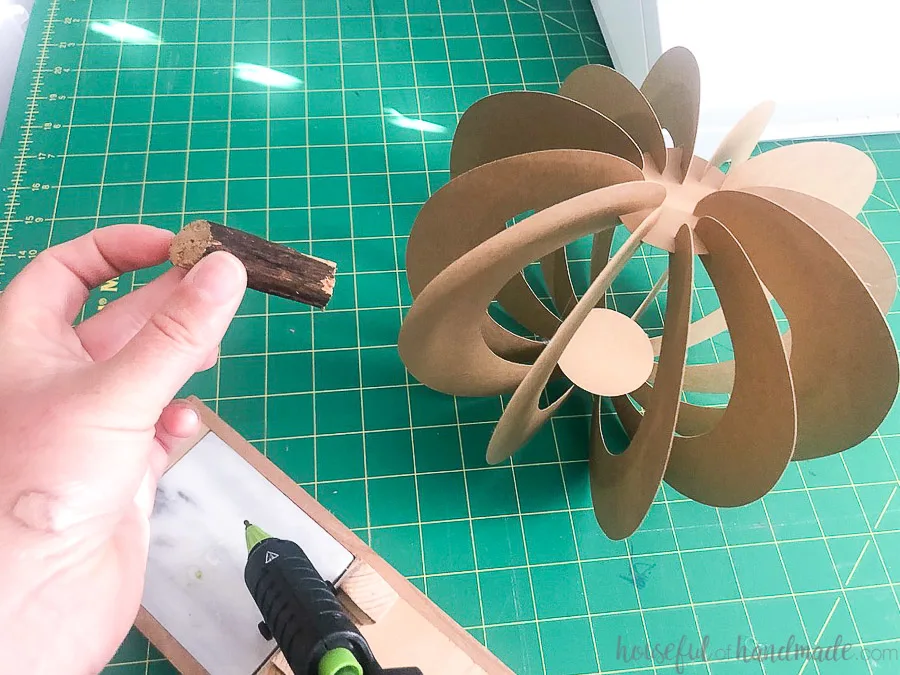
Cut a piece of stick so it has a flat bottom. Glue it to the top center of top disk.
Add a flameless tea light candle to the bottom disk and enjoy your new pumpkin lanterns!
You can make just one or all 3 paper pumpkins. And display them with or without the tea lights.
Either way, you will love the extra pop of fall this easy pumpkin craft gives your home!
And don’t forget we are only half way through our 5 days of pumpkin crafts. Wow, to think there are 2 more projects still to come!!!
If you missed any of the days, make sure to check them out below:
Cheri
Wednesday 7th of October 2020
These are beautiful. Do you think the stem would be attached well enough to put an eye screw on the top so the lanterns could be hung?
Kati
Tuesday 27th of October 2020
I think over time the paper would pull off the stem, but you could always try it. That is the best thing about paper crafts, easy to replace if you try something that doesn't work!