Celebrate Christmas on a budget with these DIY paper lantern Christmas ornaments.
It’s day 4 of our Paper Christmas Decor series. You may already know I have a love affair with paper lantern decor. They are a great way to decorate with paper, without it looking like paper! You can see some of my favorites in these 19 Amazing Paper Christmas Decor Ideas.
So for today’s paper Christmas decor post, I went back to my love and turned farmhouse lanterns into paper Christmas ornaments for you to decorate your tree this year!
Day 4: Paper Lantern Ornaments
One of the reasons I absolutely love paper Christmas ornaments is because they won’t break. Yes they can get squished and destroyed, but they are inexpensive to replace. And after you have dealt with little kids and those glass balls, non-dangerous Christmas ornaments are a must!
This post may contain affiliate links. As an Amazon Associate I earn from qualifying purchases. Click here to read my full disclosure policy.
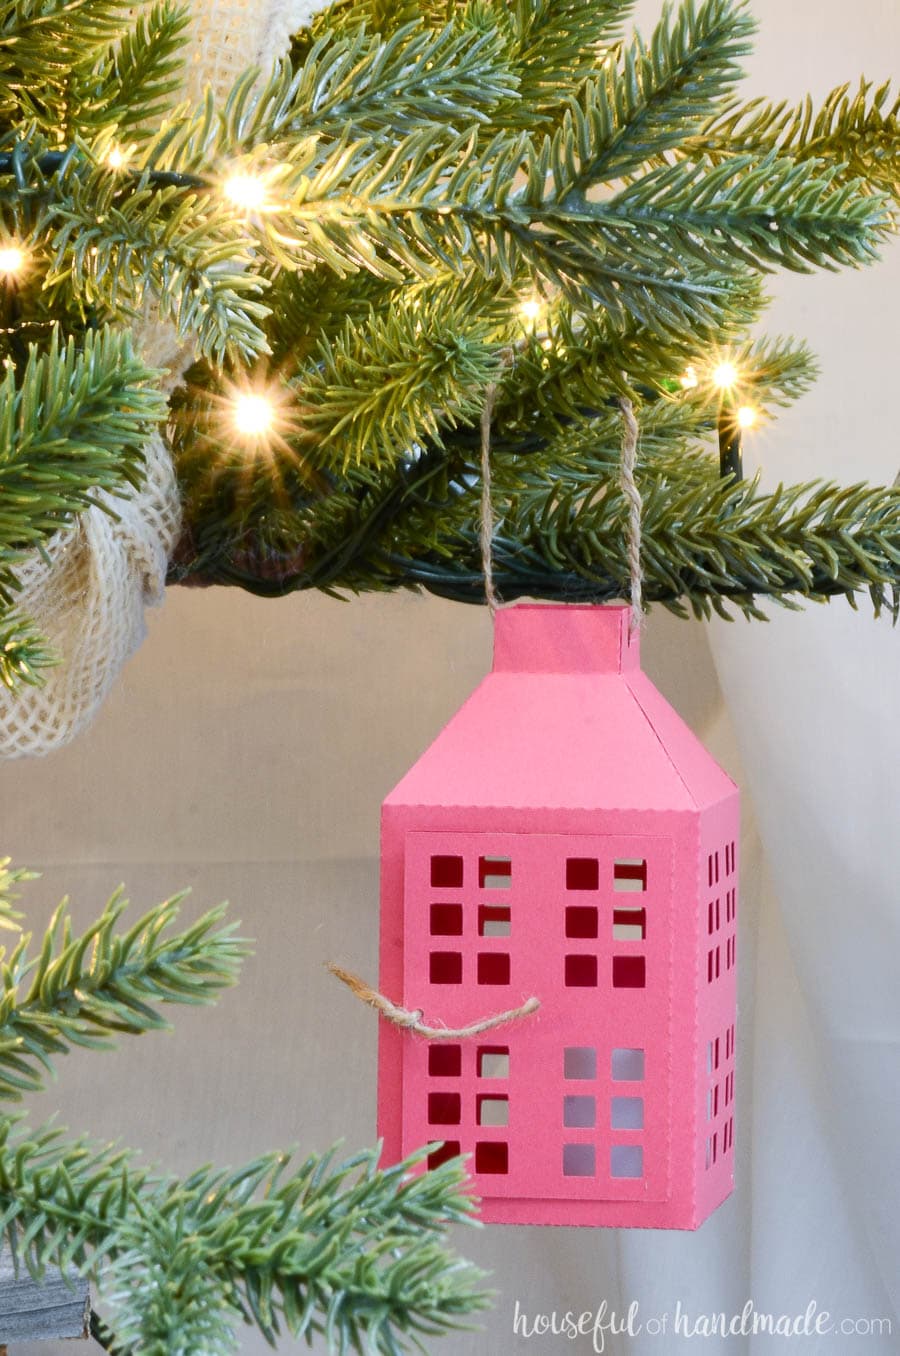
When my kids were little, I started creating Christmas ornaments out of paper to save our feet from shards of glass. But now that they are older (and mostly well behaved) I still love creating paper Christmas ornaments because they are fun and budget friendly.
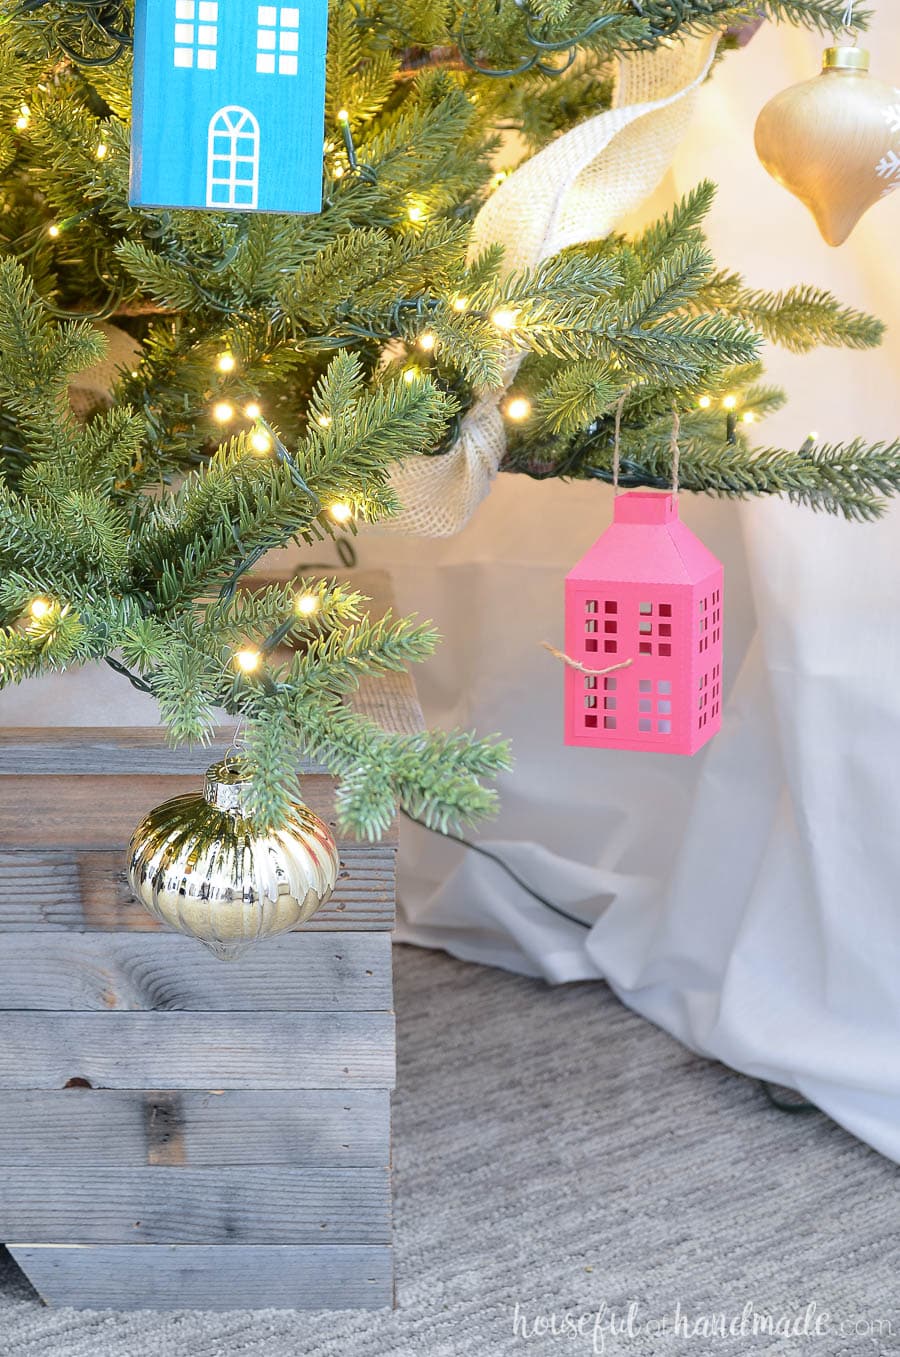
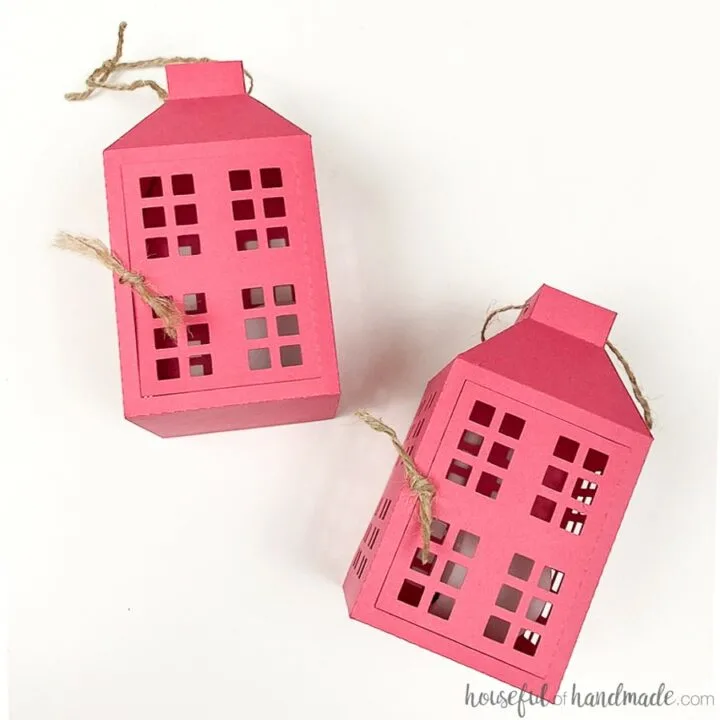
These paper lantern Christmas ornaments were created to look like a classic Christmas lantern. But last year I made them out of pink paper to give your farmhouse Christmas tree some color. And with kids in the house, I like the idea of a colorful Christmas.
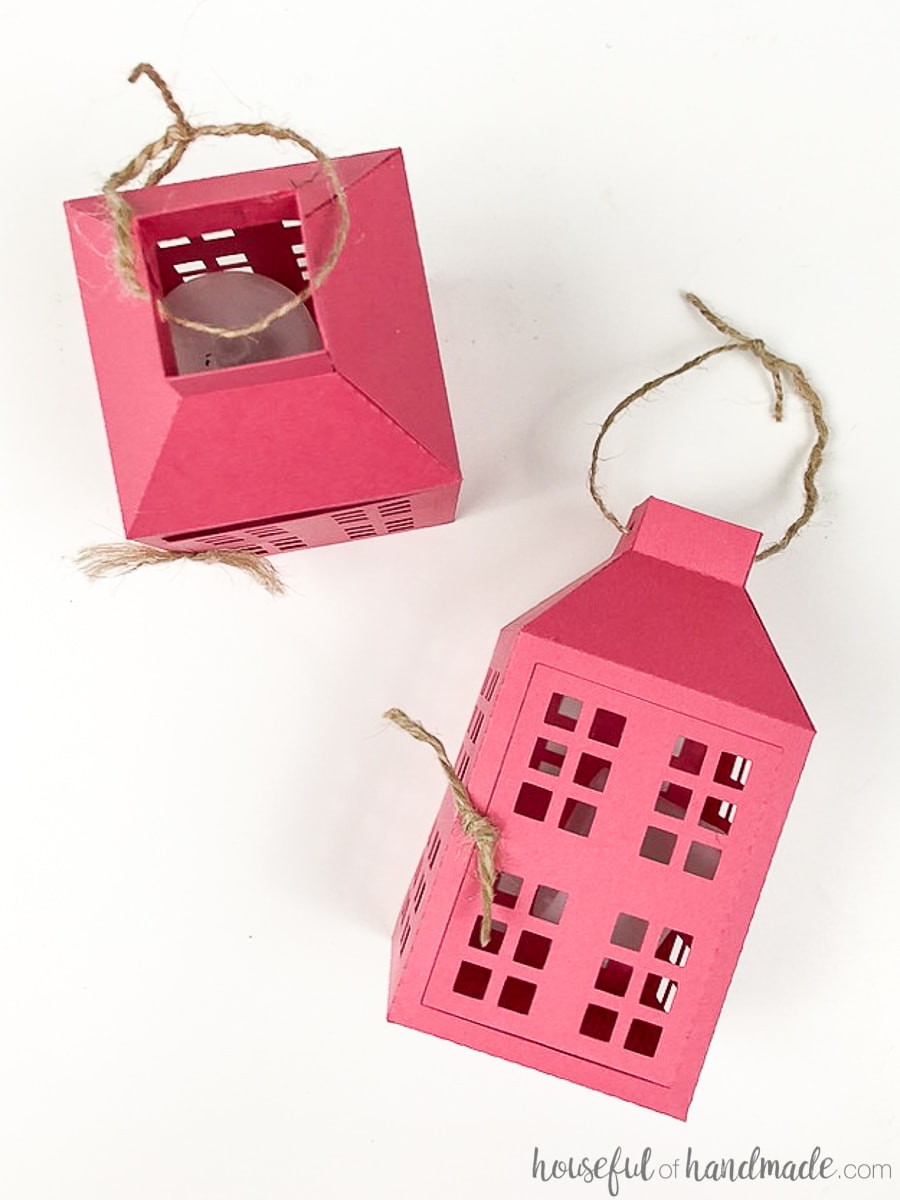
But the best thing about these paper lantern ornaments is that you can make them out of any paper. Pick your favorite! Whether it is a glittery gold (oh, that would be amazing) or black or even brown paper. Just have fun with them.
How to Make Farmhouse Lantern Ornaments from Paper
Supplies:
- Paper lantern cut files
- The cut files & PDF for the paper lantern ornaments were free to my subscribers until 11/28/2018. Now they are available to purchase in the shop. Make sure to subscribe so you will be notified of new freebies!
- Cardstock
- Hot glue gun and glue sticks
- Twine
- Battery powered tea lights
- Optional: Silhouette Cameo
Cut out the paper lantern ornament template from the cardstock. And if you don’t have a Silhouette Cameo yet, you can use the PDF version to print on your cardstock. Then cut them out with scissors and an x-acto knife (for the windows). And then ask the big guy to bring you one for Christmas!
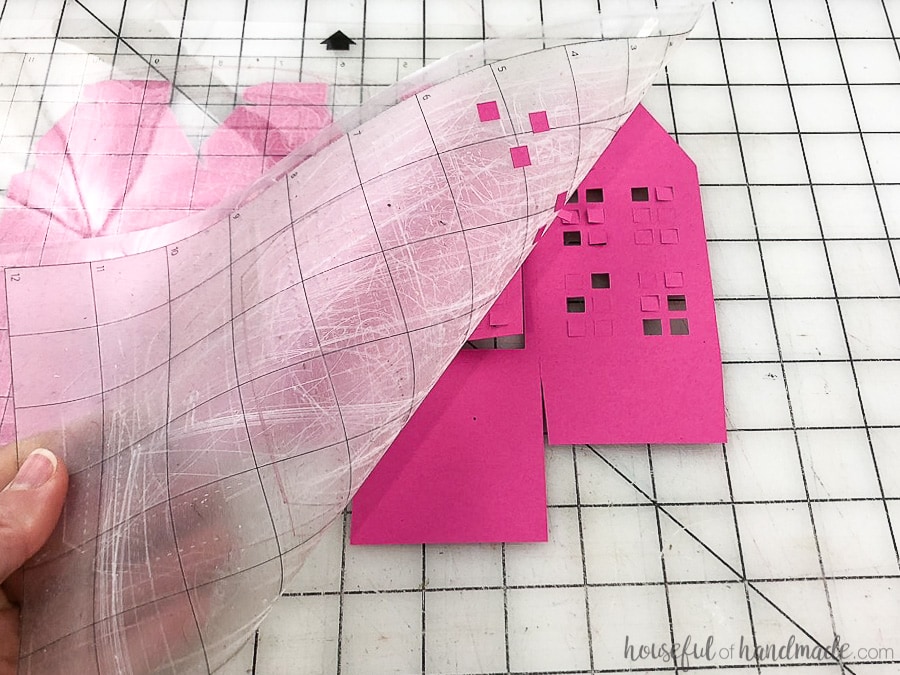
When peeling paper off your Silhouette cutting mat, flip the mat over and pull the mat off the paper to prevent it from curling.
Fold along all the dotted lines. If you don’t want to cut dotted lines to give you crisp folds, you can use a paper scorer like this.
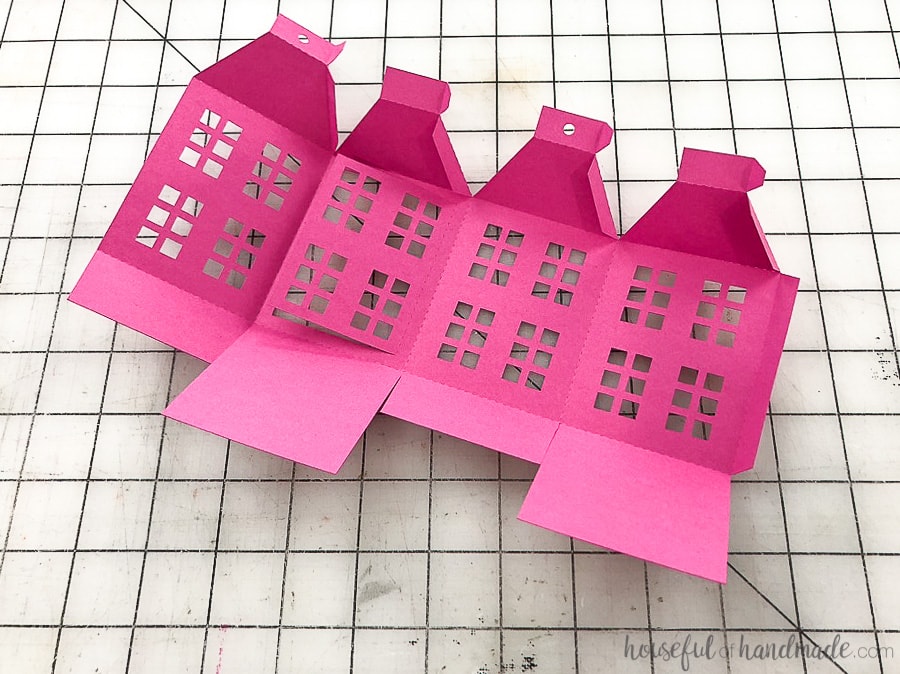
Glue the flap on the side to create a square shape. Then glue the flaps on the bottom to one side, followed by the second bottom side flap.
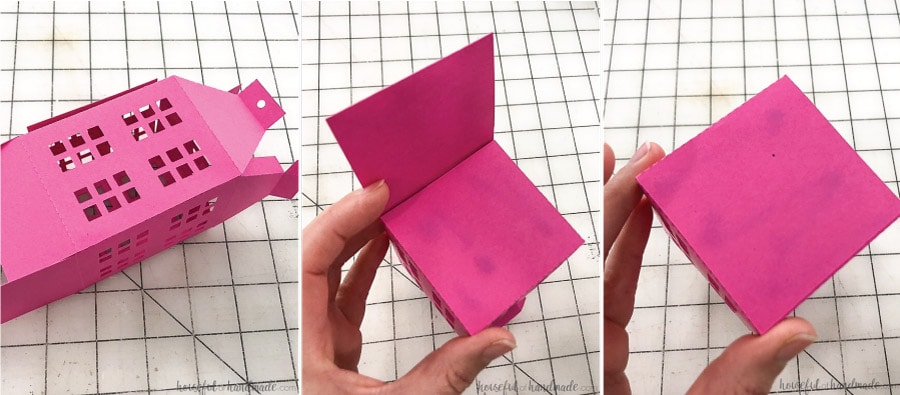
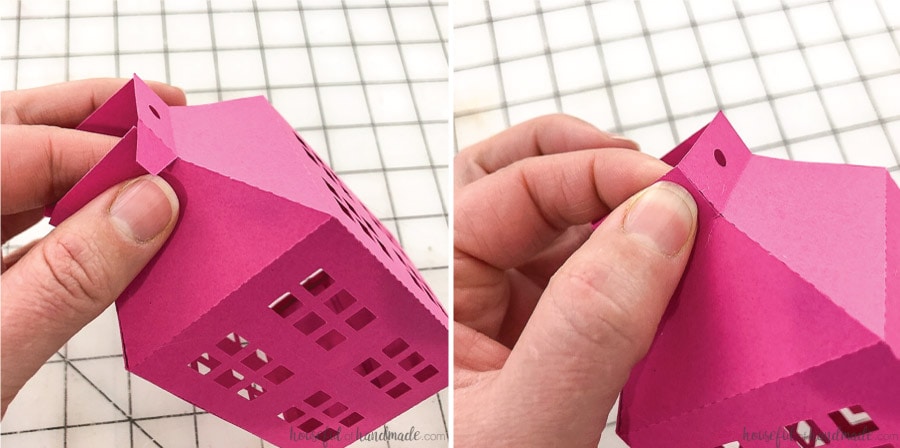
Secure the flaps around the top angled part first, then finish with the very top of the paper lantern.
Thread a piece of twine into the holes at the top and tie. To secure the front of the lantern, thread a piece of twine through the hole in the front then loop it through the window. Tie to secure but leave it so you can open it to place a battery powered tea light inside (no real flames… this is made of paper!).
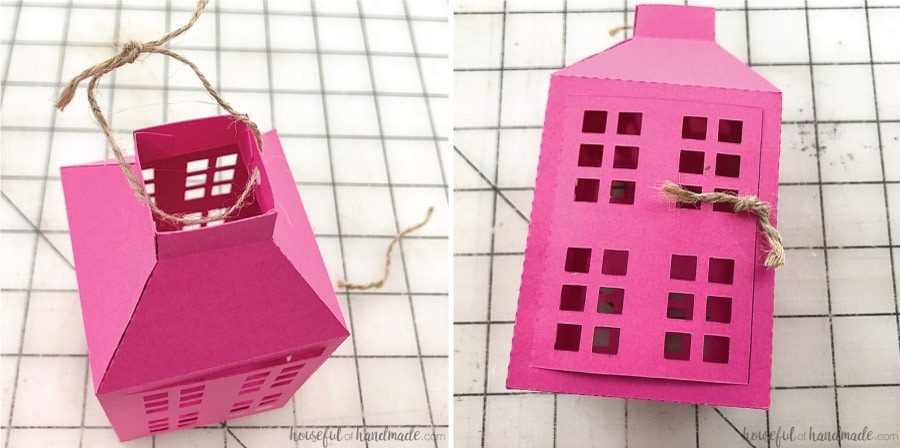
And have fun making lots of paper lanterns to place all over your Christmas tree! Because each paper Christmas ornament only uses 1 sheet of cardstock, they are super inexpensive so go crazy ????

Don’t forget to come back tomorrow for Day 5 of the 7 Days of Paper Christmas Decor. Here is the plan for the week. You won’t want to miss out on anything!
- Day 1: Gingerbread House Paper Christmas Ornaments
- Day 2: 3 Easy Paper Christmas Trees
- Day 3: Christmas Cookie Boxes
- Day 4: Paper Lantern Christmas Ornaments
- Day 5: Printable Christmas Signs
- Day 6: Christmas Reindeer Figurines
- Day 7: Paper Holly Wreaths
And by the end of the week, you will have everything you need to decorate your home for the holidays without spending all your money!
Paper Lantern Christmas Ornaments
Make farmhouse lanterns into paper Christmas ornaments with just a few simple supplies.
Materials
- Paper lantern cut files
- Cardstock
- Twine
- Battery powered tea lights
Tools
- Hot glue gun and glue sticks
- Silhouette Cameo
Instructions
- Cut out the paper lantern ornament template from the cardstock.
- Fold along all the dotted lines.
- Glue the flap on the side to create a square shape.
- Glue the flaps on the bottom to one side, followed by the second bottom side flap. Glue the flap on the side to create a square shape.
- Then glue the flaps on the bottom to one side, followed by the second bottom side flap.
- Secure the flaps around the top angled part first, then finish with the very top of the paper lantern.
- Thread a piece of twine into the holes at the top and tie for hanging.
Recommended Products
As an Amazon Associate and member of other affiliate programs, I earn from qualifying purchases.
-
 Homemory LED Tea Lights, Set of 24 Flameless Flickering Tealight Candle, Electric Fake Candle for Votive, Wedding, Party, Table, Dining Room, Gift
 -
 Mini Size High Temperature Detail Hot Glue Gun
 -
 Silhouette Wireless Cutting Machine-AutoBlade-Dual Carriage-Studio Software, 12, CAMEO 3 - Classic White Edition

Catherine D Brewer
Wednesday 27th of November 2019
You say free until 11/28; today is the 27th and you want $3.00 for a cut file. Paper lantern cut files "The cut files & PDF for the paper lantern ornaments were free to my subscribers until 11/28/2018. Now they are available to purchase in the shop. Make sure to subscribe so you will be notified of new freebies!"
Kati
Monday 9th of December 2019
Sorry for any confusion but those were free last year (see the 2018 date).