It’s fall… and that means time to make the perfect pumpkin patch sign!
Even with temperatures hitting 100 most of the week, the fall decor bug has bit. I have been so excited to fill our home with all things pumpkin and a pumpkin patch sign was at the top of my to-do list.
This year I am going all in with the pumpkin decor. There is just something about it that is speaking to me.
Maybe it’s wishful thinking that the cooler temps of fall are coming…
This post may contain affiliate links. As an Amazon Associate I earn from qualifying purchases. Click here to read my full disclosure policy.
Maybe it’s because I wanted to design a cute wood wheelbarrow and it just looked better full of pumpkins and fall goodies…
Whatever the reason, I am glad I gave in and designed my new favorite fall wood sign!
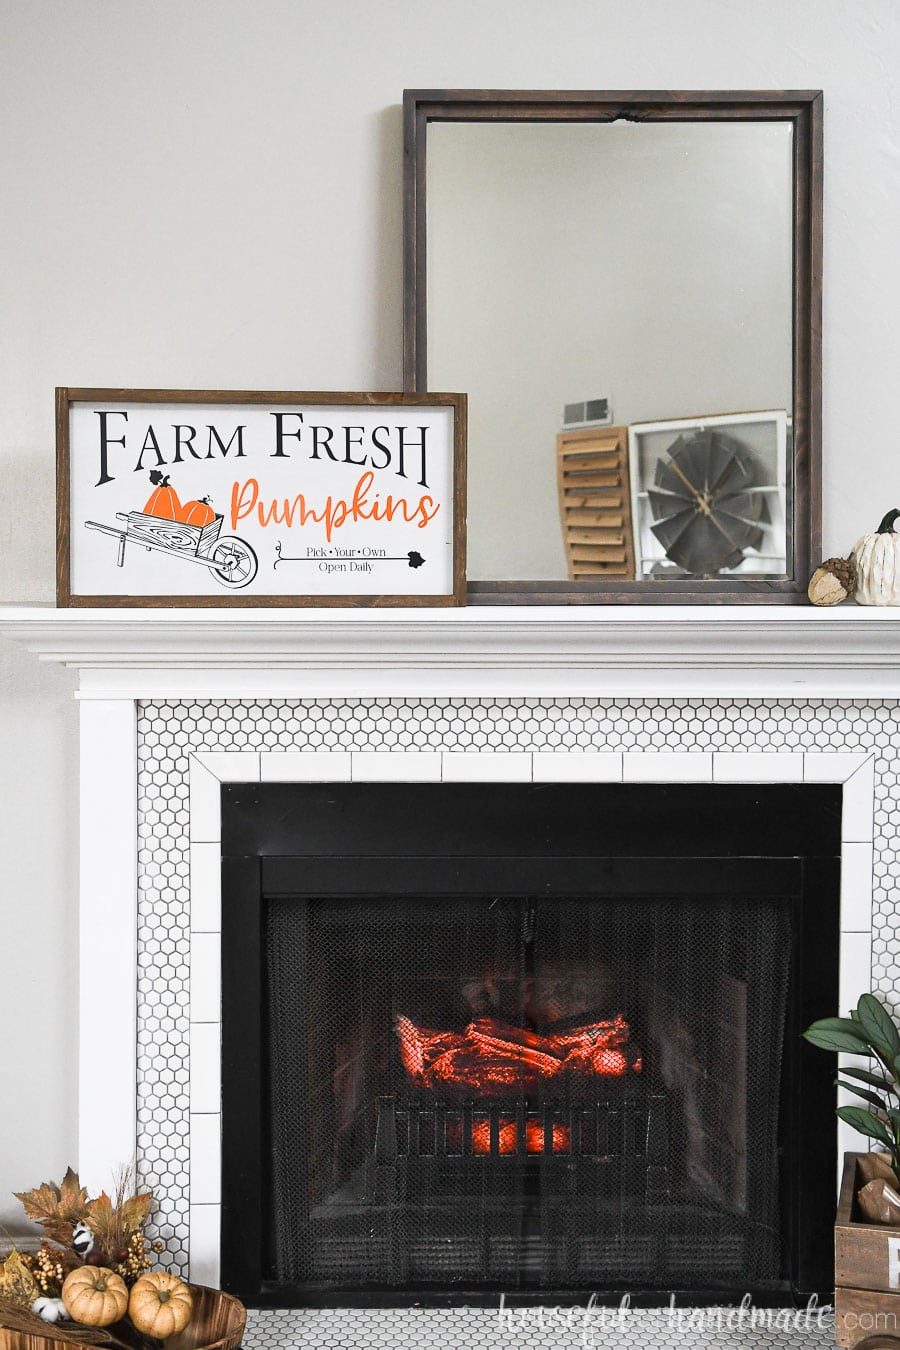
This new pumpkin patch sign is the start of our fall mantel. It’ll be the perfect way to bring all the pumpkin goodness I have planned together.
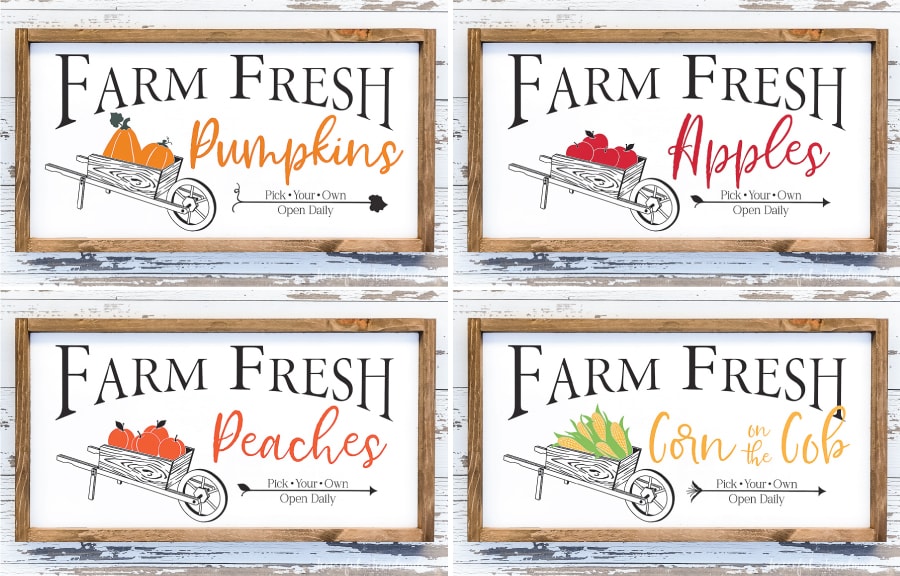
But if you are not wanting a pumpkin patch in your home, I totally understand. Fall is about more than just those orange gourds. So I designed 4 different Farm Fresh fall signs to give you all the options.
You can make your own fall wood sign to celebrate any of the amazing goodies of fall, like apples, peaches, and corn on the cob!
Get all the details to make your own pumpkin patch or other fall sign below.
How to Make Fall Wood Signs
Tools:
- Circular saw with guide track or table saw
- Miter saw
- Nail gun with 1 1/4″ finishing nails
Supplies:
- Farm Fresh SVGs for wood signs
- (1) 8′ long 1×2 board
- (1) 12″ x 24″ piece of 3/4″ thick plywood
- Wood glue
- Paint and stain
- I used Rustoleum Chalked Spray Paint in Linen White on the plywood and Varathane Aged Wood Accelerator on the frame.
- 12″ x 24″ piece of black vinyl
- 12″ x 12″ piece of colored vinyl
- Pick a color to match the fruits or vegetables in the wheelbarrow
- Transfer tape
Cutting the Wood
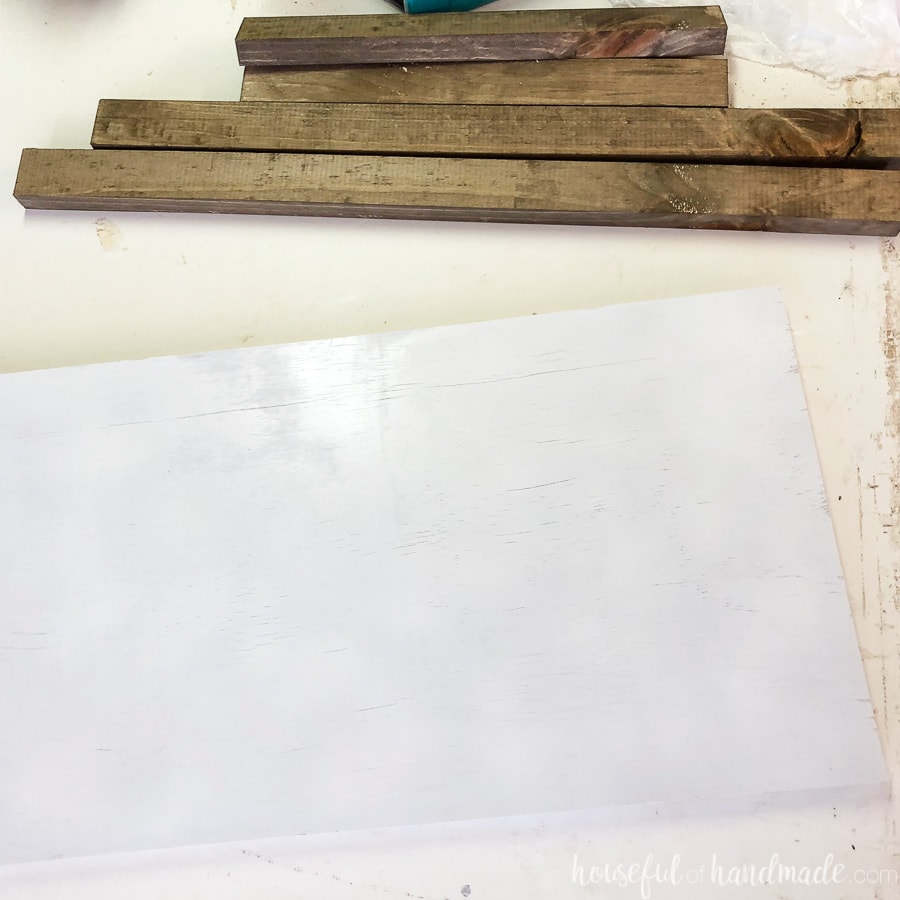
Use the table saw or circular saw with a guide track to easily cut your plywood. It needs to be nice and square to get a neat and professional square fall sign.
From the 1×2 board, cut 2 pieces 24″ long and 2 pieces 13 1/2″ long.
If you want the frame of your wood sign a different color, you will want to paint/stain before assembly to make it easier.
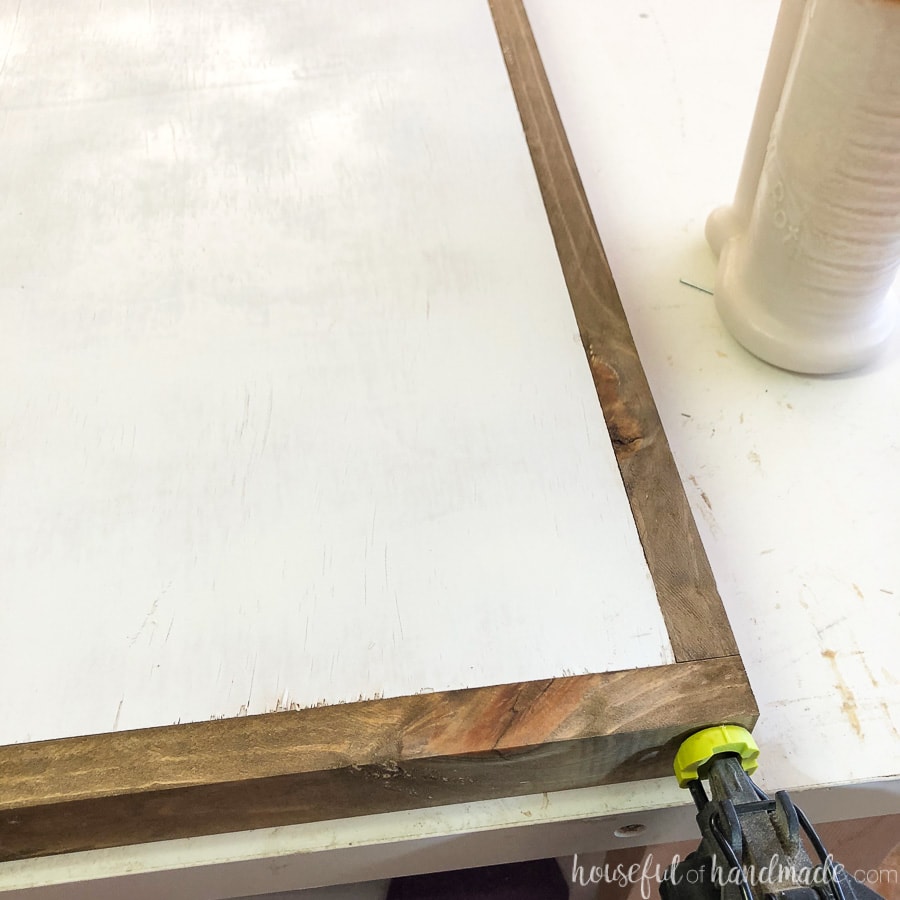
Assembling the Wood Sign
To attach the frame to the plywood sign, add some wood glue to one of the 24″ long edge of the plywood. Line up a 24″ long frame piece so it is flush with the sides and the back. Attach with wood glue and 1 1/4″ long finishing nails.
Repeat on the other 24″ long side.
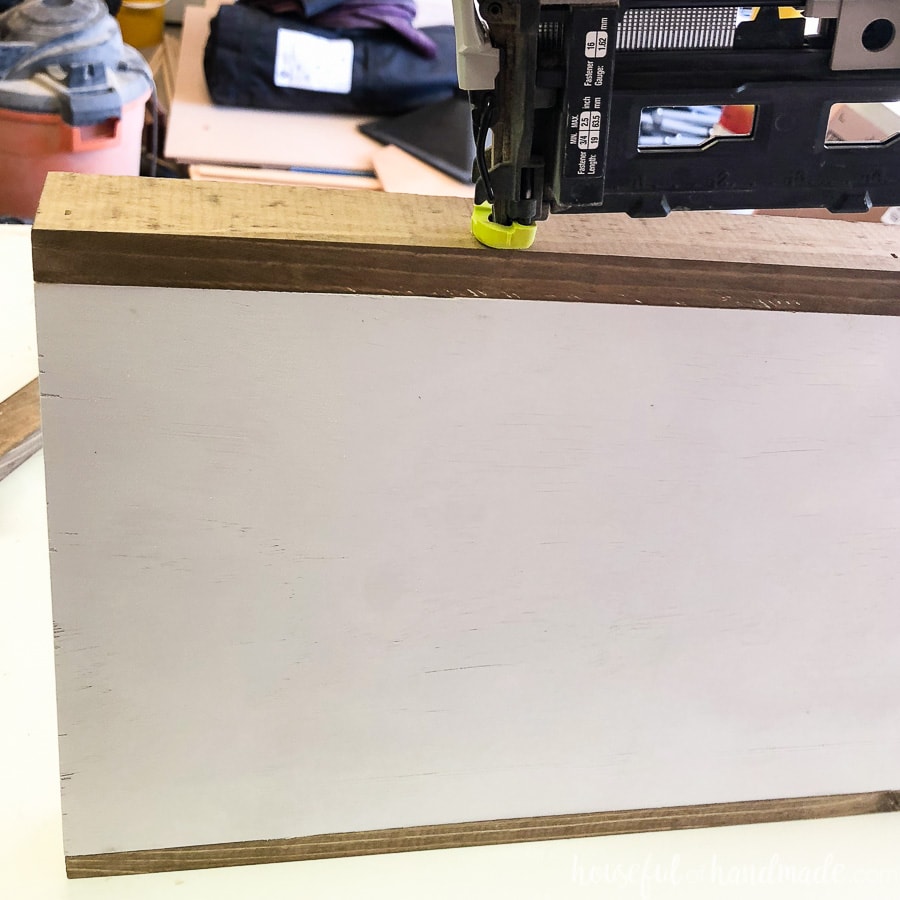
Next repeat on the shorter sides with the 13 1/2″ frame pieces. Make sure to add glue to the edge of the plywood and the edge of the attached frame when adding these frame pieces.
Now you are ready to add the pumpkin patch sign decal to your new wood sign!
Attaching the Vinyl Design
Open the SVG cut file in your electronic cutter software. Ungroup and move the colored parts to another work piece so you can cut them separately.
Cut all the black pieces from your 12″ x 24″ piece of vinyl.
Because vinyl is inexpensive, I like to just leave the design as laid out for the sign instead of moving things closer together to save vinyl. Then I can cut out any large sections of unused vinyl to save for another project without messing up the layout.
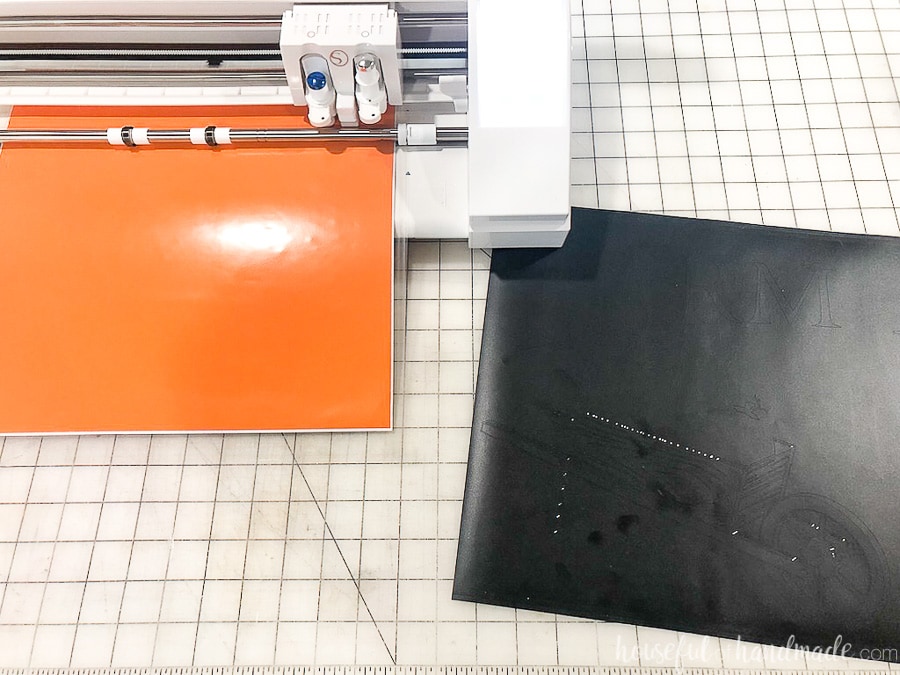
Cut out the colored parts from the smaller vinyl. I had to turn the word pumpkins diagonally to get it to fit on a 12×12 square.
Weed out the extra parts of the vinyl with a weeding hook. I also like to use a sewing pin to remove tiny bits of detail from the design (especially on the wheelbarrow).
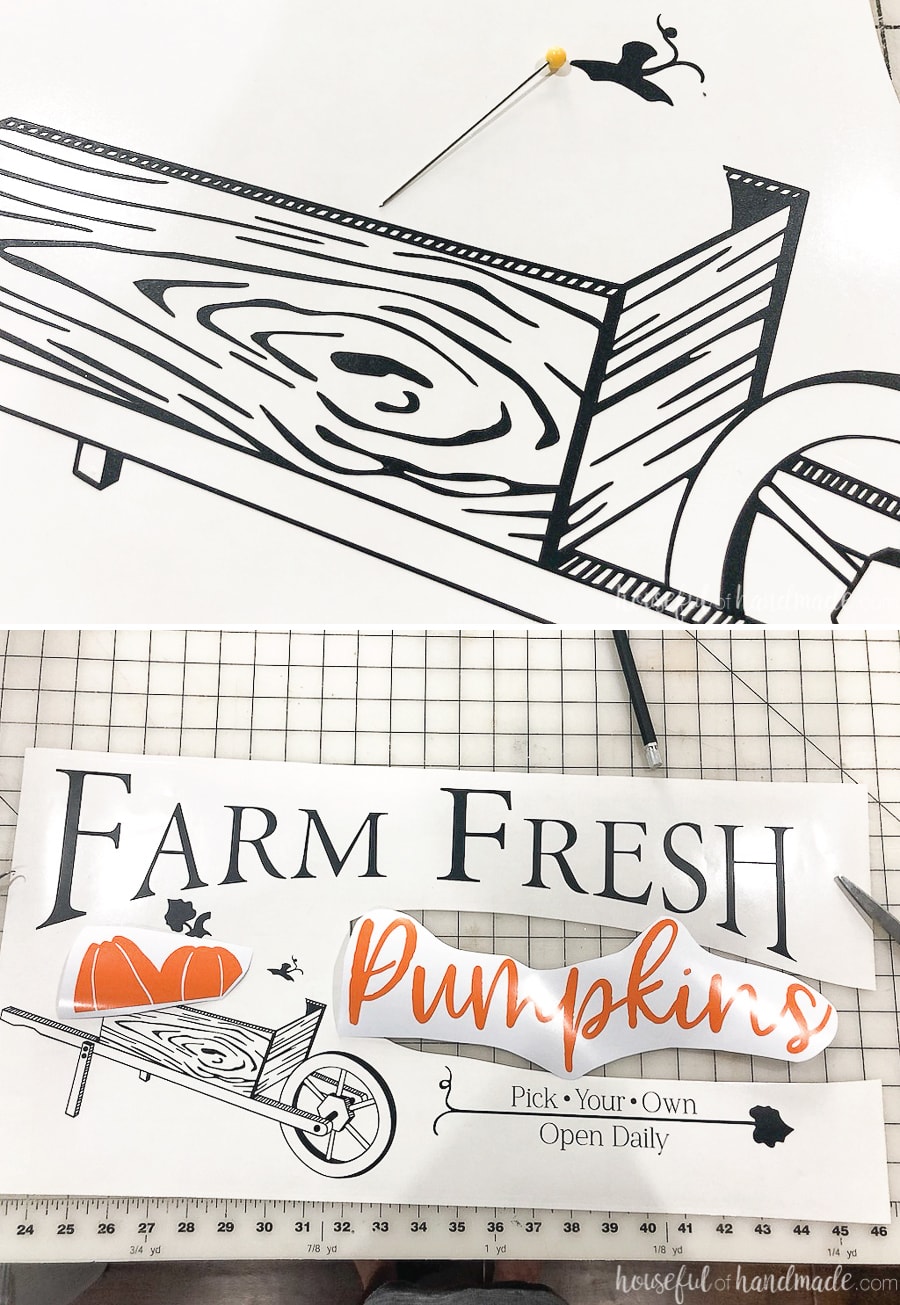
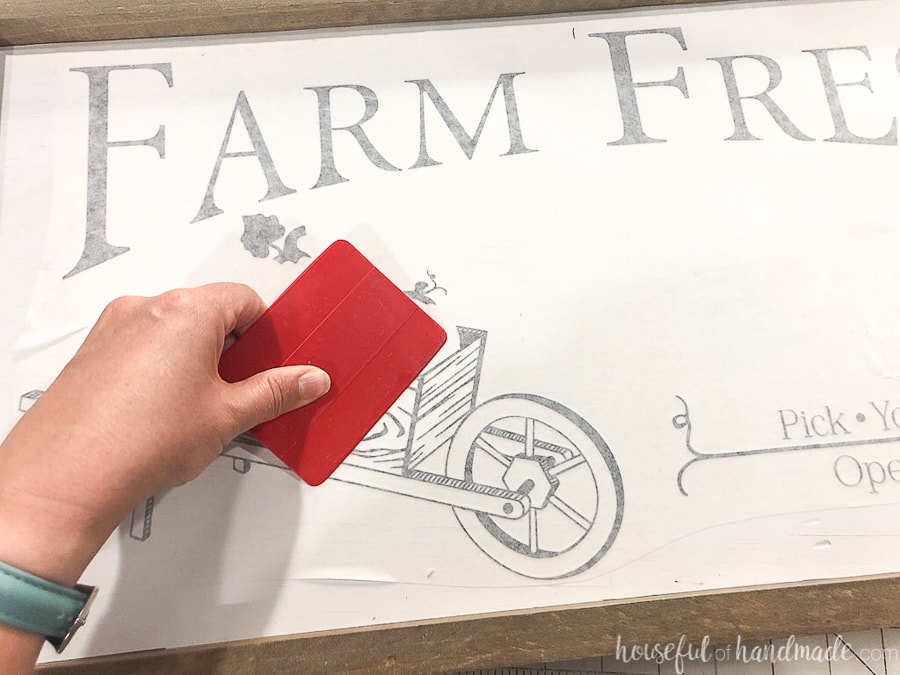
Place a piece of transfer tape over the weeded design. Just work with the larger black design to start.
To make sure it is placed properly on your wood sign, cut around any excess of the design so it fits into the sign area. Also, make sure the top is perfectly straight so you can line it up with the top of the sign.
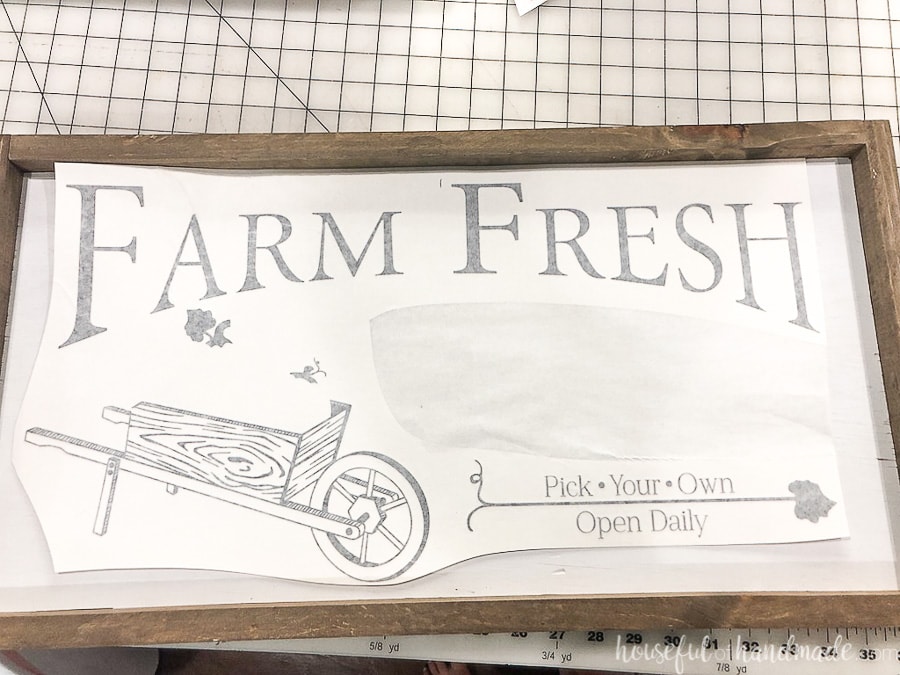
Remove the transfer tape with the vinyl attached and center it on your wood sign. Use your hands to press it down, starting in the center and working out.
Then switch to a vinyl scraper to get the design fully adhered with no bubbles.
Remove the transfer tape carefully. If the vinyl starts to pull up at all, scrape it down a bit more before removing the transfer tape.
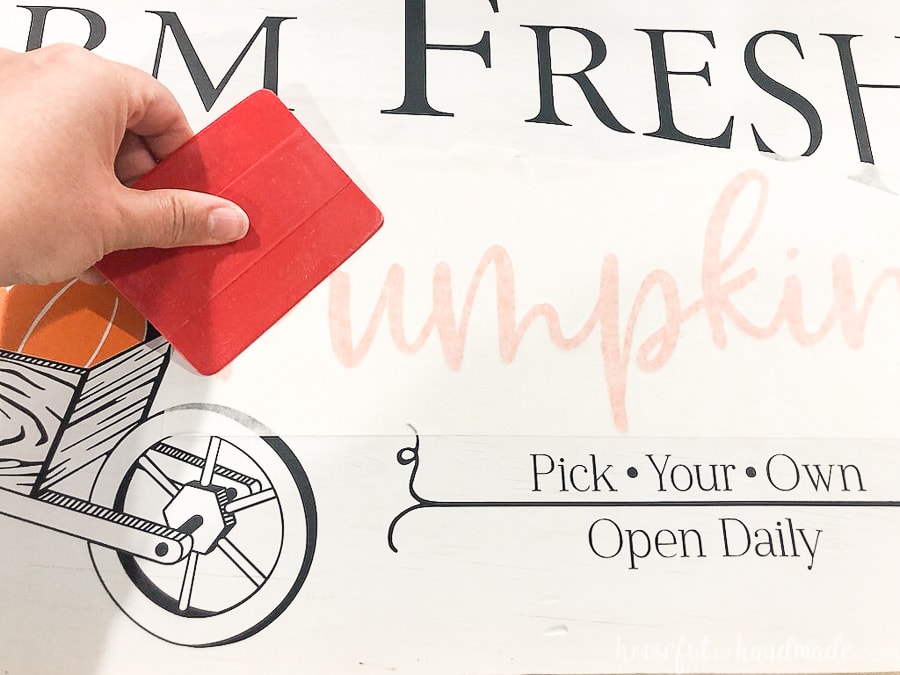
Once the black vinyl sign is attached, use the transfer tape to place the colored vinyl on your sign. Make sure to take the time to line things up carefully.
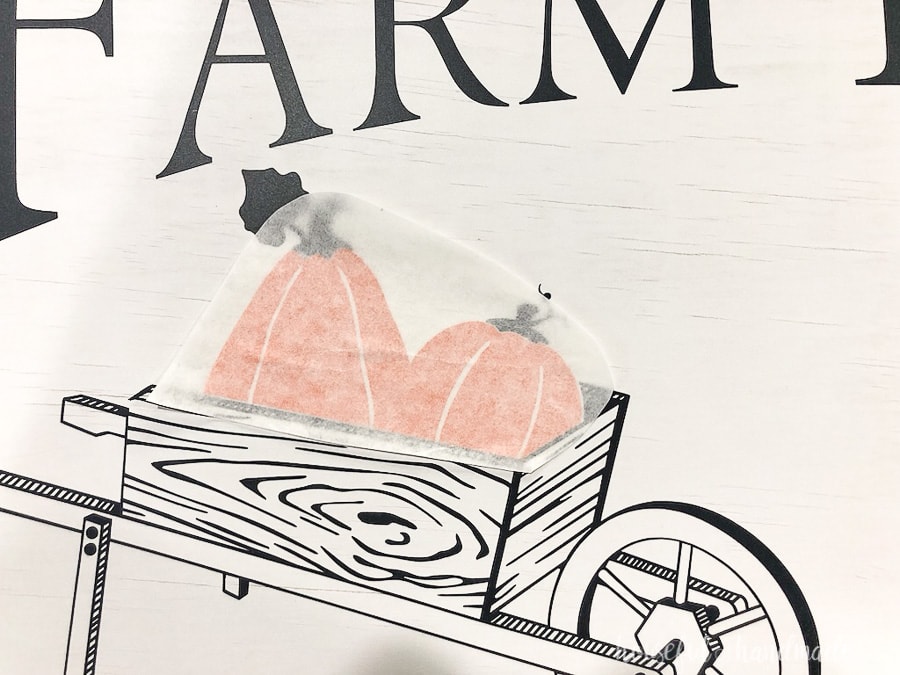
Use the vinyl scraper to make sure the colored vinyl is secure and remove the transfer tape.
It’s now time to decorate with your new pumpkin patch fall sign!
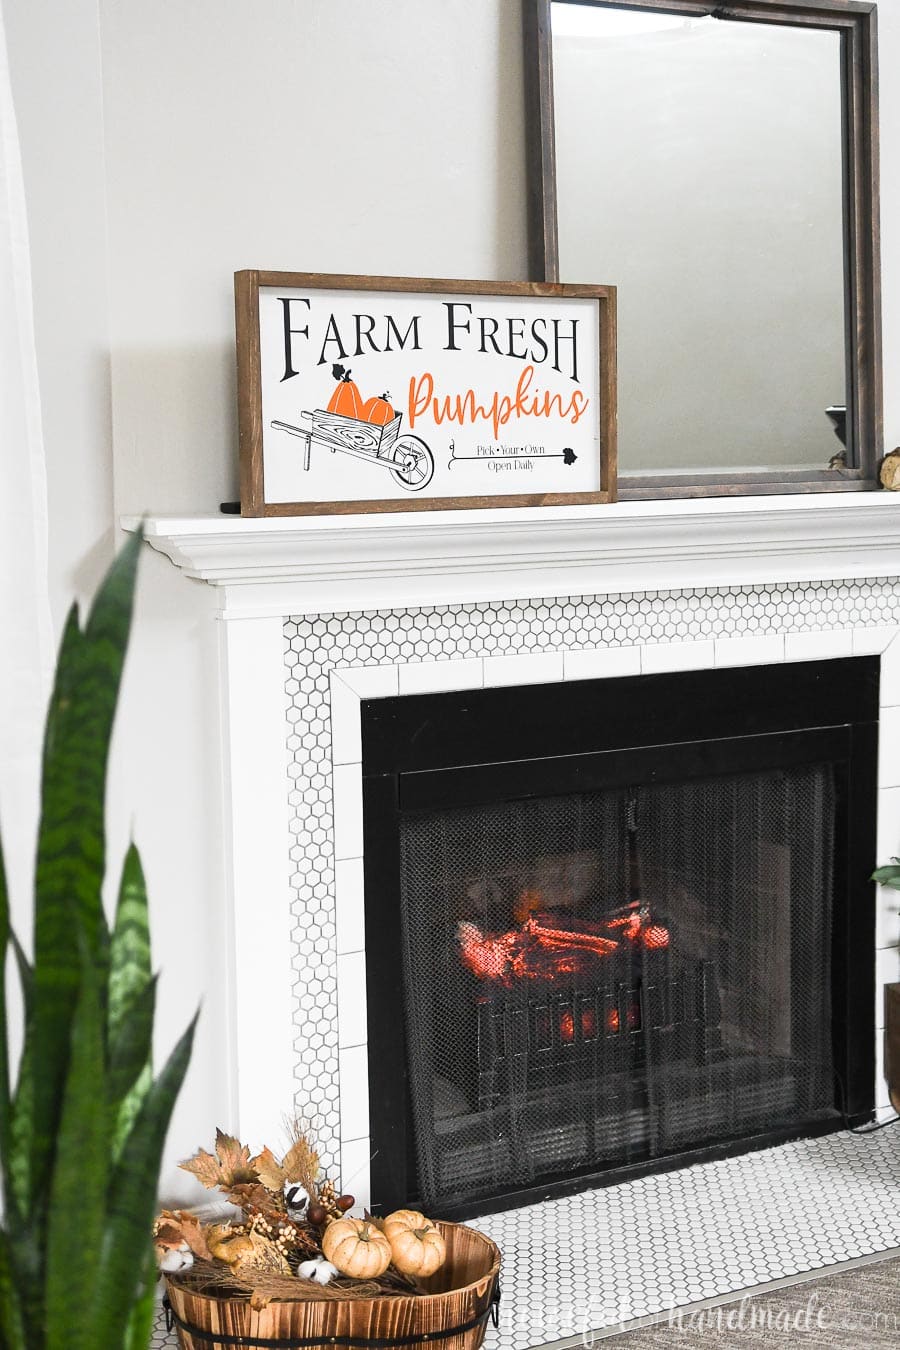
And don’t forget about the other 3 designs perfect for fall. You can purchase them in the shop and start decorating even before the weather cools off.
Maybe if we all decorate for fall, it will come.
Cindy
Tuesday 10th of September 2019
Sign is so cute. I am pumpkins and pickup trucks this autumn.
Kati
Friday 20th of September 2019
I love pumpkins and pickups too!