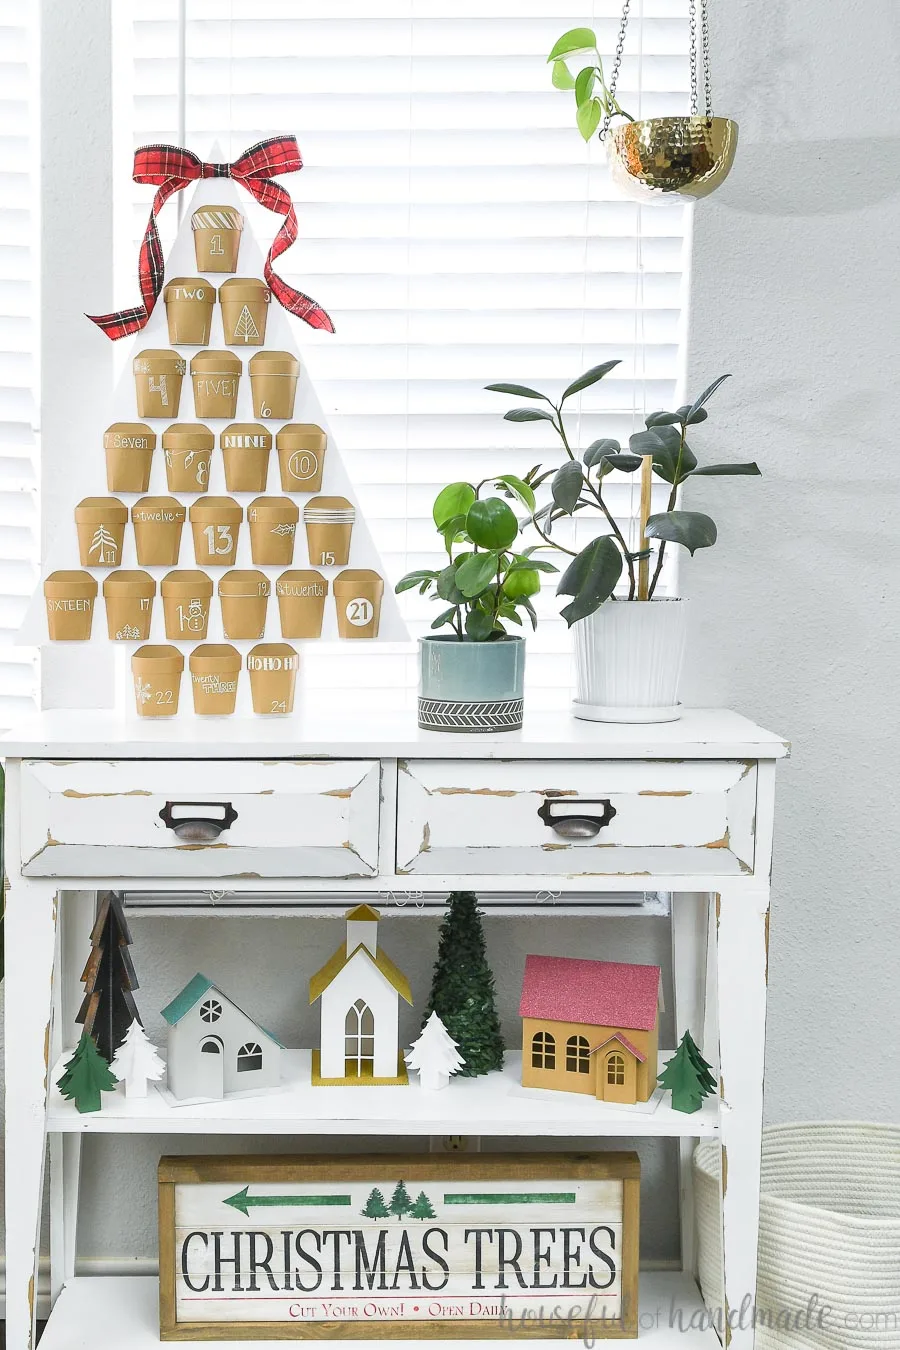
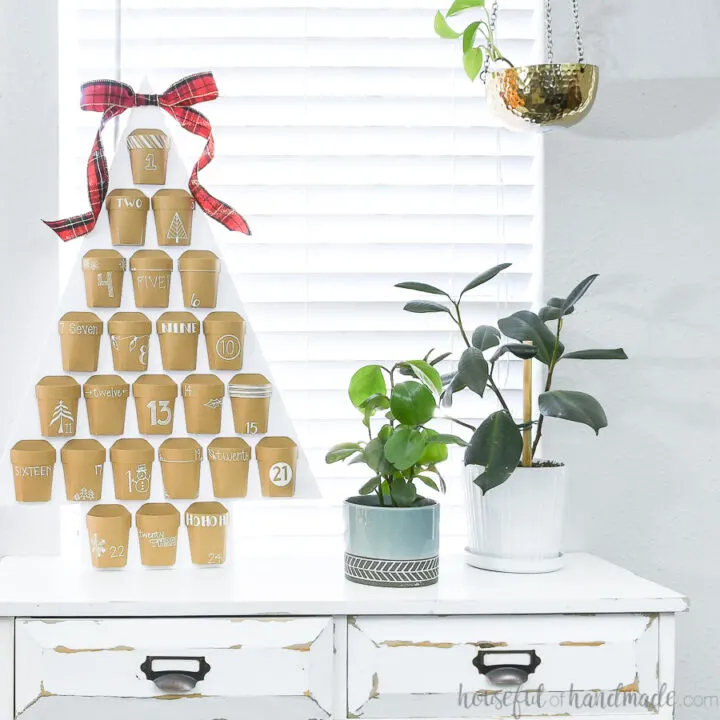
Count down the days to Christmas with this beautiful reusable advent calendar with paper pockets.
It’s the final Day of the 7 Days of Paper Christmas decor series for 2020! So far we have made jewel ornaments, Santa mailbox ornaments, large lanterns, a Christmas village, napkin rings & place card holders and decorated with Christmas printables.
All that is left is to start the countdown to Christmas!
So for the final day I made a beautiful advent calendar with reusable pockets that are made out of paper. And the whole thing is put together on a dollar store piece of foam board.
This post may contain affiliate links. As an Amazon Associate I earn from qualifying purchases. Click here to read my full disclosure policy.
It’s the perfect finale for the budget friendly Christmas decor series.
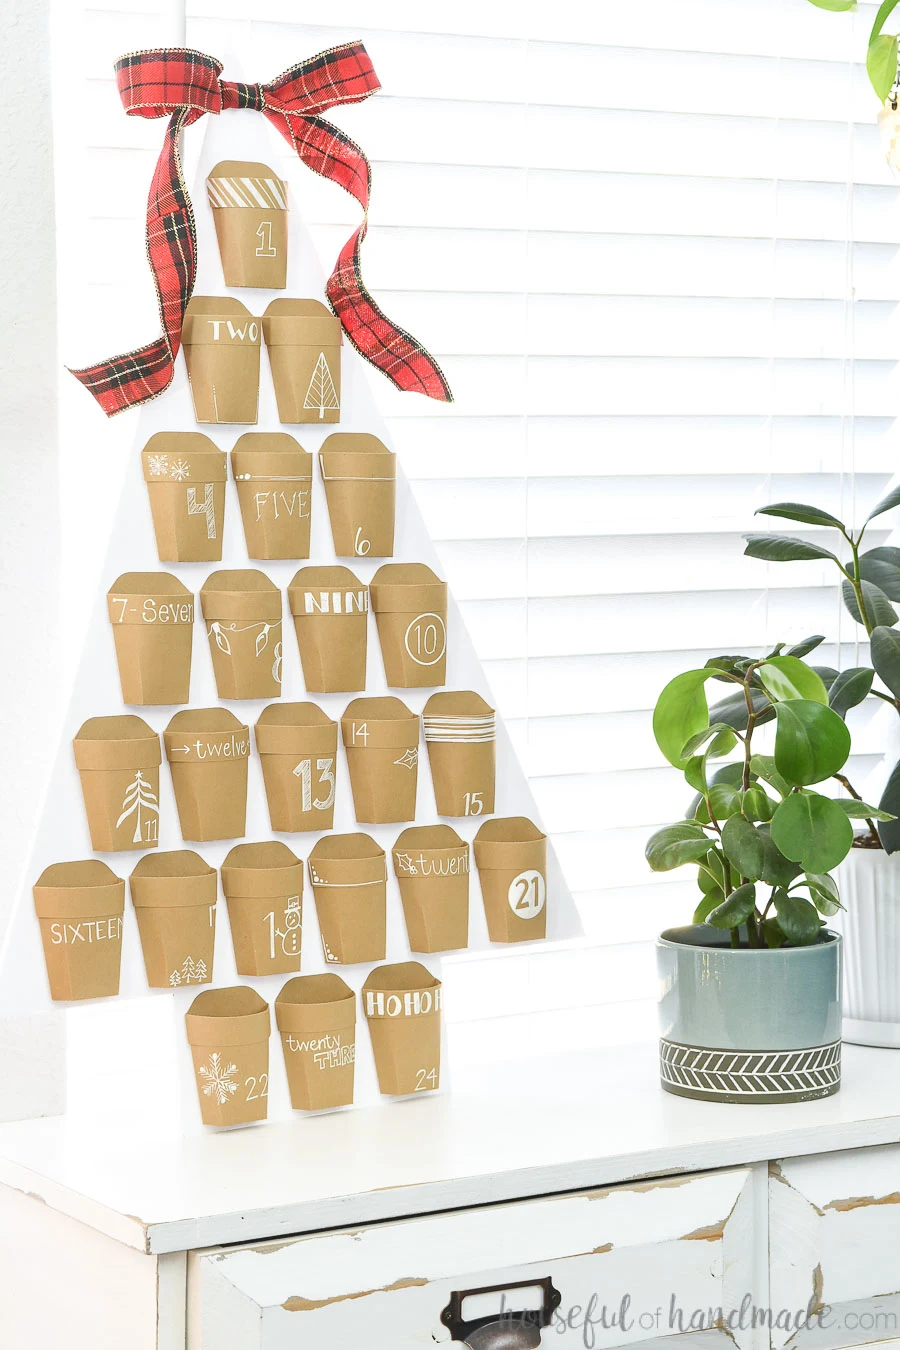
Fillable Pockets
Each year for Christmas we like to do an activity advent calendar. But to keep things stress free, some days I do a simple treat or other small item instead.
So these fillable pockets are perfect for our advent calendar. I can put in a piece of paper with our Christmas activity on it, or slip in a candy cane when I have too much going on that day.
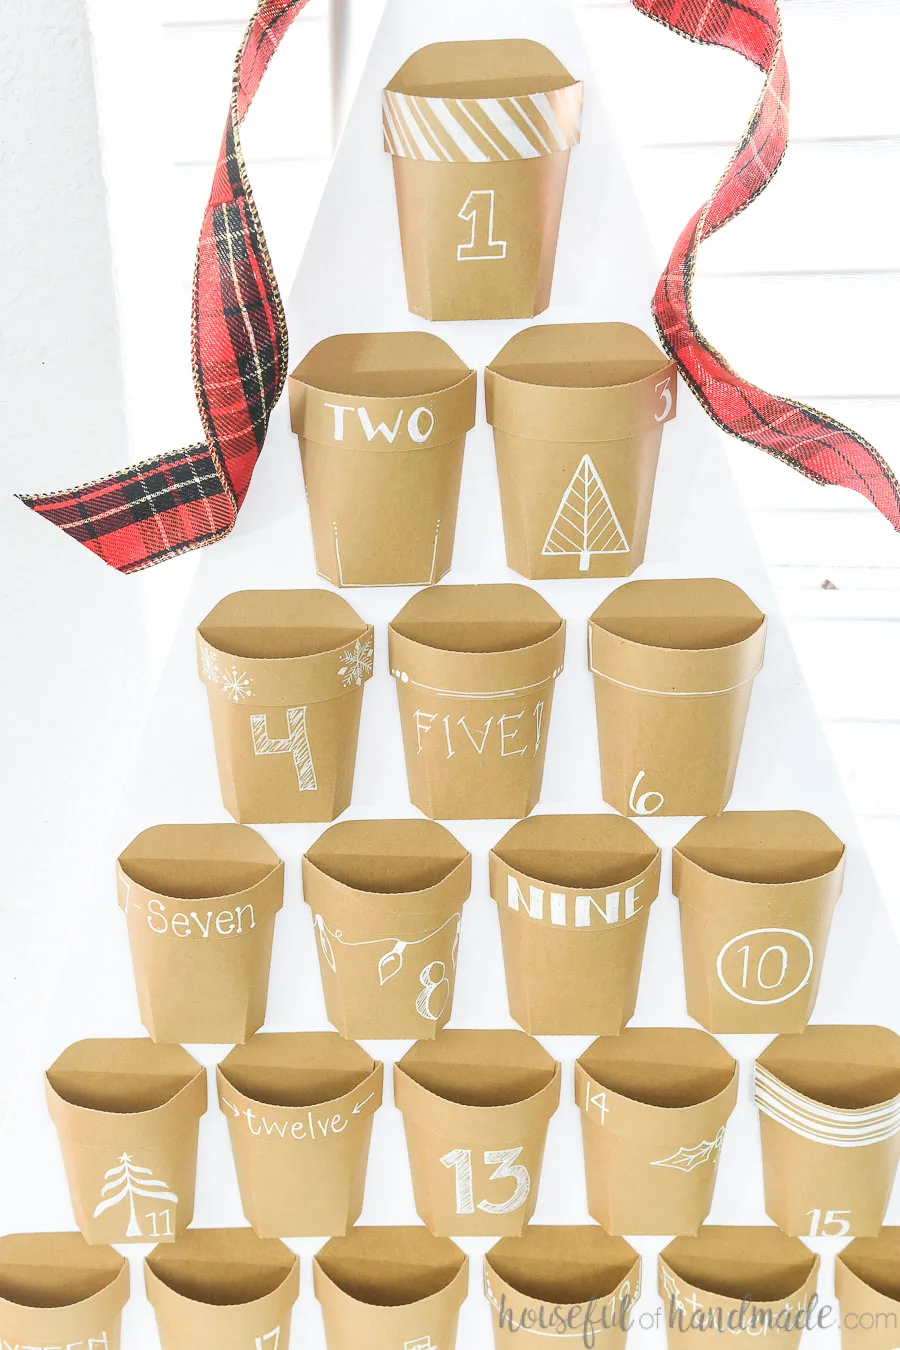
But you can use these little pockets for any kind of advent calendar. The 2″ wide x 3″ tall x 1″ deep pockets will fit lots of small items.
If your family likes to collect little Christmas figurines, Legos, build a nativity, etc. they would all be perfect advent calendar gifts. I might even use this year to add a few more figurines to our Christmas village.
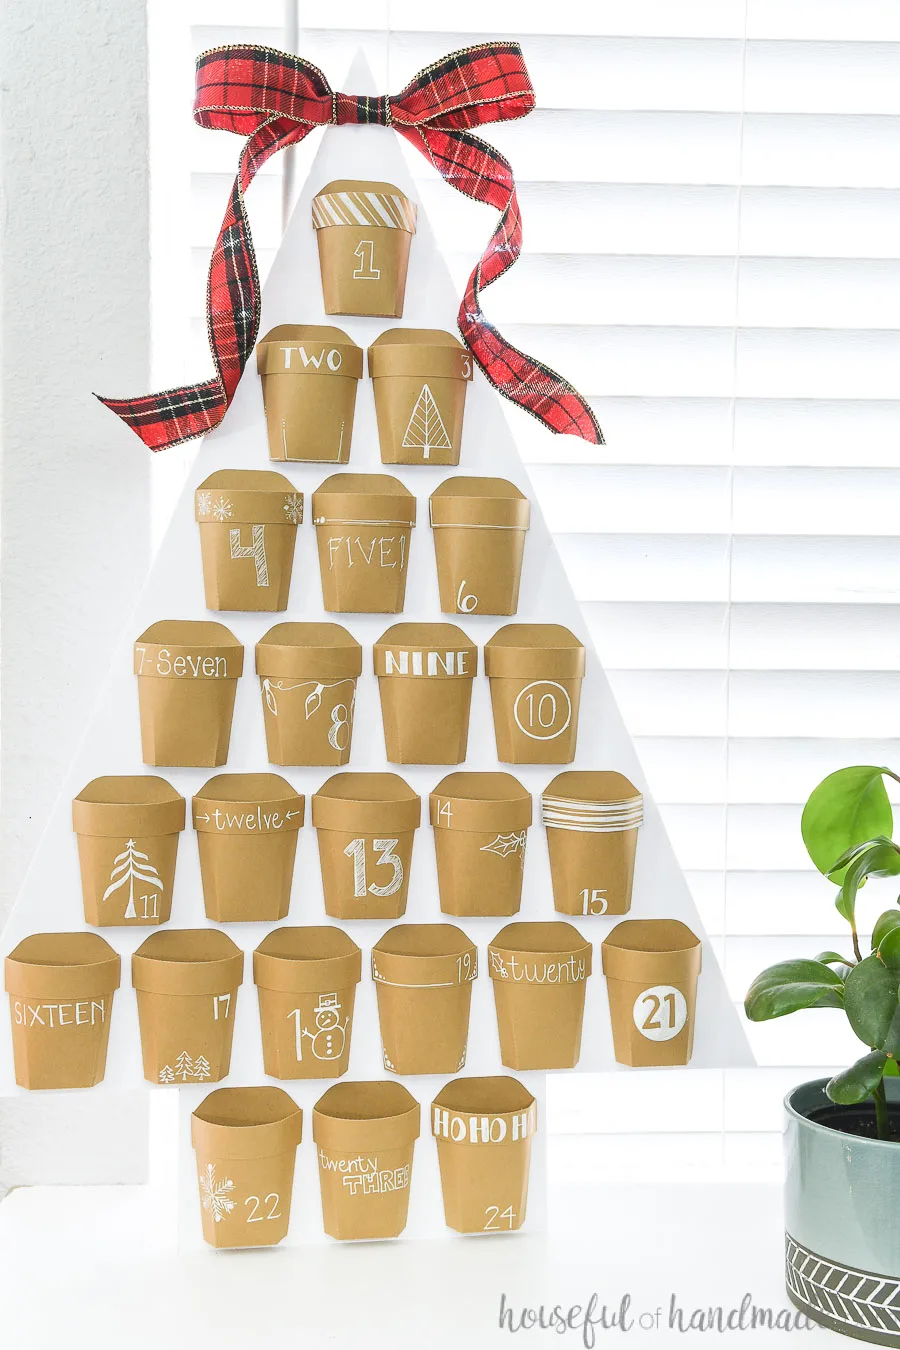
Reusable Advent Calendar
Even though the fillable pockets are made out of paper, this Christmas advent calendar is quite sturdy and will last for many years.
I made my pockets out of brown Kraft paper. It is an 80lb cardstock that is a bit thicker than normal 60lb cardstock. And the back of the Christmas tree is made from a piece of foam board.
I used a similar structure for my this refillable mailbox advent calendar from a few years ago and it has lasted beautifully too. When we moved I gifted it to my sister-in-law and they are still using it.
And unlike the paper house advent calendar I made last year, these pockets are not harmed in the opening each day. You can wrap the items that go inside to keep them a secret.
But the best part is, this advent calendar is very inexpensive and easy to make. Have some fun creating it so you can create memories with your family for years to ome!
How to Make a Paper Advent Calendar
Supplies:
- Paper pocket template
- I am sharing the SVGs & PDFs in my subscriber library until 11/29/2020, then they will move to the shop. Click here to subscribe to my newsletter and gain access to all the freebies. If you already have your password, click here to download them.
- Cardstock
- You can use any color you want to match your decor, I used brown Kraft cardstock.
- 20″ x 30″ piece of foam board
- Hot glue gun & glue sticks
- White paint pens
- Or use any color you want to match your own decor.
- X-acto knife
- Ruler
- Optional: Electronic cutting machine
- I love using my Silhouette Cameo to quickly cut out paper decor projects, but you can also use scissors to cut out the pockets.
Cut out the pieces
Cut out the pieces for 24 pockets (a front and back piece per pocket).
The template has the pieces for 2 pockets on each 8 1/2″ x 11″ piece of paper. So you will need 12 sheets of cardstock to cut all 24.
Decorate the pockets
Fold the flap on the top of the front of the pocket over so the back of the flap is on the front now. This is the side that will be exposed on the final pocket.
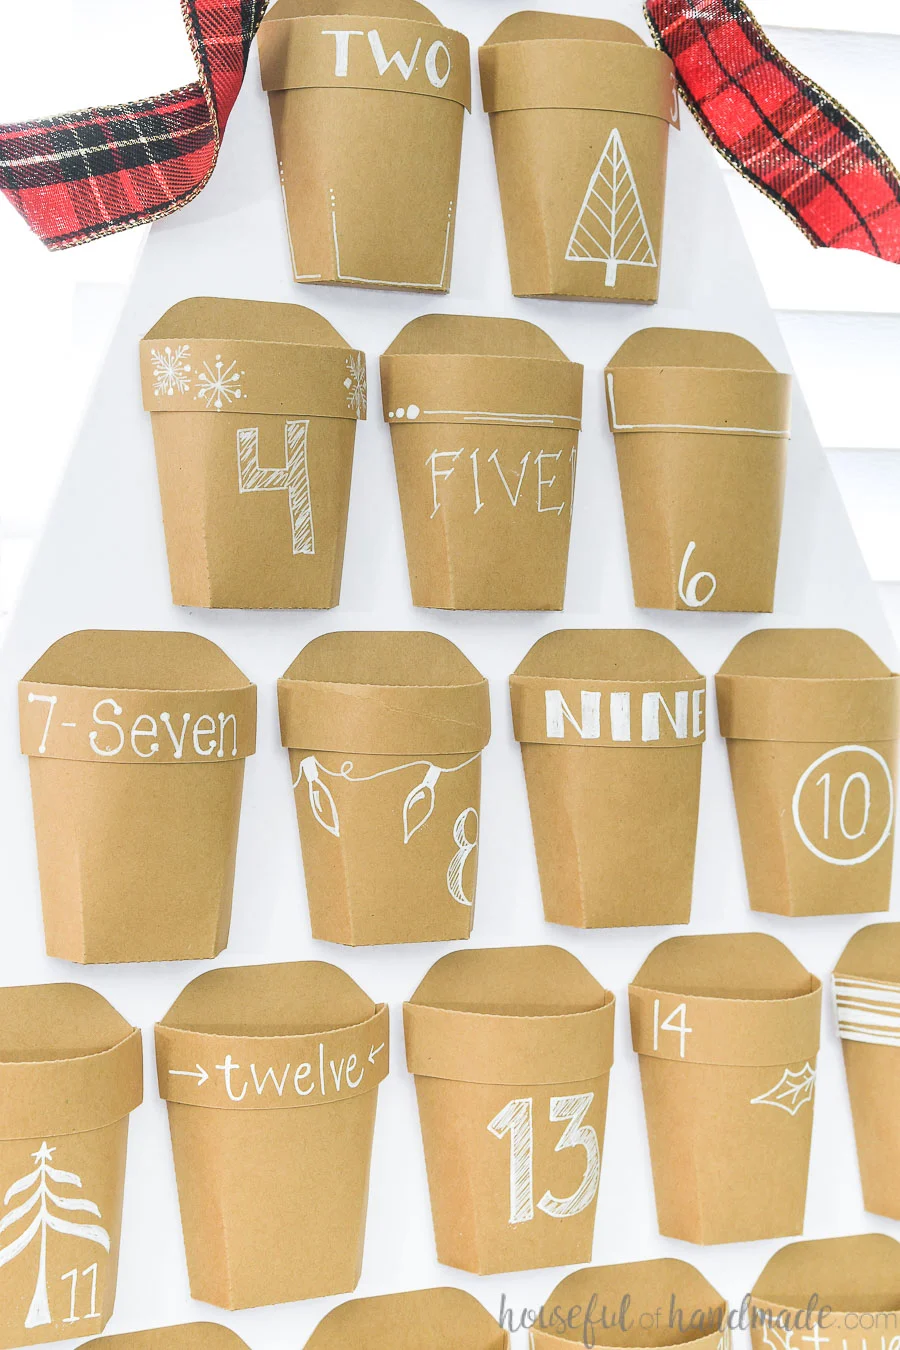
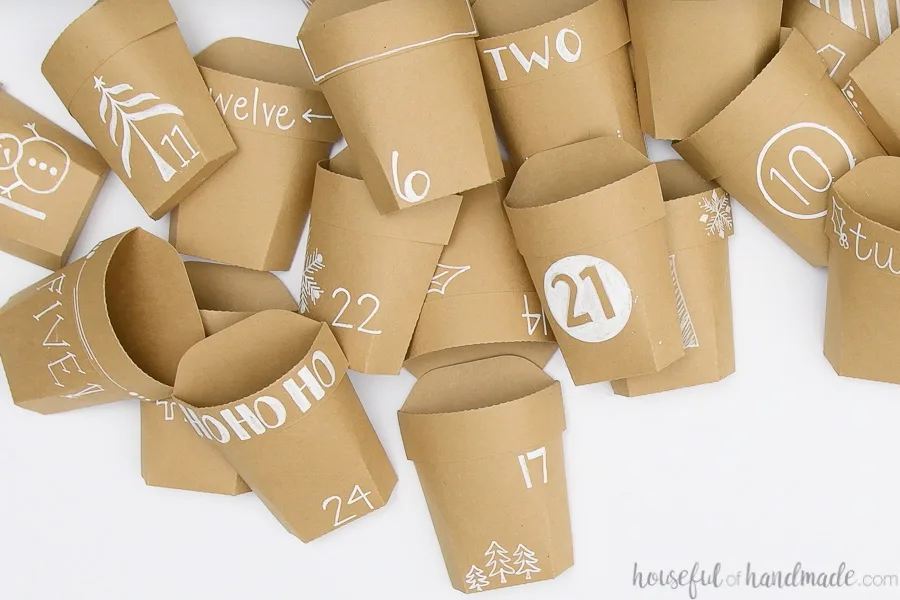
Before assembling each pocket, decorate them and include the numbers 1-24 on each one. To decorate with white, use a paint pen so it shows up on the cardstock.
Be careful not to draw under where the flap will be since it will cover it up.
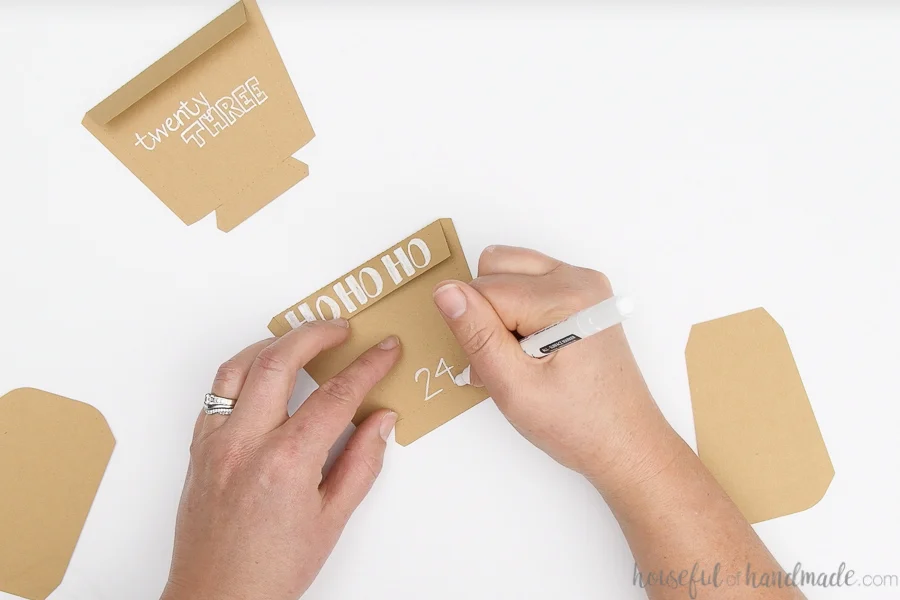
Have fun varying your decorations, numbers styles, text, etc. on each pocket to give your advent calendar some interest.
Some easy to draw ideas for the advent decorations are:
- Christmas trees
- Holly
- Christmas lights
- Snowflakes
- Snowmen
- Candy canes
- Stripes
Some easy to draw text ideas for your advent numbers are:
- Simple plain text
- Block text (filled in or just an outline)
- Add dots to the ends of your lines
- Add dashes to the ends of your lines
- Write out the number (ie, twenty instead of 20)
- All lowercase
- All uppercase
You could also let the kids get involved and have them decorate the pockets!
Assemble the pockets
To assemble the pockets, start by along all the dotted lines.
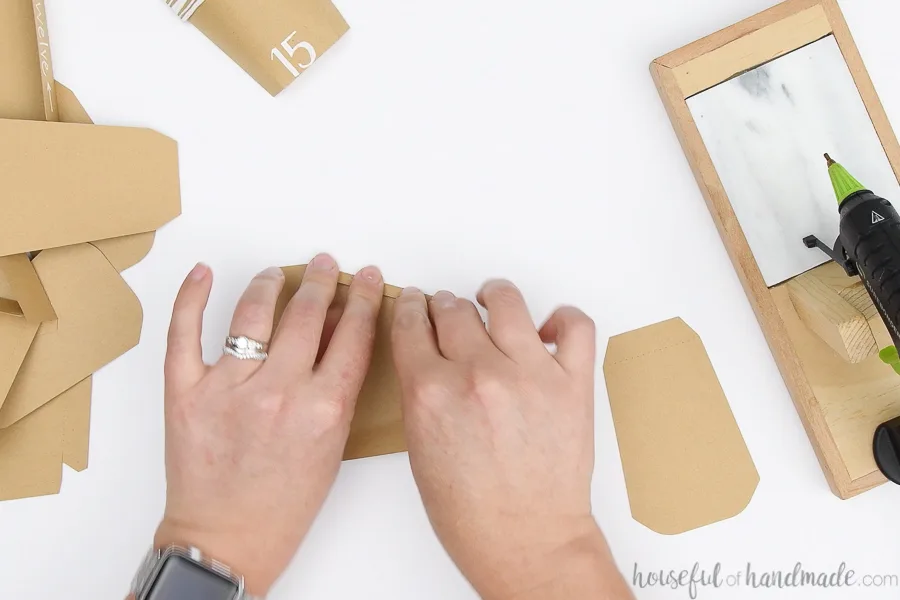
Don’t forget the dotted line at the bottom of the pocket that stops 1/3 the way up. Give the bottom of the line a pinch and then stop where the dotted line ends.
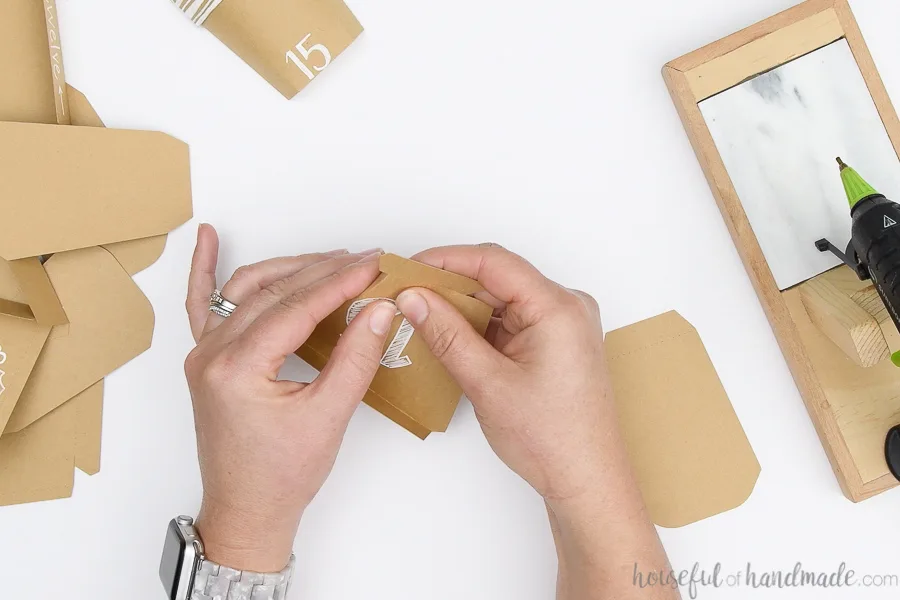
Using hot glue, secure the tabs on the bottom of the pocket piece .
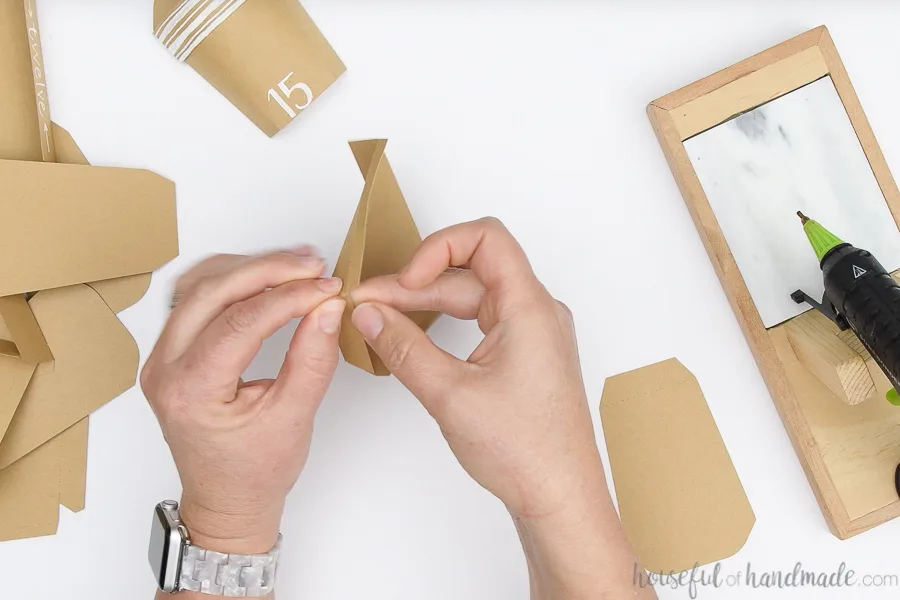
Then add glue inside the bottom and press the bottom of the back piece into it to secure.
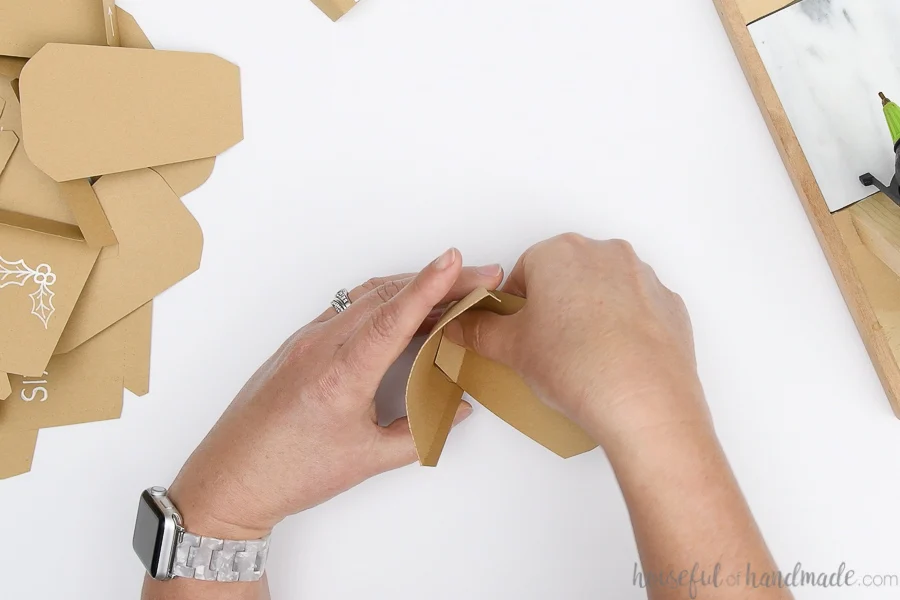
Tuck the back piece into the pocket and fold the side tabs over the back. Secure them so they are flush with the sides of the back piece. This will cause the front piece to bow out creating a pocket.
Make sure the fold is fully folded over before securing the sides.
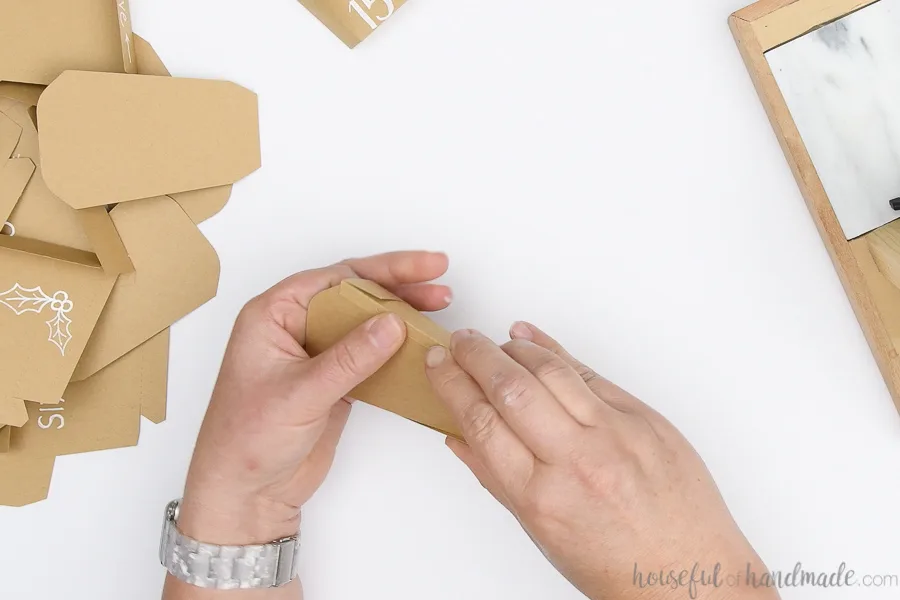
Repeat until you have a pile of 24 adorably decorated paper pockets!
Assemble the advent tree
To cut out the Christmas tree shape, mark the center top of the foam board. Then mark 3 3/4″ up from the bottom on each side.
Using your ruler and x-acto knife cut between these two marks on each side.
A sharp x-acto knife is the best way to get a clean cut on foam board. Use a soft stroke first to break through the top layer of the board, then do a second pass to cut though the entire board. This will prevent the board from squishing.
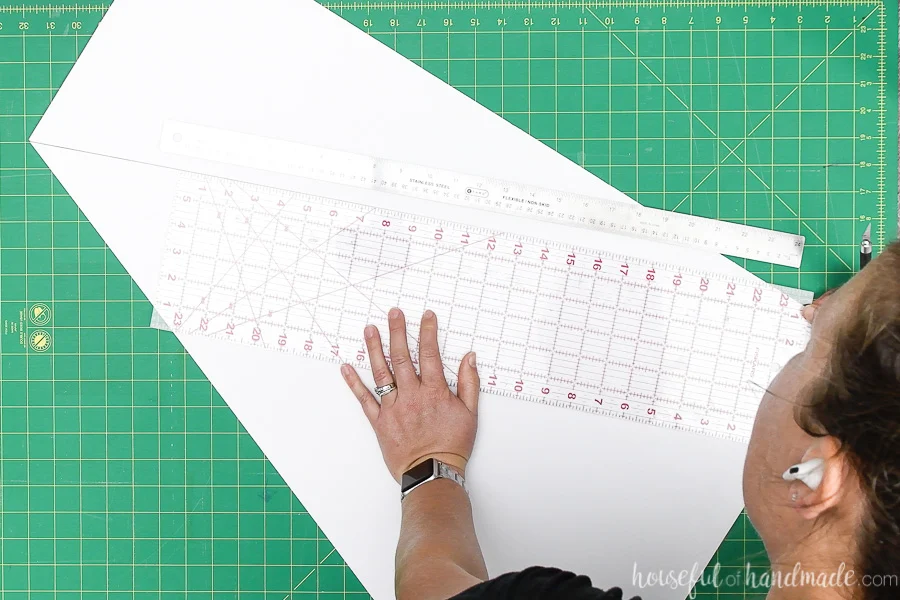
For the bottom of the tree, measure 5 1/2″ in from each side and 3 3/4″ up and remove this piece. The left over trunk should be 9″ wide.
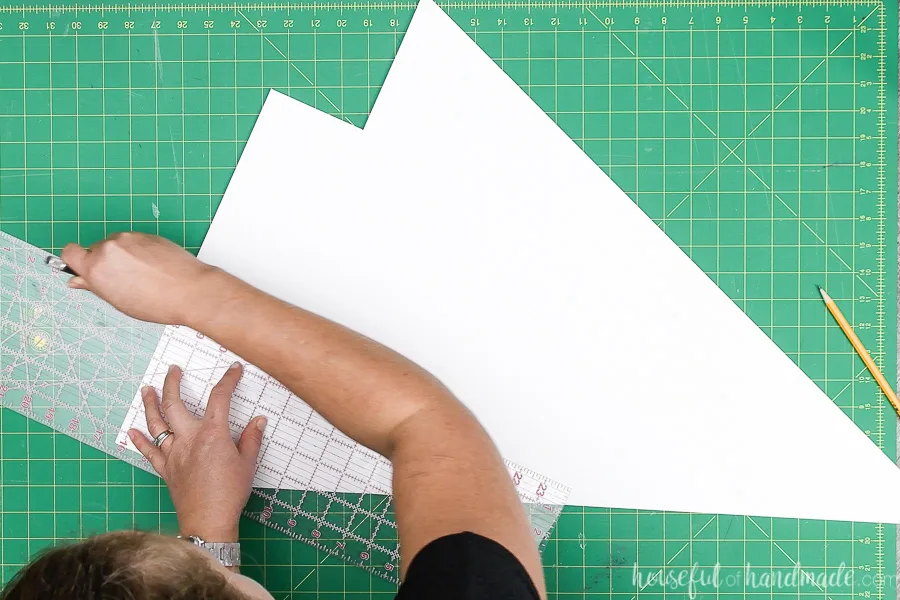
Now it’s time to start attaching your pockets. The bottom of the first pocket should be 22 3/4″ up from the bottom of the tree and centered.
Attach the pockets with some hot glue on the back of the pocket and then press firmly with your fingers inside the pocket to secure.
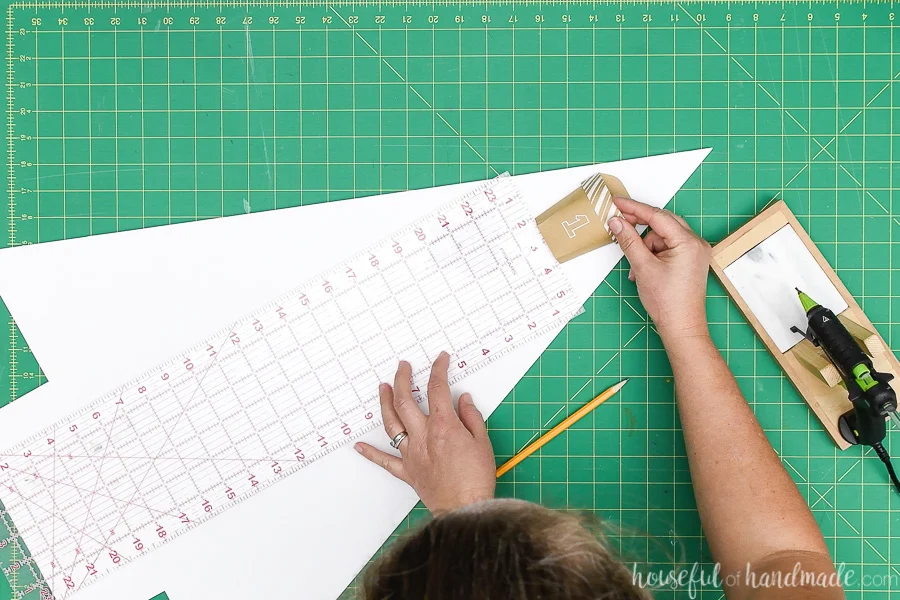
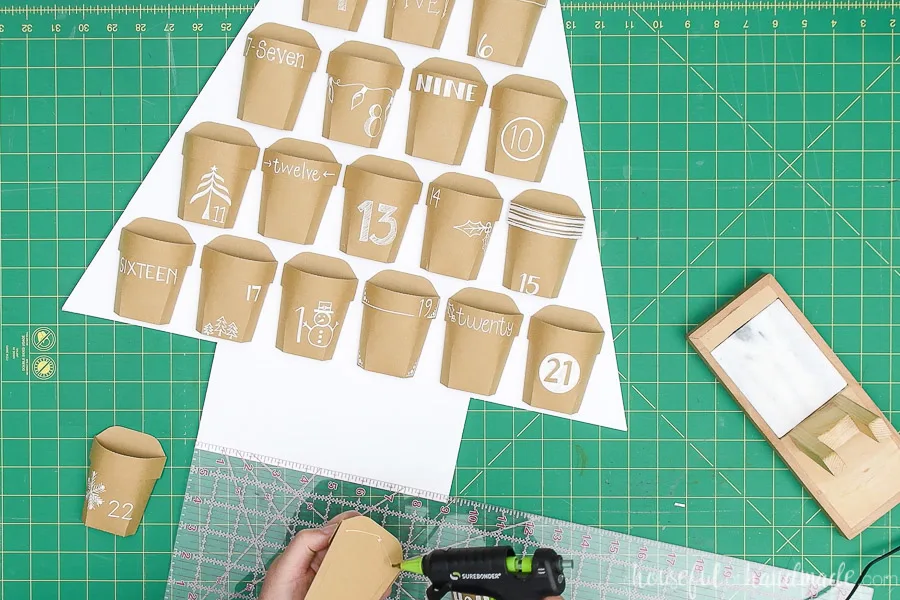
Repeat for the rest of the pockets. Move down the tree from the top keeping the numbers in order as you go.
The following measurements are
- Second row: 19″ up from the bottom
- Third row: 15 1/4″ up from the bottom
- Forth row: 11 1/2″ up from the bottom
- Fifth row: 7 3/4″ up from the bottom
- Sixth row: 4″ up from the bottom
- Last row: 1/4″ up from the bottom
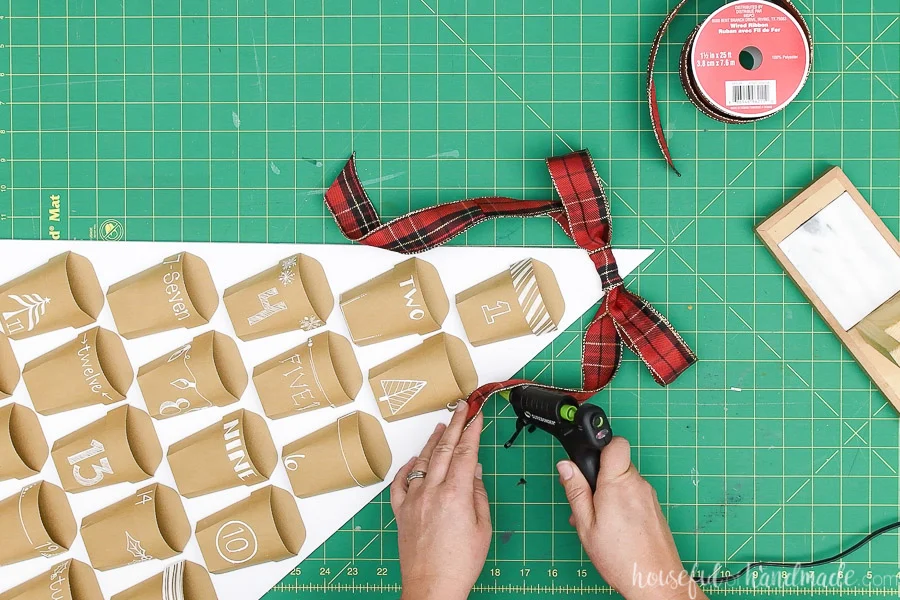
Finish off your advent calendar with a bow made from Christmas ribbon. I used a ribbon with a wire inside to make a simple bow, hot glueing a piece around the center to secure.
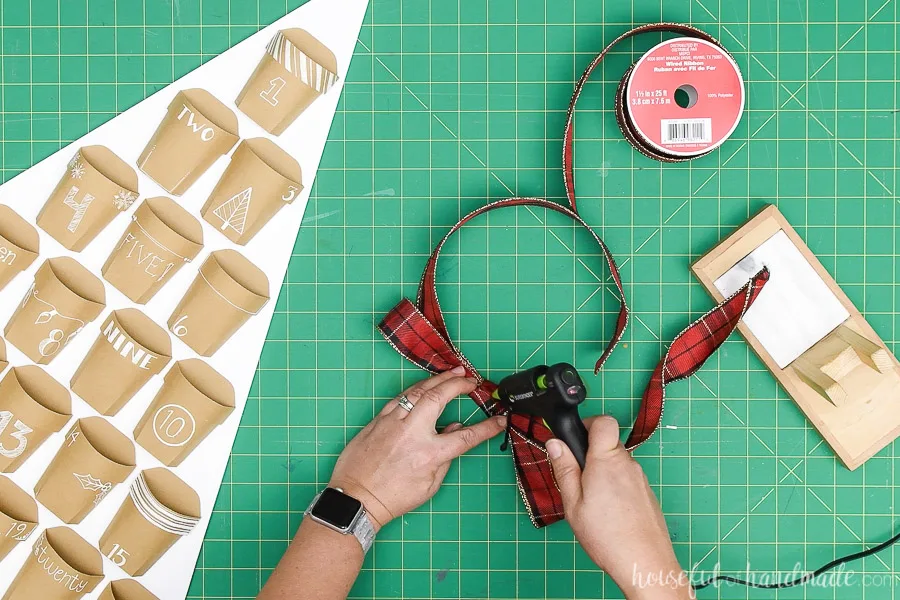
Glue the bow to the top of the tree. Then glue the bow tails to the sides of the tree to keep them out of the way of the pockets.
Now all that is left is to fill the pockets on your new advent calendar. We like to do an activity advent calendar. See how I create a stress-free activity advent calendar here.
What are you filling your advent calendar with this year?

More Paper Christas Decor
And that is the end of the 7 Days of Paper Christmas for 2020! What a fun week it has been sharing beautiful, budget friendly Christmas decorations.
Make sure to check out any you have missed below and then don’t forget to check out all the amazing paper projects from years past here too.
Merry Christmas!
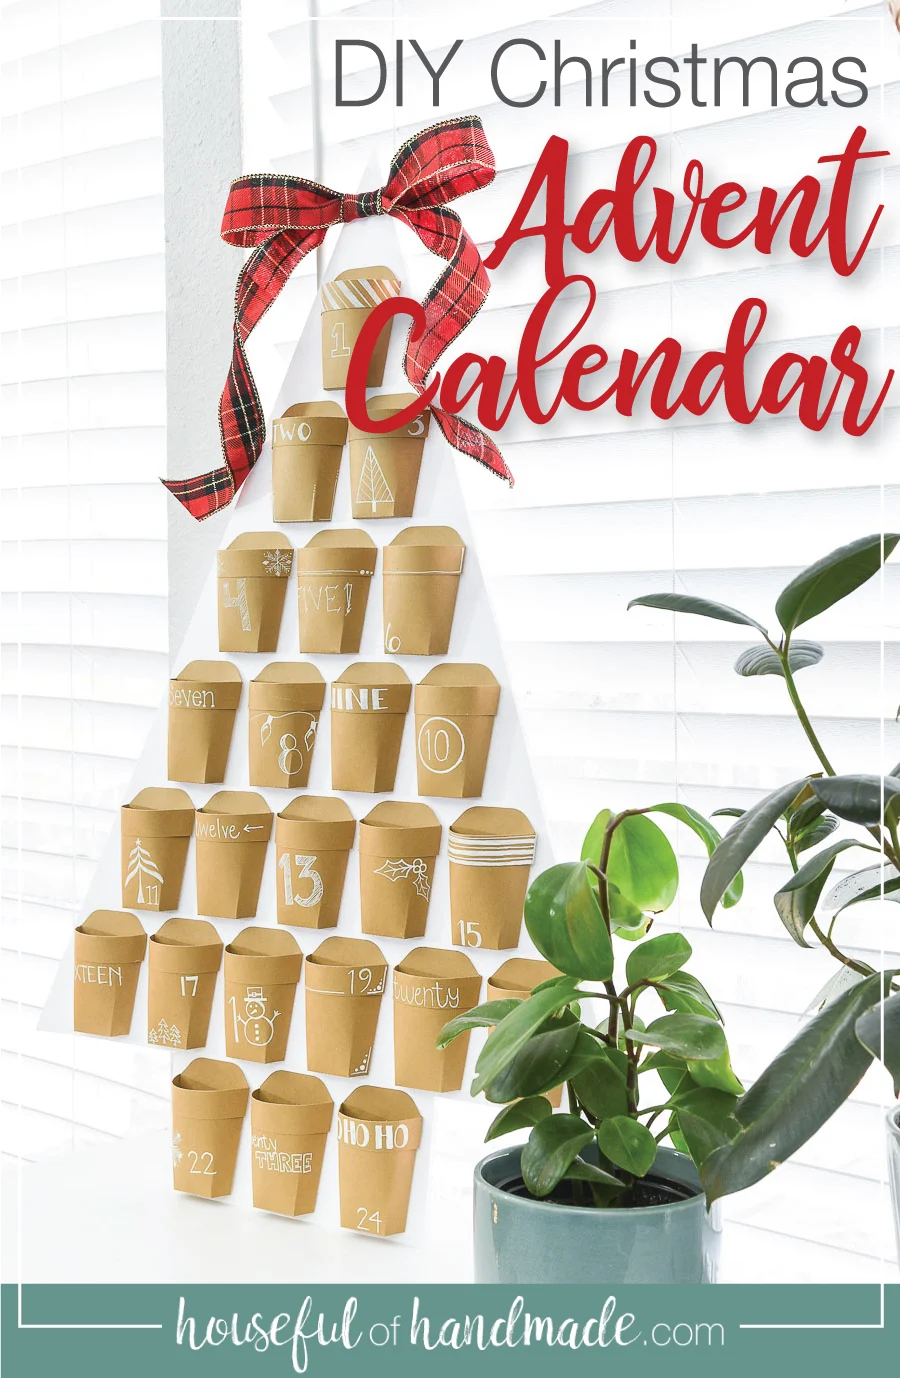
Reusable Christmas Advent Calendar {7 Days of Paper Christmas Decor}
Make a beautiful advent calendar with reusable pockets that are made out of paper. And the whole thing is put together on a dollar store piece of foam board, making it very budget-friendly!
Materials
- Paper pocket template
- Cardstock
- 20″ x 30″ piece of foam board
- Hot glue gun & glue sticks
- White paint pens
Tools
- X-acto Knife
- Ruler
- *Optional - Electronic Cutting Machine
- Scissors
Instructions
- Cut out the pieces for 24 pockets.
- Fold the flap on the top of the front of the pocket, so the back of the flap is on the front now.
- Before assembling each pocket, decorate them and include the numbers 1-24 on each one.
- Assemble the pockets by folding along all the dotted lines.
- Give the bottom of the line a pinch and stop where the dotted line ends.
- Using hot glue, secure the tabs on the bottom of the pocket piece.
- Add glue inside the bottom and press the bottom of the back piece into it to secure.
- Tuck the back piece into the pocket and fold the side tabs over the back.
- Repeat until you have 24 paper pockets. Cut out the Christmas tree shape by marking the center top of the foam board.
- Then mark 3 3/4″ up from the bottom on each side.
- Using your ruler and x-acto knife cut between these two marks on each side.
- For the bottom of the tree, measure 5 1/2″ in from each side and 3 3/4″ up and remove this piece.
- The left over trunk should be 9″ wide.
- Attach the pockets with some hot glue on the back of the pocket and then press firmly with your fingers.
- Finish off your advent calendar with a bow made from Christmas ribbon.
Recommended Products
As an Amazon Associate and member of other affiliate programs, I earn from qualifying purchases.


