These classy Halloween spiderweb lantern are the easiest way to decorate this year!
Decorating for Halloween is so much fun! We love adding lots of spooky. And even though I normally scream and run if I see a spider, I love using them to decorate for Halloween.
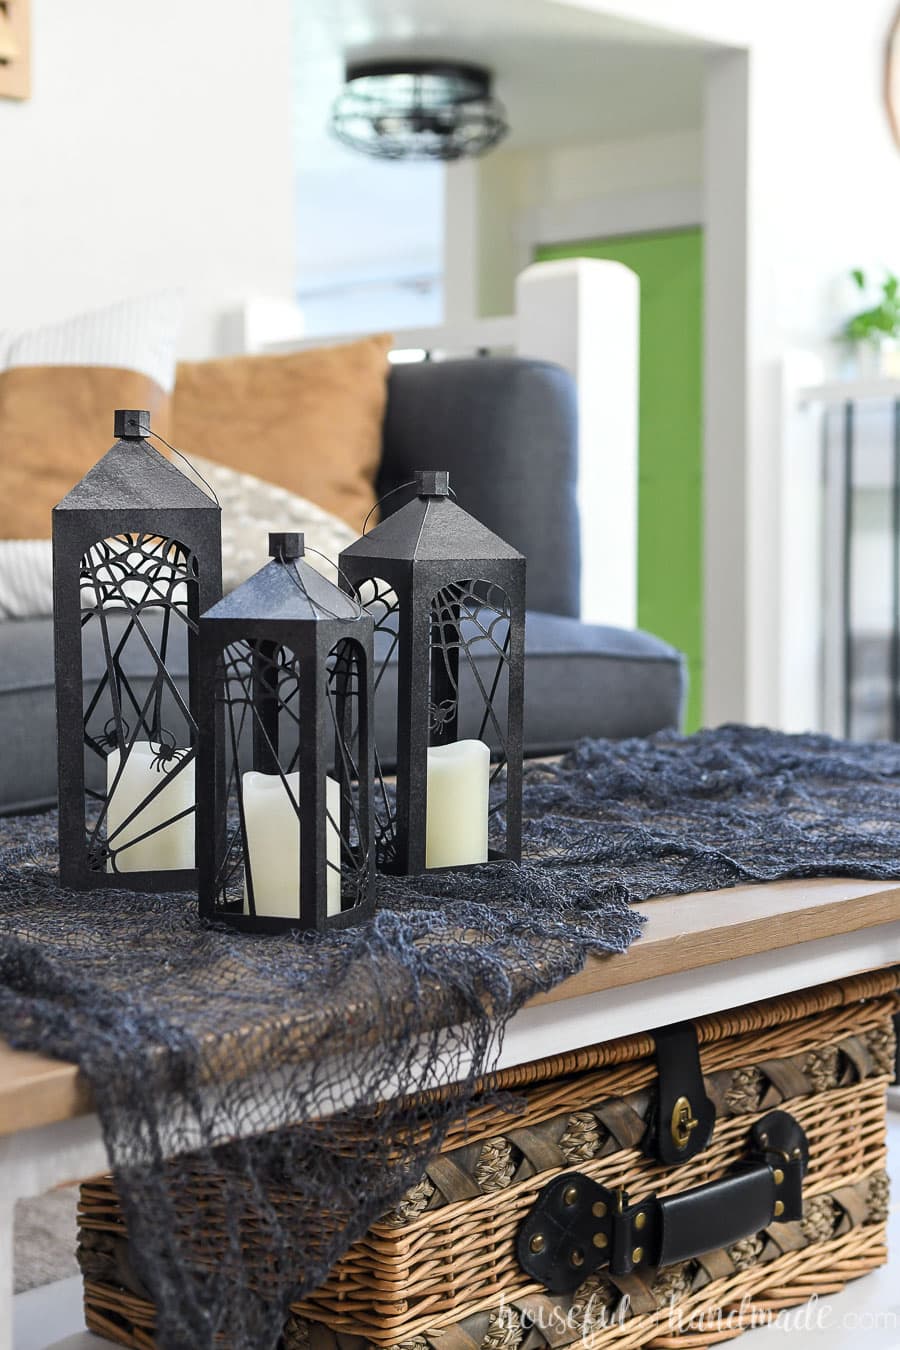
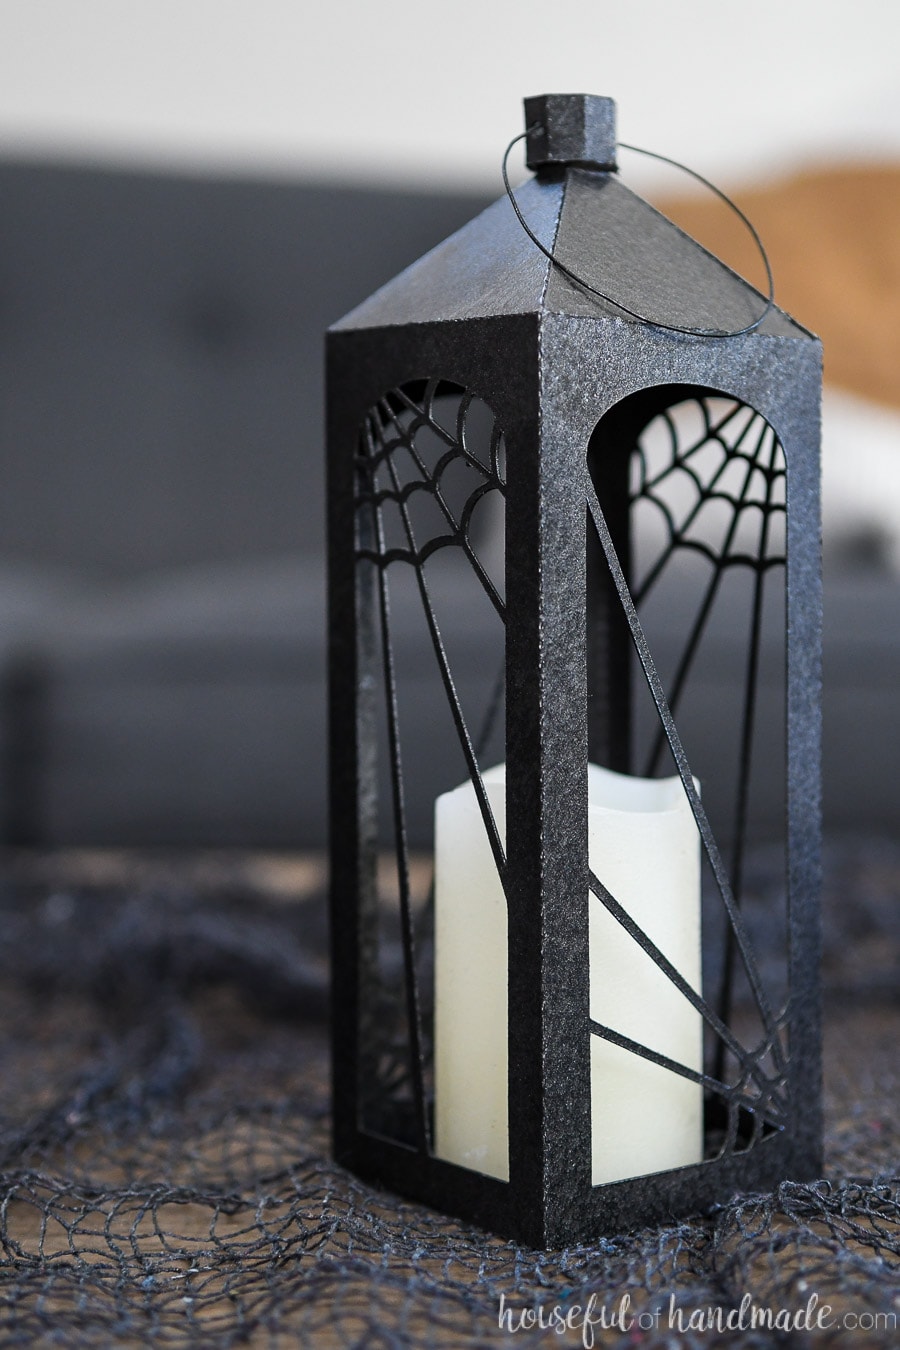
This year I wanted some new paper lanterns to decorate for Halloween. Instead of going for a classic lantern shape, I had fun with the design and created these tall, skinny lanterns that look so sleek and expensive.
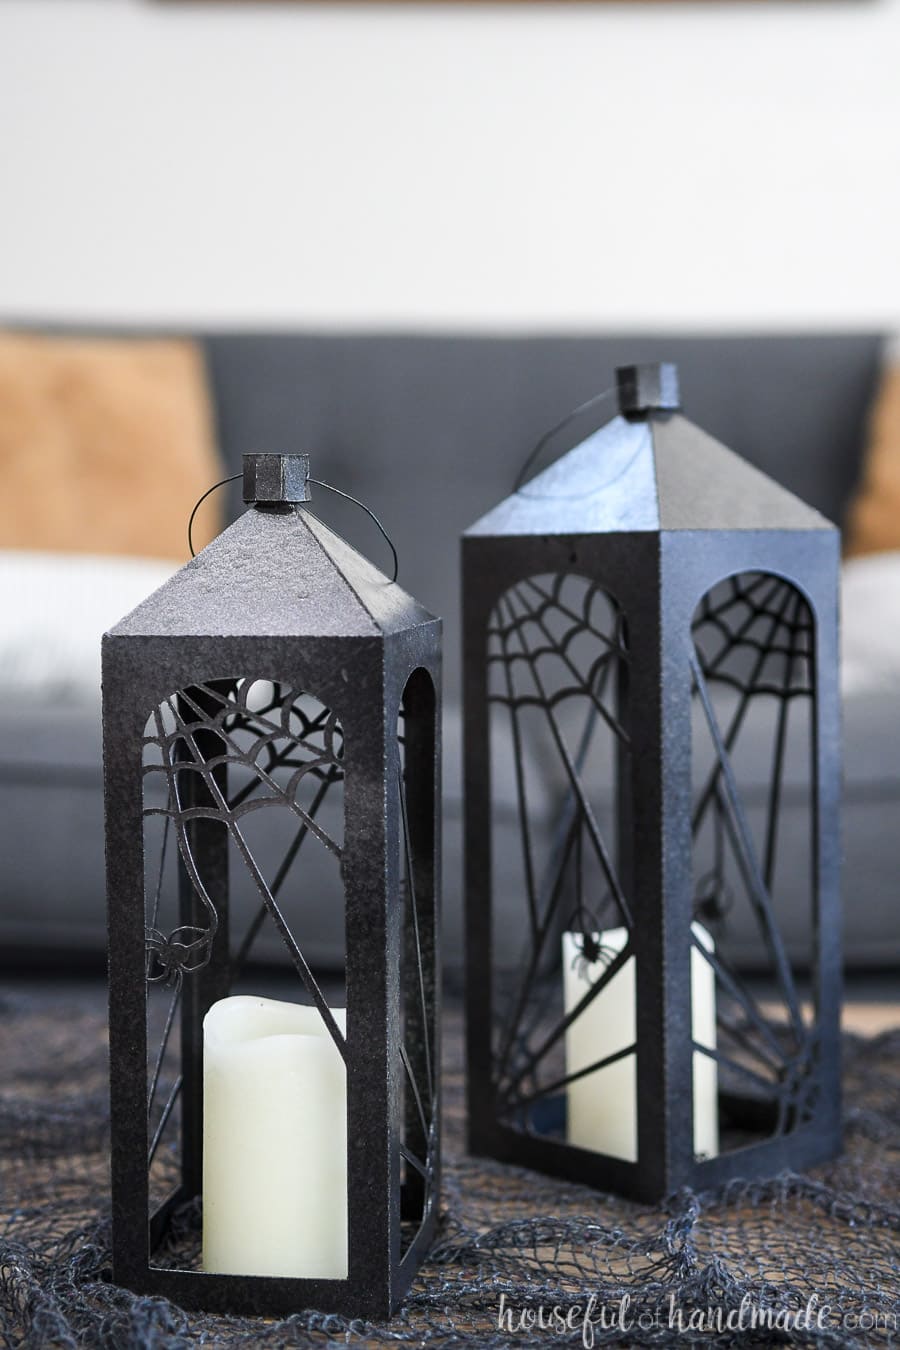
Then I added the spiderwebs to the arched openings and they turned out perfect for Halloween. A little bit of spooky and a whole lot of classy!
This post may contain affiliate links. As an Amazon Associate I earn from qualifying purchases. Click here to read my full disclosure policy.
Decorating with Paper Lanterns
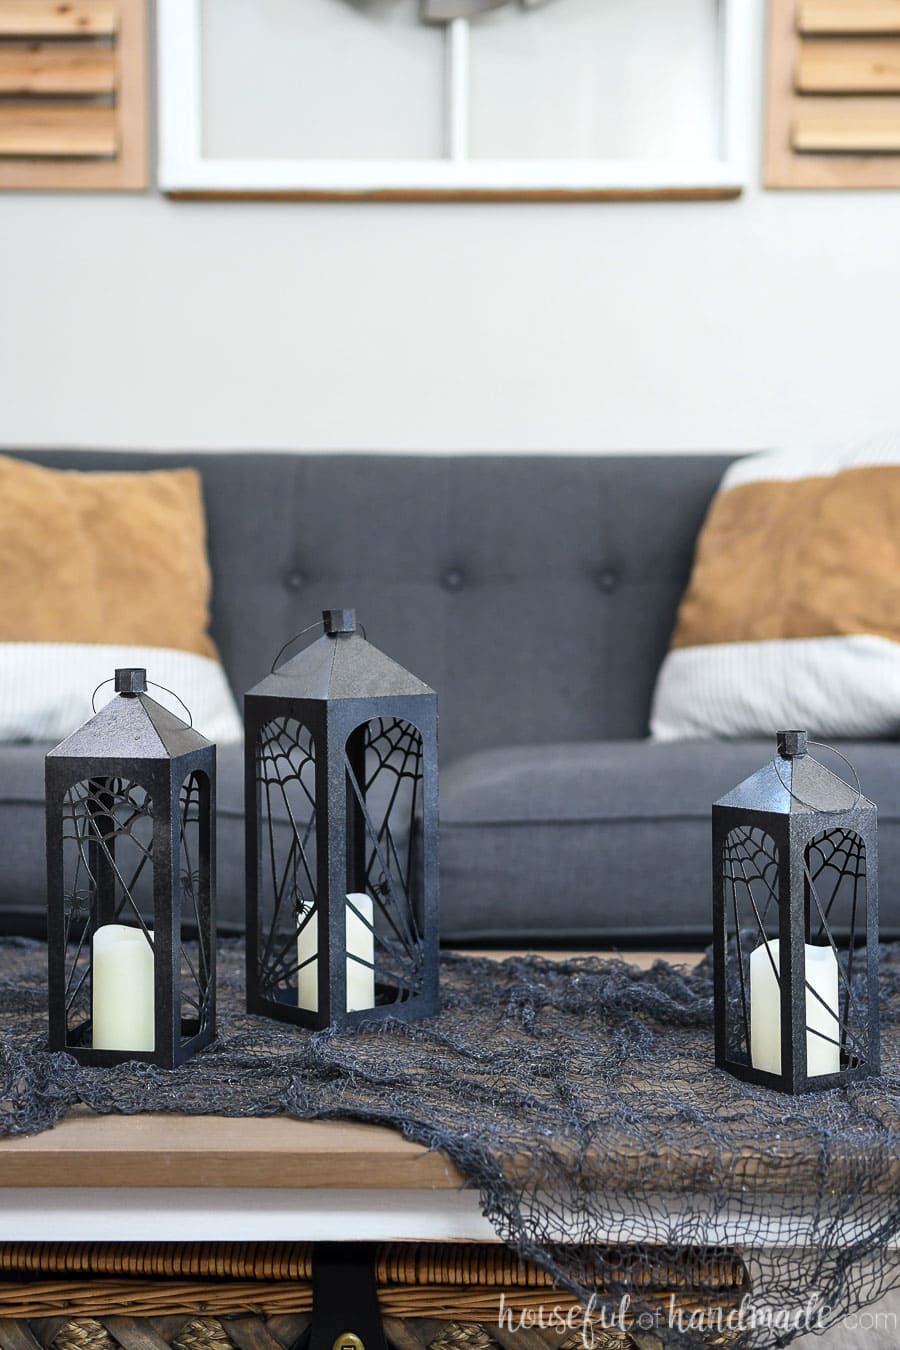
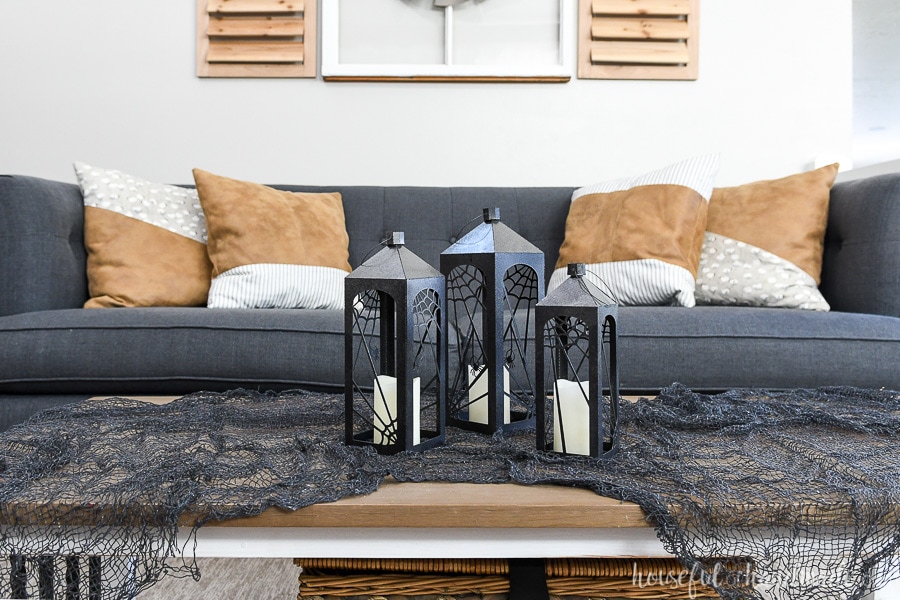
Decorating with these Halloween lanterns is super easy. Add a flameless candle to your table and plop the lantern on top.
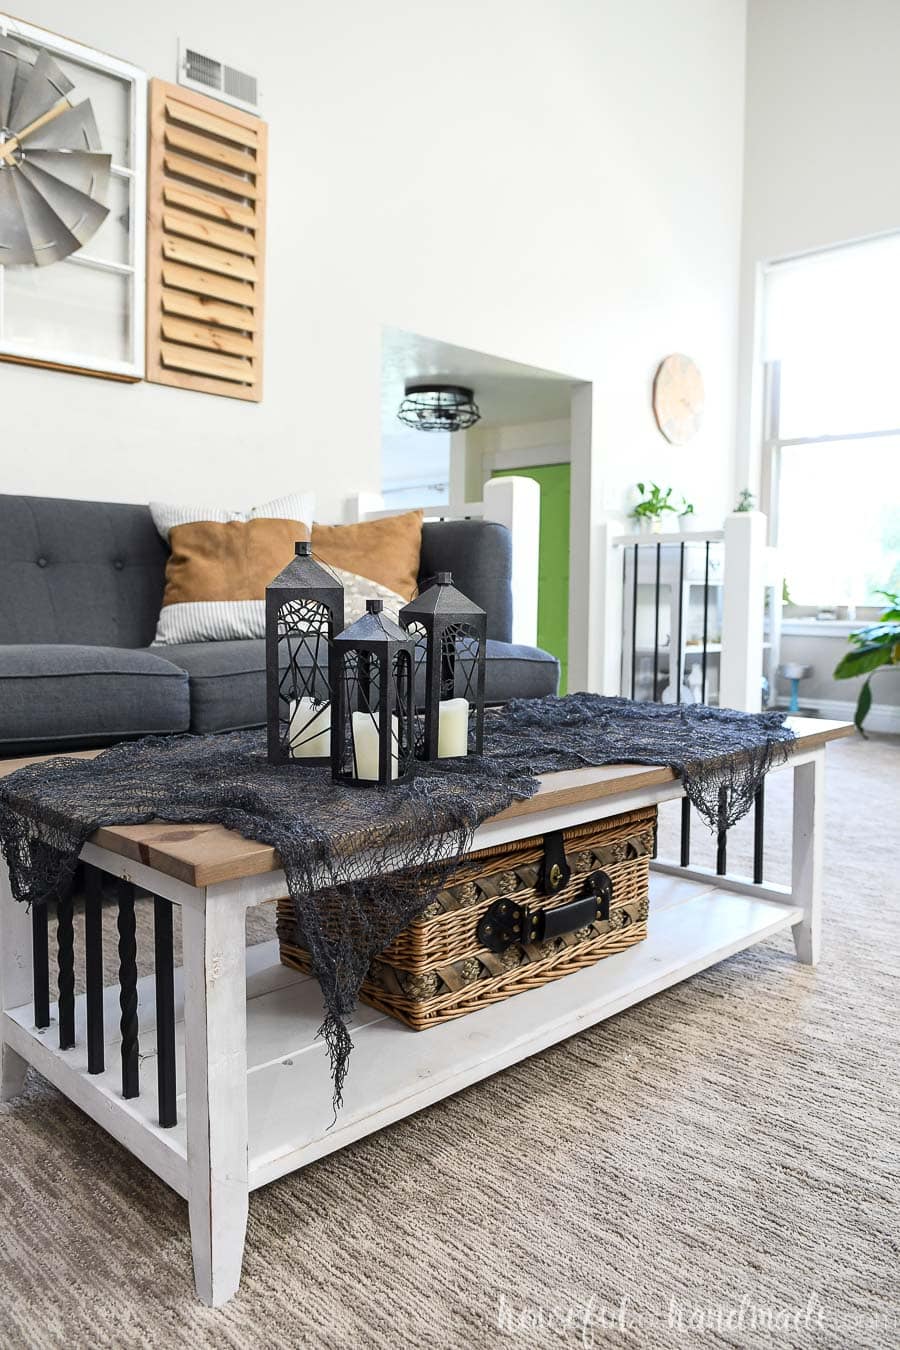
You can use these lanterns for table centerpieces, on the mantel, on a shelf, in a bookcase, or as a little vignette anywhere you need a little more Halloween goodness.
For our lanterns, I draped a piece of creepy cloth I bought at the dollar store over our coffee table. I let it hang over the edge in places.
Then I added the lanterns to the top of the coffee table. Instant Halloween and oh-so-easy!
How to Make Paper Halloween Lanterns
Supplies:
- Spiderweb lantern patterns
- Coverstock paper
- Hot glue gun and glue sticks
- Floral wire
- Wire cutters
- Black spray paint
- Hammered bronze spray paint
- Optional: Silhouette Cameo
- You can use an electronic cutting machine to cut out the lanterns or use scissors and an X-acto knife to cut them out.
Cut out the Template
Cut out the lantern templates out of coverstock. I prefer to use coverstock since it is stiffer then regal cardstock.
Also, if you have black coverstock you can skip the black spray paint step. But since I only had white, that is what I used.
When removing the paper from the cutting mat, always turn the mat upside down and carefully peel the mat off the paper. This will prevent the paper from curling when you take it off the mat.
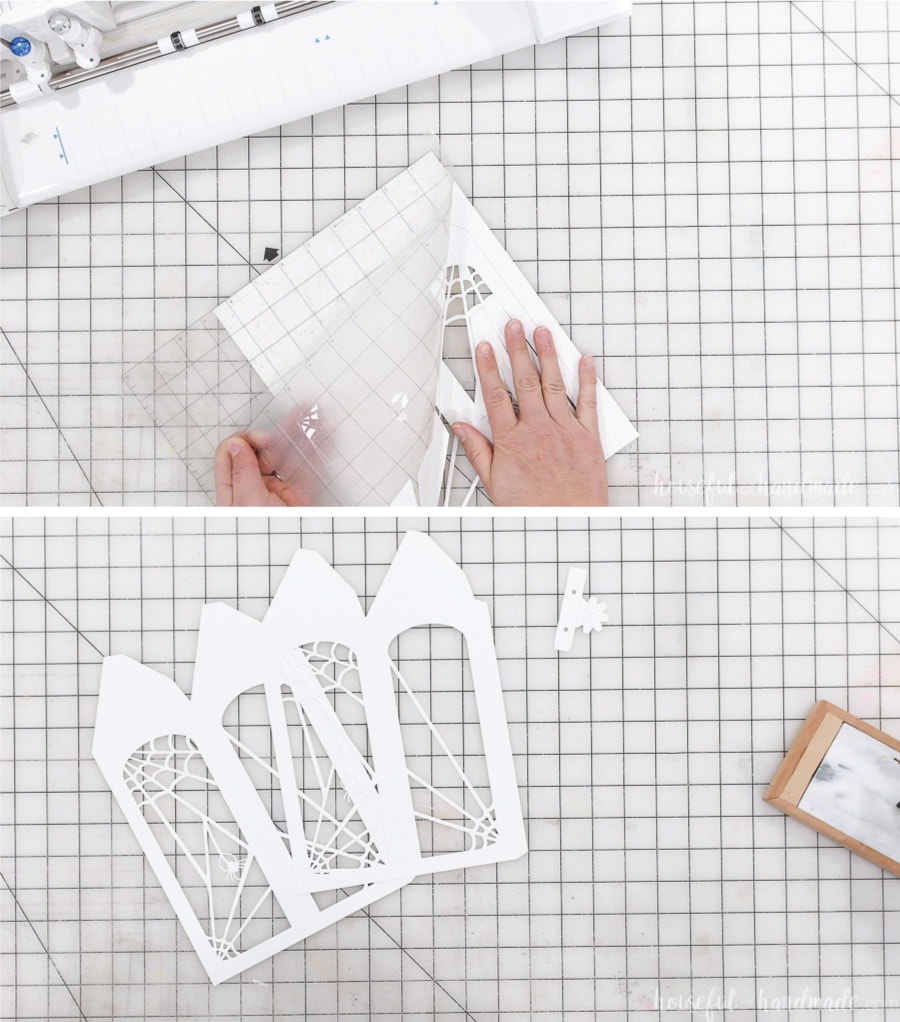
For the large and medium sized lanterns, you will need to cut out 2 of the lantern pieces and 1 of the top pieces per lantern. For the small lantern, you only need 1 of each.
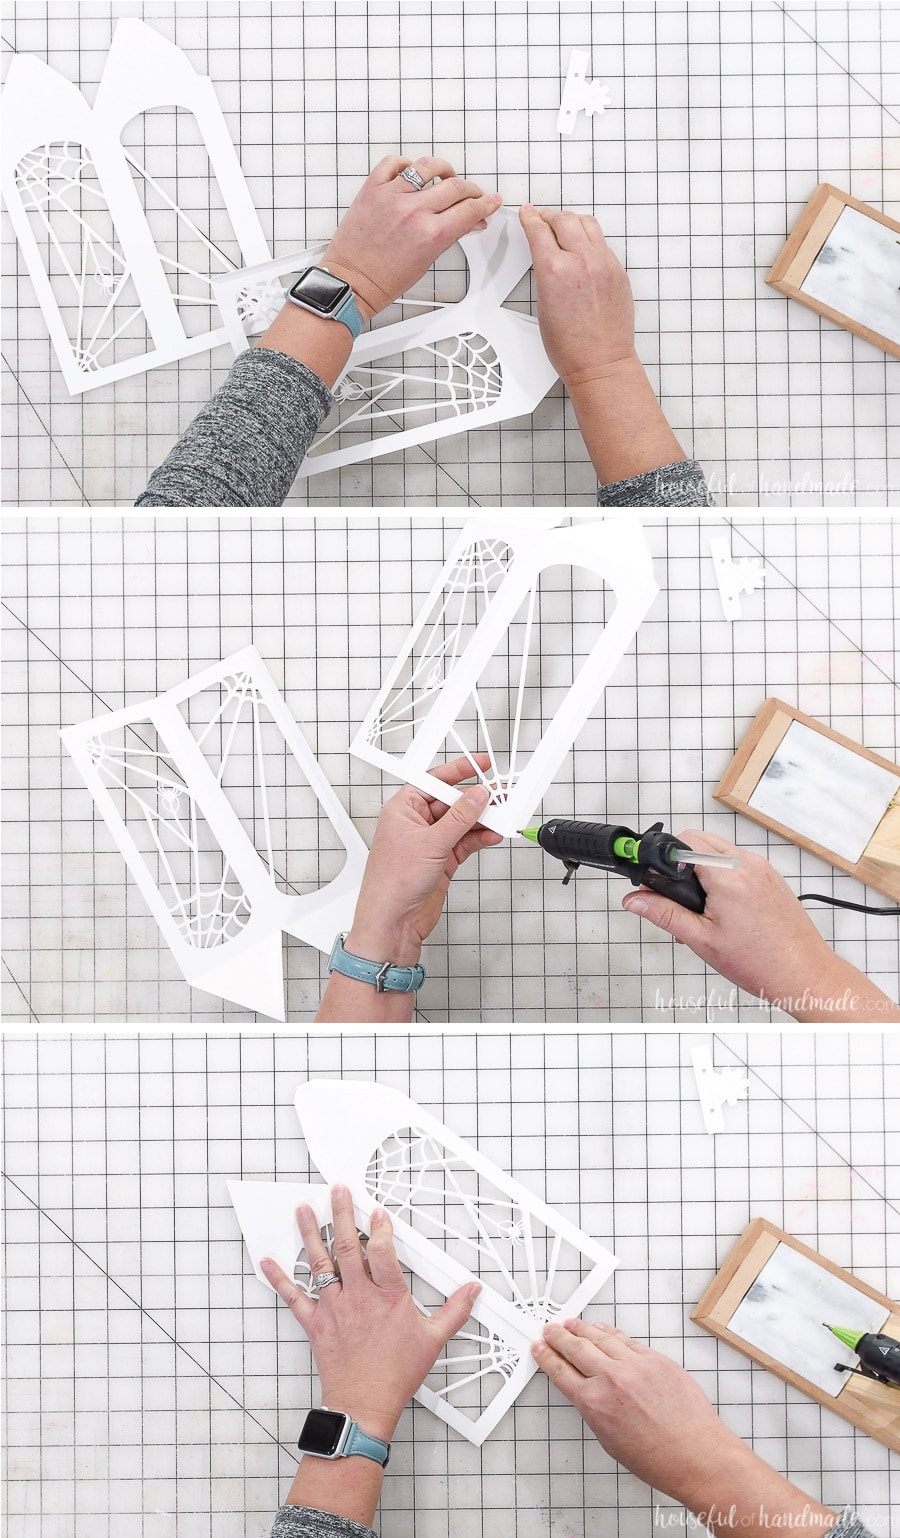
Assemble the Lanterns
Fold along the dotted lines. I prefer to fully fold and crease all lines before assembling to get the best looking finished project.
Add glue to the side flap on one of the side pieces. Glue it to the side of the other piece. Repeat with the other flap making a closed square.
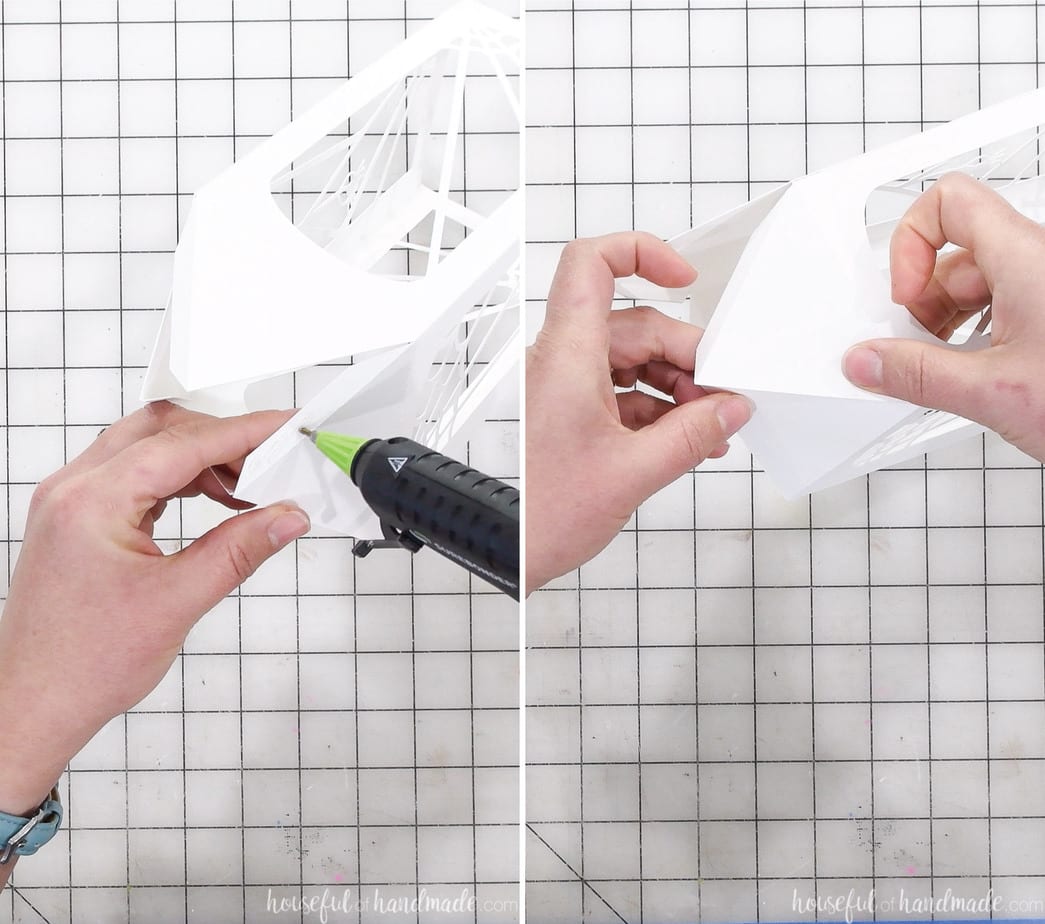
Next add glue to one of the flaps on the top triangles. Glue it to the inside of the triangle next to it.
Repeat on the rest of the top triangles until you close up the lantern.
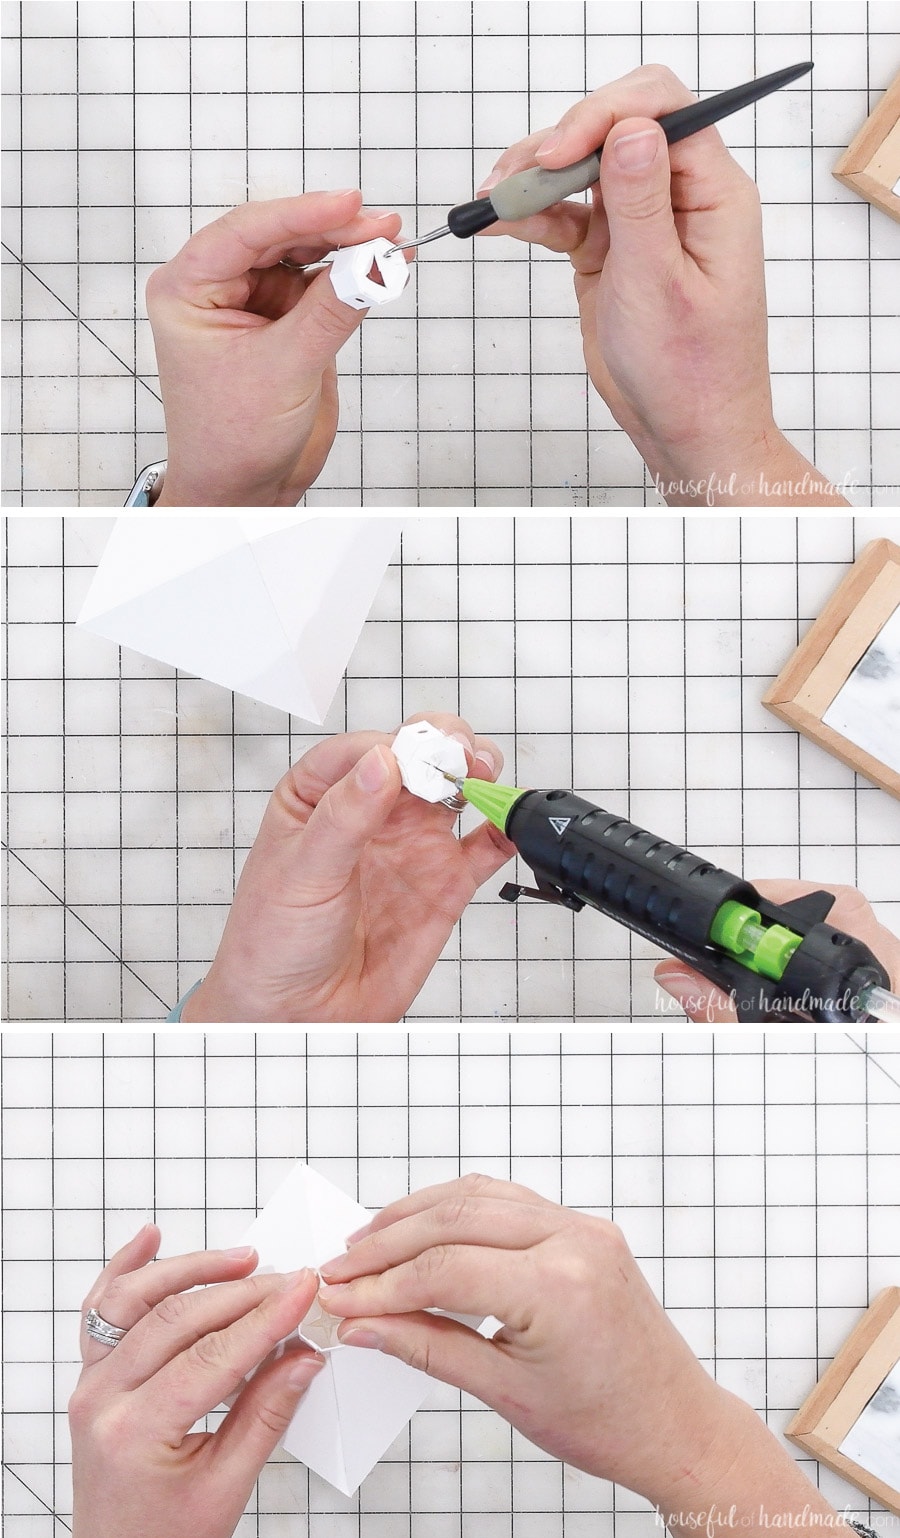
To assemble the top to hold the handle, fold along the dotted lines.
Go around the octagon adding glue to the flaps and attaching them to the coordinating section of the top piece.
Pull tightly as you go around the octagon to keep things lining up properly. Finish off the top by glueing the final flap down.

Fold up the flaps in the bottom of the piece. Add a dot of glue on all the little triangles.
Press the cut square into the tip of the lantern. Hold until the glue is dry.
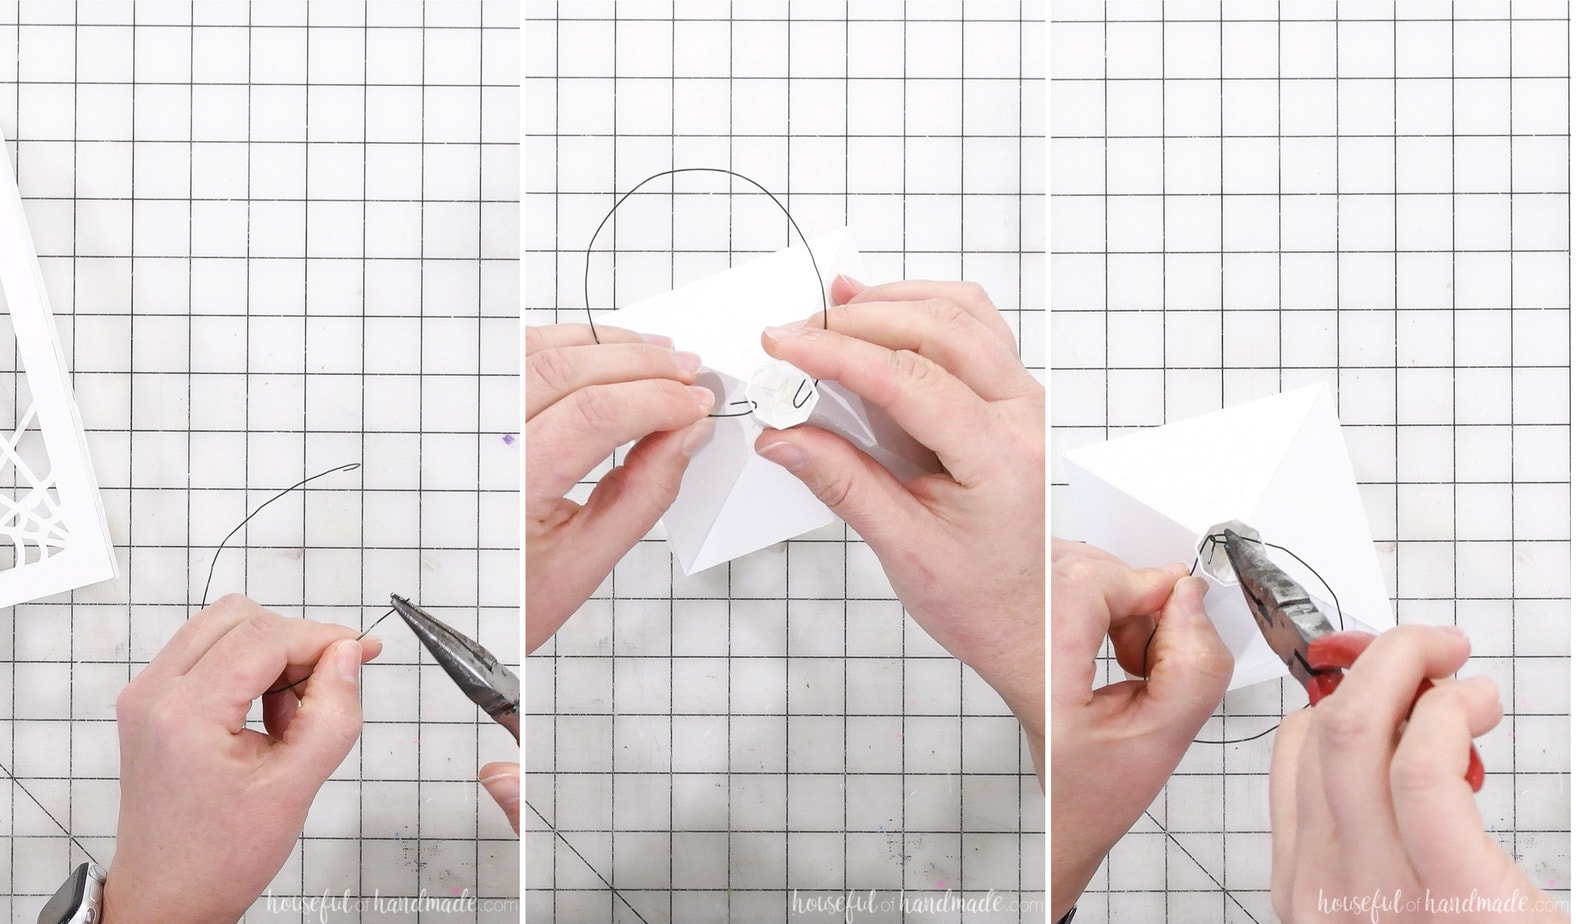
Add a Handle
Cut a piece of floral wire to make a circle the size of the handle you want. I cut my large on 9″, medium 8″ and small 7″.
Curve the handle into a circle. Use the pliers to smooth any pieces that are kinked.
Make a loop on either end of the wire. Carefully slip them into the holes on the sides of the top.
Loop them around each other and squeeze to secure. Reshape the circle as needed.
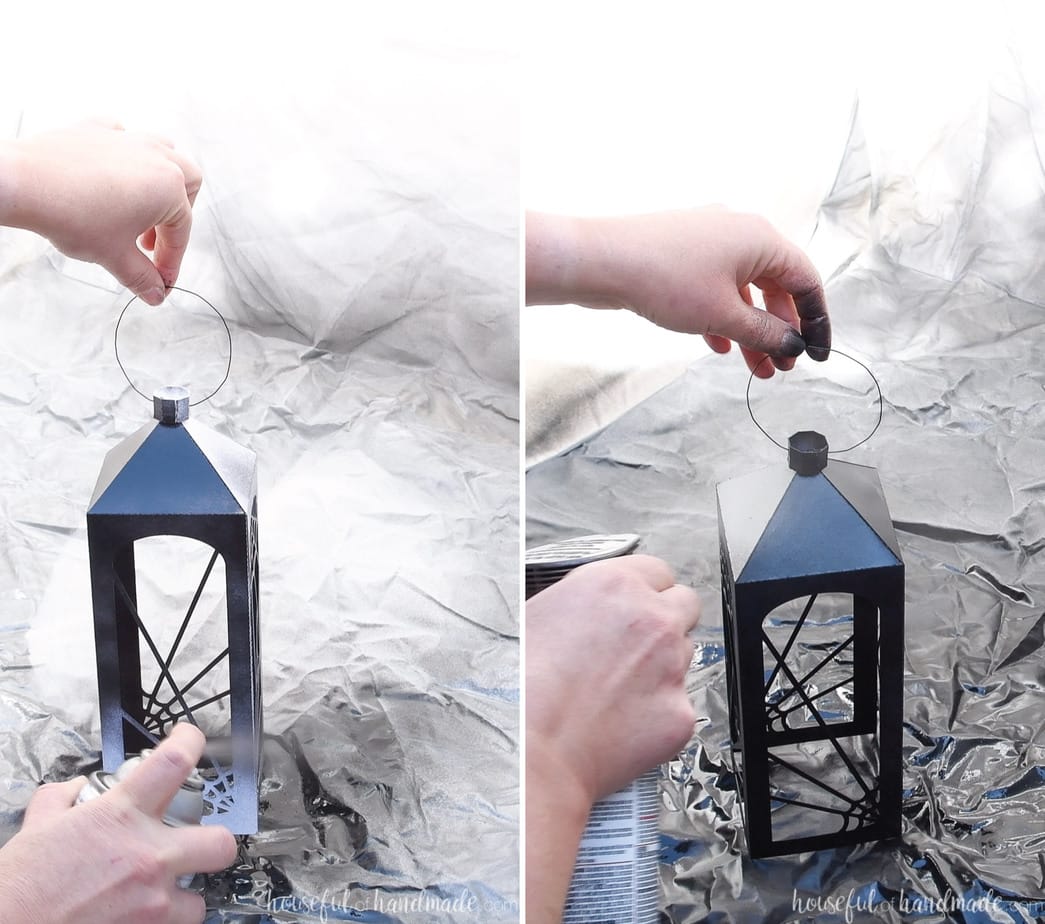
Paint the Halloween Lanterns
Spray paint the lanterns, inside and out, with a coat of black spray paint. Make sure to get the handle as well.
Let the paint dry.
To give them a shiny bronze effect, lightly paint the black with a hammered bronze spray paint.
After the paint is fully dry you are ready to decorate!
Make sure to use flameless candles, we do not want you to start a fire. I love the real wax flameless candles. They look real and I don’t have to worry about them!
Michelle
Sunday 20th of October 2019
These are beautiful! You would never know they are made from paper.
Kati
Monday 11th of November 2019
Thanks Michelle! I love how they look on our table.