This Farmhouse Plaid Christmas advent calendar is the perfect way to countdown to Christmas in style.
Free printable buffalo check plaid and Christmas tartan plaid create a beautiful advent calendar.
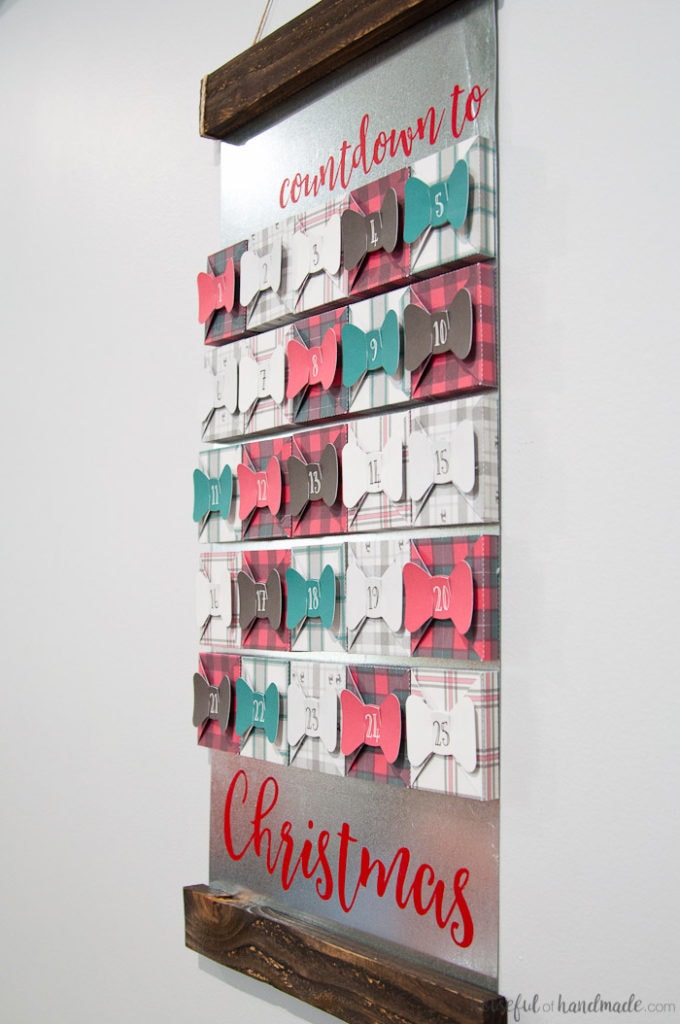
December is quickly approaching and that means the countdown to Christmas! Our family loves having an activity advent calendar to countdown the days until Christmas and help us enjoy all our favorite Christmas traditions.
Each year I get to have fun creating a beautiful Christmas advent calendar for our family and fill it activities and an occasional treat. This year I went with a rustic Farmhouse Plaid Christmas Advent Calendar and I love how it turned out!
This post may contain affiliate links. As an Amazon Associate I earn from qualifying purchases. Click here to read my full disclosure policy.
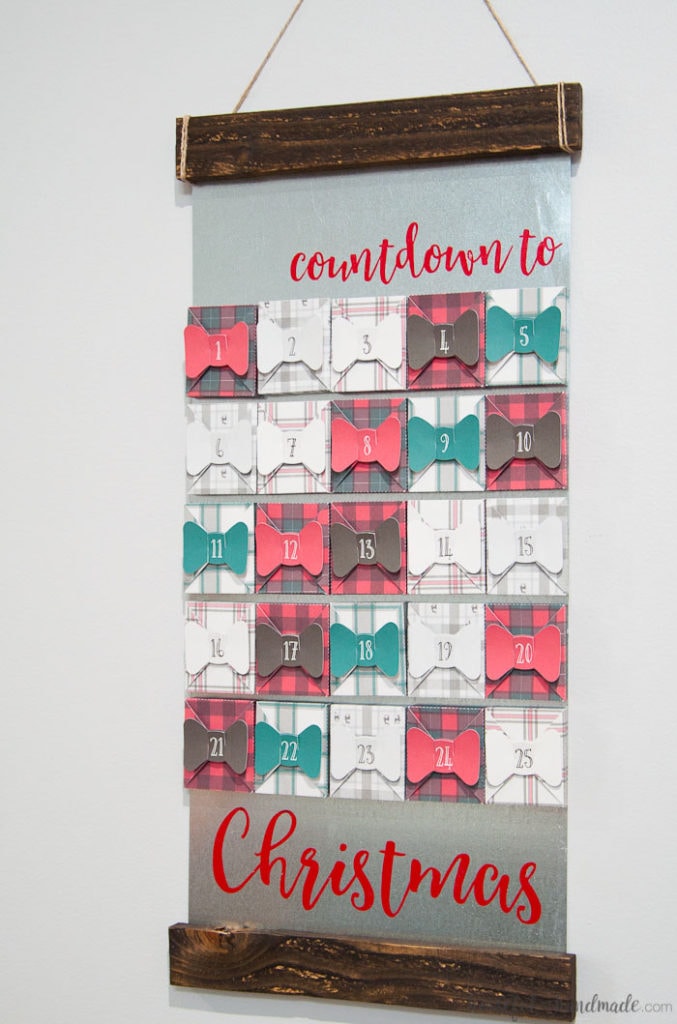
Have you been loving all the buffalo check and tartan plaid used in today’s decor? I am obsessed with the warm texture and color it adds. And I especially love the bold reds and blacks for Christmas.
I was so excited to add some of these amazing plaids to our decor this year and I started with a little (or a lot) of it in our advent calendar.
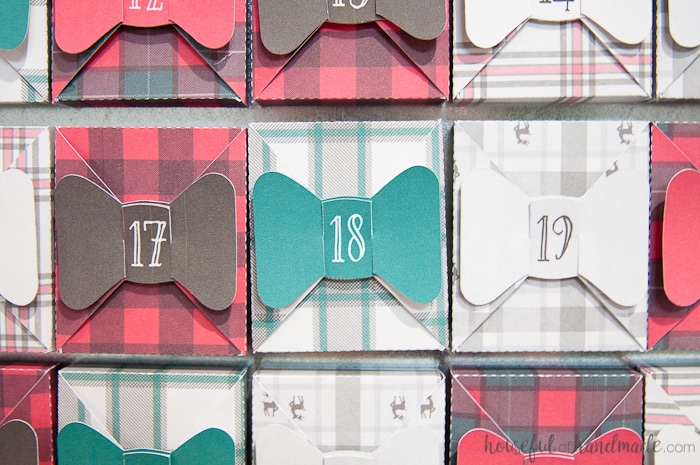
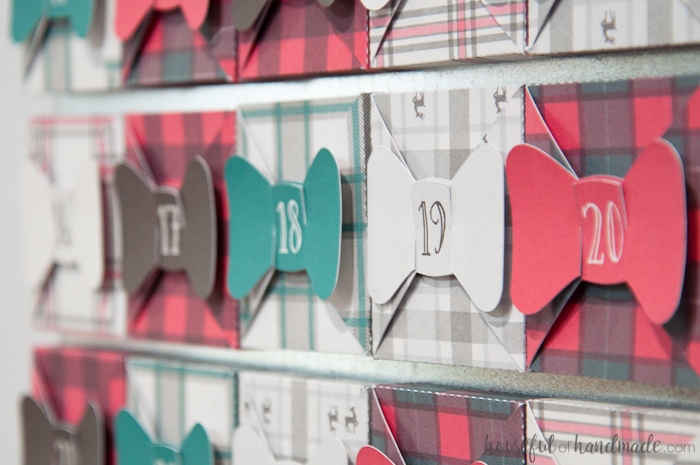
To really make the most of the plaid theme, I created 25 little boxes out of 5 bold Christmas plaids. Of course I included the classic black and red buffalo check. But then I had some fun with the other plaids including a bit of green with some creams and grays.
Then just because I could, I threw in some reindeer! Everything is better with a reindeer or two.
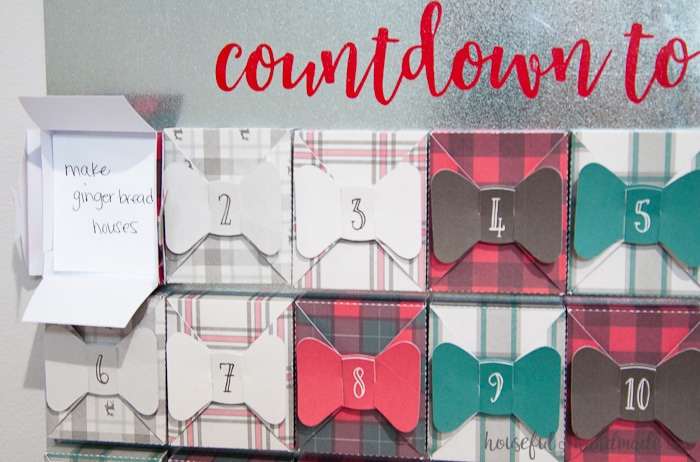
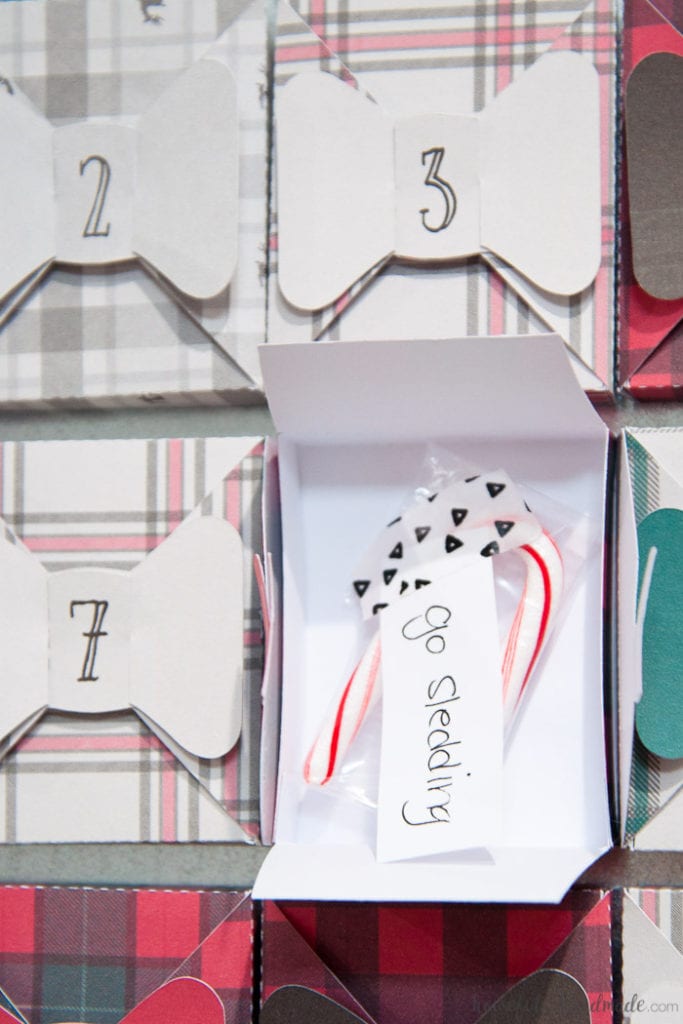
Each of the little boxes unwraps at the front. Just like a little present to open each day in December. Each box is about 2×3 inches and 1/2 inch deep. Just big enough to include a small treat (candy canes anyone) and the day’s activity.
If you get stressed out just thinking about planning an activity advent calendar, check out my tips for a stress free advent calendar here. I promise, you can have loads of fun with your family this Christmas without making you crazy!
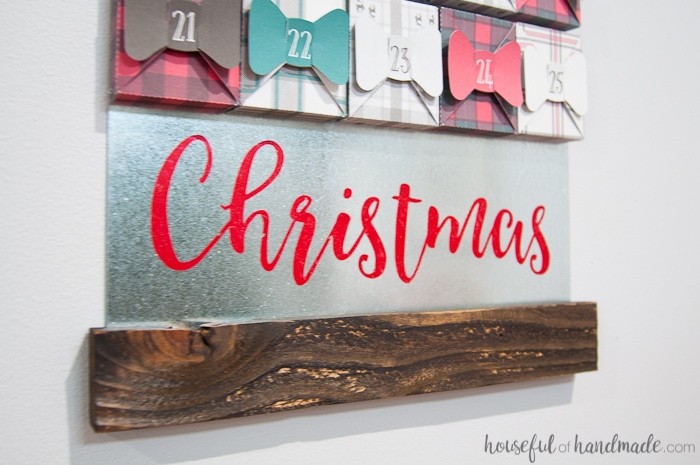
The advent calendar also has some of my other favorite decor textures in it: wood & metal. Wood and metal combined are perfect for a rustic farmhouse. They have a lived in and loved quality to them.
The galvanized metal even has a bit of texture on it that really makes me smile. I knew immediately that I wanted to pair the wood and metal with these bold plaids for the perfect farmhouse style.
So are you ready to make your own farmhouse plaid Christmas advent calendar? I am making it really easy on you this year. I have created these 25 boxes for you to be able to download, print and cut to quickly assemble a beautiful advent calendar. Then you will be ready to countdown to Christmas!
Once you have your files downloaded, turn on your favorite Christmas movie and let’s get ready to assemble our farmhouse plaid Christmas advent calendar!
And then don’t forget to check out the rest of my amazing craft tutorials.
How to Make a Farmhouse Plaid Christmas Advent Calendar
Supplies:
- Plaid bow box files
- I am sharing the cut files for the advent calendar in my subscriber library. Click here to subscribe to my weekly newsletter and gain access to all the freebies. If you already have your password, click here to download them.
- White cardstock (25 sheets)
- 12×24 galvanized metal sheet
- 2- 24 1/2″ piece of wood
- I used scraps of 2x3s that I stained with Minwaz Dark Walnut stain
- Drill with tiny drill bit
- Hammer
- 5/8 in #18 wire nails
- If you do not have a drill & hammer or do not want to use them and the nails to secure the metal to the wood, you could always use a construction adhesive that is made to work with metal and wood.
- 12×12″ piece of vinyl & transfer paper
- This is used to create a stencil for the wording that is painted on the advent calendar. You could also hand paint the lettering, but I am not that talented.
- Red craft paint
- Foam brush
- Hot glue gun & glue sticks
- Twine
- Stuff to go into the advent calendar
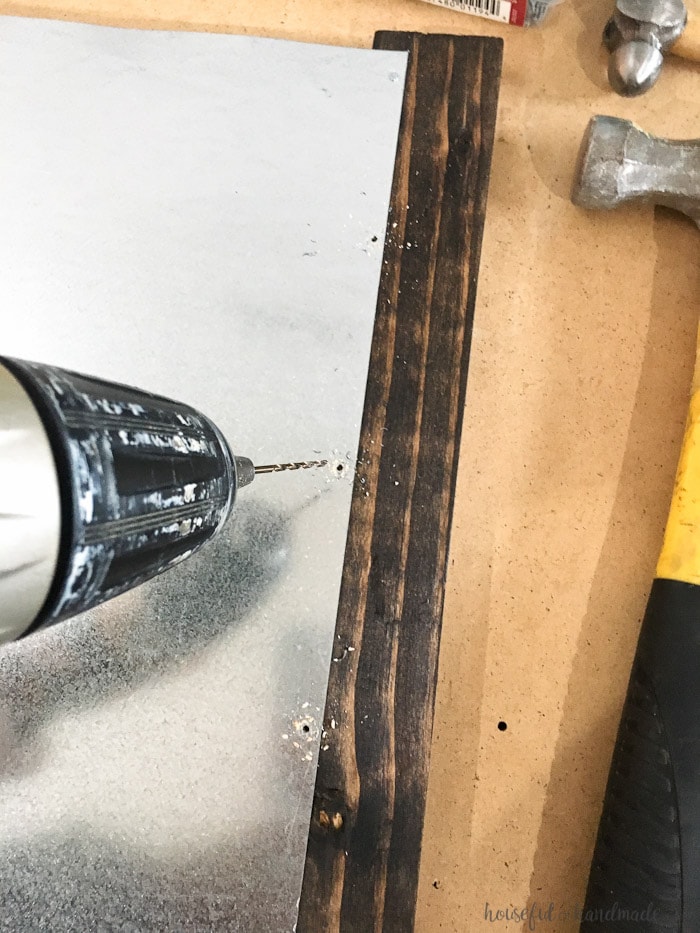
Apply any finish to your wood that you want and allow to dry. Drill 5 tiny holes (they need to be smaller than the head of your wire nails) into the sheet metal along the top and the bottom.
Make sure you do not drill to far into the wood or the nails will not be able to hold. You could do the drilling on a scrap piece of wood to prevent this.
Tap a nail into each of the holes to secure the wood to the top and bottom of the metal. You only want to overlap the metal over the wood about 1/2 inch.
Cut out the words on the vinyl and transfer them to the metal. These will be stencils for you to paint the words.
Using the craft paint and foam brush, paint the words onto the metal. I found I liked the texture of the metal peeking out a little bit when I pounced the foam brush on the metal instead of brushing it.
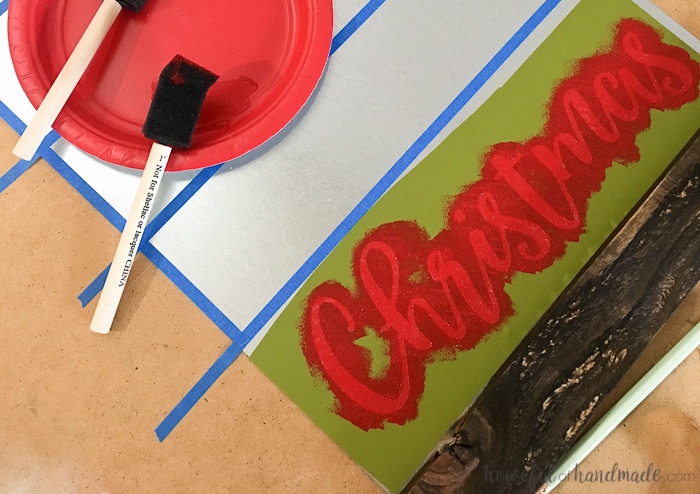
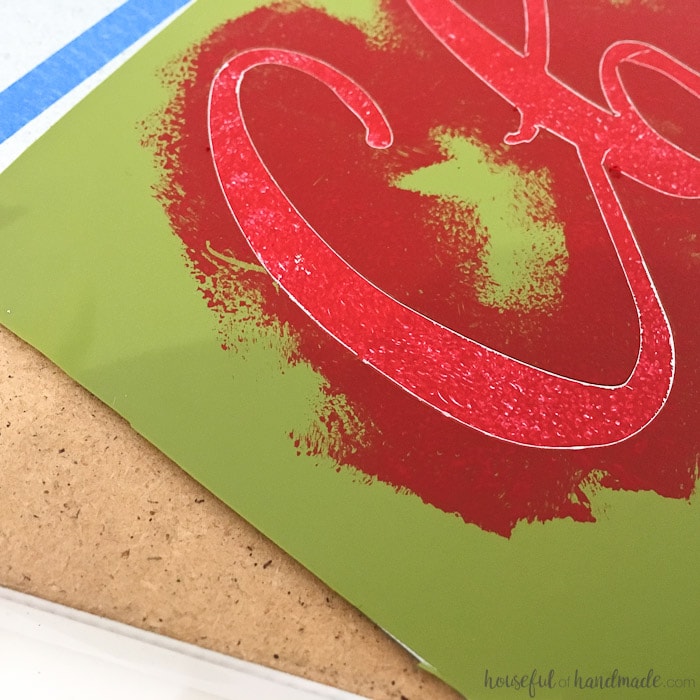
Immediately after painting, remove the vinyl. If your paint has already dried before you remove the vinyl, you will want to use an extra nail to scratch a line in the paint all around the edge of the vinyl or the paint may pull off the metal when you remove the vinyl.
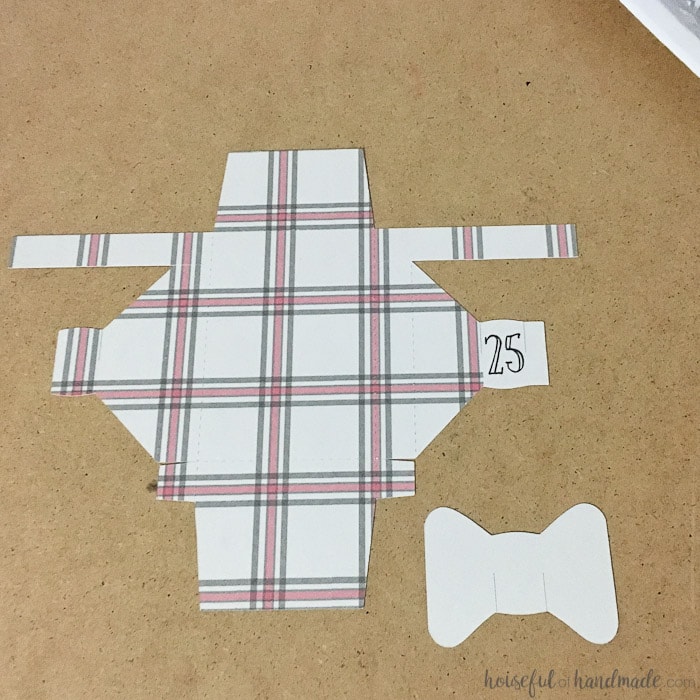
Let the paint dry while you start assembling the plaid boxes. Print & cut all 25 boxes with coordinating bows.
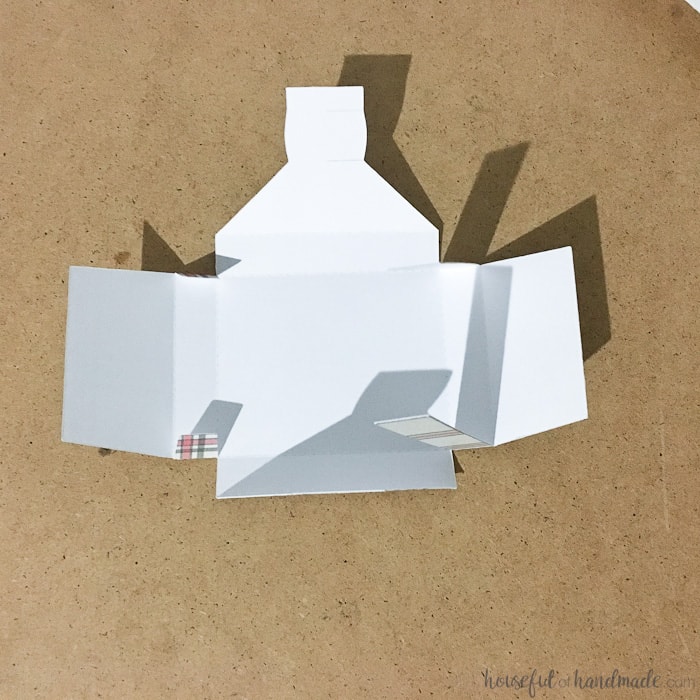
These boxes couldn’t be easier to assemble! Start by flipping the cut out box over so the plaid is facing down. Fold along all the dotted lines toward the ceiling.
Take the long skinny pieces on the top of the box and glue them to the tabs on the bottom of the box to create a box shape.
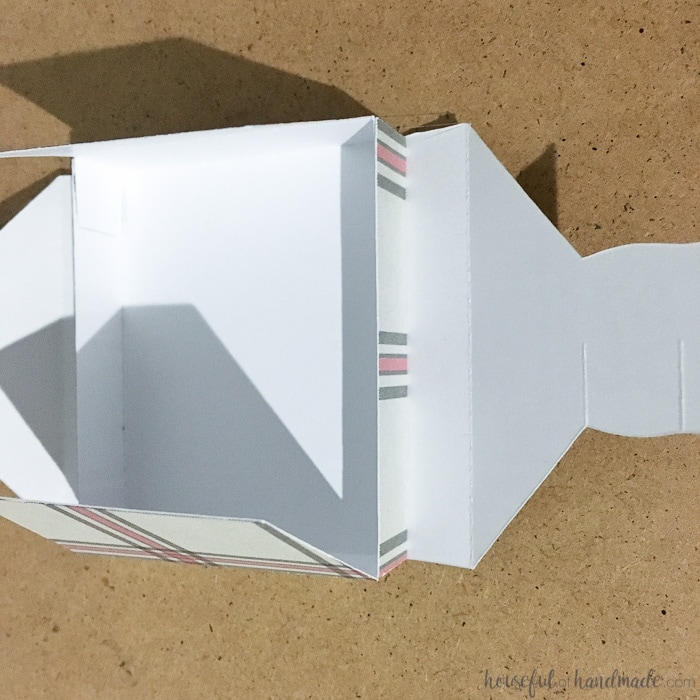
Fold in the top and bottom flaps, then the side flaps on top of them. Make sure the flap with the number on it is on the top.
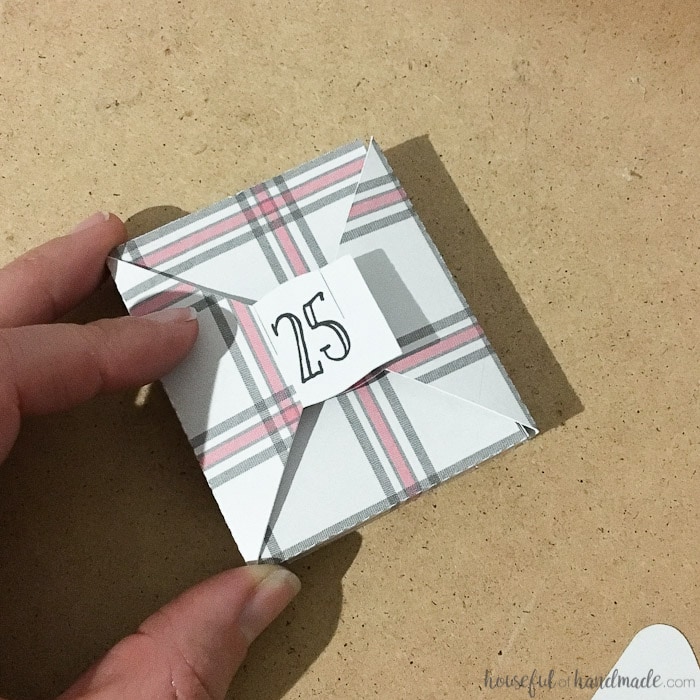
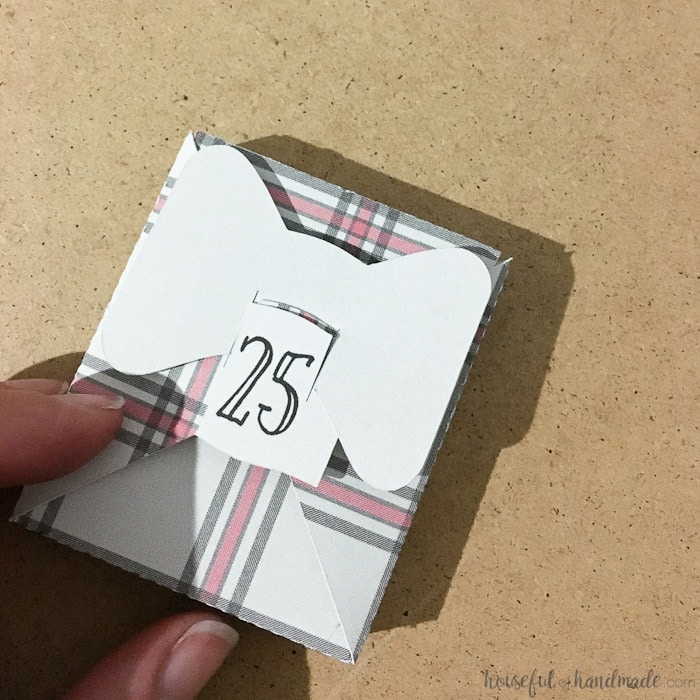
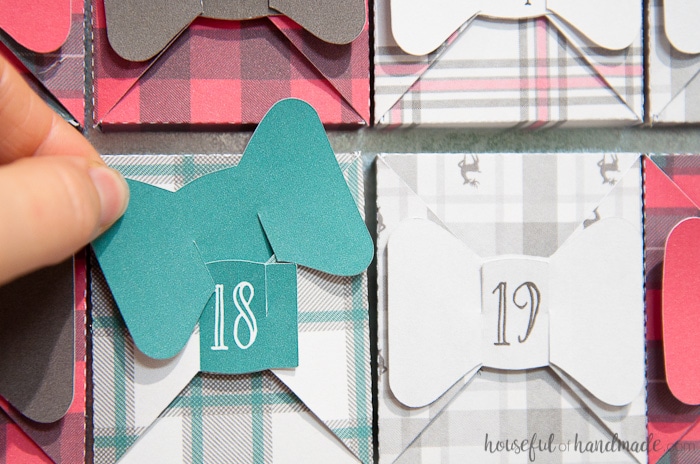
Slide the bow onto the front of the box, into the notches. The sides of the bow should be slightly in front of the box and the number visible in the center.
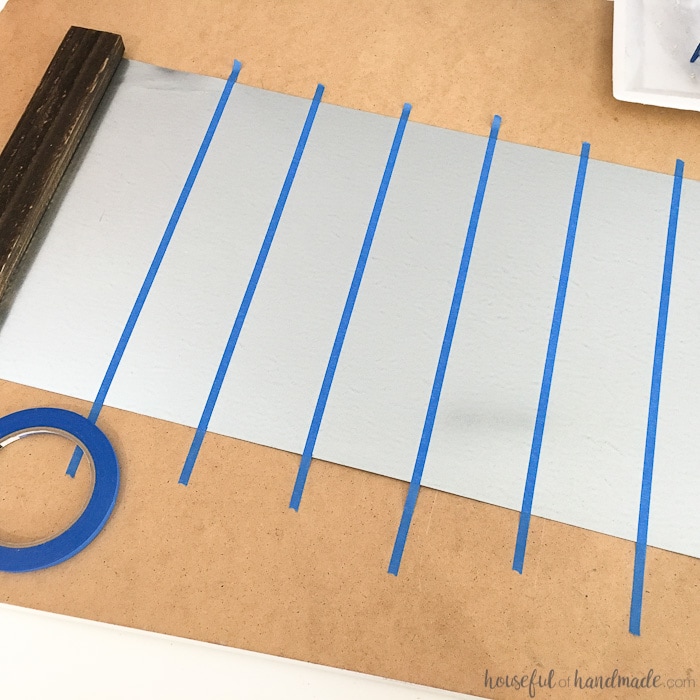
Now it’s time to secure the boxes to the metal sign. I used 1/4 inch painters tape to measure out my rows. You can also use white board markers to mark on the board and then they should rub off easily (any residue will come off easily when wiped with a paper towel damped with window cleaner).
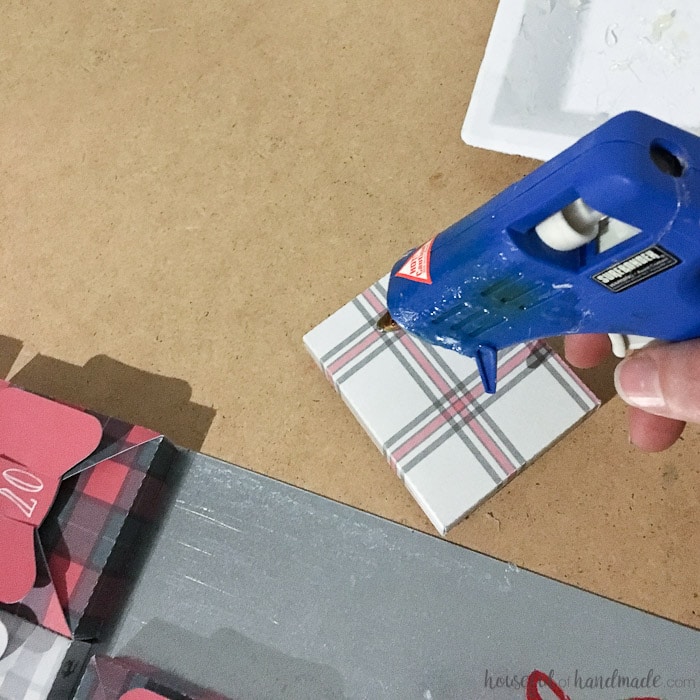
Once you have laid out your rows, it’s as easy as adding some hot glue to the back of each box and securing them to the metal. Hot glue is very handy on the metal because if you don’t like where something is placed, you can heat up the backside of the metal with a blow-dryer on high heat and the glue will soften enough to slightly move the box. Just be careful not to burn yourself.
Once all the boxes are attached, wrap some twine around the side of the top board and secure in the back. Repeat on the other side, leaving some slack in the middle to hang your advent calendar.
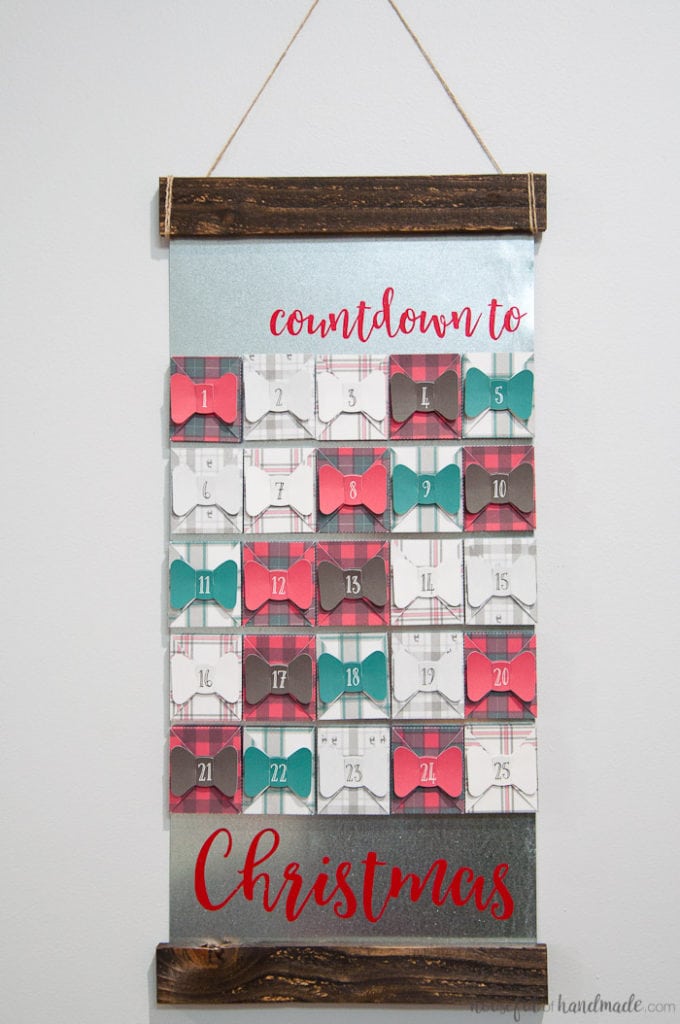
You can fill your boxes with all the fun and activities and treats you want to enjoy this December. Then you can hang your new farmhouse plaid Christmas advent calendar. You are in for a fun filled holiday season.
Farmhouse Plaid Christmas Advent Calendar
This Farmhouse Plaid Christmas advent calendar is a great way to countdown to Christmas. Includes free printable buffalo check plaid and Christmas tartan plaid.
Materials
- Plaid Box Files
- White cardstock (25 sheets)
- 2- 24 1/2″ piece of wood
- Twine
- 12×12″ piece of vinyl & transfer paper
- Red craft paint
- Stuff to go into the advent calendar
Tools
- Drill with tiny drill bit
- Hammer
- 5/8 in #18 wire nails
- Foam brush
- Hot glue gun & glue sticks
Instructions
- Apply any finish to your wood that you want and allow to dry.
- Drill 5 tiny holes (they need to be smaller than the head of your wire nails) into the sheet metal along the top and the bottom.
- Tap a nail into each of the holes to secure the wood to the top and bottom of the metal. You only want to overlap the metal over the wood about 1/2 inch.
- Cut out the words on the vinyl and transfer them to the metal. These will be stencils for you to paint the words.
- Using the craft paint and foam brush, paint the words onto the metal. I found I liked the texture of the metal peeking out a little bit when I pounced the foam brush on the metal instead of brushing it.
- Immediately after painting, remove the vinyl. If your paint has already dried before you remove the vinyl, you will want to use an extra nail to scratch a line in the paint all around the edge of the vinyl or the paint may pull off the metal when you remove the vinyl.
- Let the paint dry while you start assembling the plaid boxes. Print & cut all 25 boxes with coordinating bows.
- Start by flipping the cut out box over so the plaid is facing down. Fold along all the dotted lines toward the ceiling.
- Take the long skinny pieces on the top of the box and glue them to the tabs on the bottom of the box to create a box shape.
- Fold in the top and bottom flaps, then the side flaps on top of them. Make sure the flap with the number on it is on the top.
- Slide the bow onto the front of the box, into the notches. The sides of the bow should be slightly in front of the box and the number visible in the center.
- Secure the boxes to the metal sign. I used 1/4 inch painters tape to measure out my rows. You can also use white board markers to mark on the board and then they should rub off easily.
- Once you have laid out your rows, it’s as easy as adding some hot glue to the back of each box and securing them to the metal.
- Once all the boxes are attached, wrap some twine around the side of the top board and secure in the back. Repeat on the other side, leaving some slack in the middle to hang your advent calendar.
Notes
I am sharing the template in my subscriber library. Click here to subscribe to my newsletter and gain access to all the freebies. If you already have your password, click here to go to the library download them.
Caroline
Monday 21st of November 2022
super cute and seems simple enough! BUT I can't find the download anywhere in the subscriber page, HELP
Christi
Thursday 2nd of December 2021
I can't download the template for the box with the bow. Please guide me. Thank you
Emily
Wednesday 30th of November 2016
This is so cool! I love that each one is a little box :) Thanks for linking up with Merry Monday this week!
Kati
Monday 5th of December 2016
Thanks Emily! The kids are loving the little boxes too.
Maria Brittis
Tuesday 22nd of November 2016
This calendar is precious and your hard work shows in this creation, I have not seen one like this. Maria
Kati
Monday 5th of December 2016
Thank you Maria! It is a fun piece for our decor as well as an advent.
BonBon
Tuesday 22nd of November 2016
This is so cute and what fun....thanks for sharing your idea
Kati
Monday 5th of December 2016
Thank you! We are loving our countdown.