Set a fun Easter table with these easy paper bunny napkin rings.
It’s Day 5 of the 7 Days of paper spring decor! And to get ready for Easter we have made lots of fun things already (links to all the posts below).
Today is a super simple project to help you set a fun table for Easter. These simple bunny napkin rings are fast to make and add some whimsy to your place settings.
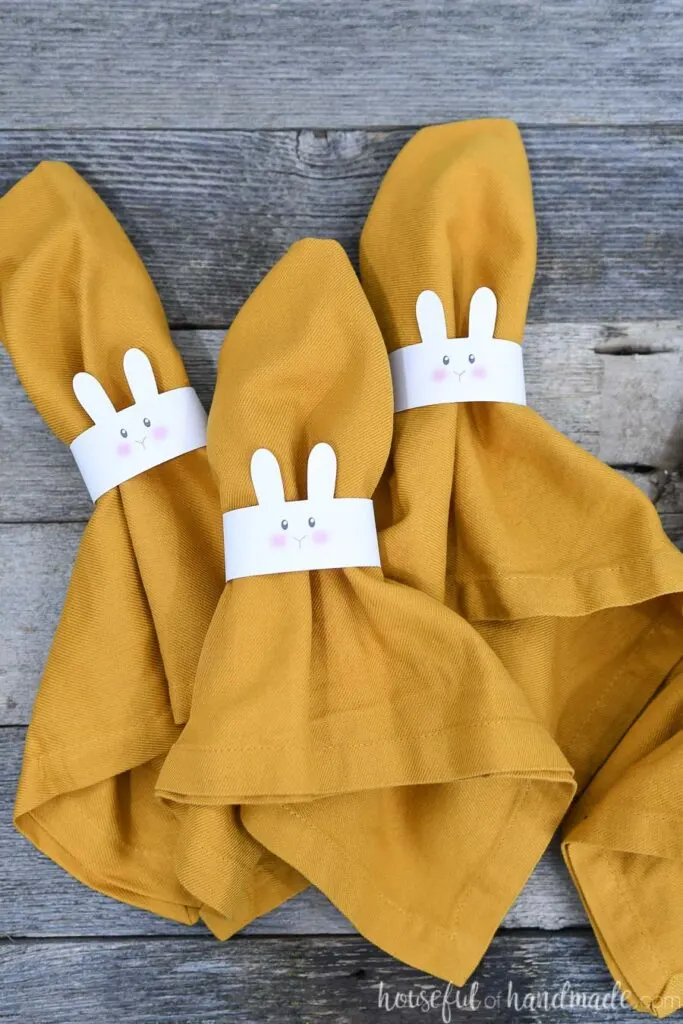
The Cutest Bunny Face
You may recognize the bunny design on these napkin rings. It comes from a very popular bunny Easter Basket that I made a couple years ago.
This post may contain affiliate links. As an Amazon Associate I earn from qualifying purchases. Click here to read my full disclosure policy.
I still make more of these baskets every year for Easter because they are so fun and so simple. So this year I decided to use the same design, but turn them into napkin rings!
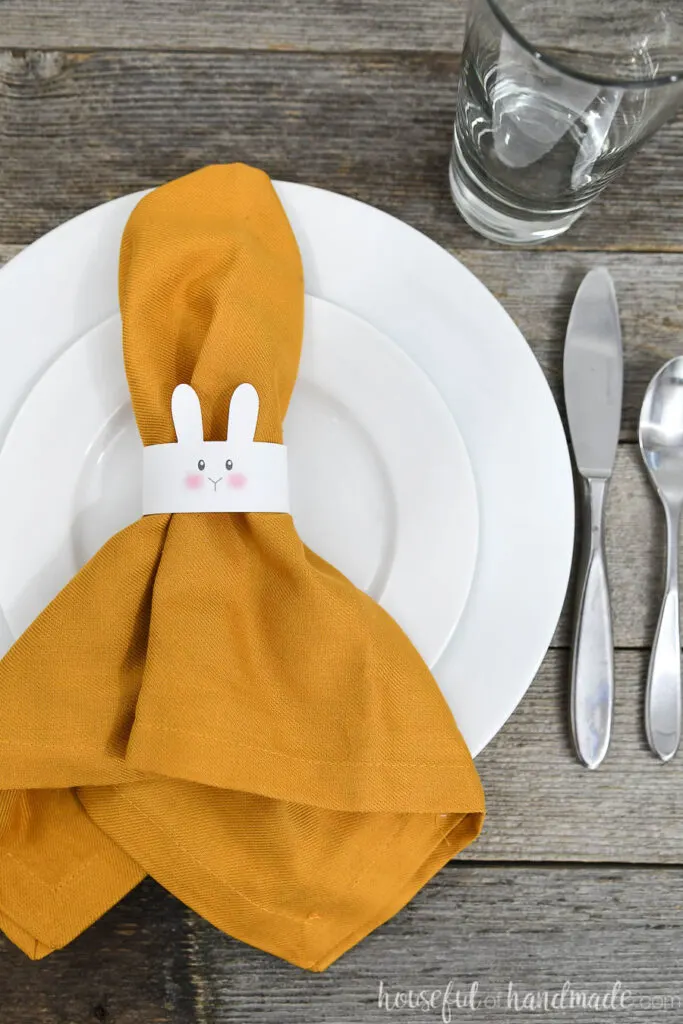
The simple paper napkin ring comes with 6 napkin rings on 1 sheet of cardstock. And they can be cut out with scissors or an electronic cutting machine.
Or better yet, get the kids cutting these out while you finish up the dinner preparations. They will love being able to help set the festive table,
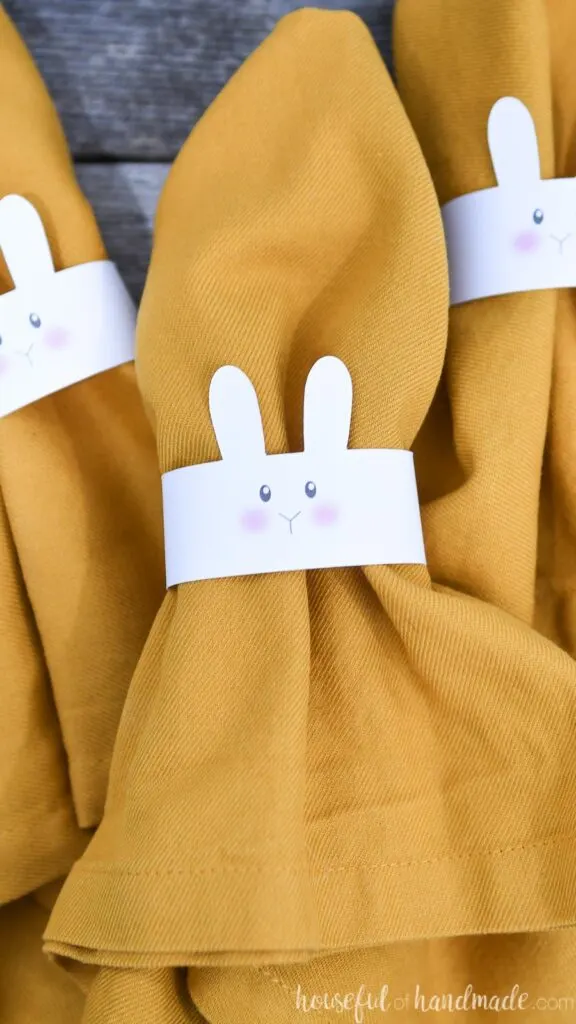
I printed my bunny napkin rings on a sheet of plain white cardstock. But you could also have fun and make colored bunnies. Just make sure to use a pale colored cardstock so the cute bunny face is still visible.
I bet the kids would have fun with yellow, pink or blue bunnies all over the table!
How to Make Paper Napkin Rings for Easter
Supplies:
- Bunny napkin ring template
- I am sharing the SVGs & PDFs in my subscriber library until 4/6/2020, then they will move to the shop. Click here to subscribe to my newsletter and gain access to all the freebies. If you already have your password, click here to download them.
- Printer
- Cardstock
- Optional: Electronic cutting machine
- I love using my Silhouette Cameo to quickly cut out paper decor projects, but you can also use scissors and an x-acto knife.
Print and cut out as many napkin rings as you need for your Easter table.
If you are using an electronic cutting machine, use the Print & Cut feature to add registration marks. Then print & cut it out.
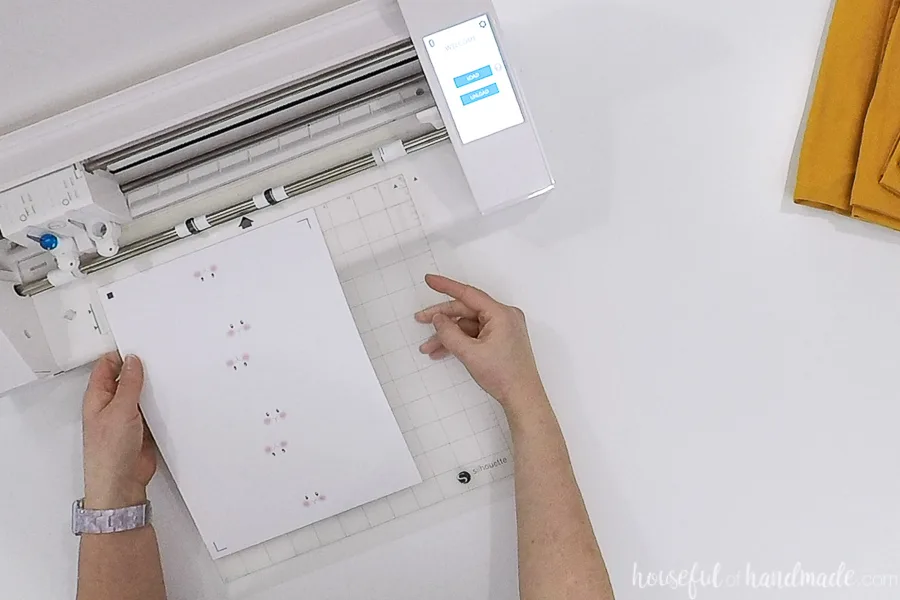
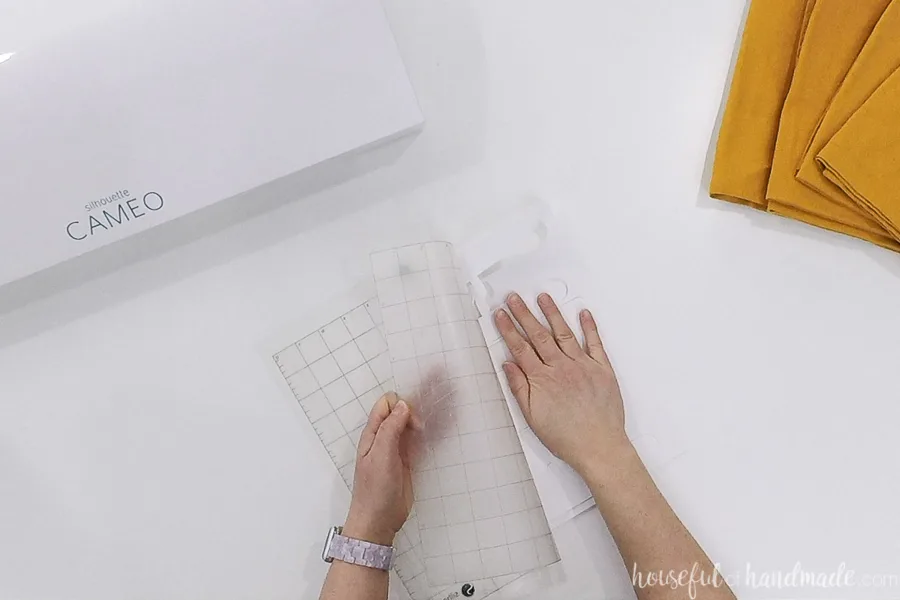
When removing the paper napkin rings from the cutting mat, make sure to flip the mat over and remove the mat from the paper instead of pulling the paper from the mat. This will keep the paper from curling as you remove it.
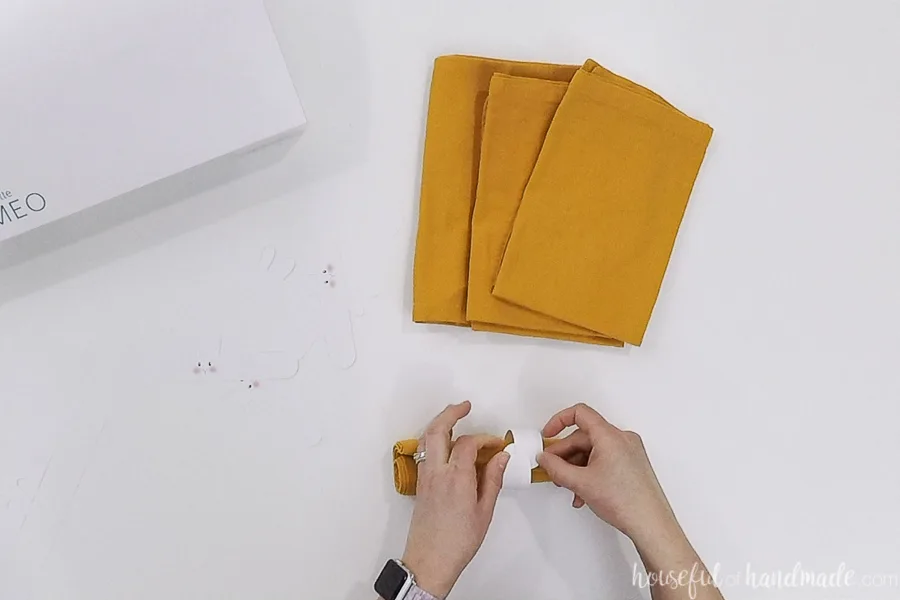
To assemble the napkin ring, first roll up the napkin and then curl the paper piece around it. Interlock the tabs on the back so the tabs are on the inside of the circle.
And your are done!
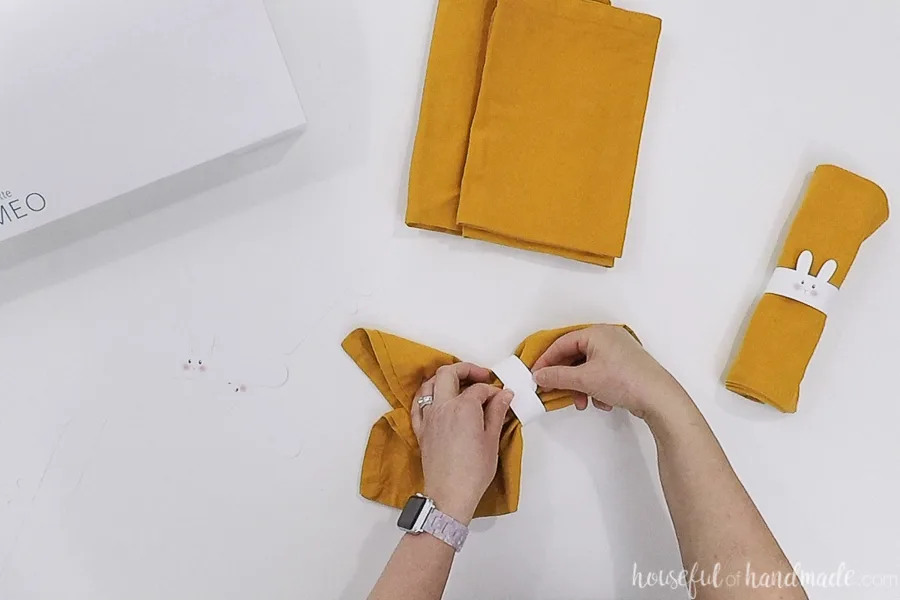
You can use these napkin rings any way you would use normal napkin rings. I like to fold my napkin in half, then pull the center of the napkin up to make a triangle.
Fasten the napkin ring the same way around the top of the napkin to create a fun shape.
Then fluff up the top of the napkin to secure the napkin ring in place. And smooth out the bottom.
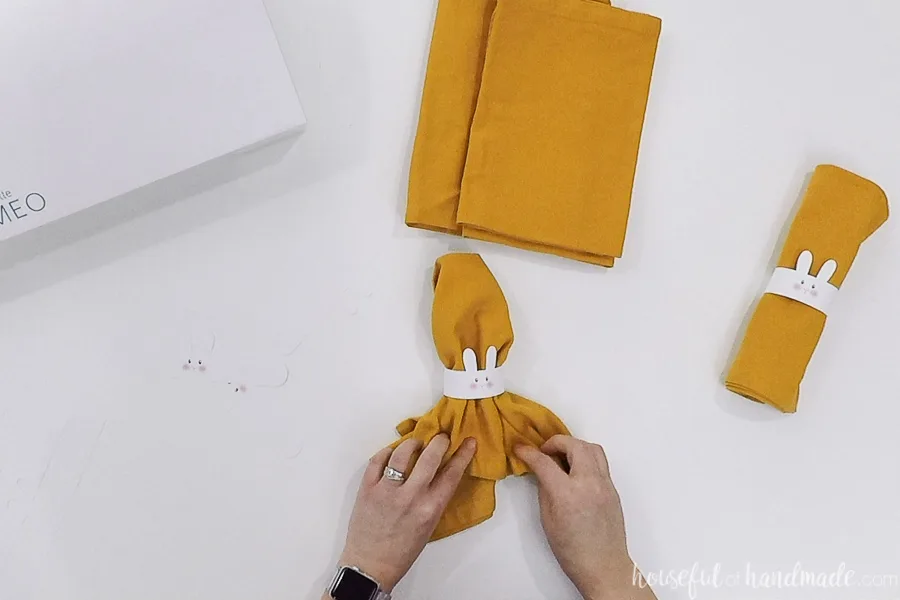
Now you are ready to set your Easter table! It’s that easy.
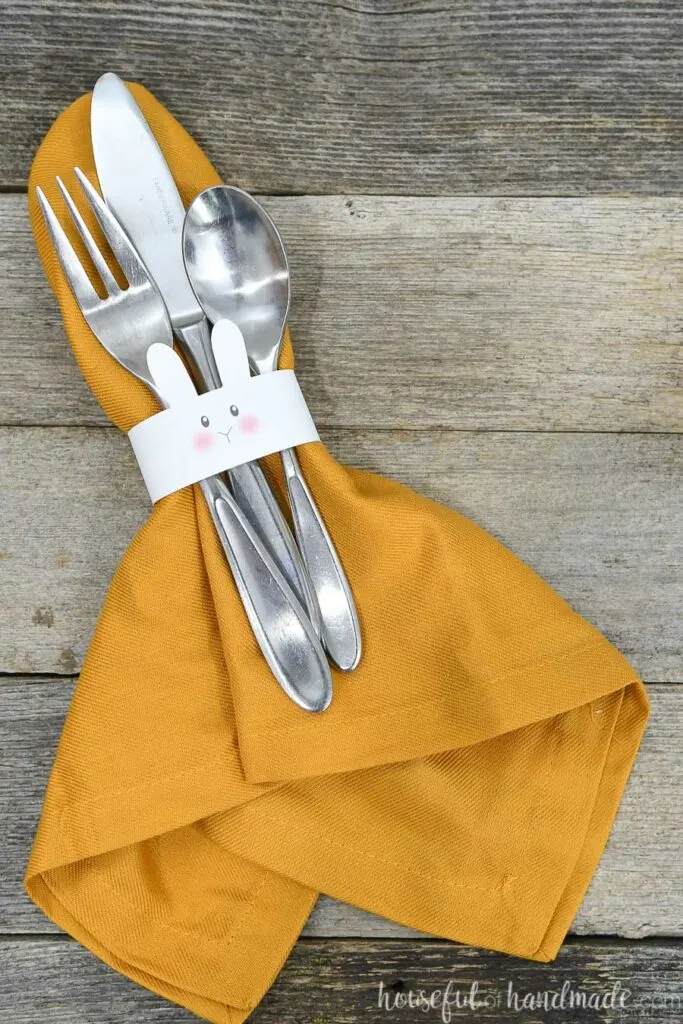
You can even use the napkin rings to hold utensils. That cute bunny face is the perfect addition to any spring meal.
And don’t forget that I have 2 more days of paper spring decor left to share! Check back tomorrow so you don’t miss out.