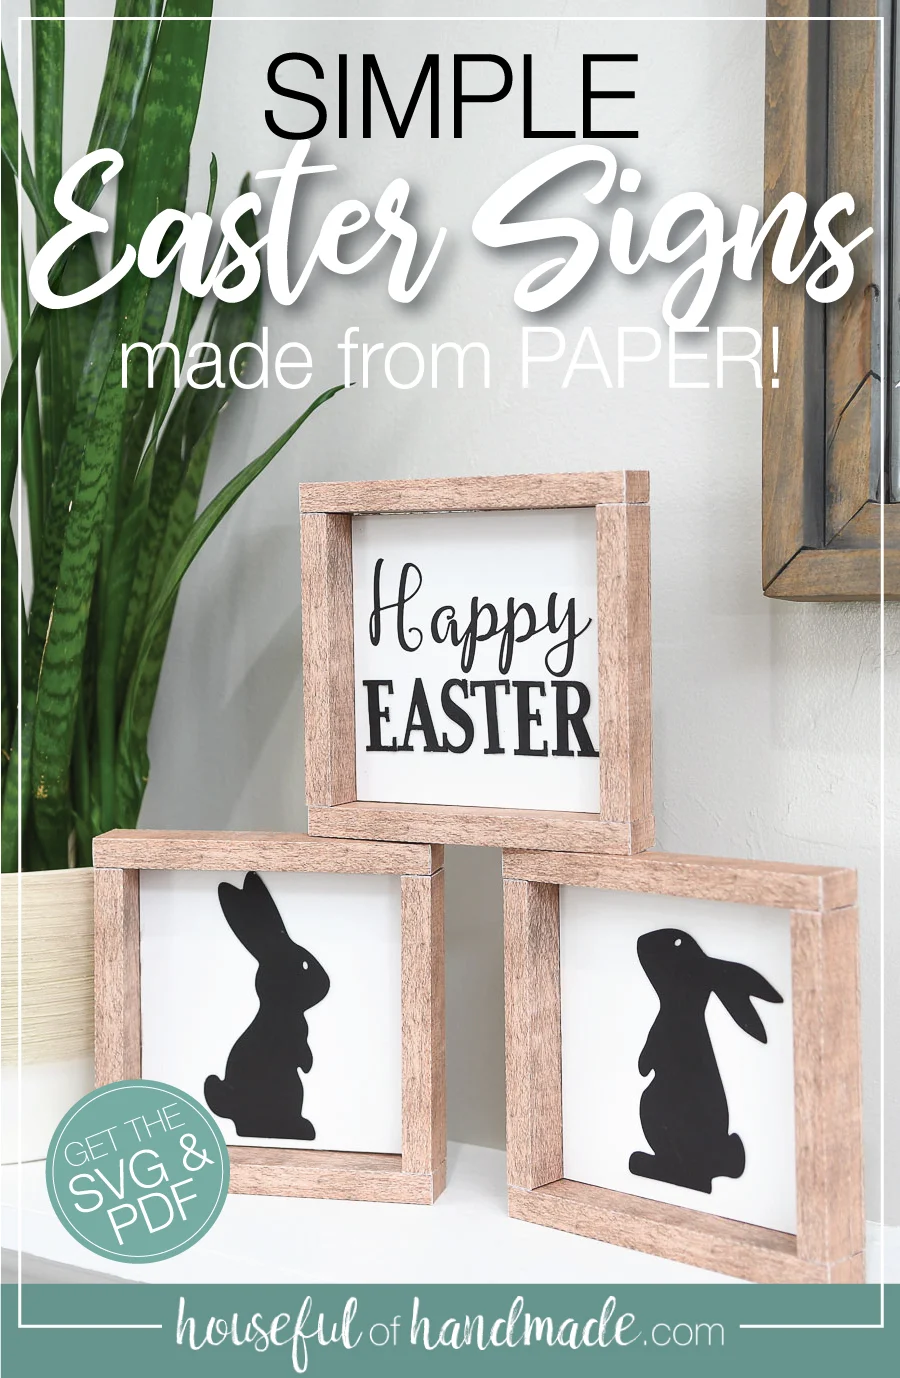

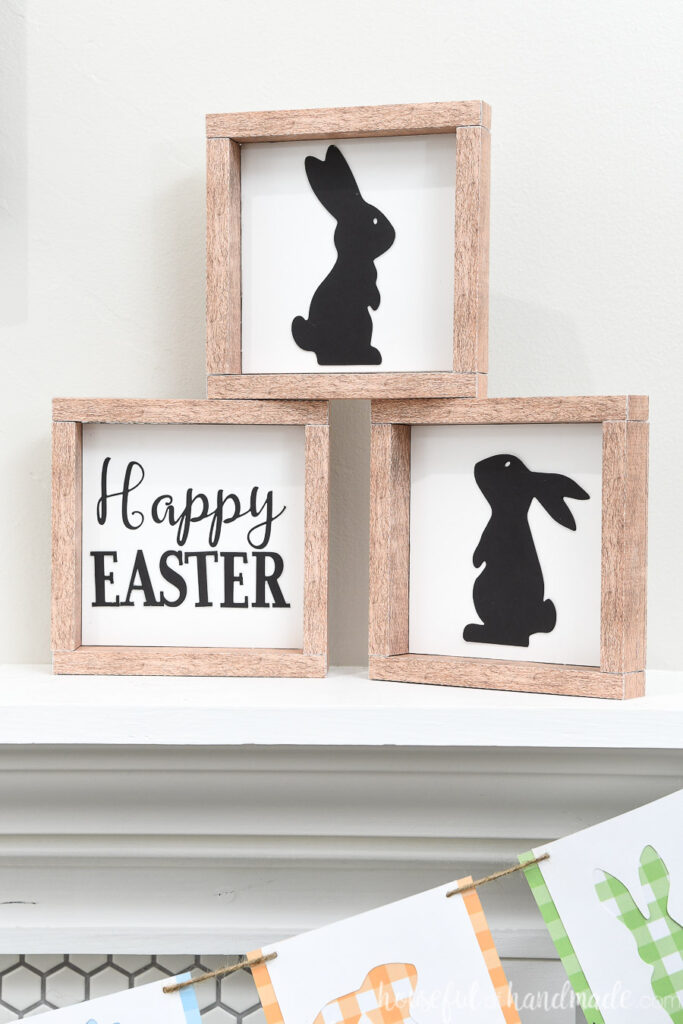
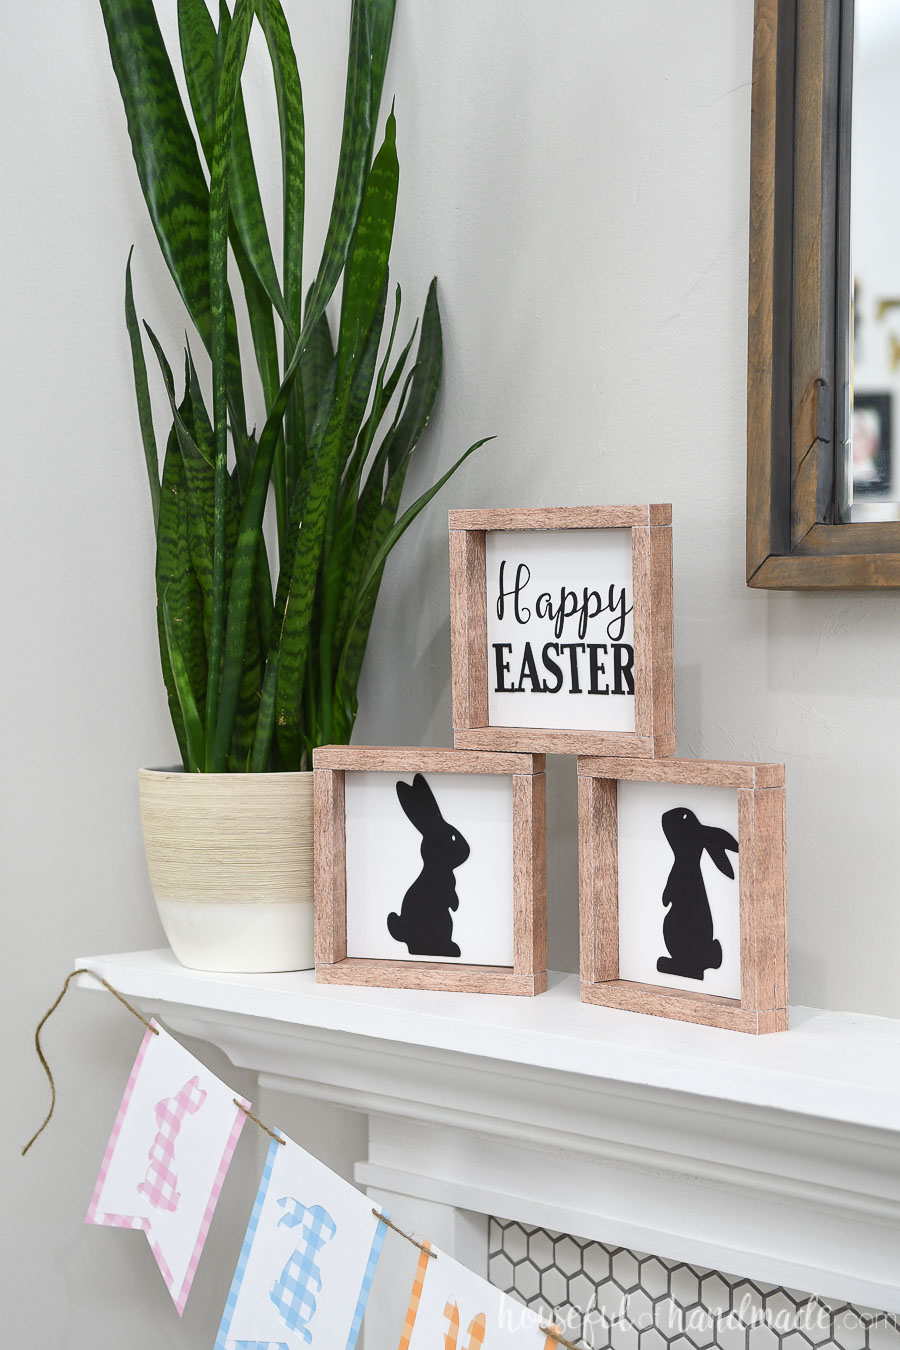
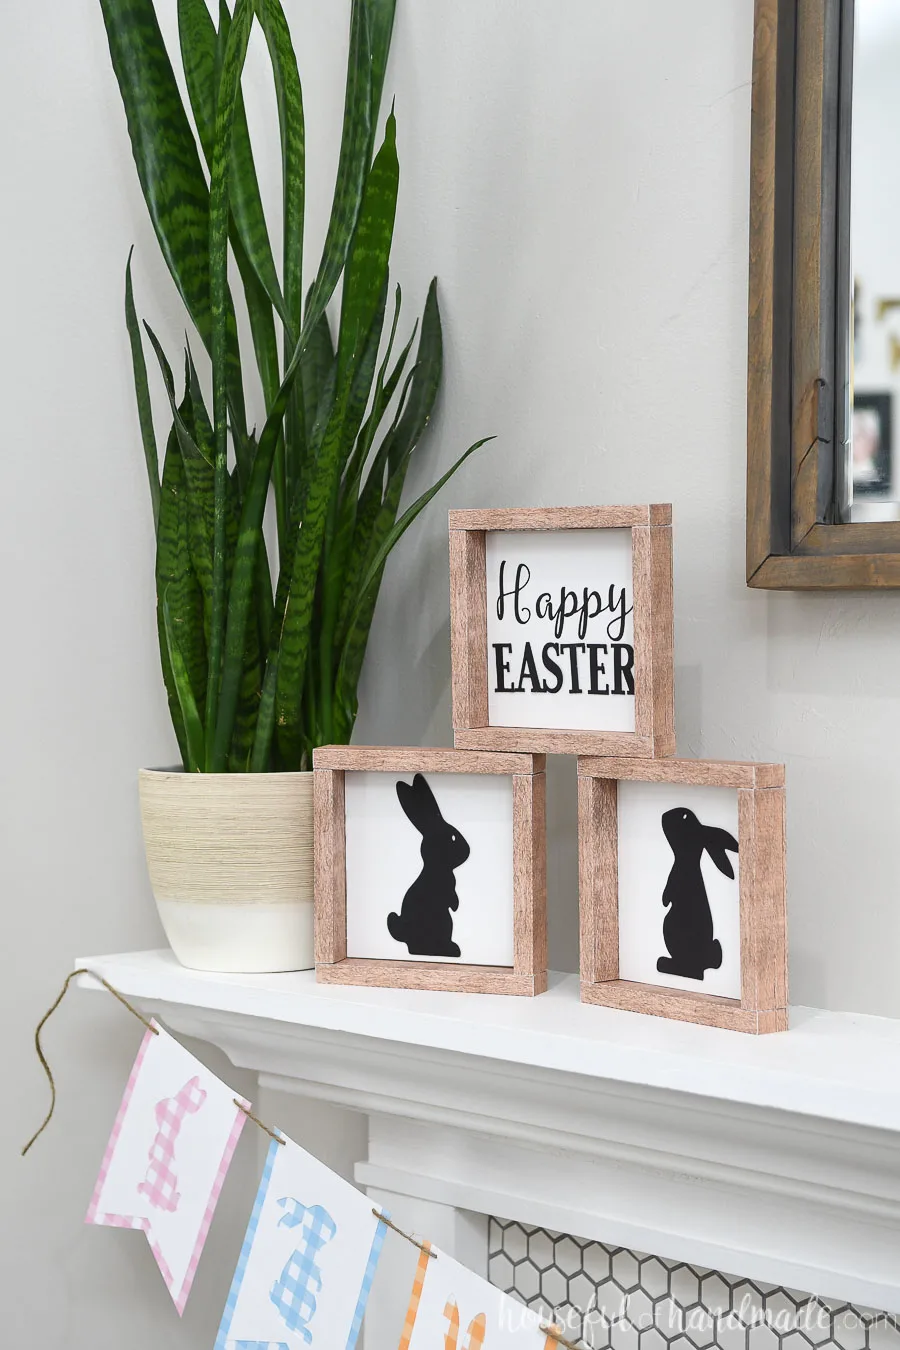
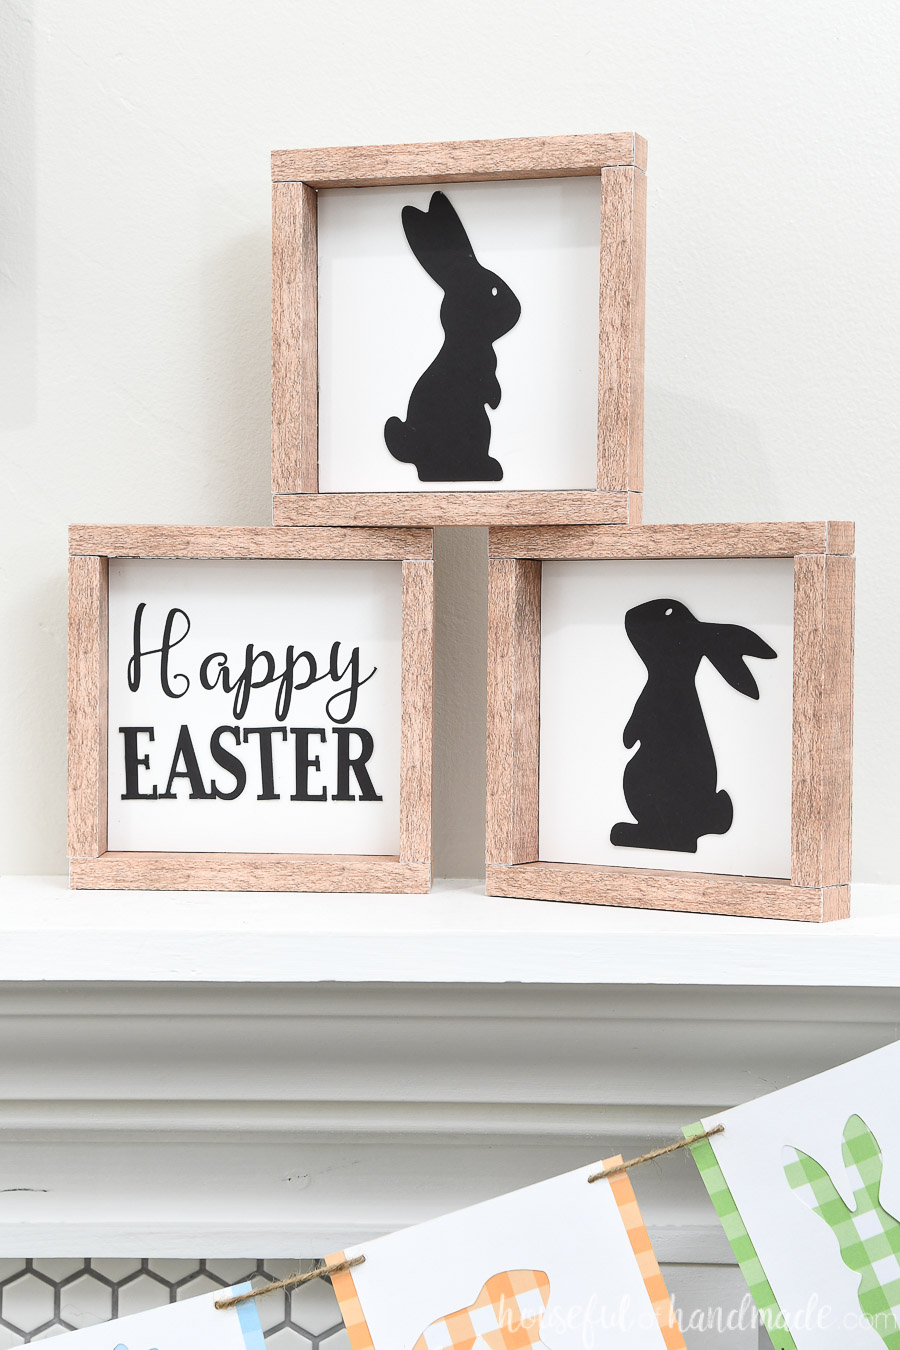
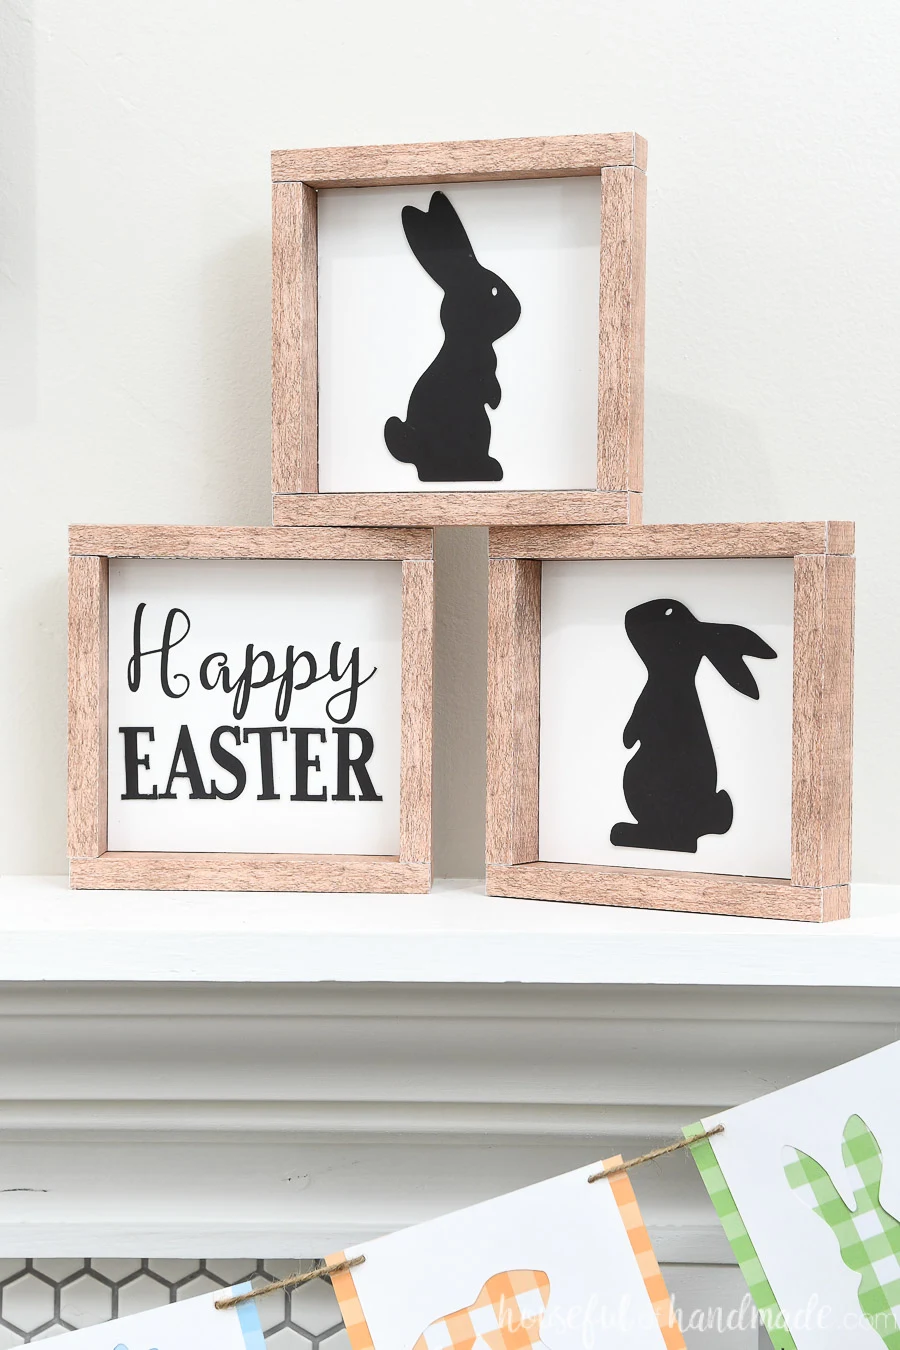
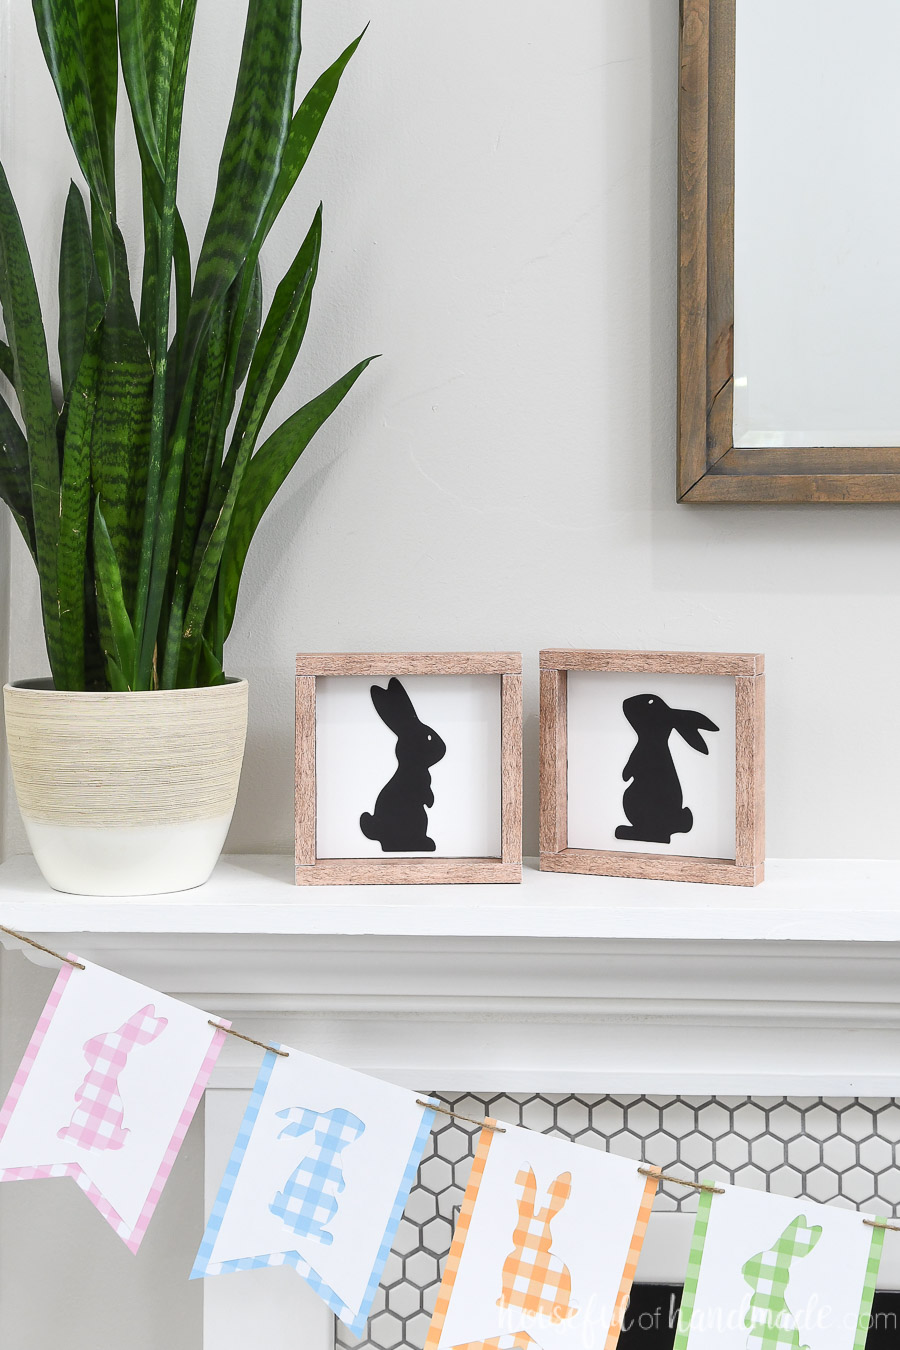
No power tools needed to make these simple Easter signs!
It’s Day 4 of our 7 Days of Paper Spring Decor. I am having so much fun creating easy crafts every day. Hopefully you are too!
Wood signs are a great way to add seasonal decor to any space. But what if you don’t have wood… or tools to cut it??? Then you make it out of paper!
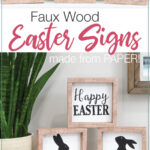
These simple Easter signs look exactly like they were made from wood but they are not!
This post may contain affiliate links. As an Amazon Associate I earn from qualifying purchases. Click here to read my full disclosure policy.
And don’t forget to check out the rest of the rest of the 7 Days of Paper decor for spring:
- Day 1: Faux Wood DIY Candlesticks
- Day 2: Flower Easter Basket
- Day 3: Gingham Bunny Banner
- Day 4: Simple Easter Signs
- Day 5: Bunny Napkin Rings
- Day 6: Farmhouse Flower Pot
- Day 7: Flower Market Sign
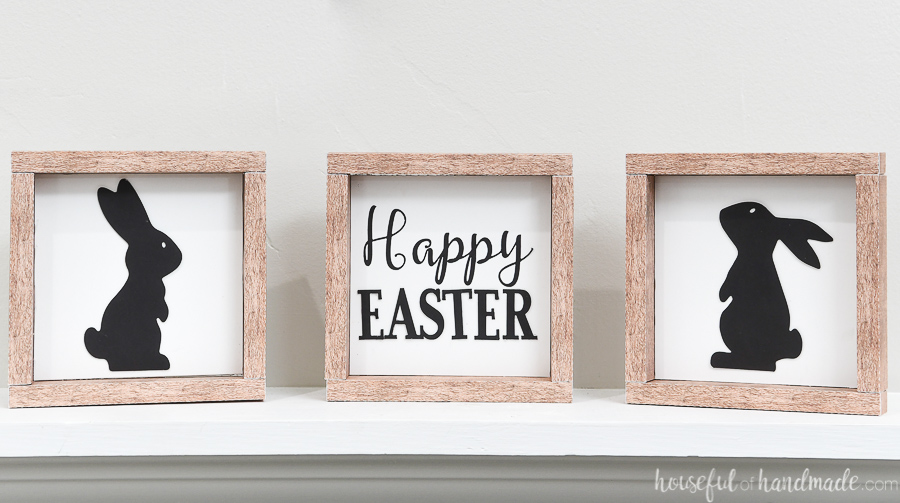
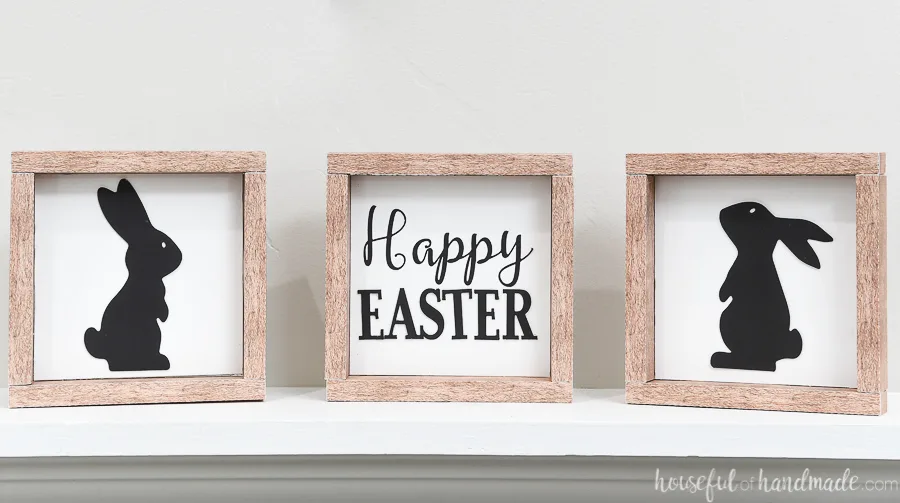
Faux Wood Signs
The center of these signs is made out of a piece of foam board. I usually always have scraps of it floating around in my craft room.
So I made these signs only 5″ x 5″ (before the frame) to use up some scrap pieces.
But if you do not have foam board, you can get creative and substitute something else. A piece of cardboard can give you the rigidity and you can cover it with a piece of cardstock to make it white.
For the Easter saying and bunnies, I used black cardstock. I thought about using black vinyl, but the whole point of the series is to make it out of paper.
The paper saying is a little harder to manage than vinyl would be. So if you have vinyl scraps laying around, have fun and use them! If not, follow my steps below for using paper.
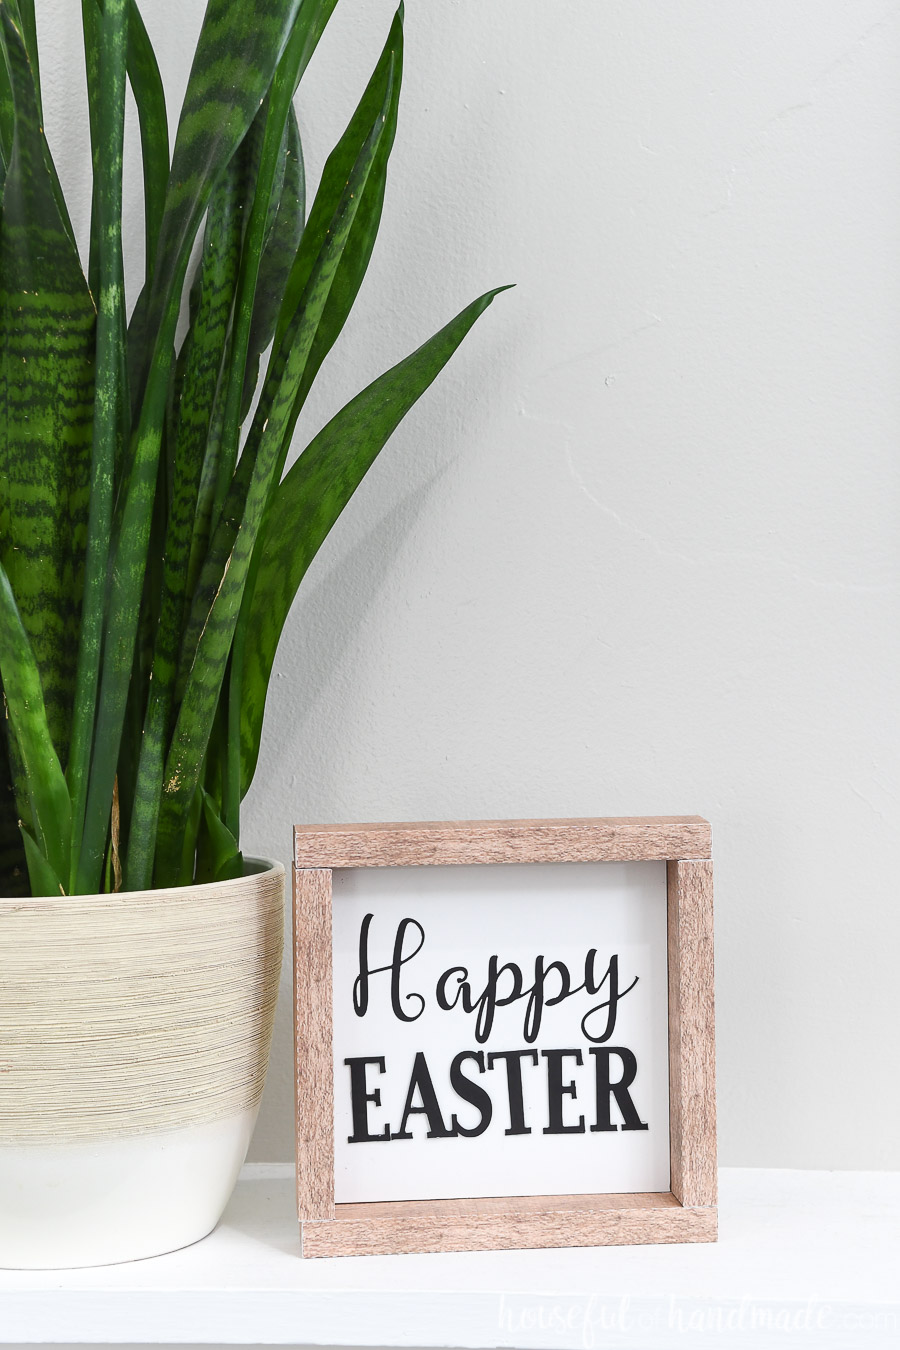
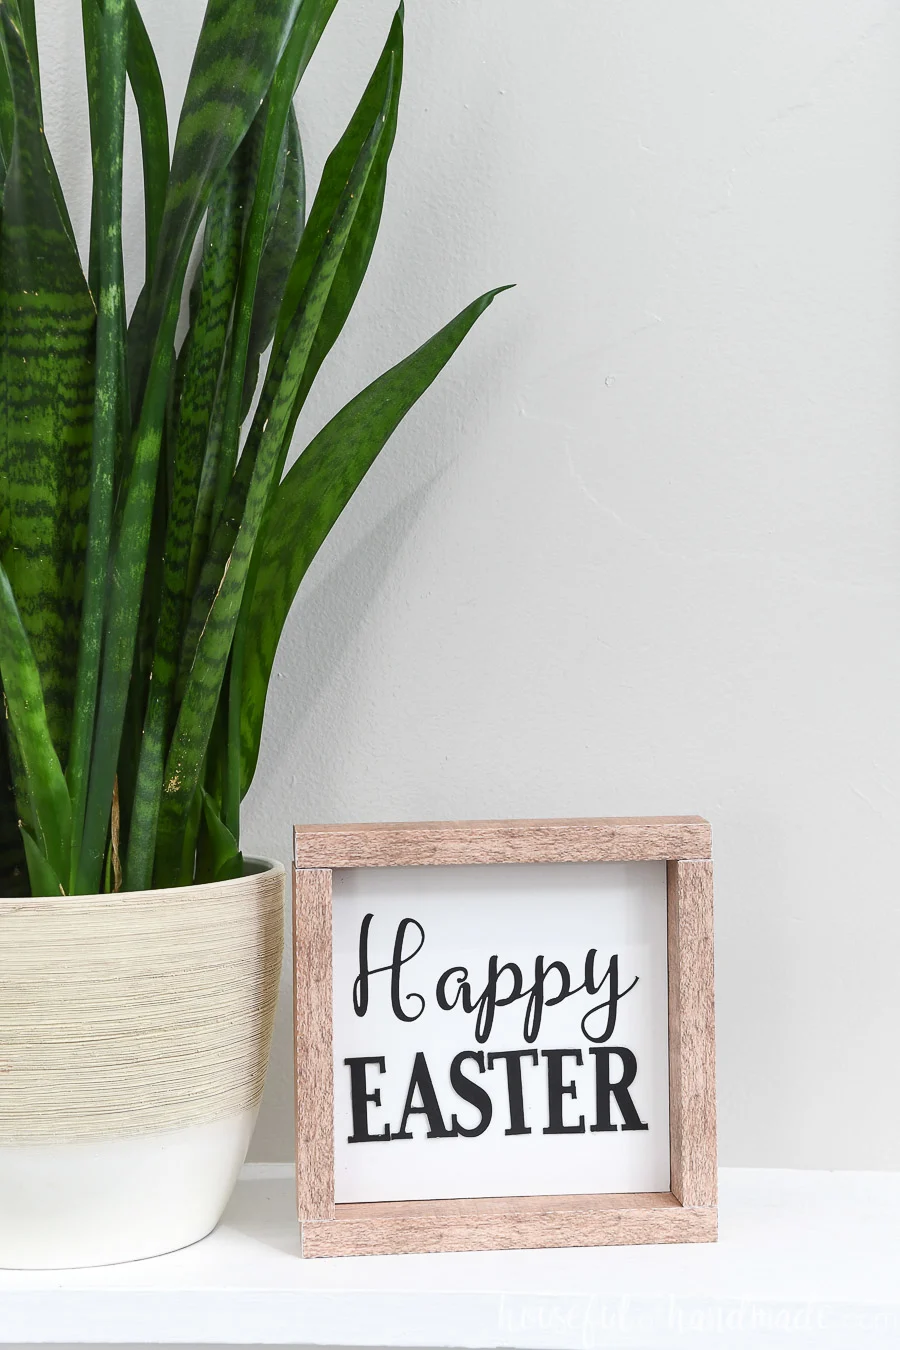
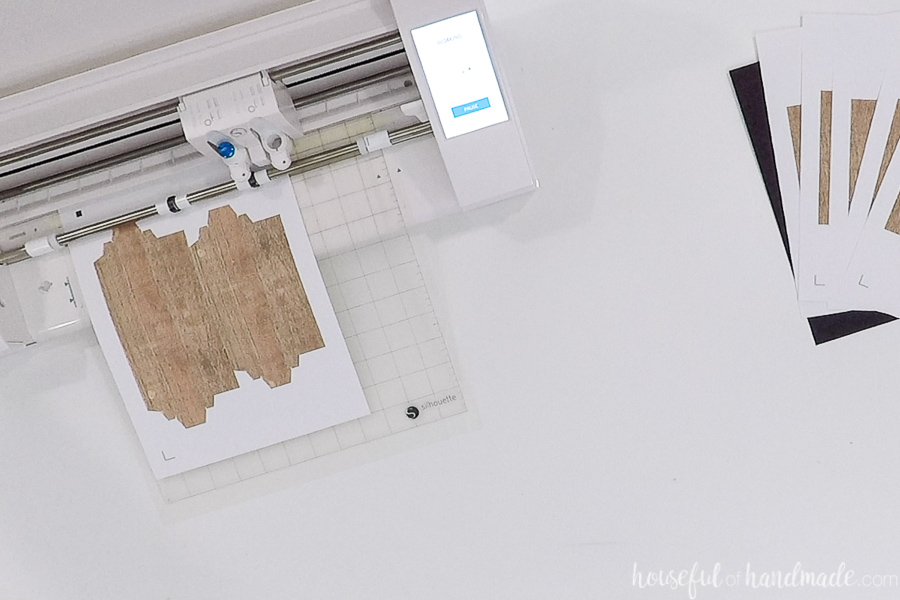
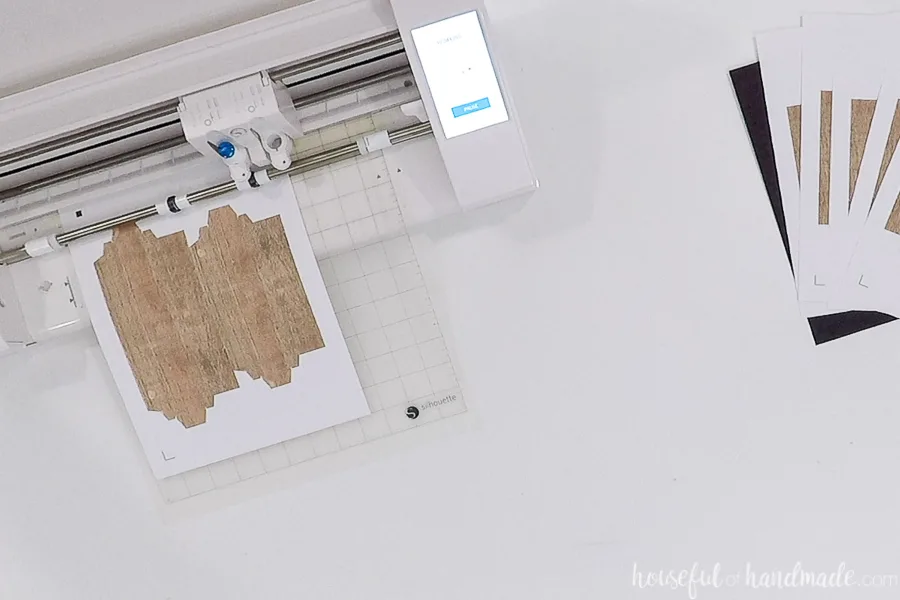
The frame of the “wood” signs is made out of cardstock. The wood grain is printed onto the cardstock, then you cut it out and shape it into “boards”.
Now you can easily assemble your simple Easter signs with just a hot glue gun! And they look just like their wood counterpart.
How to Decorate with Small Signs
I love that these Easter signs are small. The group of three makes it easy to add a bigger statement to any space. Or you can just use 1 to add some decor to a small space.
It is so easy to decorate your entire home with these simple Easter signs. You could also use other SVG designs on the front to make even more signs to decorate with!
Here are 5 quick ways to decorate you home for spring with these faux wood signs:
- Stack all three signs in a cluster on a mantel
- Place 1 sign to add decor to a shelf or bookcase
- Add to an open shelf or countertop in the kitchen
- Hang with a command strip on a wall
- Use on a console table to make an Easter vignette
- Add to an Easter Basket for gifting

How to Make Faux Wood Signs
Supplies:
- Easter signs template
- Cardstock
- Printer
- Foam board
- Hot glue gun and glue sticks
- School glue stick
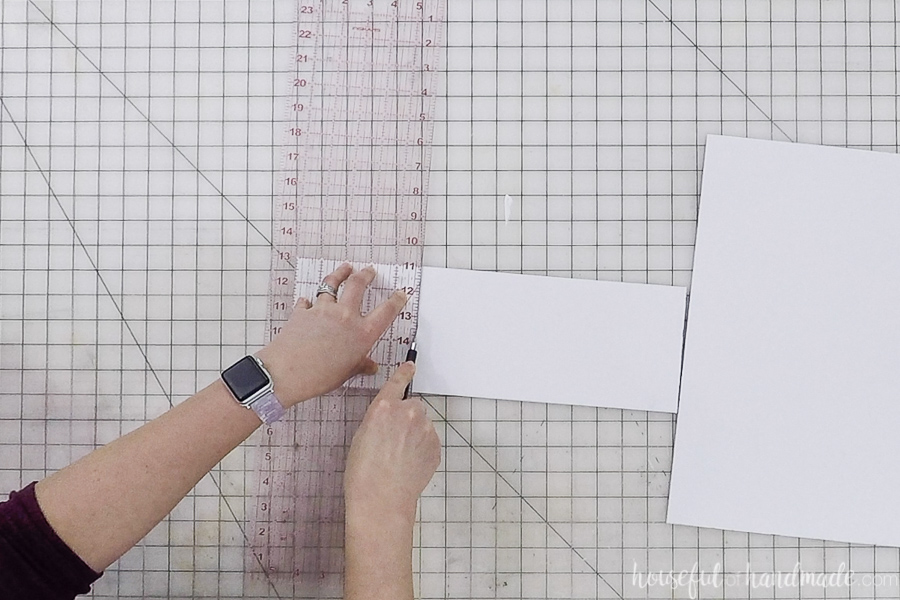
- Ruler & X-acto knife
- Optional: Electronic cutting machine like a Silhouette Cameo or Cricut Maker
- I love using my Silhouette Cameo to quickly cut out paper decor projects, but you can also use scissors and an x-acto knife.
For each sign you will need to print 2 frame pieces on cardstock. If using an electronic cutting machine, use the Print & Cut feature.
Please note that some printers automatically shrink files to fit inside their print border, make sure your printer is set to Print Actual Size or your frame pieces will not match the 5″ x 5″ foam board piece.
If you printed them and the size is off, you can easily adjust the size of foam board to match the actual size of your frame instead.
Cut a piece of foam board 5″ x 5″ for each sign. I find an x-acto knife and ruler give me the cleanest cut on the foam board.

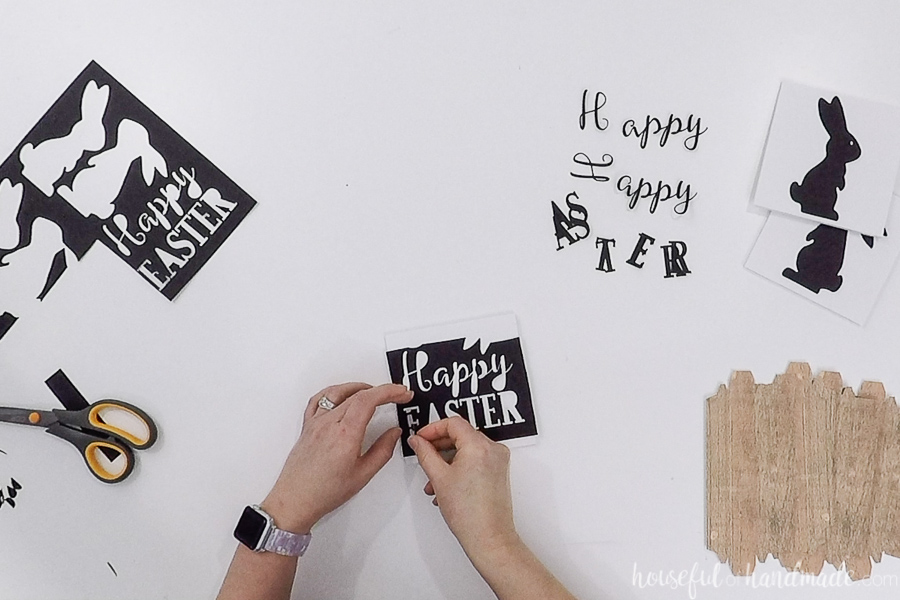
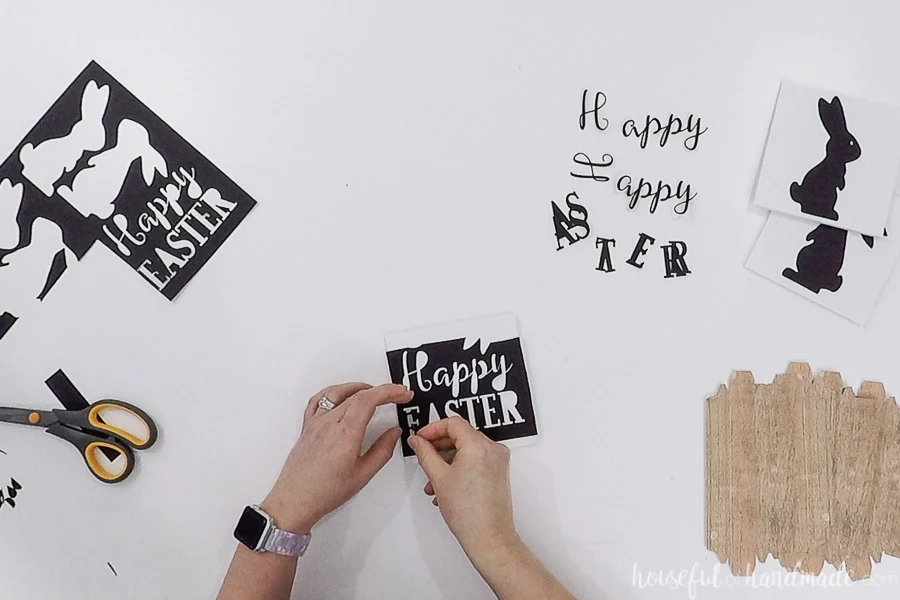
Cut the Easter saying and bunny silhouettes out of black cardstock. The file has 2 sets of each.

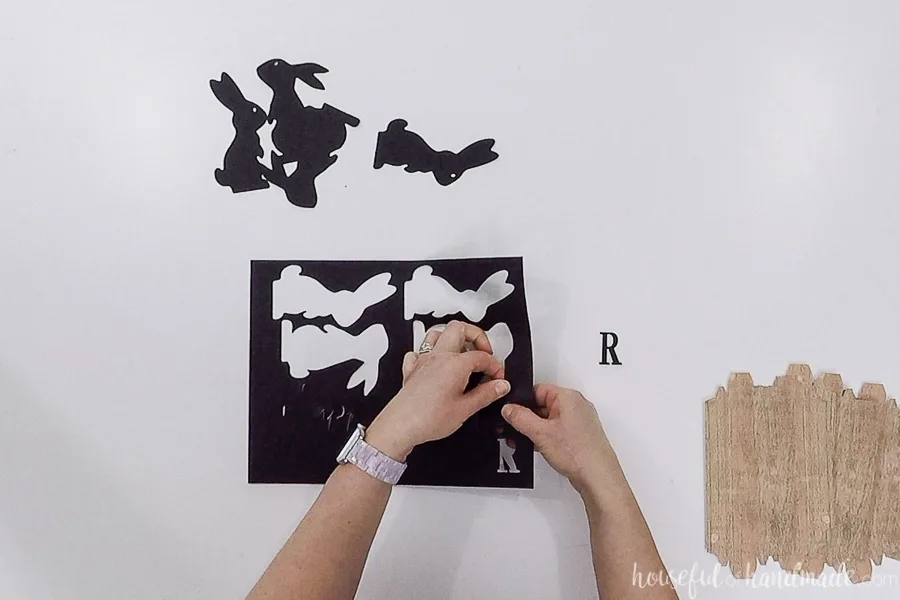
I wanted to make the decor on the signs look thicker and like they were jumping off the back a little so I glued the two pieces together to give them more weight.
The smaller letters were a little challenging, and I did not do it with the cursive letters because they were too small.
Then glue the decor to the piece of foam board.
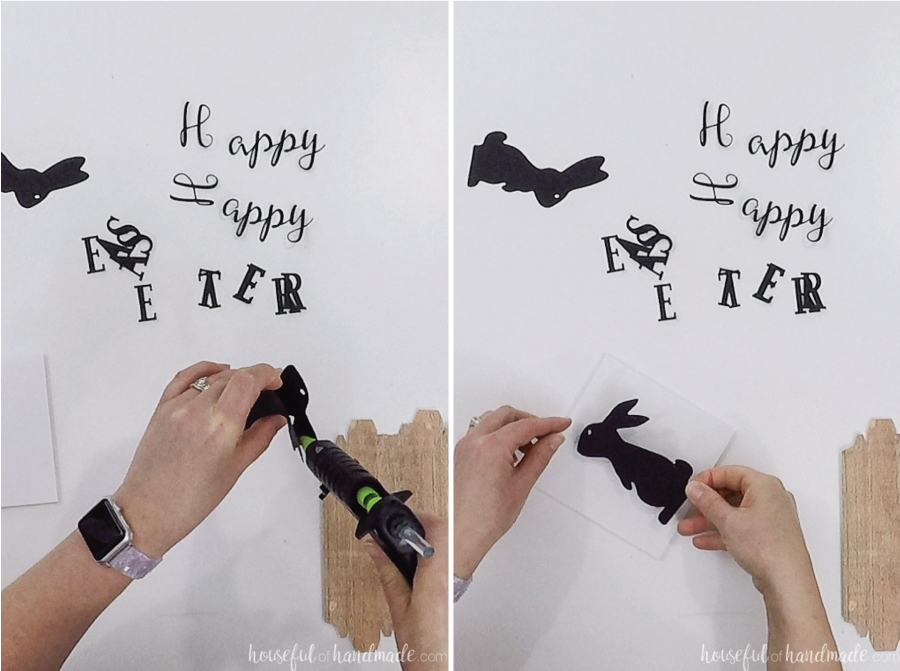
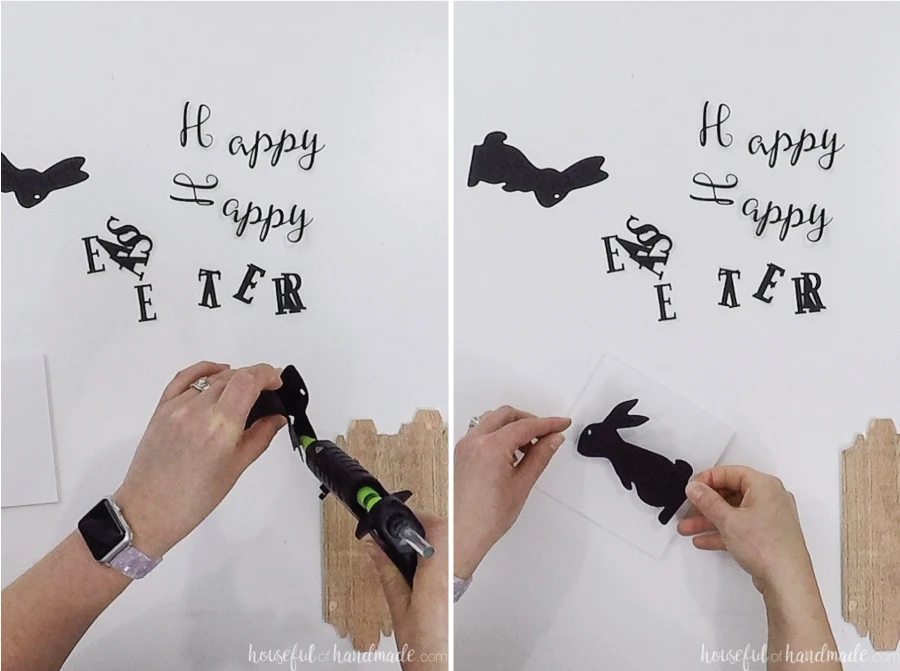
To keep the letters on the Easter saying lined up, use the outside of the cut out as a template.
For the cursive, I used the template to draw a pencil line where the letter should go and used the glue stick to secure it since the letters were too thin for hot glue.
To assemble the frame pieces, fold along the dotted lines. Then glue the tabs to create a board piece.


Start assembling the Easter signs by first glueing the short frame pieces to the sides of the foam board. I kept the back of the foam board flush with the back of the frame board.
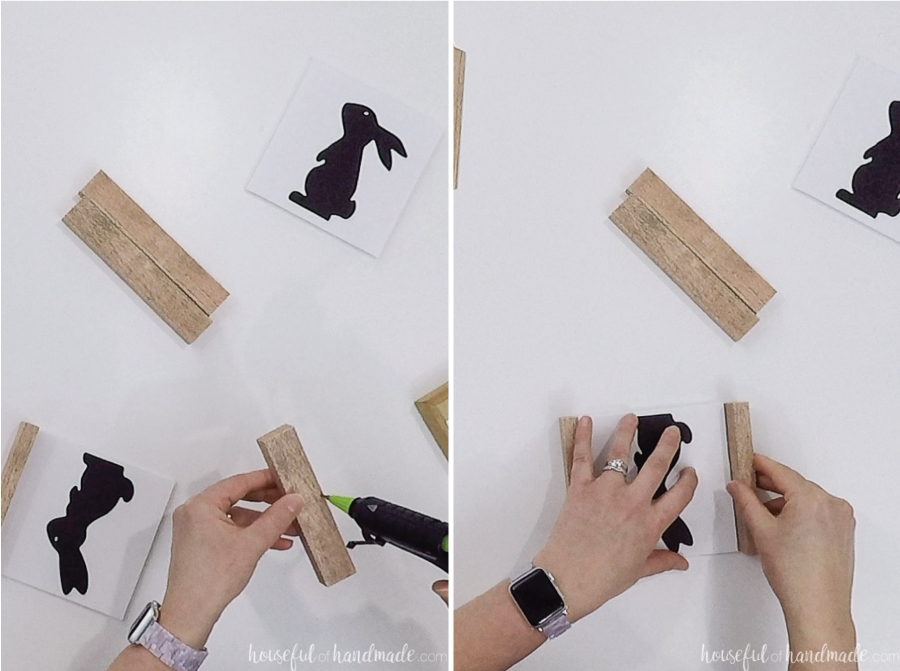

Then glue the longer frame boards to the top and bottom. Make sure to add glue to the frame pieces and foam board to secure it.


And your simple Easter signs are all done! They look just like fancy wood signs, but are so much easy to make.
So go ahead and go crazy adding cute wood signs all over the house. I know I will be 😉