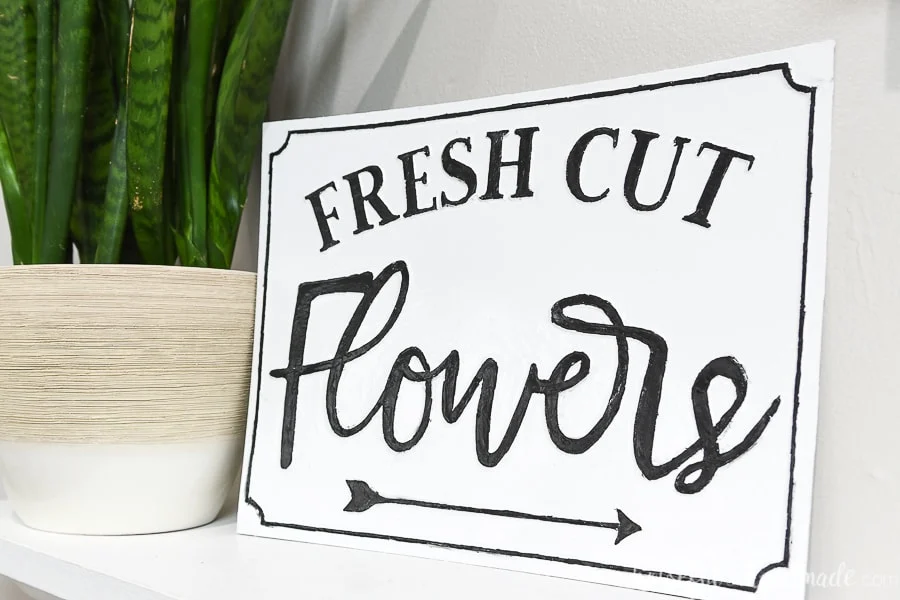
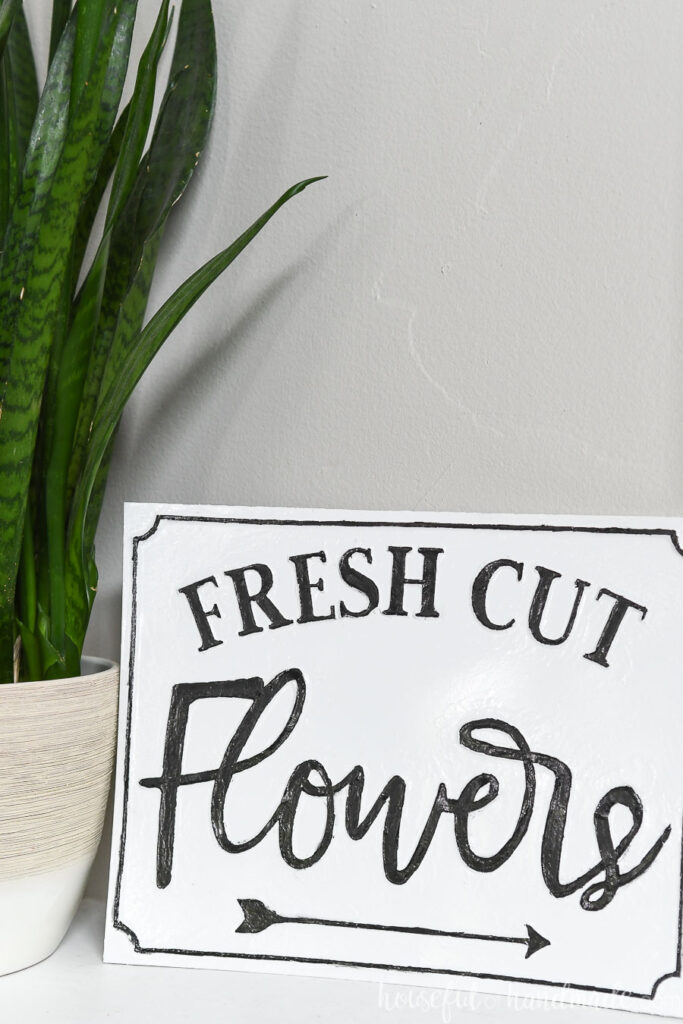
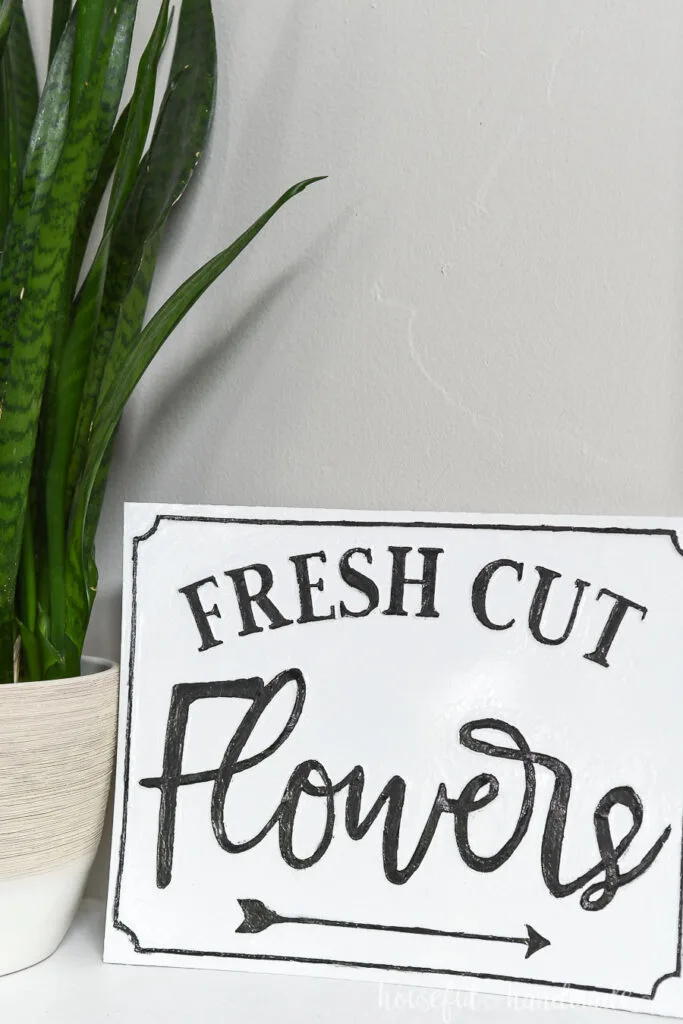
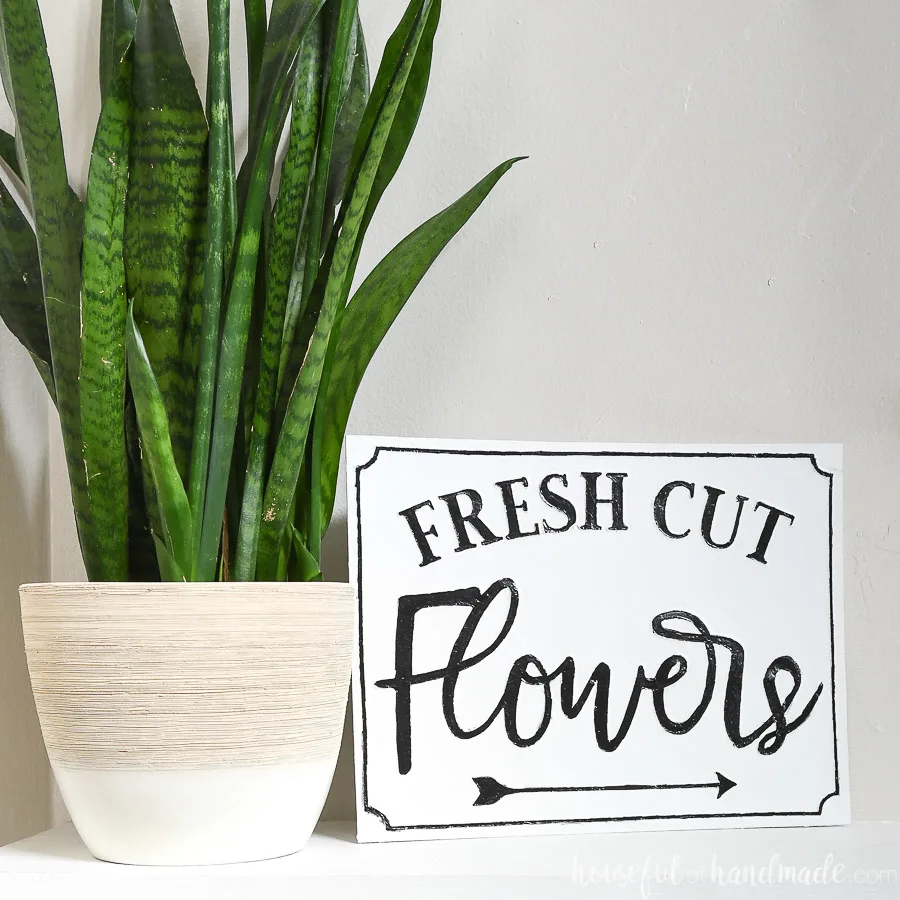
This beautiful flower market sign looks like an embossed metal sign but is made from paper!
Today is the final spring paper project. I sure have had fun decorating my home with lots of spring & easter paper crafts. If you missed any days, you can see all the paper spring decor here.
For the final post, I wanted to try making a faux embossed metal sign. I did something similar when making this Letters to Santa mailbox from a cereal box and it turned out great.
So I designed a beautiful flower market sign and set to work “embossing it”!
This post may contain affiliate links. As an Amazon Associate I earn from qualifying purchases. Click here to read my full disclosure policy.


How to Get an Embossed Look with Paper
You can actually emboss paper. But it is usually not raised enough to be super noticeable from any distance.
So instead of trying to just emboss paper, I use a different method. This also gives a little texture to the paper which looks great once spray painted.
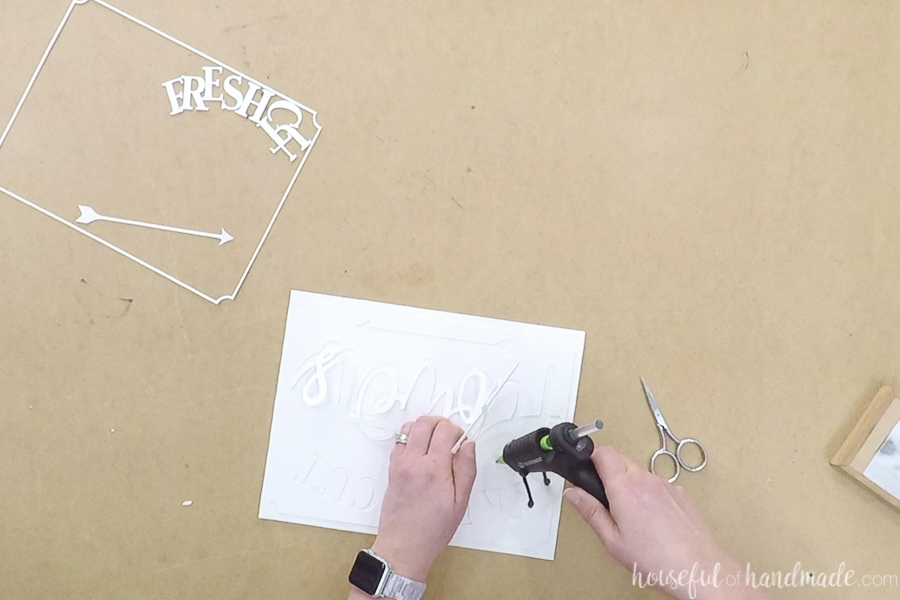
Using an extra thick cardstock (like chipboard or coverstock), you cut out the design. Then glue it to the background paper.

Of course, this looks just like a piece of paper glued to another one, so the next step is crucial. I use paintable caulk to fill in the area around the pieces of paper!
It sounds a little crazy, but with a finger you can easily push a little bit of caulk into the edge of the paper design. This makes it look like it is raising out of the background instead of just glued on top.
And once you spray paint the design, you don’t even notice it.
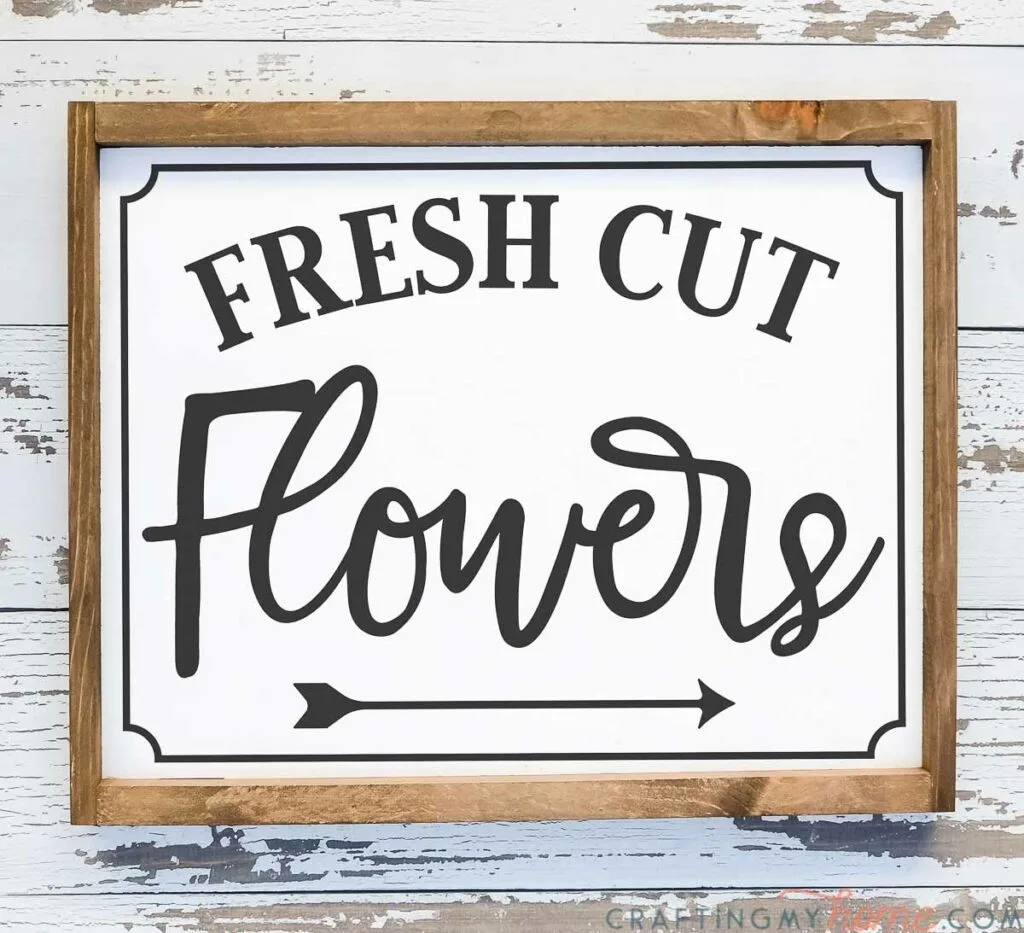
If you don’t want to make a faux metal sign, you can use the fresh cut flowers SVG to create a sign out of vinyl or a stencil to paint your own farmhouse sign.
Or you can just print the PDF for and instant spring printable sign!

How to Make a Faux Metal Spring Sign
Supplies:
- Flower market sign template
- Coverstock (110 lb cardstock)
- Paintable caulk
- Hot glue gun and glue sticks
- Glossy spray paint
- I used white semi-gloss for the background and a clear high-gloss over the acrylic for a metal-like sheen.
- Acrylic paint
- Small flat craft brush
- Optional: Electronic cutting machine
- I love using my Silhouette Cameo to quickly cut out paper decor projects, but you can also use scissors and an x-acto knife.
Cut out the embossed design from the coverstock. If you do not have this thicker material you could use regular cardstock but it will be less embossed looking.
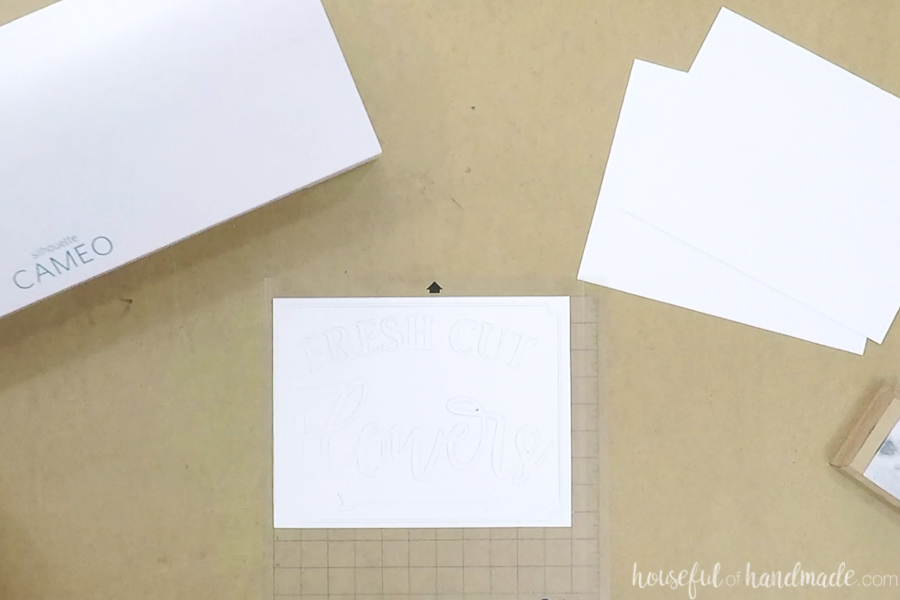

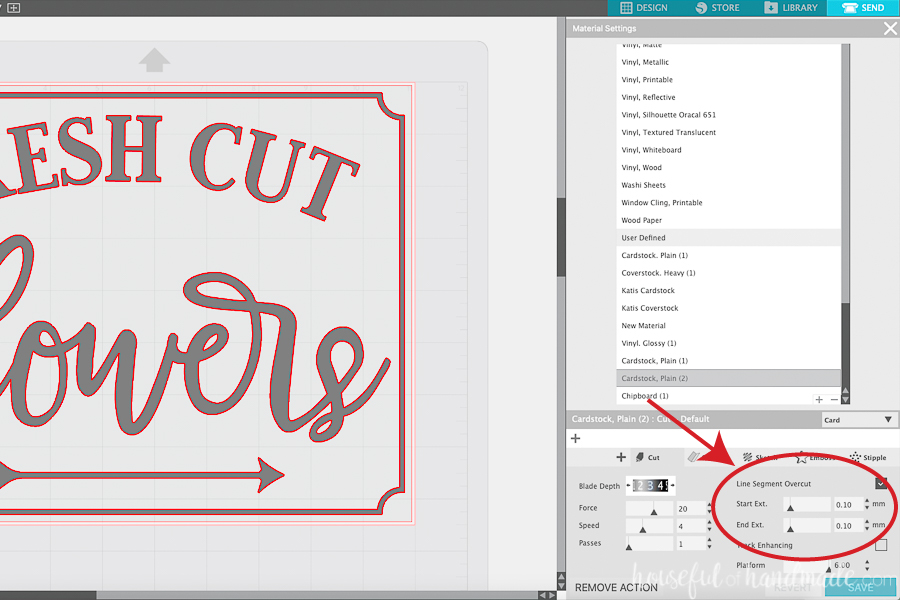
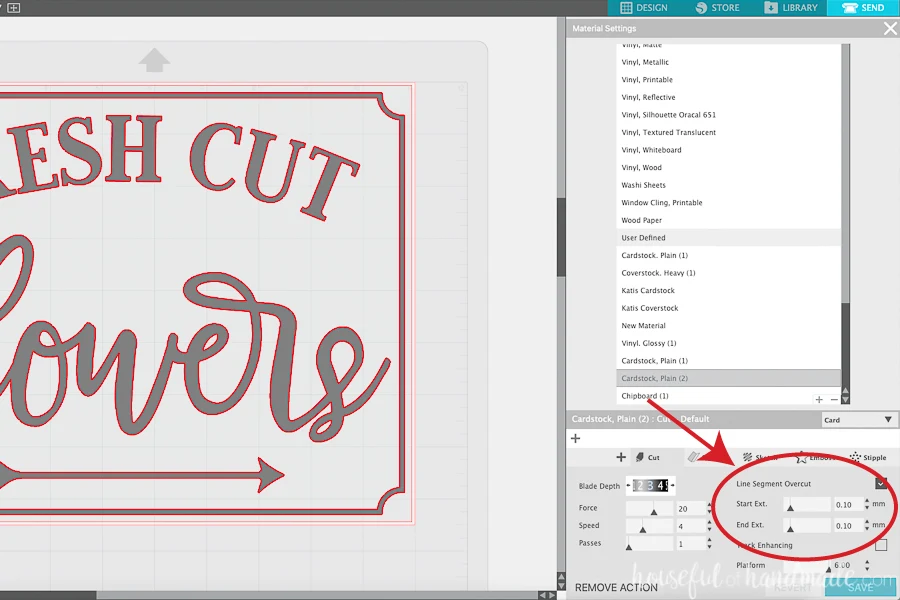
I used an x-acto knife to help free the little corners that did not cut out as nicely as I would have preferred. To help prevent this, you can use a larger overcut on the settings.

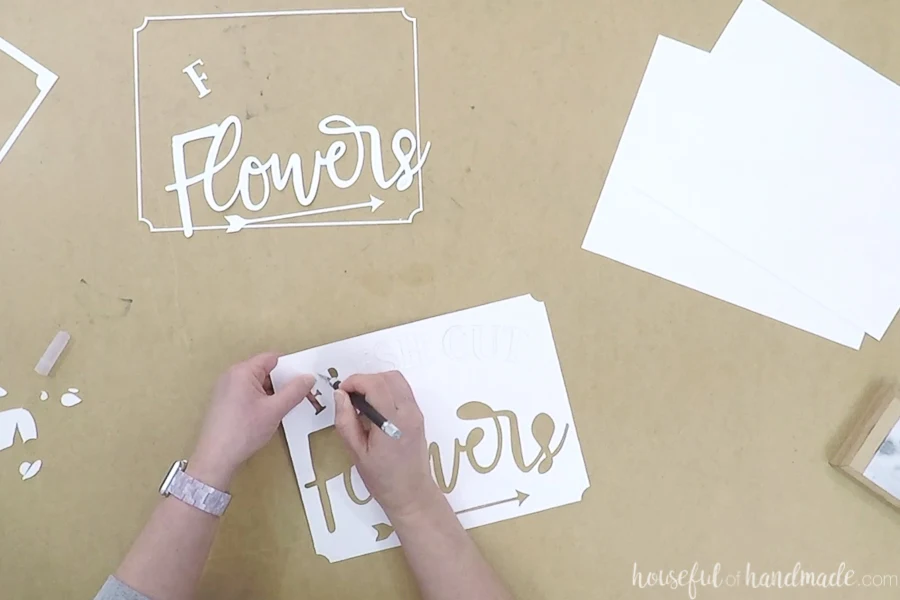
Mine was only set to 0.1 mm but I would probably recommend 0.3mm to work better with this design.
To make the backing more rigid (and less likely to curl with the wet caulk & paint), glue two pieces of coverstock together with hot glue.
Then glue the flower market sign design onto the top of the background boards. Use the paper it was cut out from as a template for proper spacing.
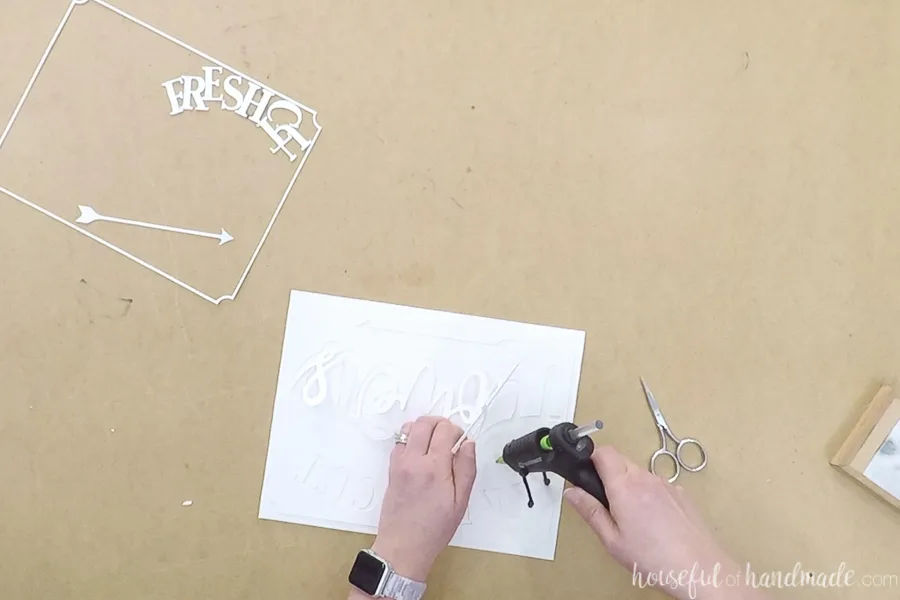
Once the pieces are all secure, it’s time to caulk. Make sure you are using a paintable caulk, otherwise the paint will just roll right off it.
The caulk I used was left over from the bathroom remodel. It is an adhesive caulk, but that is not necessary. Just use inexpensive, PAINTABLE caulk in any color you have.
Use your finger to push the caulk into the seam on the edges of all the pieces of the flower market design. Remove any excess caulk on the top of the “emboss”.
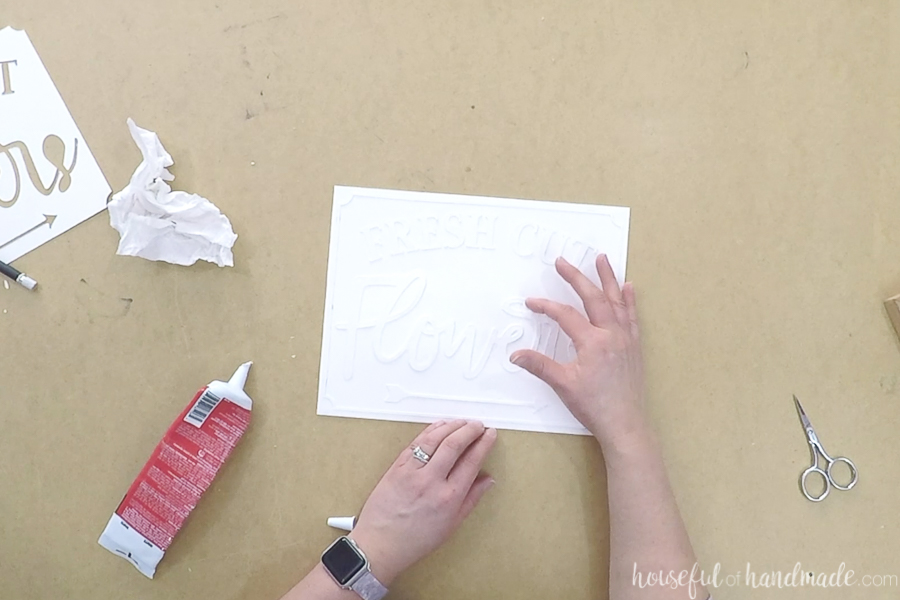

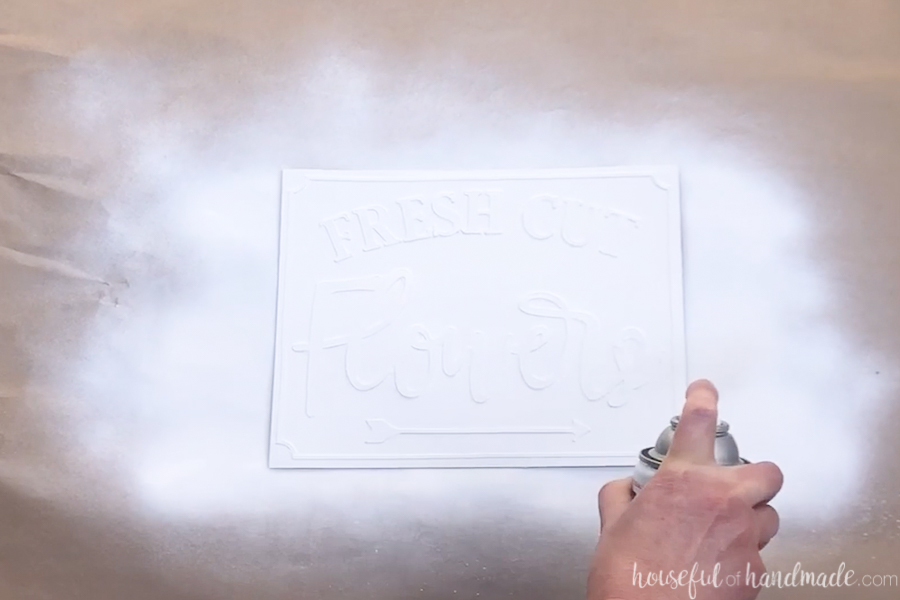
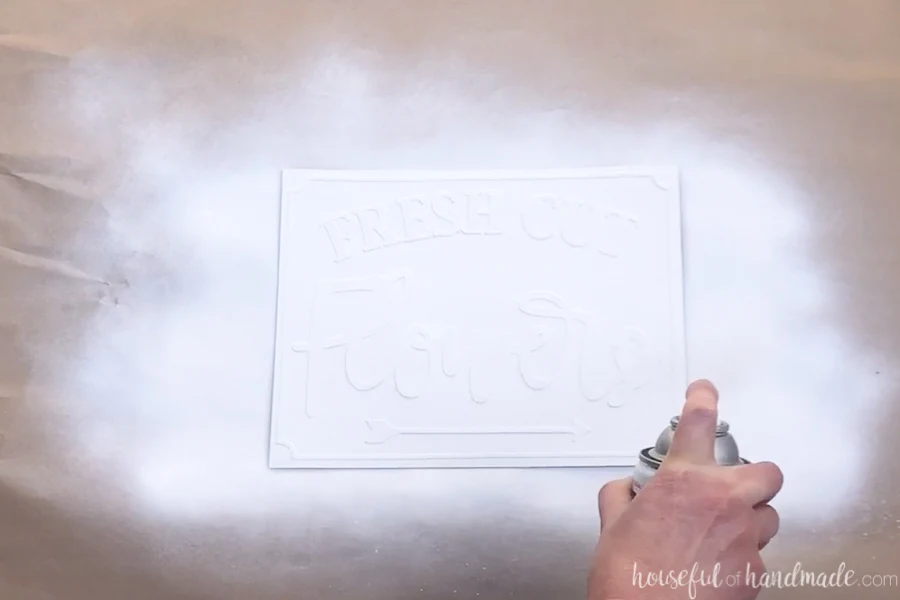
Let the caulk dry at least an hour. Then give your entire sign a couple solid coats of your background paint color. I used white with a black accent, but you could use any color you want!
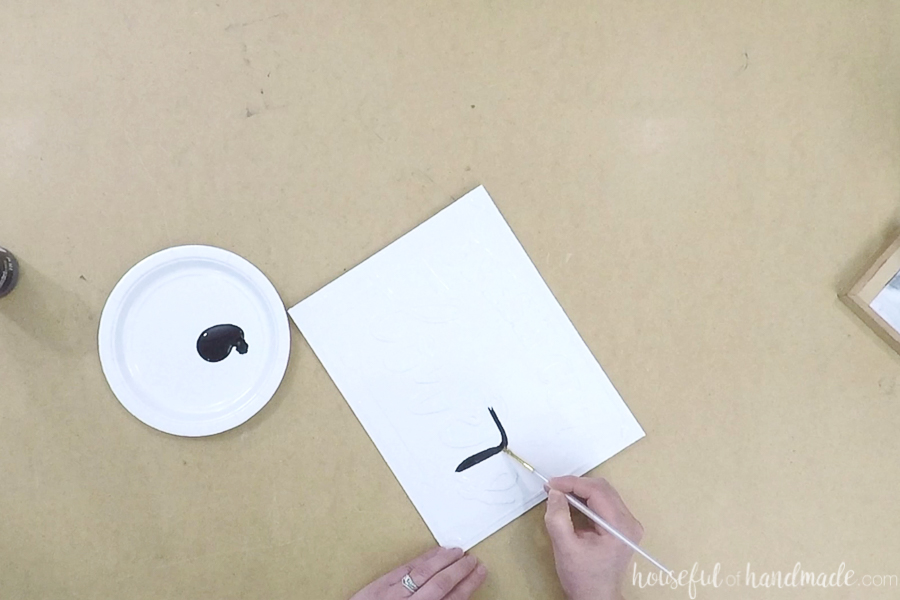
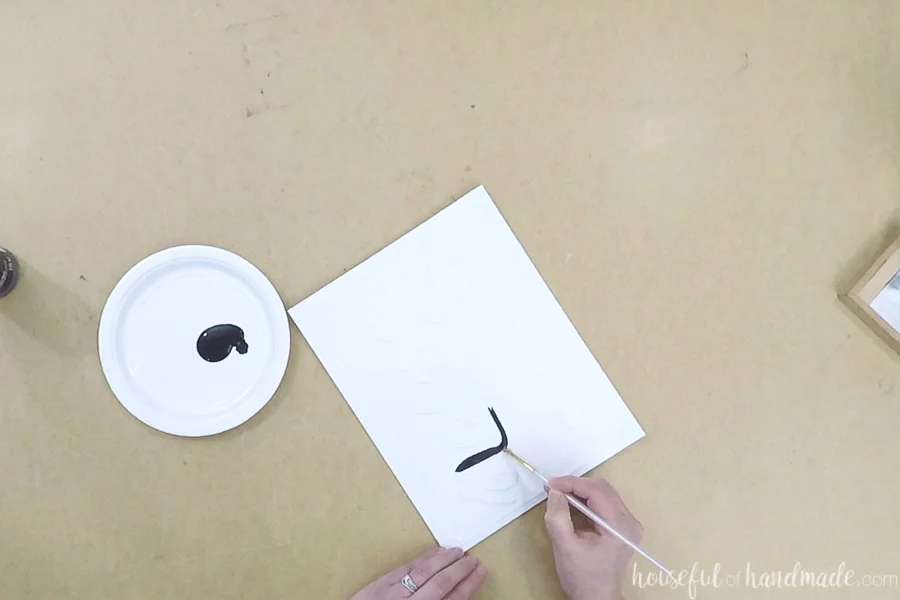
Let your paint dry, then if you want, you can use acrylic craft paint to add a color to just the top of the embossing. I used a small flat craft brush to brush from the center to the edge of the embossed area.
If takes a little bit of trial and error to get the hang of just painting the raised parts, but was kinda fun and relaxing. Use a q-tip to remove any unwanted paint ASAP.
Since the acrylic paint was matte, after letting it dry, I added a couple coats of high-gloss clear coat spray paint to the top.
Now if only I actually had some fresh cut flowers to put with my sign. Sadly nothing in my garden is growing yet, but I still love the way it looks on our mantel.
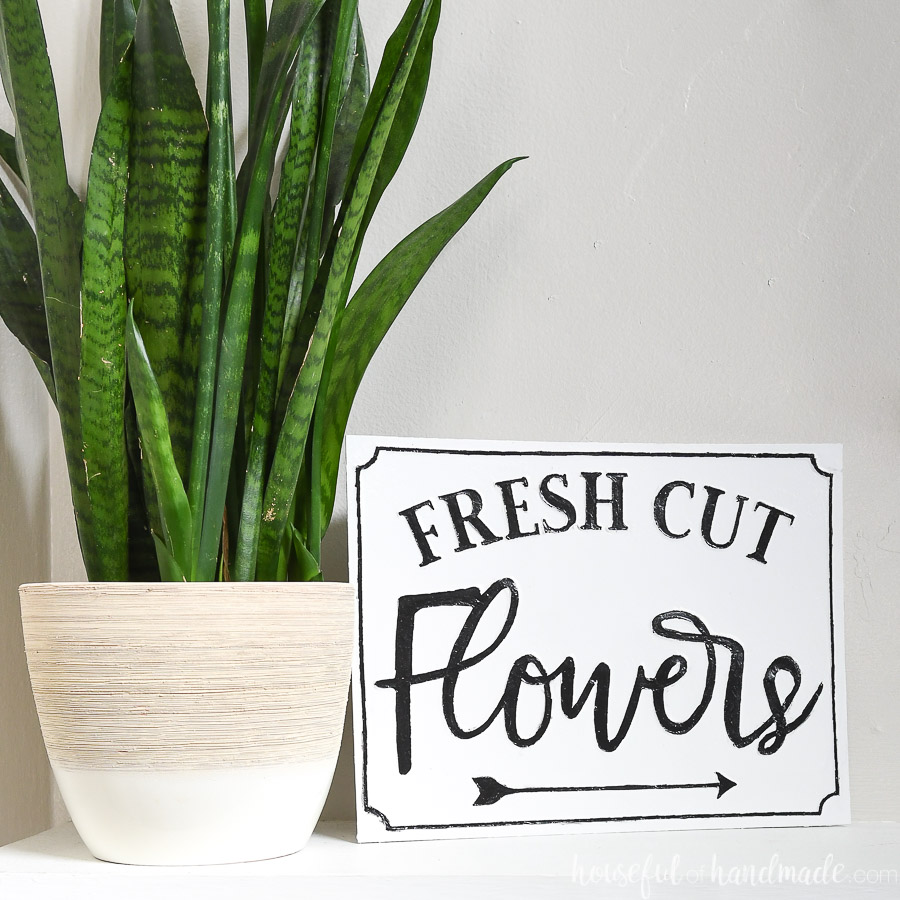
And with all the fun projects from the 7 Days of Paper Spring Decor series our house looks ready for season! Just look at how simple, but festive our mantel is.
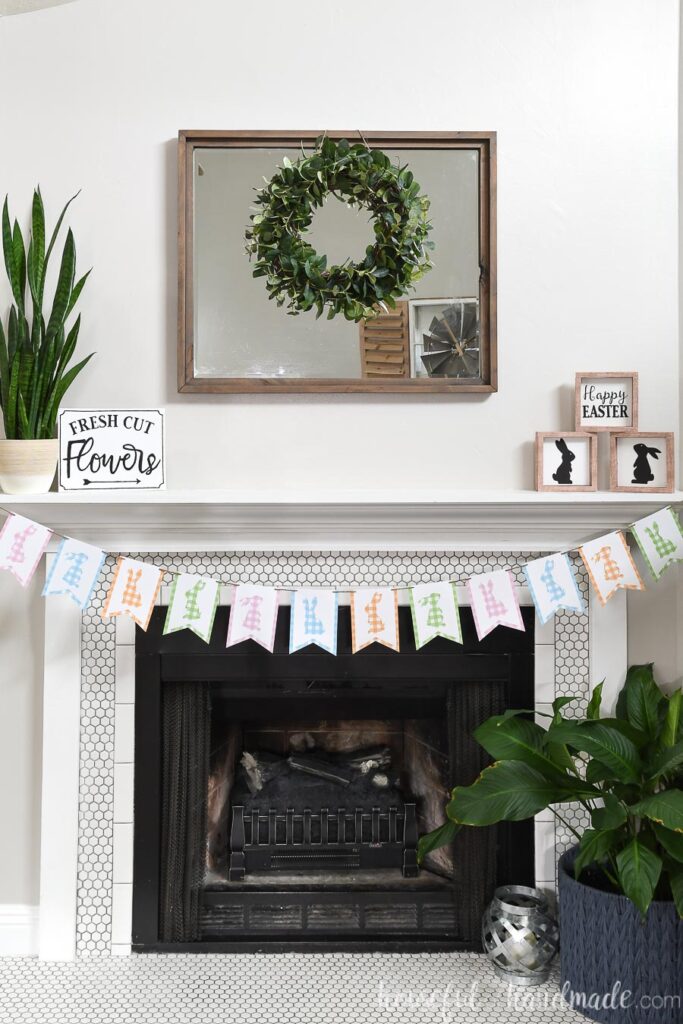
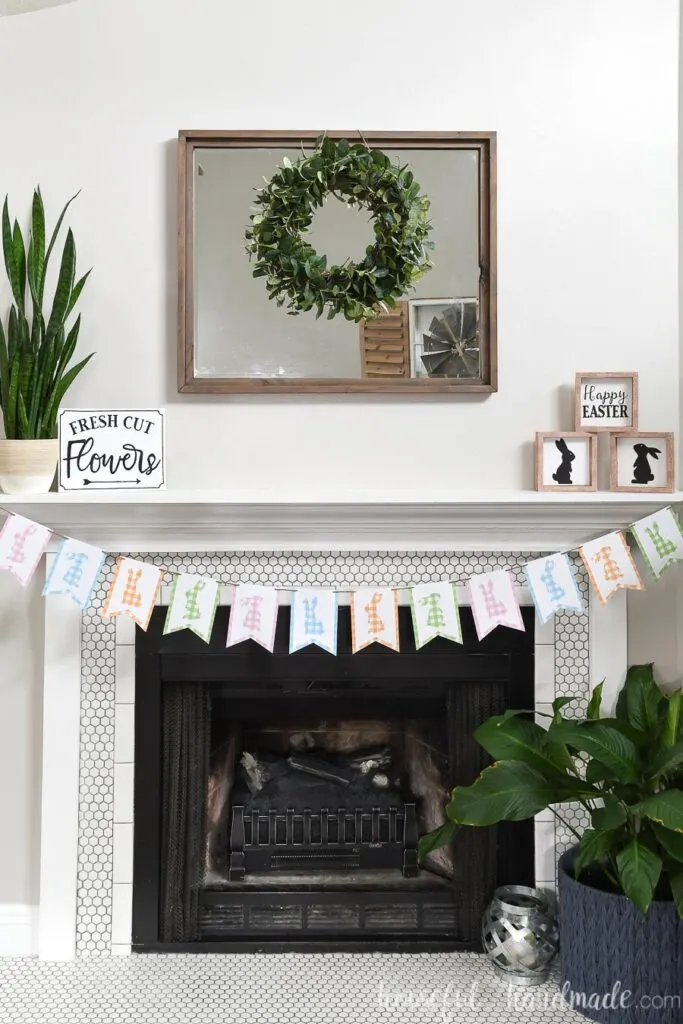
And in case you missed any of the other paper spring projects, make sure to check them out below. The files will be moving to the shop soon so do not miss out on!
- Day 1: Faux Wood DIY Candlesticks
- Day 2: Flower Easter Basket
- Day 3: Gingham Bunny Banner
- Day 4: Simple Easter Signs
- Day 5: Bunny Napkin Rings
- Day 6: Farmhouse Flower Pot
- Day 7: Flower Market Sign