Make beautiful DIY paper lanterns for easy, budget friendly home decor.
This week we are putting the finishing touches on our winter mantel! I was starting to get a little bit worried that spring was coming. We had a couple rain storms that melted all our snow.
But then the big daddy snow storm came and dumped about 8 inches on us and I realized I still had time to get my winter mantel all ready to share with you. So today I am sharing how I made these DIY paper lanterns.
Yep, you read that right, these are made out of paper.
This post may contain affiliate links. As an Amazon Associate I earn from qualifying purchases. Click here to read my full disclosure policy.
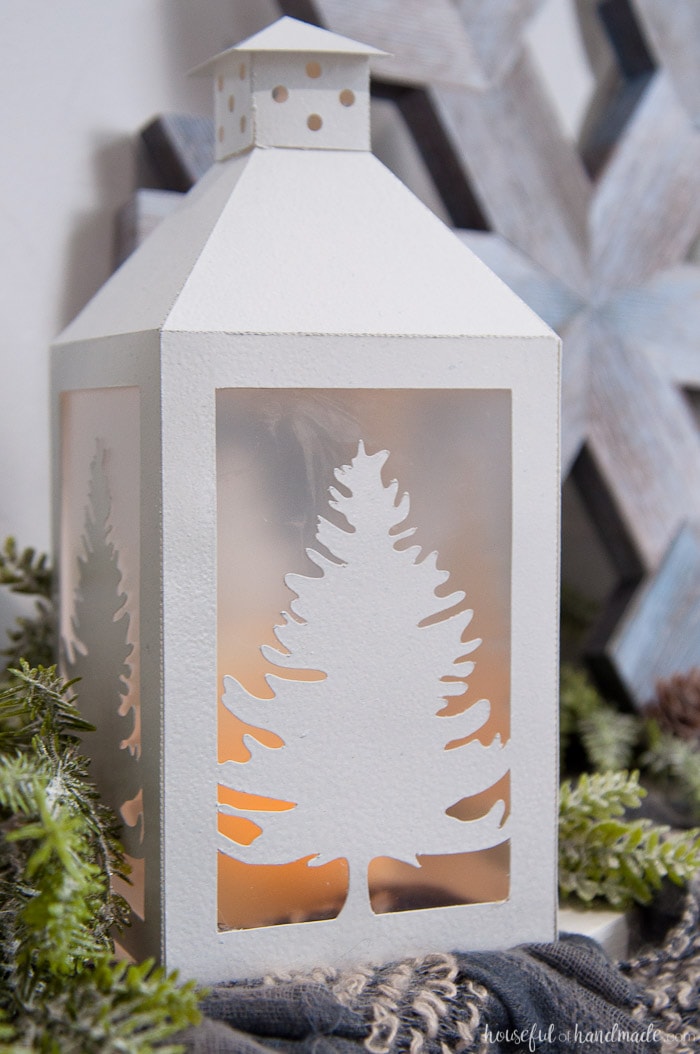
I am kinda obsessed with all the things that you can make and transform with paper. My mantel is a shining example of all the things that you can make with it, without it looking cheap.
I love seeing people’s face when they come over and comment on how much they like an item then I tell them it is made out of paper. These lanterns are no different.
While figuring out how to make these DIY paper lanterns, I learned a few tricks to make them extra sturdy. Using these 3 extra tips you will be able to make any paper lantern look like a high-end metal lantern from your favorite home decor store.
Tips to Make Sturdy Paper Lanterns
- Use coverstock (which is 110lb+ cardstock) to cut out your paper lanterns.
- Use hot glue for fast, but permanent and strong joints.
- Spray paint the paper lanterns to give the paper extra weight and texture.
- Glue something clear or frosted on the inside of your lantern window to make it more durable. I like to use thin plexiglass sheets (Amazon link) or these clear plastic craft sheets (Amazon link).
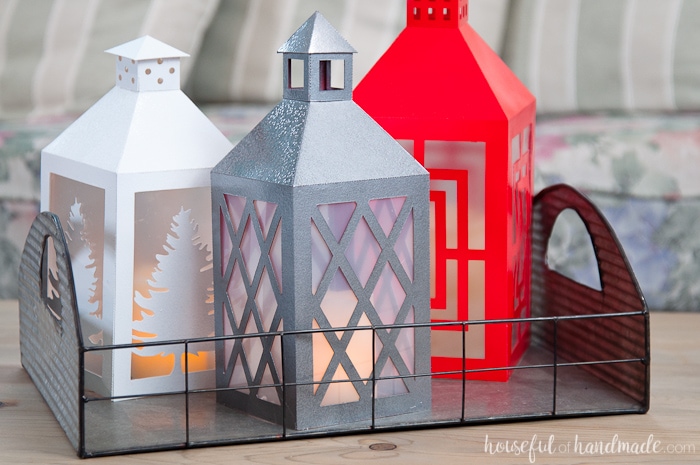
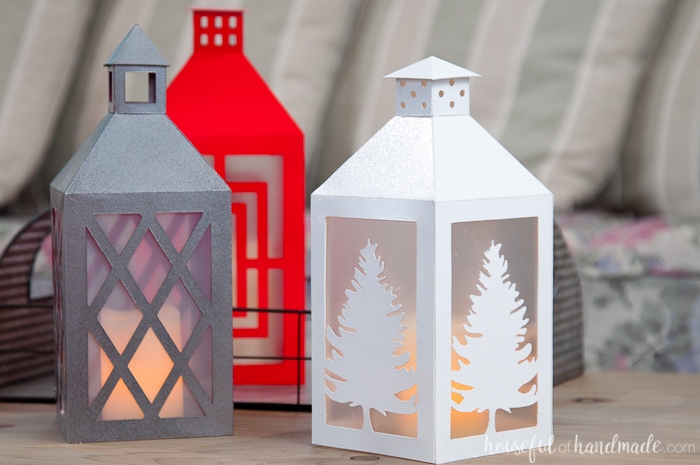
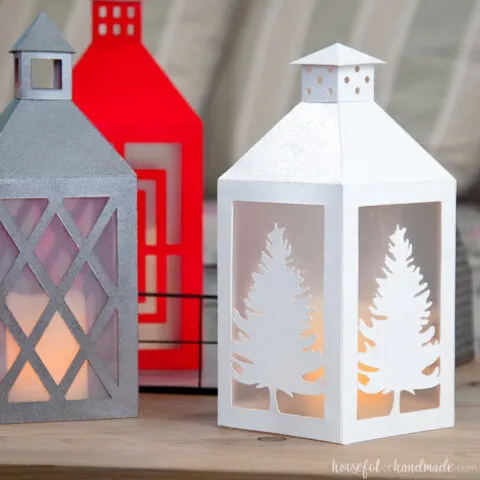
I actually made 3 of these lanterns for Christmas. You may have noticed them in our Christmas home tour. I put the red one away, but the silver and white one were perfect for winter (and really anytime).
You better believe I will be using these lanterns lots more this year. They are perfect for the rustic farmhouse style that I love.
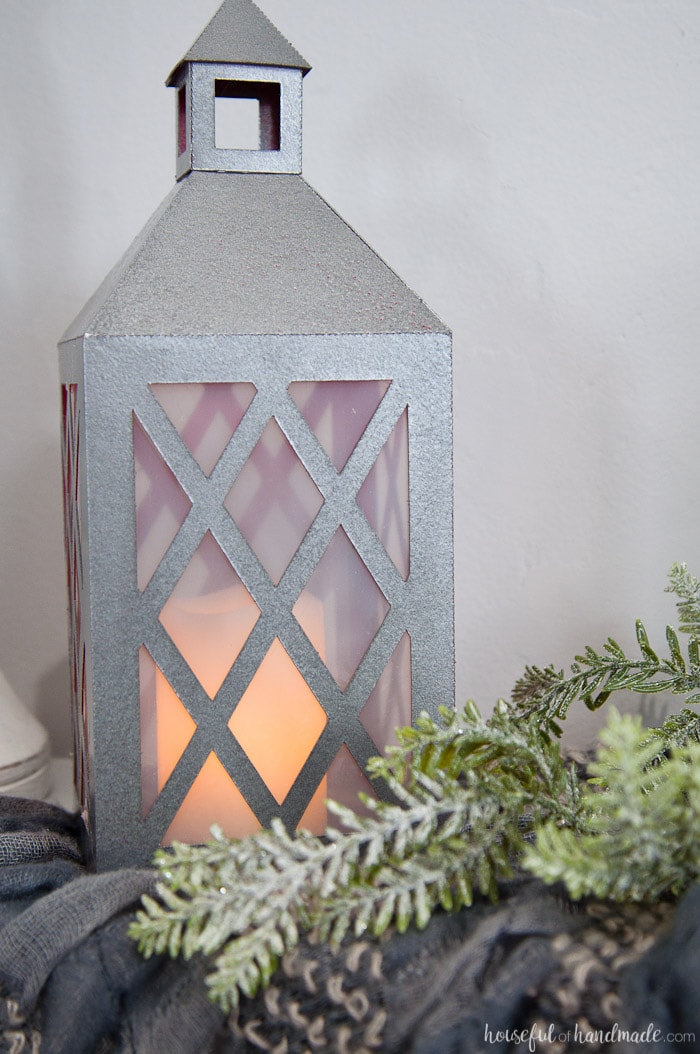
To make cutting out these DIY paper lanterns much easier, I used my Silhouette Cameo cutting machine. You may notice I am slightly obsessed with this little craft machine.
However, you can make these lanterns without it. A good pair of scissors and an x-acto knife can do the same thing if you have a little bit of patience.
How to Make DIY Paper Lanterns
Supplies:
- Paper lantern cut files or printable PDF
- The cut files for the 3 lantern designs were free to my subscribers until 9/1/2018. Now they are available to purchase in the shop. Make sure to subscribe so you will be notified of new freebies!
- Cover stock (100 lb cardstock paper)
- Hot glue gun and glue sticks
- Spray paint
- I have found the hammered metal spray paints give a nice texture to the lanterns. Or for a more plastic look to the lantern, a high gloss colored spray paint looks really nice.
- Plexiglass sheets
- X-acto knife or utility knife
- Battery powered candles
- Silhouette Cameo or Cricut electronic cutting machine (optional)
Cut out the template
I love using coverstock for extra sturdiness. Regular cardstock is 60-65 lb and cover stock is 100-110 lb. It is almost twice as thick and makes things really sturdy.
I have not had any luck being able to print on the coverstock though. It is just too thick to run through my printer. If you are using the printable PDF instead of a Silhouette cutting machine, you might have to print a template onto a piece of regular cardstock, cut it out, then trace it onto the cover stock.
If you don’t have coverstock, don’t worry. Regular cardstock will work too.
Start by cutting out the pieces you will need for your lantern. You will need 2 of the side pieces and one of the two pieces needed for the top.
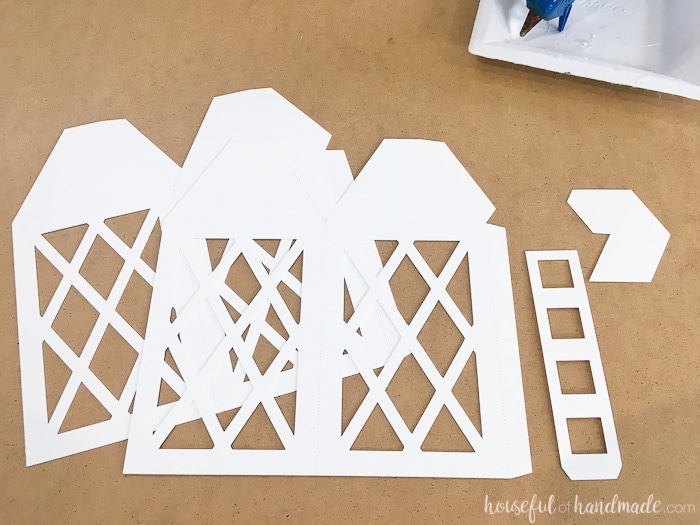
Assemble the lanterns
Fold the side pieces so they form a box. Glue the two pieces together at the tabs. I love hot glue for all my paper crafts. It will dry fast and hold tight on the porous paper.
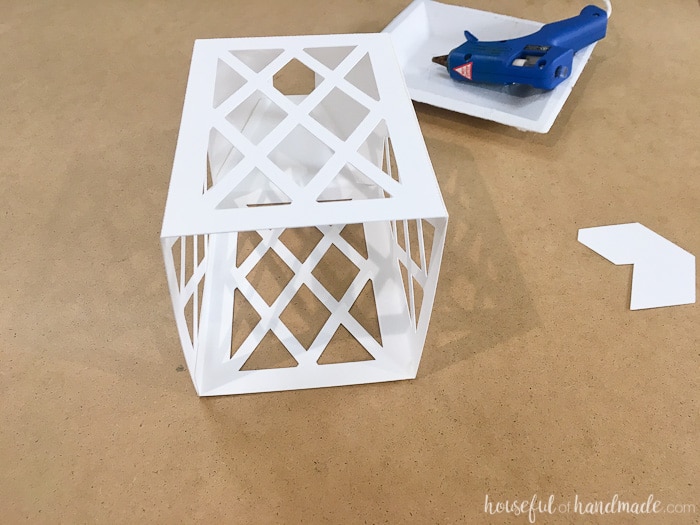
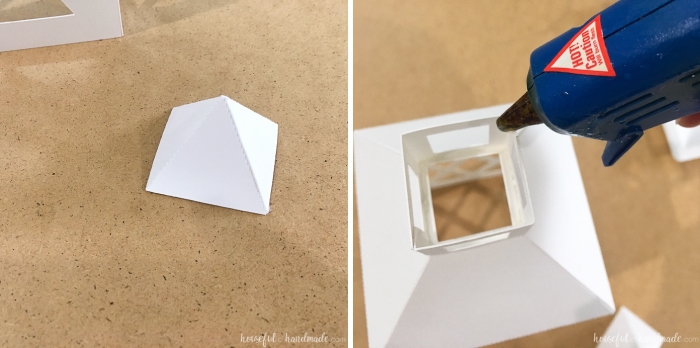
Fold the top of the side pieces so they form a pyramid on the top. Glue the tabs to secure.
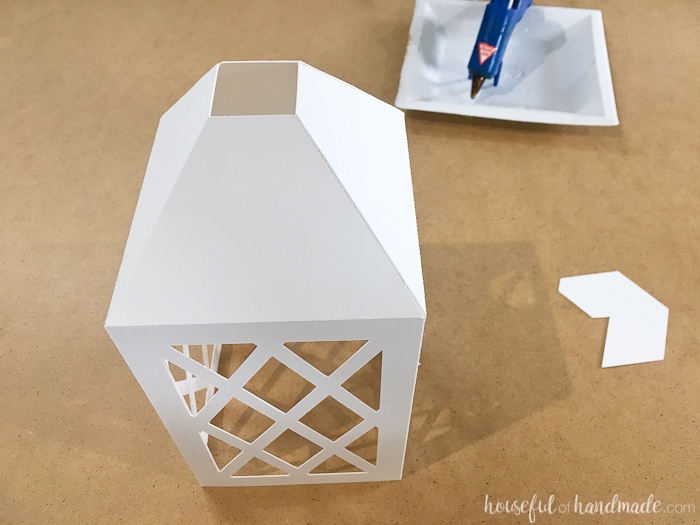
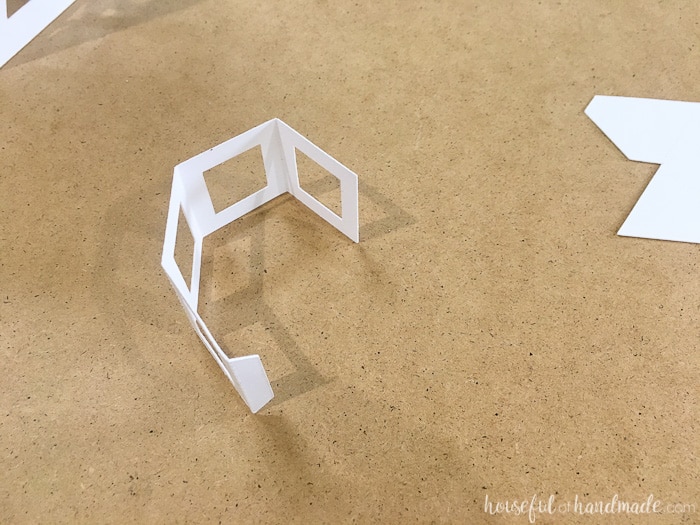
Now it’s time to make the top. Start by folding the square base and glueing it together at the tab.
Quickly place a bead of glue on the bottom of the top box and secure it to the top of the pyramid. If you notice any of the glue dried before you were able to secure it, add some more glue on the inside of the box.
The excess glue will be hidden and the top will be secure.
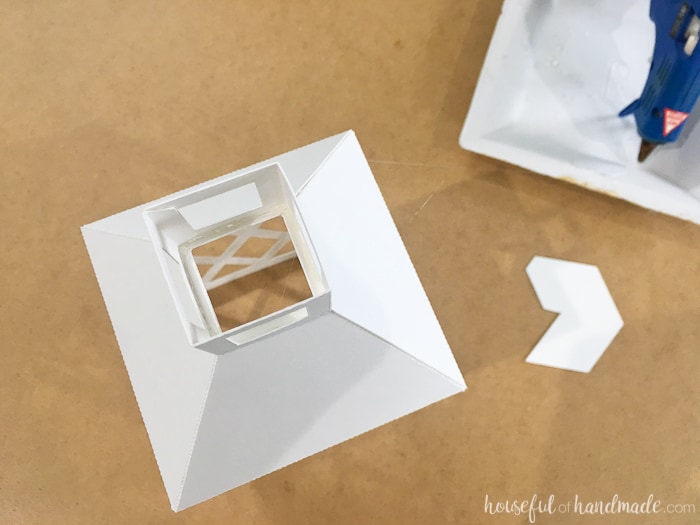
Now shape the very top piece. There are a couple different shapes but they are easy to fold and secure with glue at the tab. Again working quickly, add a bead of glue around the top of the top box and secure the top piece.
Now that they are all assembled, the next tip comes into play. Did you know you can spray paint paper? It adds a nice coating to it to really make it look like metal or plastic!
Paint the decorative lanterns
I love all the metal finishes they have now, but by far my favorite is the hammered metal finishes. They add a lot of depth and texture to the lanterns.
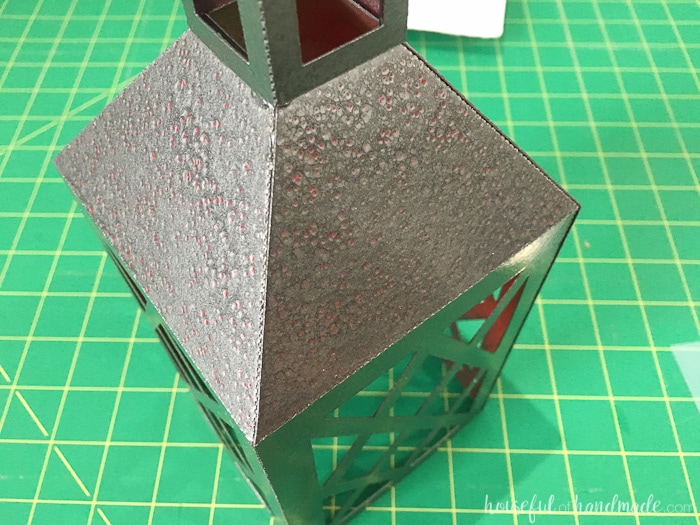
One thing to note with the hammered metal, it will leave spots with less coverage. This can be really nice if you want to have a secondary color peeking through.
But if you want an oil-rubbed bronze lantern and you have white cover stock, you will need a lot of paint to cover the white, or you can use a black first coat followed up with a hammered bronze paint.
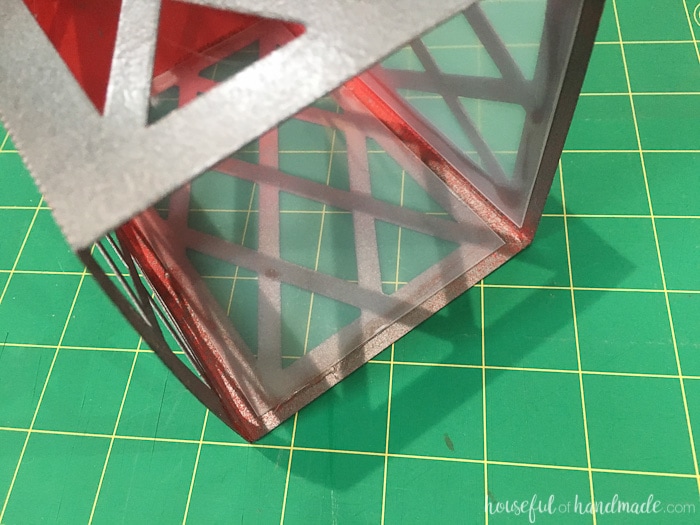
So take your lantern outside and have some fun. Try a few different layers, or colors. This one was painted red first, with Rustoleum Weathered Steel hammered metal on top.
Add to the lanterns
And finally, use plexiglass or clear plastic craft sheets on the inside of these DIY paper lanterns for a slightly opaque window. It also adds some nice weight to the paper lanterns so they will not move.
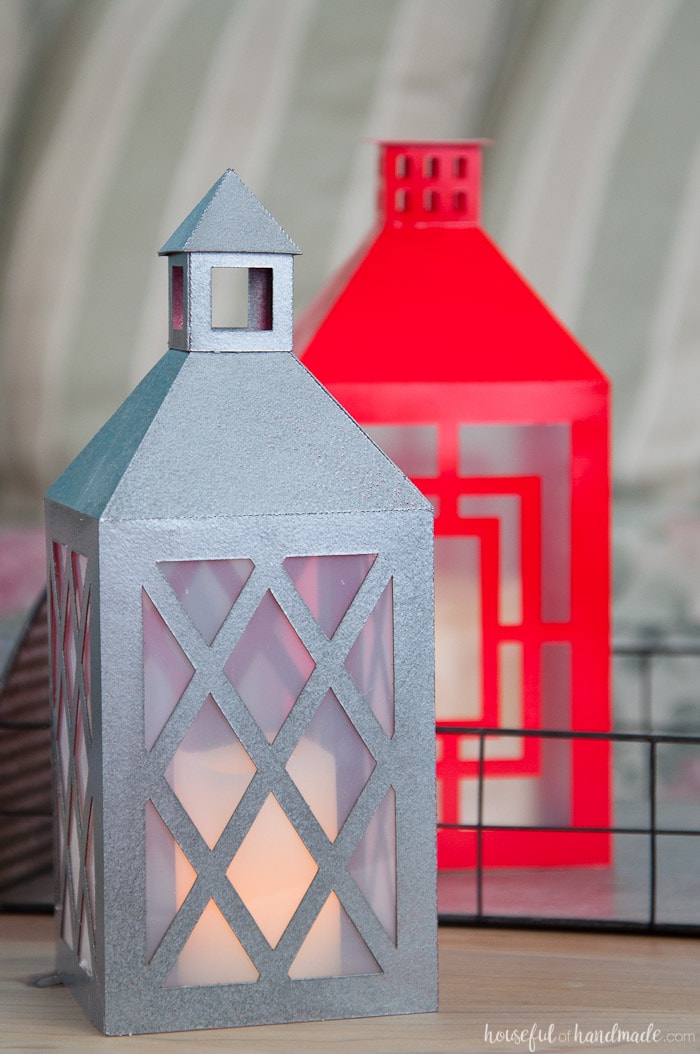
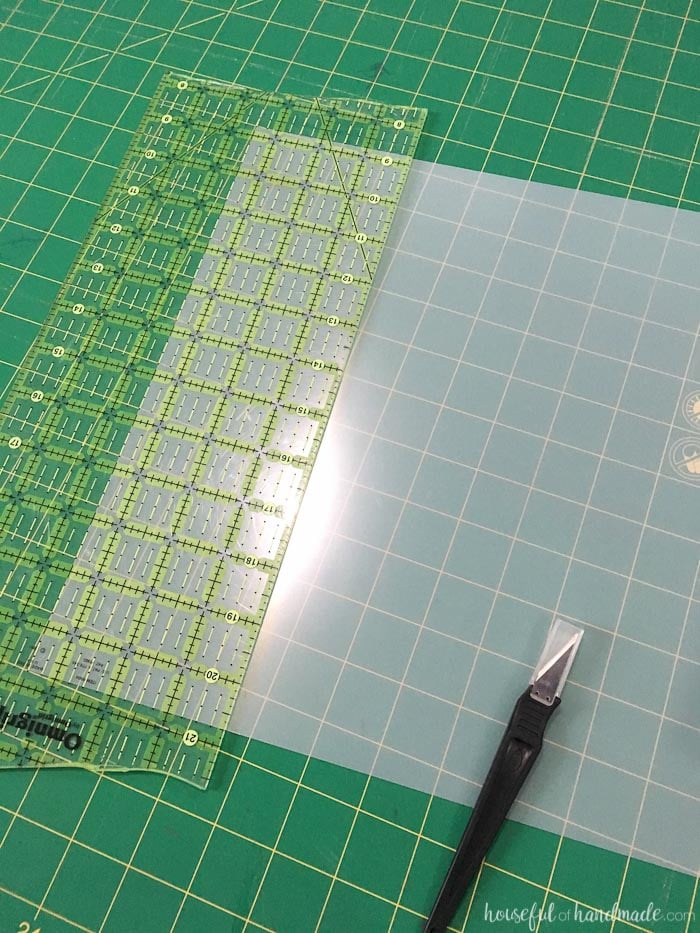
Measure your lantern for the correct size, you want the plexiglass to completely cover the window on the side, with enough room to glue it to the lanterns. The clear plastic sheets are easily cut with a ruler and an x-acto knife.
The plexiglass is also quite easy, just follow the steps below.
How to Cut Plexiglass
- Place a ruler on the plexiglass where you need to cut it. I love these thick quilter’s rulers for all my craft cutting.
- Run an x-acto or utility knife down the edge of the ruler score the glass about 10 times (no need to be too specific, just make sure you have a good solid score line).
- Place the plexiglass on the edge of a hard surface (like your table or counter top) with the score line just over the edge and facing up. Press down on the plexiglass and it will snap!
Using the hot glue, secure the plexiglass or clear plastic to the inside of the lantern on all four sides. Now you are all done. Time to use your new DIY paper lanterns as the perfect decor.
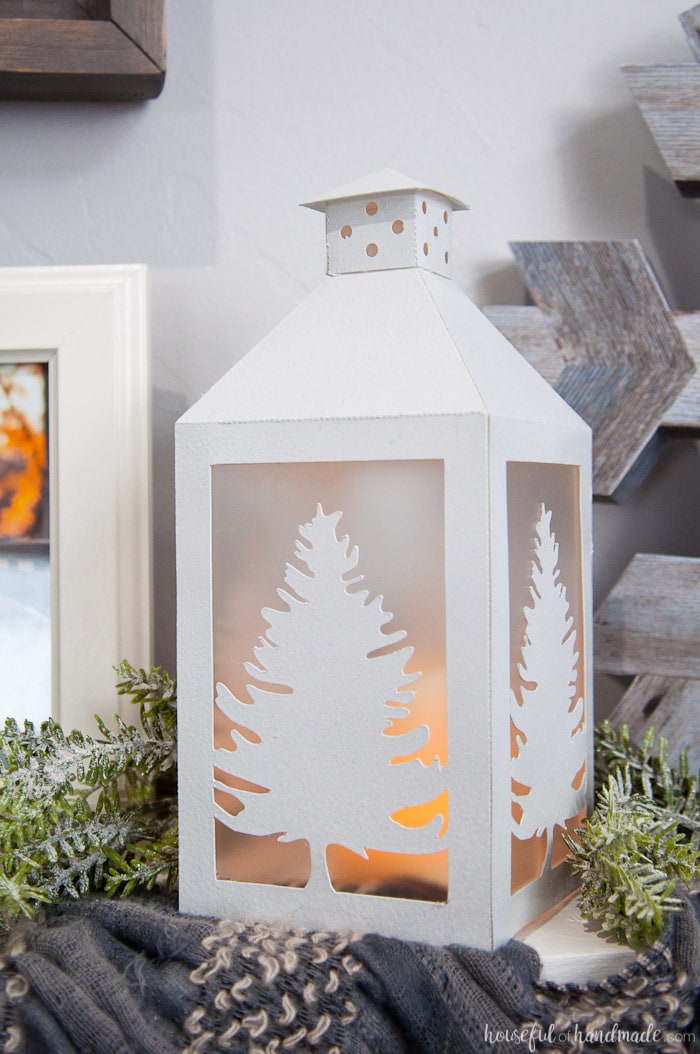
Please note that these lanterns are not for use with a real candle! They are made our of paper. But there are some absolutely beautiful wax, battery-powered candles that work wonderfully in them.
Or put a small string of Christmas lights inside them for a fairy-light type of glow. The plexiglass is a bit opaque and would look beautiful with either (or neither) form of light.
If you love these paper lanterns, you are going to love these other paper decor items that no one will know are made out of paper!
Easy DIY Decorative Paper Lanterns
Make these DIY paper lanterns to add a handmade touch to your home decor. They are beautiful and budget-friendly too!
Materials
- Paper lantern cut files
- Cover stock
- Spray paint
- Plexiglass sheets
- X-acto knife
- Battery powered candles
Tools
- Hot glue gun and glue sticks
- Electronic cutting machine (Silhouette Cameo or Cricut)
Instructions
- Cut out the pieces you need for your lantern.
- Fold the side pieces so they form a box.
- Glue the two pieces together at the tabs. Fold the top of the side pieces so they form a pyramid on the top.
- Glue the tabs to secure.
- Fold the square base and glue it together at the tab.
- Place a bead of glue on the bottom of the top box and secure it to the top of the pyramid.
- Shape the very top piece.
- Spray paint the lantern with the color of your choice.
- Use plexiglass or clear plastic craft sheets on the inside of the DIY paper lanterns and attach with hot glue.
Recommended Products
As an Amazon Associate and member of other affiliate programs, I earn from qualifying purchases.
The Best Home Decorations made from Paper
- How to Make a Decorative Windmill
- Faux Metal Farmhouse Sign
- Easy $10 Anthropologie Mirror Knock Off Tutorial
- Faux Wooden Snowflake Decor


Lora Ann Schaunaman
Sunday 15th of December 2024
Send me the pictures of the panels for the tree lantern please 😀
Victoria Jacobs
Tuesday 8th of October 2019
I really love what you have created.
Kati
Thursday 10th of October 2019
Thanks Victoria!
Deuni
Friday 18th of January 2019
Any other way to pay to get the downloads as i am not using paypal?
Kati
Saturday 19th of January 2019
If you click on the option to use PayPal, at the bottom there is a bottom to pay with a Credit or Debit without an account. Let me know if you have any other questions!
ceci
Saturday 1st of December 2018
Hola quisiera saber donde consigo los moldes gracias
Kati
Monday 3rd of December 2018
The lantern templates are available to purchase in the shop here: Paper Lantern Cut Files.
Jeannie Phillips
Sunday 11th of November 2018
Nevermind. The file is to a compound path, the objects are merely grouped together. Duh - see what happens when you assume? Great file. Thanks.
Kati
Thursday 15th of November 2018
So glad you figured it out! Enjoy them :)