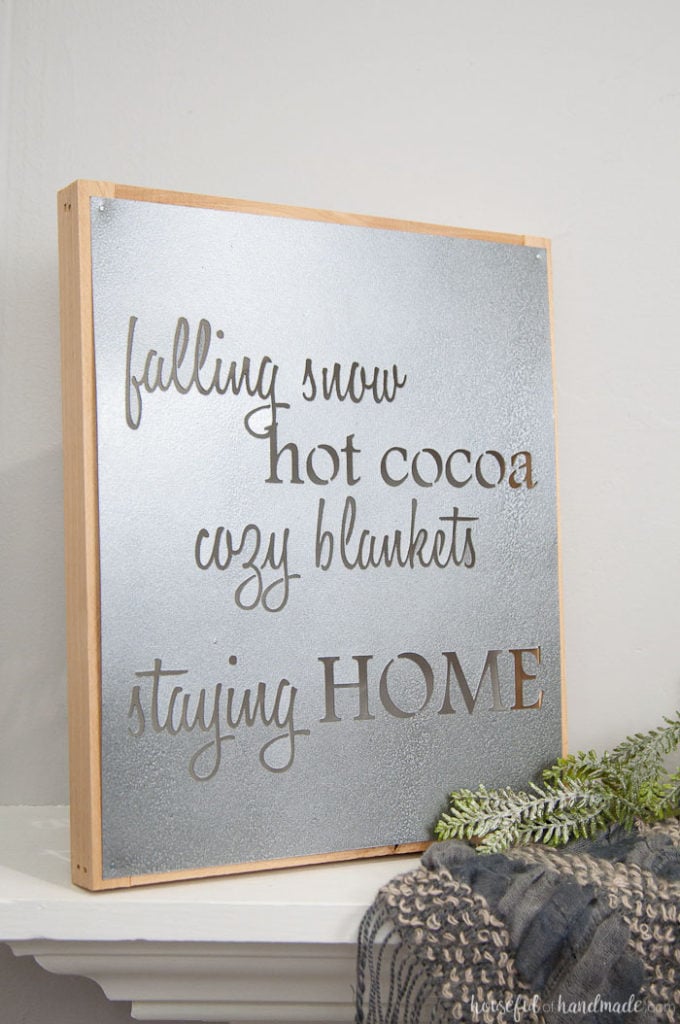
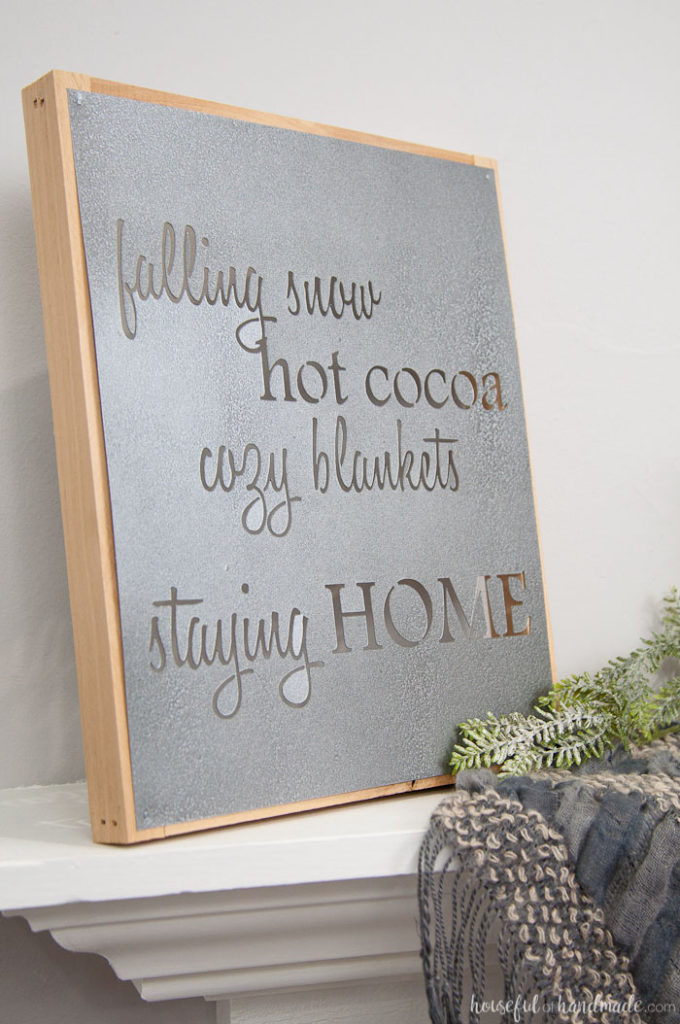
Create a faux metal farmhouse sign inspired by the metal signs on Fixer Upper!
Are you as in love with the metal signs Joanna Gaines makes for her Fixer Upper clients as I am?
I love the simple sayings and rustic charm, but I do not have someone who can cut them for me and unfortunately my budget doesn’t allow me to buy them.
So I had to get a little creative and make my own. It might not actually be metal, but you can’t tell.
This post may contain affiliate links. As an Amazon Associate I earn from qualifying purchases. Click here to read my full disclosure policy.
This faux Metal Farmhouse Sign is perfect for my winter mantle and I can’t wait to make more for the house!
I may be slightly obsessed with my Silhouette and creating things out of paper. Do you think they have meetings for this kind of addiction?
I don’t know that I want to stop, but sometimes I am sure my husband wishes I would walk away from the computer and clean up the piles of paper scraps littering around my desk.
Oh well, this is one addiction he is just going to have to live with. Well this and caffeine 🙂
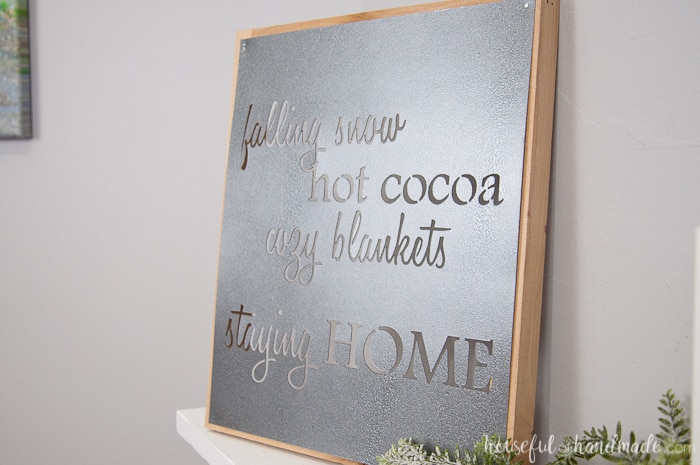
As I was putting the finishing touches on my winter mantle, I realized it needed something more. A little height was needed on the one side to balance out the faux wooden snowflake.
I didn’t want it to be too symmetrical and that is when I had the idea to make my own metal farmhouse sign, it just would have to be made out of something that wasn’t actually metal.
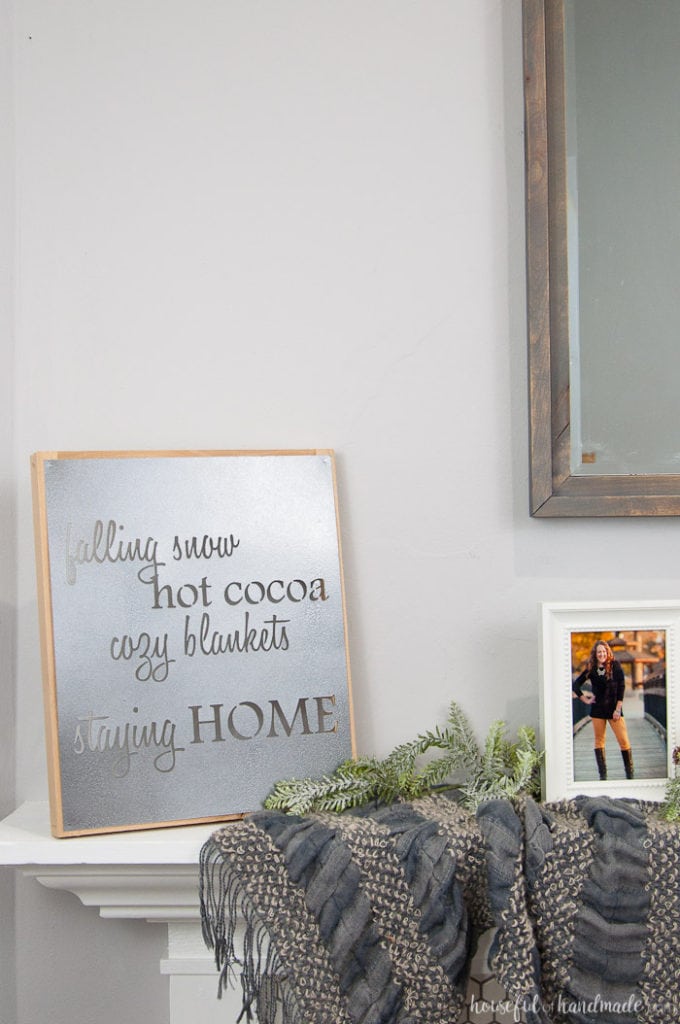
Well I know I can make paper look like metal. I did it with this Anthropologie knock-off mirror and these lanterns that are already on my mantle, so why not use the same technique to make a sign?
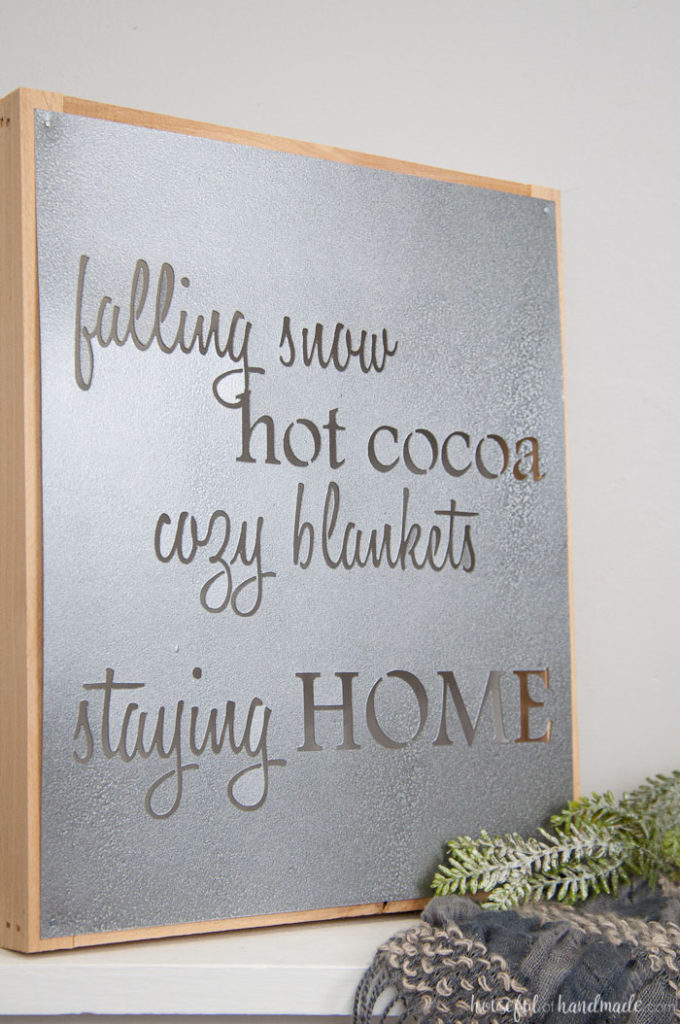
First I had to design my sign. I wanted a fun winter saying and couldn’t be happier with what I came up with.
There has been a LOT of falling snow and hot cocoa at our house this winter. And I know I would much rather stay home and cuddle on the sofa with my kids than brave the cold.
This sign is just perfect for us. I designed it so that the letters were like stencils. That way when I cut it out, it would all be one piece.
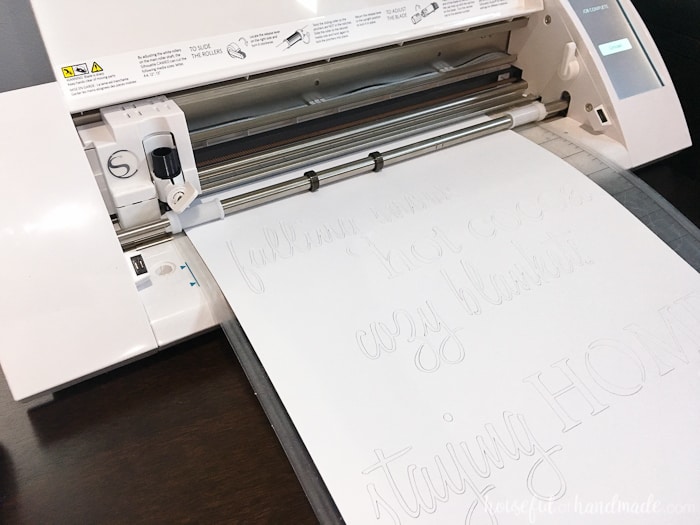
Then I sent it through my Silhouette to watch the magic happen.
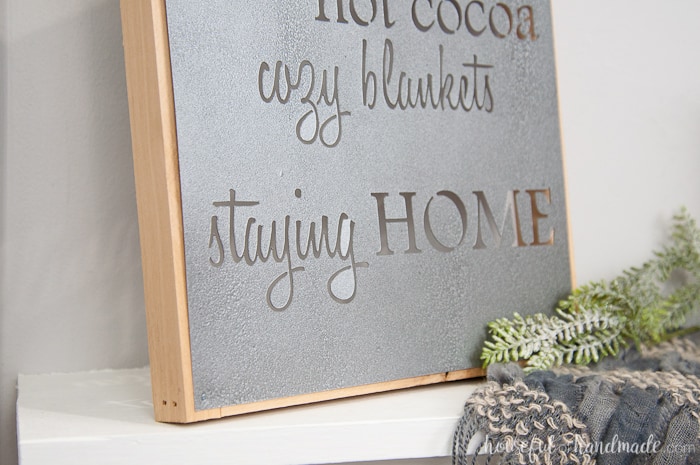
A few more steps and this perfect faux metal farmhouse sign was ready for the mantle. I can’t wait to share the full tutorial with you.
How to Make a Faux Metal Farmhouse Sign
Supplies:
- Winter sign cut file
- I am sharing the cut files for this sign in my library of free printables & downloads. Click here to subscribe to my weekly newsletter and gain access to all the freebies. If you already have your password, click here to download it.
- Cover stock paper
- I made my sign 11×13 buy using this 11×17 paper and cutting it down to size
- Silhouette Cameo
- Metallic and hammered finishes spray paint
- 1×1 wood boards
- Wood glue
- Nail gun and finishing nails
- If you do not have a nail gun you can also use a hammer and nails or screws to secure your frame.
- Wire nails
Download the cut file for this sign, or design your own. When you DIY your own faux metal farmhouse signs, the sky is the limit (that is why we DIY).
Cut it out with your Silhouette machine using the cover stock settings. Cover stock is a thicker cardstock and necessary to get a sturdy flat faux metal sign. Remove all the pieces of the saying inside your sign.
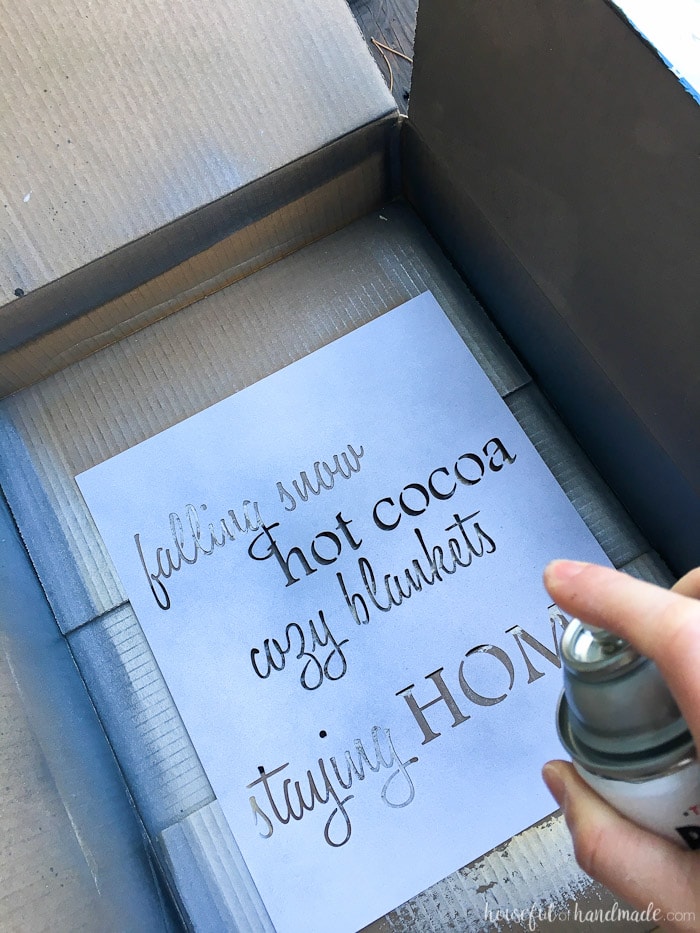
Now it is time to make your sign look like metal. I do this by using spray paint. Yes you read that right. You can spray paint paper! You will want the heavier cardstock to hold up to the spray paint.
Time to paint! For this project I started with a layer of Rustoleum Metallic Finishes in Silver then did two layers of Rustoleum Forged Hammered in Antique Pewter on top of that.
But there are so many ways you can make paper look like metal. I shared all my tips & tricks for creating a metal finish on my paper crafts over on Silhouette School Blog today. Click here for all the details.
Once the paper was dry, I decided to add a frame behind my metal sign to give it a bit more of a presence on my mantle.
Without a frame it would be perfect for hanging on a wall, but I wanted it to stand on one side of my mantle to balance things out.
To make the frame cut 2 pieces of 1×1 board the length of your sign plus 1/2 inch and 2 pieces the width of your sign plus 1/2 inch minus the 2x the width of the boards.
My sign was 11×13 so my two long boards were 13 1/2 inches and my two short boards were 10 inches (11 1/2 – 3/4 – 3/4).
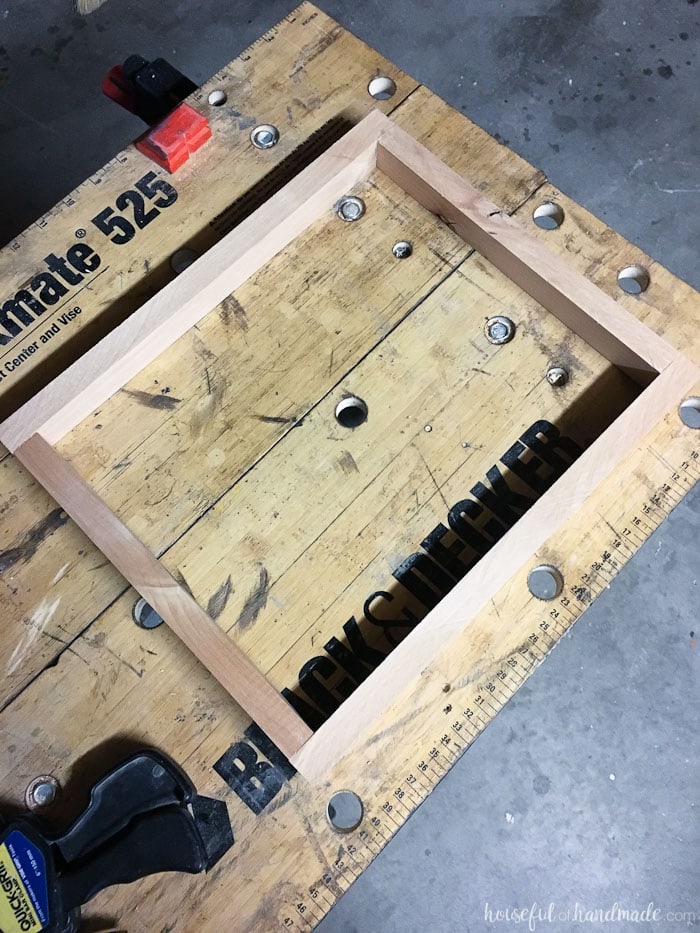
Make a frame with the boards by adding glue to the top and bottom of the long boards.
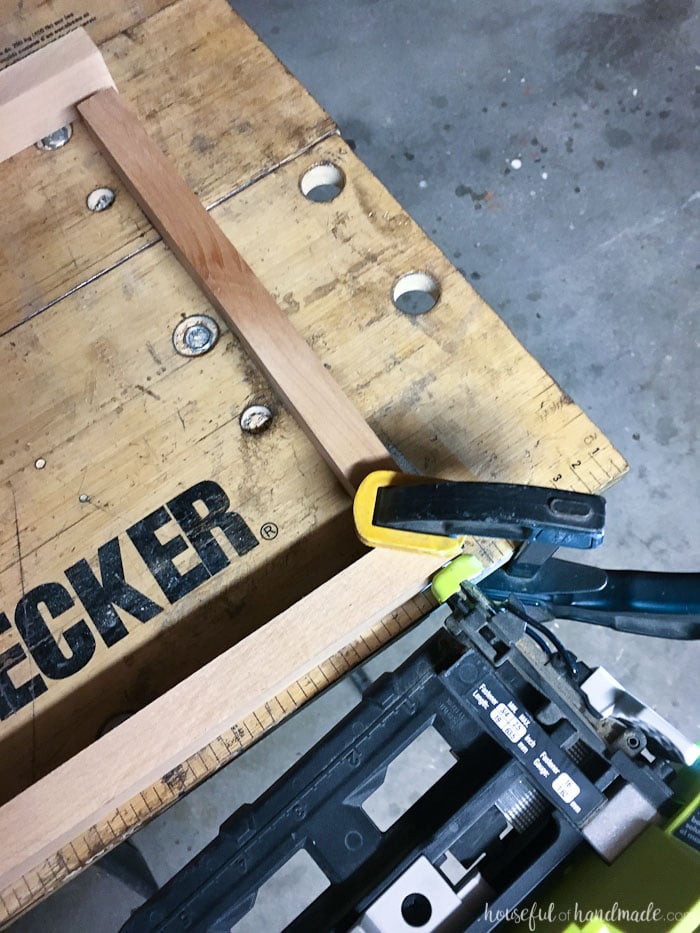
Clamp the shorter boards to the be flush with the edges of the long boards and secure with a couple finishing nails.
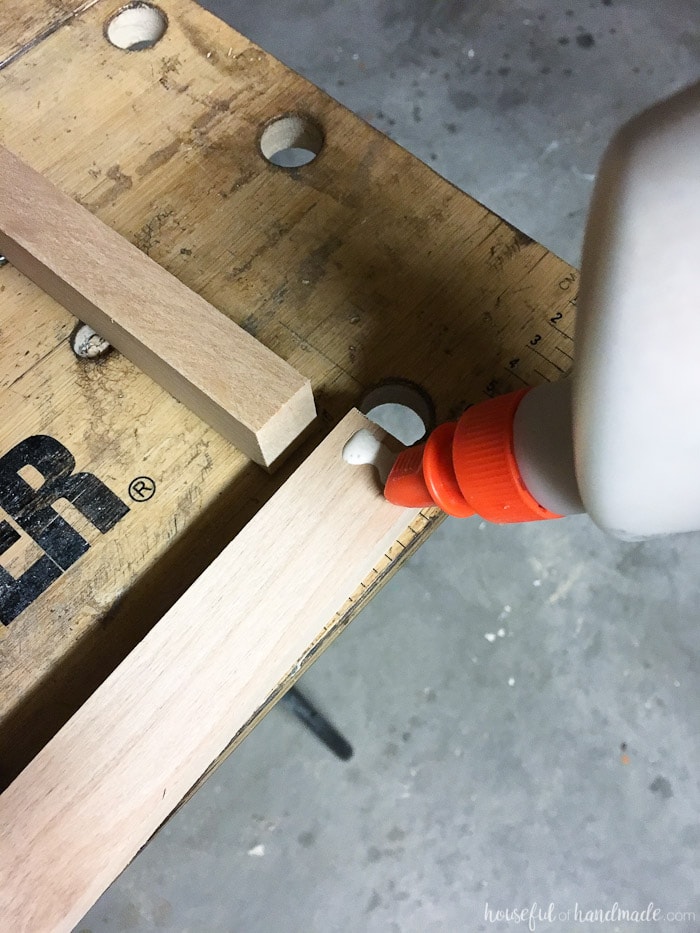
Repeat on the other other side of the frame.
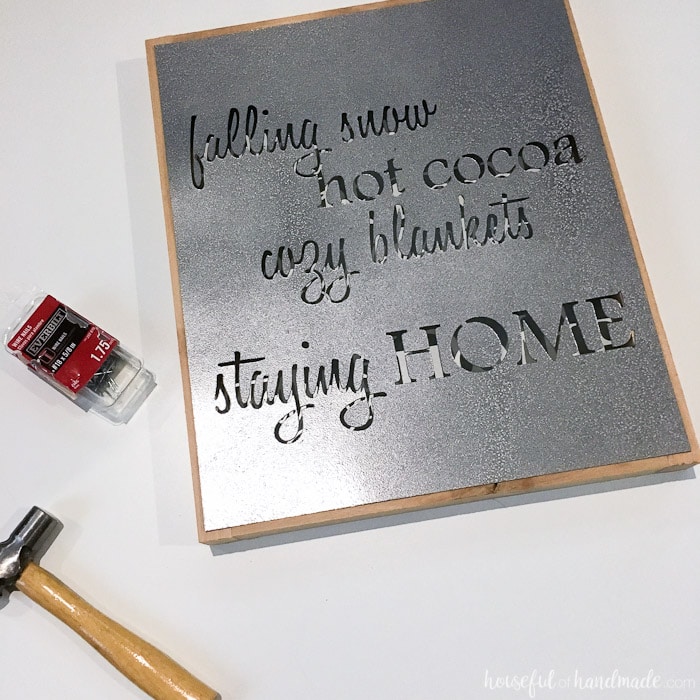
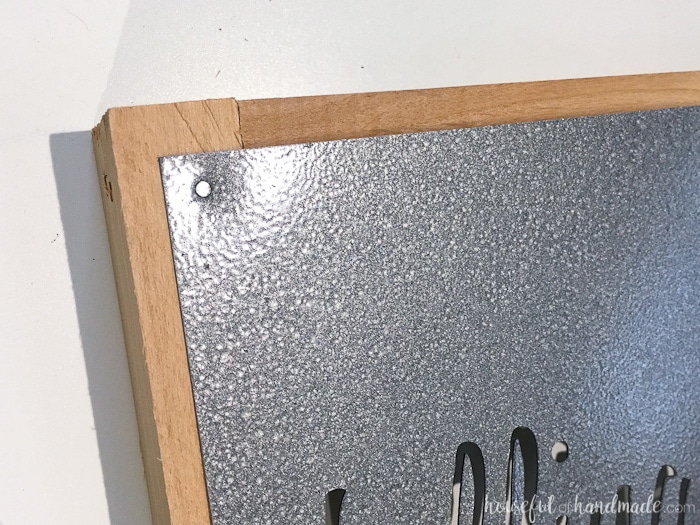
To secure your faux metal sign to the frame, all it takes is a couple wire nails tapped into the corners. The best part about it being faux metal, the nails easily go through it!
And look how well the real metal nail heads blend in with the faux metal sign. You can’t even tell a difference between them.
I am so happy with my faux metal farmhouse sign. It looks just as beautiful as the Fixer Upper metal signs that inspired me.
Now I just need to decide what other saying I need sprinkled around my house. You better believe I am going to be making so many, many more of these!
And stay tuned for the final winter mantle reveal! It is officially done and I can’t wait to show you.
How to Make a Faux Metal Farmhouse Sign
This faux Metal Farmhouse Sign is perfect for my winter mantle. I'll definitely be making more of these fun signs!
Materials
- Winter sign cut file
- Cover stock paper
- Metallic and hammered finishes spray paint
- 1×1 wood boards
- Wood glue
- Wire nails
Tools
- Silhouette Cameo
- Nail gun and finishing nails
Instructions
Paper Cut
- Download the cut file for this sign and cut on coverstock.
- Remove all the pieces of the saying inside your sign.
- Spray paint the coverstock with a layer of Silver, then two layers of Antique Pewter.
- Let dry.
Frame
- Cut 2 pieces of 1×1 board the length of your sign.
- Cut 1/2 inch and 2 pieces the width of your sign, plus 1/2 inch minus the 2x the width of the boards.
- Add glue to the top and bottom of the long boards.
- Clamp the shorter boards to the be flush with the edges of the long boards.
- Secure with a couple finishing nails. Repeat on the other other side.
- Secure your faux metal sign to the frame, with a couple wire nails.
Recommended Products
As an Amazon Associate and member of other affiliate programs, I earn from qualifying purchases.


Cherry
Friday 7th of December 2018
Hi! I know that this is an older project but would you be willing to share the saying. Love it by the way! I have a Cricut but would love a go at it! Soooo creative!!
Thanks Cherry
Kati
Friday 14th of December 2018
There is an SVG of the saying shared in the Subscriber library. That file type will work with Cricut! Thanks Cherry.
sheila k thibault
Monday 20th of November 2017
hi kati....thankyou for this idea!....i was wondering about the lettering used...did you craete your own fonts so the inside of the letters all have a spot where they are still connected to the back stencil part? or is there fonts that are already like this...i cant seem to find any if there are. do you know if they haVE ANOTHER NAME? thankyou sheila
Kati
Thursday 30th of November 2017
I created my own stencil font by cutting out sections of a font I loved so they were no longer connected. I have always called them Stencil fonts, not sure if there is something else to call it. I should do a tutorial for how I turned my font into a stencil font huh?
Heather
Saturday 11th of February 2017
I love this sign! Can you tell me what your cut settings were for the silhouette? Thanks
Kati
Thursday 23rd of February 2017
Thank you Heather. I used the Coverstock settings, but bumped my bald up to 9 so that it would cut super clean.
Rachel
Monday 6th of February 2017
This beautiful and I really thought it was metal. Pinning!
Kati
Monday 6th of February 2017
Thanks Rachel. I love that no one realizes it is just paper and paint.
Maria Brittis
Saturday 4th of February 2017
I thought it was metal, Once I read the post I was surprised it was paper! Will keep this project in mind for my Home Office. Maria
Kati
Monday 6th of February 2017
Thank you Maria! I'm glad it looks like metal, that was the plan ;)