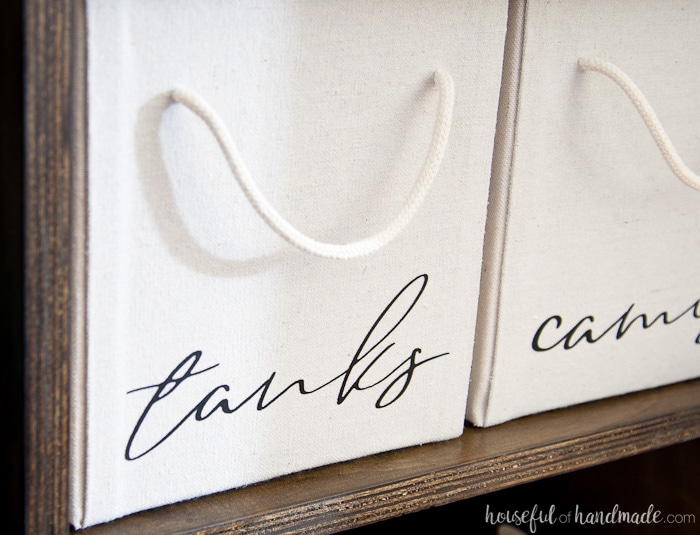
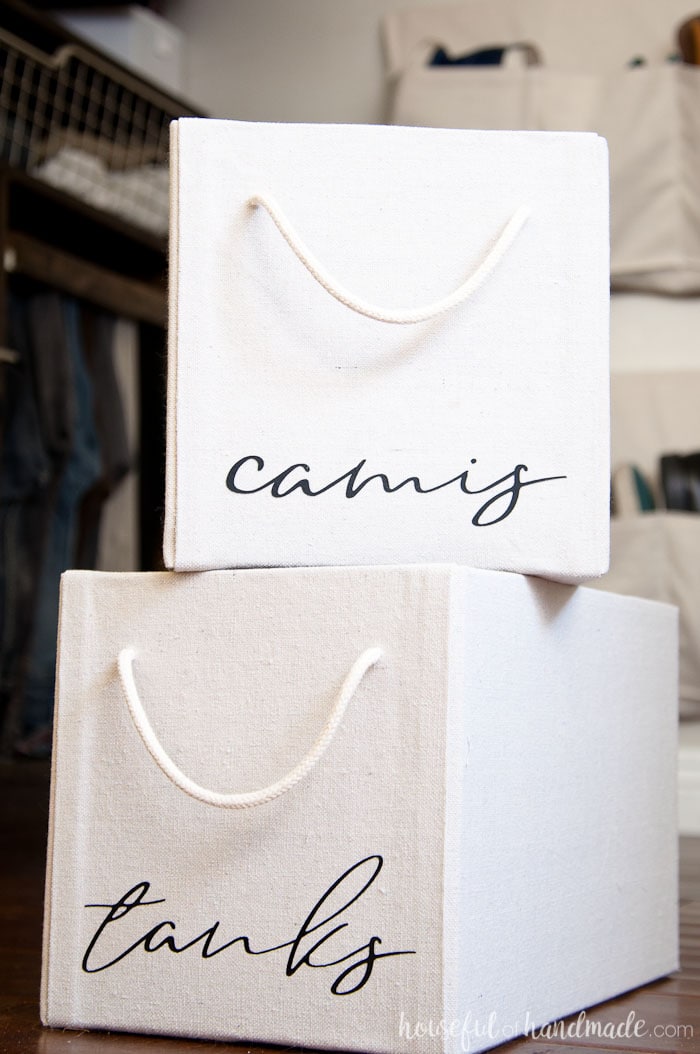
Upcycle cardboard boxes into these easy drop cloth storage boxes for only a couple dollars.
One of my favorite parts of our new $100 master closet makeover are these easy drop cloth storage boxes. Cover any extra boxes your have with inexpensive but sturdy drop cloth for the perfect storage solution.
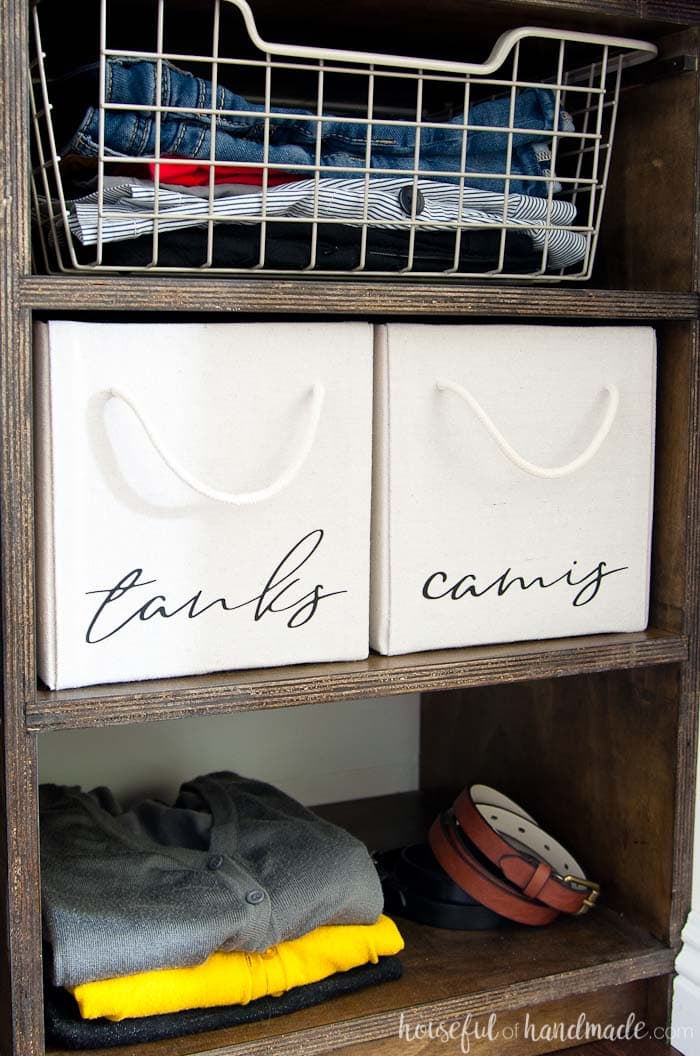
Instead of hanging tanks and camisoles, these storage boxes keep them organized in the new plywood closet organization system. And they only cost a couple dollars to make.
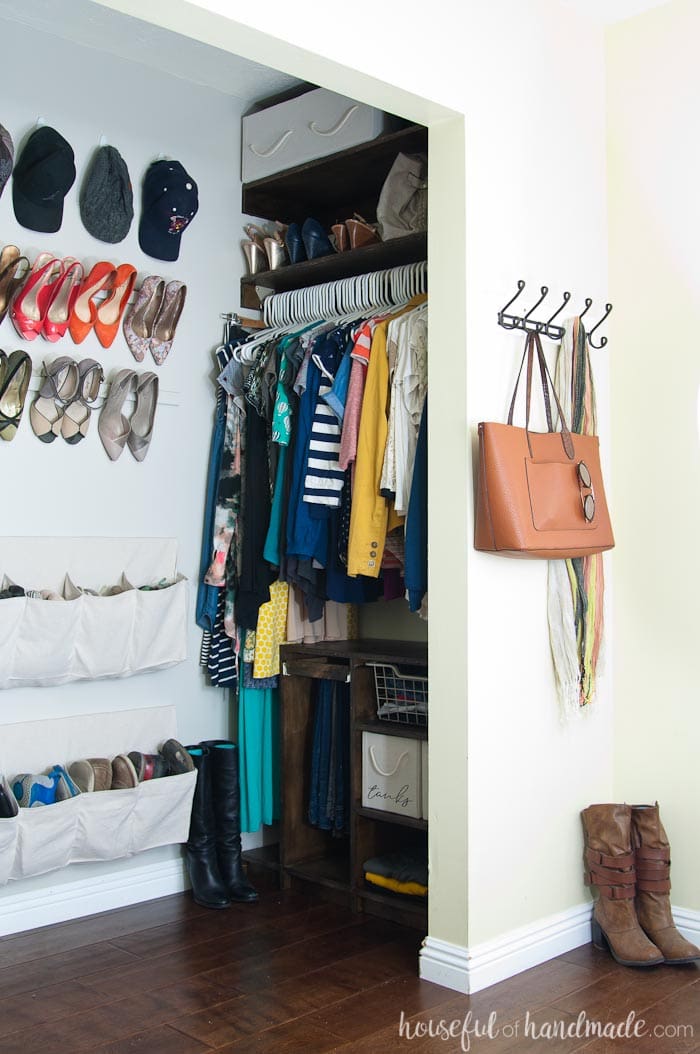
Redoing our master closet for only $100 became quite challenging after I used 80% of my budget on the wood needed to build the plywood closet organizers.
This post may contain affiliate links. As an Amazon Associate I earn from qualifying purchases. Click here to read my full disclosure policy.
With only $20 left to spend, I needed to solve our shoe storage issue and create storage solutions for all the rest of the stuff we need to keep in the closet.
Thankfully, I am a big fan of keeping all the boxes anything comes in. Just take a look at my craft room, all those bulk coffee k-cup boxes came in super handy!
For our closet, I discovered that the boxes my new Bai addiction comes in fit perfectly in the closet system. It wasn’t even planned. Seriously!
And when my Target order arrived one day, I immediately measured the box to discover it was the exact same depth as my shelves!
After rescuing it from the kids (we have enough space ships anyway), I knew it was destined to become one of my drop cloth storage boxes for the closet.
Places to Get Free Boxes
There are a lot of ways to find boxes to upcycle into these drop cloth storage boxes. You just have to know where to ask.
- Online shopping: everything is shipping in a box, so save the ones that are the right size.
- Warehouse stores: they usually have empty boxes at the front of the store to put your smaller groceries in.
- Restaurants: most of their food comes in boxes (just avoid the boxes that held meat).
- Clothing stores: all the clothes they sell arrive in boxes and they love to have someone else take them away.
Once you have the perfect boxes for your storage space, all you need is the perfect covering to make them beautiful.
For our closet makeover I needed it to be CHEAP! Like almost free. But I didn’t want something that felt cheap. I needed something to hold up to the daily use of a closet.
I have already made beautiful fabric covered storage boxes. The thicker canvas material has held up to 2+ years of use (except for the dirty finger prints on the white background). So a canvas was the perfect solution.
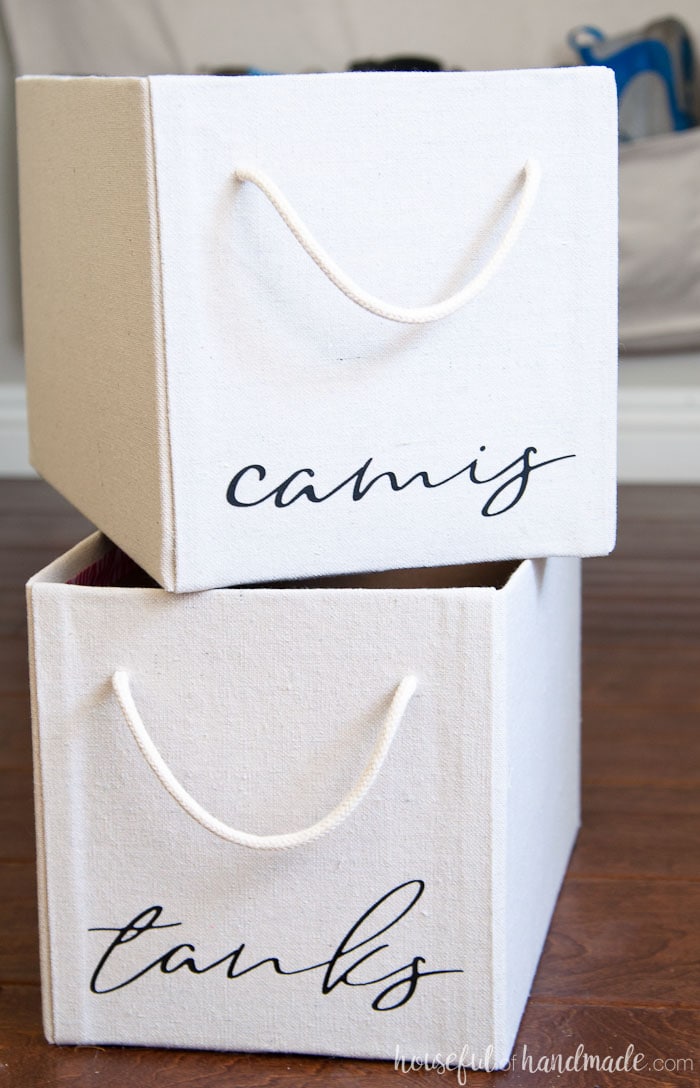
And what better canvas to use than the cheapest one of all: painter’s drop cloth!
You can buy a 6′ x 9′ drop cloth for around $7. That is less than $2 a yard for 54″ wide fabric.
If you have been to many fabric stores you will know that this is a steal for fabric. Also, painters drop cloth is covered with a solution to help resist staining. It’s the secret bonus of this super inexpensive fabric.
How to Make Easy Drop Cloth Storage Boxes
Supplies:
- Cardboard boxes
- Canvas drop cloth
- Decorative ribbon
- Permanent spray glue
- Scissors
- Or to make cutting even easier, I love my cutting mat and rotary cutter.
- Iron
- Seam gauge
- Hot glue gun and glue sticks
- Cotton rope
- Optional: for the script labels I used my Silhouette Cameo and some heat transfer vinyl
Click here for a list of my favorite sewing tools
Preparing the Drop Cloth Pieces
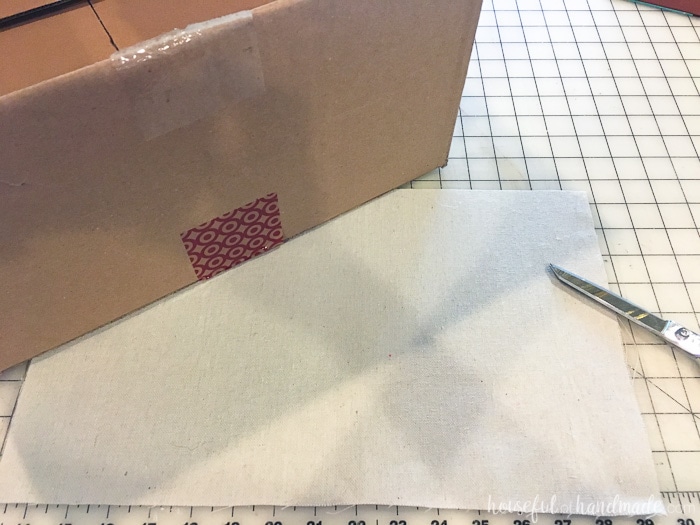
Cut your drop cloth so you have 2 pieces that are size of the side of the box plus 2″ for both width and height. Also cut 1 piece that is 1″ wider than the box (1/2″ on either side) and the length of the front, bottom, and back of the box plus 2″.
Use a cutting mat and rotary cutter for super easy and accurate cutting!
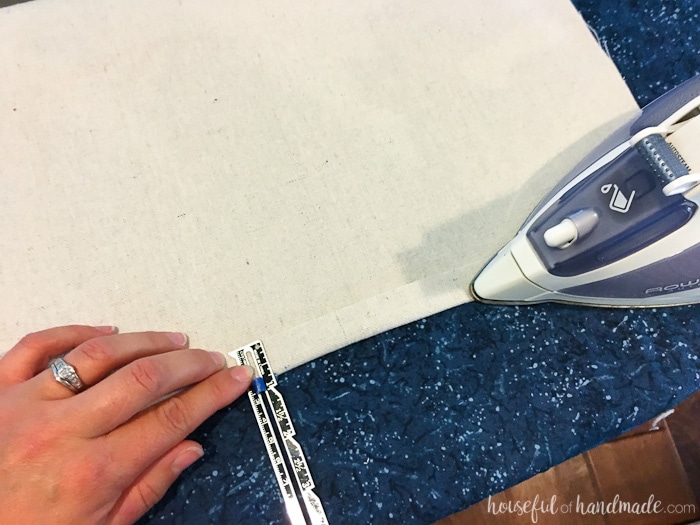
Iron 1/2″ seam on each side of the front, bottom, back piece. Use a hot iron with lots of steam to create a crisp fold.
A seam gauge is very helpful for measuring hems easily.
Attaching the Drop Cloth to the Boxes
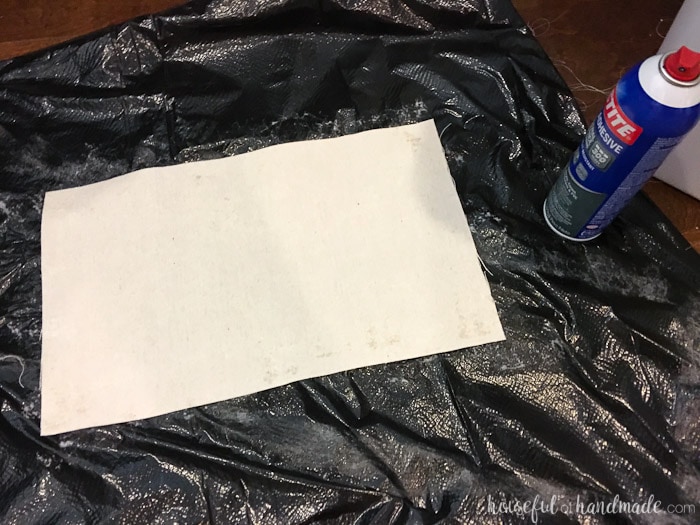
Spray the wrong side of the drop cloth sides with a heavy coating of the spray glue.
Expert Tip:
Be prepared that the spray adhesive will have overspray that is hard to get off of floor & tables so use a tarp to protect things!
Carefully center the drop cloth on the side of the box and fold over the extra 1″ all around.
Cut notches out of the bottom to allow the corners to lay flat.
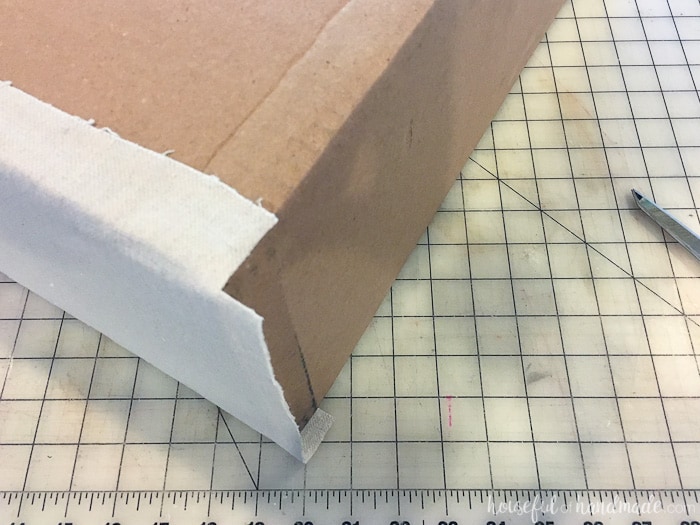
Spray the wrong side of the front, bottom, back piece with a heavy coat of spray glue.
With the front of the cardboard box hanging over the edge of a table, line up the piece so there is a 1″ overhang on the top and it is centered on the box.
Rotate the box and press along the bottom then back. Fold over the overhang into the box.
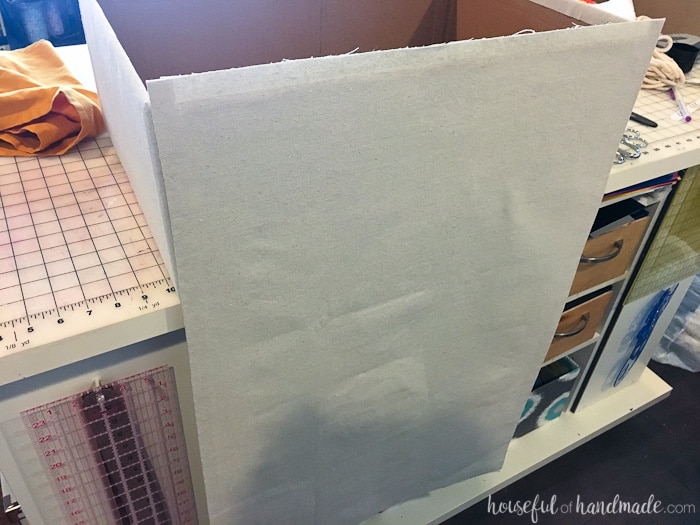
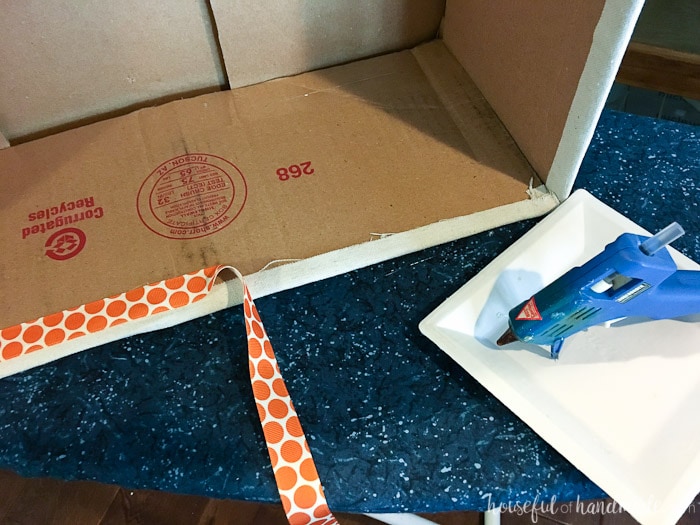
If there was not enough spray glue on any of the edges of the drop cloth, use the hot glue gun to secure them.
Use the hot glue to attach a piece of ribbon over the raw edge of the drop cloth on the inside of the box.
Attaching Rope Handles to the Boxes
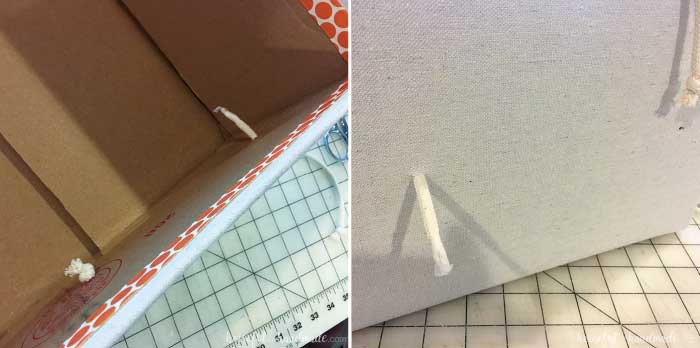
Cut a piece of cotton rope big enough for a handle. Tie one side with a knot and cover the other side with a piece of tape to keep it together for a minute.
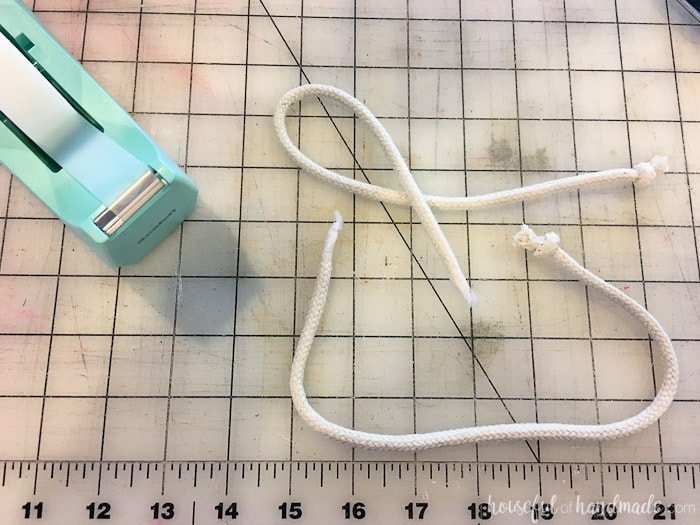
Use a pointy pair of scissors to pierce a hole through the box where you want your handle.
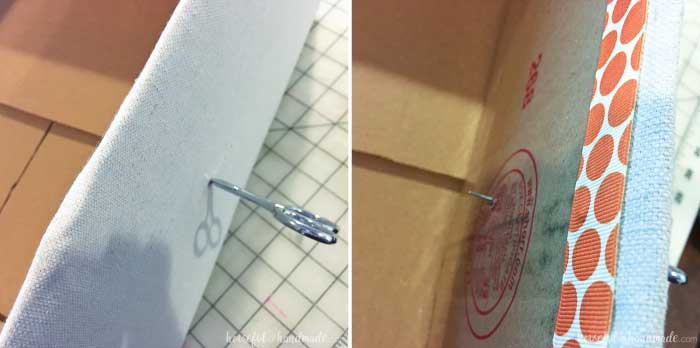
Using the tape covered piece of rope, push it through the inside of the box. Then through the other hole back into the inside of the box. Tie it off with another knot.
Labeling the Drop Cloth Storage Boxes
To create the script labels, design your labels in Silhouette design studio. I used a font called Kenstein.
Make sure to weld together any cursive text to create a continuous word instead of individual letters. Mirror the text before cutting it out on heat transfer vinyl.
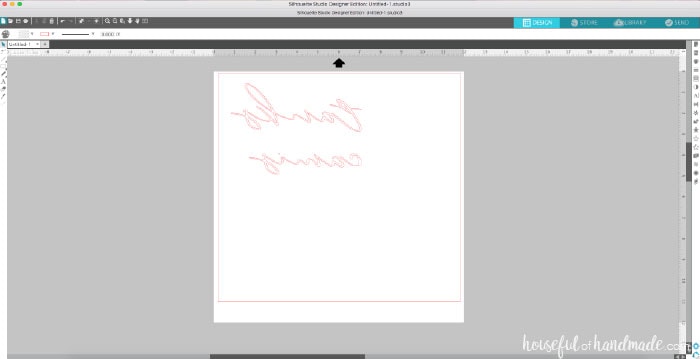
Weed out the extra vinyl around the text. Iron the heat transfer vinyl onto the front of your box with a hot dry iron.
You need to apply 15 seconds of heat and pressure. If you box isn’t large enough to fit on your ironing board, place a hard object inside your box to give your resistance while ironing.
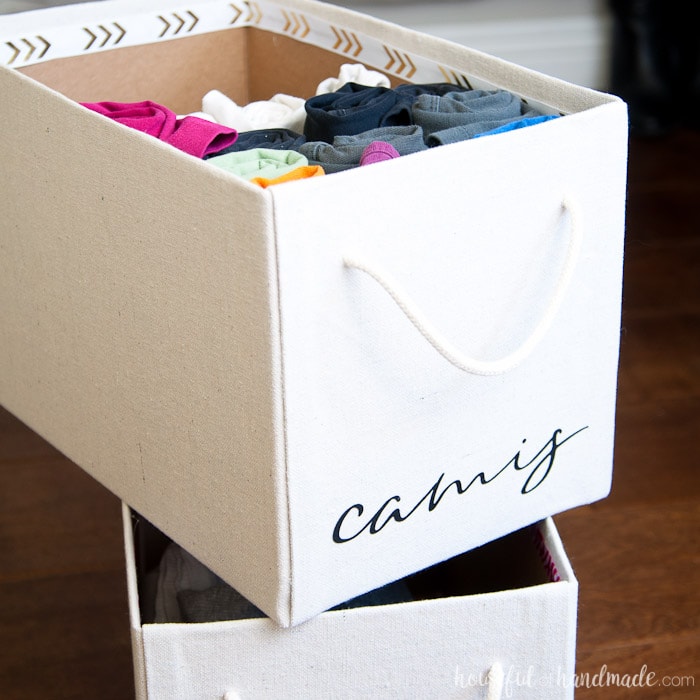
Now all that is left is to get to organizing. It feels so good to have a designated space for all our clothes. Now we can find anything we need.
It’s almost too organized. Getting ready only takes a couple minutes now. I might even be on time to everything!
Happy organizing!
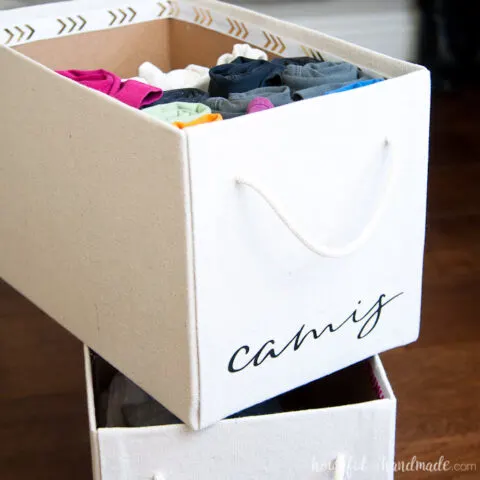
Easy Drop Cloth Covered Storage Boxes
Reuse your old boxes as storage by covering them in expensive drop cloth. These make amazing fabric storage boxes for the home.
Materials
- Cardboard boxes
- Canvas drop cloth
- Decorative ribbon
- Permanent spray glue
- Cotton rope
Tools
- Scissors
- Iron
- Seam gauge
- Hot glue gun and glue sticks
Instructions
- Cut your drop cloth so you have 2 pieces that are 2" larger than your box sides for both width and height. Cut 1 piece that is 1" wider than the box (1/2" on either side) and 2" larger than then the length of the front, bottom, and back of the box.
- Iron a 1/2" seam on each side of the larger piece.
- Spray the wrong side of the drop cloth side pieces with a heavy coating of the spray glue.
- Carefully center the drop cloth on the side of the box and fold over the extra 1" all around. Cut notches out of the bottom to allow the corners to lay flat.
- Spray the wrong side of the front, bottom, back piece with a heavy coat of spray glue.
- With the front of the cardboard box hanging over the edge of a table, line up the piece so there is a 1" overhang on the top and it is centered on the box. Rotate the box and press along the bottom then back. Fold over the overhang into the box.
- If there was not enough spray glue on any of the edges of the drop cloth, use the hot glue gun to secure them.
- Use the hot glue to attach a piece of ribbon over the raw edge of the drop cloth on the inside of the box.
- Cut a piece of cotton rope big enough for a handle. Tie one side with a knot and cover the other side with a piece of tape to keep it together for a minute.
- Place your new storage box in any closet, cupboard, or shelf you need more storage!
Renee
Saturday 1st of February 2020
Thank you for this fantastic idea. Finally a durable storage cube that is reasonable. I have drop cloths from Harbor Freight, cheap and great quality. They also make great curtains.
Kati
Tuesday 4th of February 2020
I have been wanting to make some drop-cloth curtains. I might have to give it a try. You will love these storage boxes! They are so handy.
Tracie
Thursday 14th of March 2019
I love this project!! I am a huge denim recycler...so I’m going to do the same thing with old denim jean scrapes! Durable and decorative at the same time!
Kati
Sunday 24th of March 2019
These would be awesome with denim! I also like to use denim, I have some other denim Upcycle projects here, here and here.