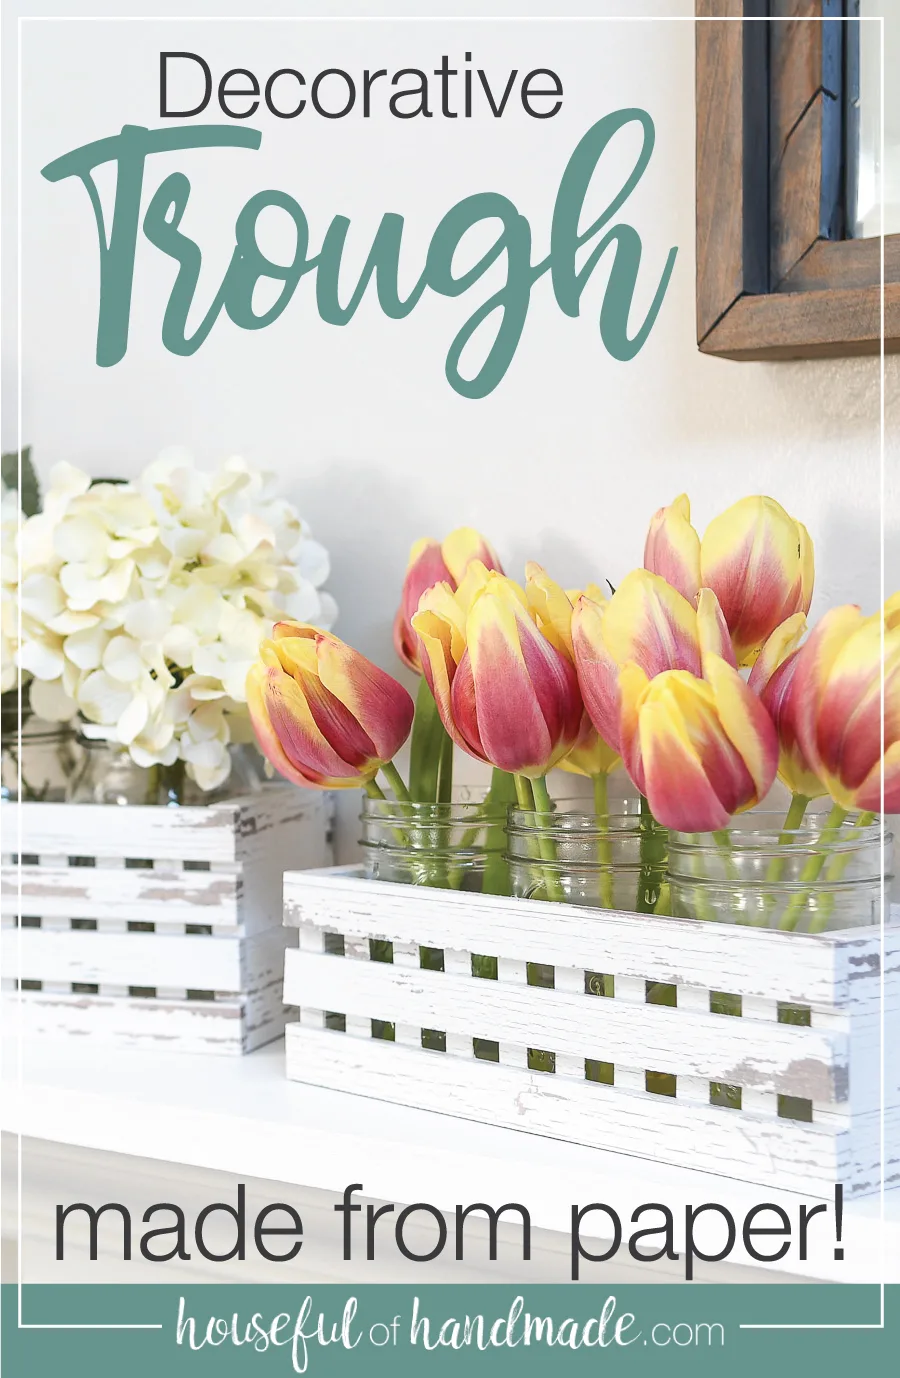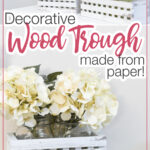
Put away the power tools and make this decorative trough for your centerpiece out of paper.
I am beyond ready to put my winter decor away and decorate for spring. And at the grocery store the other day they had tulips that I just couldn’t resist.
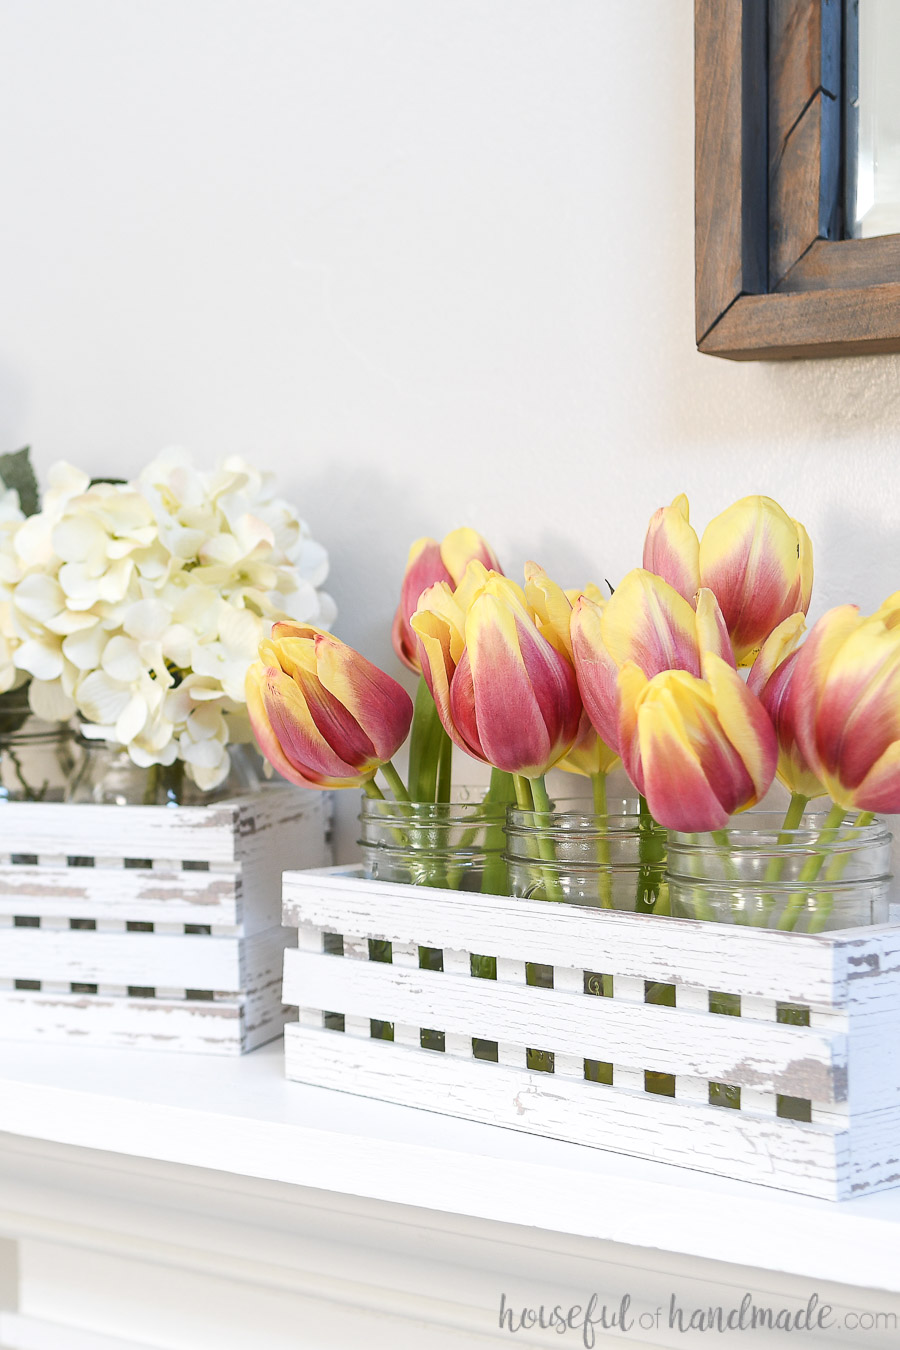
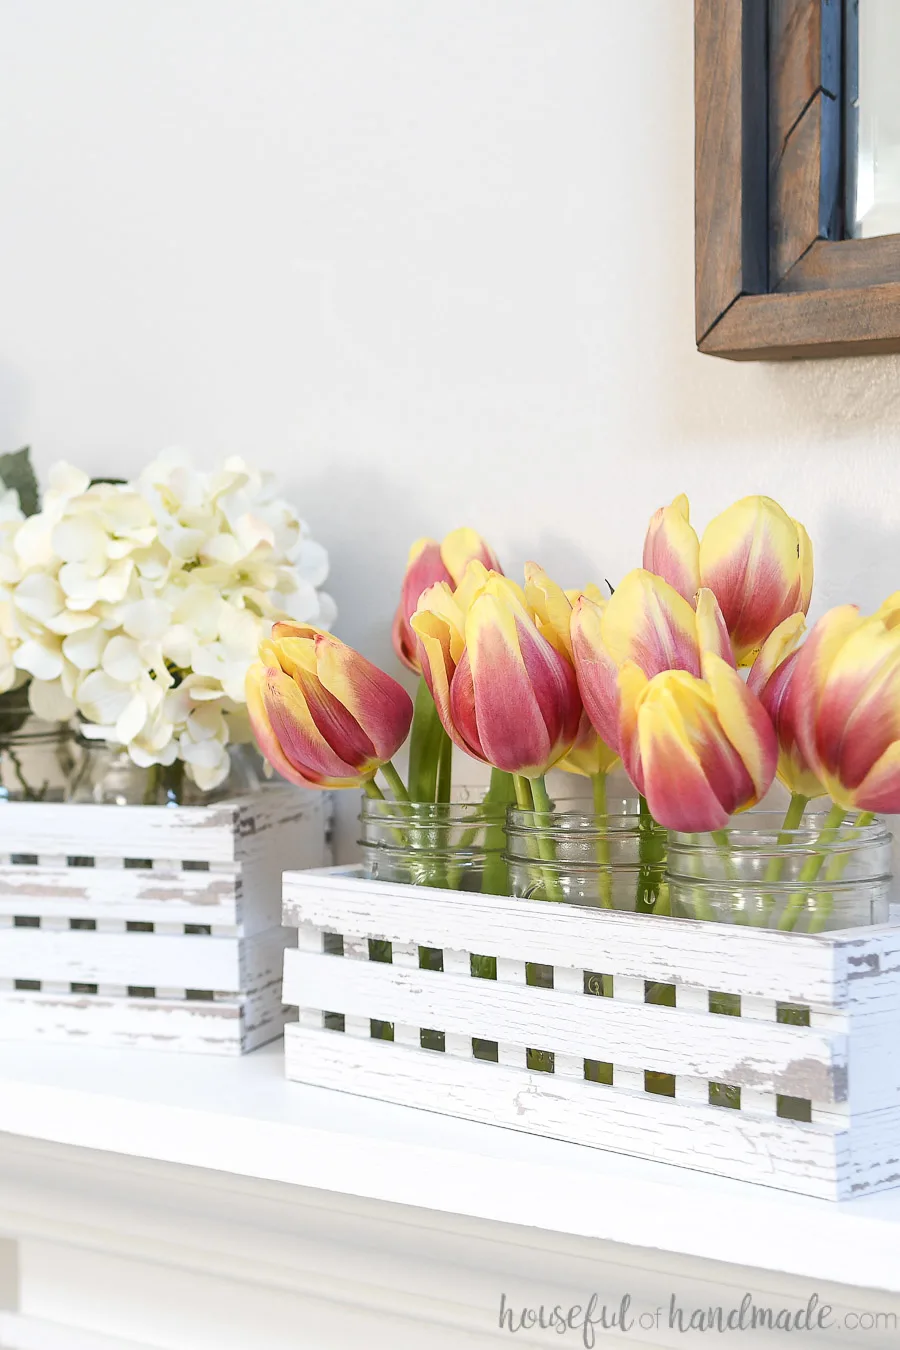
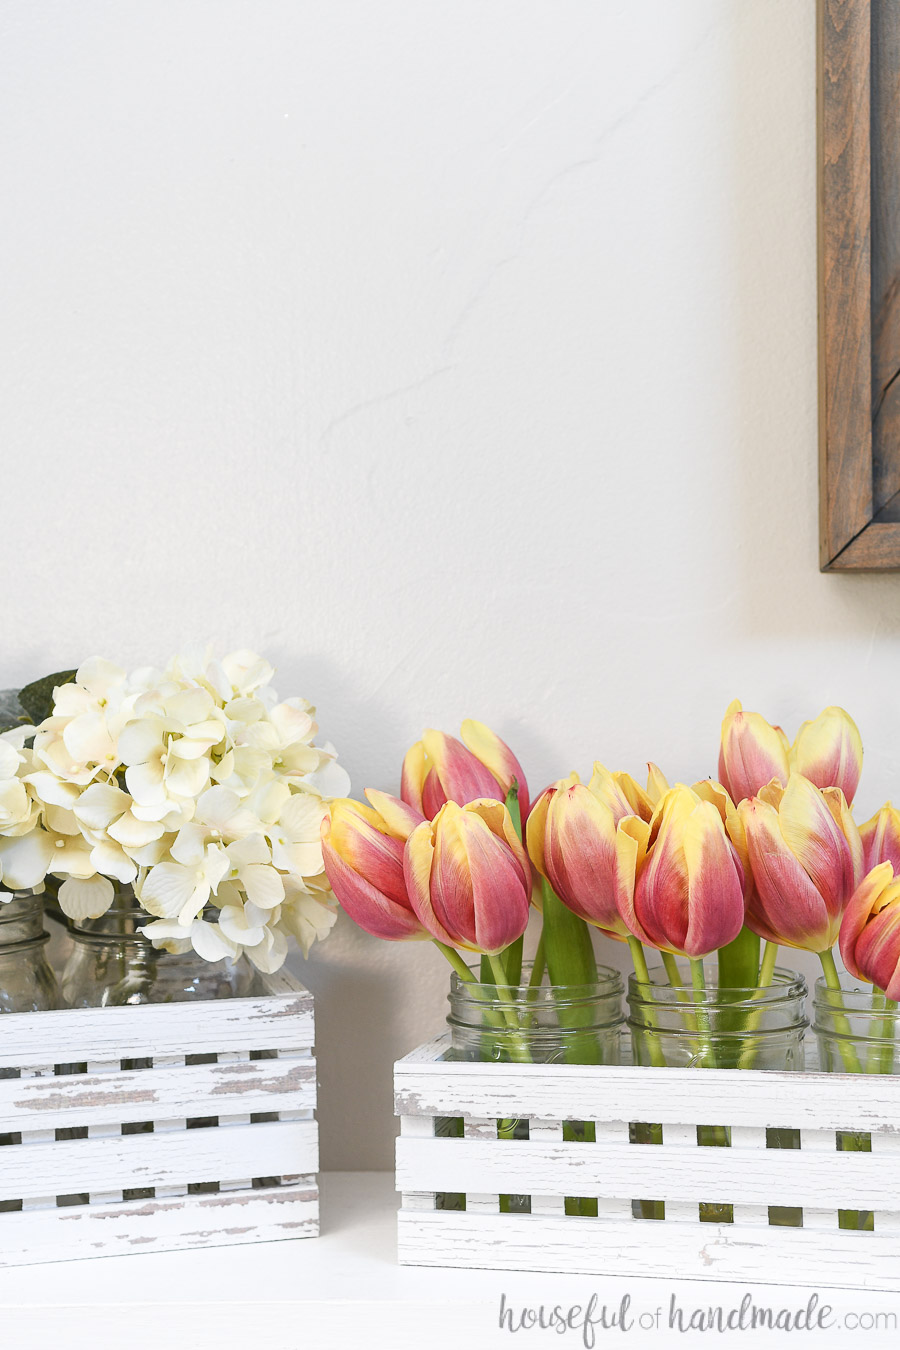
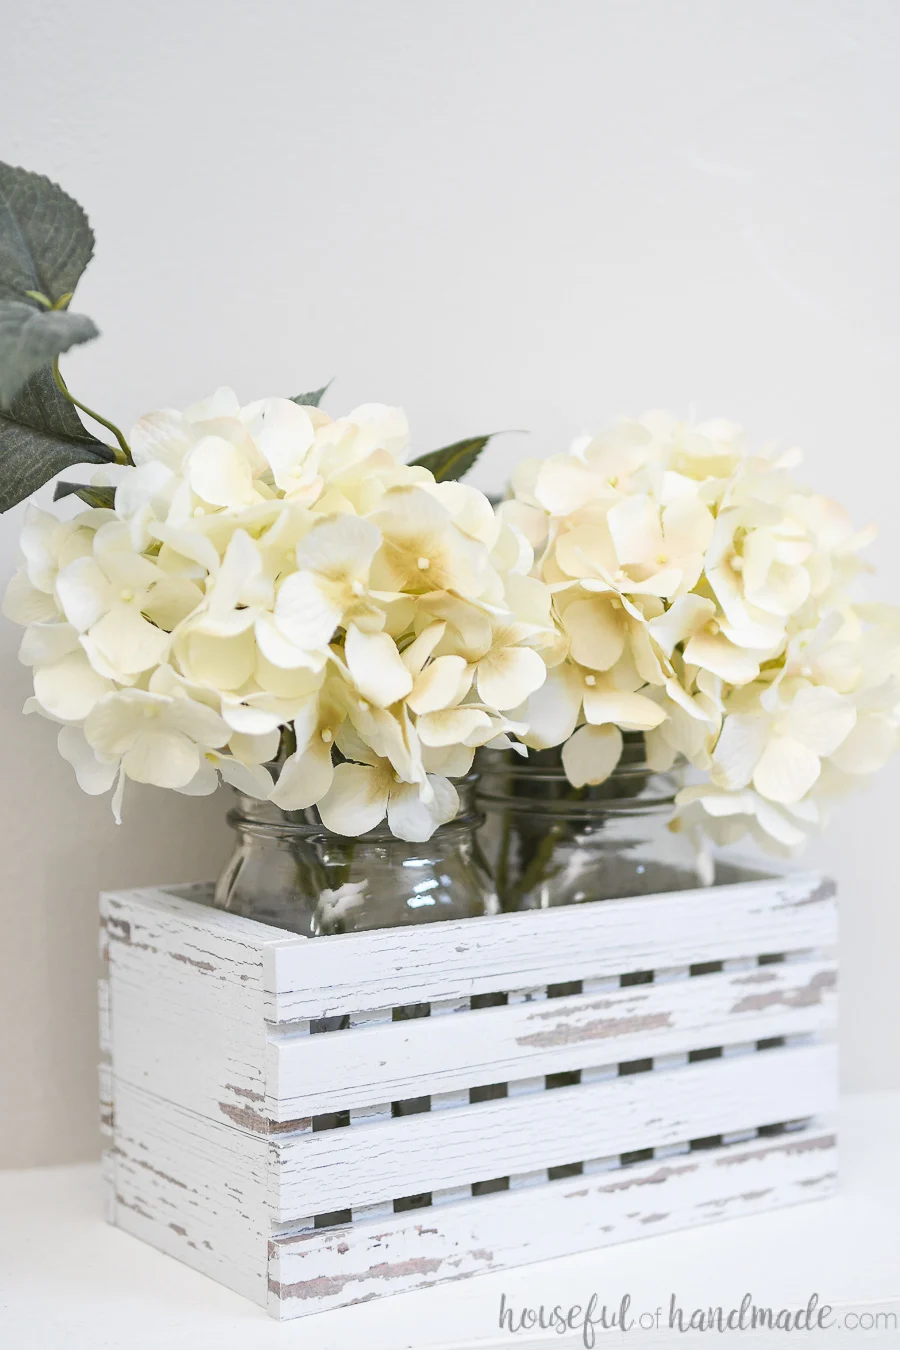
The spring flowers were the perfect inspiration, I just needed a way to add them to my decor. So I decided to make a decorative trough box to hold mason jars full of flowers. Perfect for spring!
Using Paper Crafts for Home Decor
You might think it’s crazy to use paper as home decor. But I can tell you that most people who come to my house cannot tell the paper decorations are made out of paper!
This post may contain affiliate links. As an Amazon Associate I earn from qualifying purchases. Click here to read my full disclosure policy.
It’s a running joke with all my friends and family. They come over and tap all the new things they see to figure it out.

And after all the love I got for the amazing DIY crates made out of paper, I knew I wanted to make another style.
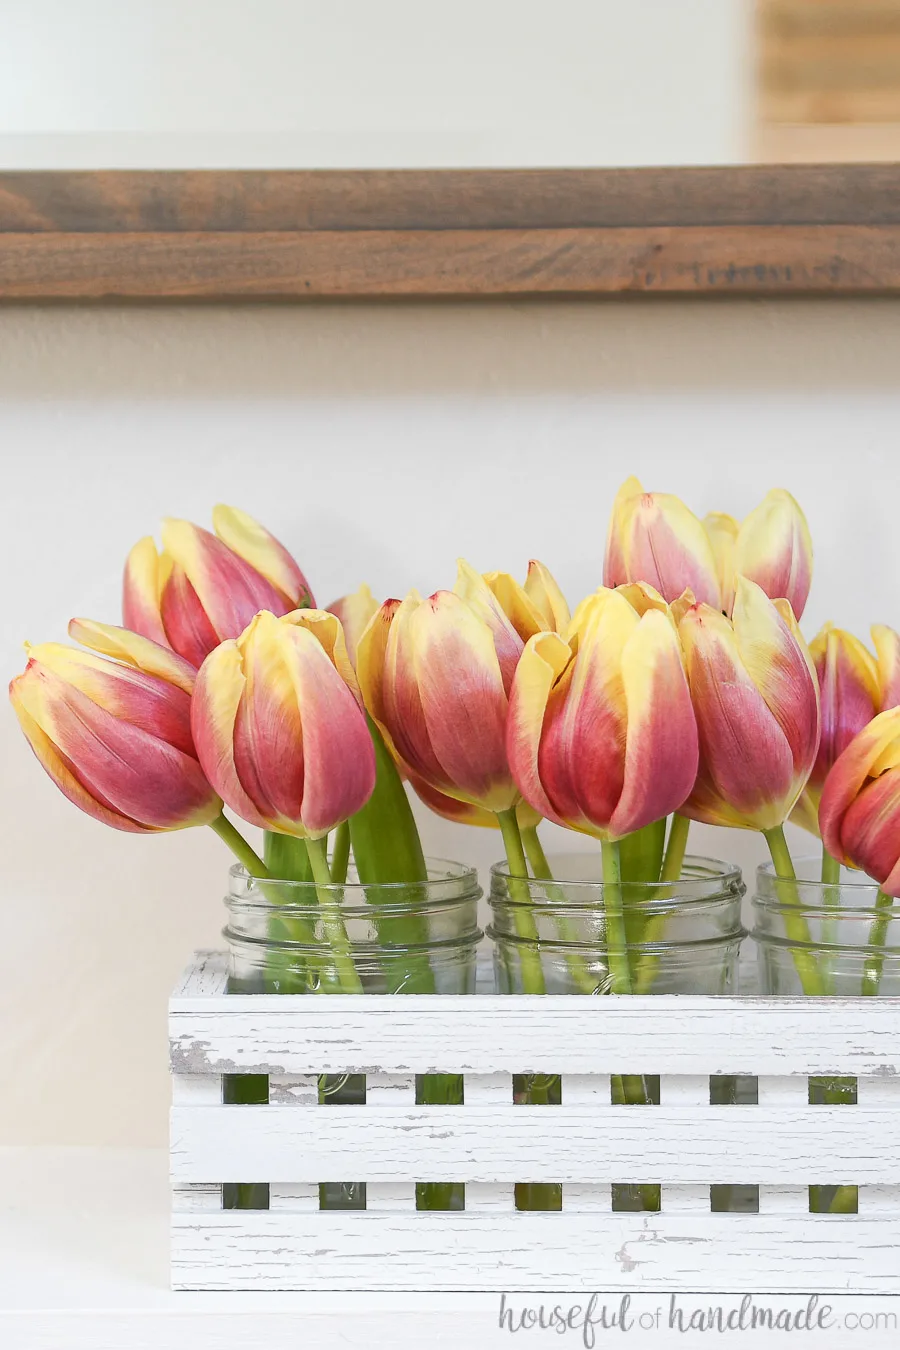
So when I came home with tulips needing a new home, I immediately realized a cute decorative trough box would be perfect! But of course, real flowers need water… so these trough boxes are sized to hold mason jars.

Decorative Wood Troughs
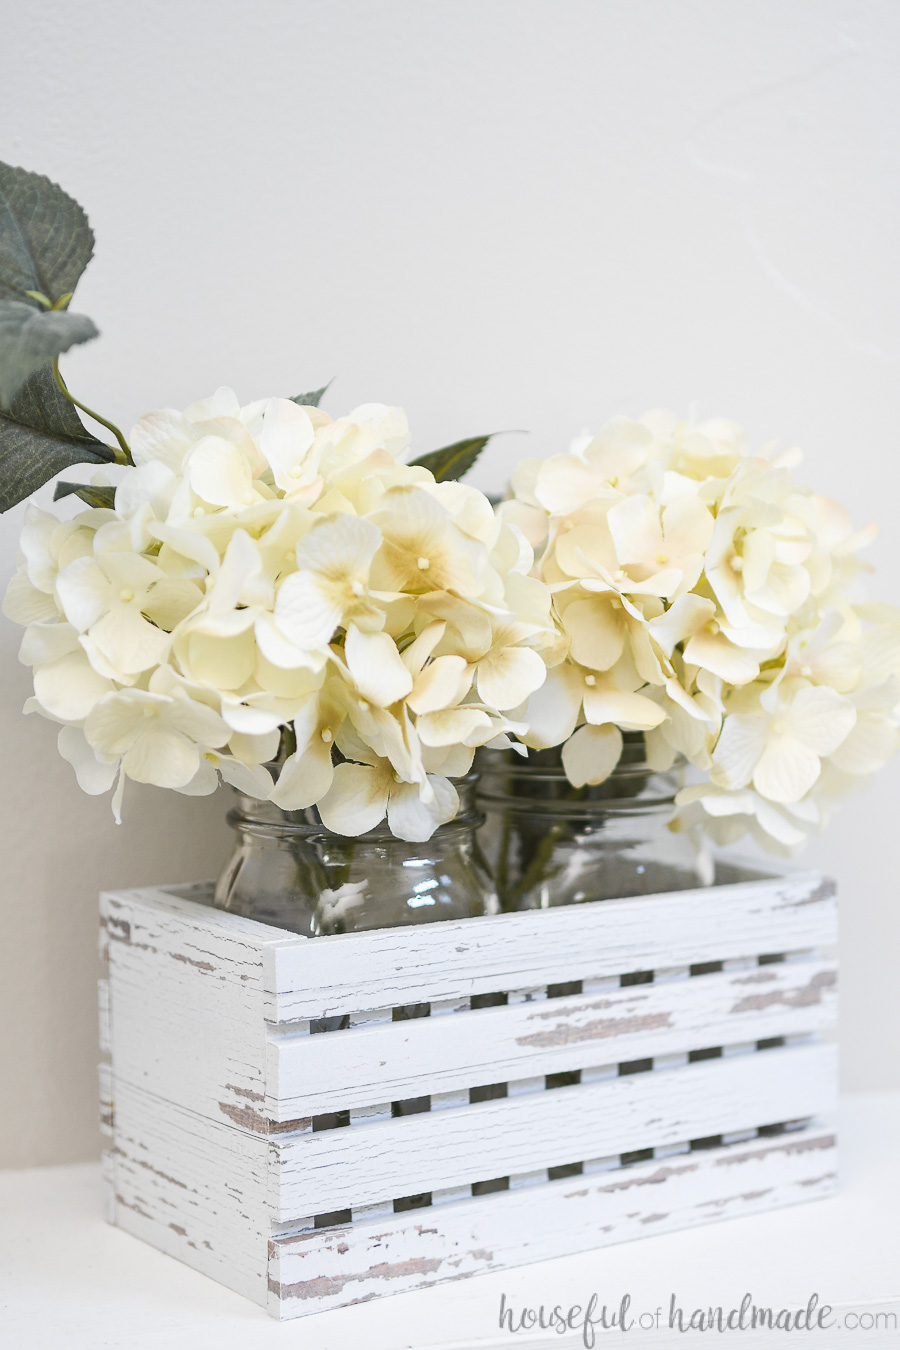
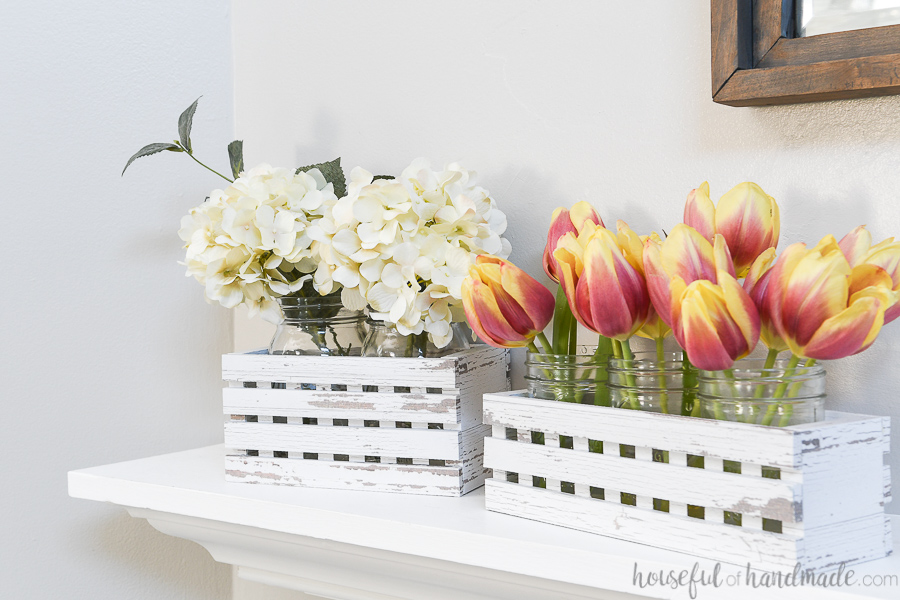
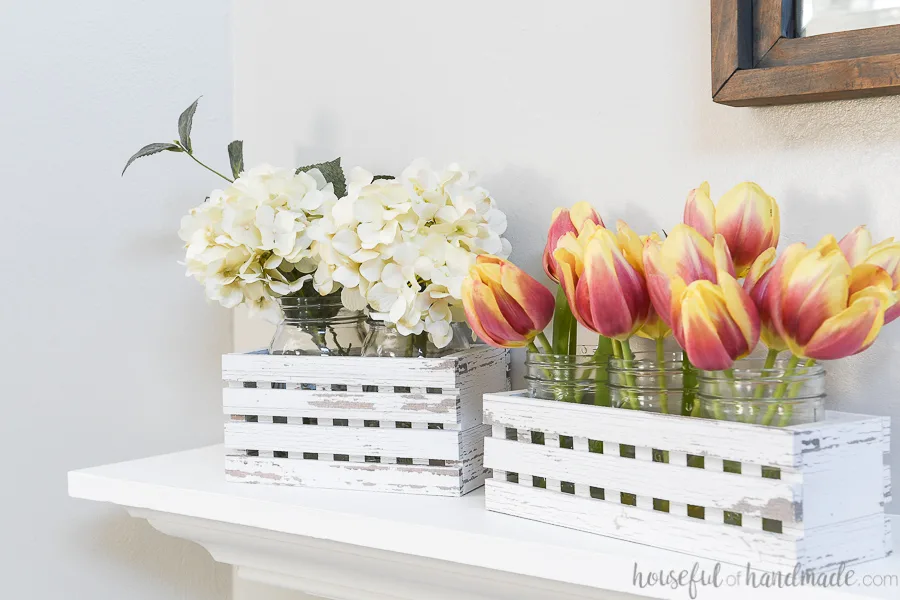
There are 2 different sized wood troughs. One is sized to hold 3 jelly jar mason jars. The other is taller and fits 2 quart sized jars.
Mason jars lined up in a trough box is a great way to contain a collection of flowers, sticks, leaves, or anything else you might put in a vase. But you don’t have to use these decorative troughs with mason jars.
You can also use them as a centerpiece with a collection of items inside. Place candles or candle sticks in them with (just make sure you are using flameless candles since they are made out of paper).
The possibilities are endless for decorating with a wood trough. And no one will know your wood trough used no power tools at all 😉
How to Make a Decorative Trough from Paper
Supplies:
- Trough template
- Cardstock
- Printer
- Hot glue gun and glue sticks
- Foam board
- Ruler
- X-acto knife
- Optional: Electronic cutting machine like a Silhouette Cameo or Cricut Maker
- You can use an electronic cutting machine to cut out the troughs or use scissors and an X-acto knife to cut them out.
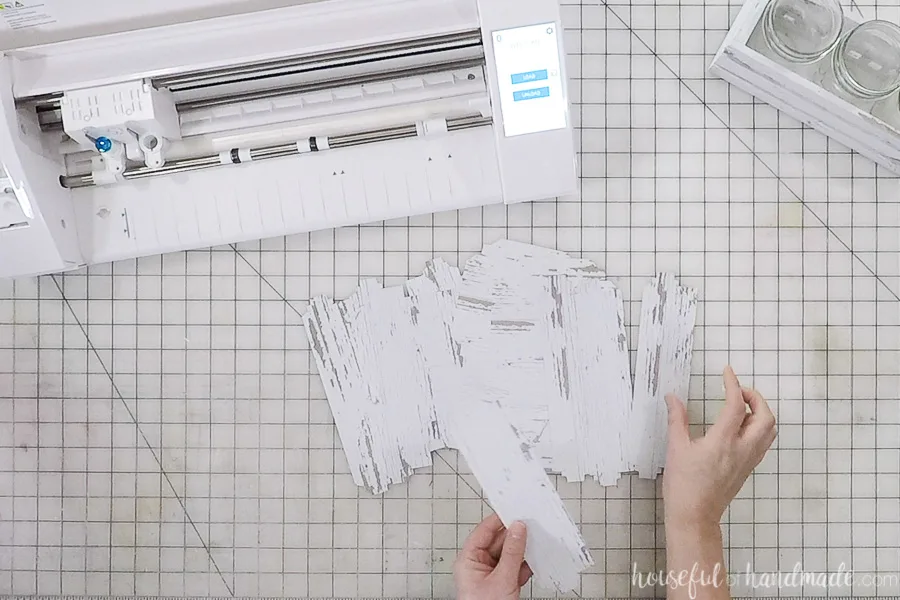
Cut out the Pieces
Print and cut out the pieces from the templates. The bottom corner on each page says how many of that page to cut out for the chosen size.
Cut out along the solid lines (they are not on the edge of the white paint design so that if using a cutting machine it has some tolerance). Fold along all the dotted lines.
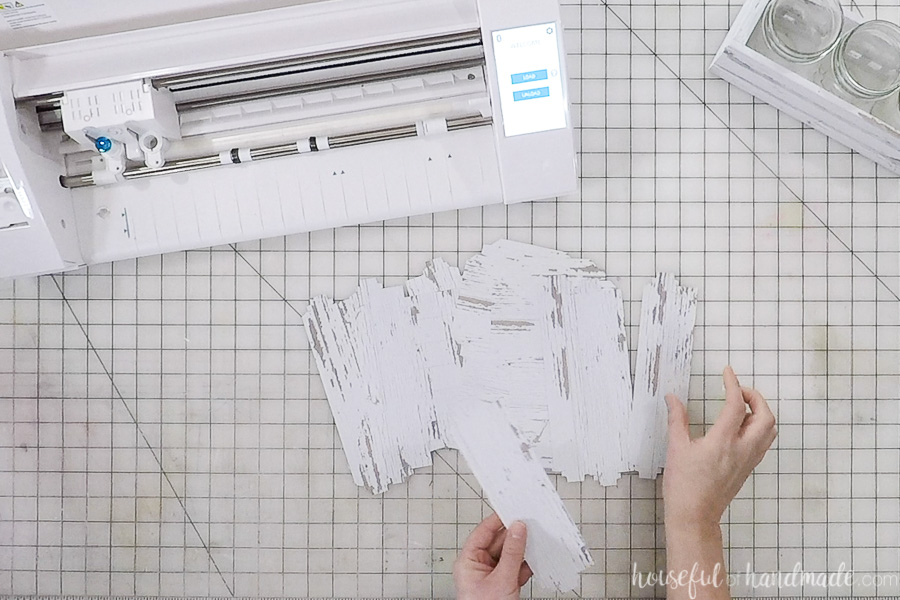
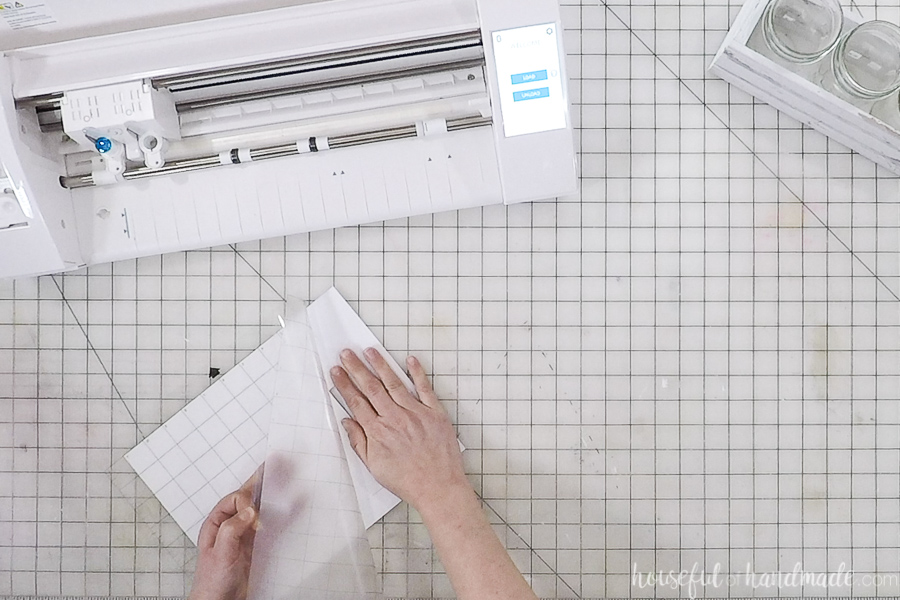
If you are cutting out with an electronic cutting machine like the Silhouette Cameo (this is the one I use all the time), use the print and cut feature to properly cut out the printed templates.
Also, make sure to turn the cutting mat over and pull it off the paper. This will keep your paper from curling up as it is removed from the sticky mat.

Assemble the Pieces
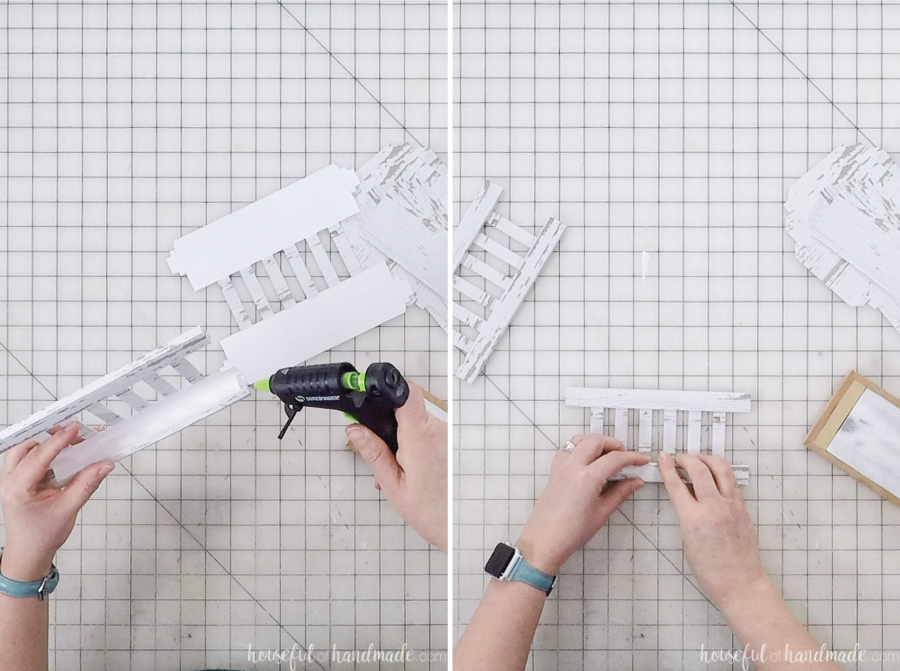
Start by assembling the large side pieces. There are slats in the center with flaps, fold those over along the dotted lines.
Then glue the flaps flat to the back (which is actually the front of the box).
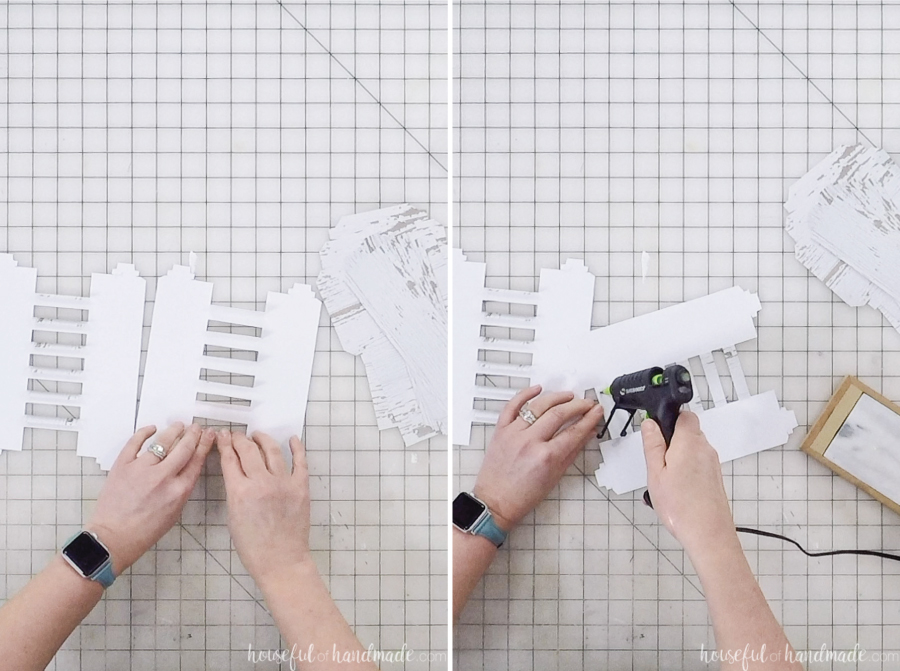
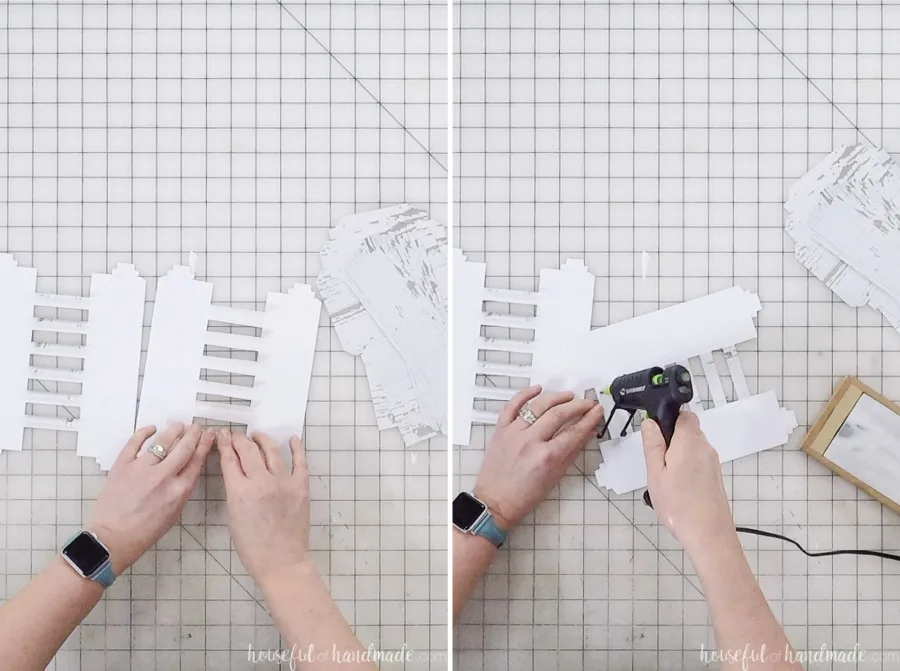
Next you will need to fold together and glue the top and bottom of this piece. They got together like a box.
Fold in the tabs on the sides and secure. Then secure the tabs all around to the back to create a long box shape.
Repeat so you have 2 sides.

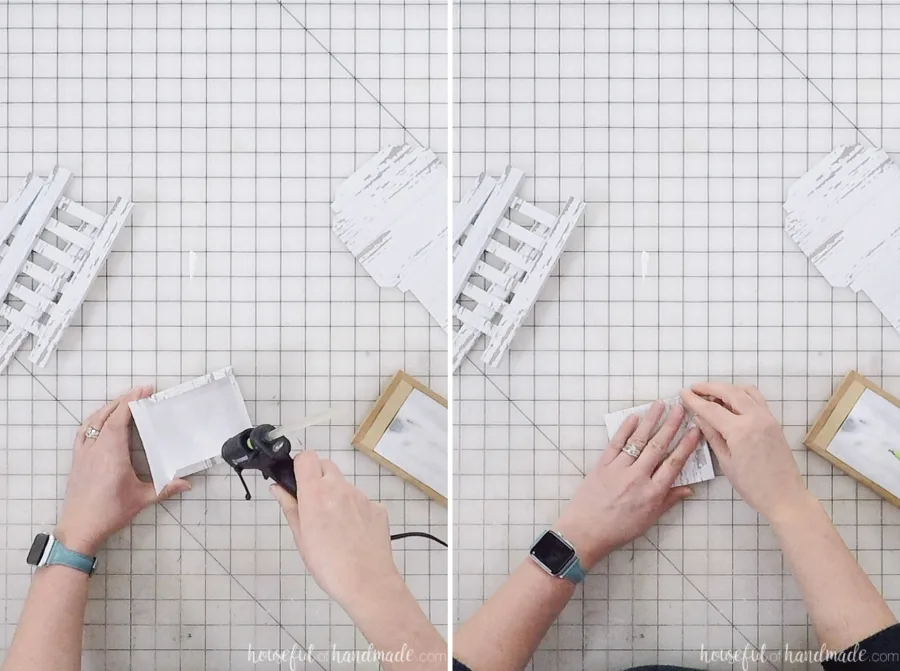
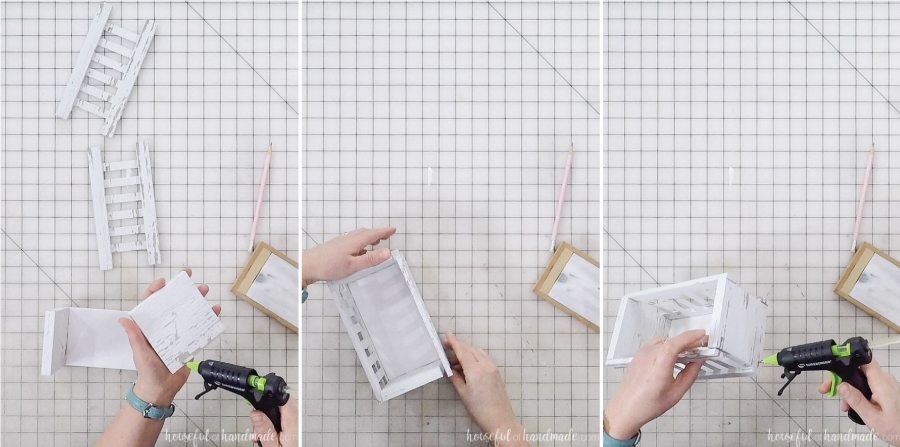
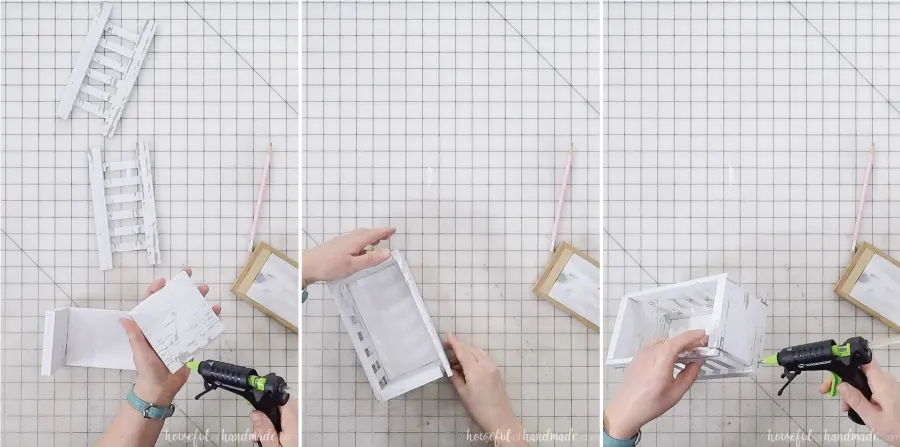
Now you will build the 2 ends. These are easy boxes made of paper.
Fold along all the dotted lines. Then glue together the tabs to secure.

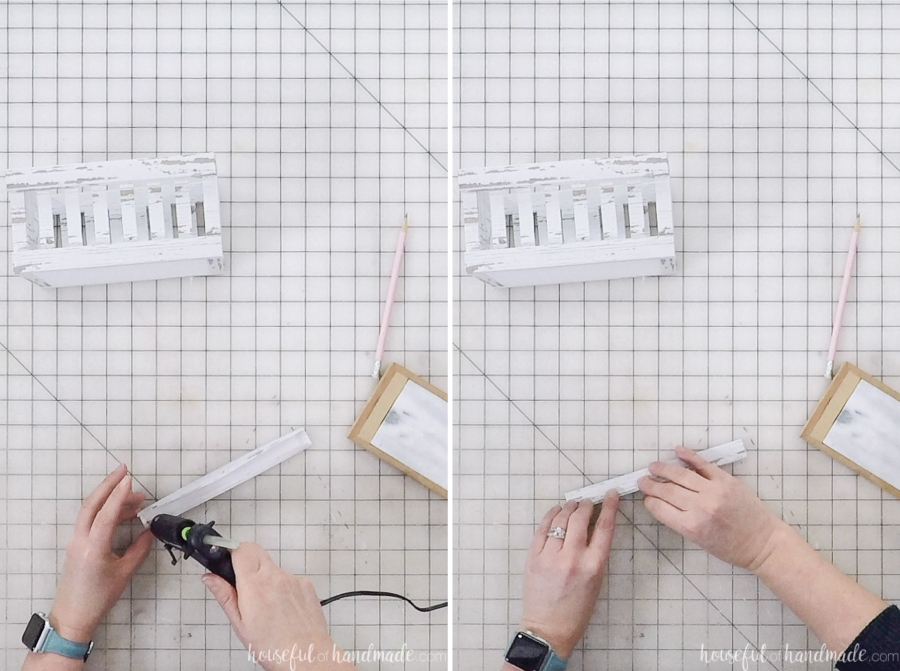
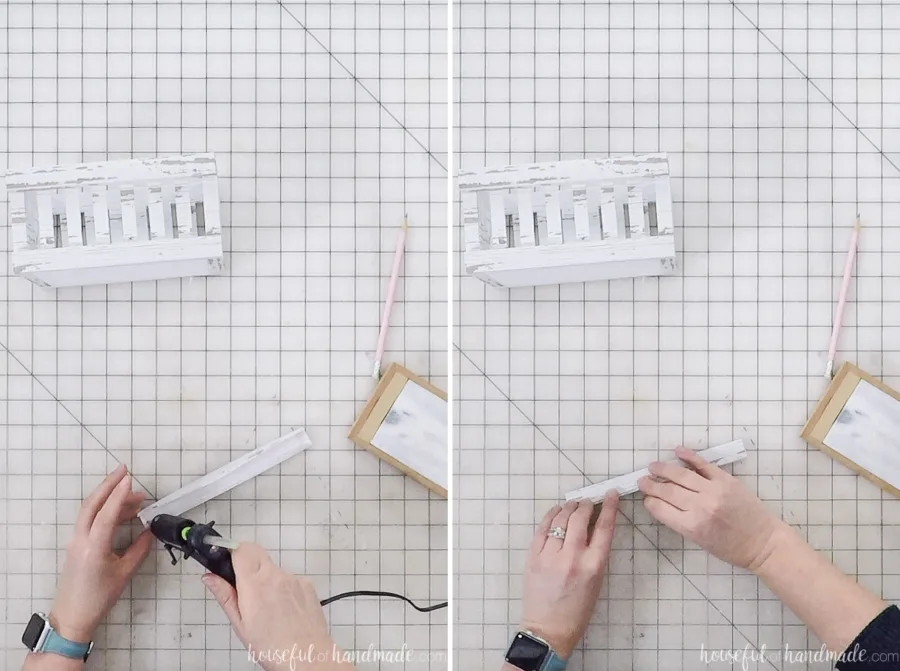
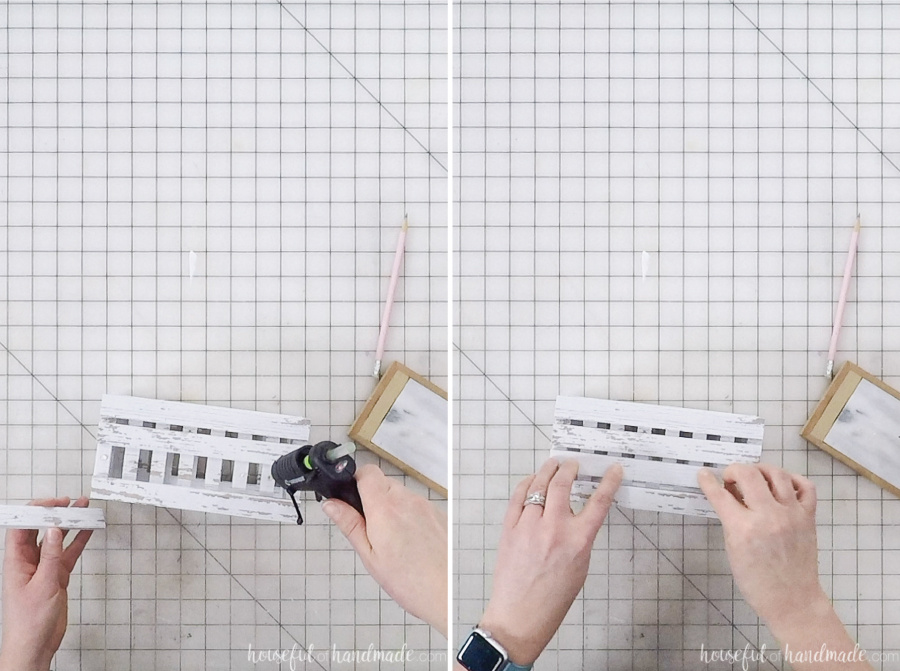
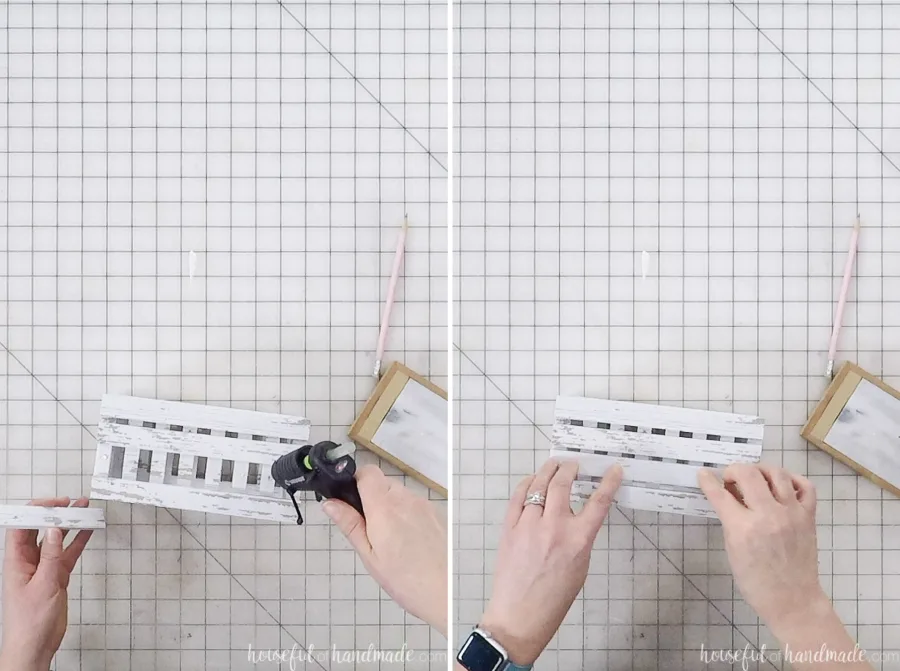
Lastly fold and glue together the other long side slats. These are also simple paper boxes, but the long size can make them tricky.
Fold along the lines, then glue down the tabs on the end. When glueing the long section, do half at a time so your glue doesn’t dry on you.
Final Trough Assembly
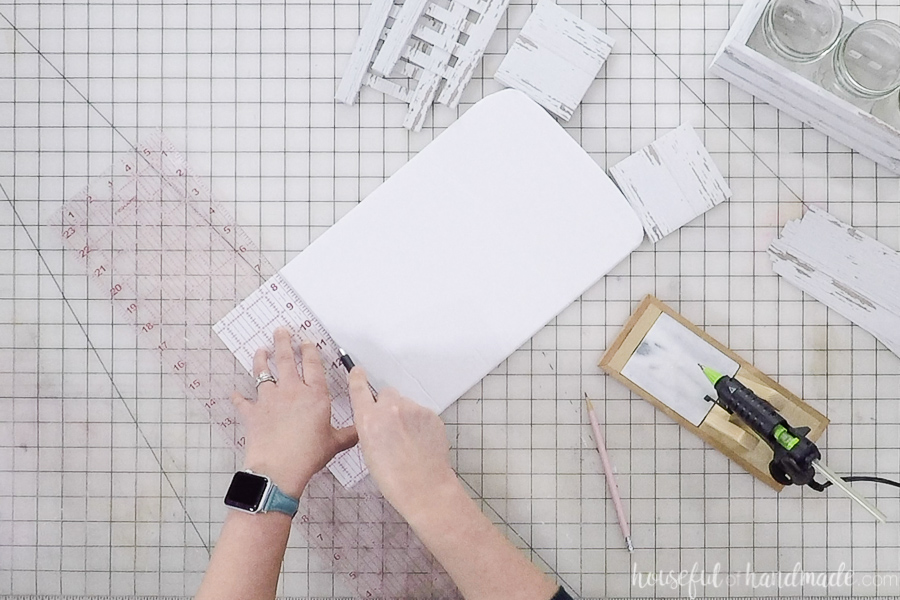
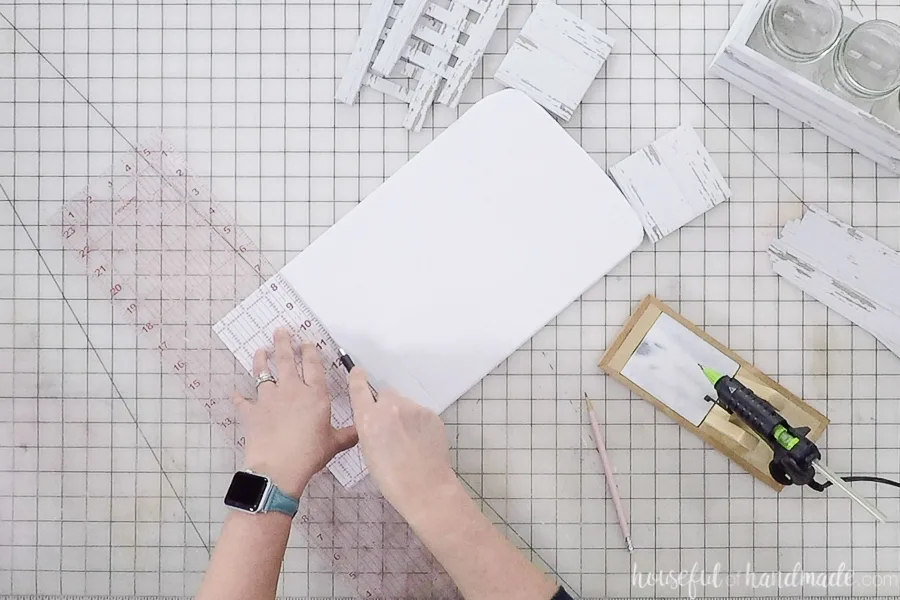
Cut a piece of foam board for the bottom. It will need to be the width of the end pieces and the length of the side pieces minus 2x the thickness of the end pieces.
The reason I don’t give you an exact measurement is because your printer can slightly shrink or enlarge the templates. It shouldn’t effect the mason jars fitting inside, but it could make the bottom slightly the wrong size. It is better to cut to fit.
I prefer to use an x-acto knife and ruler to cut the foam board because it gives me a clean cut every time. Usually I do the cut in 2 passes with the knife.
Glue the end caps to the edges of the bottom piece so the bottom of the end piece is flush with the bottom of the foam board.
Add the hot glue to the paper piece not the foam board. If you have a high temp hot glue gun it can melt the foam board to put the glue directly on it. I don’t have problems with melting if I add the glue to the paper first.
Then glue the sides to the foam board. Also, make sure to glue the sides to the ends at the top and bottom to secure.
Lastly, glue the side slats onto the front of the sides. You can measure them properly if you want, but I just eyeballed them. A little off is perfect for the chippy farmhouse look.
Make sure to add a dot of hot glue to all the slats of the side piece when glueing them on. This will make sure they are very secure.
Decorating with your Trough Box
Now you can load the boxes up with your mason jars. Have fun filling them with flowers like I did or get creative!
I love that the boxes look like they were made from reclaimed white chippy boards, but they are not!
And the design goes all around the entire trough box so you can use these inexpensive decorations for so many things. How cute would they be for wedding centerpieces???
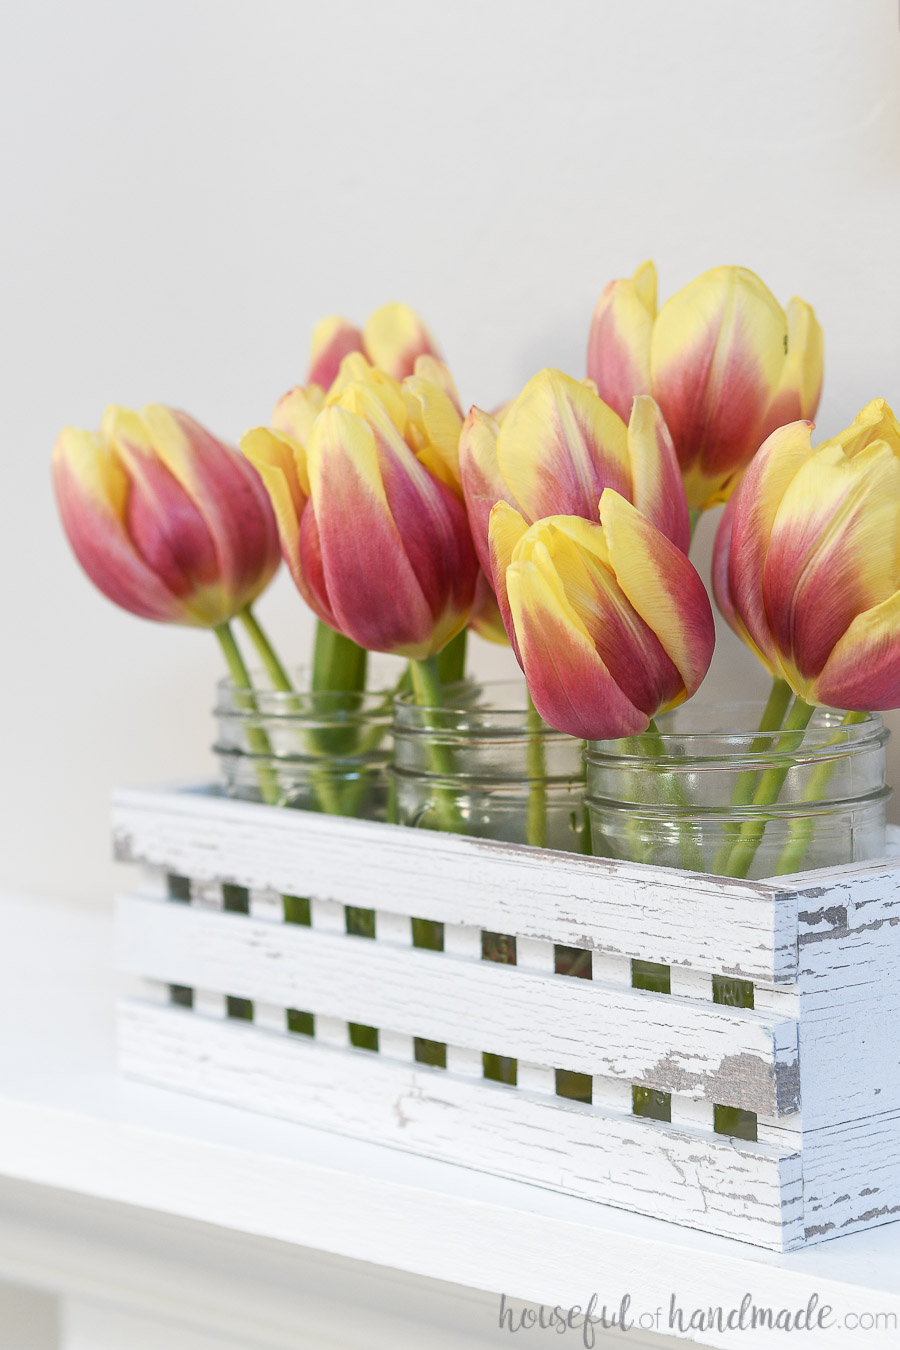
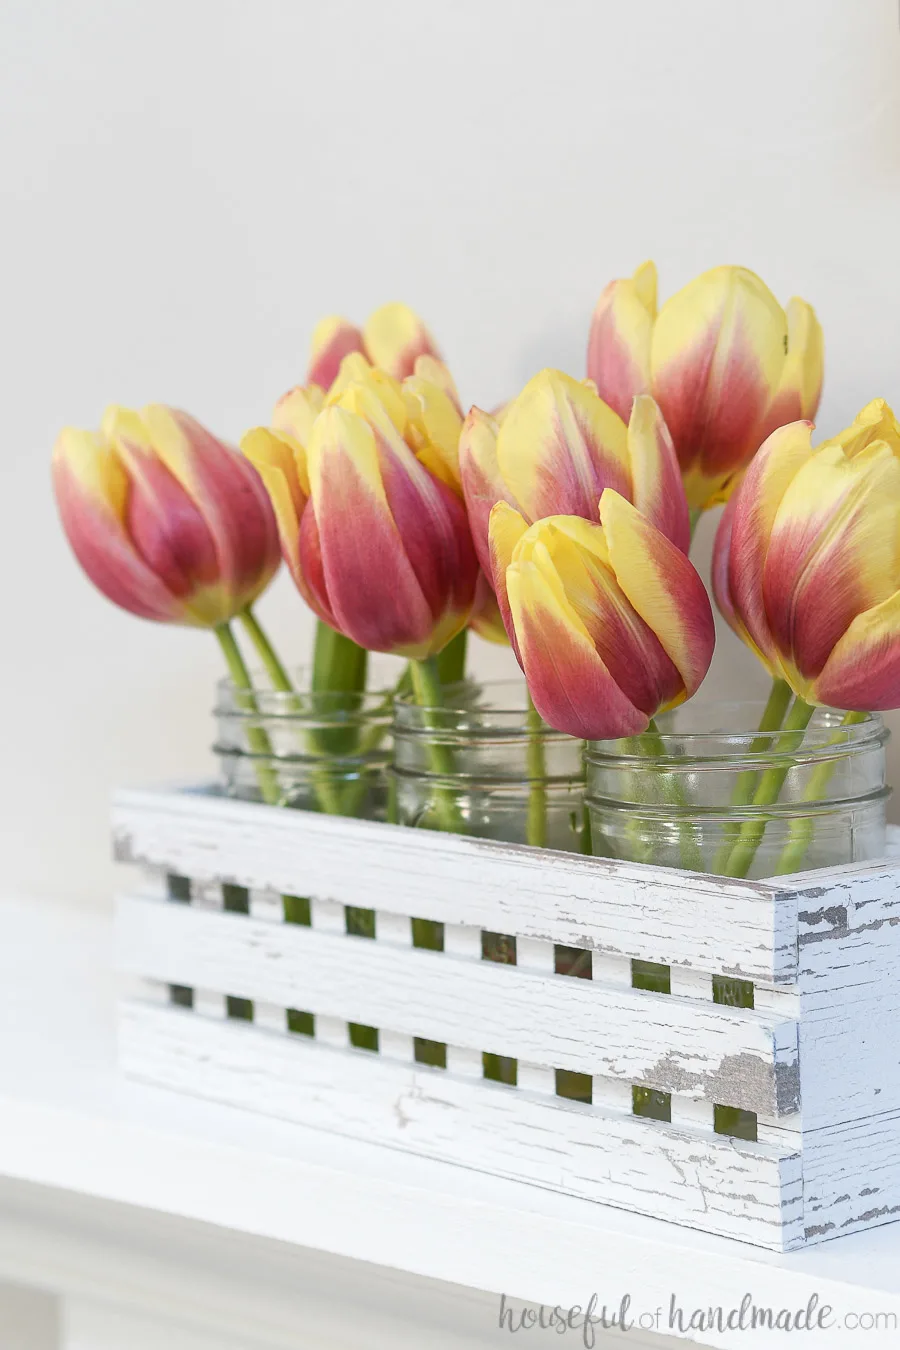
I am loving them on my mantel right now, but I just need to finish up my spring mantel to hopefully encourage Mother Nature to stop sending us snow!
Happy crafting!