
Add a large pallet wood clock to your home without spending lots of money or needing power tools.
Making unique home decor out of paper is an obsession of mine. I love the look on peoples face when I tell them that something is paper, not metal, wood or something else it appears to be.
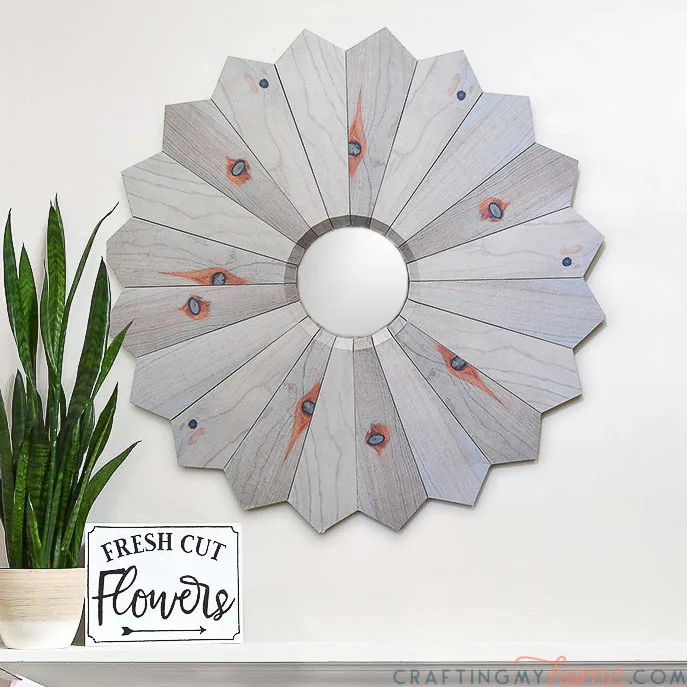
It all started with this Anthropologie mirror knock off and then I was ready to stretch myself to make other cool decor from paper.
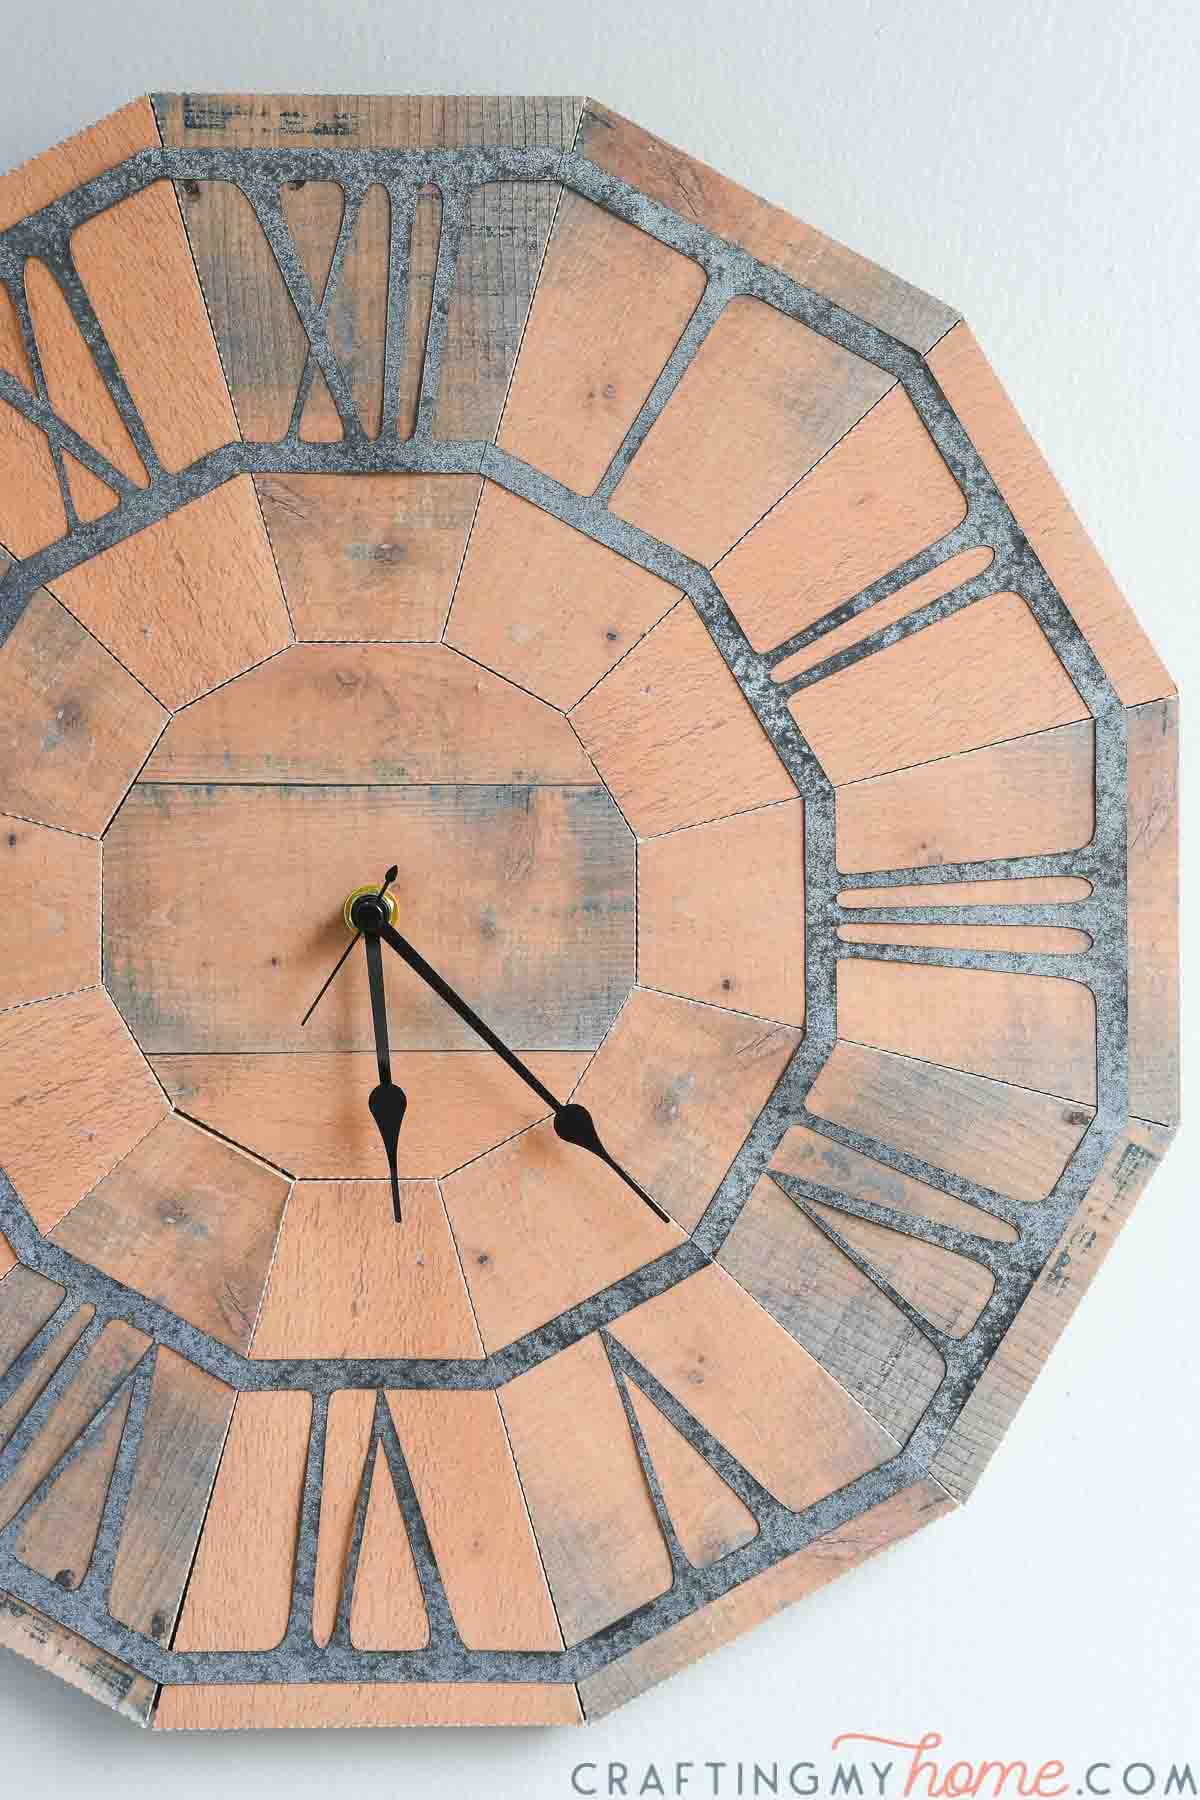
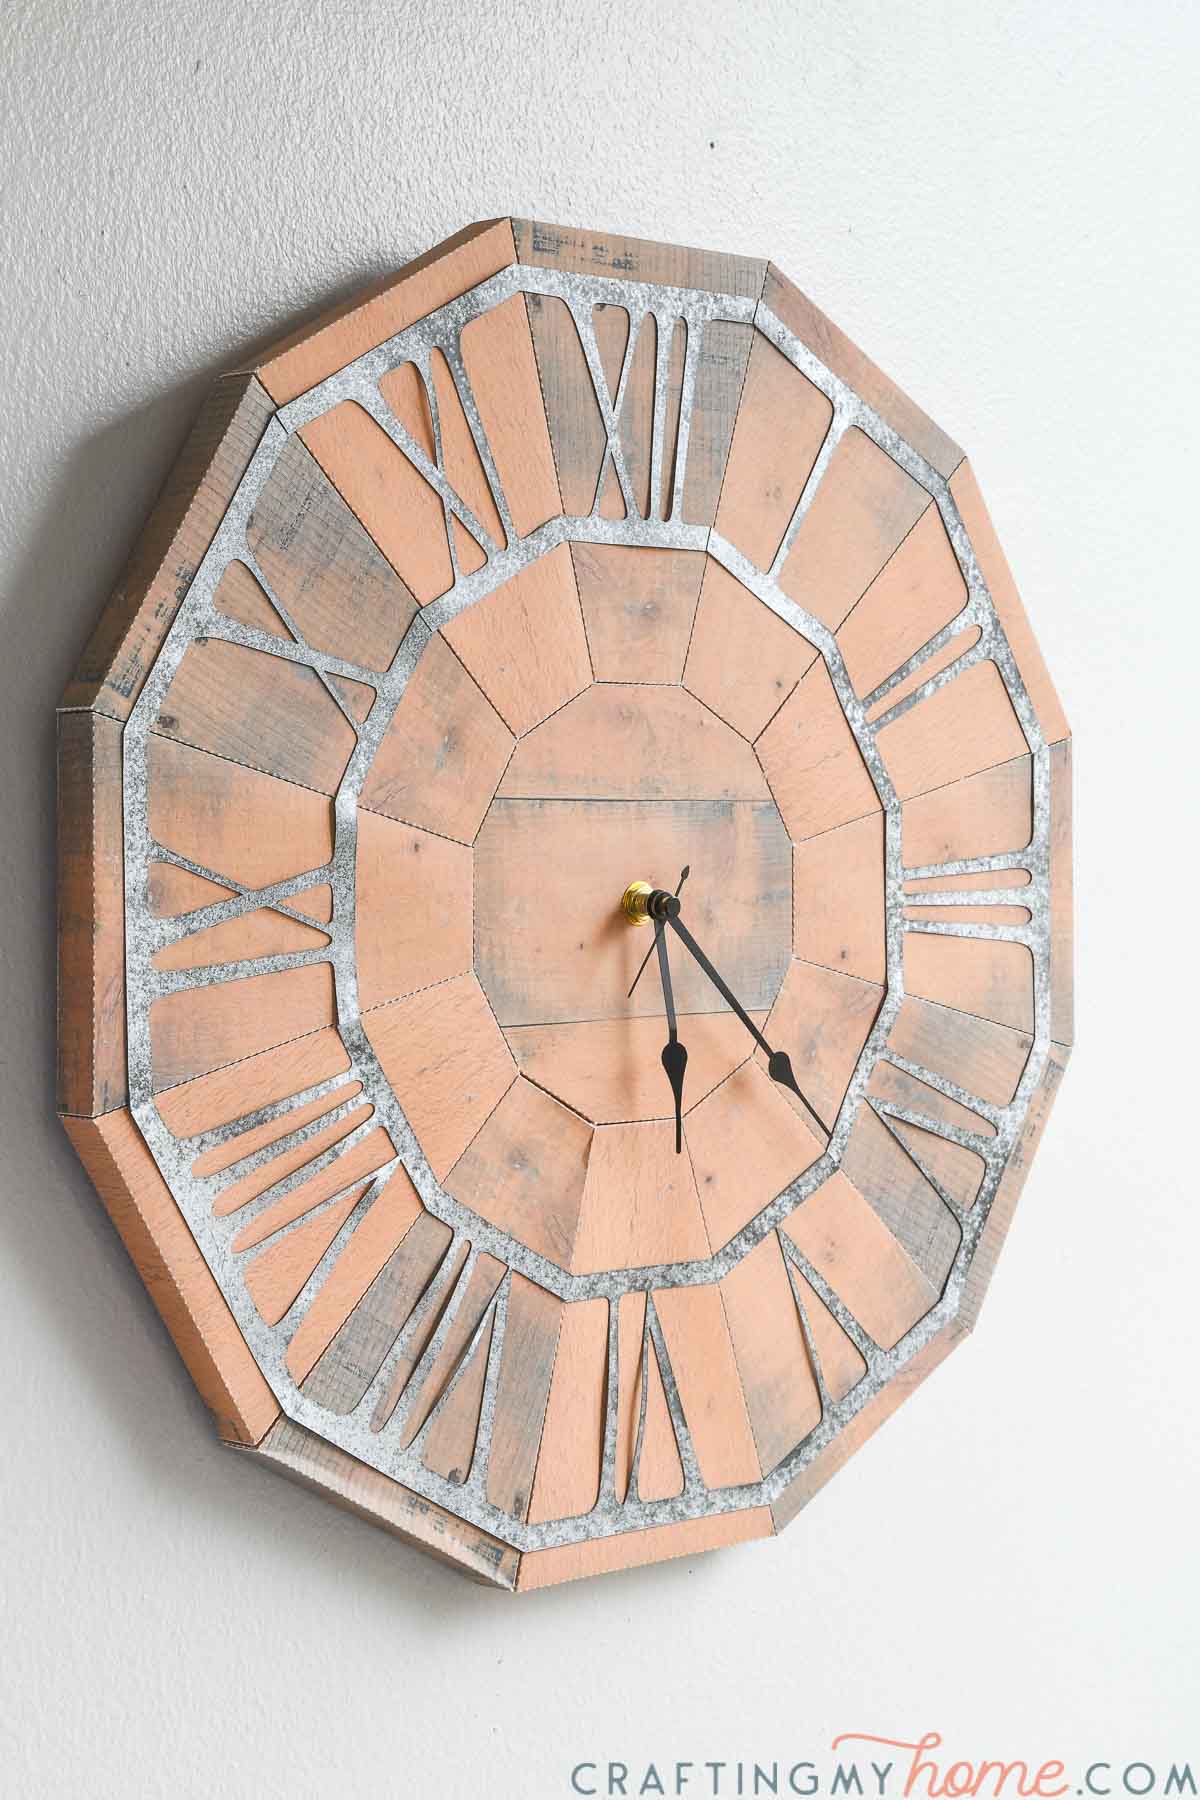
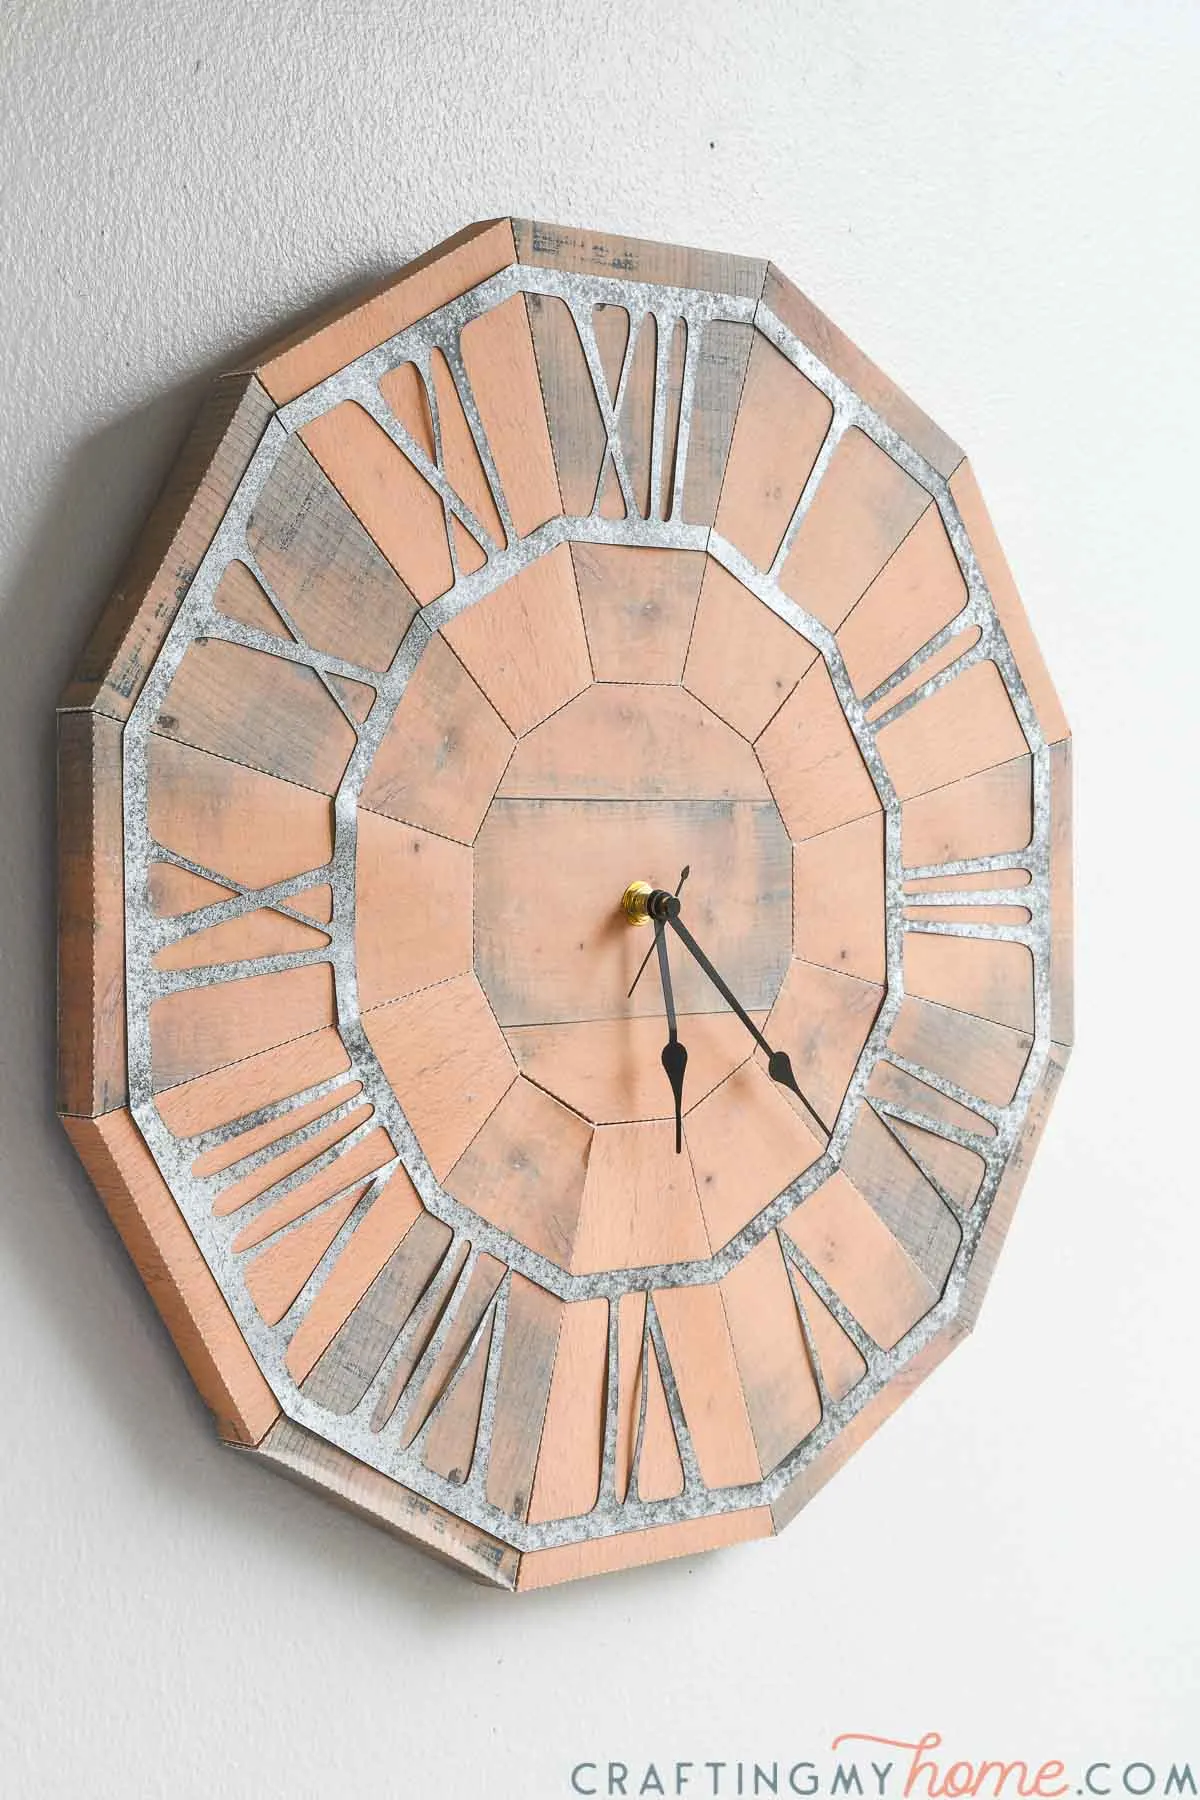
So I set out to make a working clock from paper. This beautiful clock looks like a pallet wood clock with metal numbers on top. But instead, everything but the working clock hands are made out of paper!
This post may contain affiliate links. As an Amazon Associate I earn from qualifying purchases. Click here to read my full disclosure policy.

You may be thinking a paper clock is flimsy. Of course it is not as heavy as an actual wood clock would be.
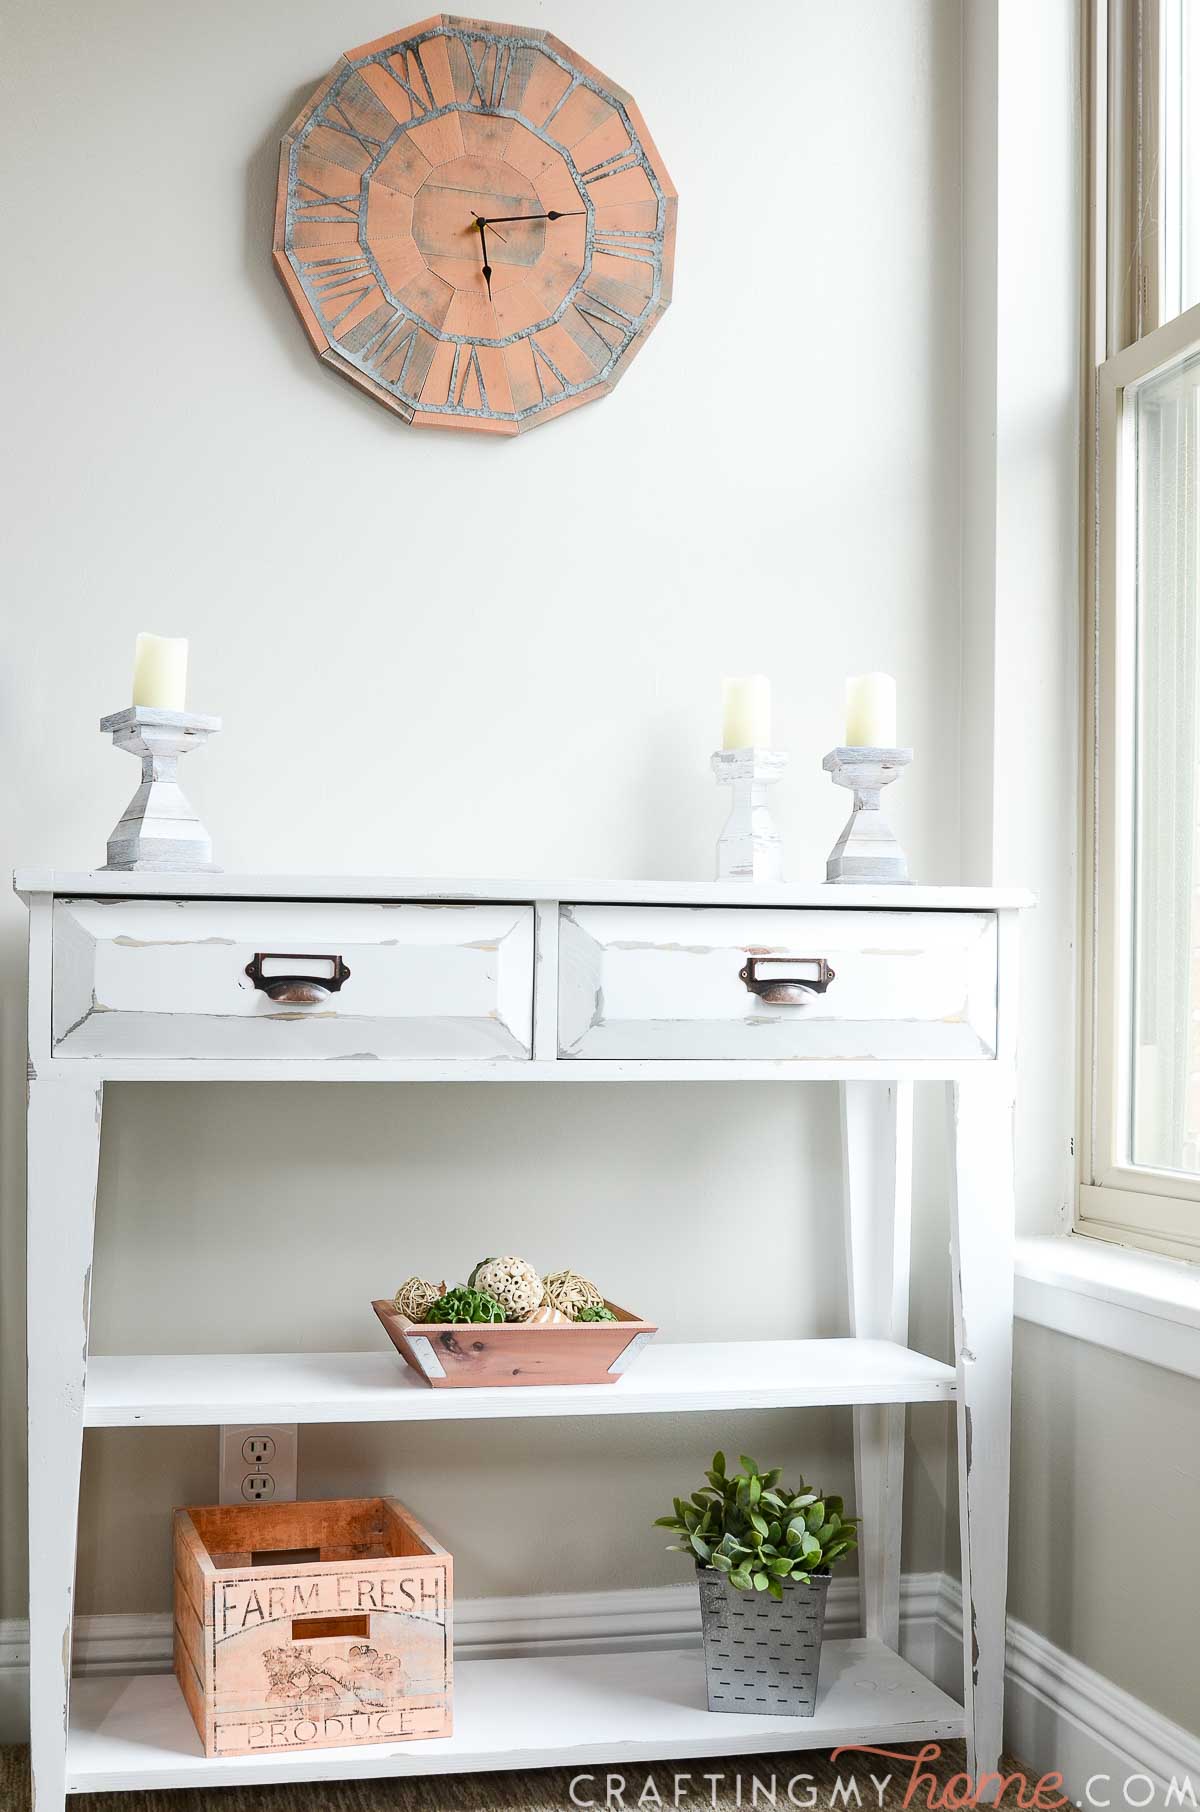
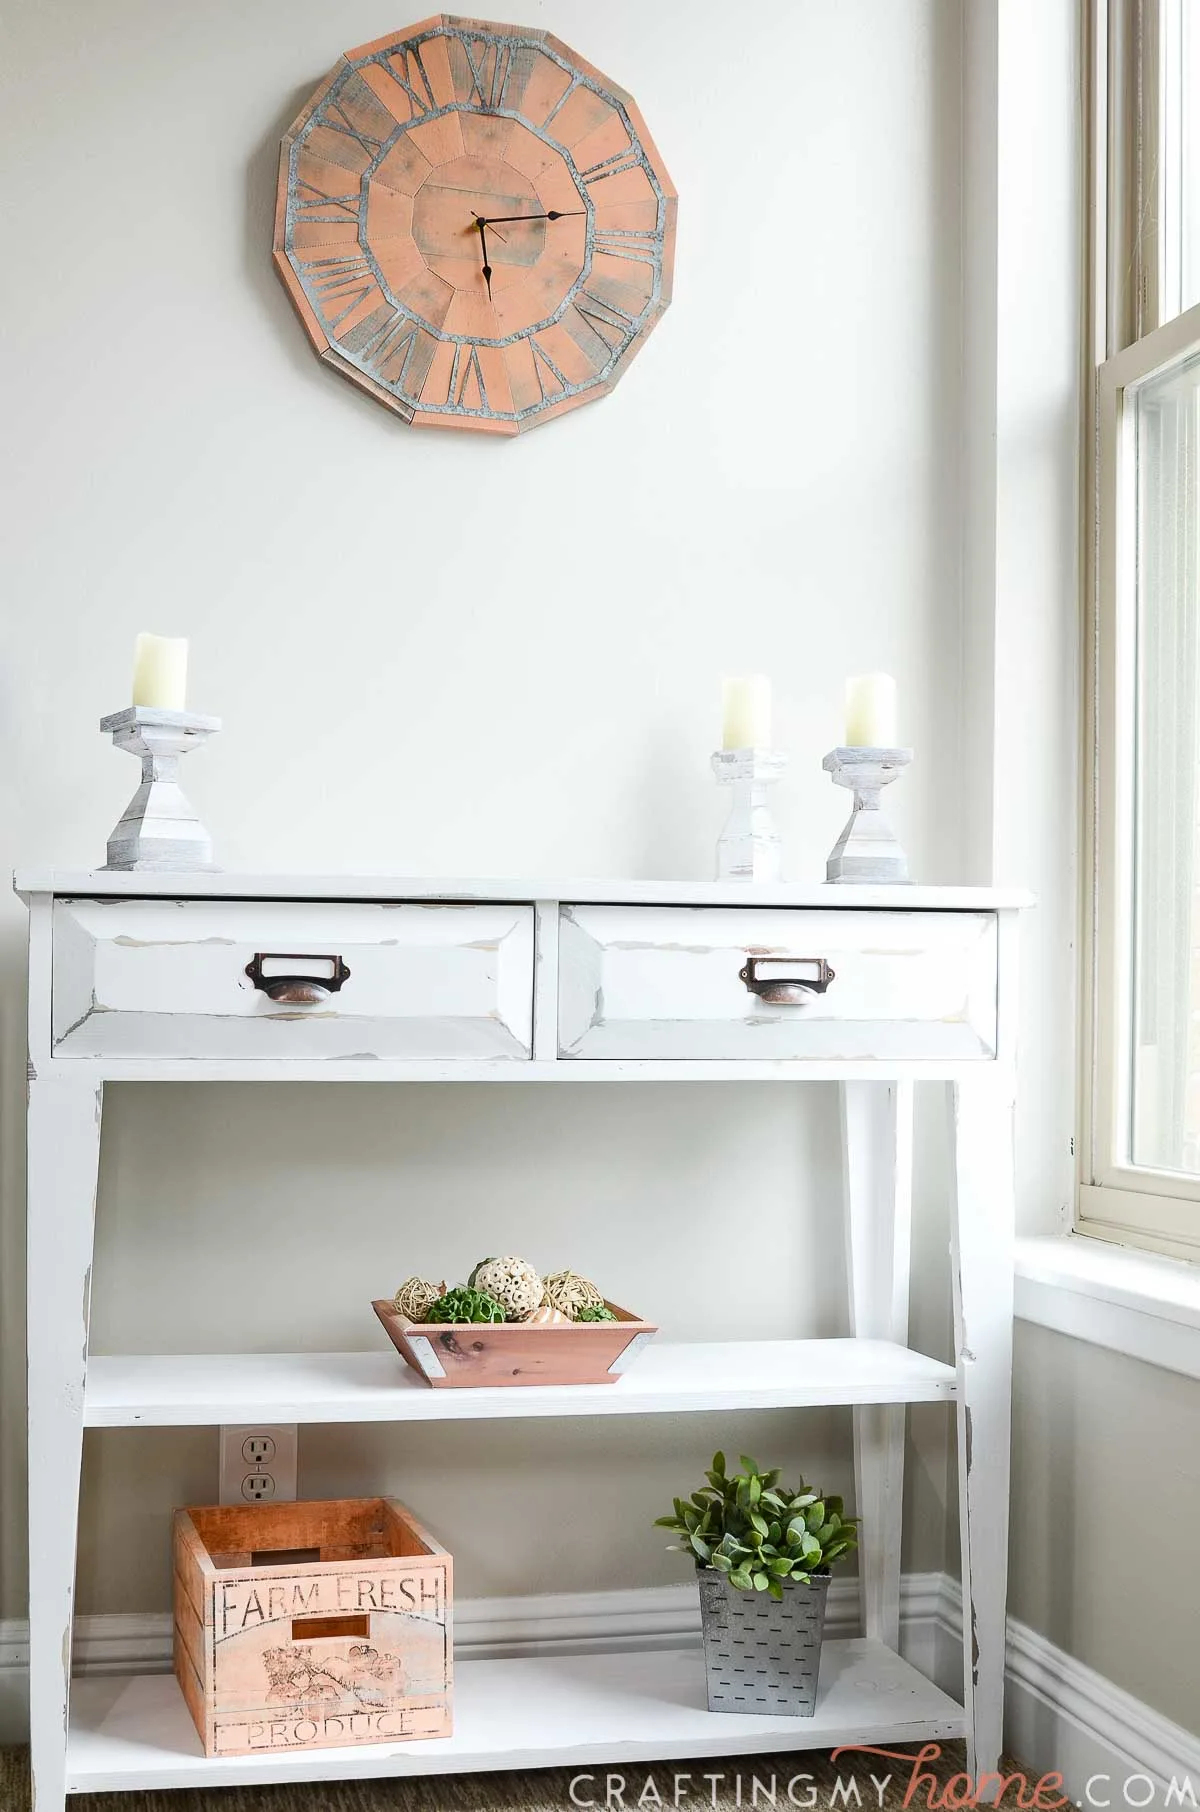
But that is actually something I love about paper home decor. You can easily hang your paper wall clock without needing to put holes in the walls. The lightweight clock is hung with just a Command strip.
And yes, if you toss something at it, it will break. But after I hung my paper clock on the wall, no one ever touched it. It just looks amazing and fills a gap on my wall for less than $10 in supplies.
Not only will you have fun making the paper wall clock, but you will also have fun when you shock your visitors by telling them you made it out of paper!
This easy to make pallet wall clock craft is perfect for:
- Anyone who likes to craft with their Silhouette Cameo or Cricut Maker
- Someone in a rental or dorm who cannot damage walls by hanging traditional decor
- Anyone who likes to save money and still have a beautiful home
Whatever reason you have for creating a fun new clock, I hope you have as much fun as I did!
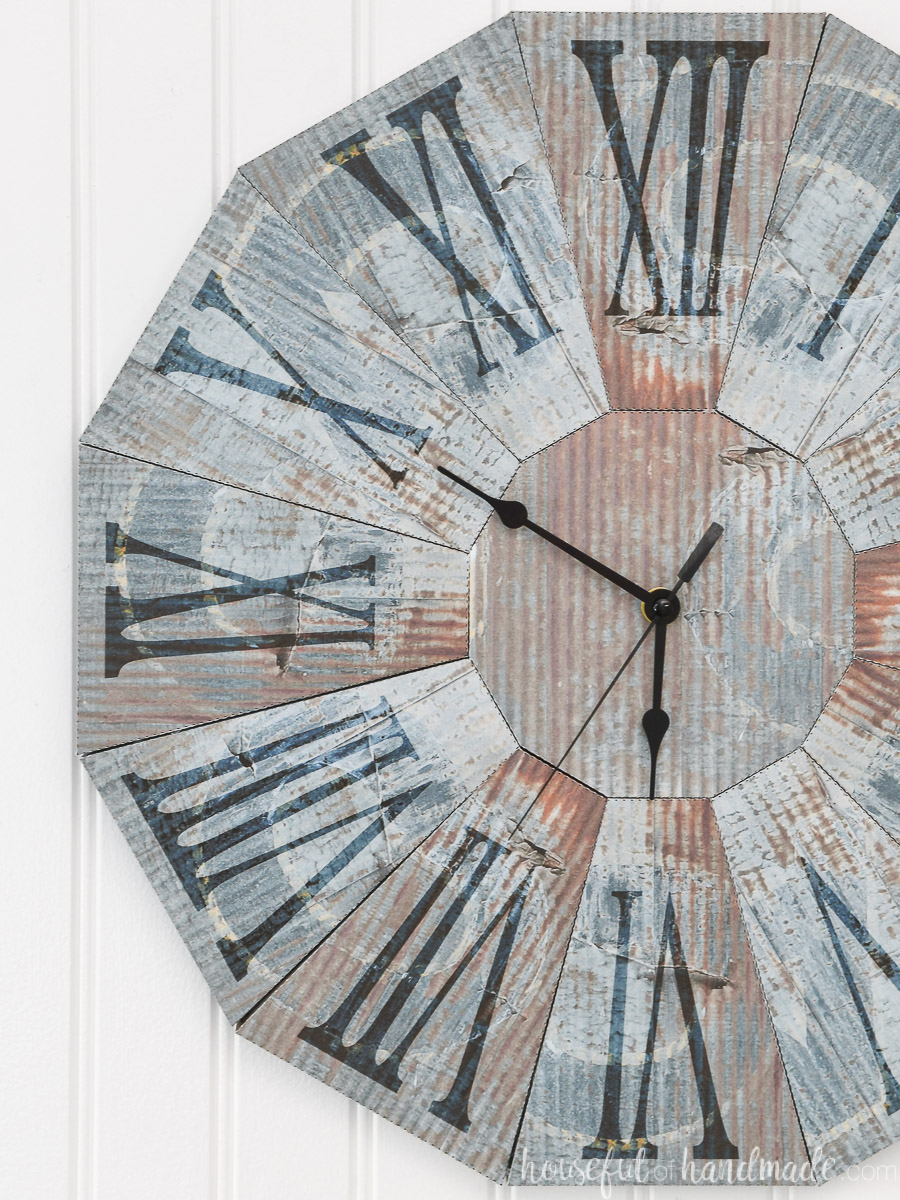
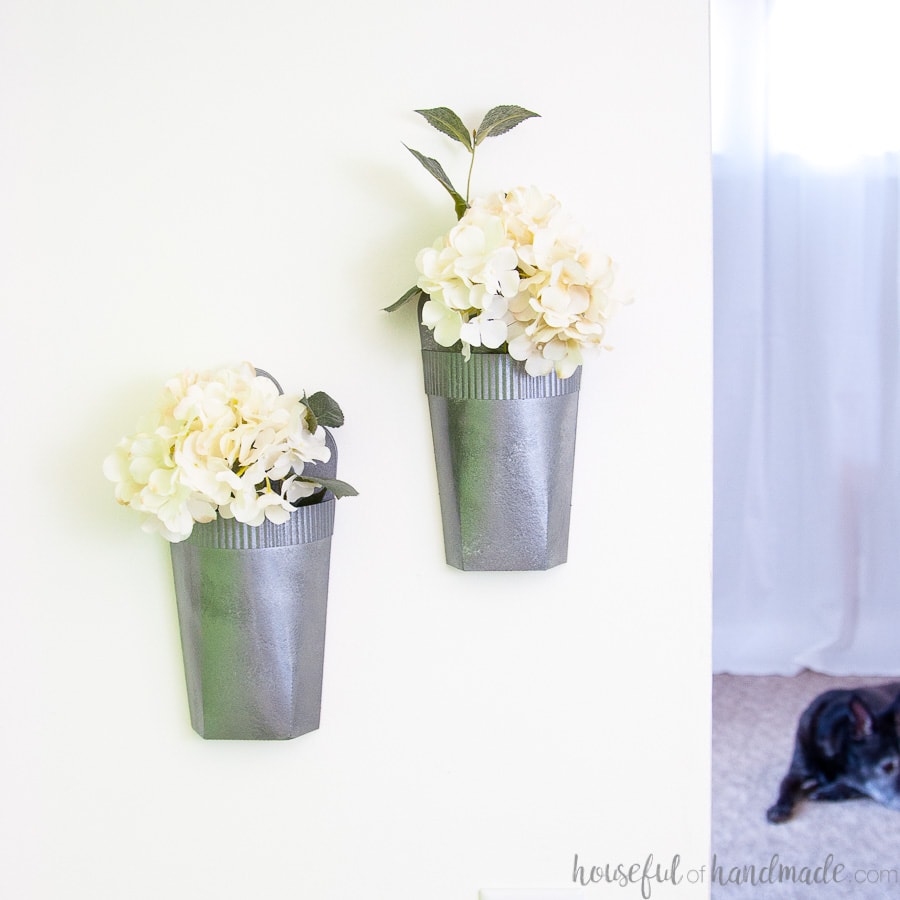
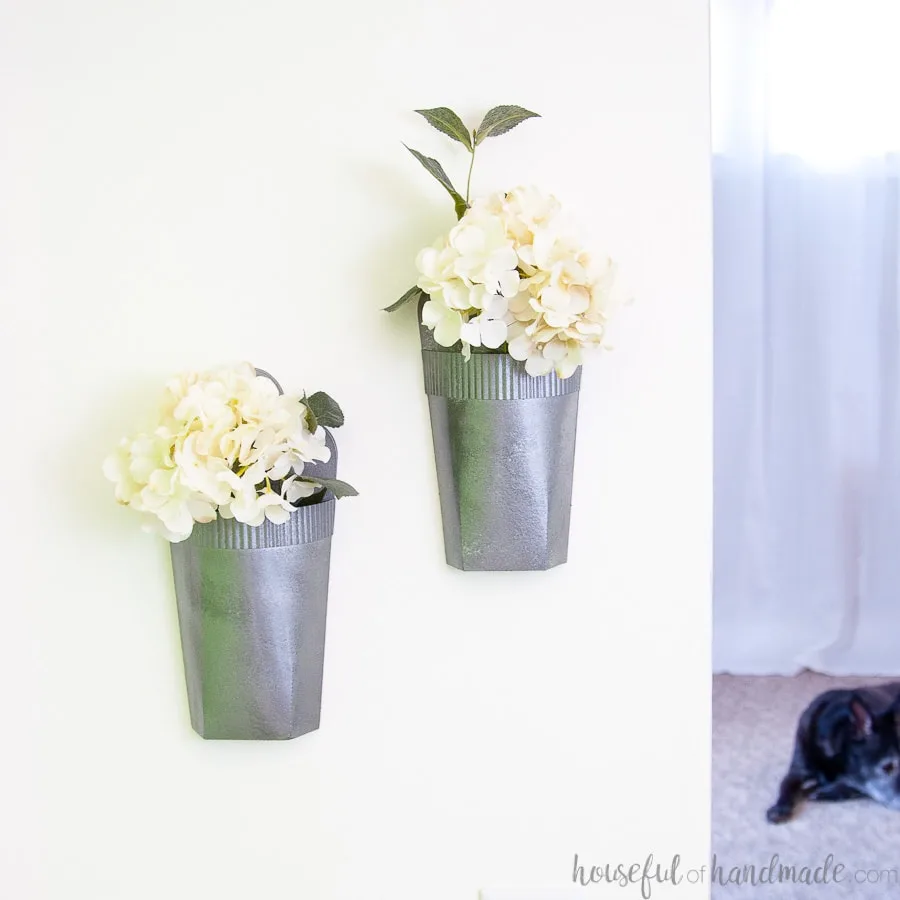
And if you like this clock, make sure to check out this rusted blue steel clock that is also made out of paper!

How to Make a Rustic Paper Clock
Supplies:
- Pallet wood clock template
- (17) 8 1/2 x 11 sheets of cardstock
- Printer
- Hot glue gun and glue sticks
- Hammered metal spray paint
- Foam board
- X-acto knife
- Clock mechanism kit
- Optional: Electronic cutting machine like a Silhouette Cameo or Cricut Maker
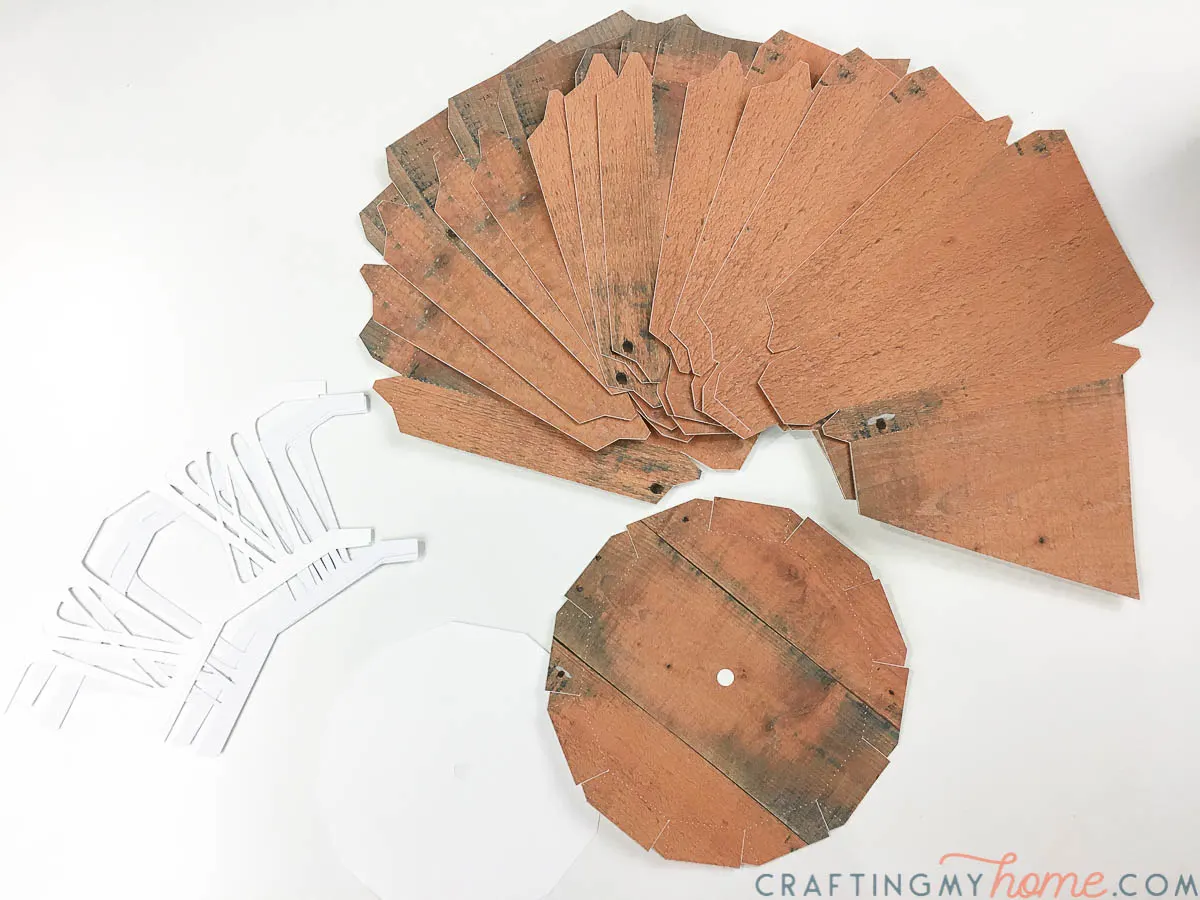
Cut out the pieces
The clock is made up of a center piece and 12 outer sections. Then there are 6 pieces that make up the numbers that sit on top of the clock.
There are 3 different pallet wood textures on the outer sections, so each outer section will need to be printed and cut out 4 times.
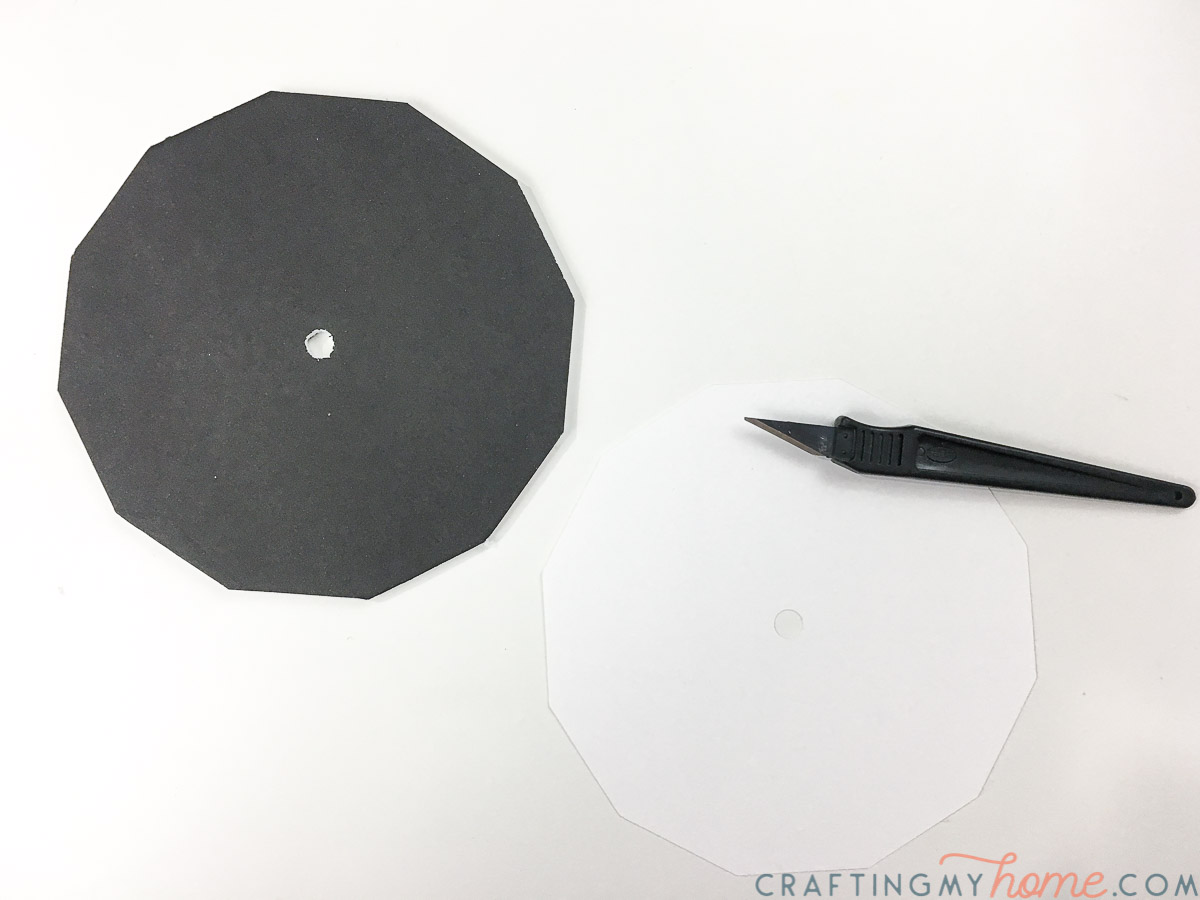
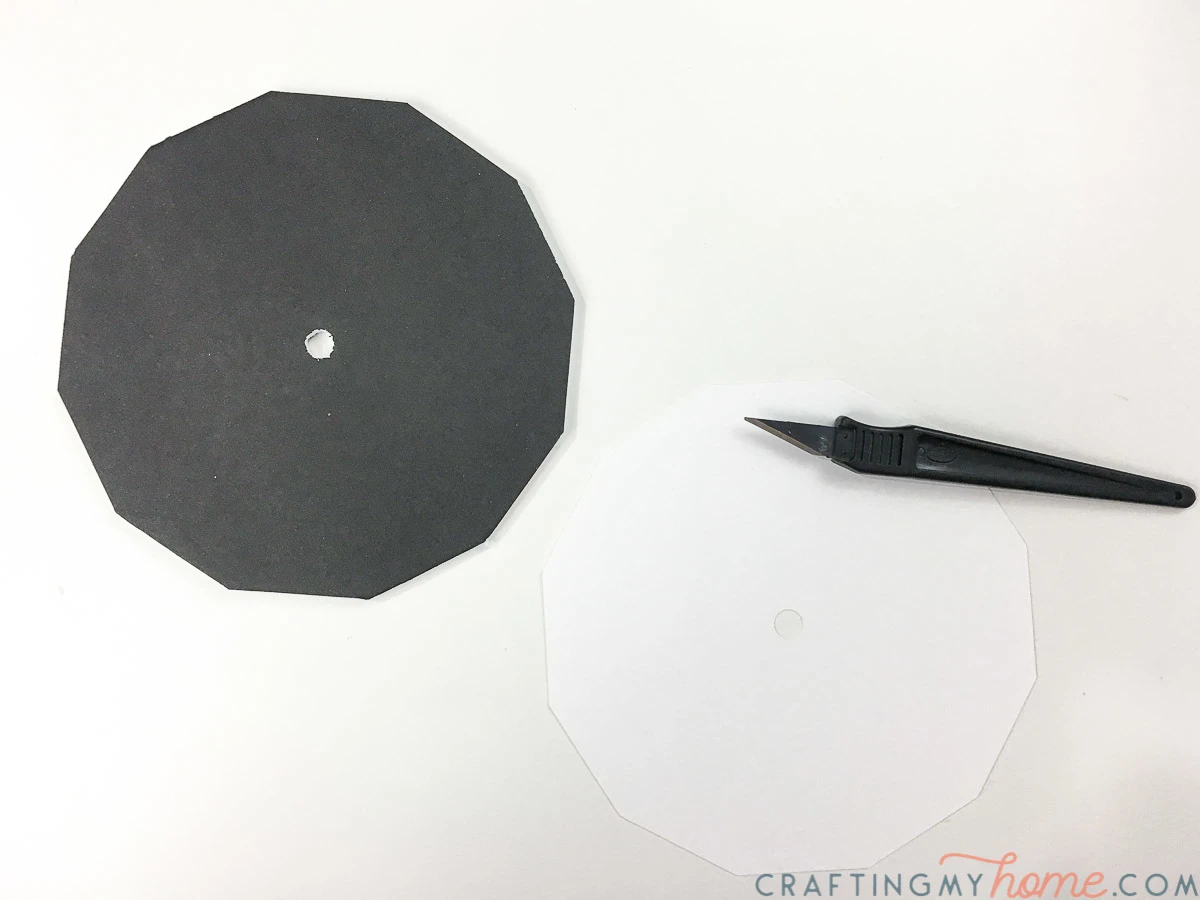
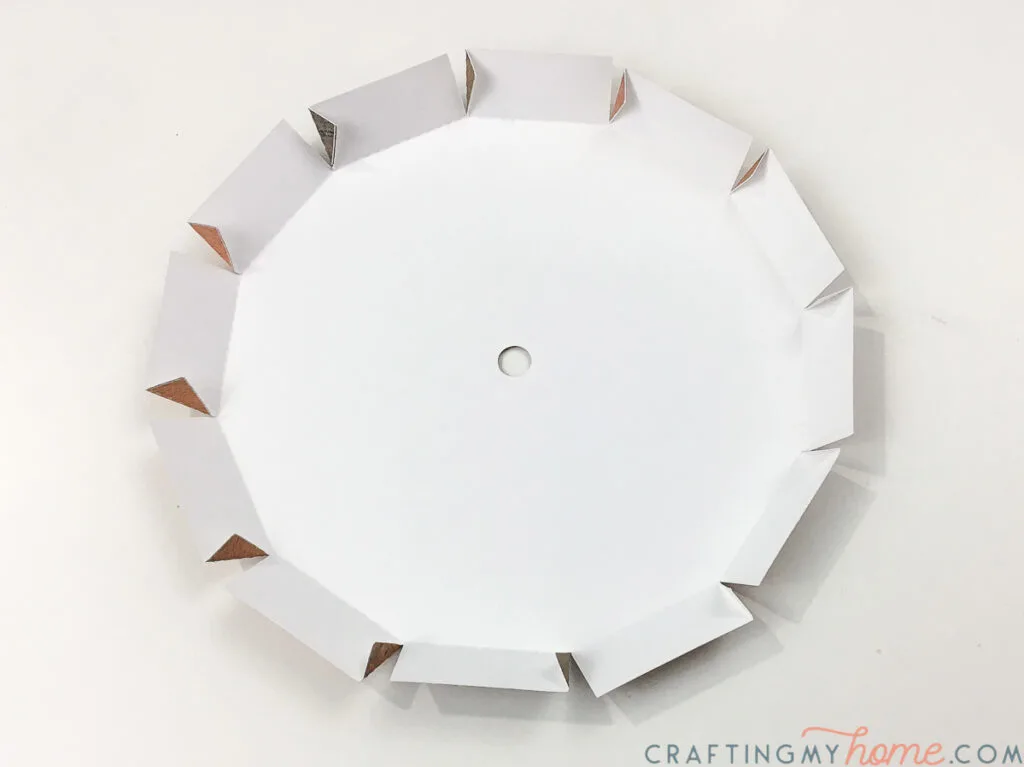
Before cutting out the center pieces, add a hole the size indicated by the clock mechanism you purchased to the center of it and the center template.
If using a Silhouette or Cricut cutting machine, use the Print & Cut feature on the 1 center and 12 outer pieces.
The numbers and center template do not need to be printed first, but it is critical that if the other pieces are resized to accommodate the Print & Cut then these pieces be resized the same amount so they fit together properly.

After cutting out the center template, use that template to cut out a piece of foam board.
Make sure to also cut out the hole you added to the center for your clock mechanism.
I like to use a sharp x-acto knife to cut the foam board cleanly. Scissors will squish the edges of the foam board.
Fold and assemble the pieces
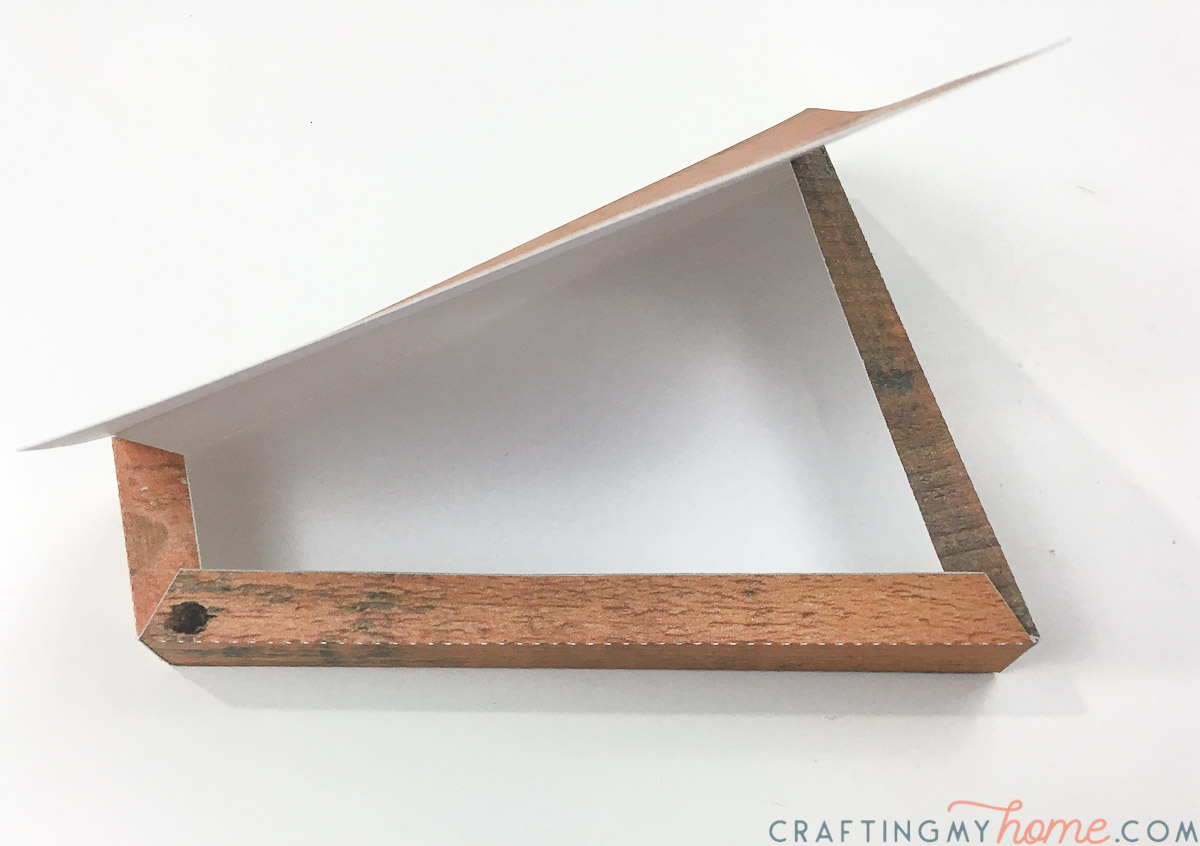
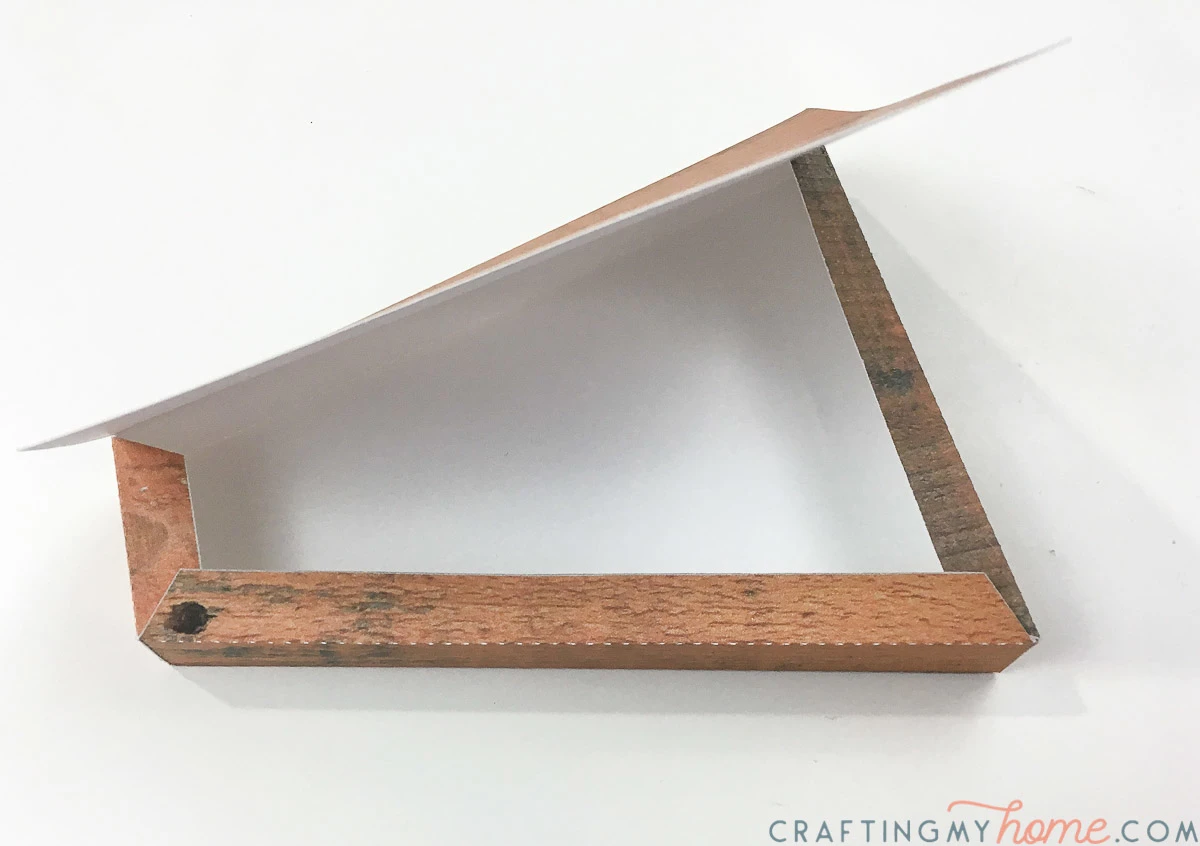
Fold along all the dotted pieces on the outer sections.
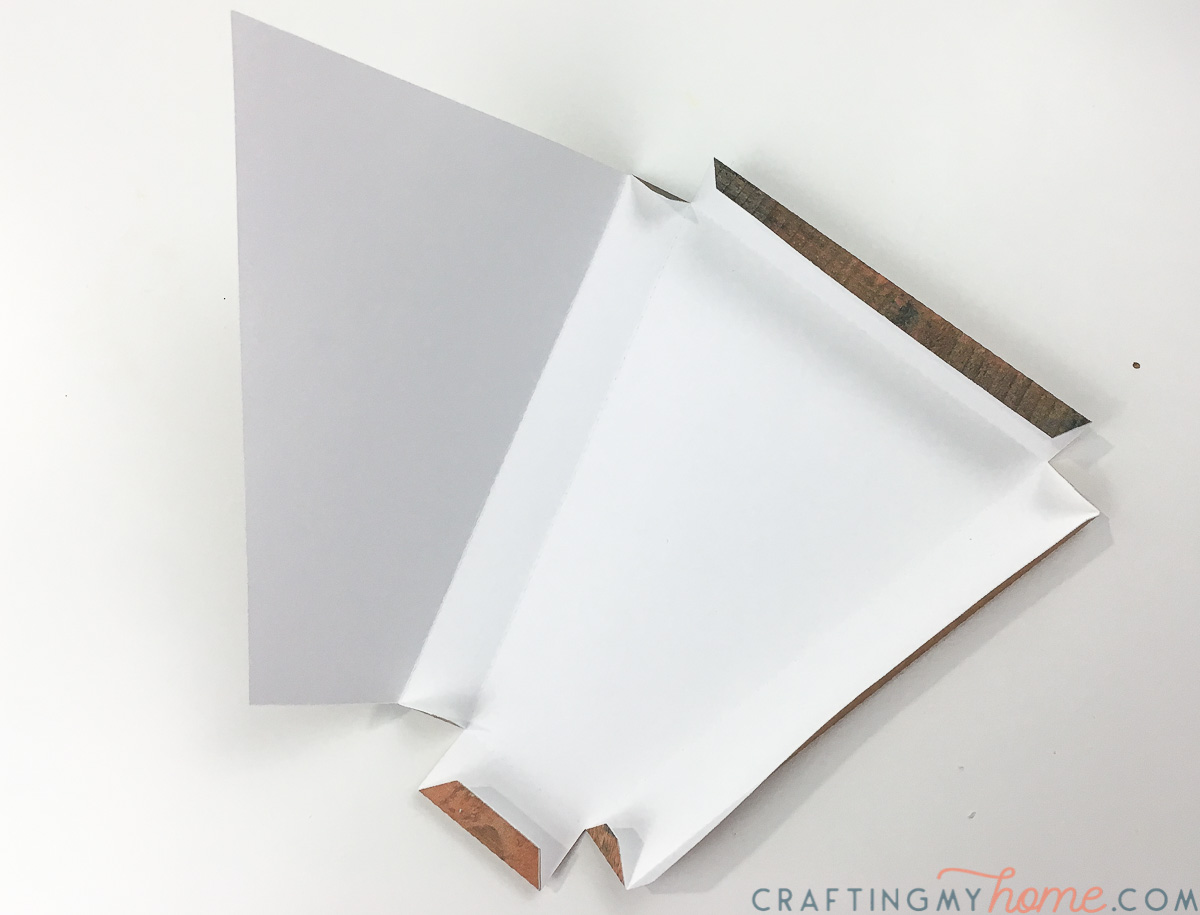
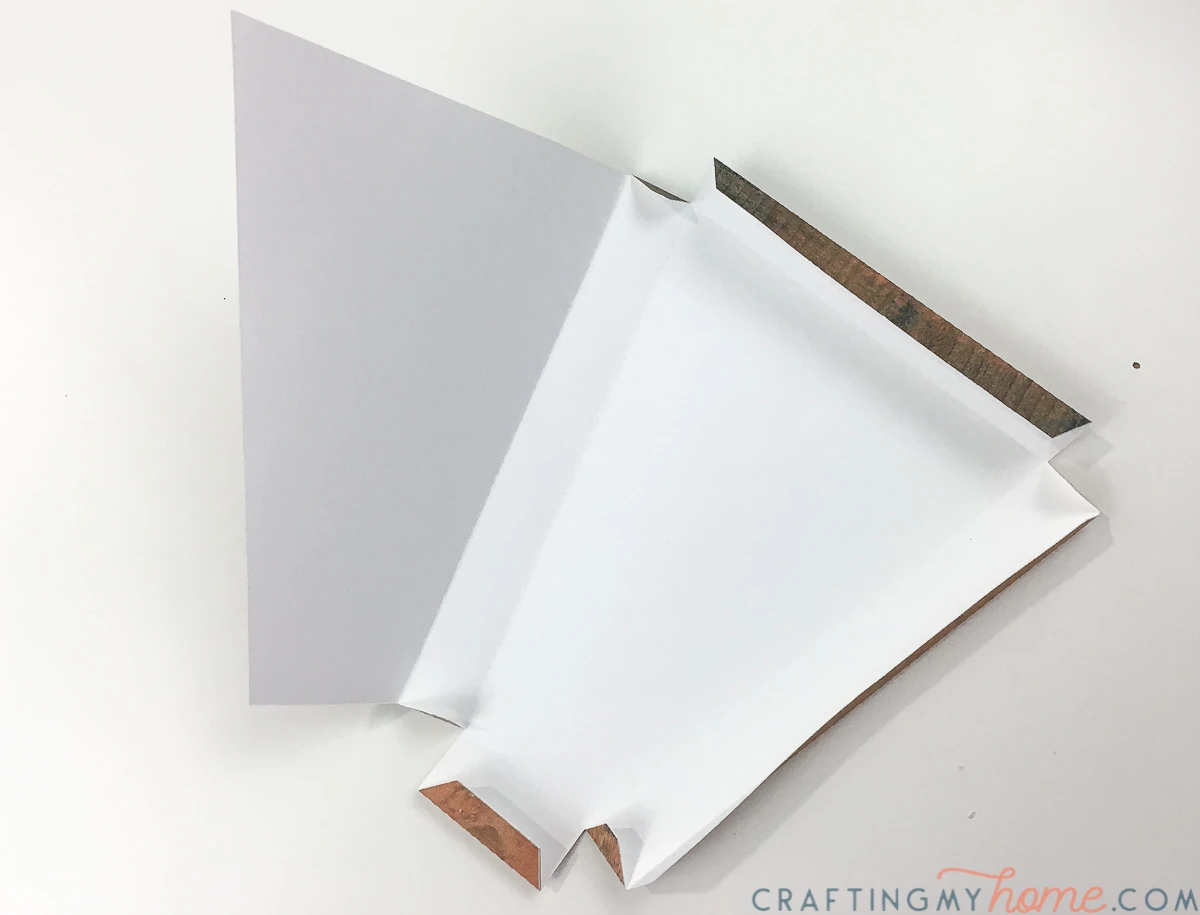
Start glueing it together by first glueing the tabs around the outside to the sides. It will start to look like an odd shaped box.
I love using hot glue for my 3D paper crafts since it dries quickly and hold permanently. But you do need to work quickly to make sure the glue does not dry before the pieces are positioned.
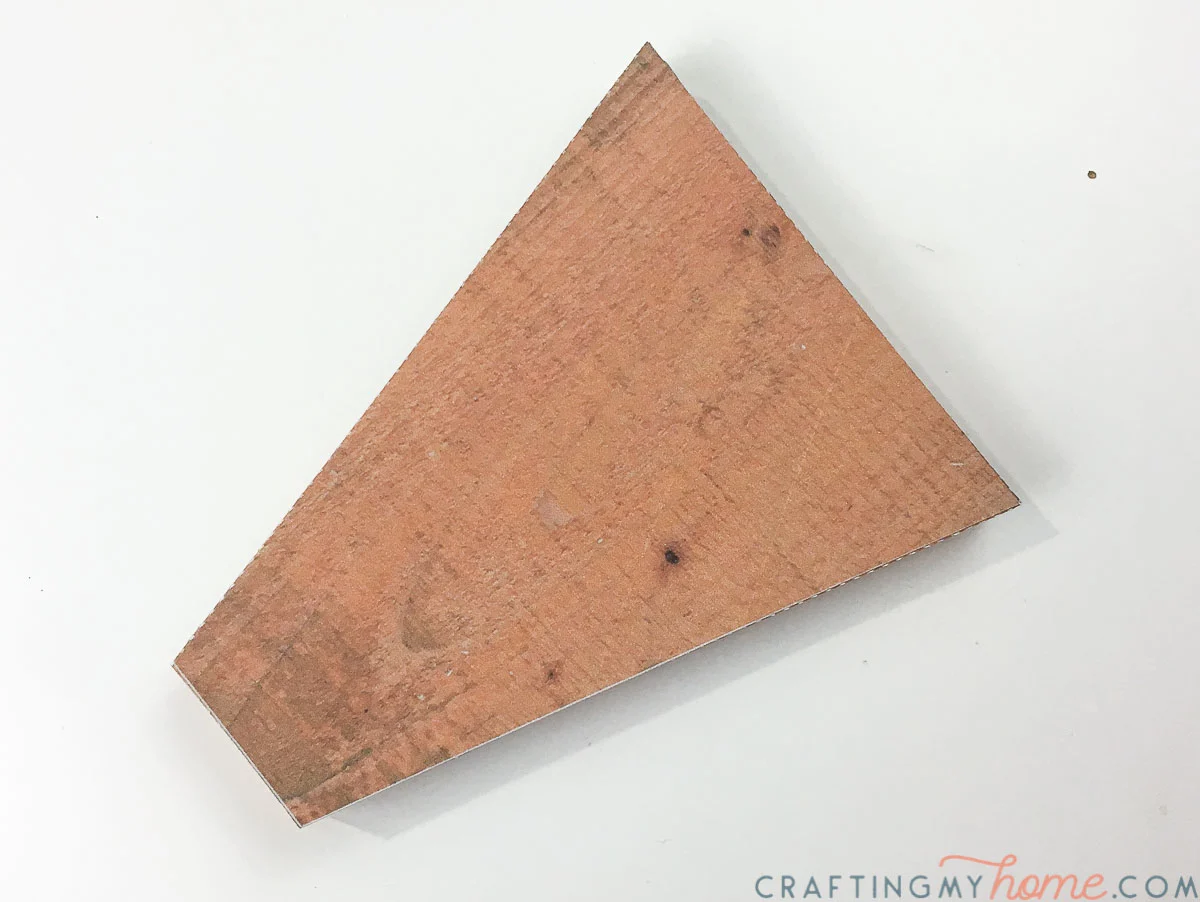
Finish each outer piece by glueing the back piece down with glue on the tabs.

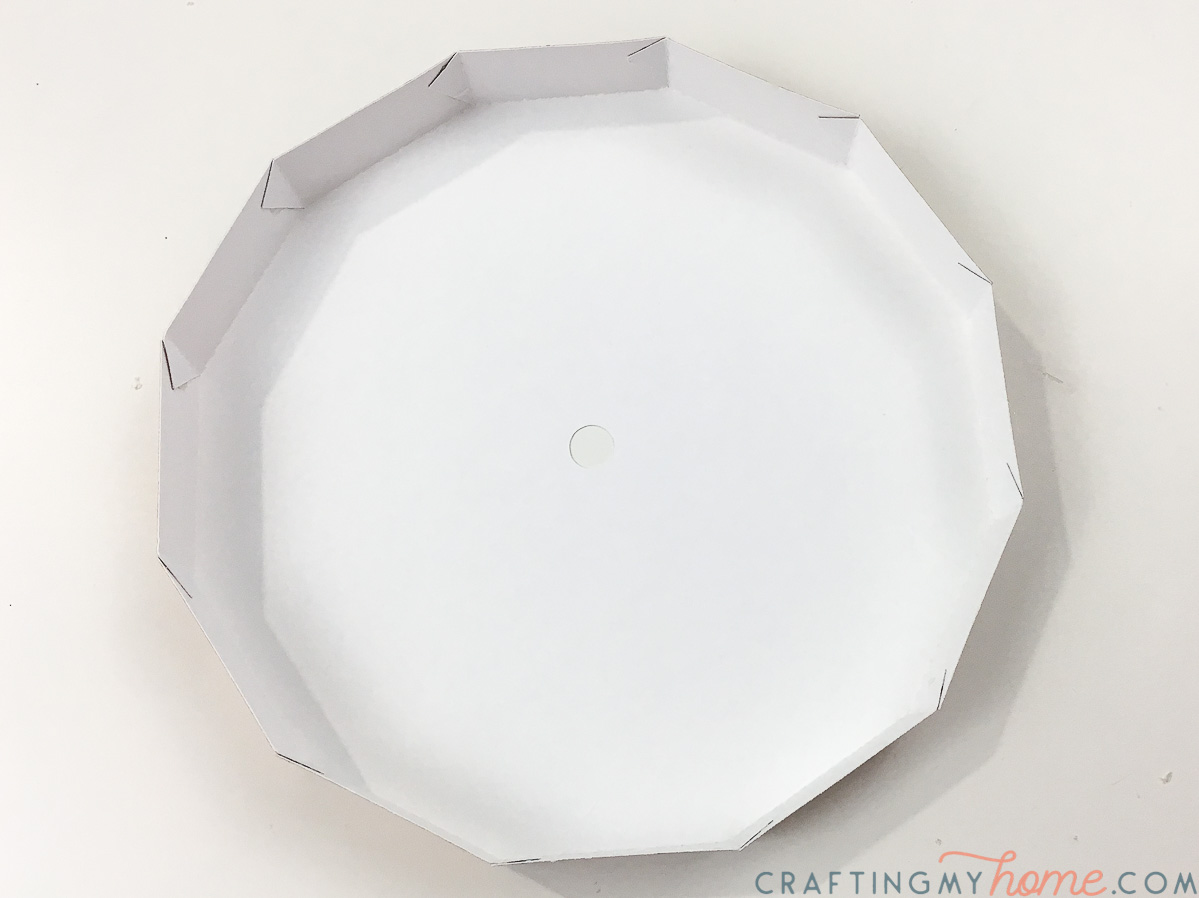
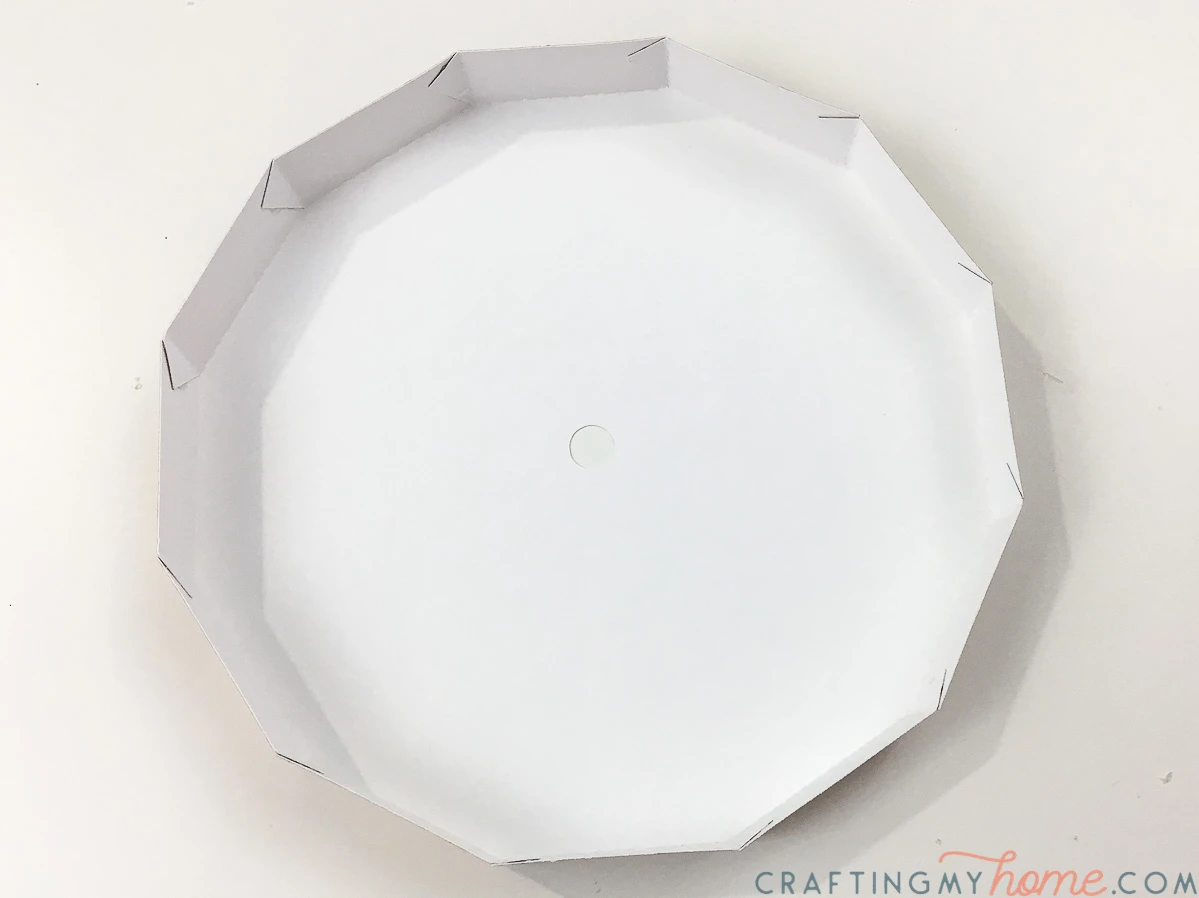
Then assemble the center piece by again folding along all the dotted lines.
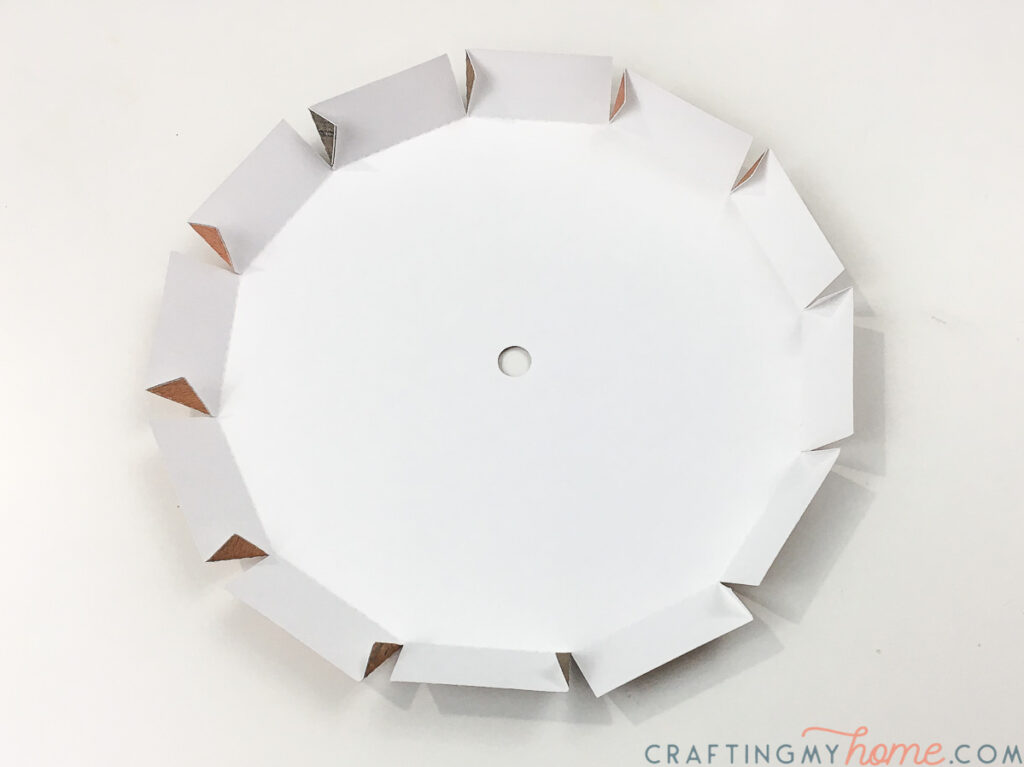
The glueing the tabs on the sides to the piece next to it to create a 12 sided shape.
Glue the piece of foam board cut to the center template inside the assembled center.
Assemble the Clock
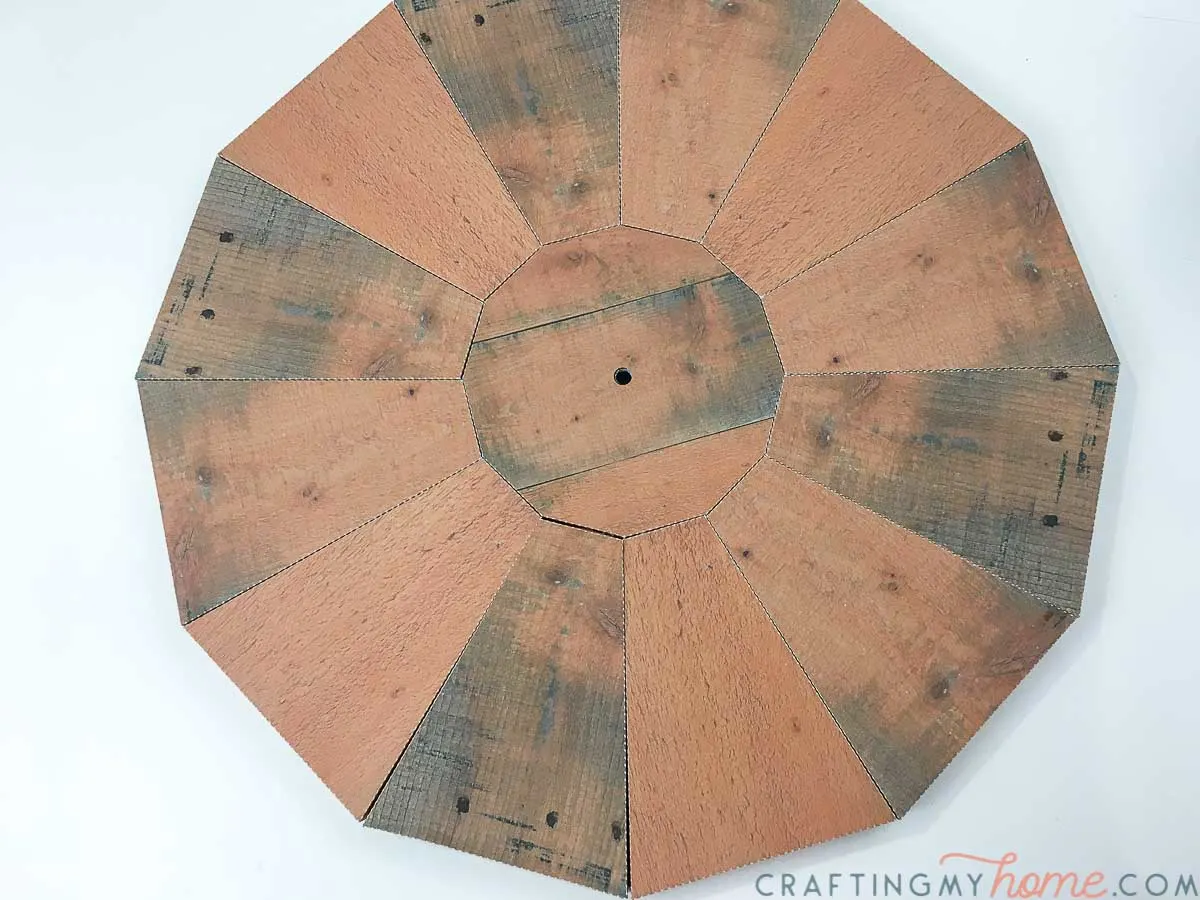
Using the hot glue, attach the outer sections around the center and to each other.
Take a minute to lay them out in the pattern you want. I recommend not making it a repetitive pattern, but instead make it more random so you do not notice the repeat in the wood texture.

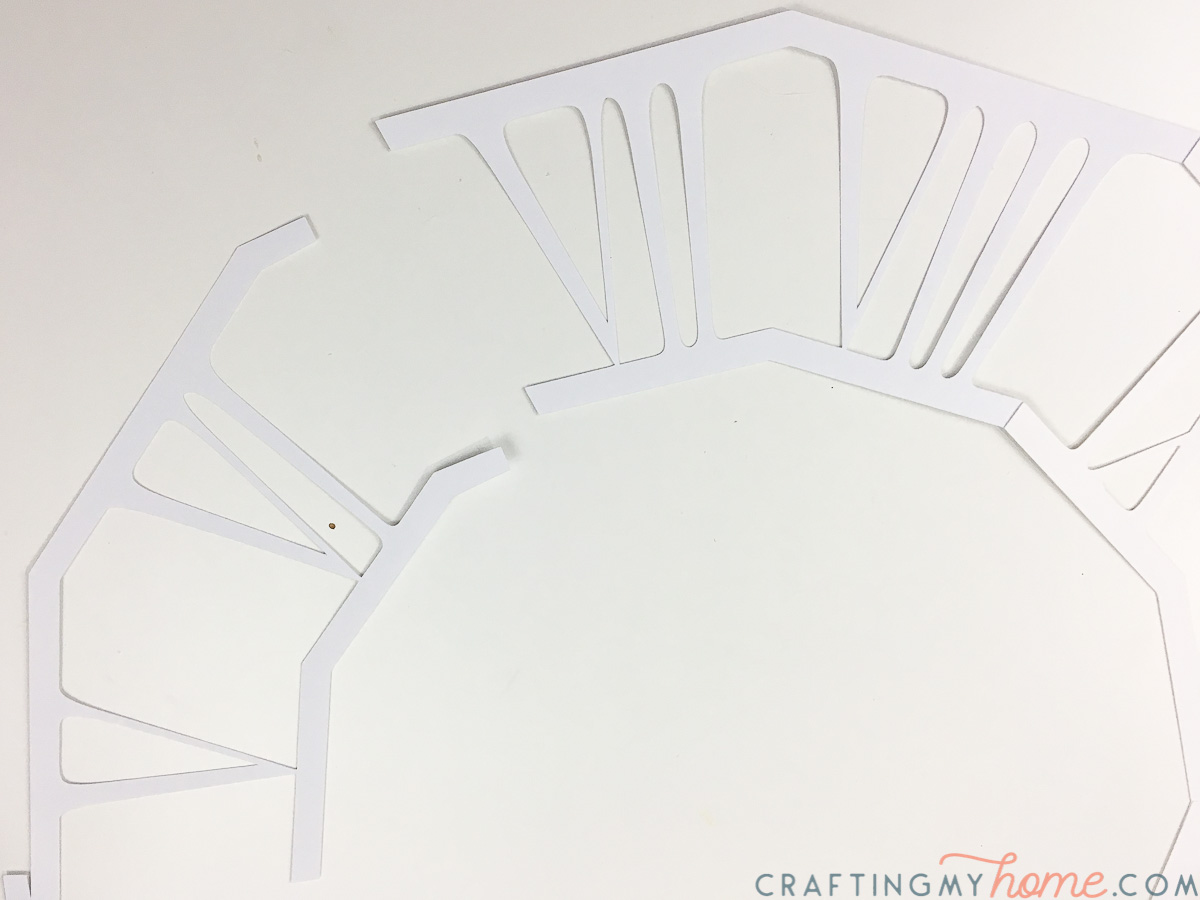
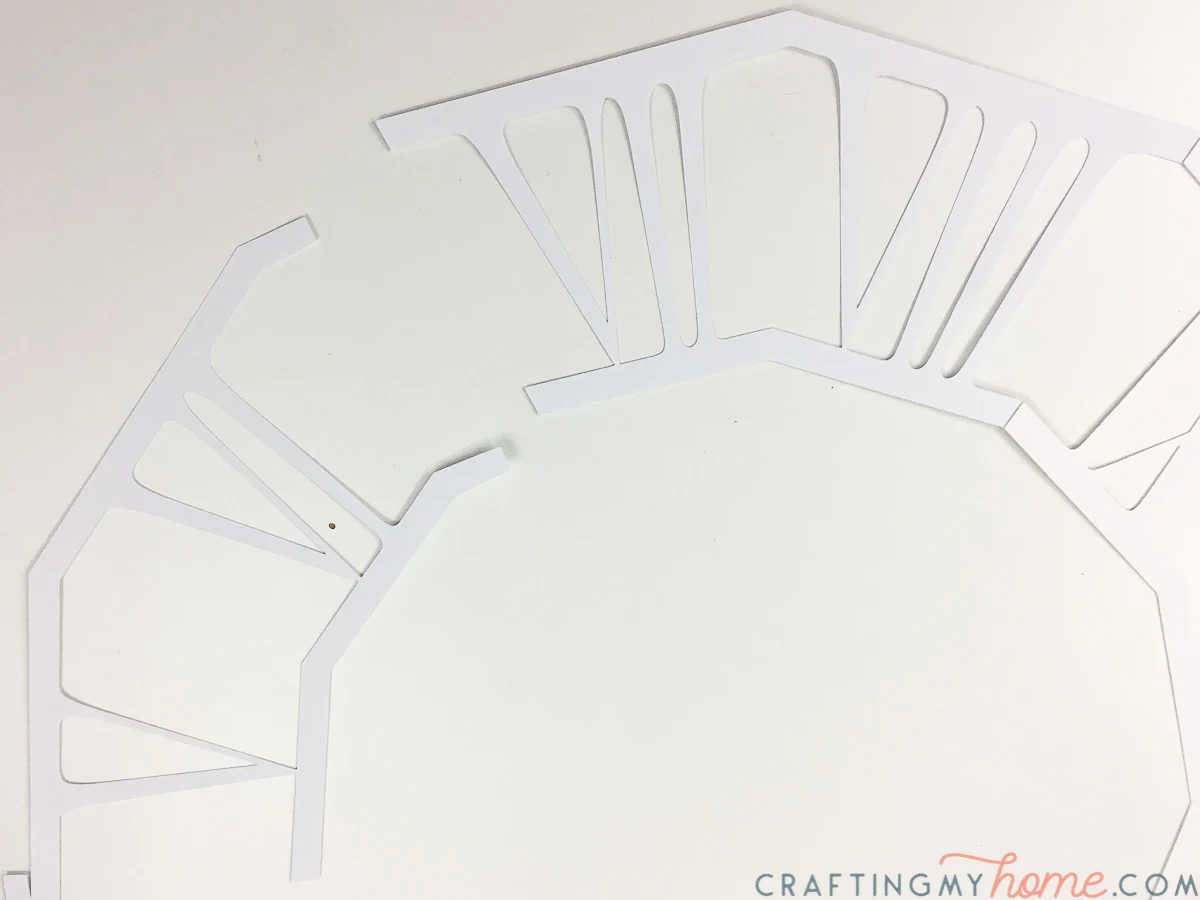
Glue together the numbers by lining them up in order. In case you get confused with roman numbers, here it the order from 1-12:
I, II, III, IV, V, VI, VII, VIII, IX, X, XI, XII
To line up the numbers properly, there is a tab on the one side of each number piece. Glue it to the back of the previous piece.
Continue around in a circle and make sure to keep all the tabs to the back.
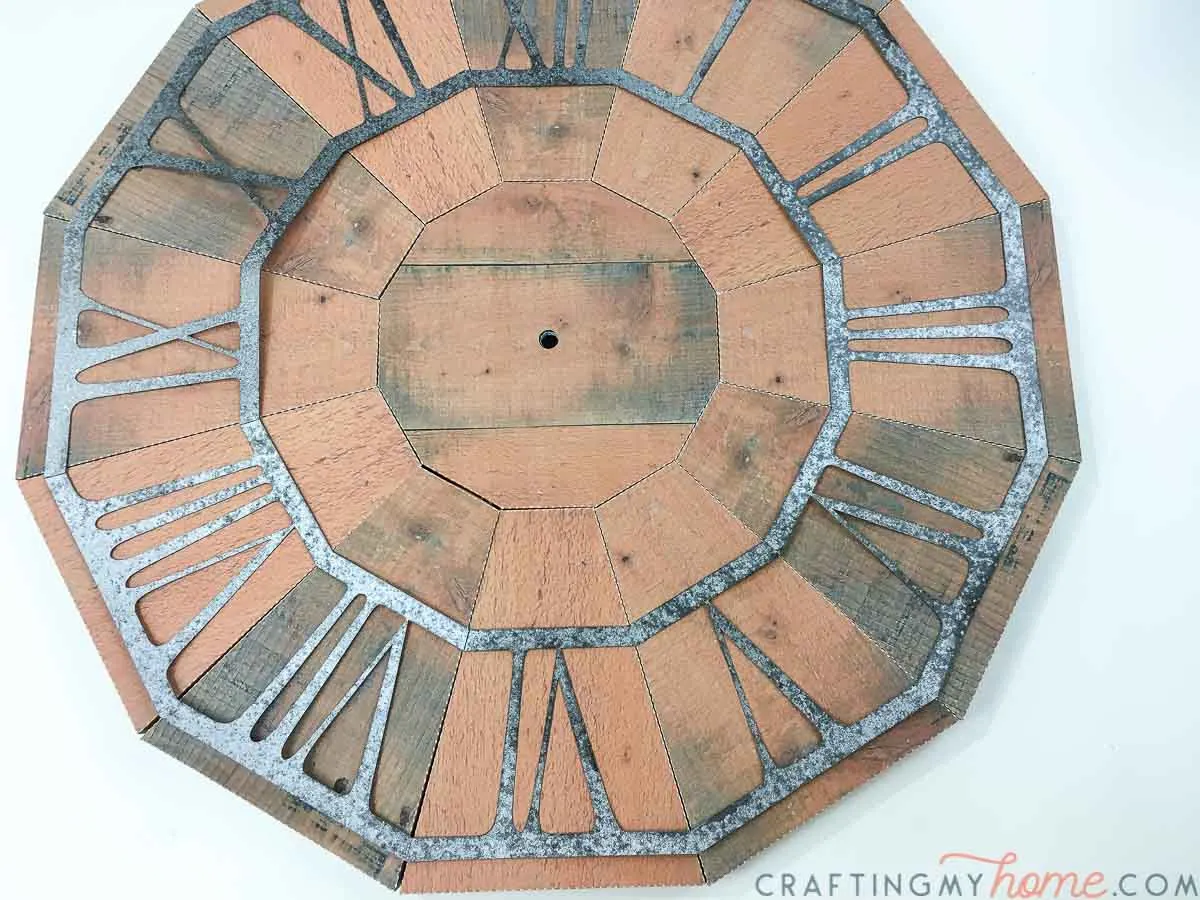
Use the hammered metal spray paint to paint the numbers and let them dry.
Center the numbers over your assembled clock. Once it’s in position, attach it to the clock with hot glue making sure to keep it centered.

Add the clock mechanism and hands to the center of the clock. Finger tighten it down to the foam board. Then add your battery and set the time!
To hang your new pallet wood clock it easy! Since it is made out of paper, you only need to use a Command picture hanging strip on the back.
If your clock mechanism sticks out the back a little bit, add the Command strip to the back of it and hang. If not, add it to the back of the top clock section.

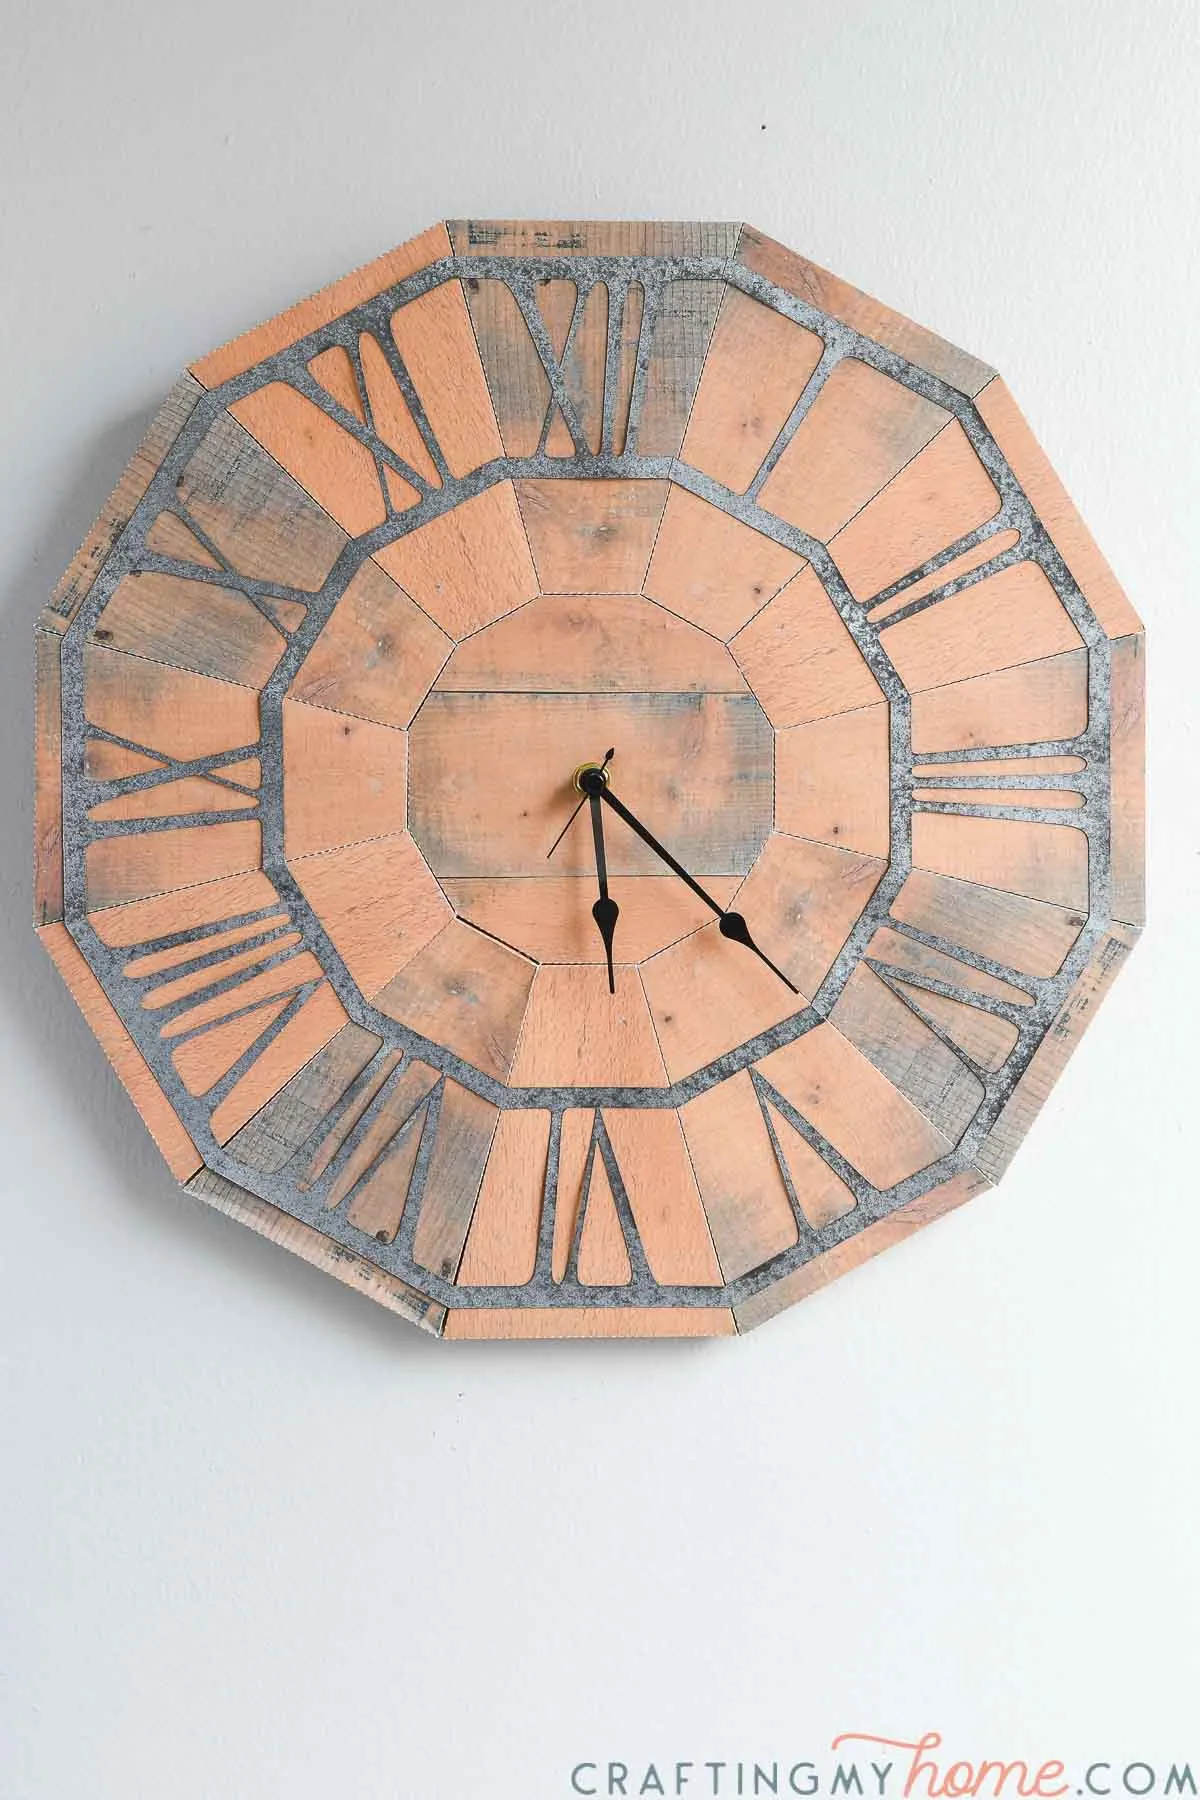
And now you can enjoy your new clock. Once assembled, no one will guess it was made out of paper!
Happy Crafting!
And for more amazing wall decor you can make out of paper, make sure to check out these projects too:

Beverley Norris
Tuesday 9th of March 2021
Wow! Kati, I think this clock is wonderful. A brilliant design and thoughtful construction. Congratulations!
Kati
Wednesday 31st of March 2021
Thanks so much Beverley!