Decorate for Thanksgiving with these easy to make decorative pie plates.
Thanksgiving is almost here. Even though I am already decorating for Christmas (don’t hate me) I also want to add some Thanksgiving decor.
And what is more Thanksgiving than PIE!
These decorative pie plates are so easy to make from thrifted pie plates and dishes. Plus they add just the right amount of decor to your kitchen or dining room.
This post may contain affiliate links. As an Amazon Associate I earn from qualifying purchases. Click here to read my full disclosure policy.
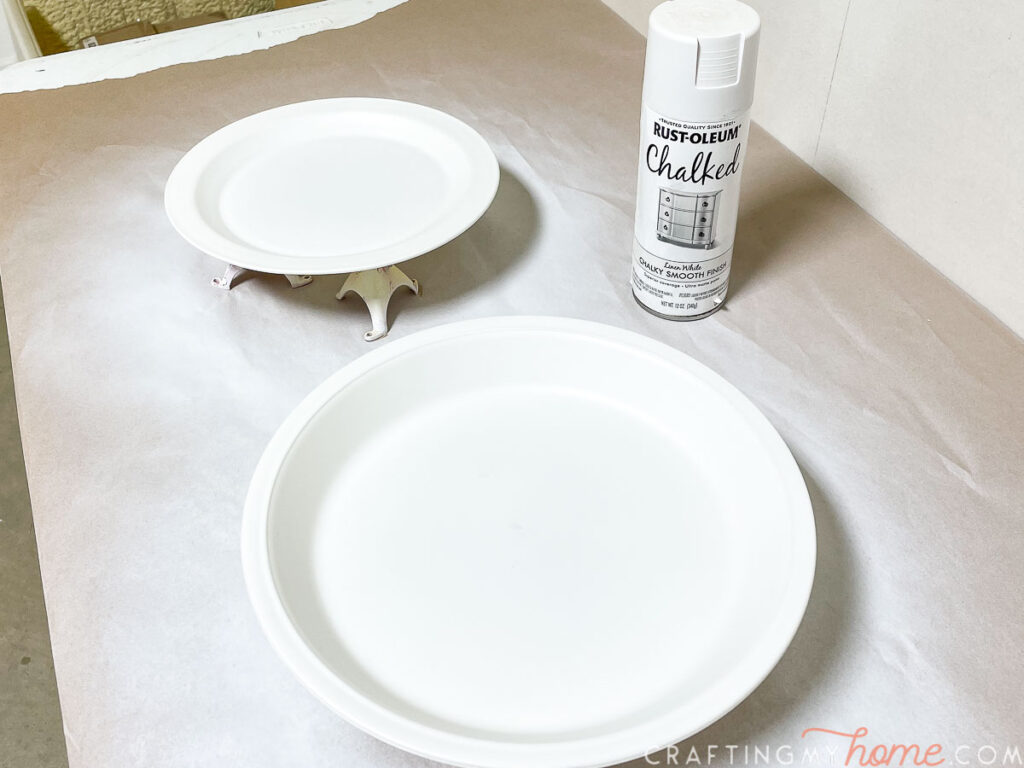
Upcycled Pie Plates
To make these DIY decorative plates, you could buy new… but it is even better when you can upcycle old ones!
Thrift stores are usually full of old pie dishes and plates, and cost just a dollar or two. I found 1 pie plate and 2 deep dish plates at my local thrift store for around $5.
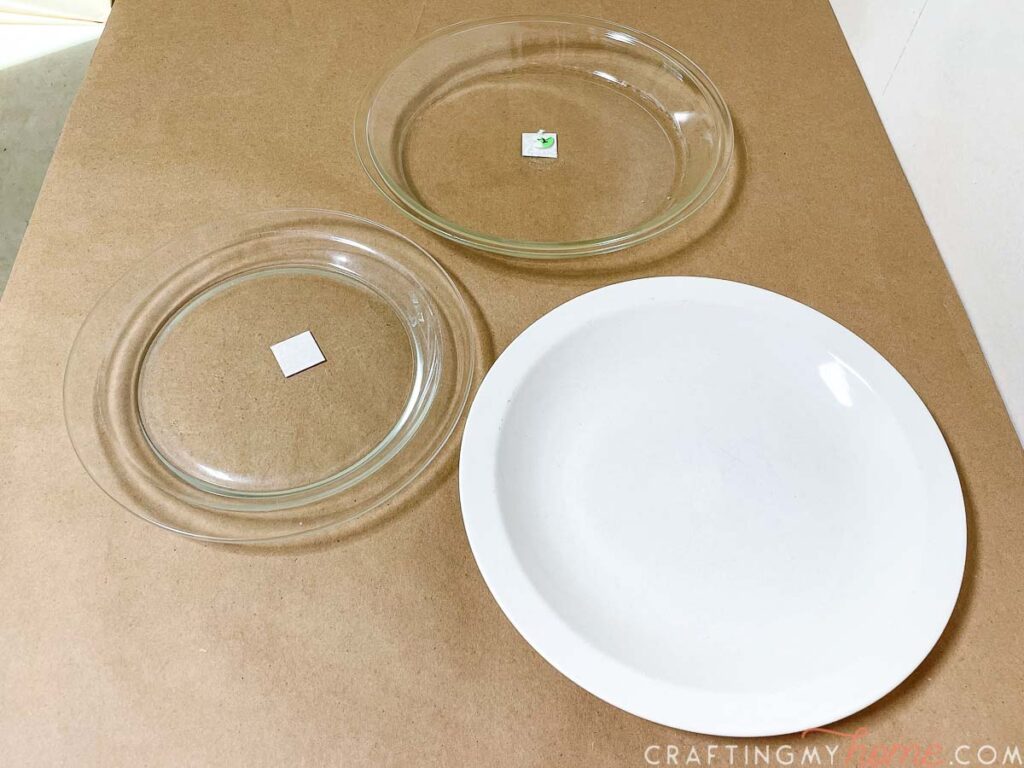

Since these plates are going to be decoration, it doesn’t matter what the plates look like to start. Mine were pretty worn out.
But they look like new after a couple light coats of a chalked spray paint in white! Now my cheap glass dishes look like expensive ceramic ones.

Using Printed Vinyl
The secret to these decorative pie plates is printable vinyl! This is my first time using it and it will definitely not be my last.
Any design you want can be printed onto the permanent vinyl. And you can print it using your own home printer! So easy.
Then you cover the design with a protective film. It gives your vinyl design protection and the shiny vinyl look.

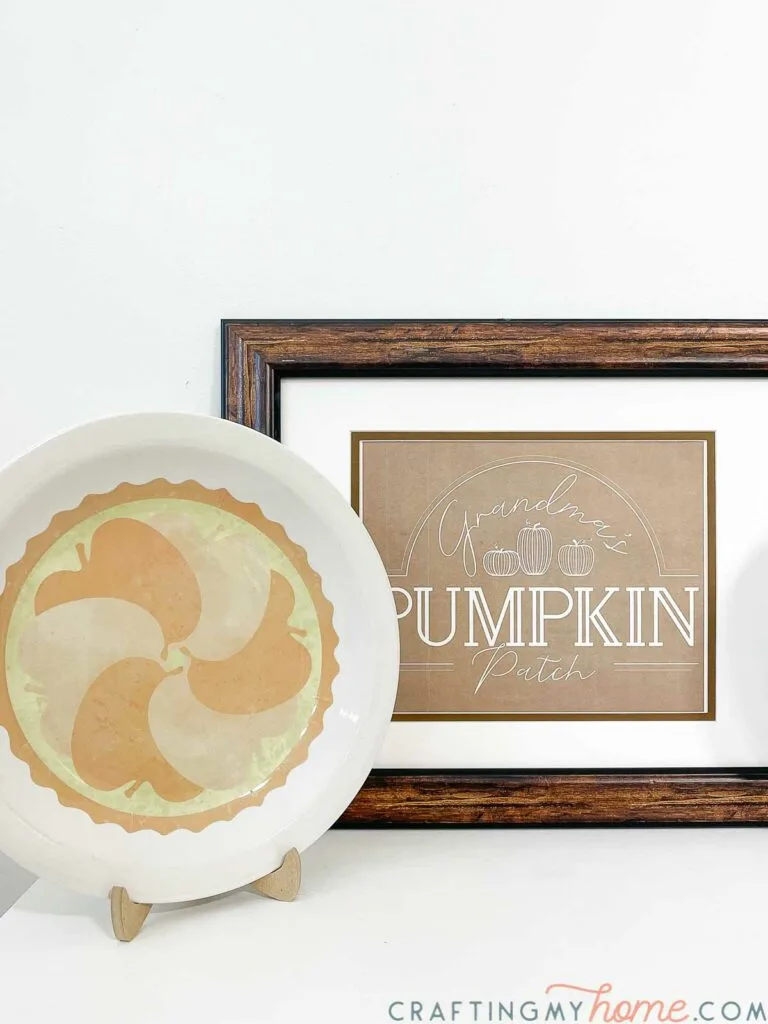
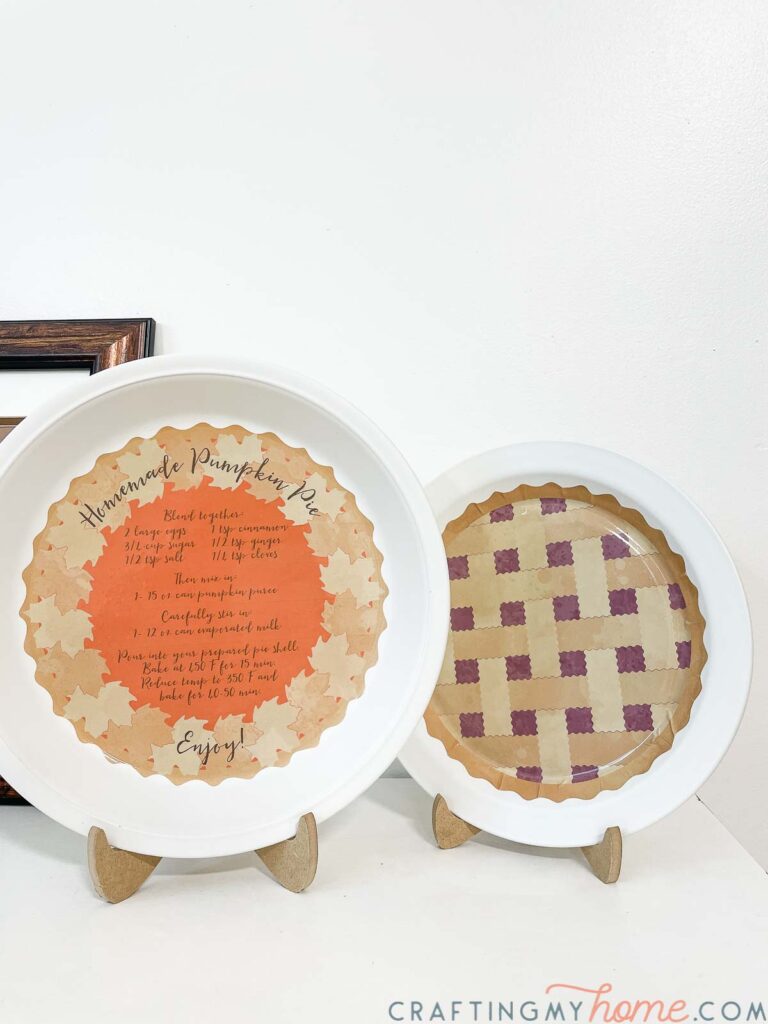
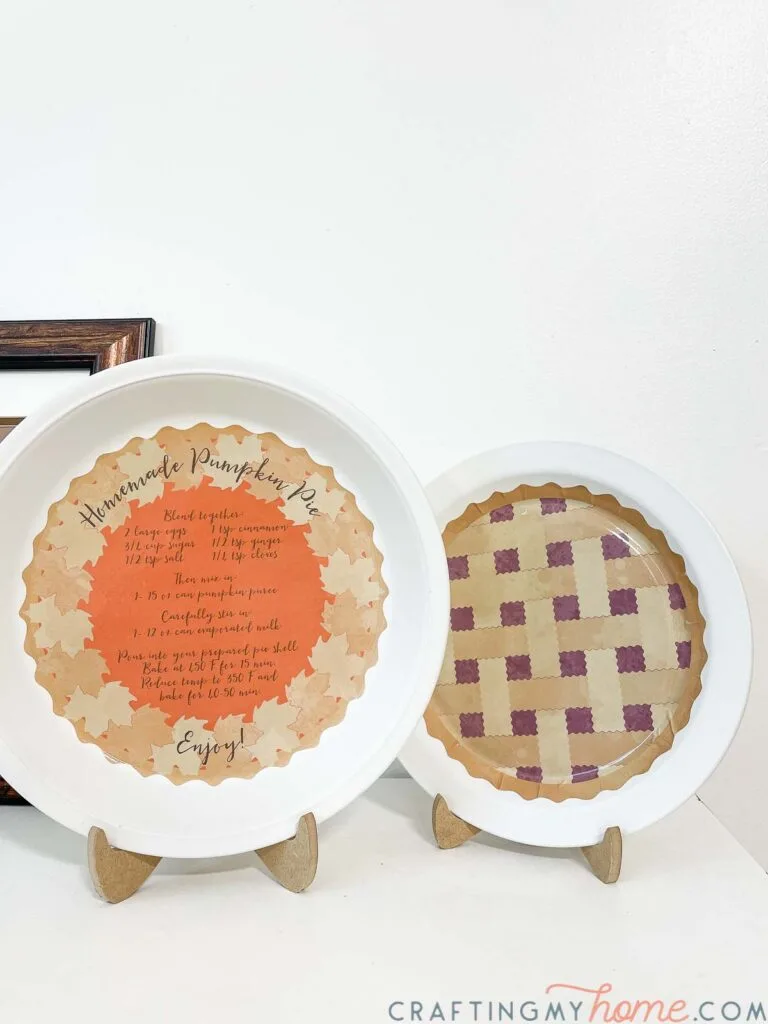
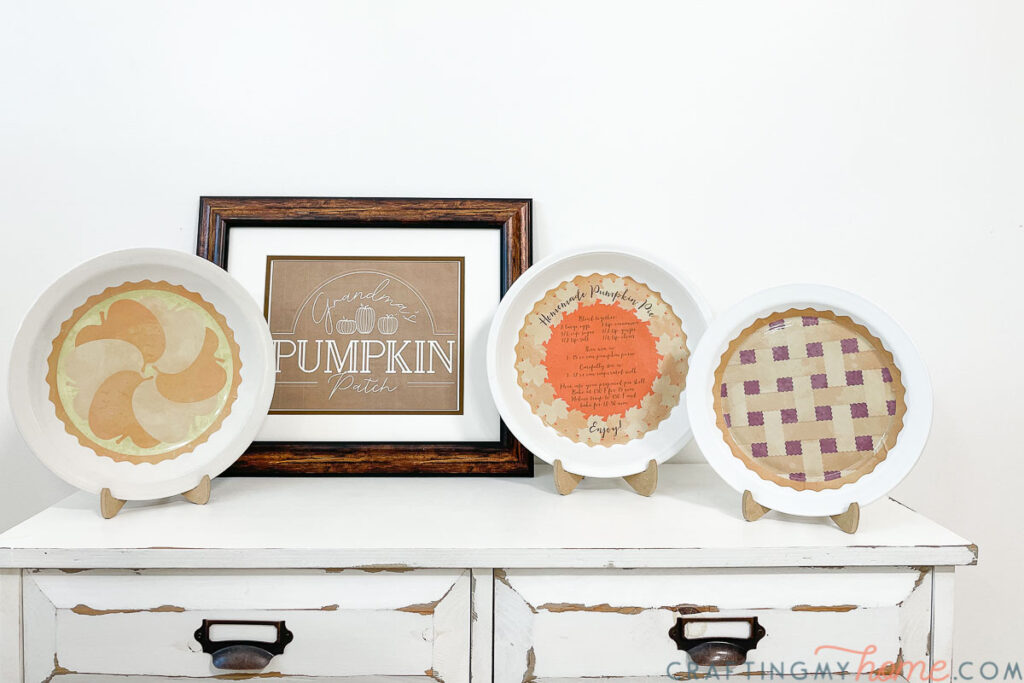
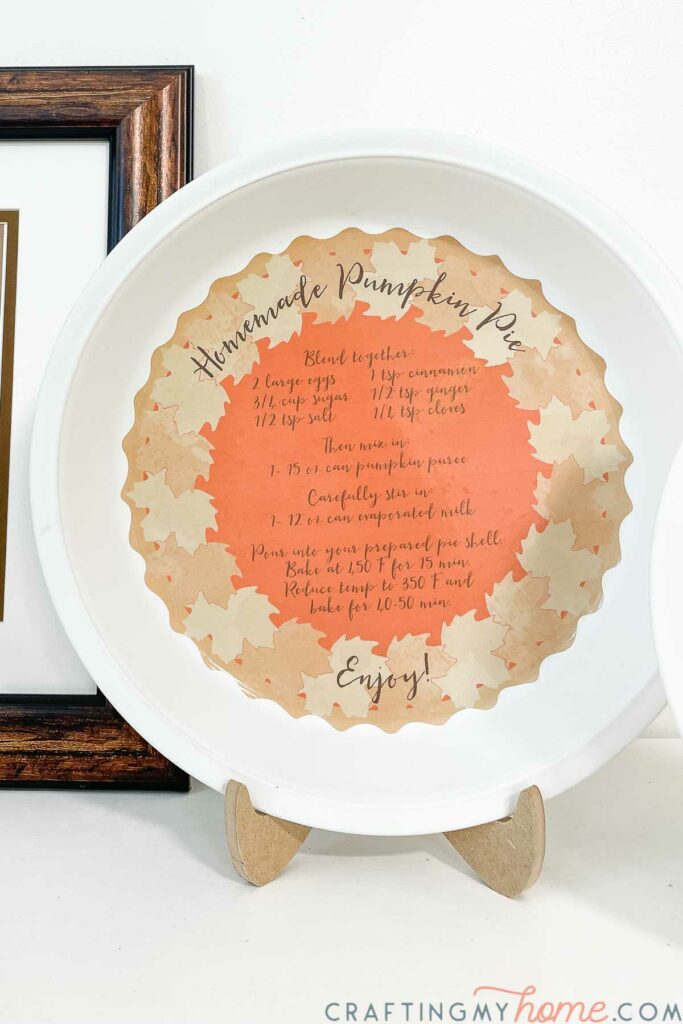
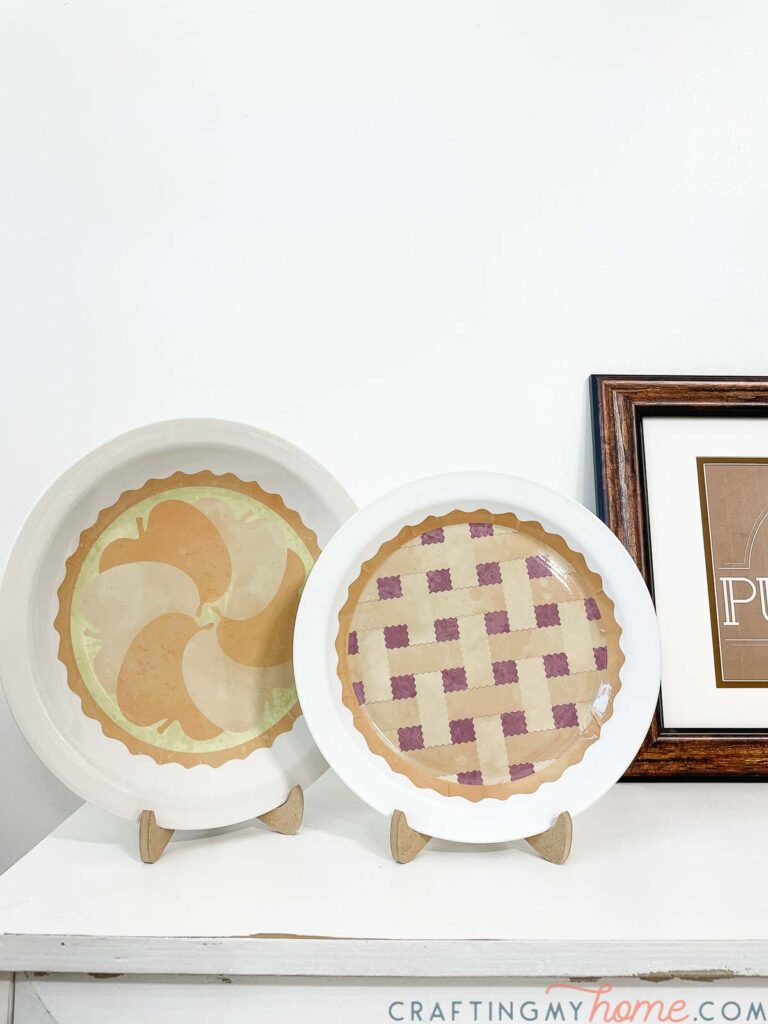
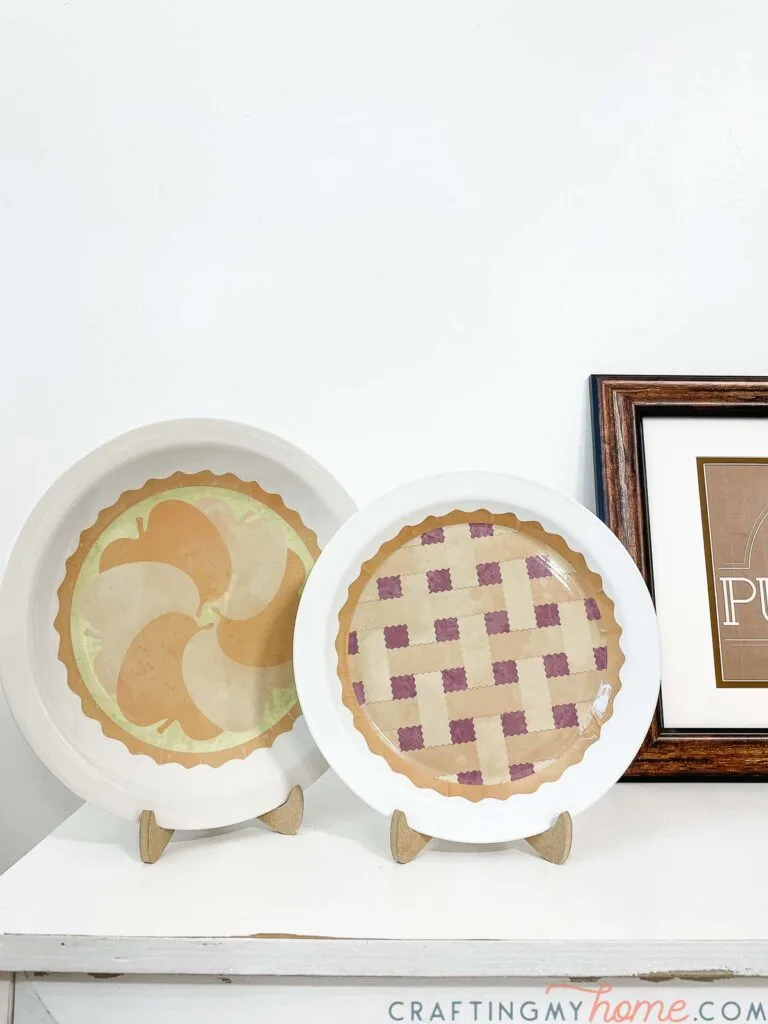
The printed vinyl is perfect for printing the Thanksgiving pie design. I create an apple pie design, blueberry pie design, and of course a pumpkin pie design!
And my favorite part is the pumpkin pie recipe on the pumpkin pie design.

You can display them on a wall with plate hooks. Or display them on a hutch, console, countertop with plate easels.
Or how cute would they be as decor on the desert table on Thanksgiving day. YUM!
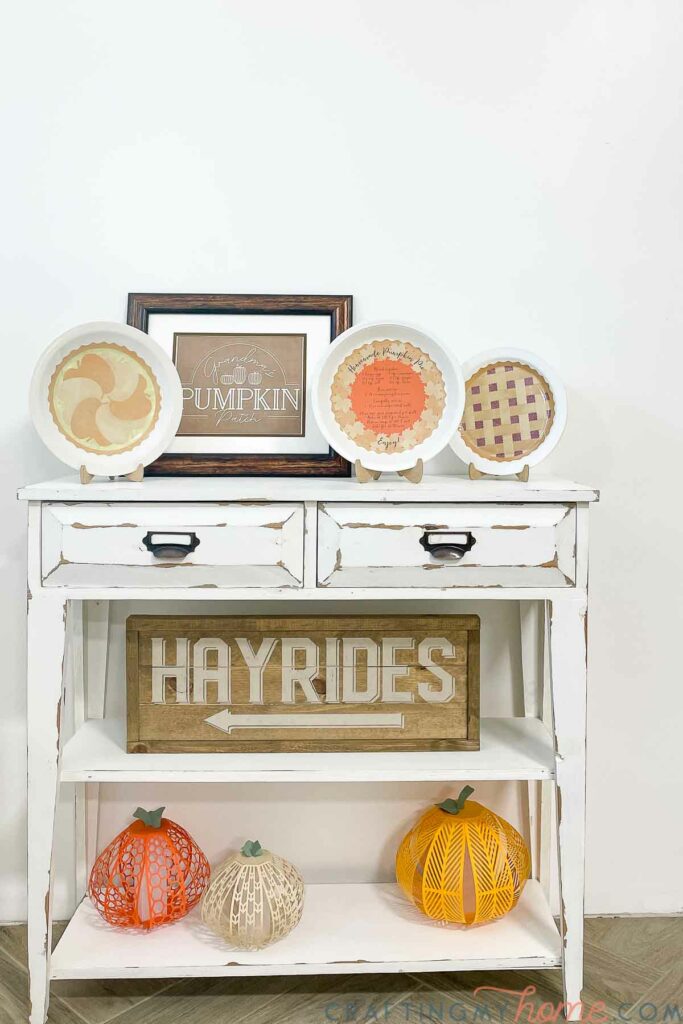

You can create this entire Thanksgiving vignette with all the fun crafts seen below:
- Neutral Pumpkin Patch Printable Art
- Beautiful Paper Pumpkin Lanterns Craft
- Double Sided Wood Sign for Fall & Christmas
How to Make Decorative Pie Plates
Supplies:
- Pie designs
- I am sharing the cut files & PDF for these decorative plates in my subscriber library until 11/25/2021, then they will move to the shop. Click here to subscribe to my newsletter and gain access to all the freebies. If you already have your password, click here to go to the library download them.
- Chalky finish spray paint
- 8 1/2 x 11 printable vinyl
- Laminating film for printable vinyl
- Printer
- Scissors
- Ruler
- Optional: Electronic cutting machine like a Silhouette Cameo or Cricut Maker
Prep the plates
Clean the plates well. Any grease or film will make the paint not stick.
Spray the bottom of the pie plates first.
Expert Tip:
Place your plates on top of something to hold the sides off the ground. This will keep the paint from sealing it to the paper/surface and making it stick.
You’ll need to do a couple lighter coats to prevent the spray paint from running.

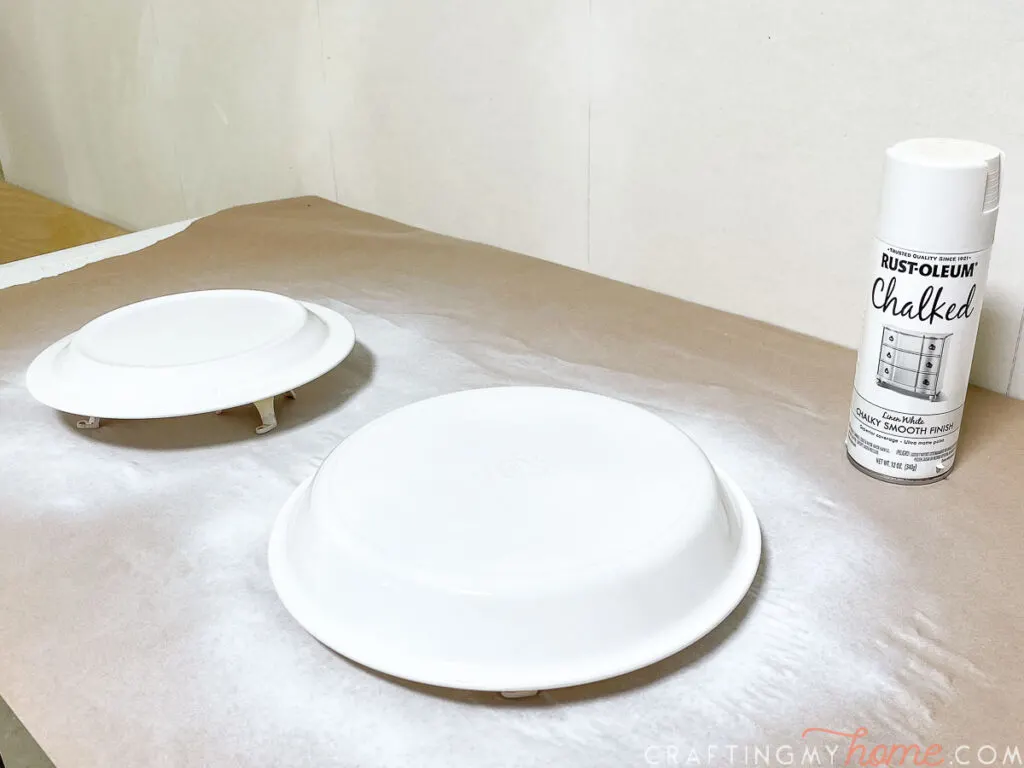
When the outside is dry, flip them over and spray the inside. Pay special attention to the edges. Let them dry completely.
I only sprayed the glass plates, I left the one cream one as is.

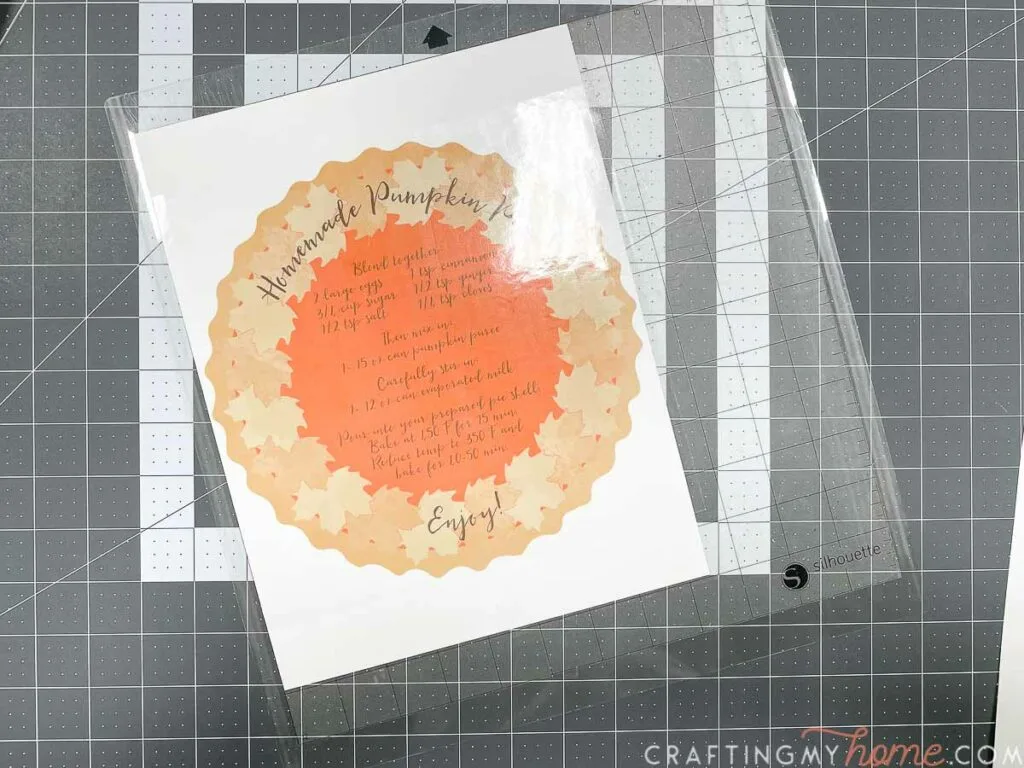
Print the design
If you are using an electronic cutting machine like a Silhouette Cameo or Cricut, you will need to use the Print & Cut feature.
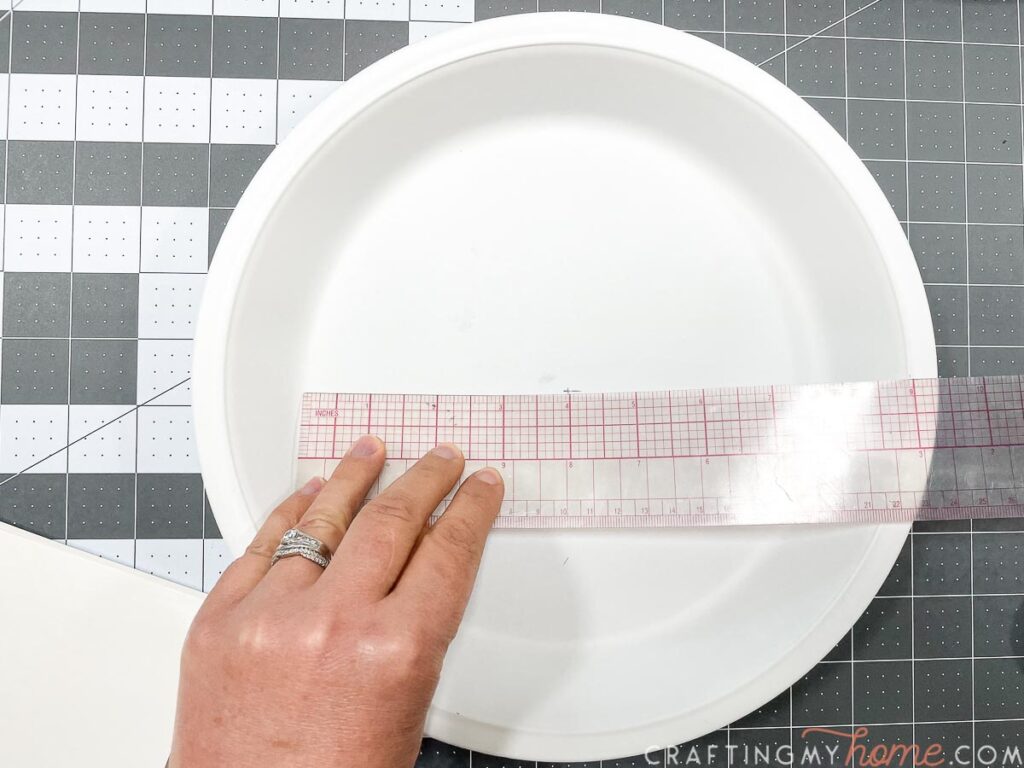
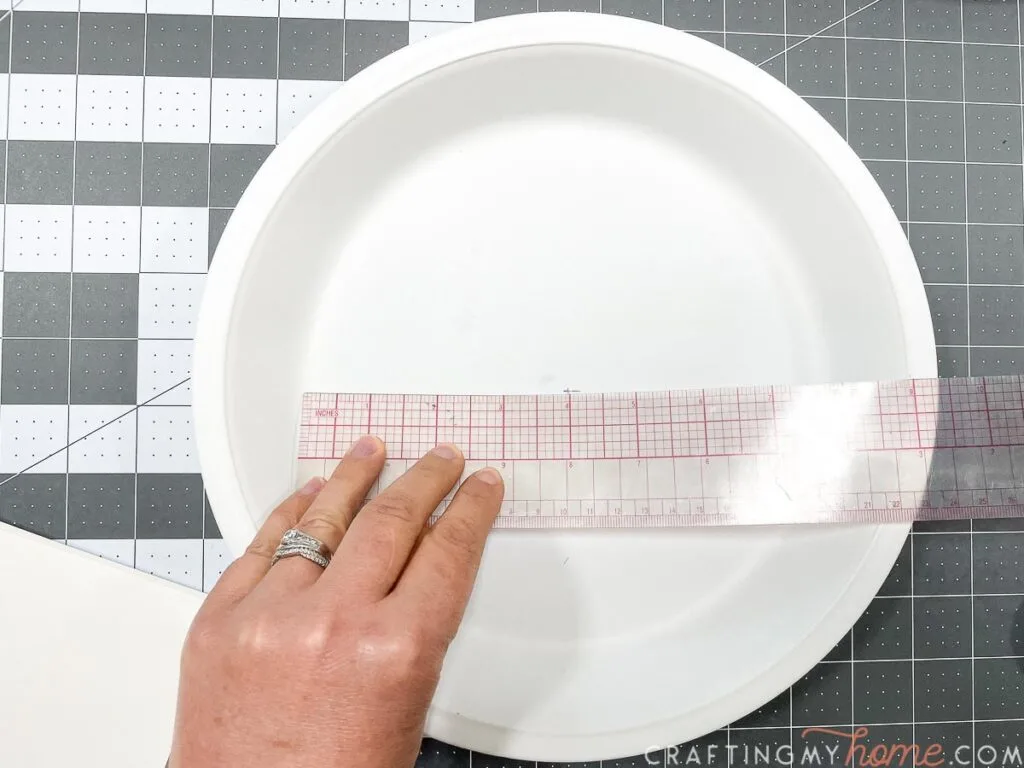
Measure the inside of your plate. If you have a full sized 9″ pie plate, you will not be able to have the crust area go up the sides (since you paper is only 8 1/2″ wide).
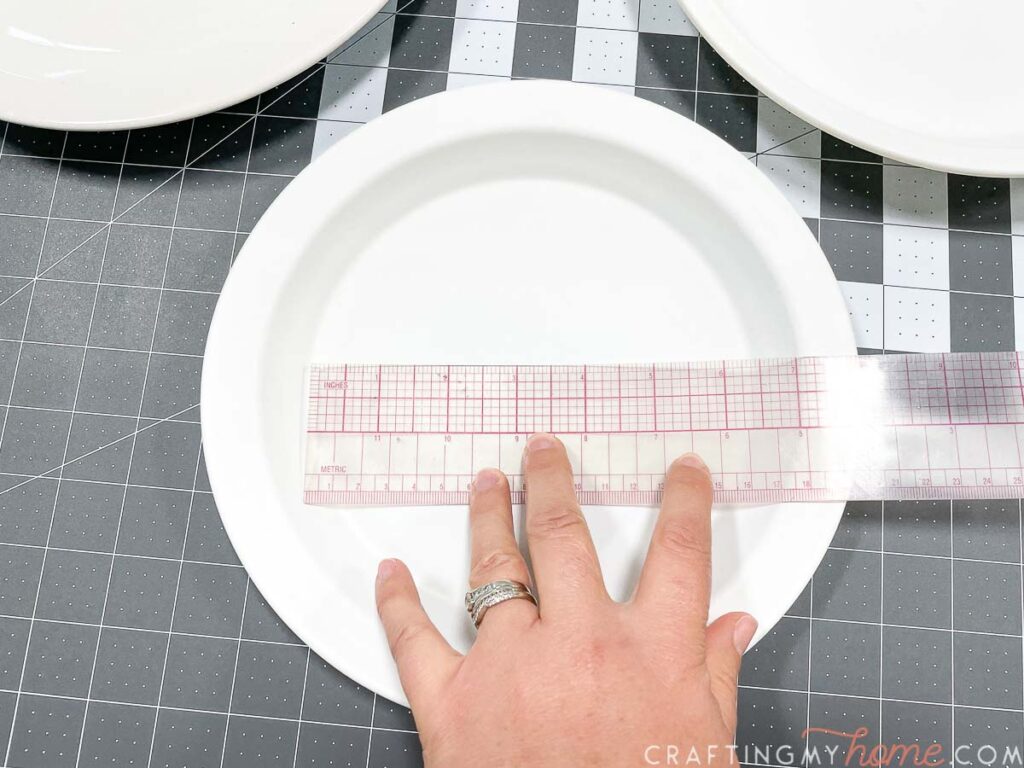

Resize the pie design so the inside part fits the measurement of the inside of you plate.
To do this in my Silhouette program, I create a circle the size of the plate bottom. Then resized the pie design to fit the circle.
If you are using the PDF, you may want to print it on a piece of paper to measure the actual size, then try printing at a different percent to get a smaller size.
Load the printable vinyl sheet into your printer. Make sure it is loaded in correctly so the image is printed on the right side.
Print your design.
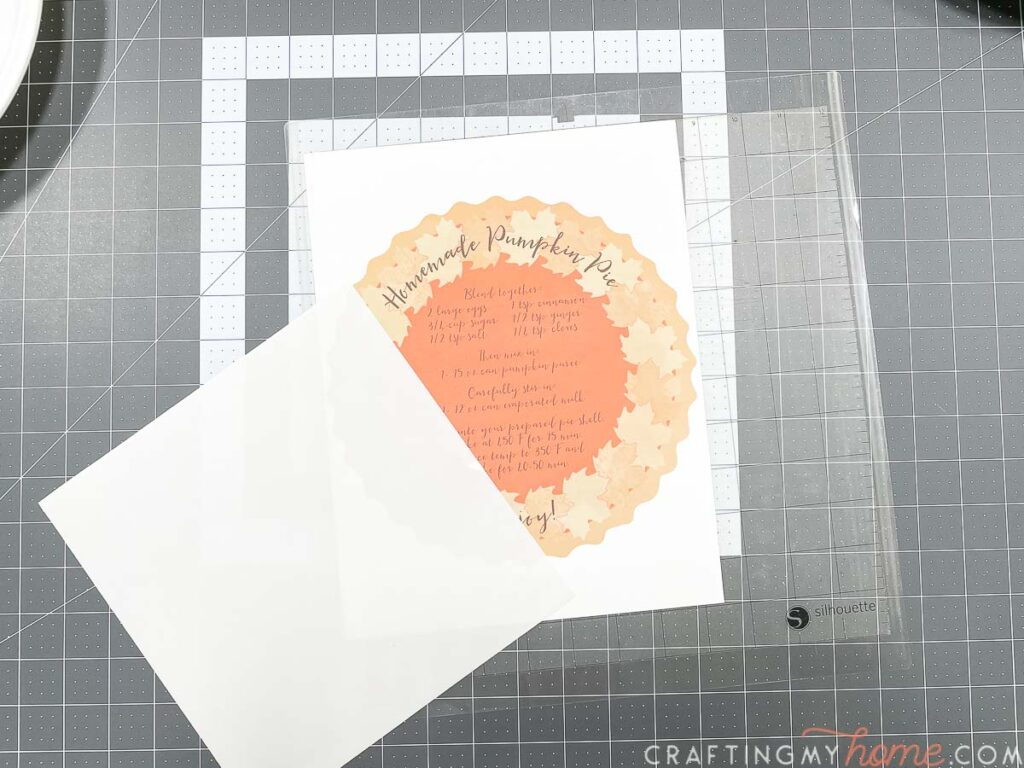

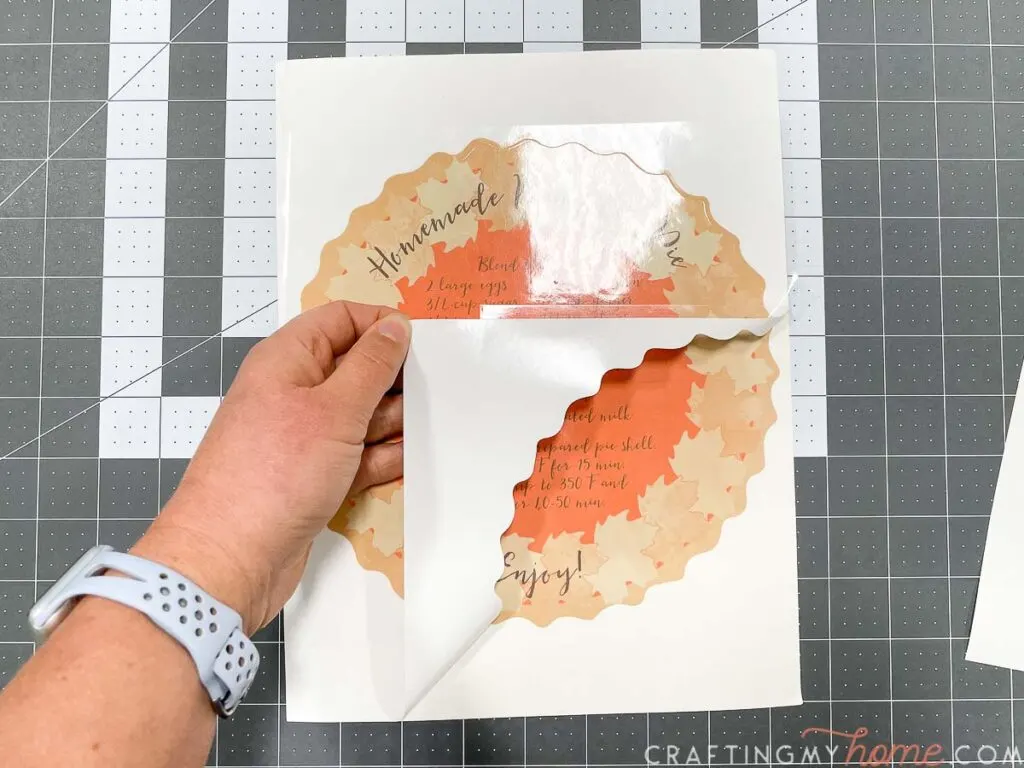
Add the protective film
Cut a piece of the protective film to cover just the design. If you are using a cutting machine with the print & cut option, the protective film over the registration marks can cause it to not register properly.
Peel back the backing on the film and carefully cut half of it off. Line up the half with the film still on it while keeping the other side from touching.
When lined up properly, carefully roll the exposed film onto the design. Rub it with your hand to stick and remove any bubbles.
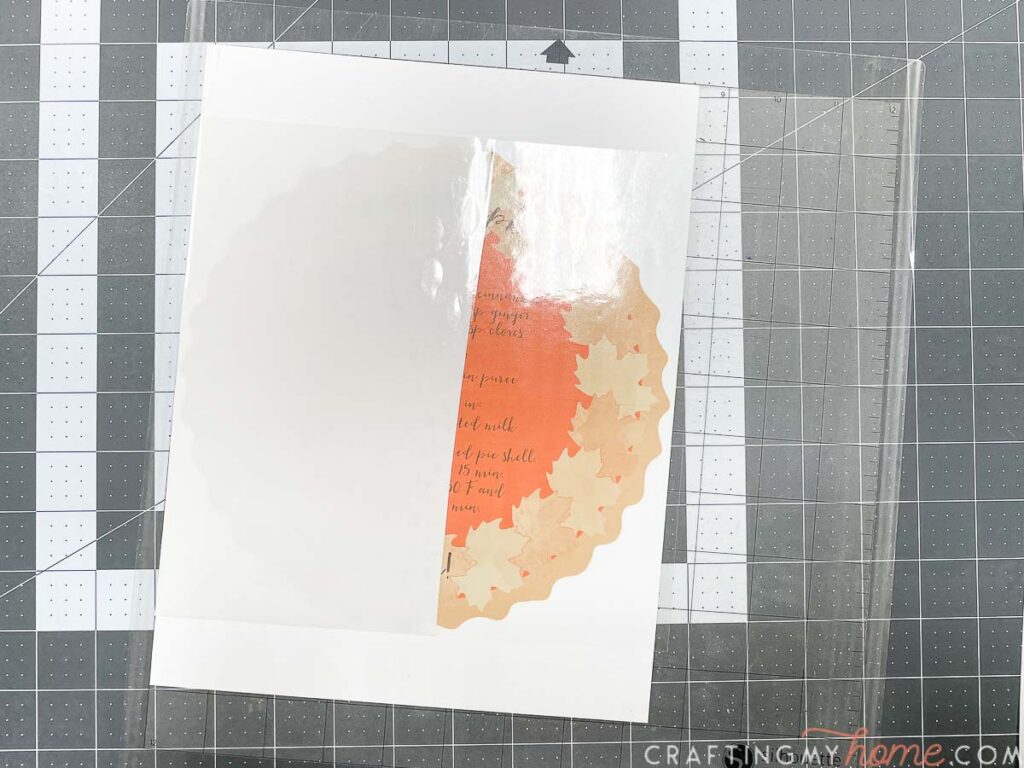
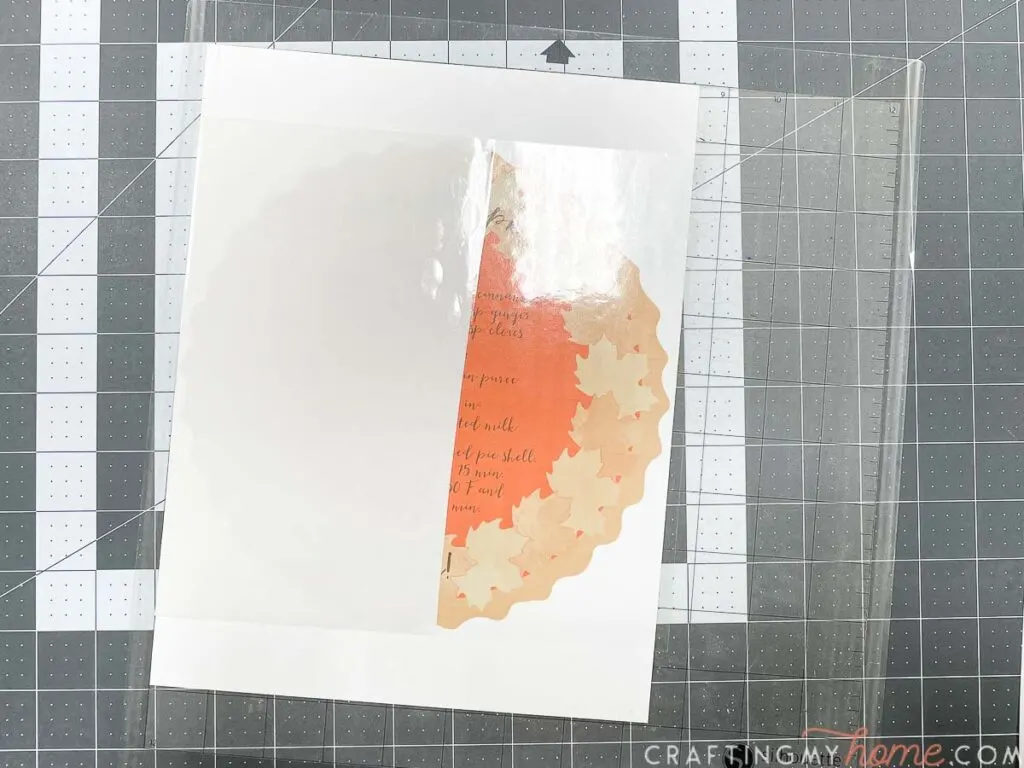
Then lift up the other half and remove the remaining backing. Press the other half down to secure.
Expert Tip:
When securing the film, start at the center and roll the film down to the surface while pressing it to secure with the other hand. This will ensure you don’t have bubbles and it lays flat.

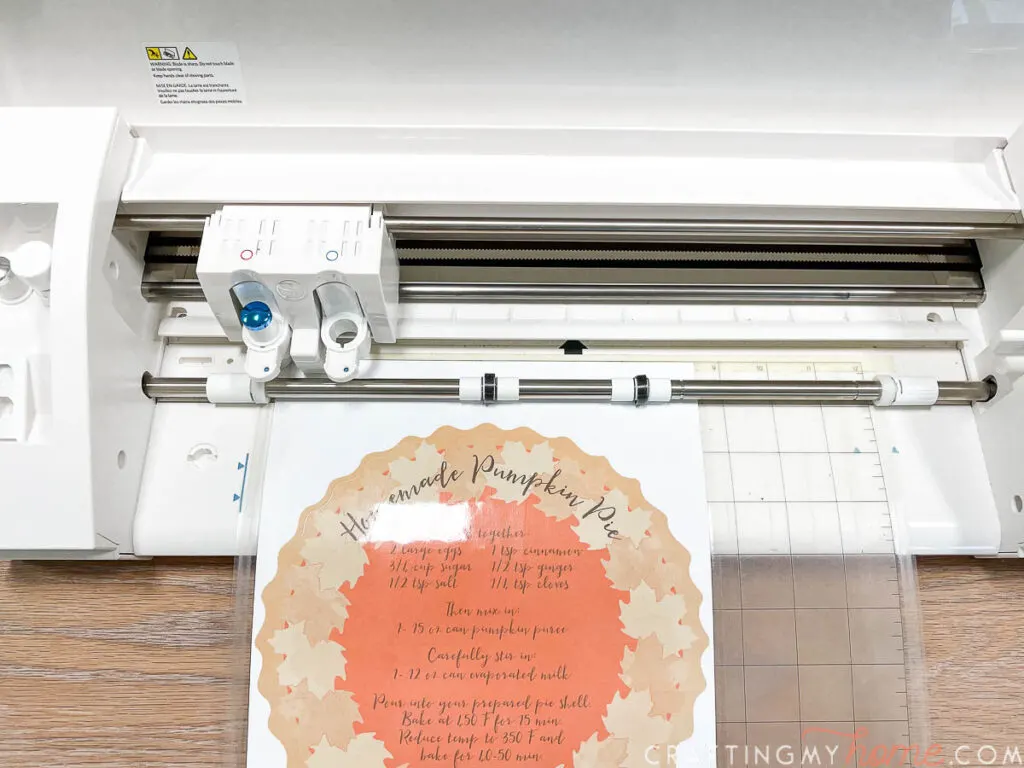
Cut out the design
Load the printed vinyl design into your cutting machine using a cutting mat.
For the printed vinyl I used the following cut settings for my Silhouette Cameo:
- Blade: 6
- Speed: 8
- Force: 16
- Passes: 2
The design includes lines that cut the pie crust area so you can shape it up the sides of your pie plate. If your pie plate is too big, you can remove these lines and just place the entire design flat on the bottom.
Send the design to the cutter and watch it cut out the pie!

If you do not have an electronic cutting machine, you can easily cut out your pie design with scissors. Cut the slits in the crust if you are going to place the design up the sides of the pie plate.
Add the vinyl to the plate
Now all you need to do is add your printed vinyl to your pie plate.
Measure and mark the center of you plate. Don’t worry, this mark will be covered up with the vinyl so you won’t see it.
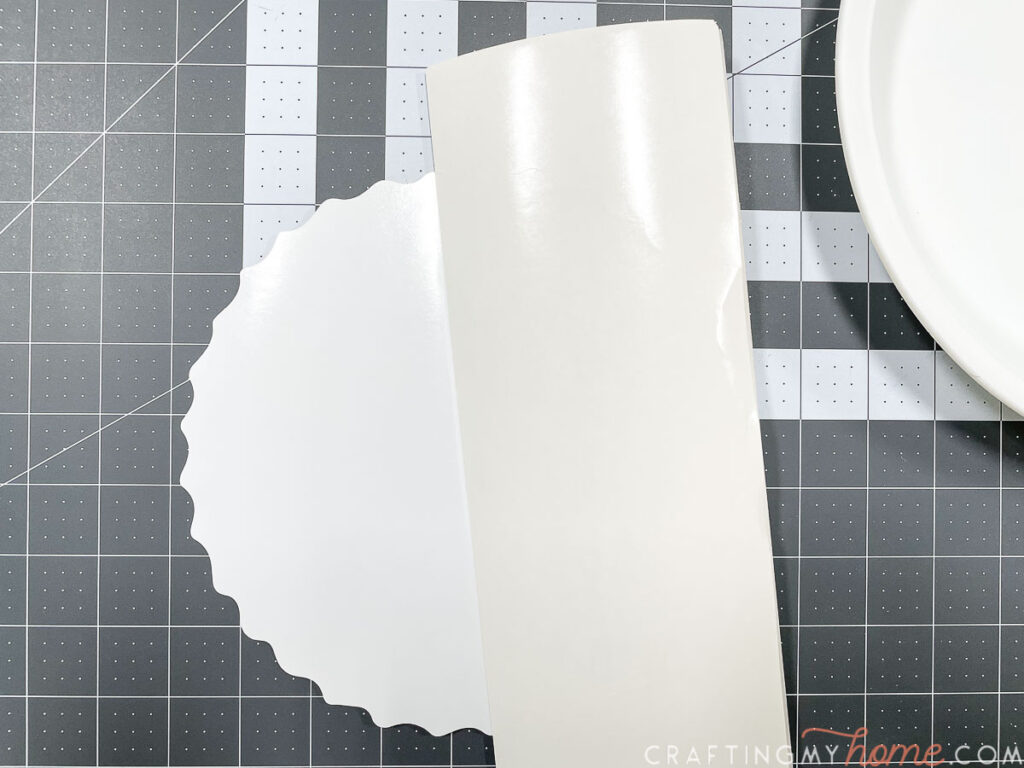
Weed away the vinyl around the pie plate design.

Start removing the backing from your vinyl pie. Remove it from half, then fold it flat and crease the center of the backing.

On this center crease, measure and mark the center.


Line this mark up with the mark on your pie plate. Carefully press down the half that is off the backing. Press firmly with your hand to remove wrinkles.
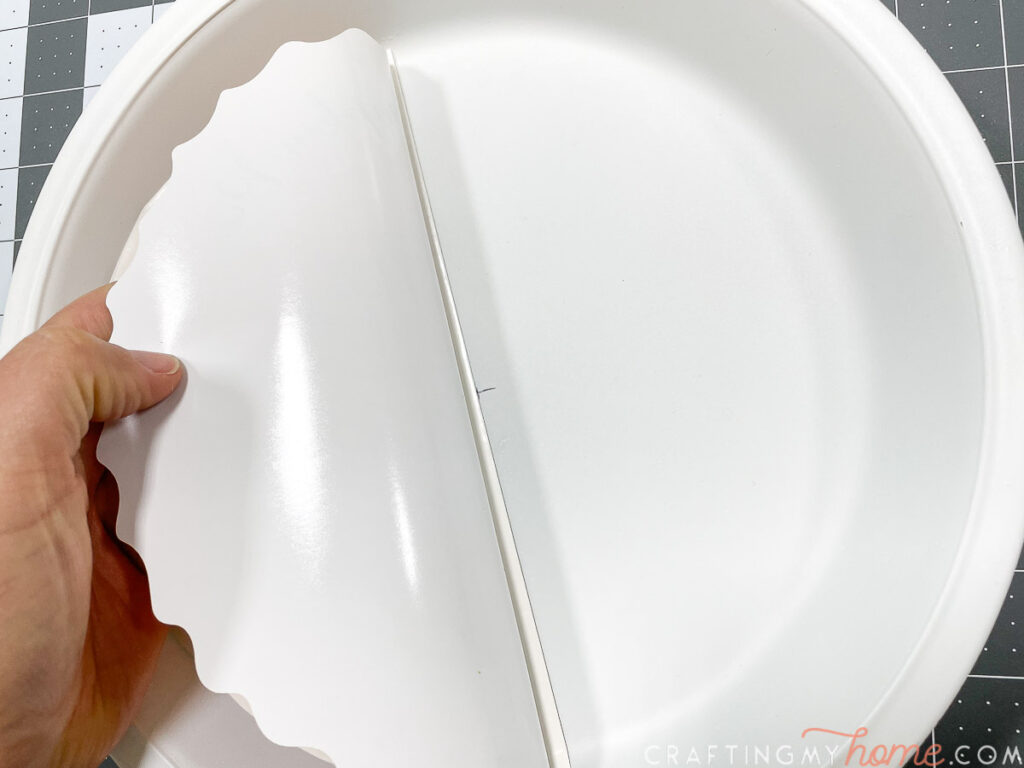

If you are going up the side of the plate, carefully overlap the vinyl at the slits to allow it to curve.
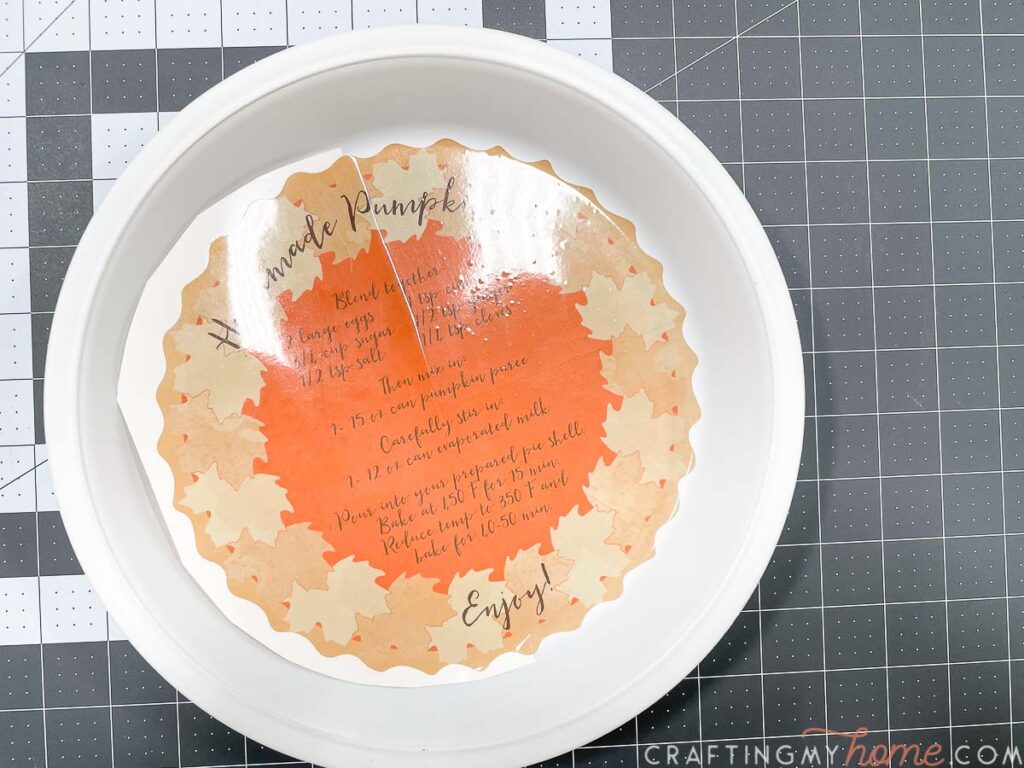

Then remove the other half of the backing and repeat for the other half.
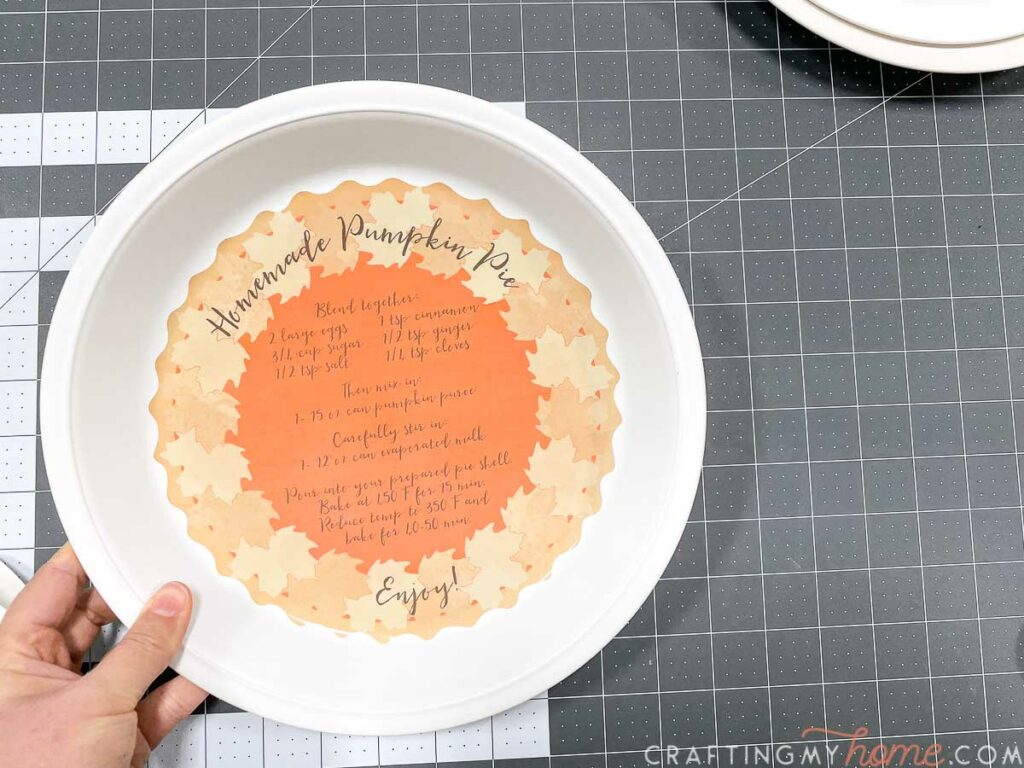
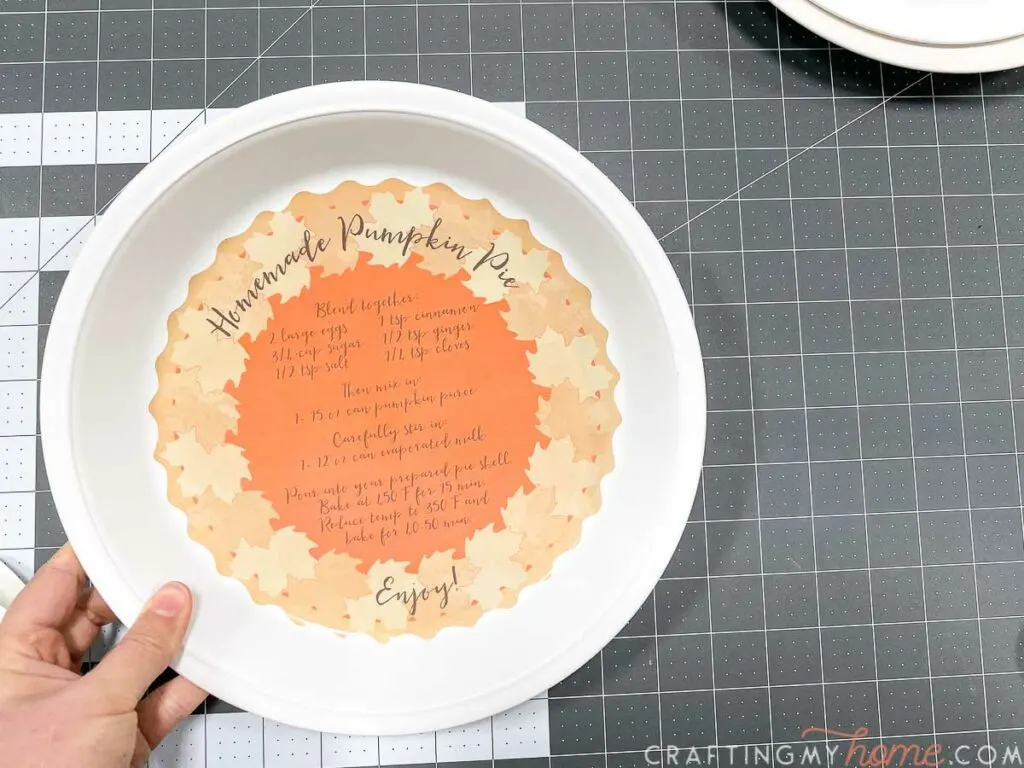
Now your pie plate is done. It is that easy to create amazing decorative plates perfect for Thanksgiving.
I love the set of three plates that creates a cute little story on my console table. The story that pie is my favorite part of Thanksgiving! I mean, just after enjoying the day with my family.
Happy crafting!