Decorate your Christmas tree with these beautiful and easy paper snowflake ornaments.
It’s that time of year again…
Time for the 7 Days of Paper Christmas decor series!!!!
Today is the first of 7 new paper crafts to get your home decorated and ready for the Christmas season. I hope you are as excited as I am.
This post may contain affiliate links. As an Amazon Associate I earn from qualifying purchases. Click here to read my full disclosure policy.
The first way I always decorate for Christmas is to put up the Christmas tree. So for day 1, let’s craft a beautiful paper Christmas ornament. And these beautiful paper snowflake ornaments are so easy you’ll be decorating for Christmas in no time!

Snowy Christmas Decor
Every year I have a theme to the paper Christmas series. In the past I have done farmhouse, nordic/Scandinavian, and modern. This year’s theme is all about snow.
Maybe it is because I know we won’t have snow here in Texas (at least I hope not again). Or maybe it is because I just love the idea of cuddling up to a fire.

So this year I am decorating for Christmas with a snowy ski lodge theme. Expect to see lots of snow decor and cozy plaids.
Easy Paper Snowflakes
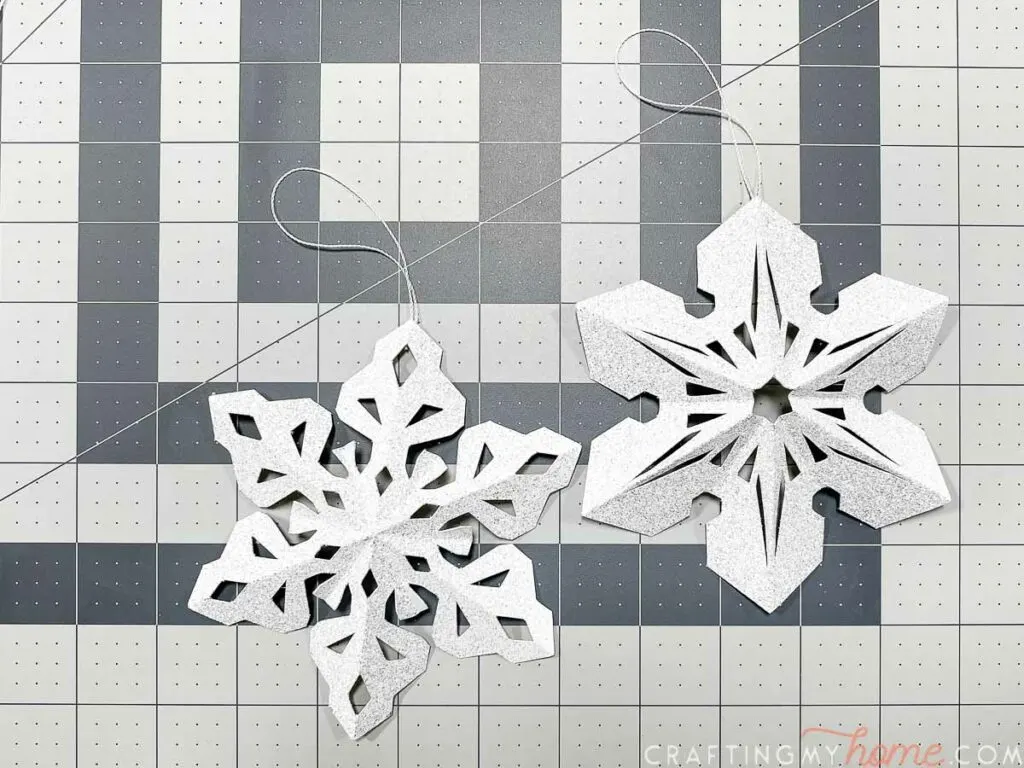
These are not the fold and snip snowflakes you made as a kid. Instead, the snowflake designs were created with intention.
These paper snowflakes mimic 4 real snowflake shapes:
- Stellar plates
- Sectored plates
- Stellar dendrites
- Fern-like dendrites
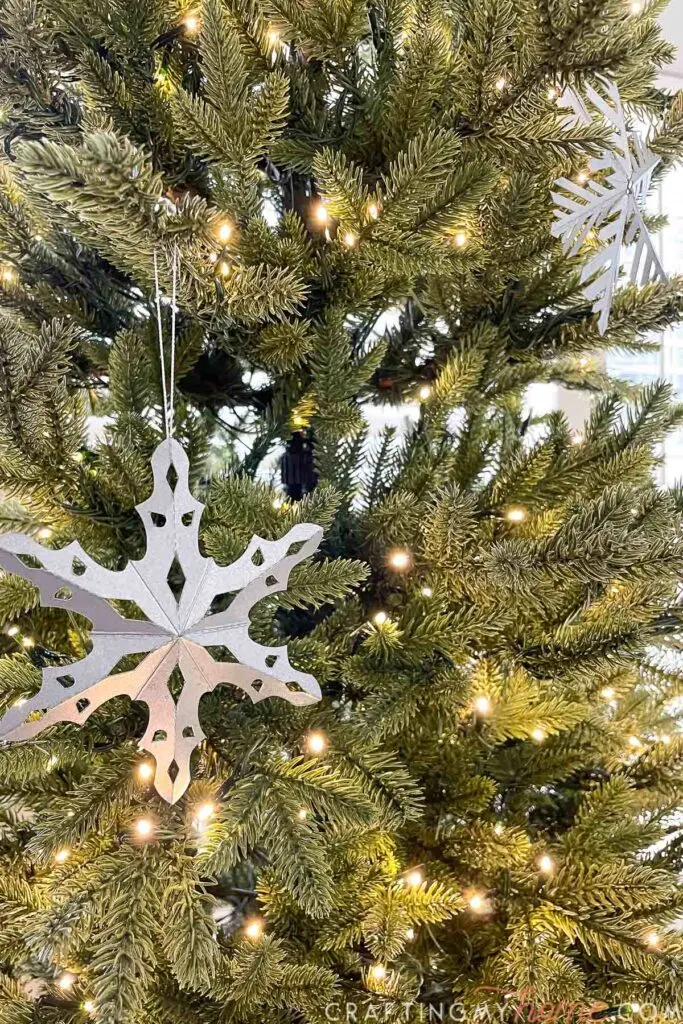
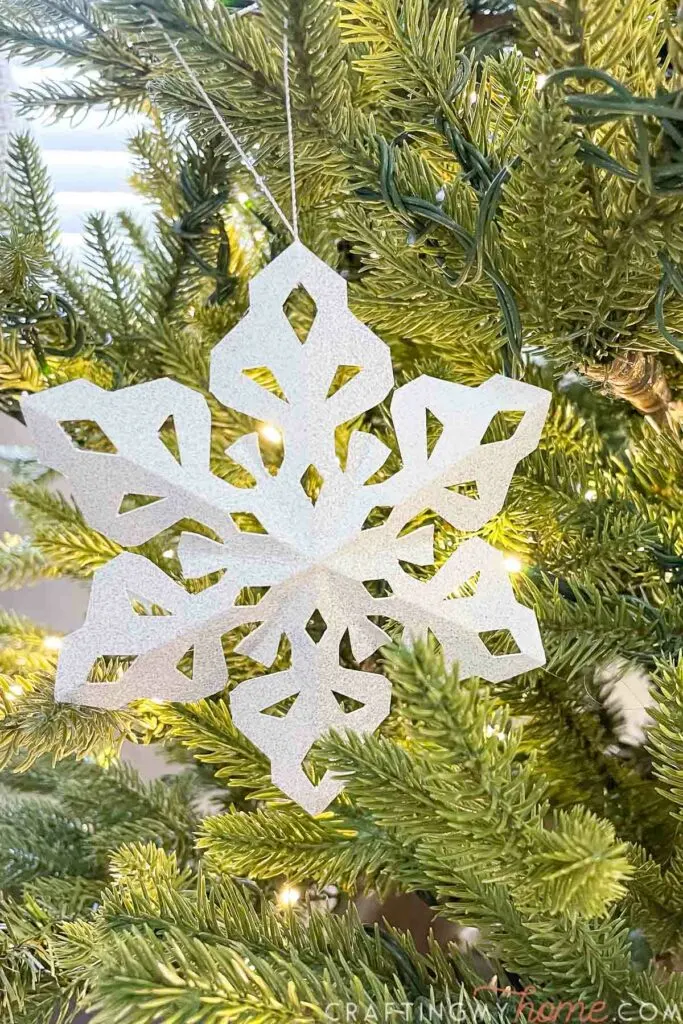
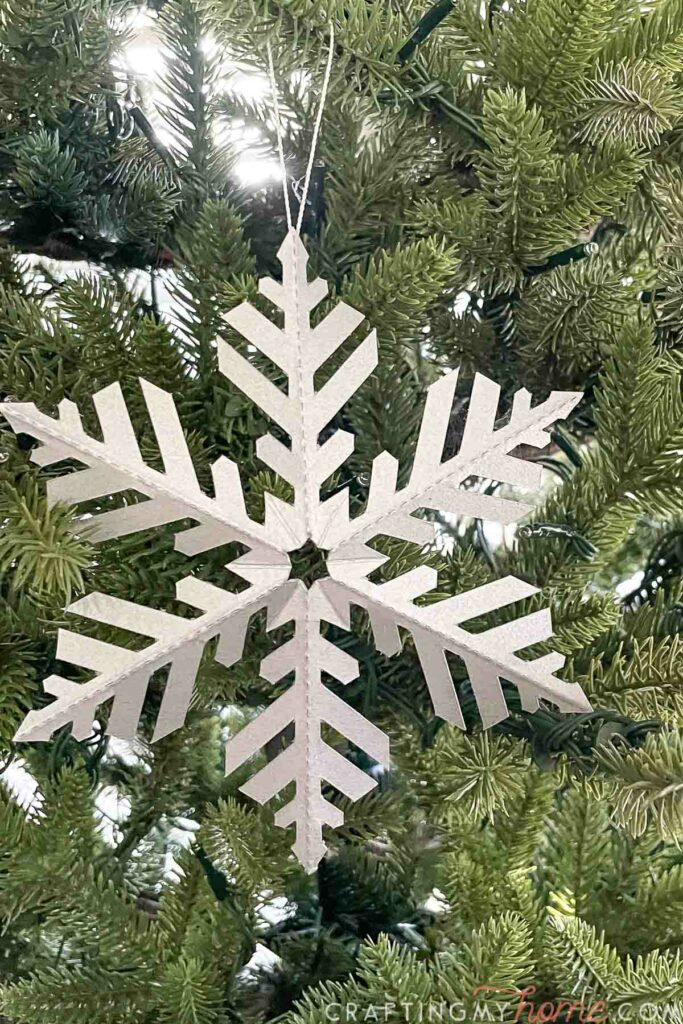
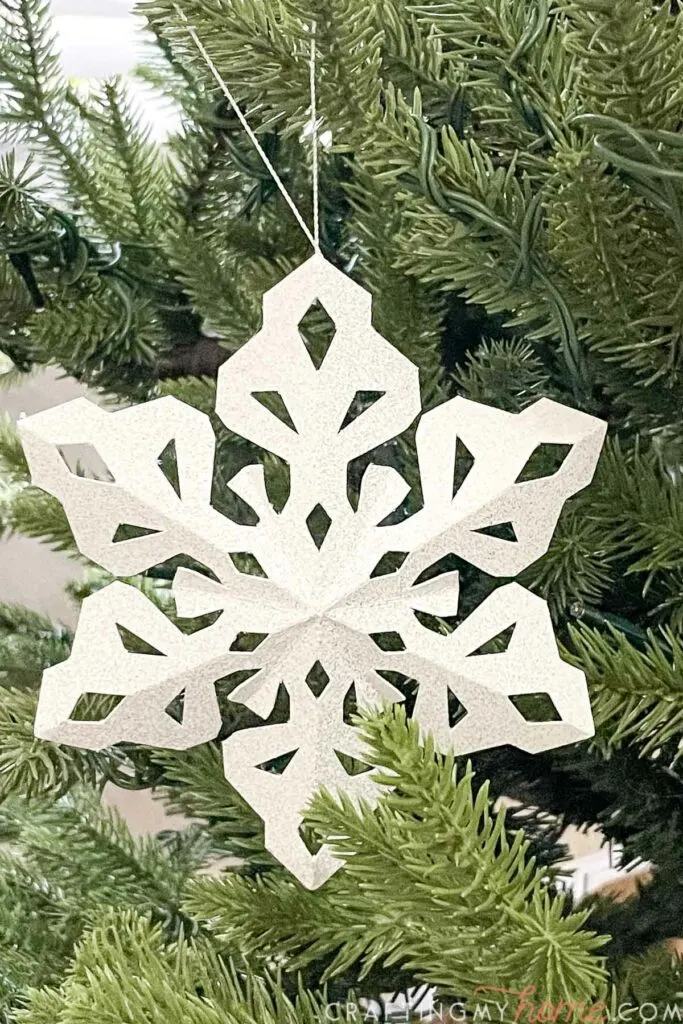
These 4 snowflake shapes are the most “snowflake” like. So I thought it would be fun to represent each one on the Christmas tree.

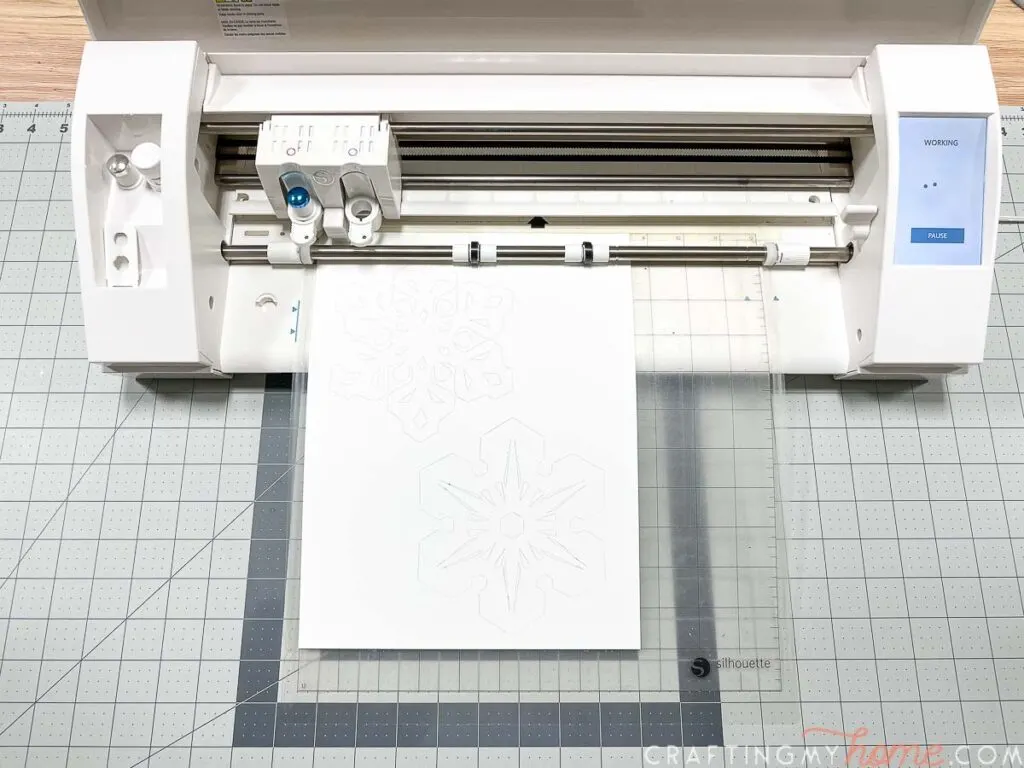
And this paper snowflake craft is still super easy. Instead of cutting it by hand, you can use your Silhouette Cameo or Cricut cutting machine to make quick work of all the snowflake details!
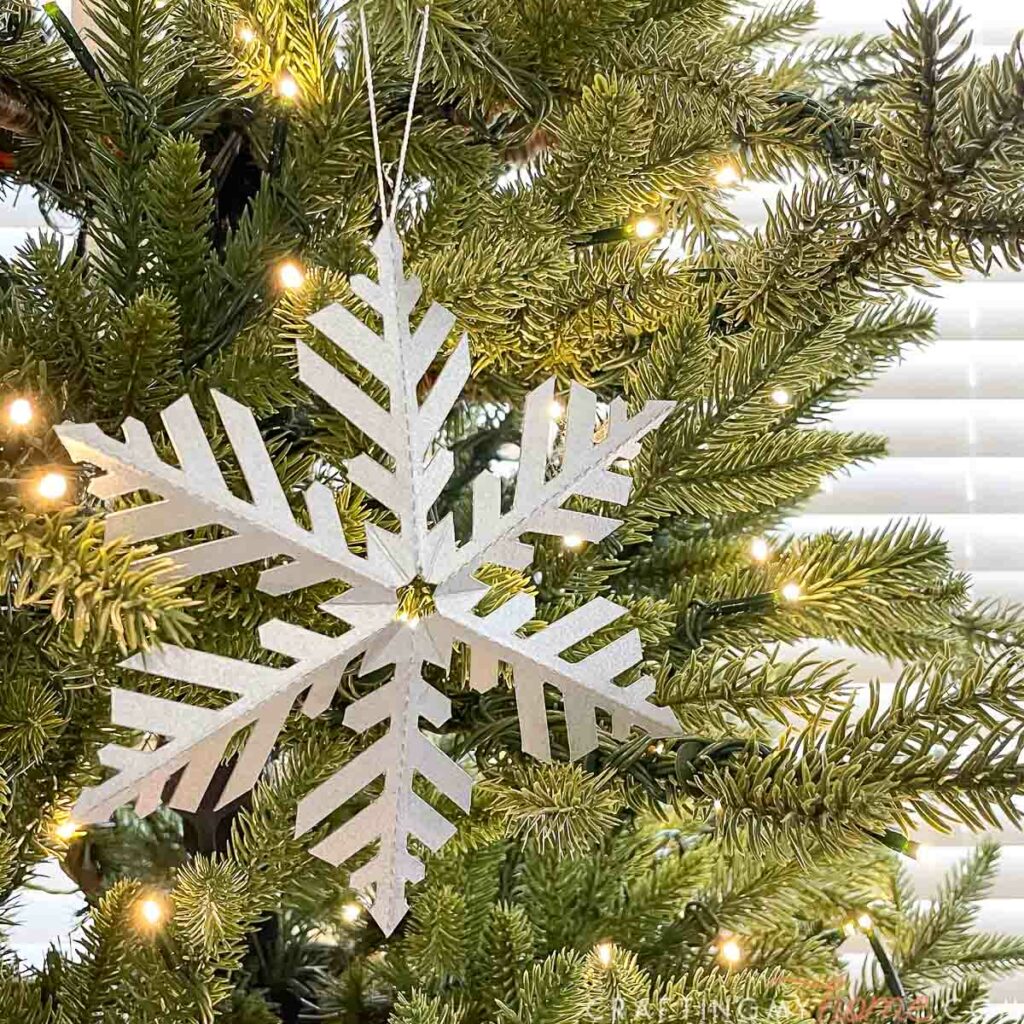
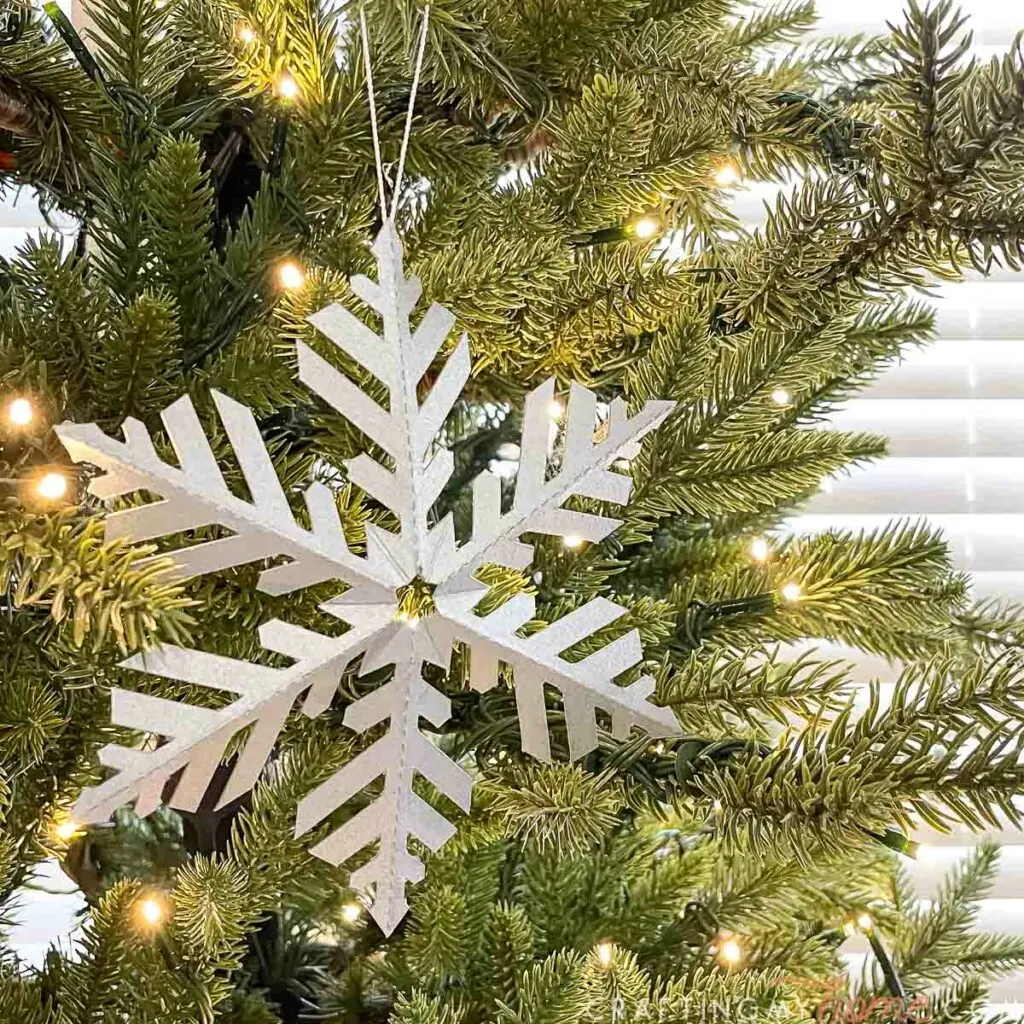
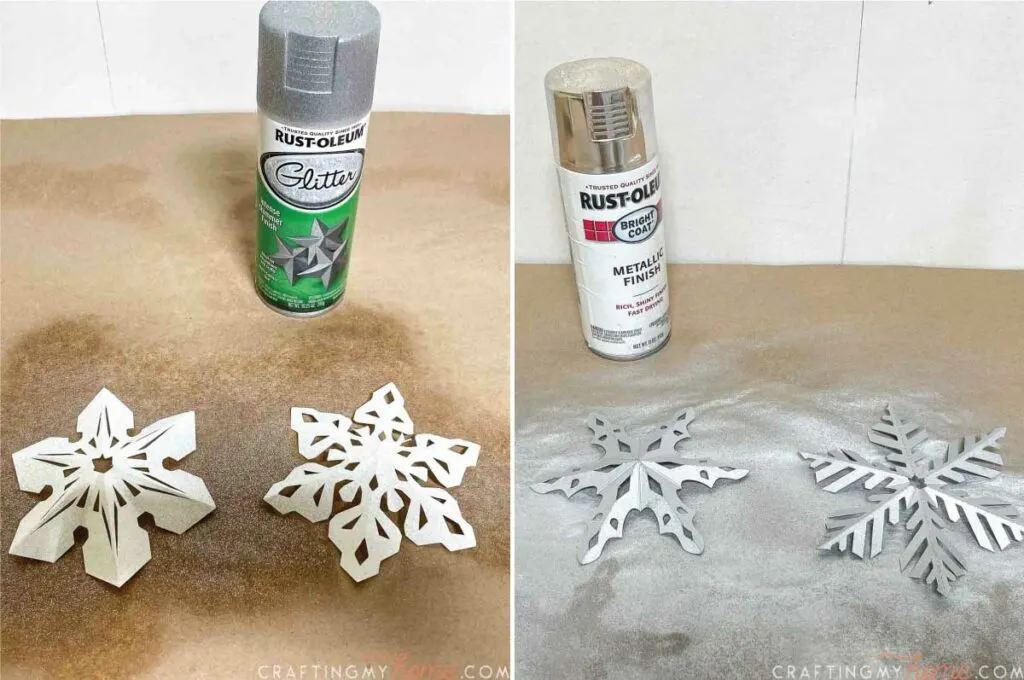
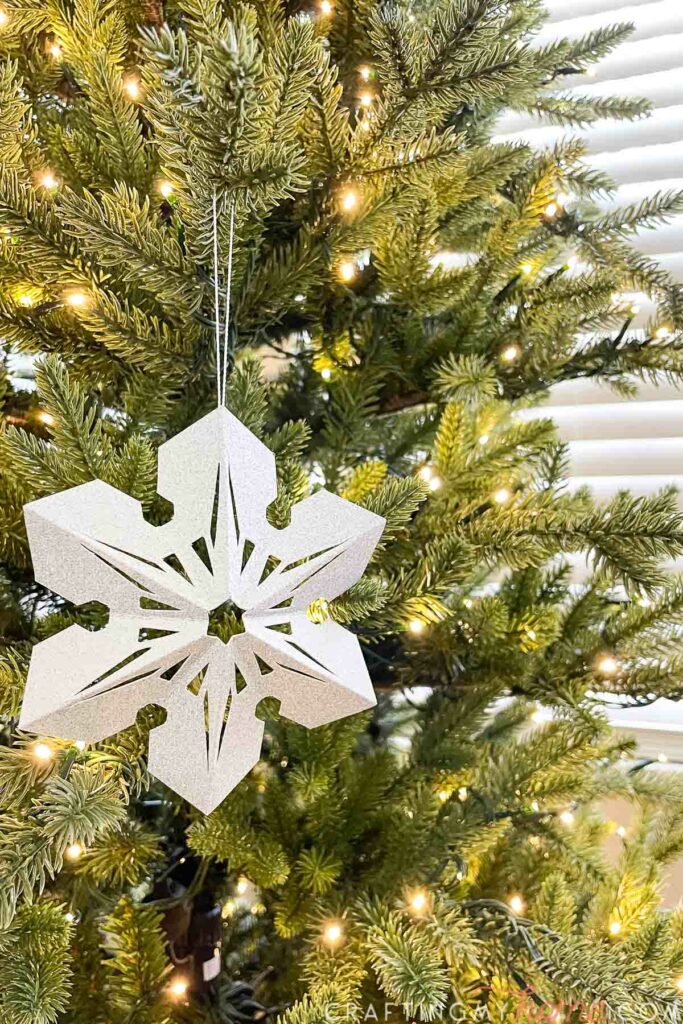
Then you fold the snowflake into a 3D snowflake design. But the secret to these beautiful snowflake ornaments is the spray paint.
A couple light coats of either a glitter or metallic spray paint on the cardstock makes them sparkle. It is hard to see the true sparkle in a photo, but in real life they look like glistening snowflakes on my Christmas tree!

7 Days of Paper Christmas Decor
Today is just the first day of 7 fun crafts over the next week. Each day until Thanksgiving I will share a new paper Christmas craft!
Make sure to check back tomorrow for the next paper craft. And I will update the list below with all the projects as they publish in case you see this later!
- Day 1: Easy Paper Snowflake Ornaments
- Day 2: Rustic Paper Christmas Tree Craft
- Day 3: Anatomy of a Snowflake Printable Art
- Day 4: Plaid Paper Food Trays
- Day 5: Easy Wooden Ski Christmas Ornaments
- Day 6: Beautiful Paper Christmas Village DIY
- Day 7: Decorative Wooden Sled Paper Craft
How to Make Paper Snowflake Decorations
Supplies:
- Snowflake ornament template
- I am sharing the cut files & PDF for these paper Christmas ornaments in my subscriber library until 11/25/2021, then they will move to the shop. Click here to subscribe to my newsletter and gain access to all the freebies. If you already have your password, click here to go to the library download them.
- Heavy weight cardstock
- Printer (if not using an electronic cutting machine)
- Glitter or metallic spray paint
- Cording/twine/string
- Hot glue gun and glue sticks
- Optional: Electronic cutting machine like a Silhouette Cameo or Cricut Maker
- Optional: Scoring board
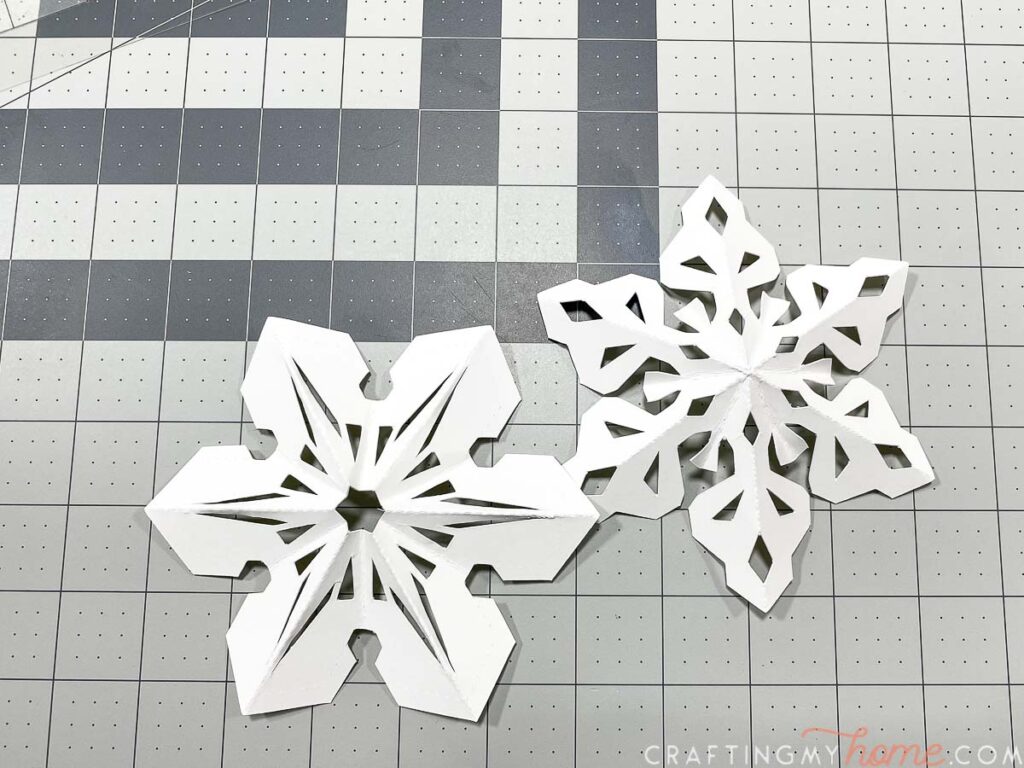
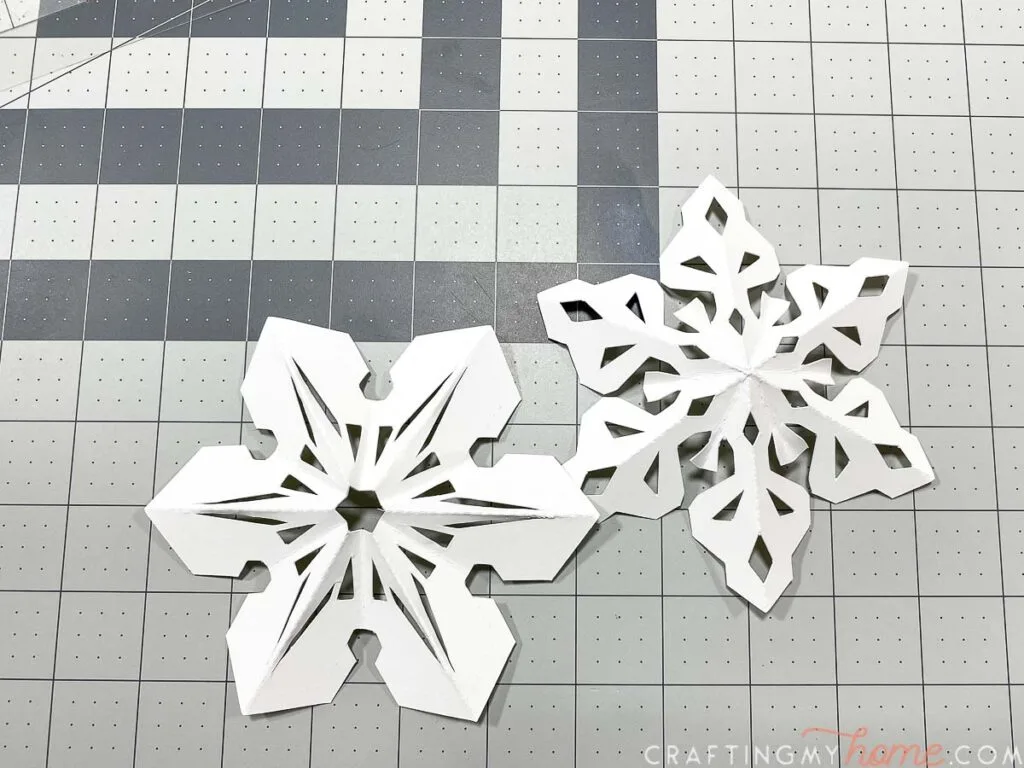
Cut out snowflakes
Either use your electronic cutting machine or scissors to cut out your snowflake templates. There are 4 different designs, 2 on each paper.

Expert Tip:
When removing the paper from the cutting mat, flip it over and pull the map away from the paper. This will prevent the paper from curling.
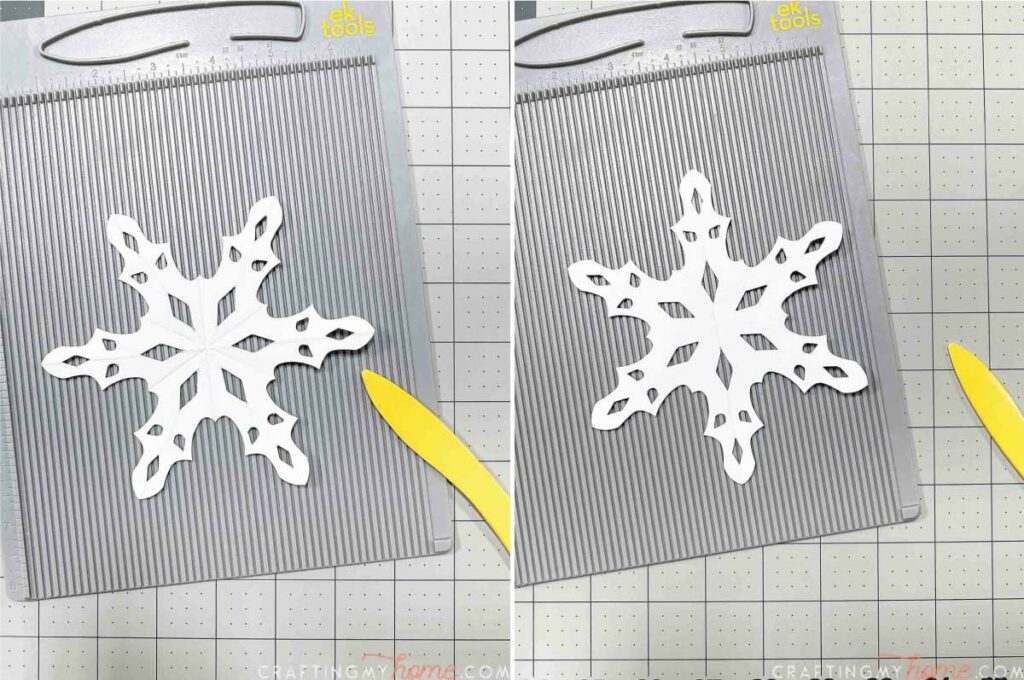
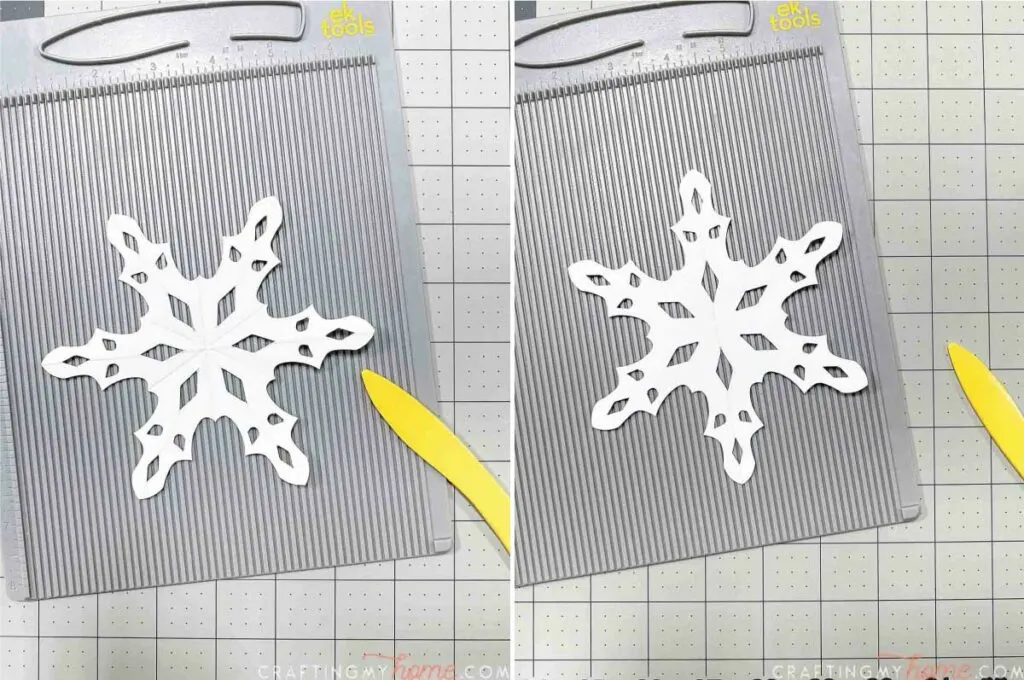
Fold the snowflakes
Fold along the folded lines.
The lines that go toward the points of the snowflake should be folded toward the front. And the lines that go between the points should be folded toward the back.

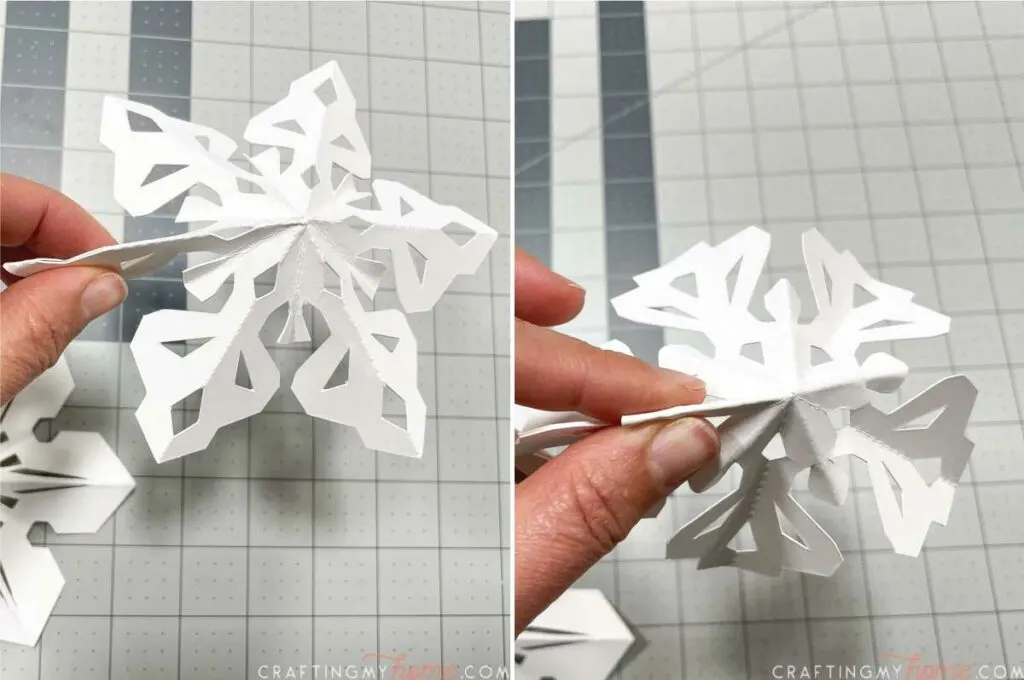
This will create a 3D snowflake effect. You can make them more or less 3D with how much you flatten out the fold.
The heavyweight cardstock was harder to fold along the thin lines, even with the dashed cuts. I used a scoring board to score the lines to make it easier.
Finish the ornaments
You can leave the snowflake ornaments white, but the next step gives them the sparkle!
Use either a glitter or metallic spray paint to give them a light coat of paint.
- The glitter makes them still look white, but with glitter. Use as much or as little as you like.
- The metallic makes them look like metal snowflakes. Use a couple light coats to fully cover the white.

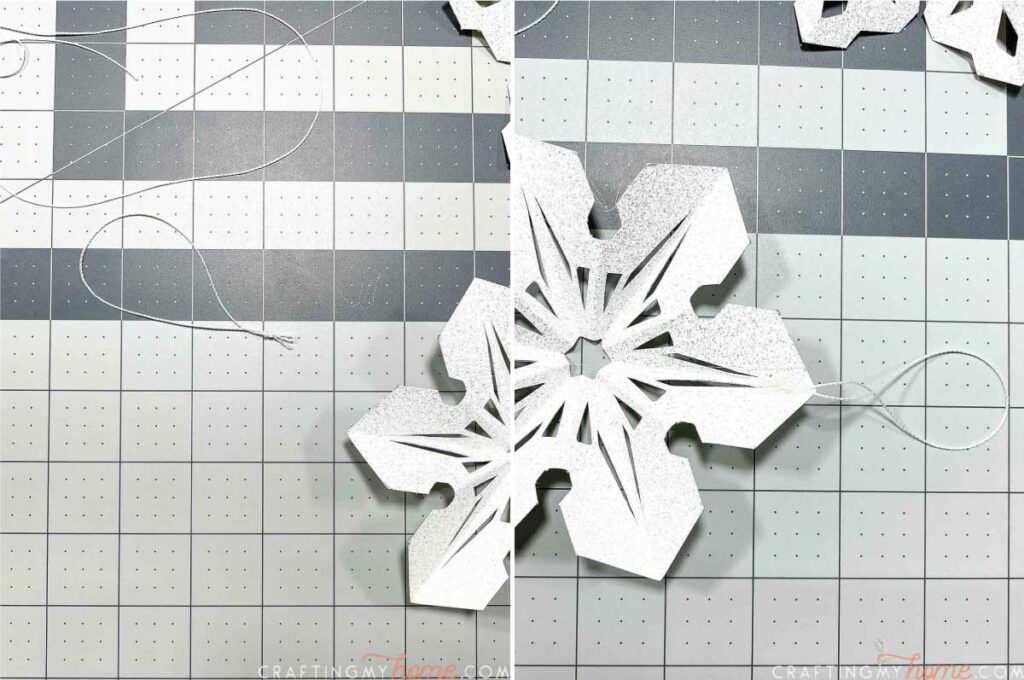
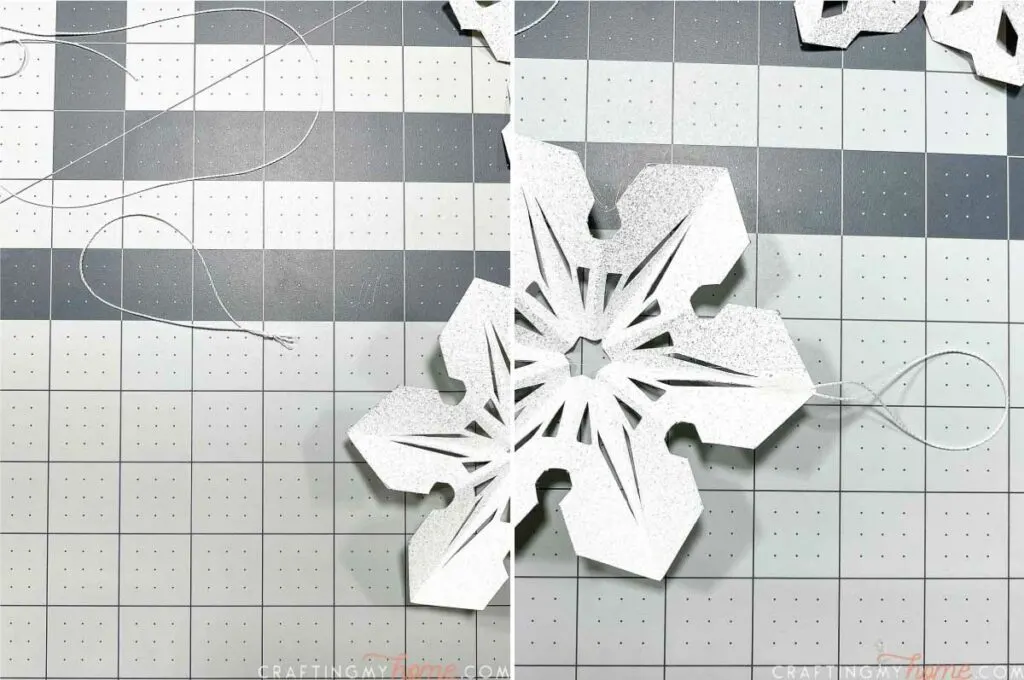
Once the paint is dry, create a loop with some cording, twine or string. Tie a knot at the end.
Use a dot of hot glue to attach the loop to the back of one of the points of your snowflake.
Now your snowflakes are ready to hang on your Christmas tree.
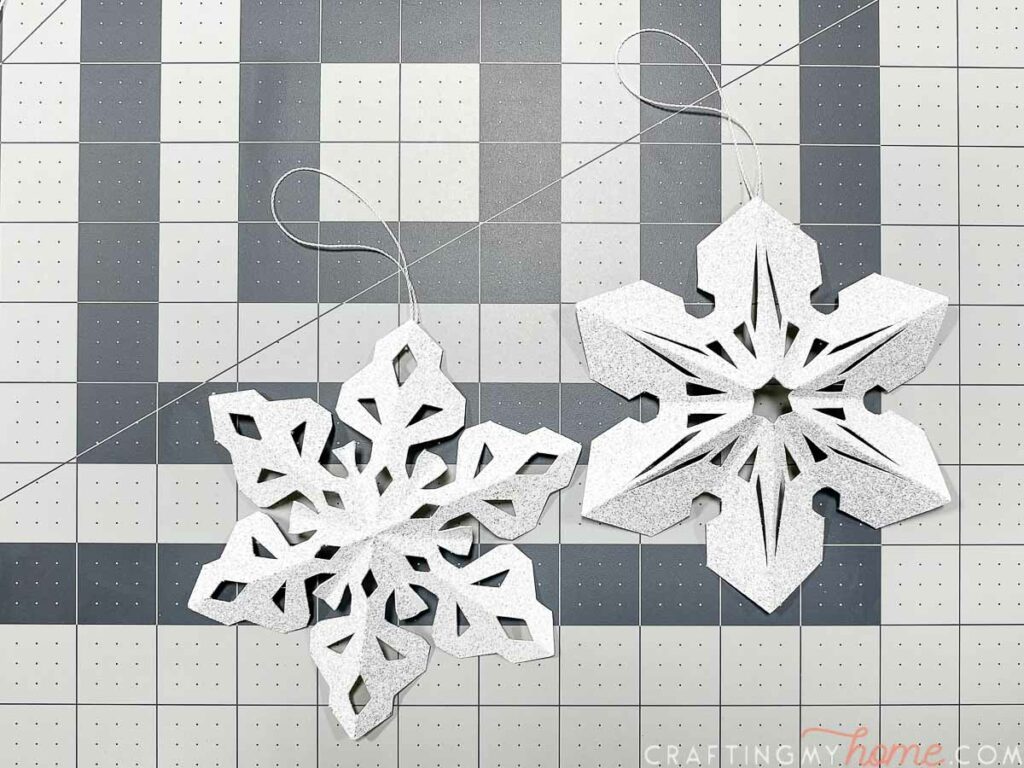
I love how the sparkle of the paint shines with the lights.
But even more, I love that it doesn’t have to be below freezing for me to enjoy these beautiful snowflakes!

Merry Christmas and happy crafting!