No power tools are needed to create this easy decorative wooden sled.
Today is the last day of the 7 Days of Paper Christmas decor series. And I have enjoyed creating a snowy ski lodge in our home.
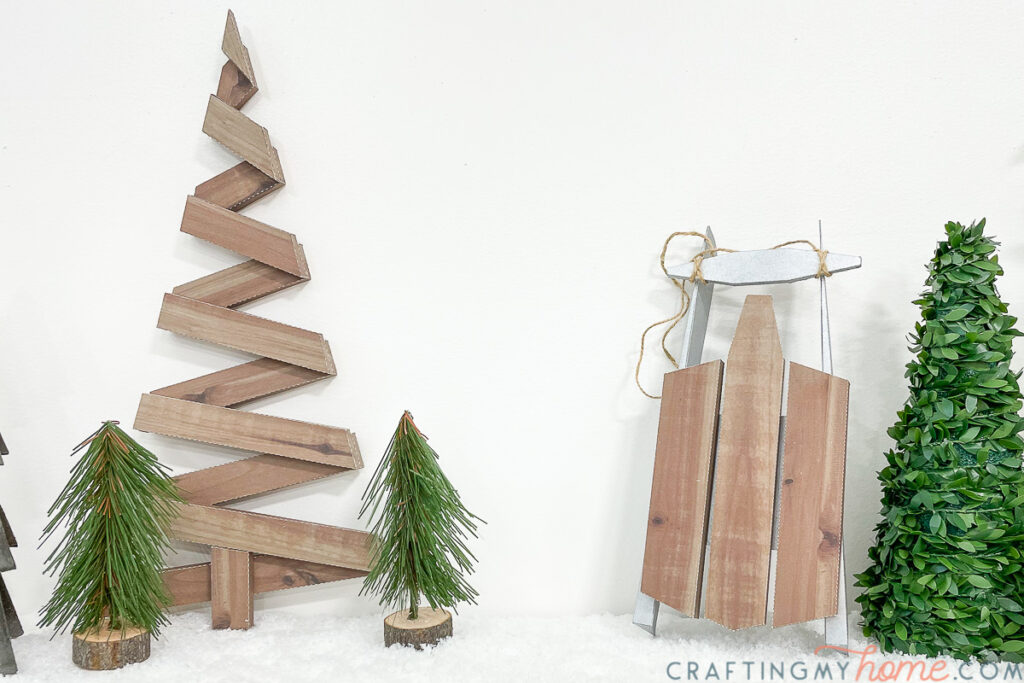
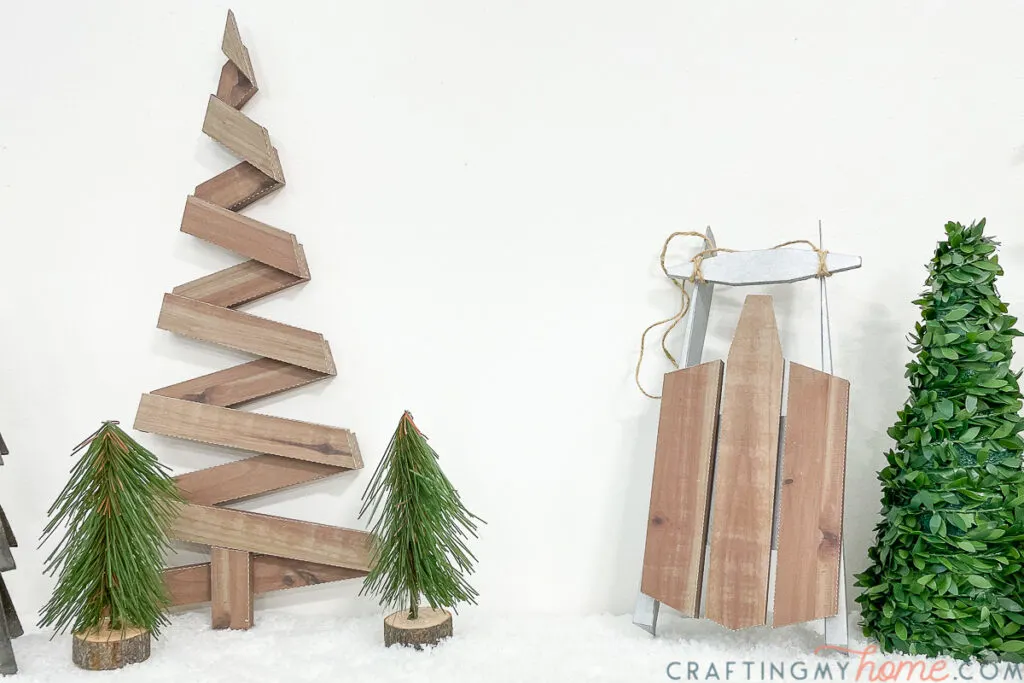
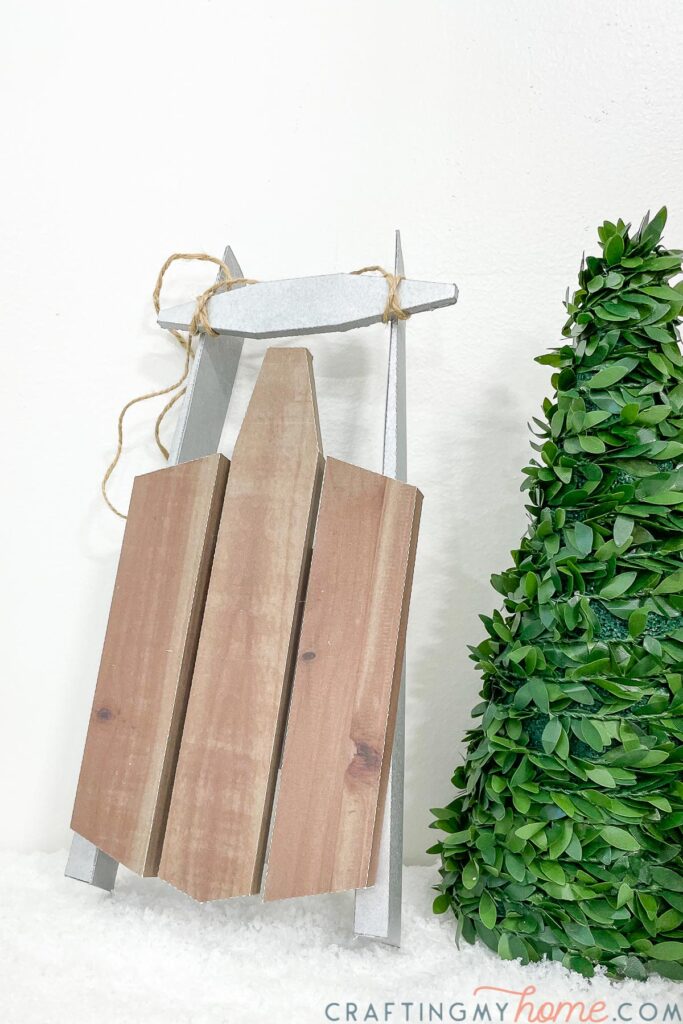
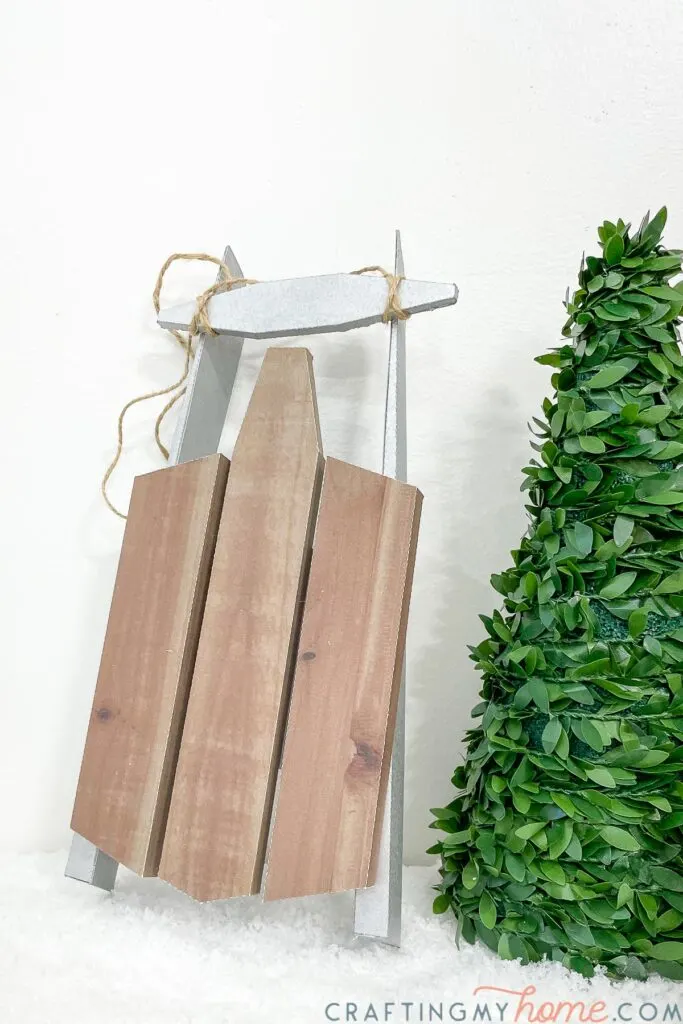
But no ski lodge is complete without sleds! And of course this is a decorative sled that cannot be ridden, but it still makes your home feel like a mountain get-away.
And this decorative wooden sled is the perfect accent on the mantel next to the rustic paper Christmas tree.
This post may contain affiliate links. As an Amazon Associate I earn from qualifying purchases. Click here to read my full disclosure policy.

Decorating with a Sled
You can use this decorative sled in lots of different ways to decorate for Christmas with a snow theme. Plus you can leave it up all winter!
Don’t you just love decorations that can be used for multiple seasons?
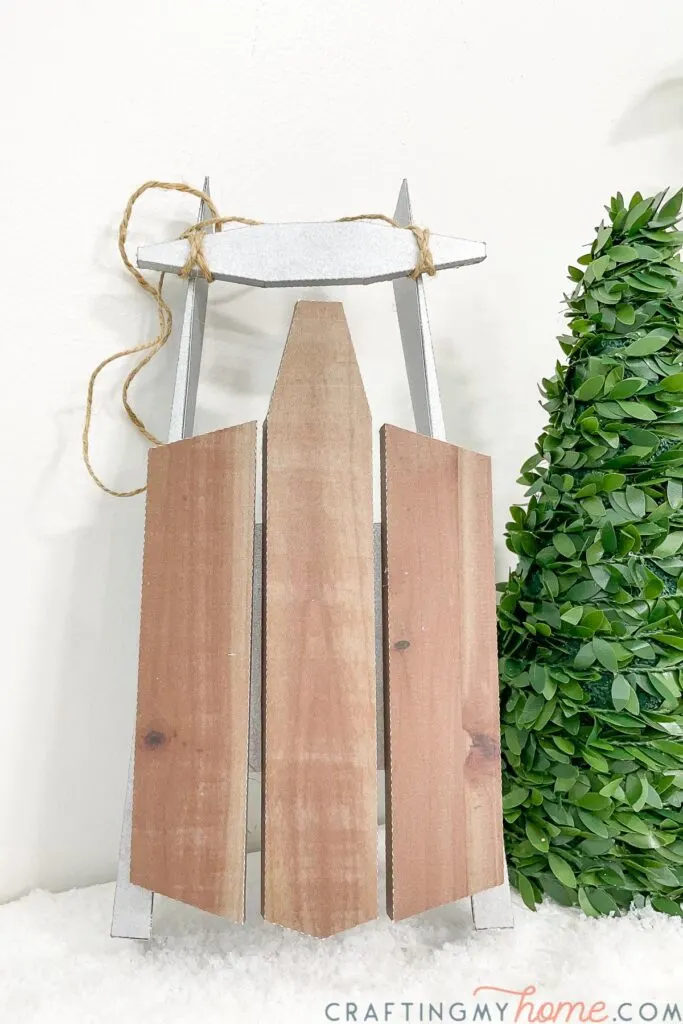
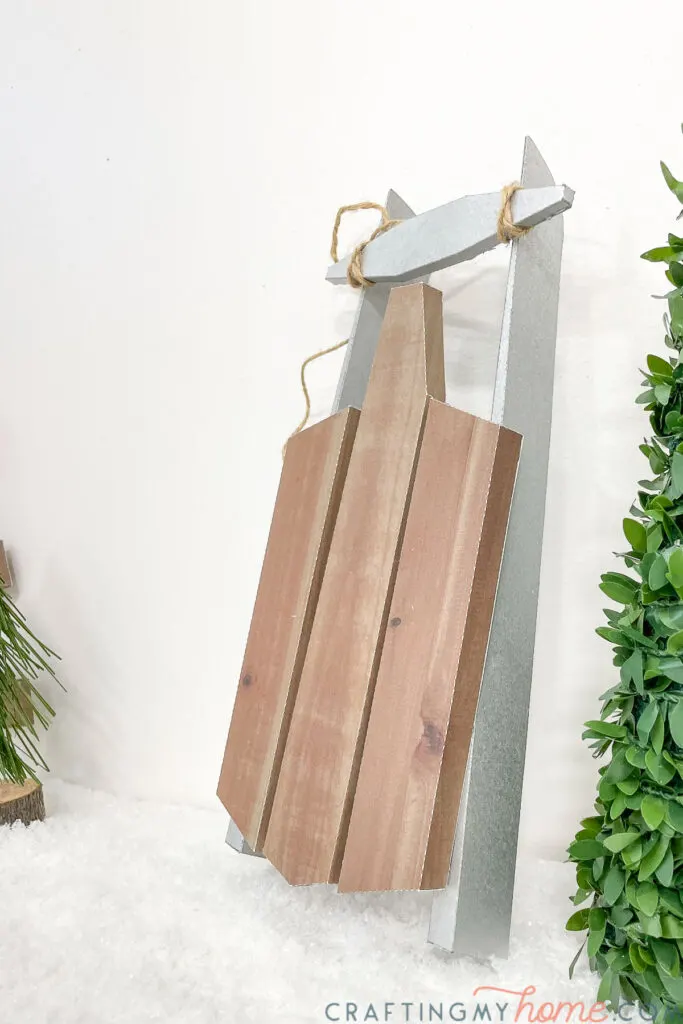
This wooden sled is approximately 10″ x 5″. It is perfect for a tabletop or mantle decoration.
There are so many ways to use a smaller sled to decorate this holiday season or in the winter. Here are a few ideas:
- Place it on your mantle.
- Add it to a bookcase leaning up against the bookends or place it on a stack of books.
- Use it as a table centerpiece decoration.
- Place it on a shelf.
- Tuck it in the Christmas tree or under it.
These are just a few quick ideas you can use to add the cute decoration to your home. Leave a comment with how you are going to decorate with your new wooden sled!

7 Days of Paper Christmas Decor
It has been another fun week of Christmas crafting! Every year I look forward to creating the 7 paper Christmas decorations and I hope you do to.
This year’s snowy ski lodge theme was so fun. It’s the perfect decor for a cozy Christmas at home. If you missed out on any of the projects, make sure to check them out below:
- Day 1: Easy Paper Snowflake Ornaments
- Day 2: Rustic Paper Christmas Tree Craft
- Day 3: Anatomy of a Snowflake Printable Art
- Day 4: Plaid Paper Food Trays
- Day 5: Easy Wooden Ski Christmas Ornaments
- Day 6: Beautiful Paper Christmas Village DIY
- Day 7: Decorative Wooden Sled Paper Craft
How to make a Decorative Sled
Supplies:
- Wooden sled template
- I am sharing the cut files & PDF for this decorative sled in my subscriber library until 11/25/2018, then they will move to the shop. Click here to subscribe to my newsletter and gain access to all the freebies. If you already have your password, click here to go to the library download them.
- Cardstock
- Printer
- Hot glue gun and glue sticks
- Metallic spray paint
- Twine
- Optional: Electronic cutting machine like a Silhouette Cameo or Cricut Maker
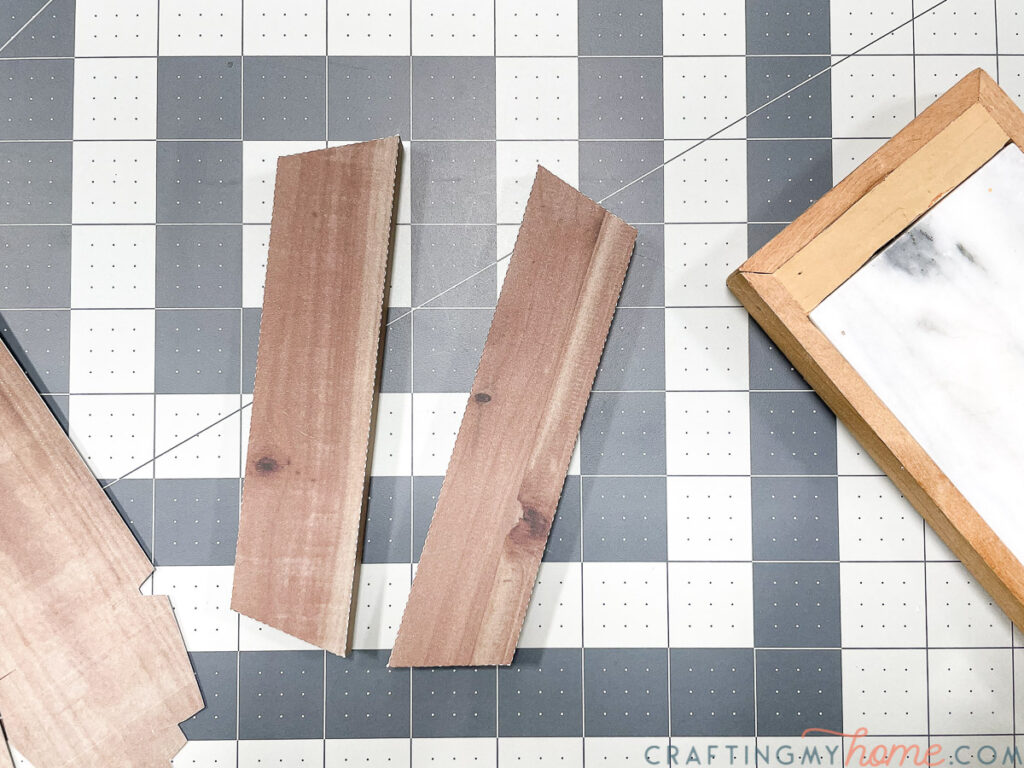
Cut out the pieces
Cut out all the pieces needed for the sled. You will need 3 pieces of cardstock.
If using an electronic cutting machine, use the print and cut feature.
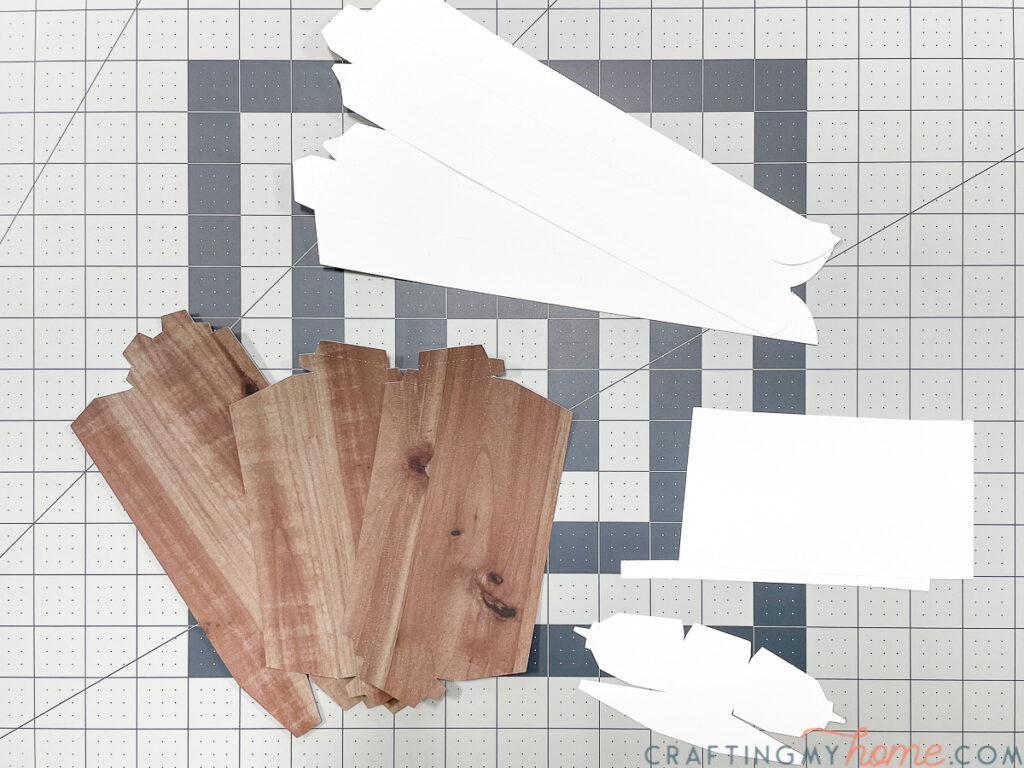

Fold along all the dotted lines.
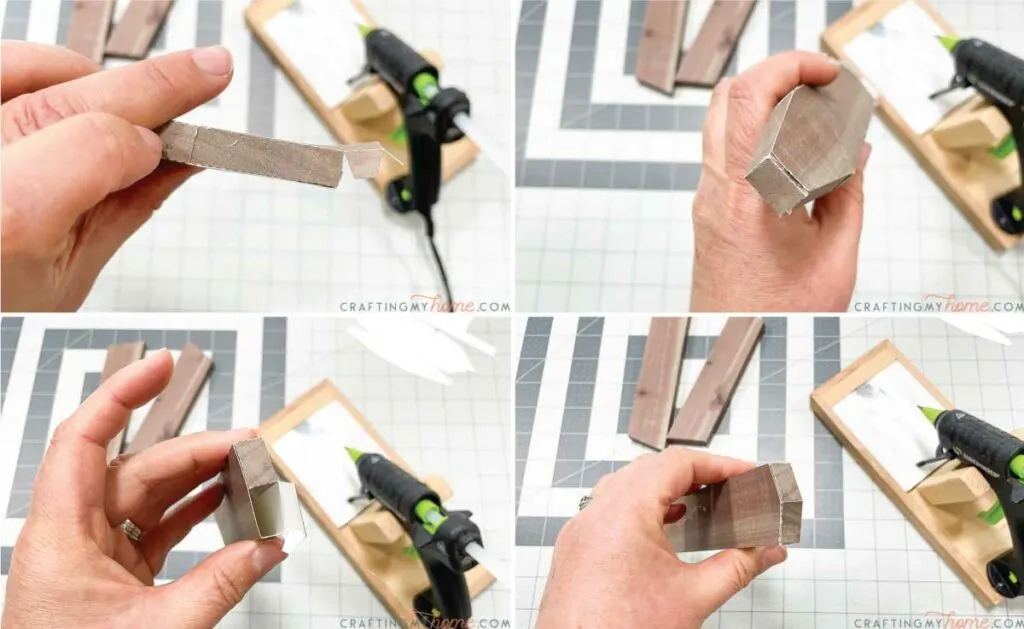
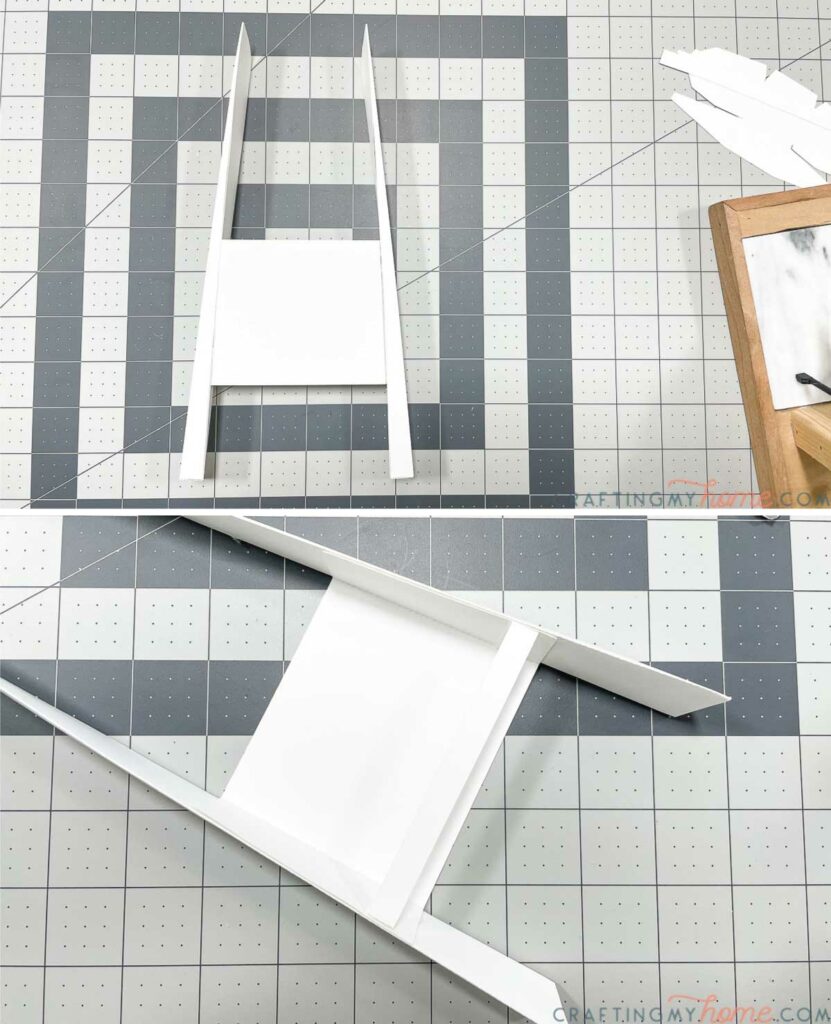
Assemble the wooden bench pieces
Start by assembling the bench pieces. These are assembled like basic boxes.
For the outer pieces, glue the long side then fold over the ends on the sides.
Use glue to secure all the tabs.
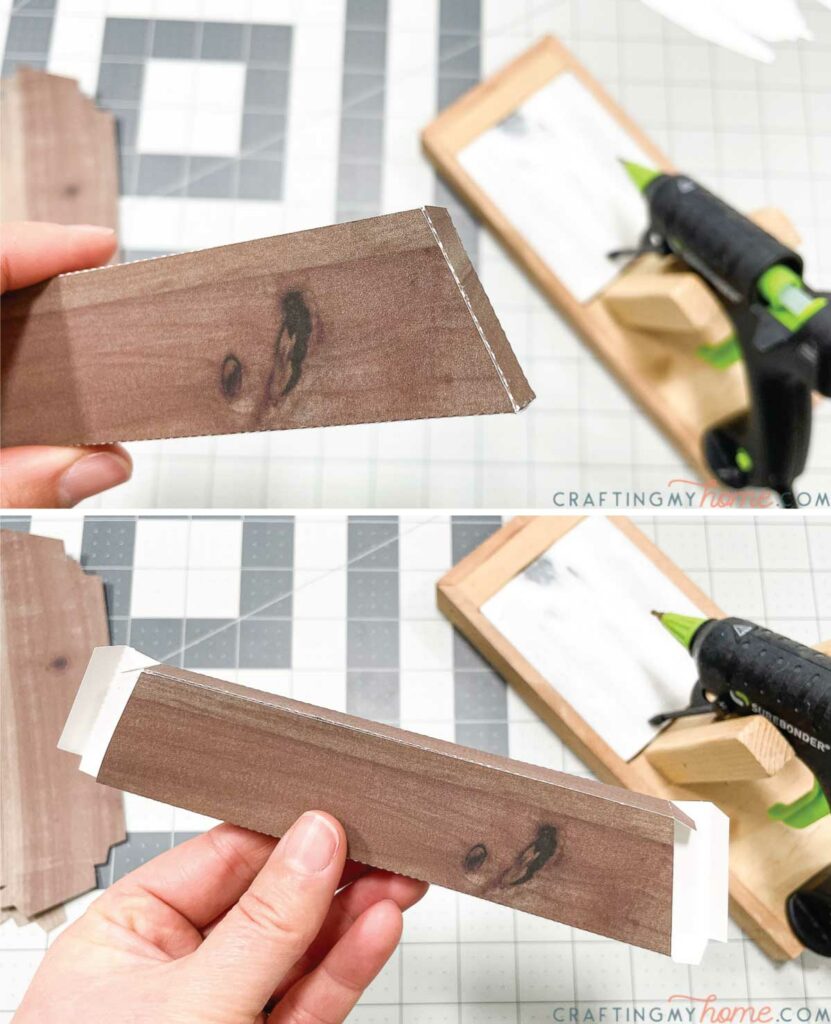
Repeat for the second outer piece.

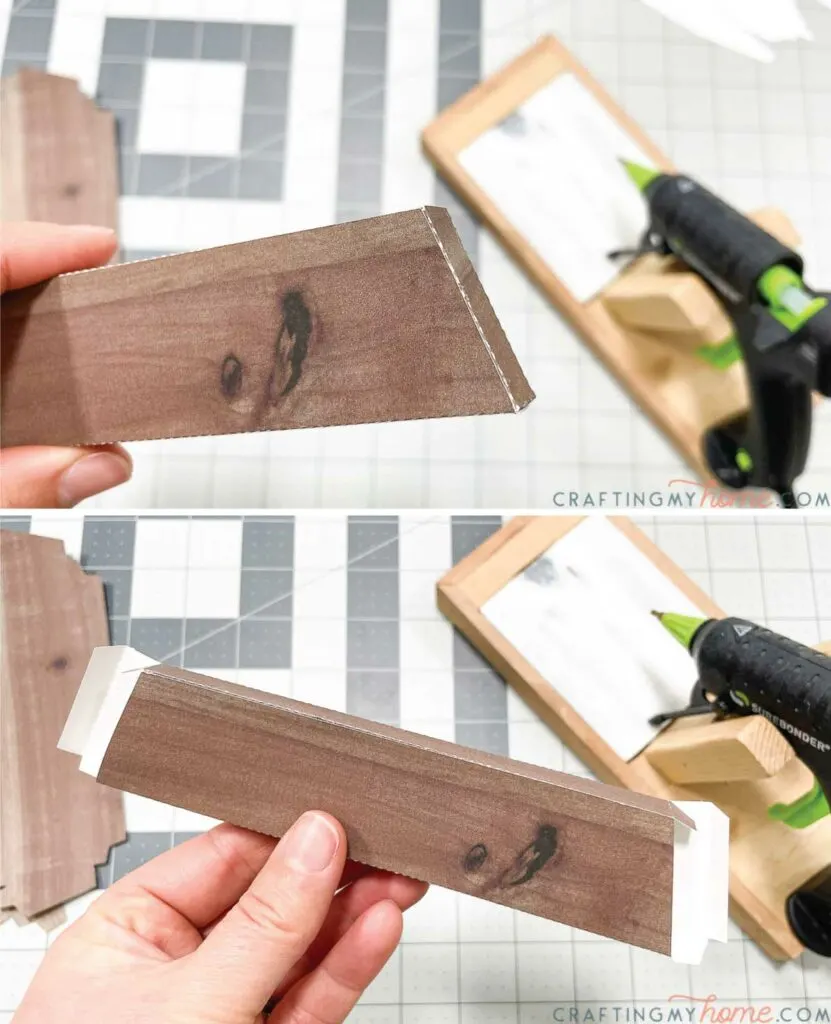
The inner seat piece is a little more complex. Start by securing the long center tab.
Then fold in the tabs on both ends and glue to secure. The top tapers in so you have a couple layers of tabs.
The point on the top is tight, but it doesn’t matter if the tabs gets squished a little when you tuck it in.
Then add a drop of glue to secure it.

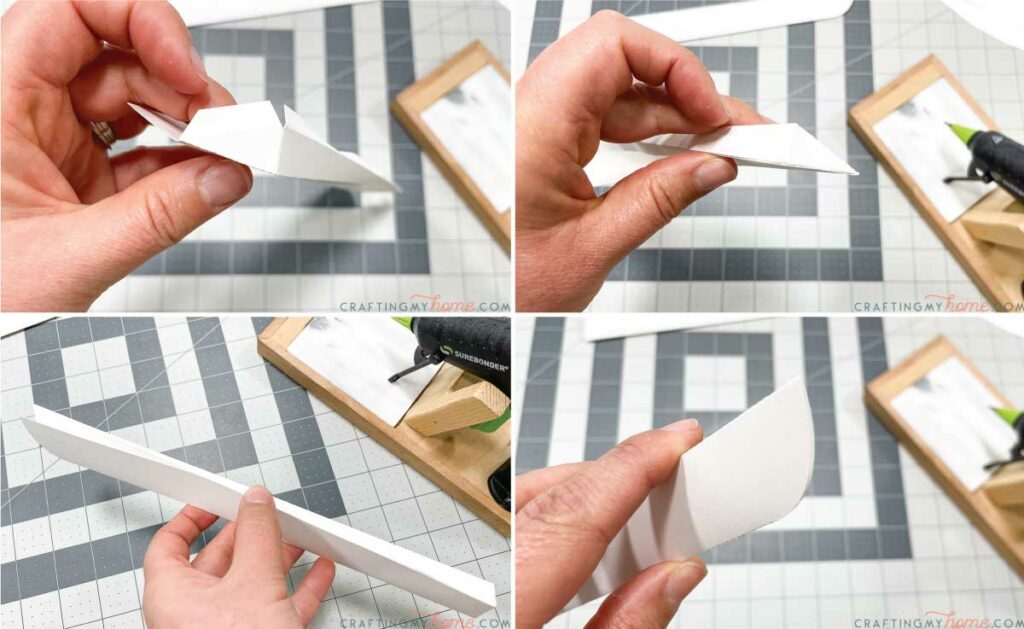
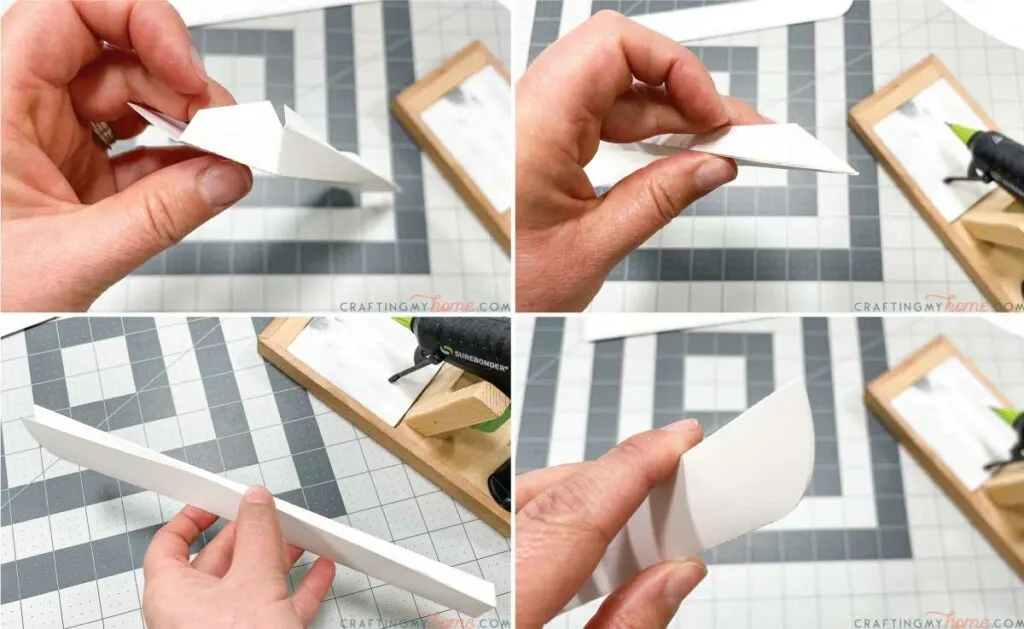
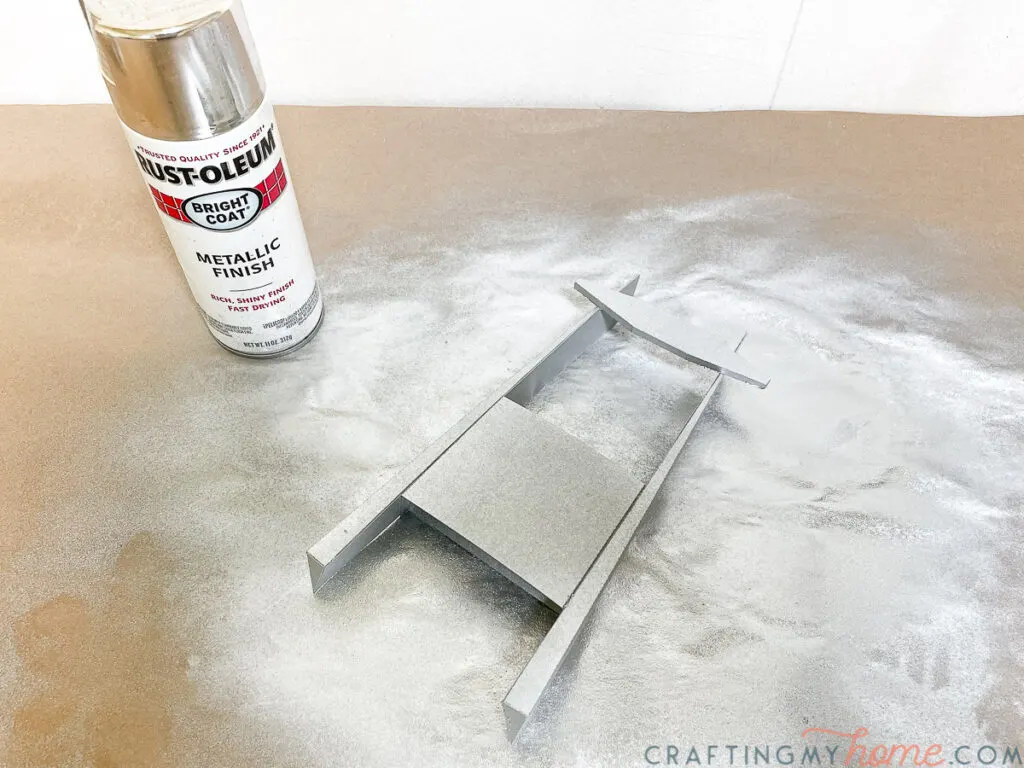
Assemble the sled base
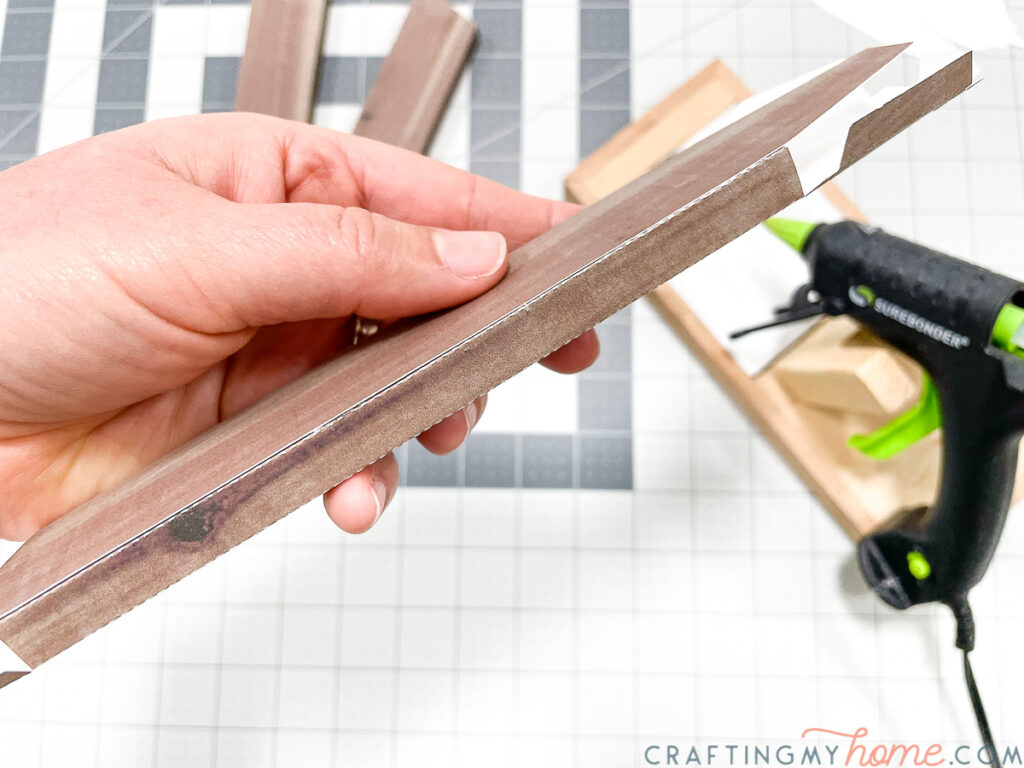
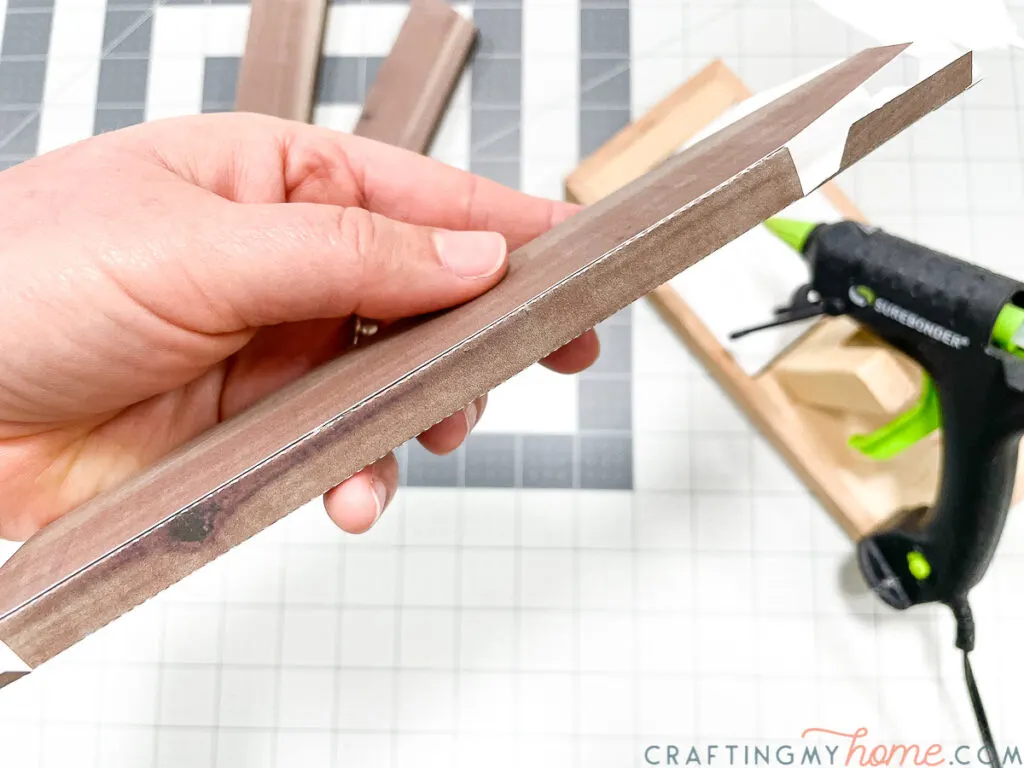
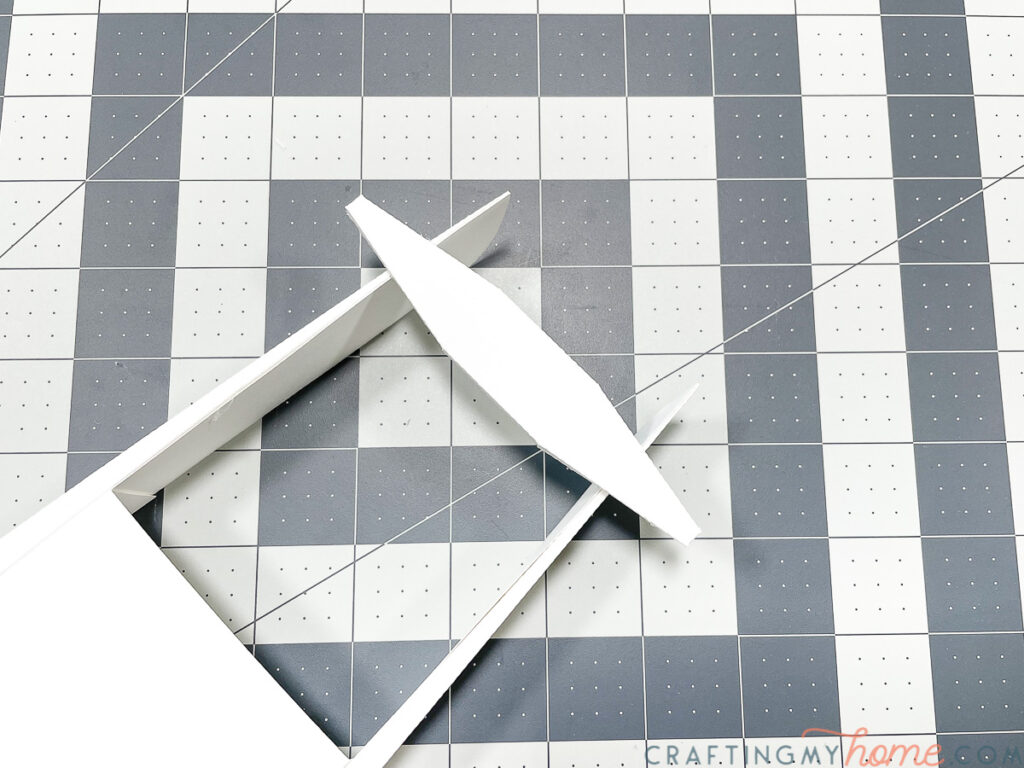
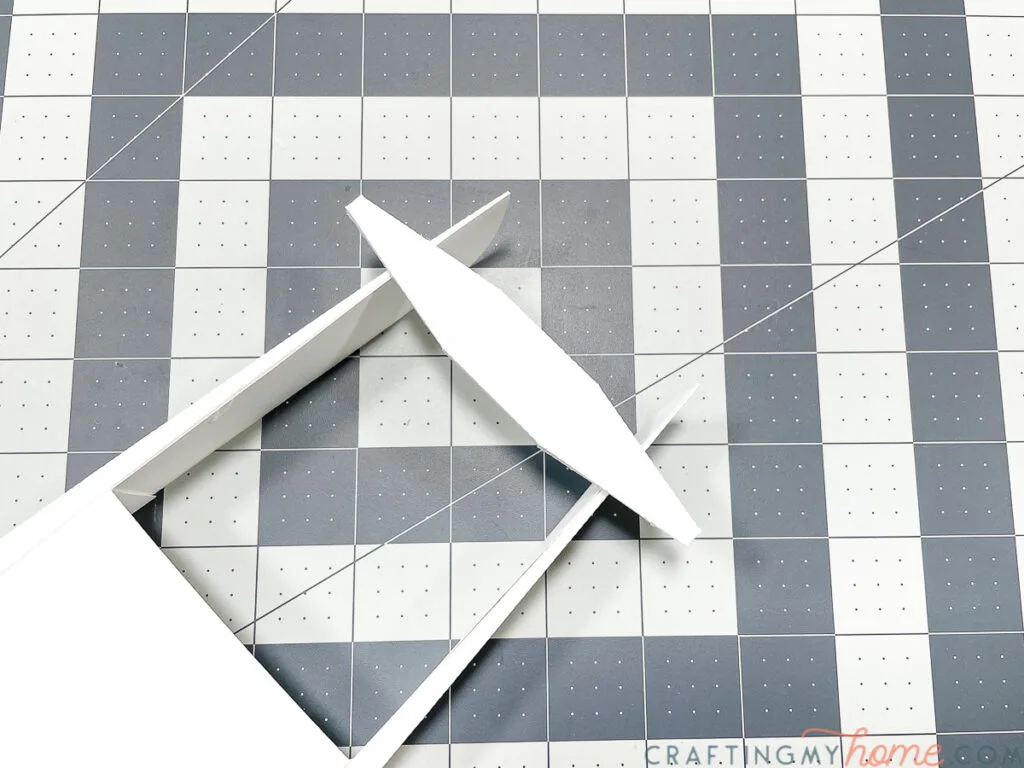
Assemble the ski blades by first glueing the tabs on the back.
Then start glueing the side tabs all the way to the front. I did this in two stages, only glueing half the long tab at a time.
Finish by adding glue inside the top rounded part of the blade and pinching it flat to close it.
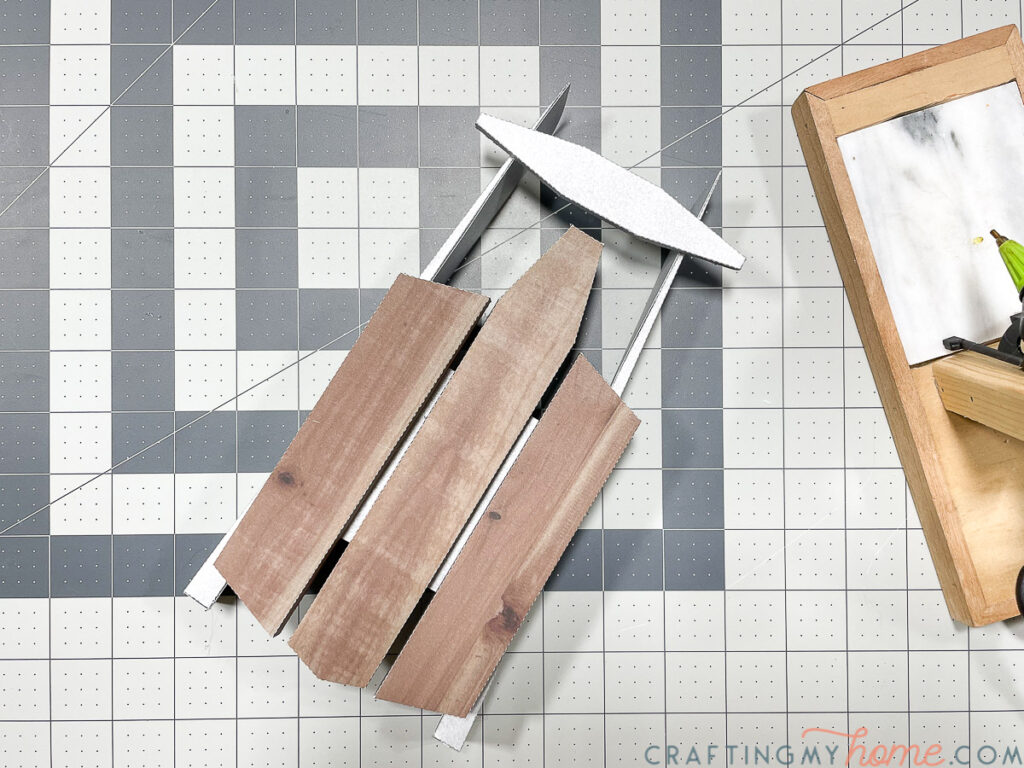
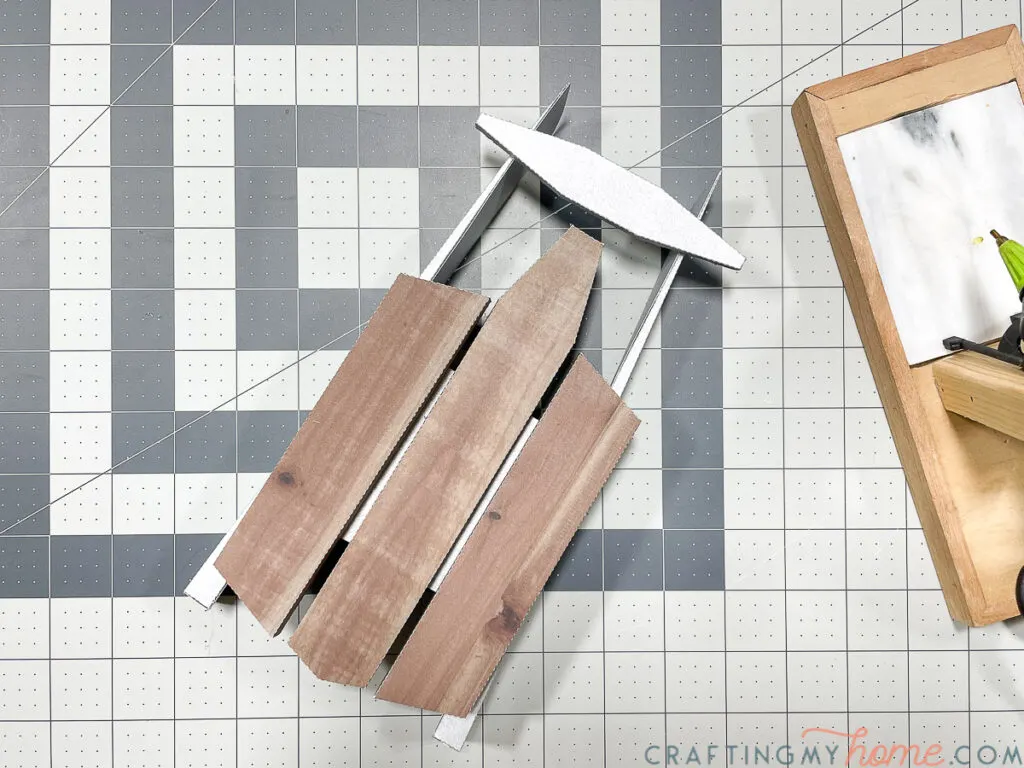
Fold and glue together the steering handle. This one is small and requires some patience.
Again, you will probably squish the tabs when trying to close up the ends. Use a pin to help push it in then secure with a dot of glue.

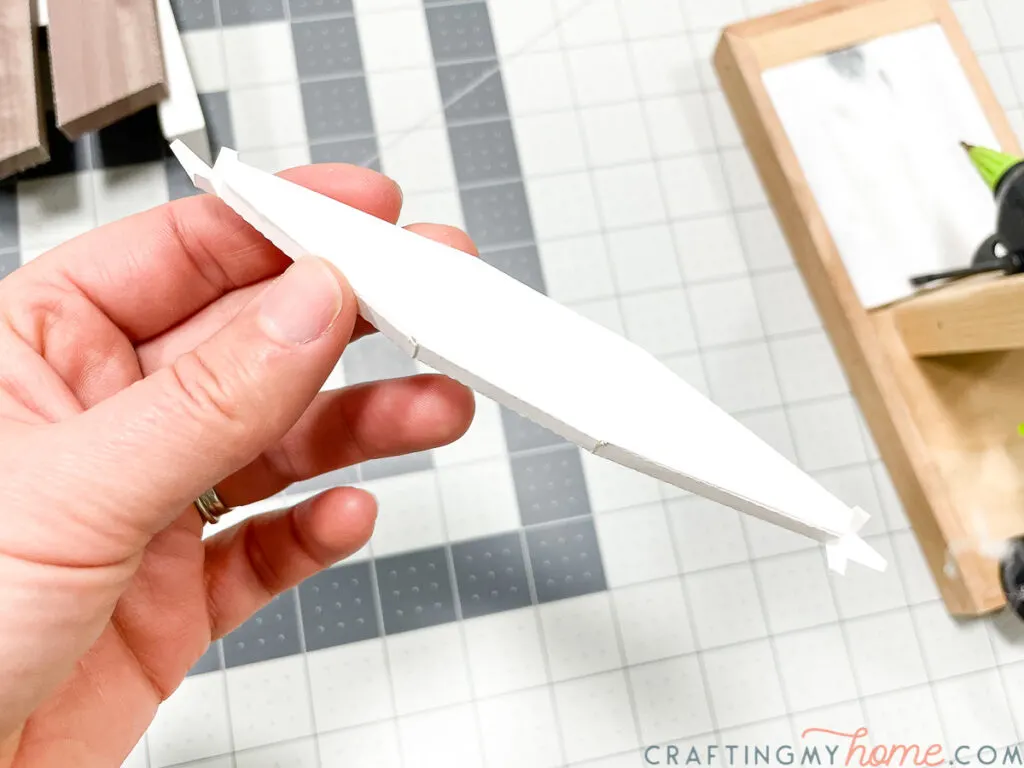
There are two small slits in the sides of the blades. These are measurement marks.
Line up the center brace along the inside of the blade between these lines. It should be flush with the top and bottom of the blades. Glue to secure.
Then flip the base over and secure the smaller piece to the back to prevent the blades from folding out flat.
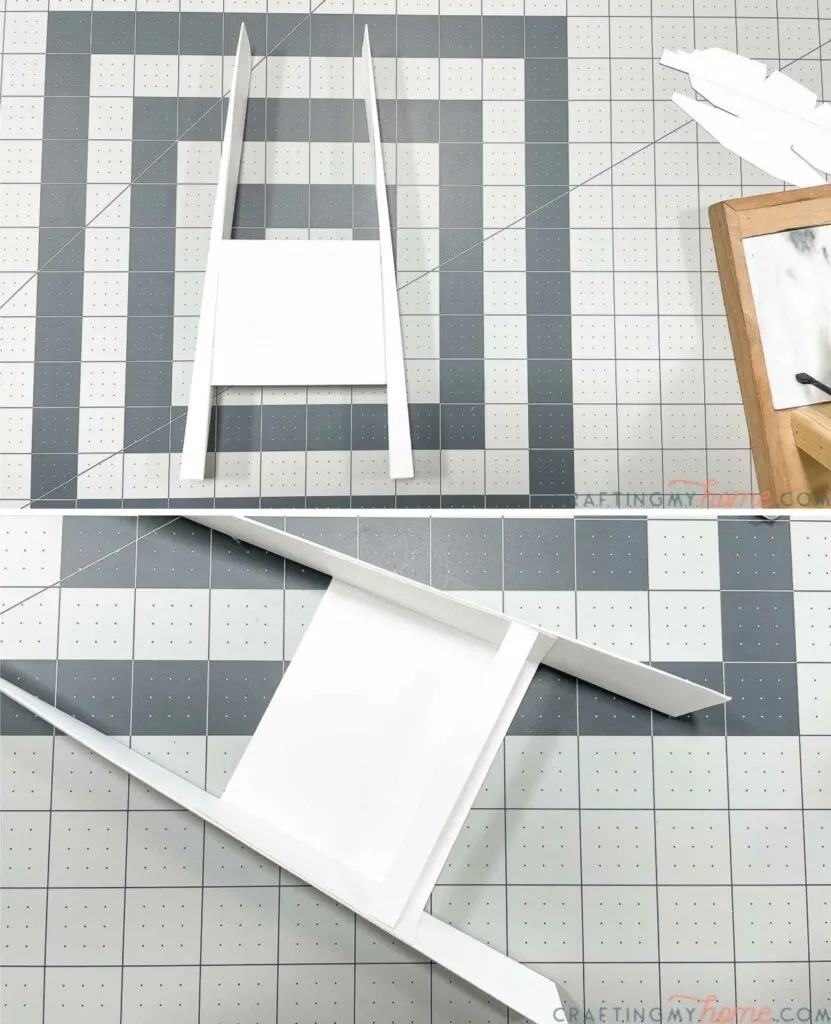
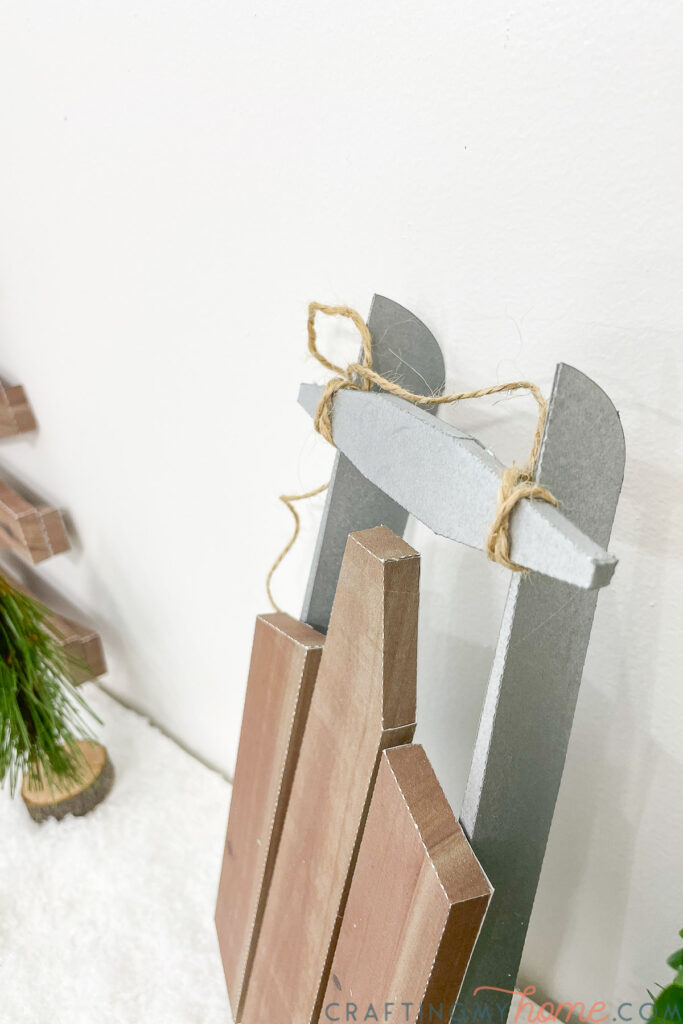
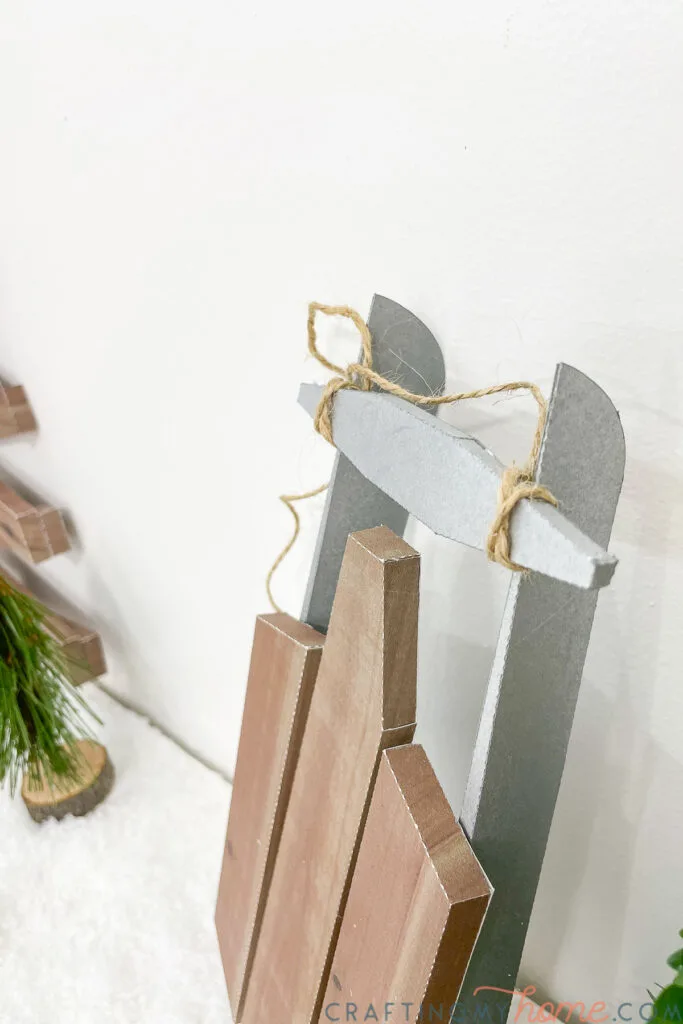
Center the steering handle on the top of the blades and glue down.
Then spray the entire base to look like metal with a metallic spray paint. It should only take a couple light coats.

Attach the seat pieces
Center the assembled seat pieces over the base and attach with glue.
Make sure to line up the bottom so it looks like a V.
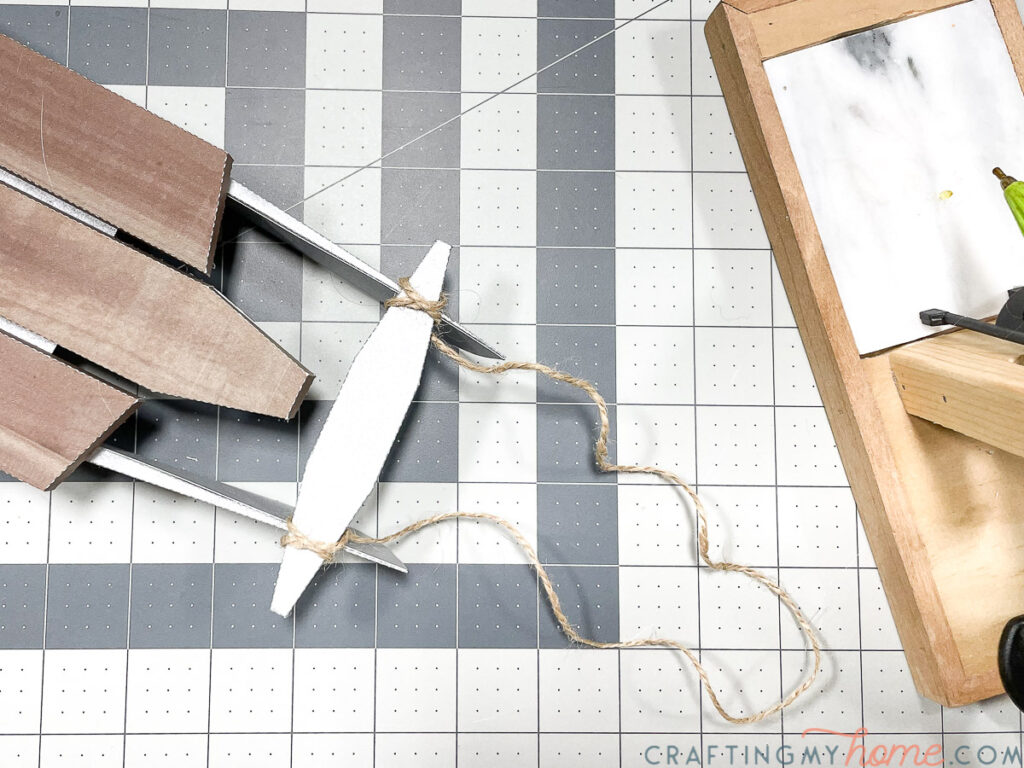
Cut a piece of twine to act as a pull/handle for the sled. Tie it around the steering handle where it attaches to the blades.
Glue it to the back of the handle to secure.

And now your new decorative sled is all done!
It looks so cute and is the perfect decoration to add to the ski lodge theme. I want to make more so I can create a pile of cute sleds in front of the fireplace.
Even without the snow I grew up with as a kid, I can still have the cozy snowy Christmas feel!
Happy crafting!