Make your home cozy for Christmas with this fun paper Christmas tree craft.
It’s Day 2 of the 7 Days of Paper Christmas series. And no Christmas decor is complete without tabletop Christmas trees!
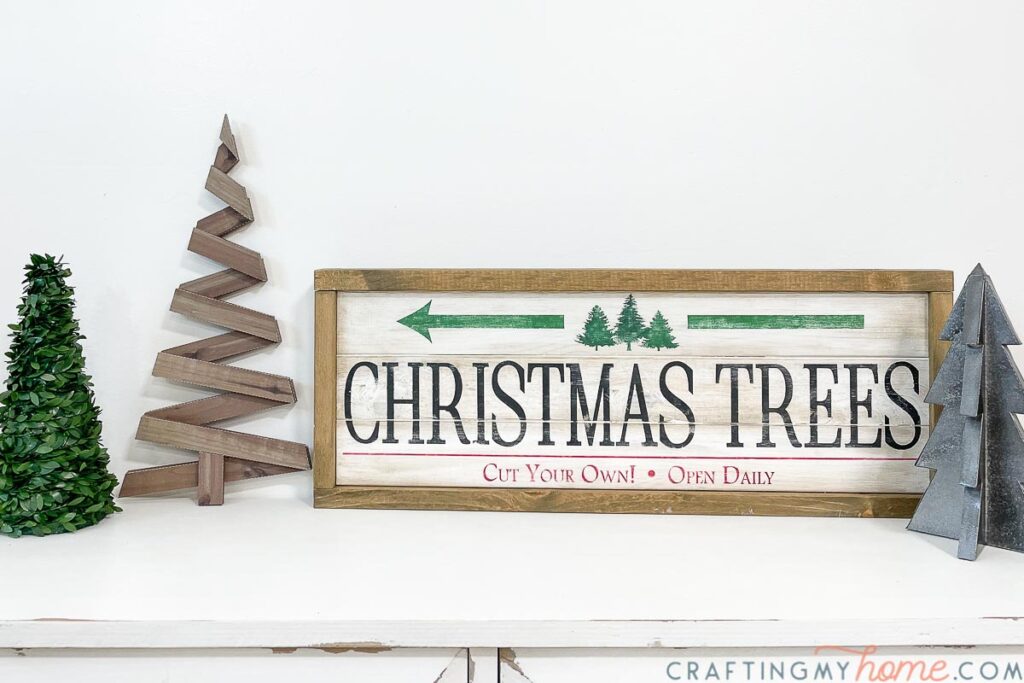
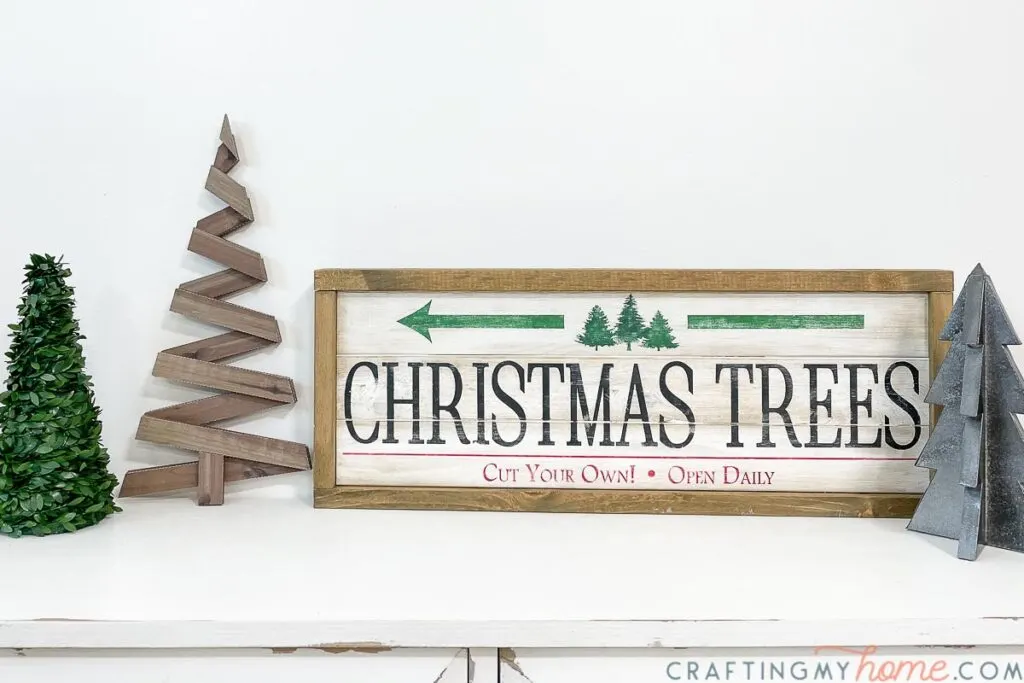
I usually have a sea of small Christmas trees sprinkled throughout my home all December. Table top Christmas trees are such a fun way to add touches of Christmas everywhere.
So of course I needed a table top Christmas tree for this year. And with the snowy, ski-lodge theme, I knew a rustic paper Christmas tree was the perfect option!
This post may contain affiliate links. As an Amazon Associate I earn from qualifying purchases. Click here to read my full disclosure policy.


Decorating with small Christmas Trees
There are so many fun ways to decorate with small decorative Christmas trees and table top Christmas trees.
Whether you are using this fun rustic Christmas tree craft or one of these other paper Christmas tree projects listed below, you can put them all over your house!
After making all the small Christmas tree you can, where do you put them?
In case you need some ideas, I put together this list of ways you can decorate for Christmas with small Christmas trees:
- Add them to your Christmas mantle
- Put them in a tray on your coffee table
- Sprinkle them throughout a bookcase
- Place them on any shelf in your home
- Put them on your kitchen countertop in an unused area
- Create a table centerpiece with them
- Make a vignette on any console table in your home
- Place them around the fireplace on the hearth
There are so many places in your home to add all the paper Christmas trees you can make!

7 Days of Paper Christmas Decor
This post is part of the 7 Days of Paper Christmas Decor series. Every day for the week leading up to Thanksgiving I will share a new paper Christmas craft!
Make sure to check back tomorrow for the next paper craft. And I will update the list below with all the projects as they publish in case you see this later!
- Day 1: Easy Paper Snowflake Ornaments
- Day 2: Rustic Paper Christmas Tree Craft
- Day 3: Anatomy of a Snowflake Printable Art
- Day 4: Plaid Paper Food Trays
- Day 5: Easy Wooden Ski Christmas Ornaments
- Day 6: Beautiful Paper Christmas Village DIY
- Day 7: Decorative Wooden Sled Paper Craft


How to Make Rustic Table Top Christmas Tree
Supplies:
- Christmas tree template
- I am sharing the cut files & PDF for this paper Christmas tree in my subscriber library until 11/25/2021, then they will move to the shop. Click here to subscribe to my newsletter and gain access to all the freebies. If you already have your password, click here to go to the library download them.
- Cardstock
- Printer
- Hot glue gun and glue sticks
- Optional: Electronic cutting machine like a Silhouette Cameo or Cricut Maker
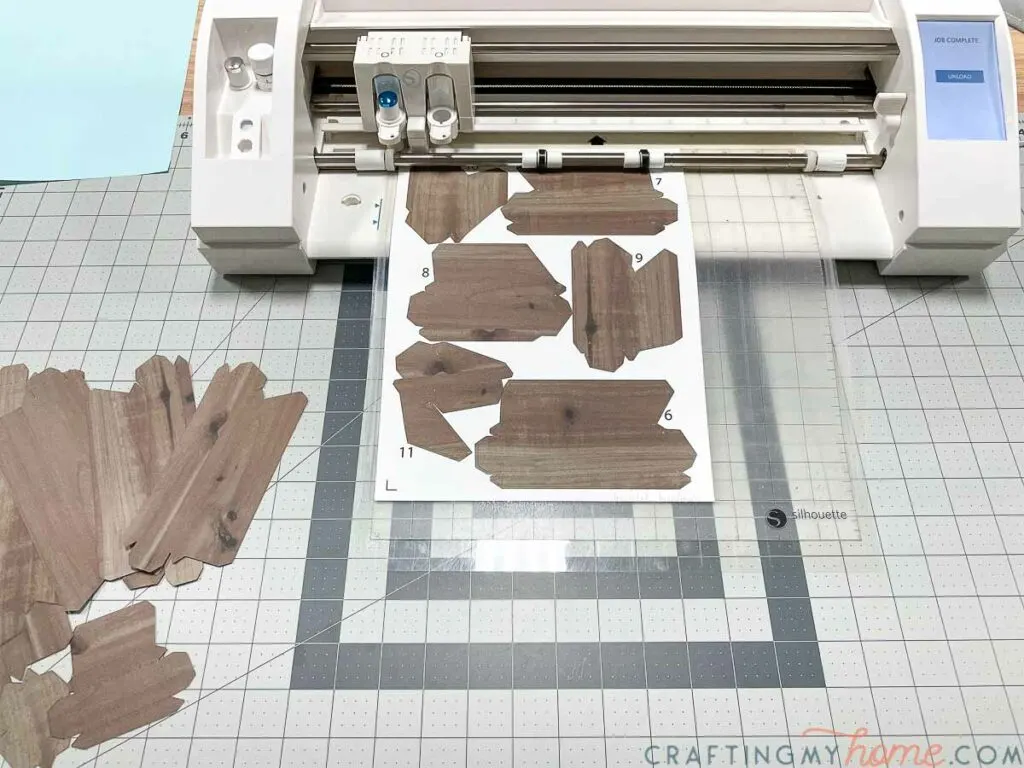
Cut out the pieces
Cut out the pieces along the solid lines.
If you are using an electronic cutting machine, you will need to use the print and cut feature.

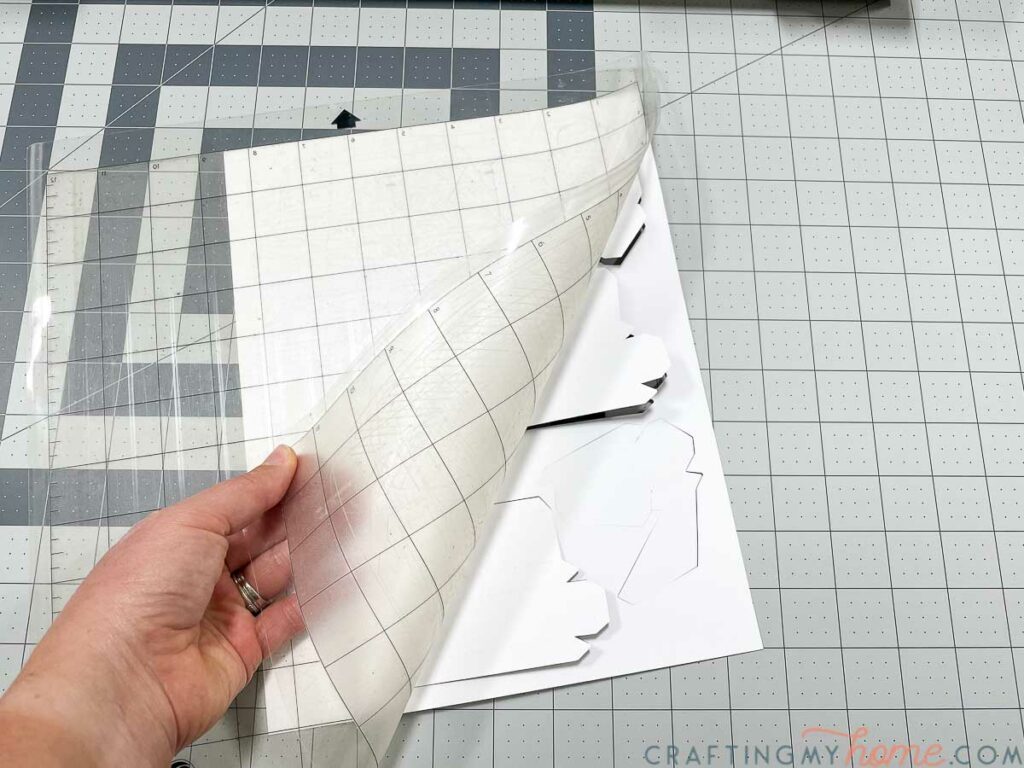
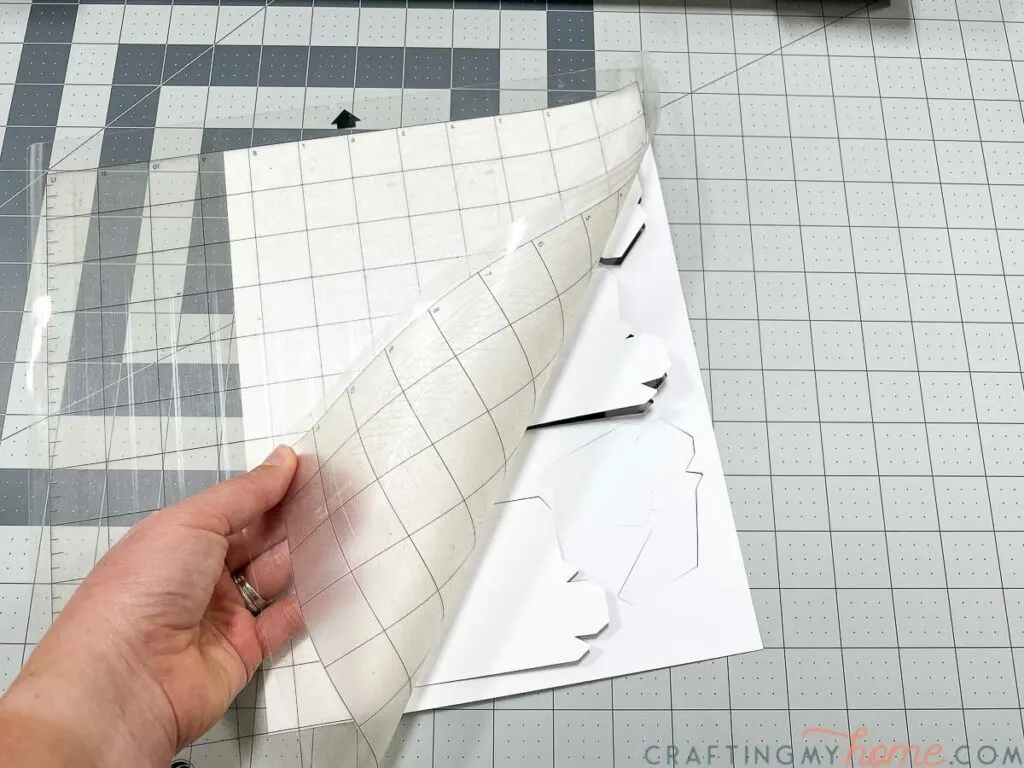
Expert Tip:
When removing the cardstock from the sticky cutting mat, flip it over and pull the mat off the paper to prevent the paper from curling.
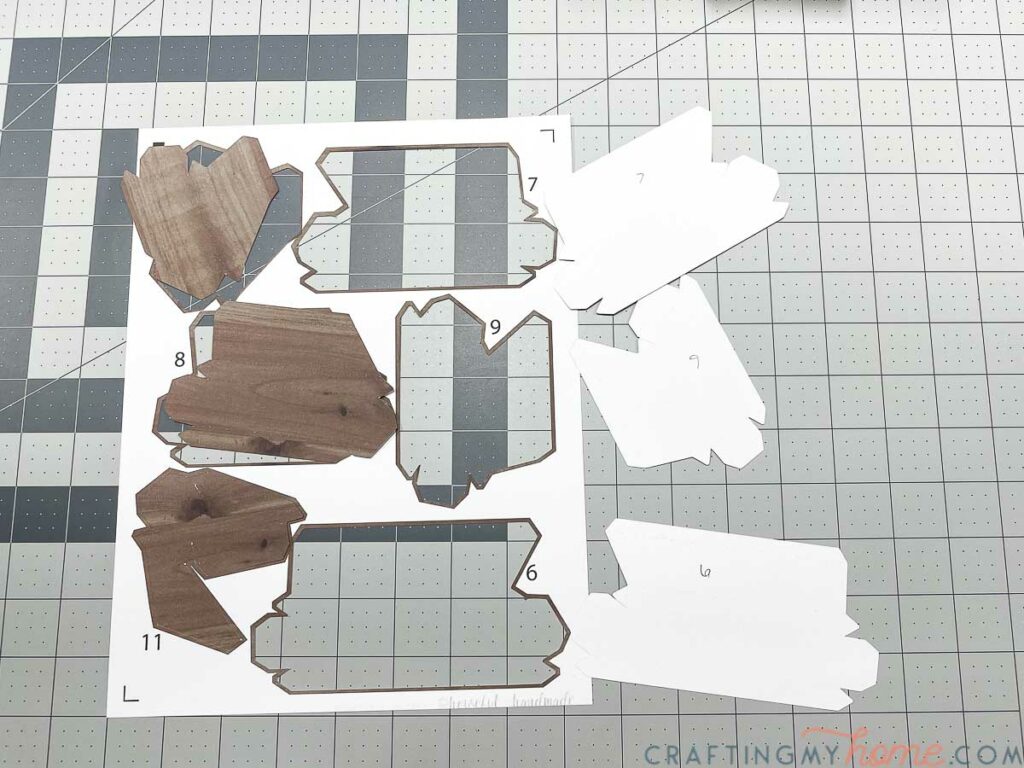
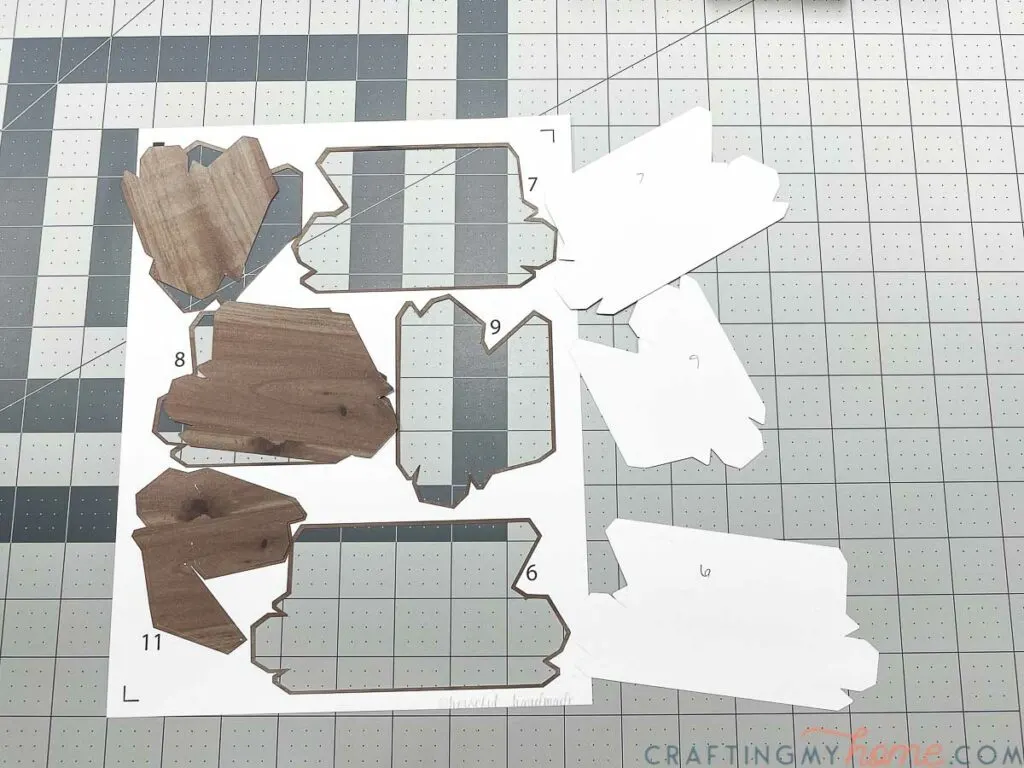
After cutting out the pieces, make sure to transfer the number next to it on the template to the pieces.
Assemble the pieces
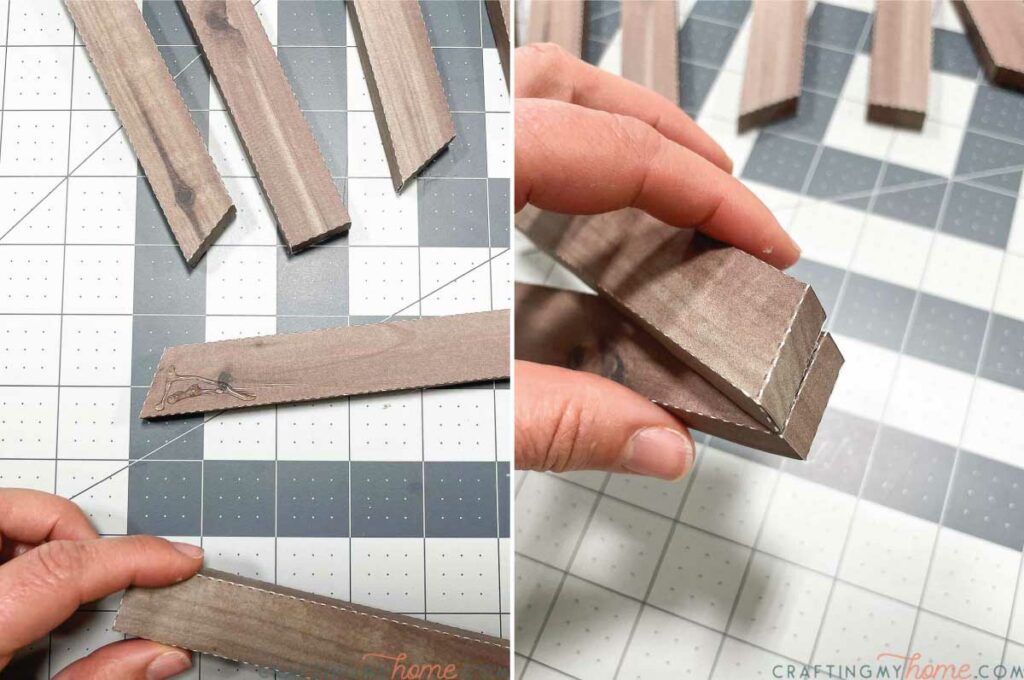
Each piece is assembled like a box. Start by folding along all the dotted lines.
Expert Tip:
Make sure to fully crease each fold line before starting to glue. This will give you nice crisp corners.
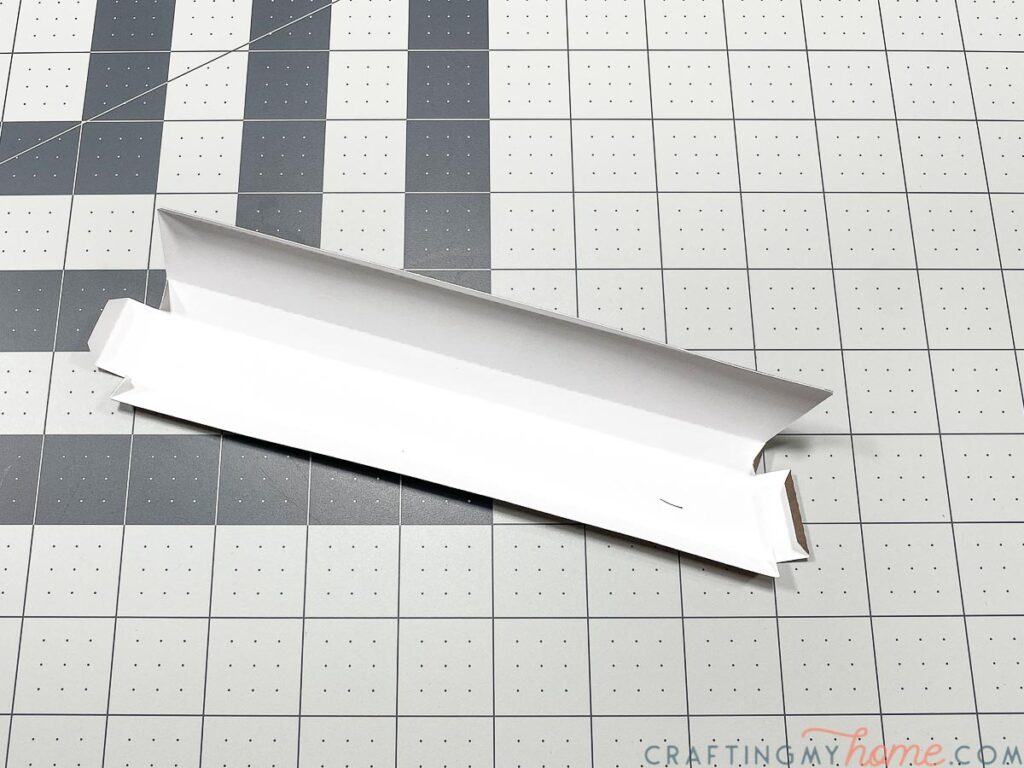
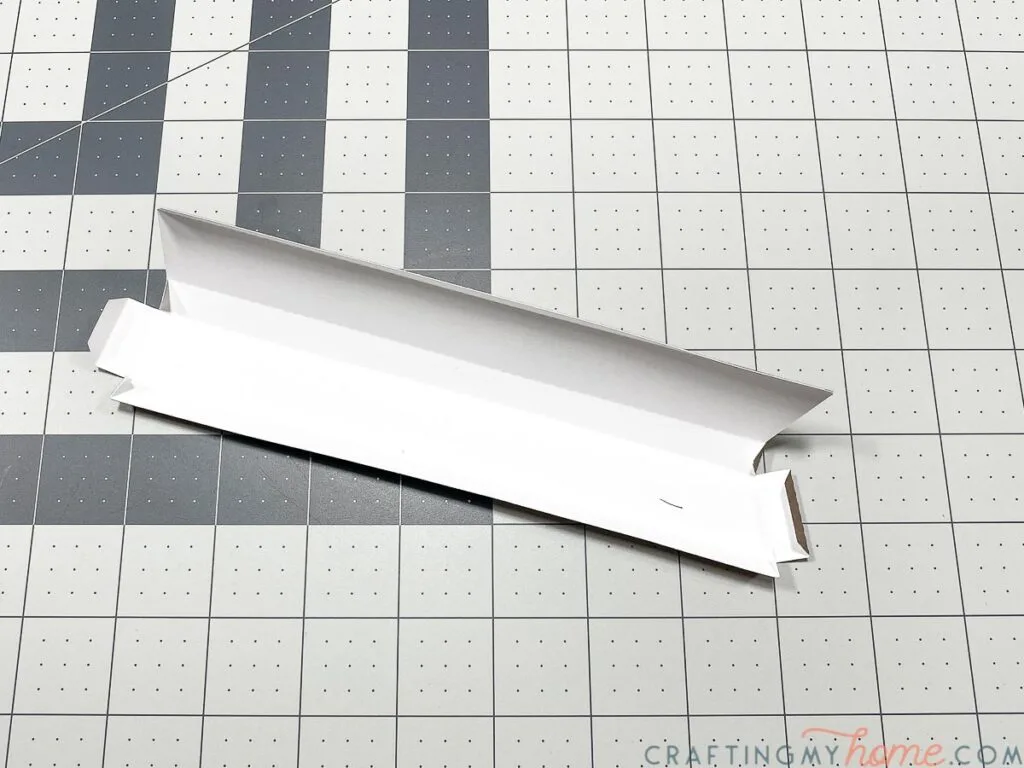
Glue the tabs together with hot glue.
Start by glueing the long side. Then glue together the ends to create a faux piece of wood look.
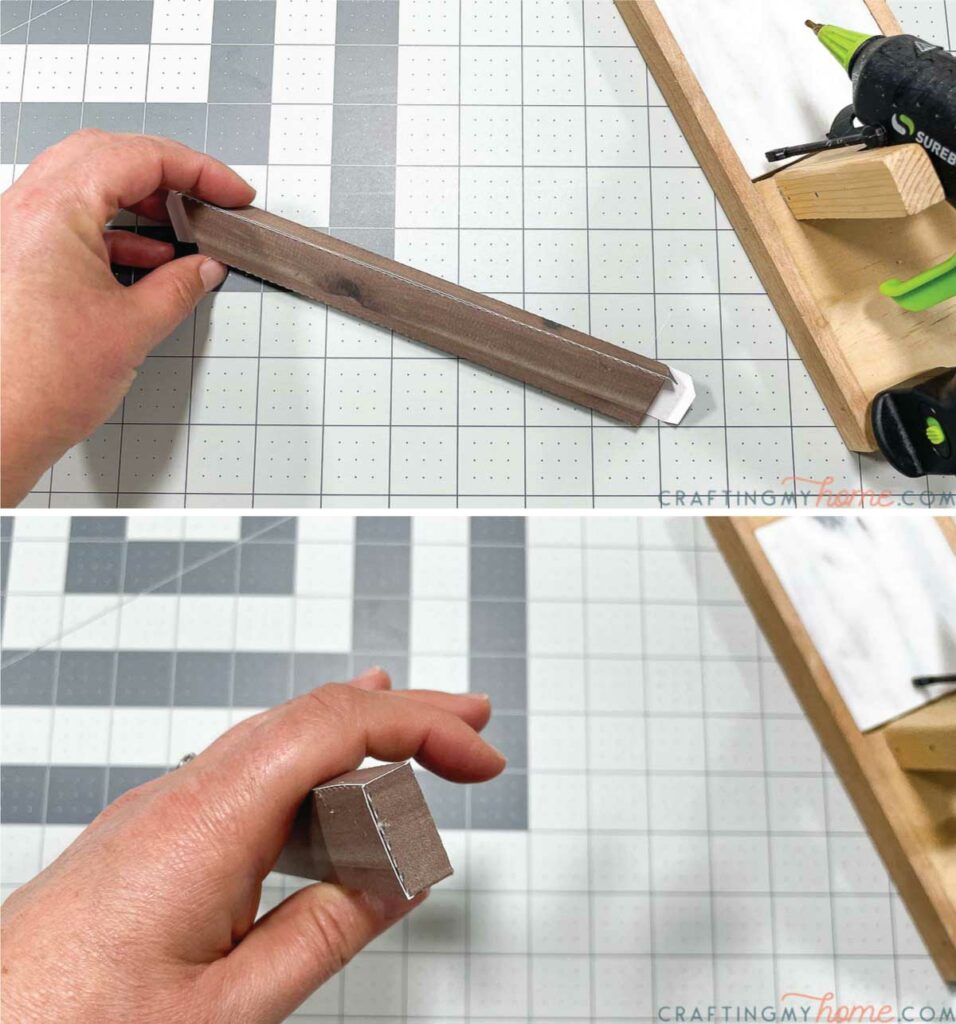
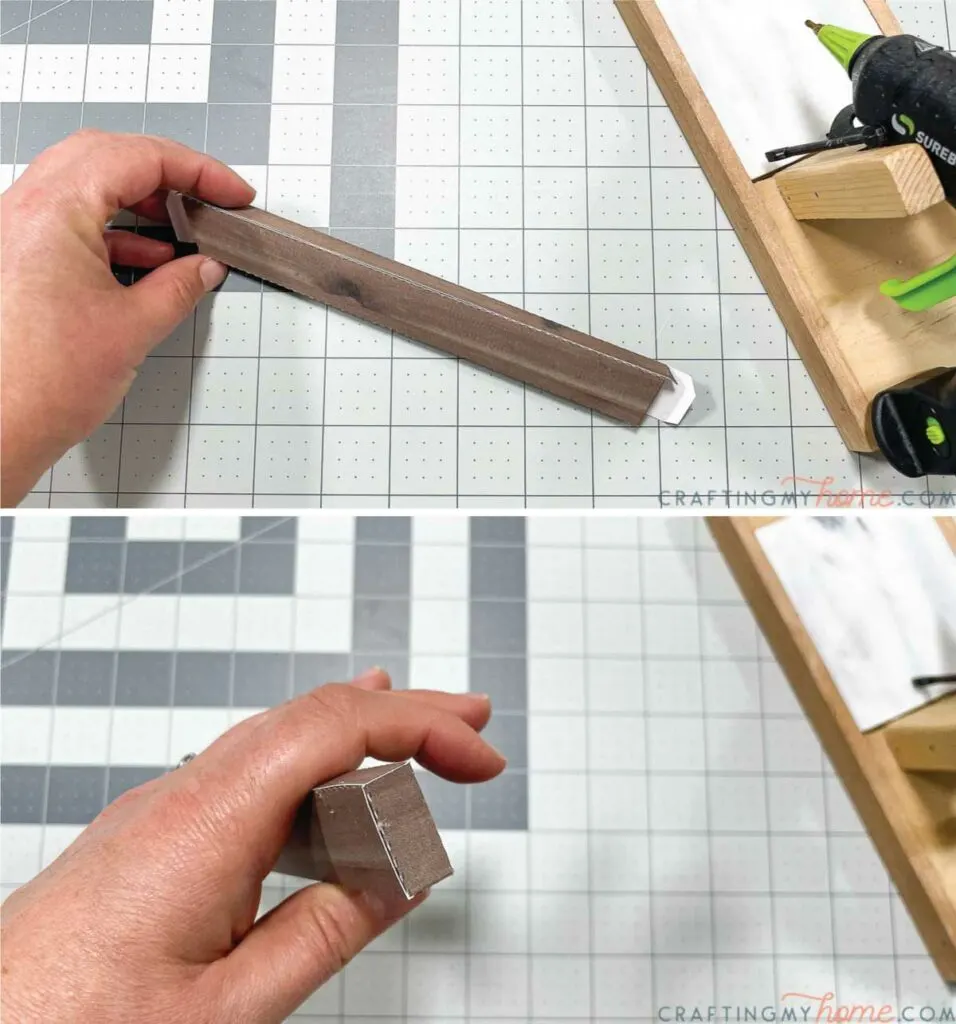
Make sure to keep all the pieces in order as you assemble them.


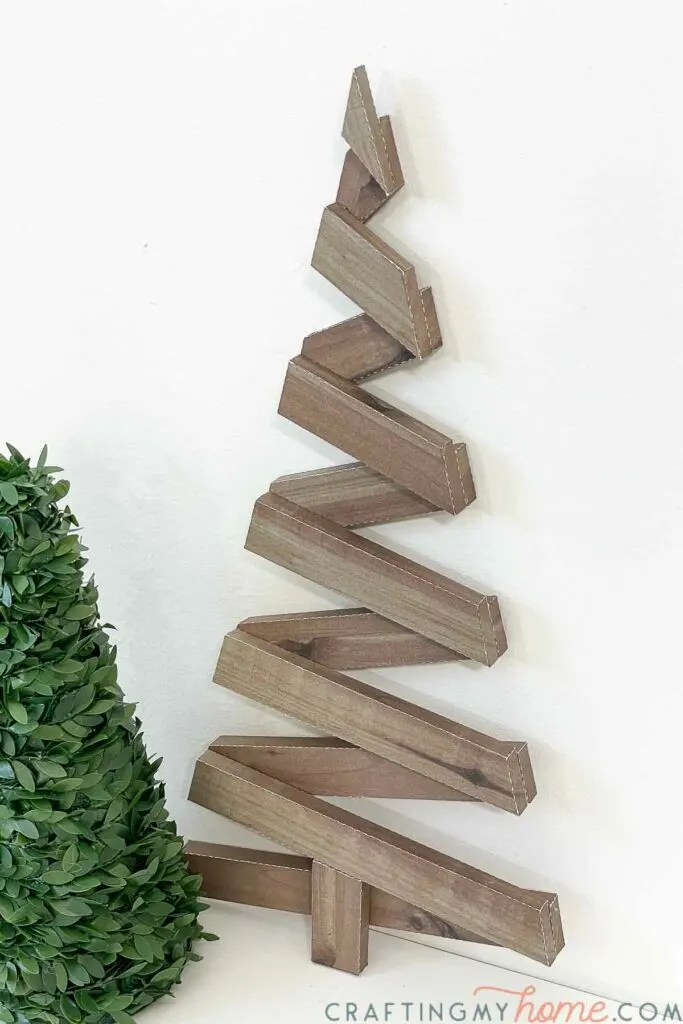
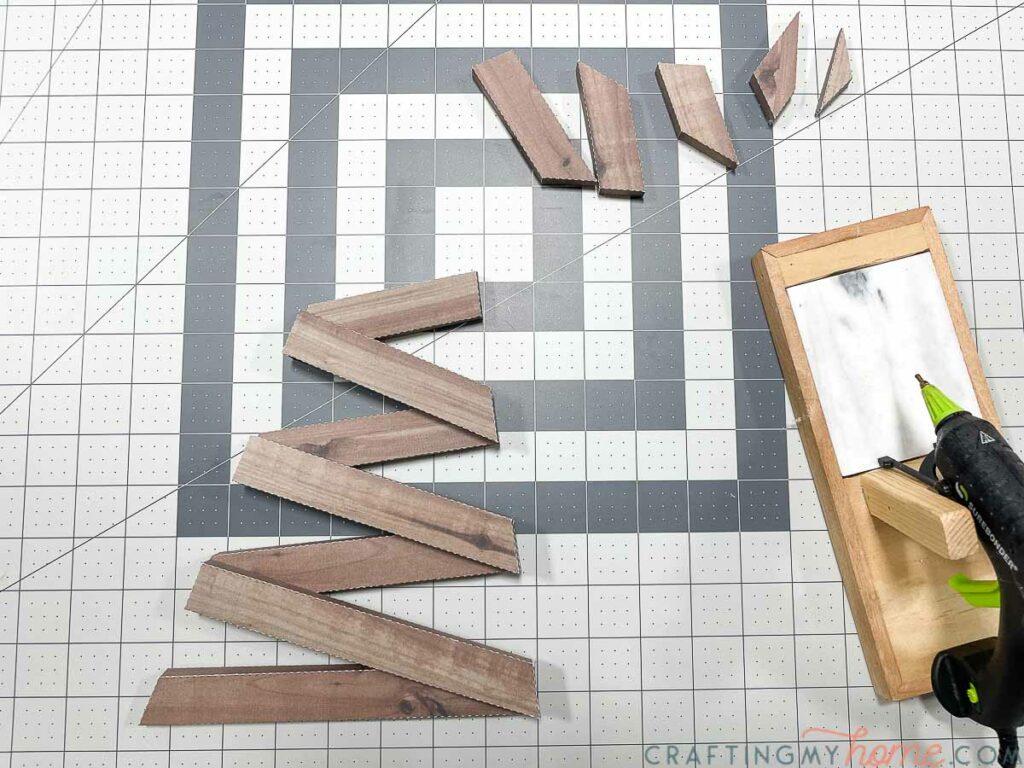
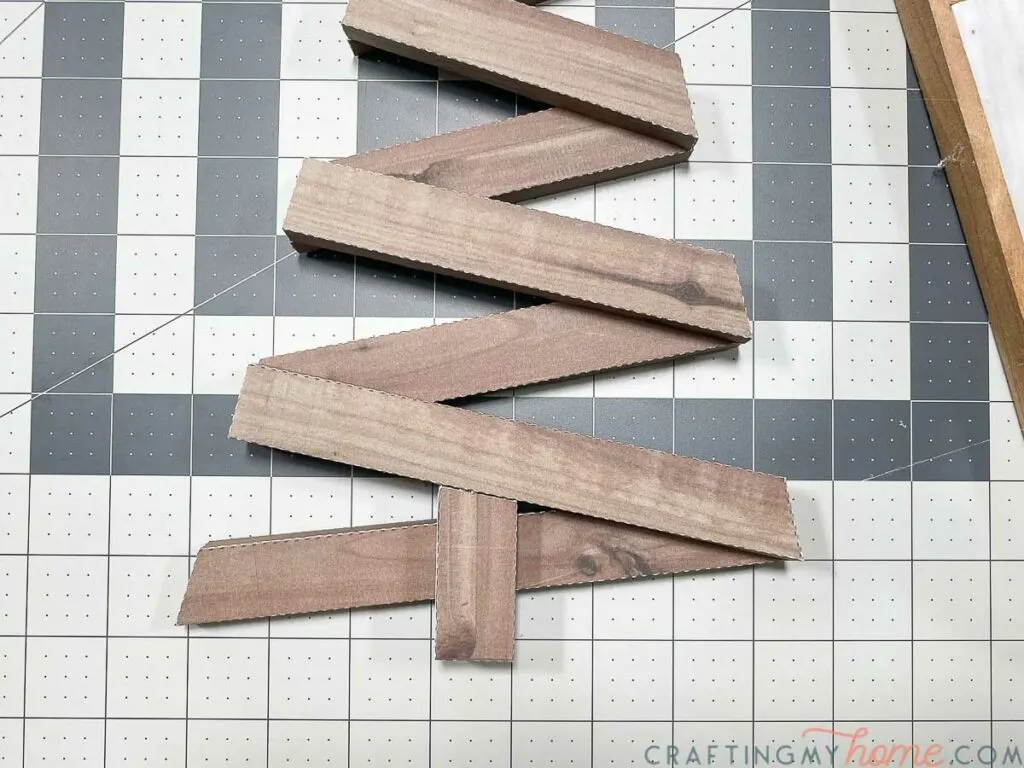
Glue together the Christmas tree
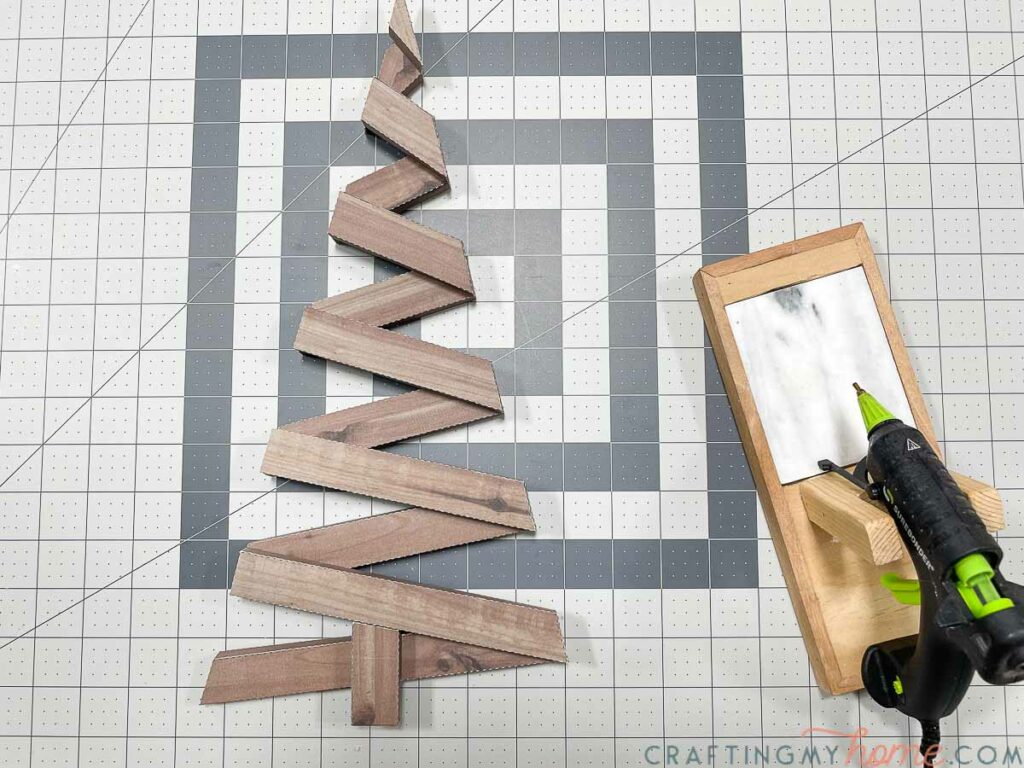
Starting at the bottom, glue the assembled pieces together at the edges.
The pieces should line up at the bottom edge, but will hang over the top edge a bit.

The #1 piece will be glued to the back of the #2 piece. Then each piece is alternated top and bottom all the way to the up with the last piece being on top.

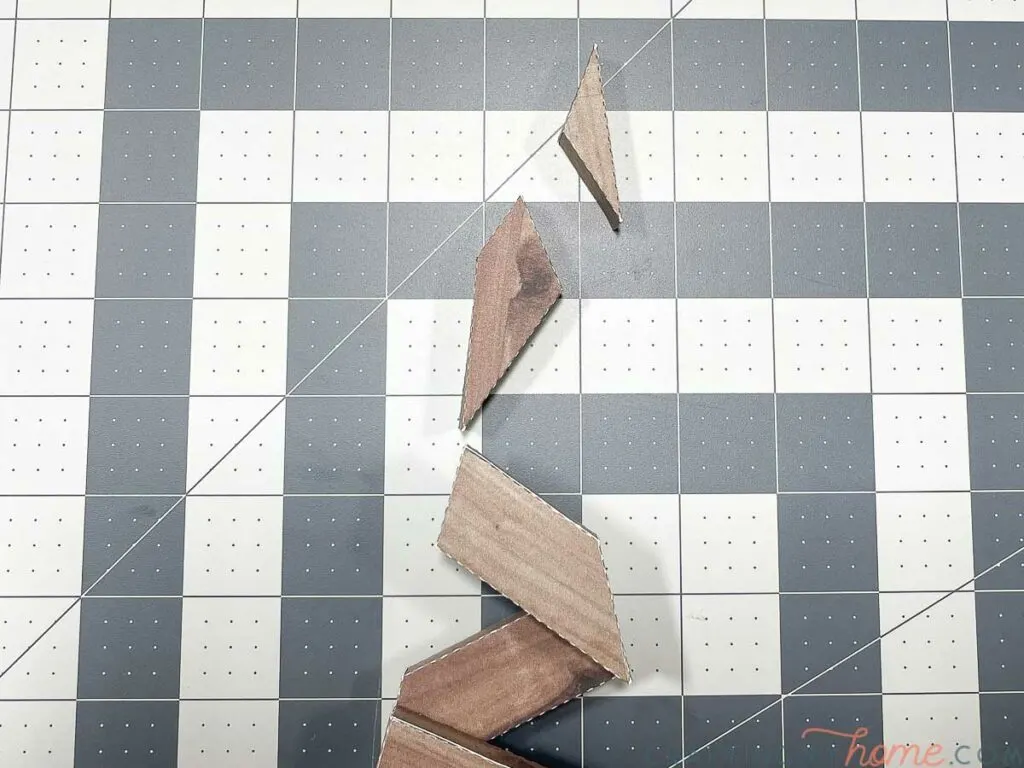
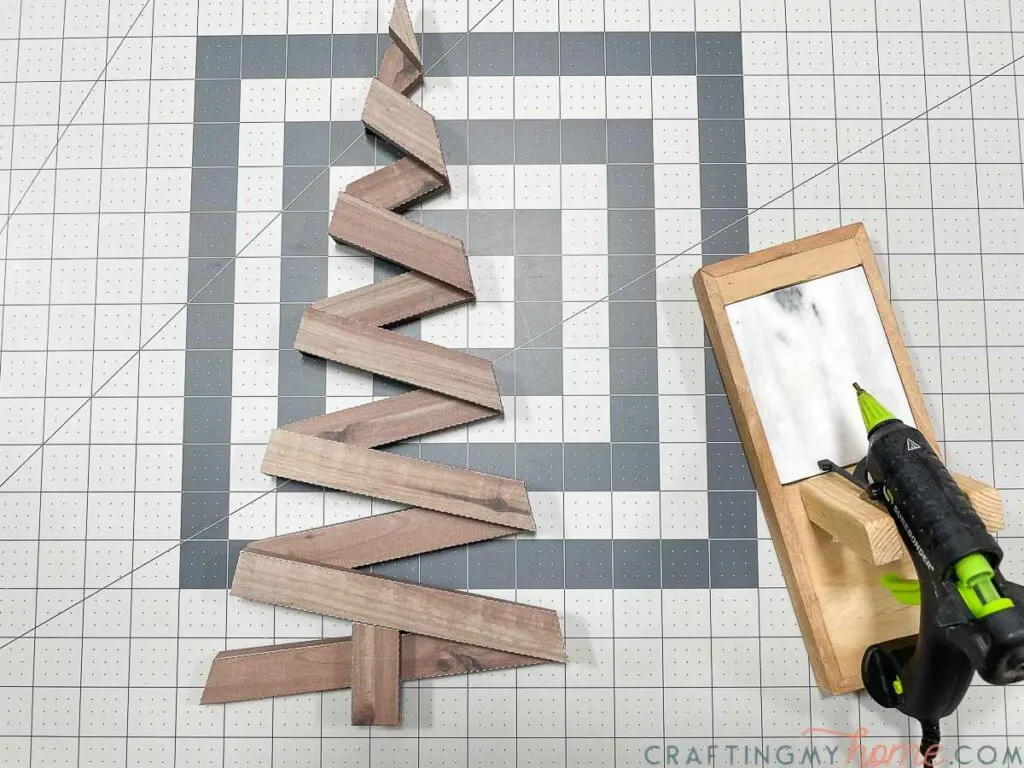
Here is a close up of the direction of the top pieces. They are not as obvious as the larger pieces on the bottom.

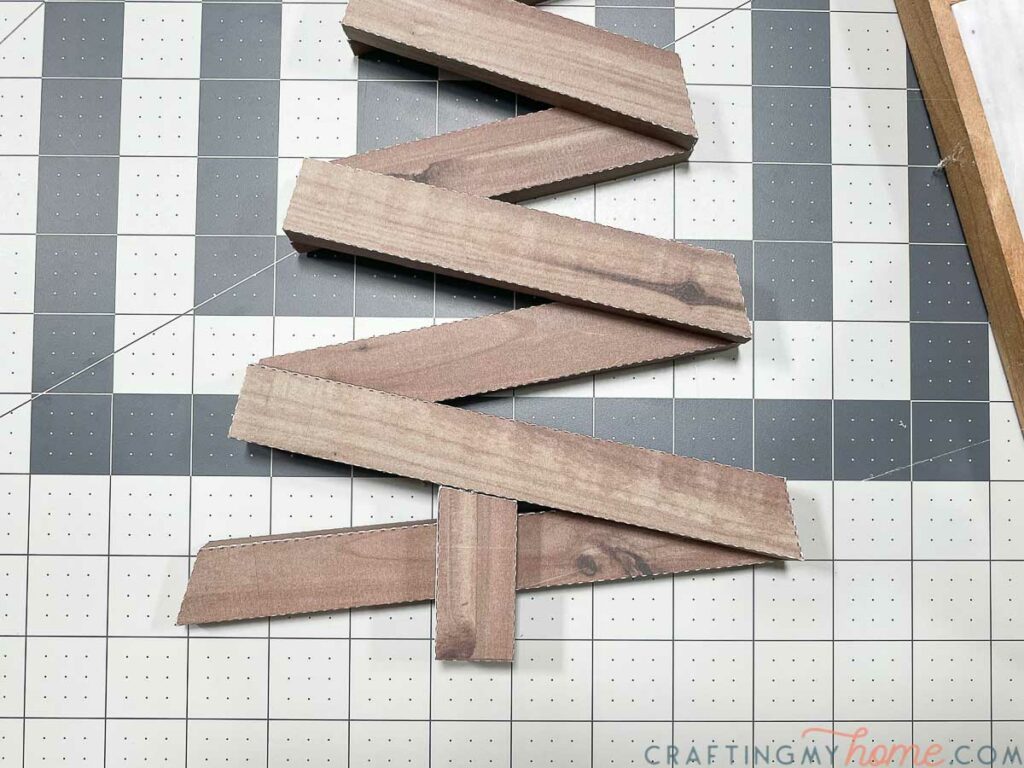
Finish by attaching the truck piece to the center at the bottom.
Make sure to glue it to the front of the #1 piece and the side of the #2 piece. Glueing it to both pieces will make it more secure.
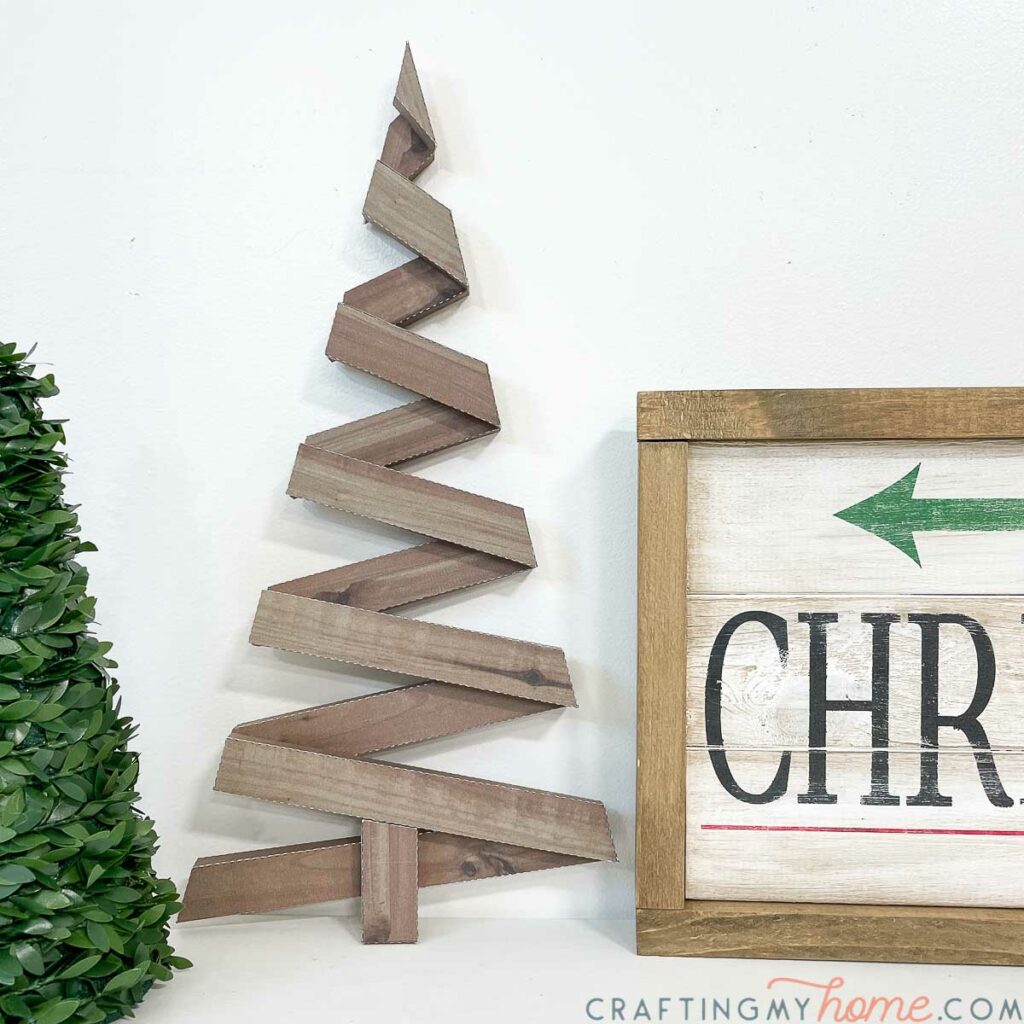
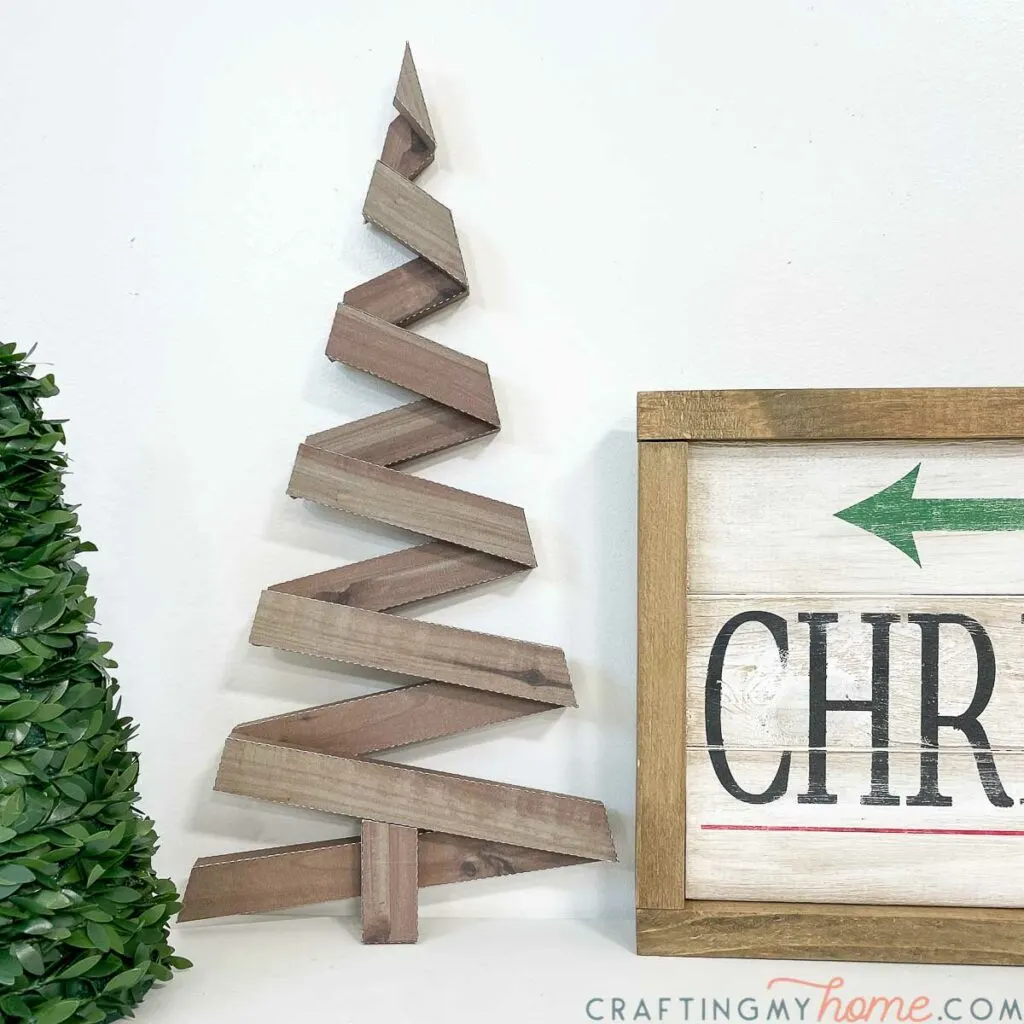
Now your paper Christmas tree is all done. Completed it measures 15″ tall by 7″ wide.
This beautiful Christmas tree can lean up against a wall, but does not stand on its own. Or you can use a Command strip on the back to secure it to a wall as wall decor.
It is the perfect rustic Christmas craft to lean up on your mantle, in a bookcase or anywhere you want some cozy Christmas decor.
Happy crafting!
Diane
Sunday 21st of November 2021
Ha ha, shows you what I know....I thought the tree was made from real wood. Good thing I read the tutorial first. Thank you Kati for all of your tutorials and SVGs.
Kati
Sunday 21st of November 2021
Thanks Diane, I wanted it to look like wood, but no power tools needed ;)